Star Wars Prop
Base Hacker System
Post Project Hand In Upgrades - Wing and Body Repair Problem Solving
Upgrades from Aug 2024
Repairing and Reinforcing Detached Parts
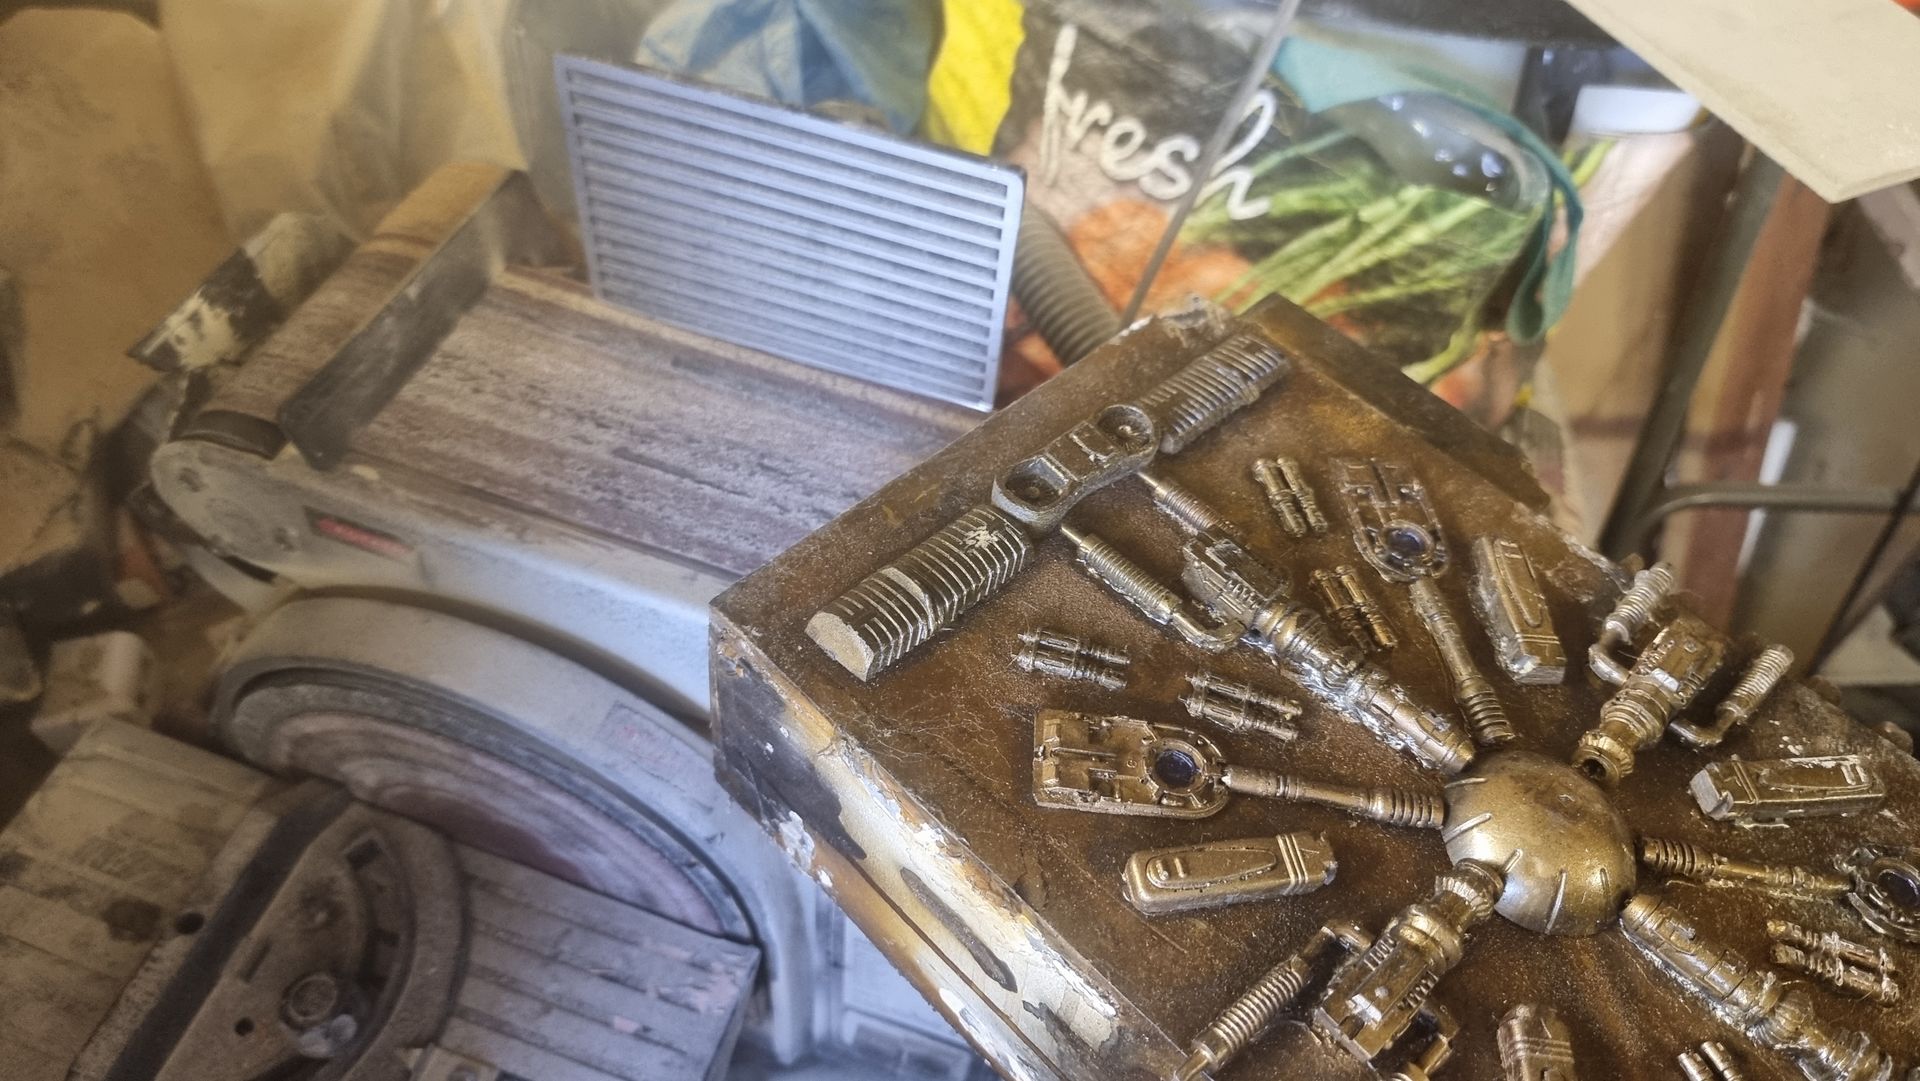
With many of the kit bashed parts, mostly the larger parts, there was been very little surface area on the larger kit bash parts to apply glue, mostly just thin internal structure ribs maybe a 1 mm or less on the inside of panels and mostly space between then and nothing to screw or rivet.
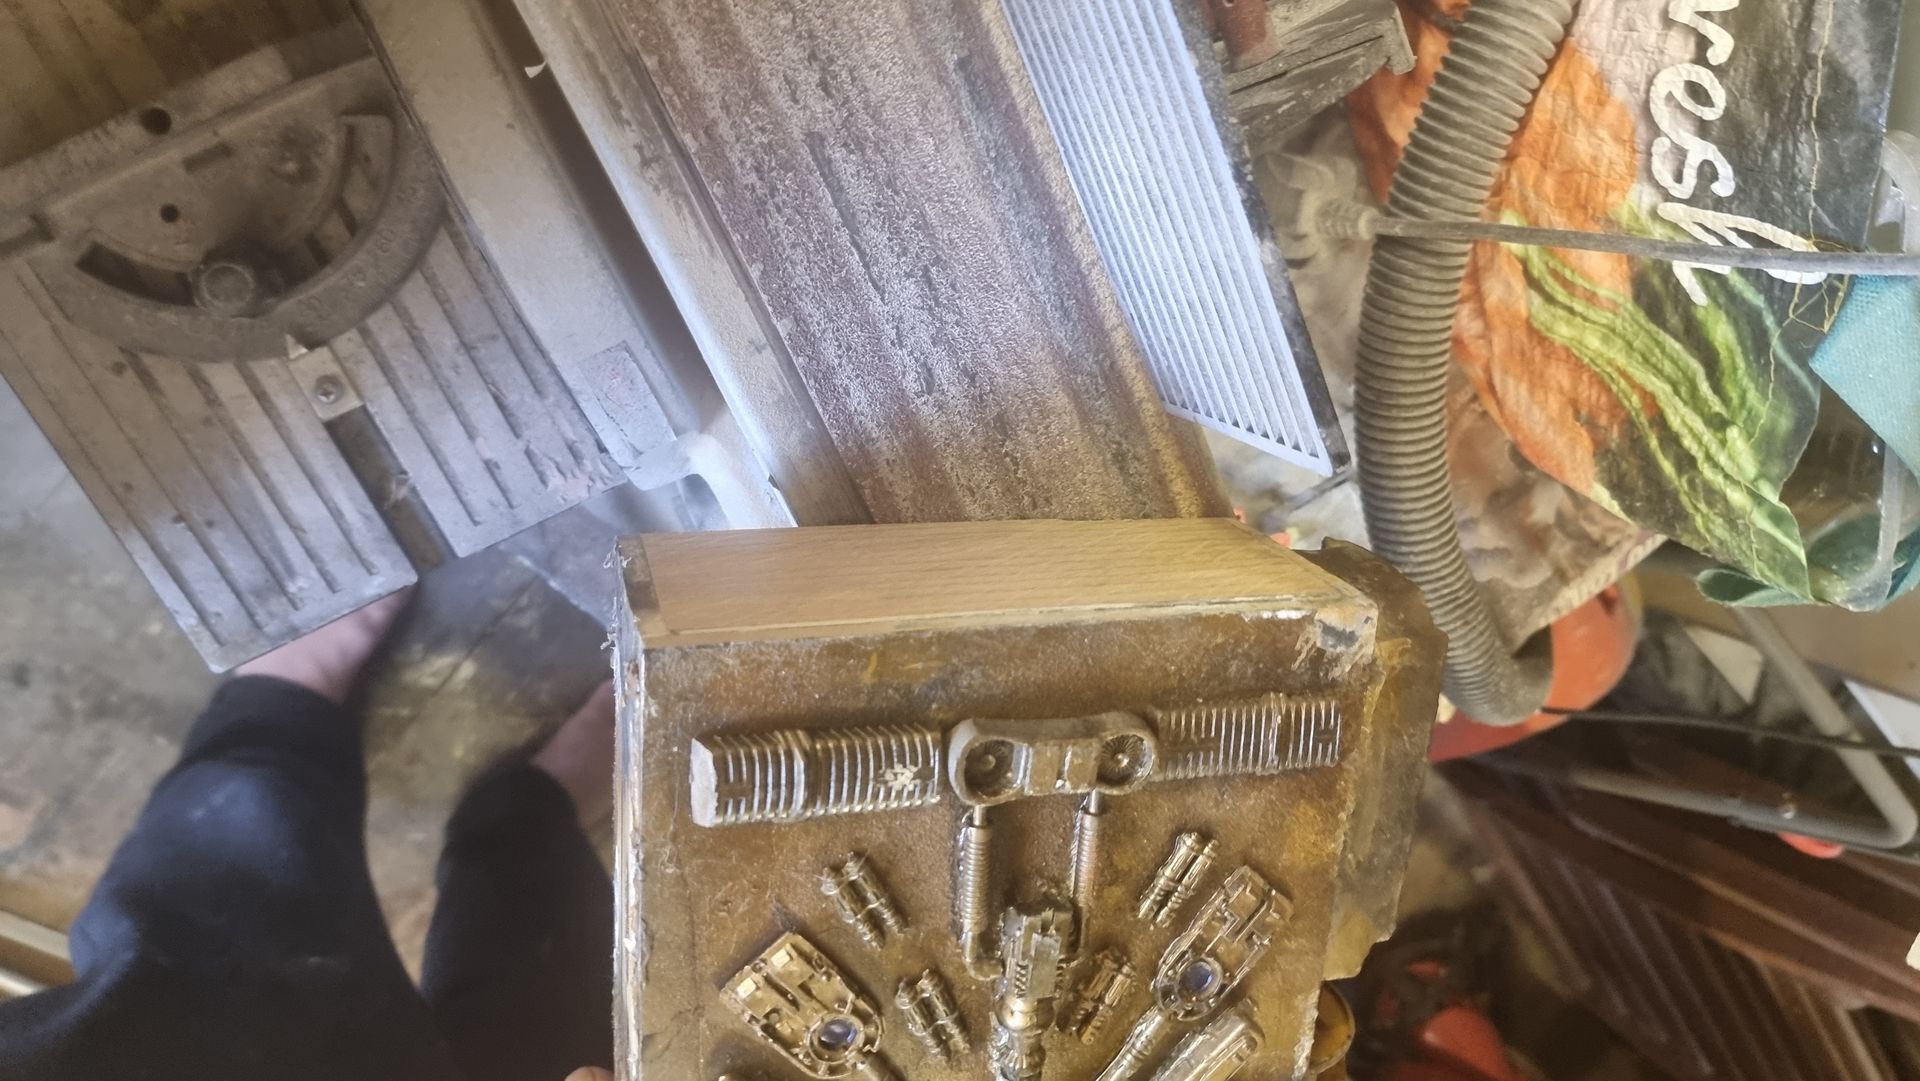
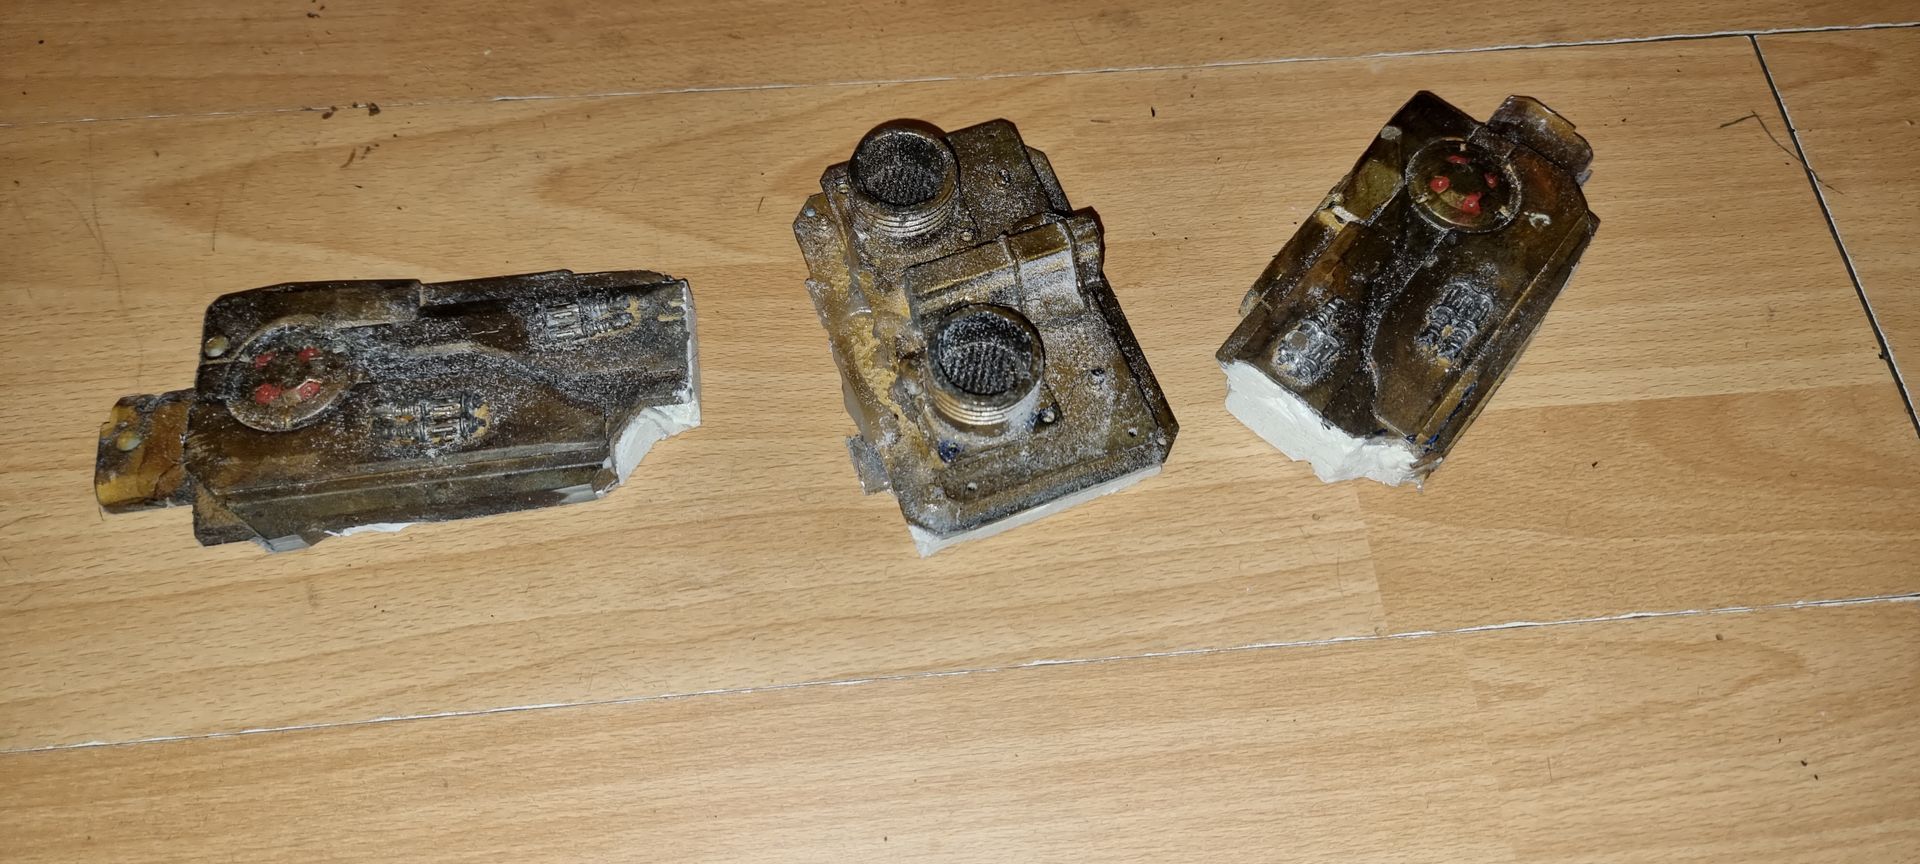
This means little hold which in addition to the parts coming from shopped up Nerf guns had huge undercut spaces for fingers and other things to get caught on and pull the parts off as can be seen below.
I thought that ideally, I need a fastening method such as screws and rivets, but also the screws:
- Need something to screw into which was missing.
- For Aesthetics and Authenticity not to show up obviously on the outside.
- Not to damage internal components and lighting ribbon etc.
Fixing Wing Damage Broken When I Added Friction Hinges
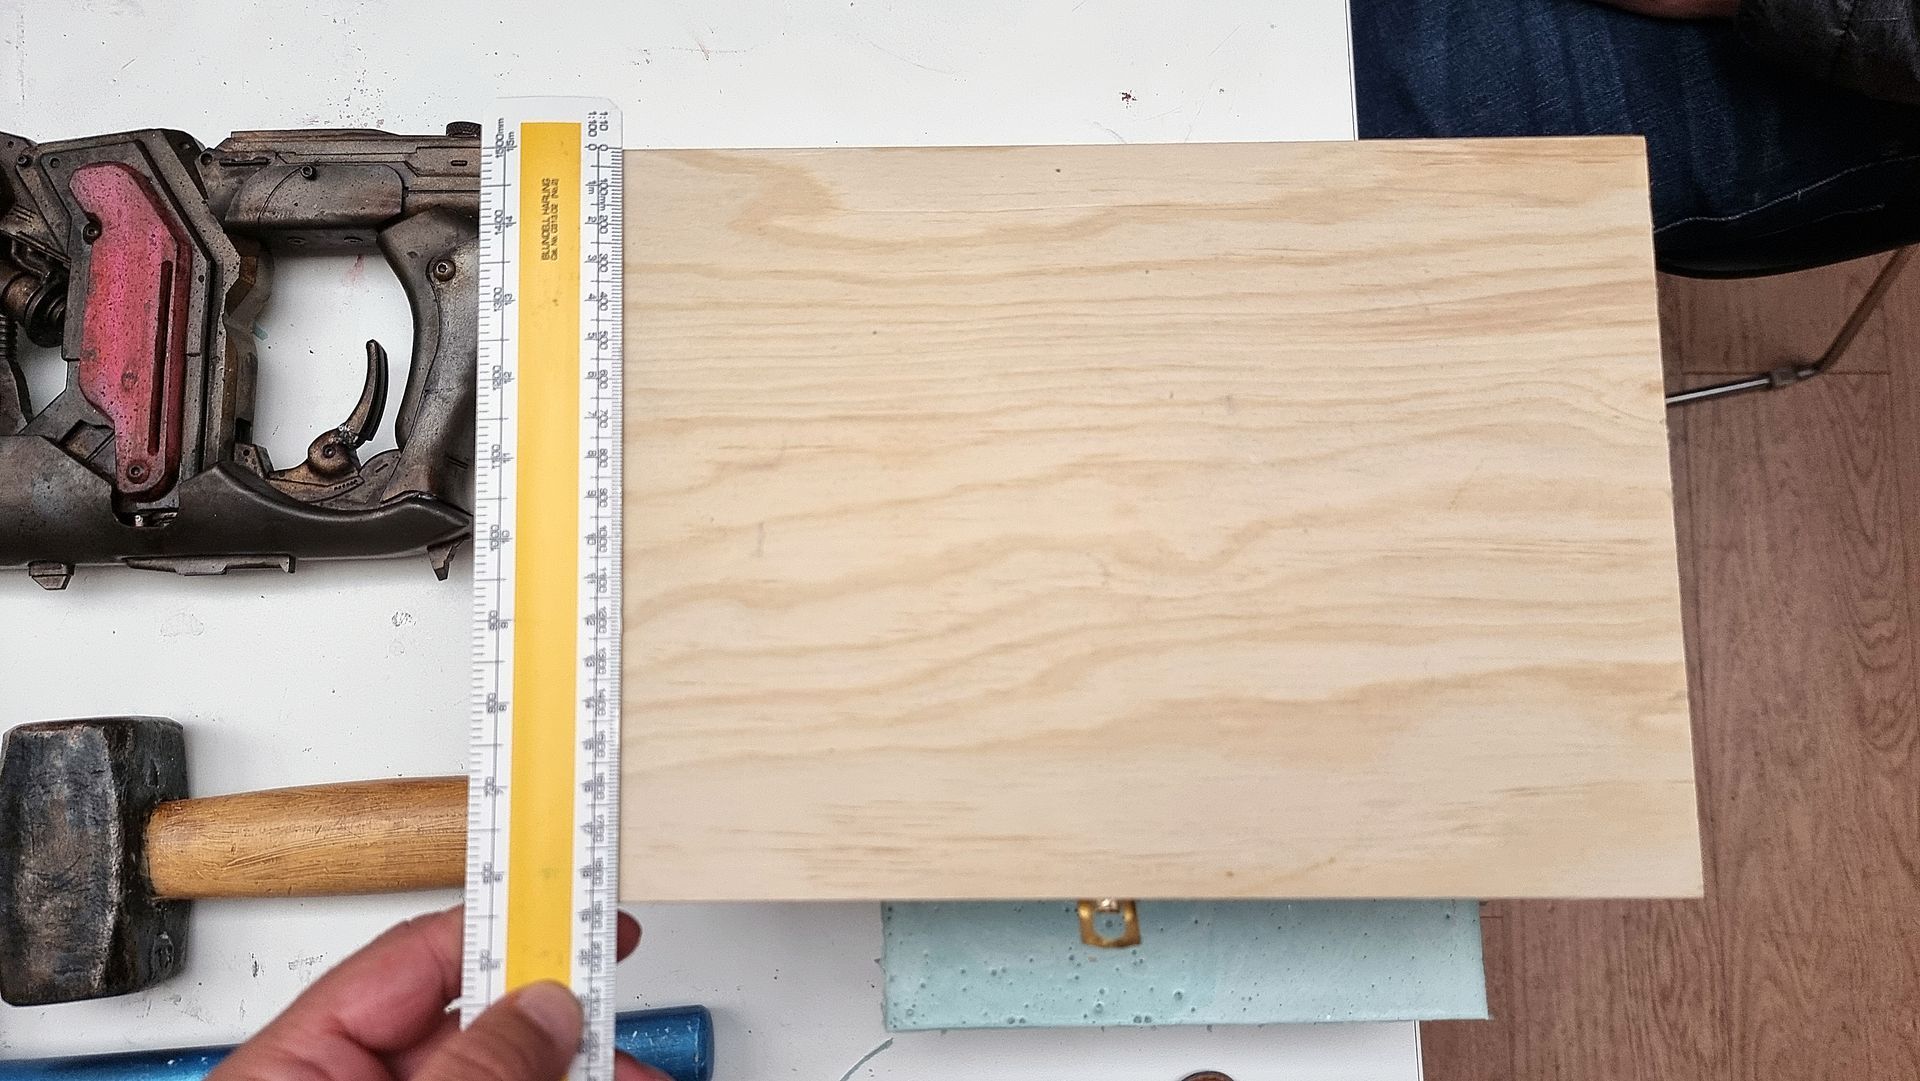
The box we were given had not been made to form mechanical parts under stress due to the wing weight.
With hindsight thicker material and stronger wood such as oak would have been used, along with proper slow down hinges or some sort of pneumatic restrictor to slow opening.
The result was one wing broke. Splitting at the stress point when adding slower friction hinges.
Unfortunately, there was no room to retrofit thicker materials on the inside of the box, due to all the electrics and controls.
I looked to oak wood panels which are far stronger than pine and some brackets at first but this was not that strong and messy.
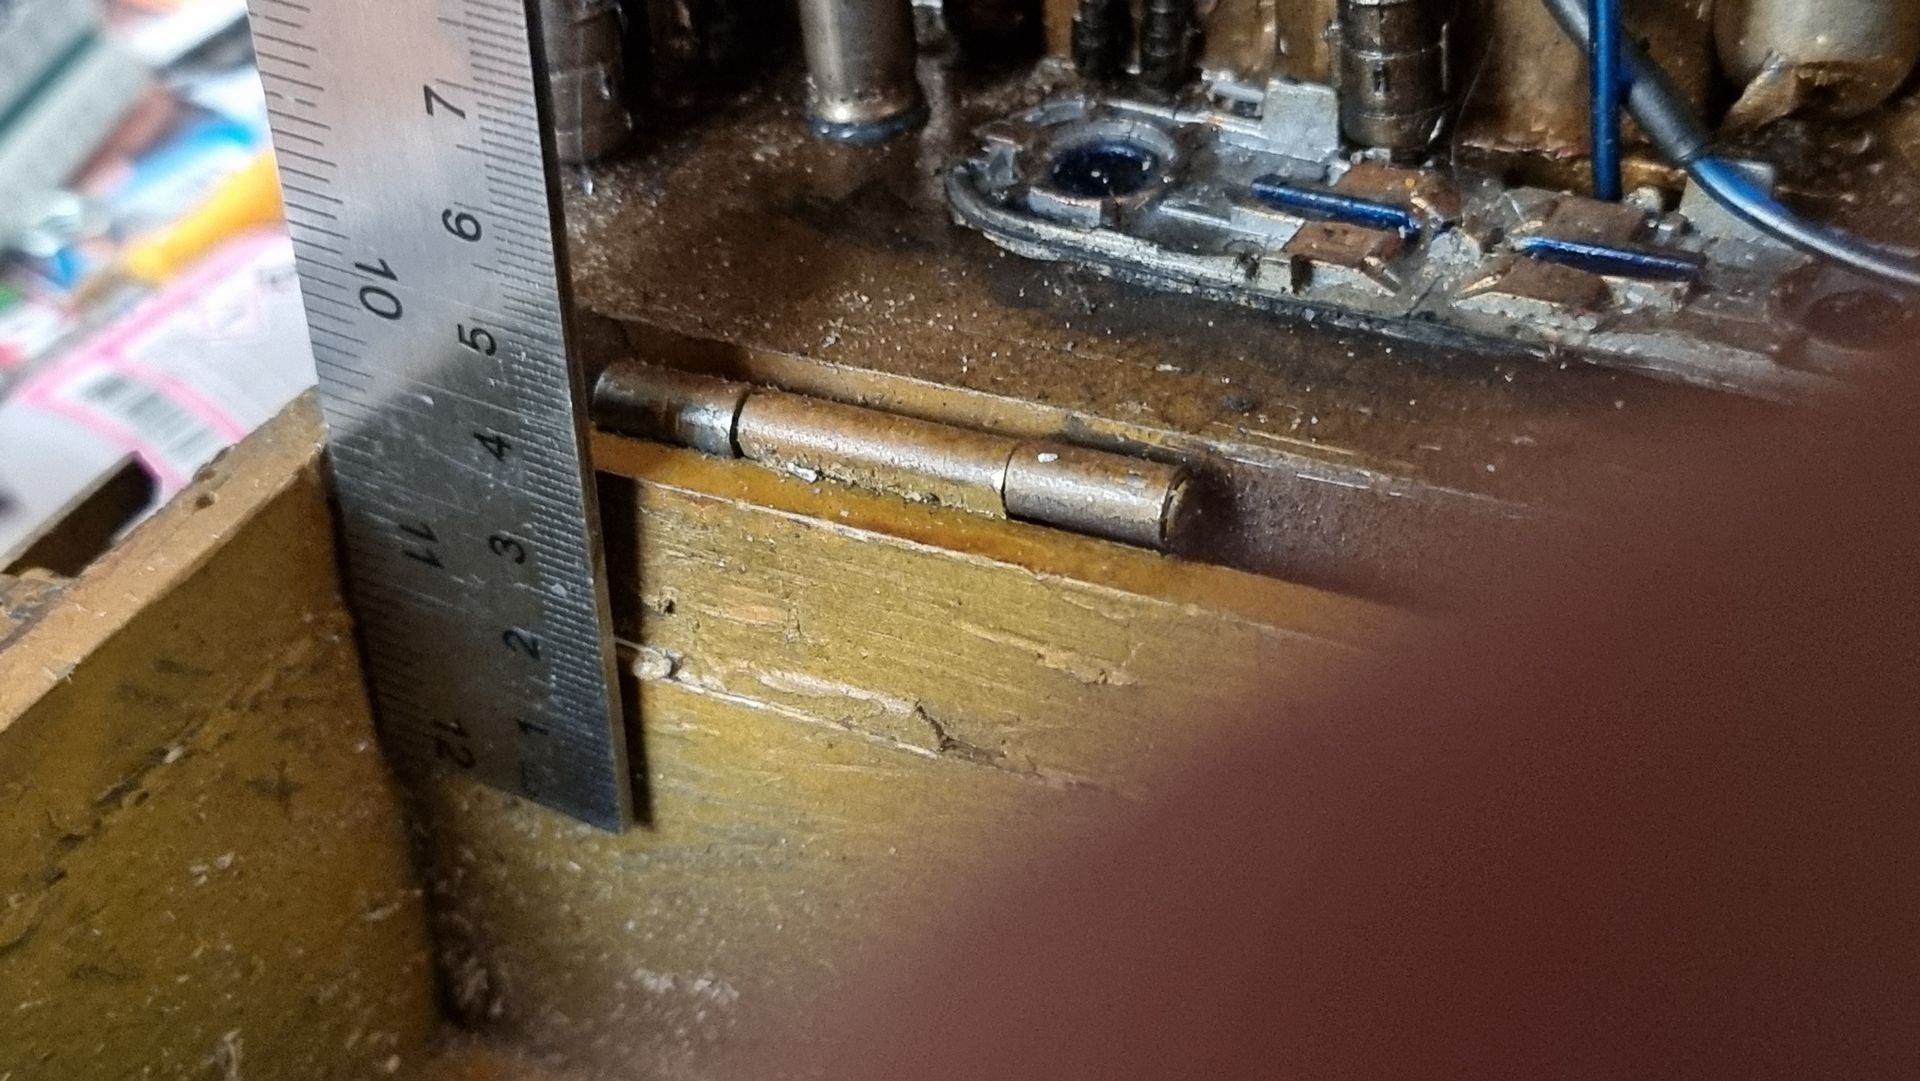
Below the damage can be seen and how the damaged end was removed.
Thicking the Wing Walls
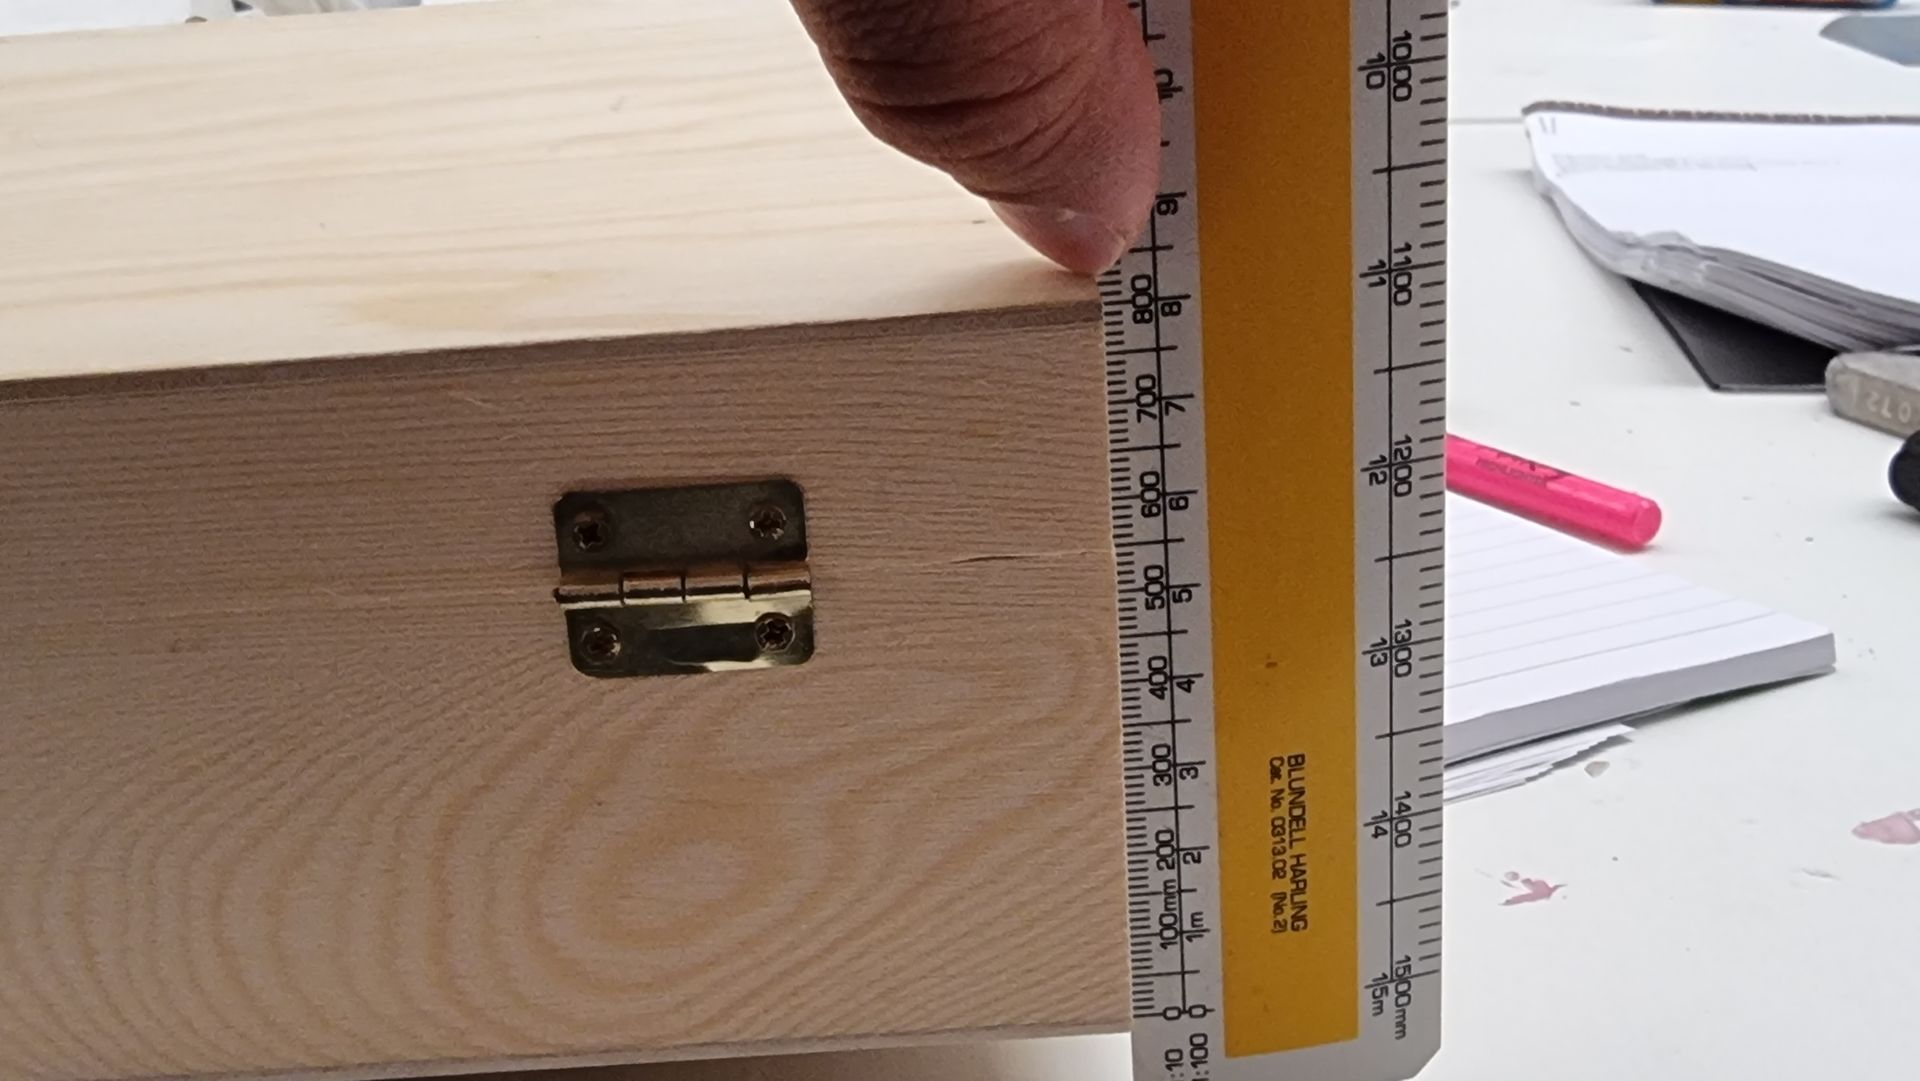
The hinge wall was replaced and thickness was doubled with the pine wood replaced by 5mm oak, laminating them to a double layer. These were glued in place with epoxy as well as wood PVA glue to try and max the strength.
The sides being kit bashed would have been hard to replace, so I just strengthened them by adding a inner layer of oak before repainting.
Repair Methods - Foam Stuffing
There has been very little surface area on parts to glue, mostly just thin internal structure ribs maybe a mm or less on the inside of panels and far between them.
This means little hold so parts get knocked off.
I thought that ideally, I need a fastening method such as screws and rivets but also need the screws not to show up on the outside and not to damage internal components and lighting ribbon etc.
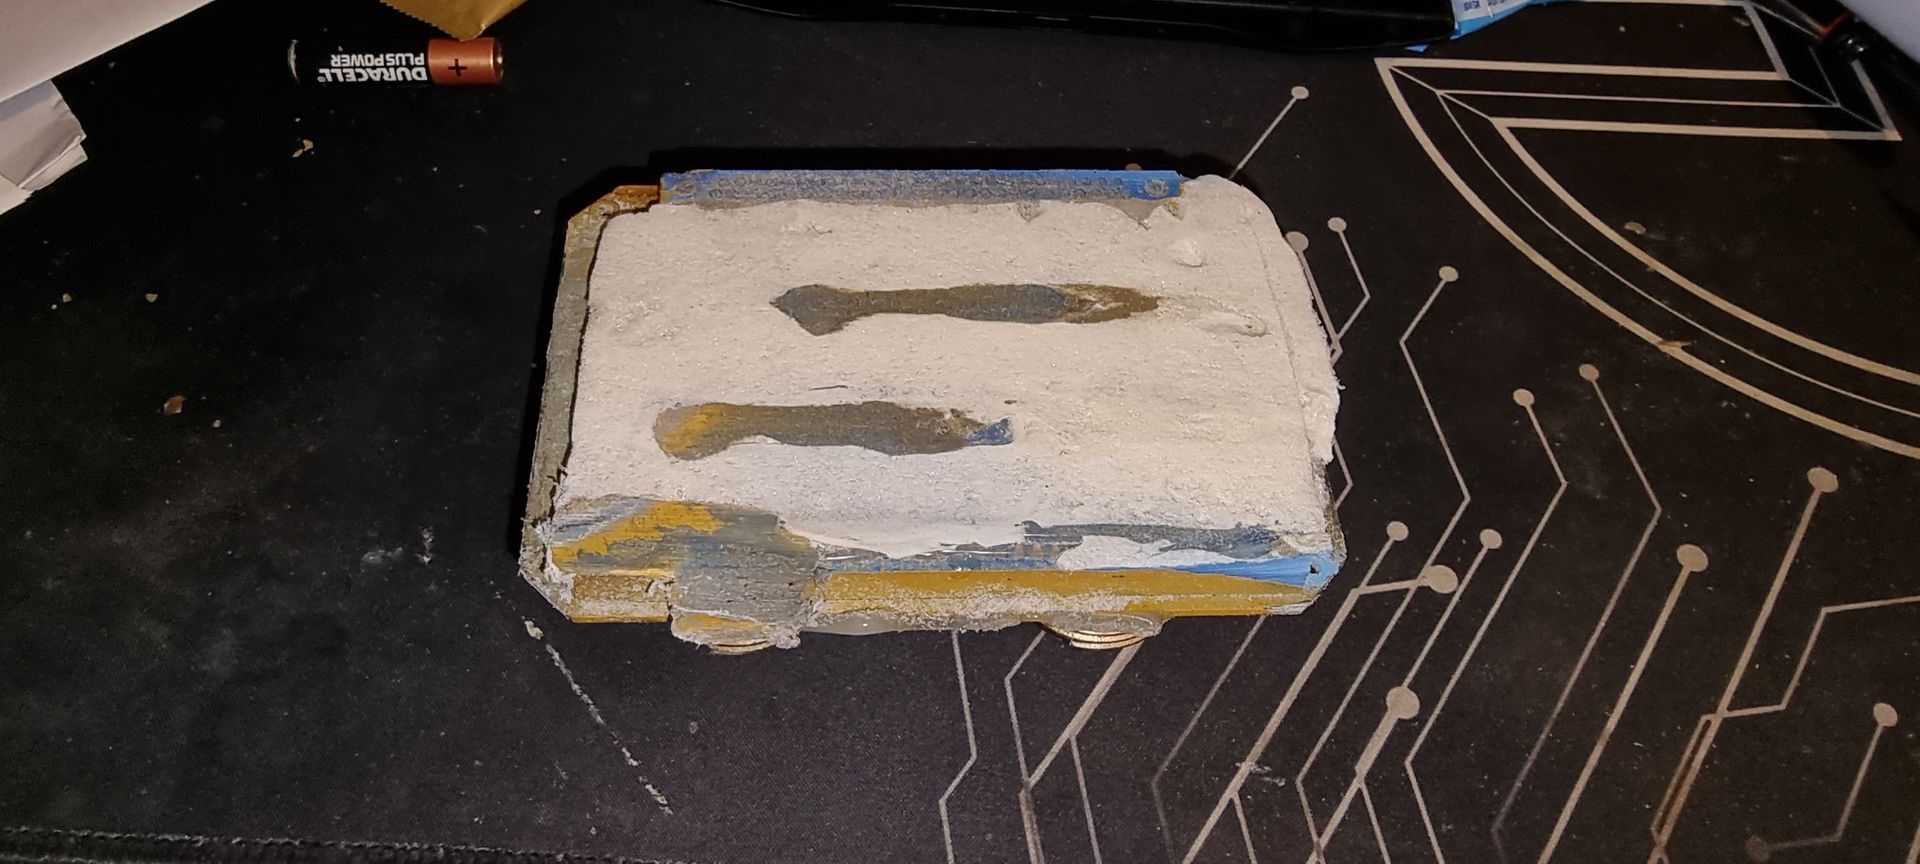
One solution was the stuff the parts with foam making them more solid and also have a more flexible bond that can stretch a little and absorb shock.
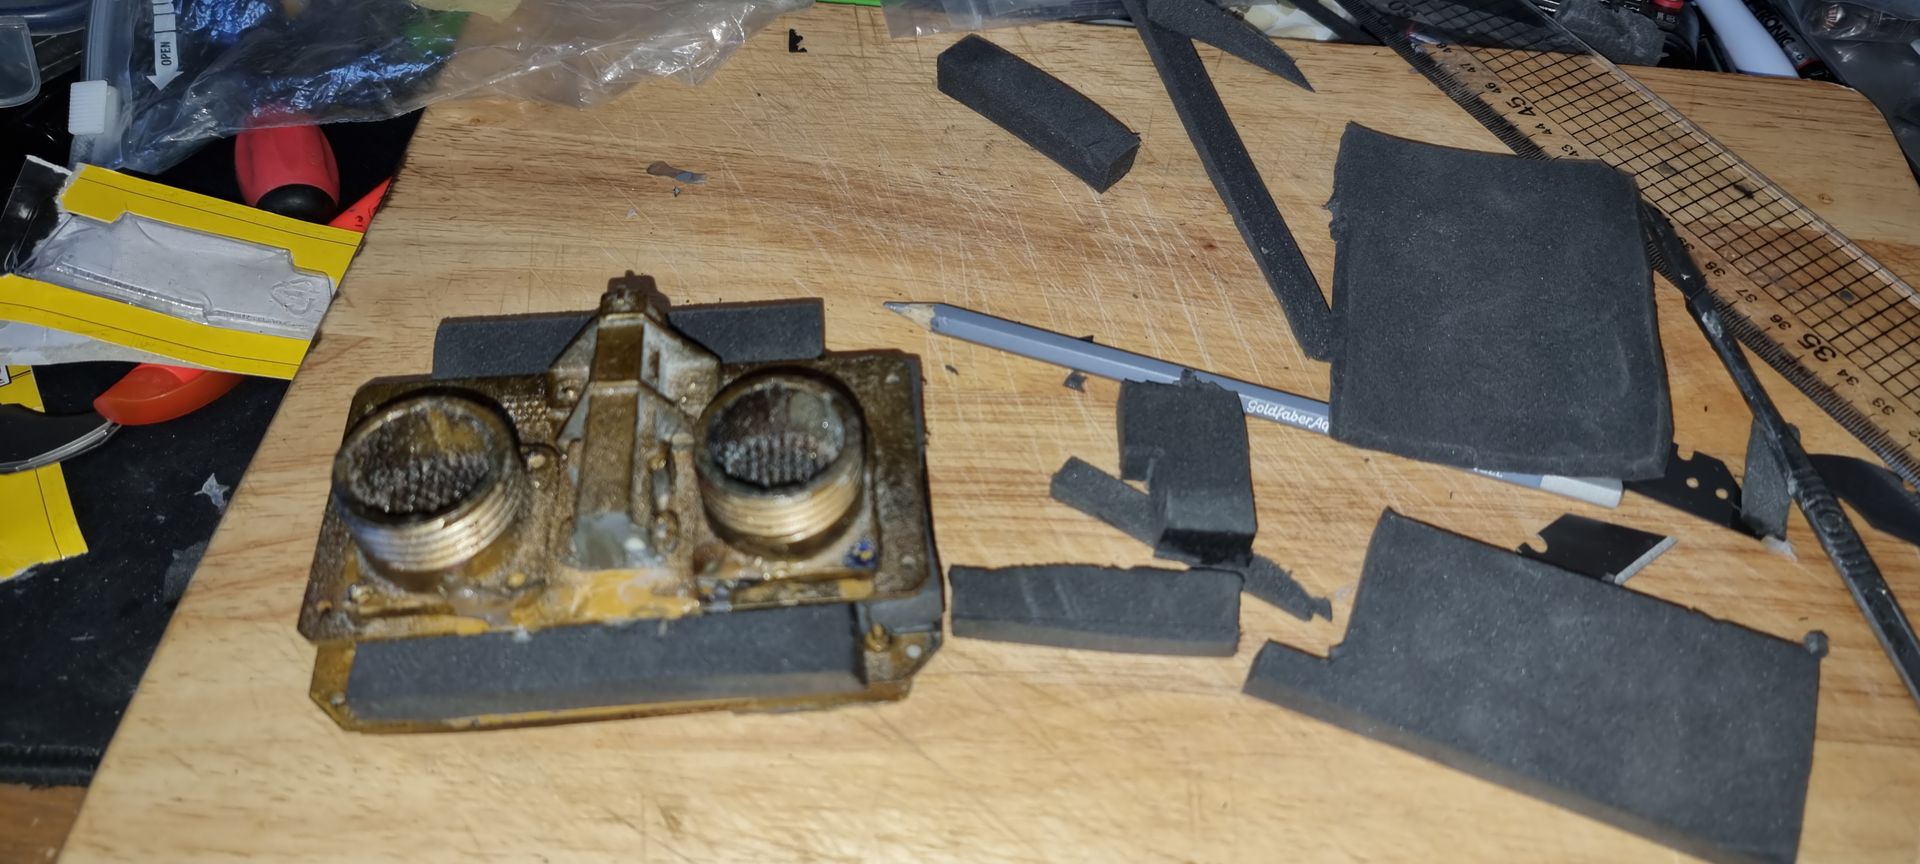
One method was the stiff the parts with glued in parts of Plastazote or camping mat foam.
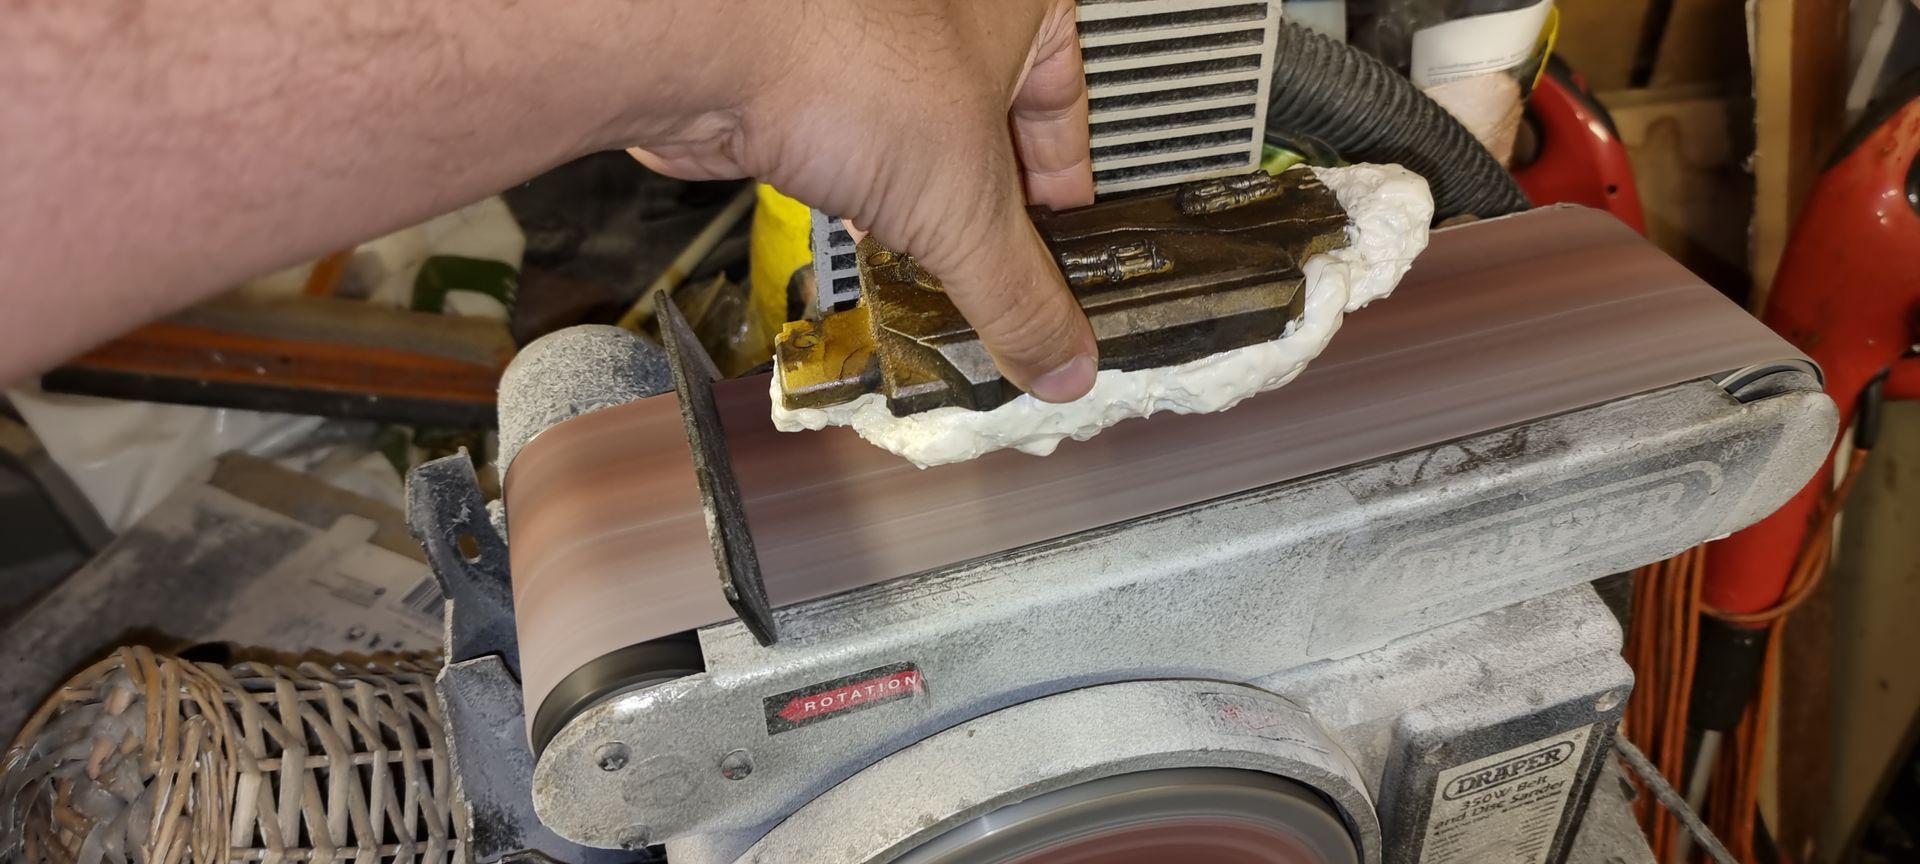
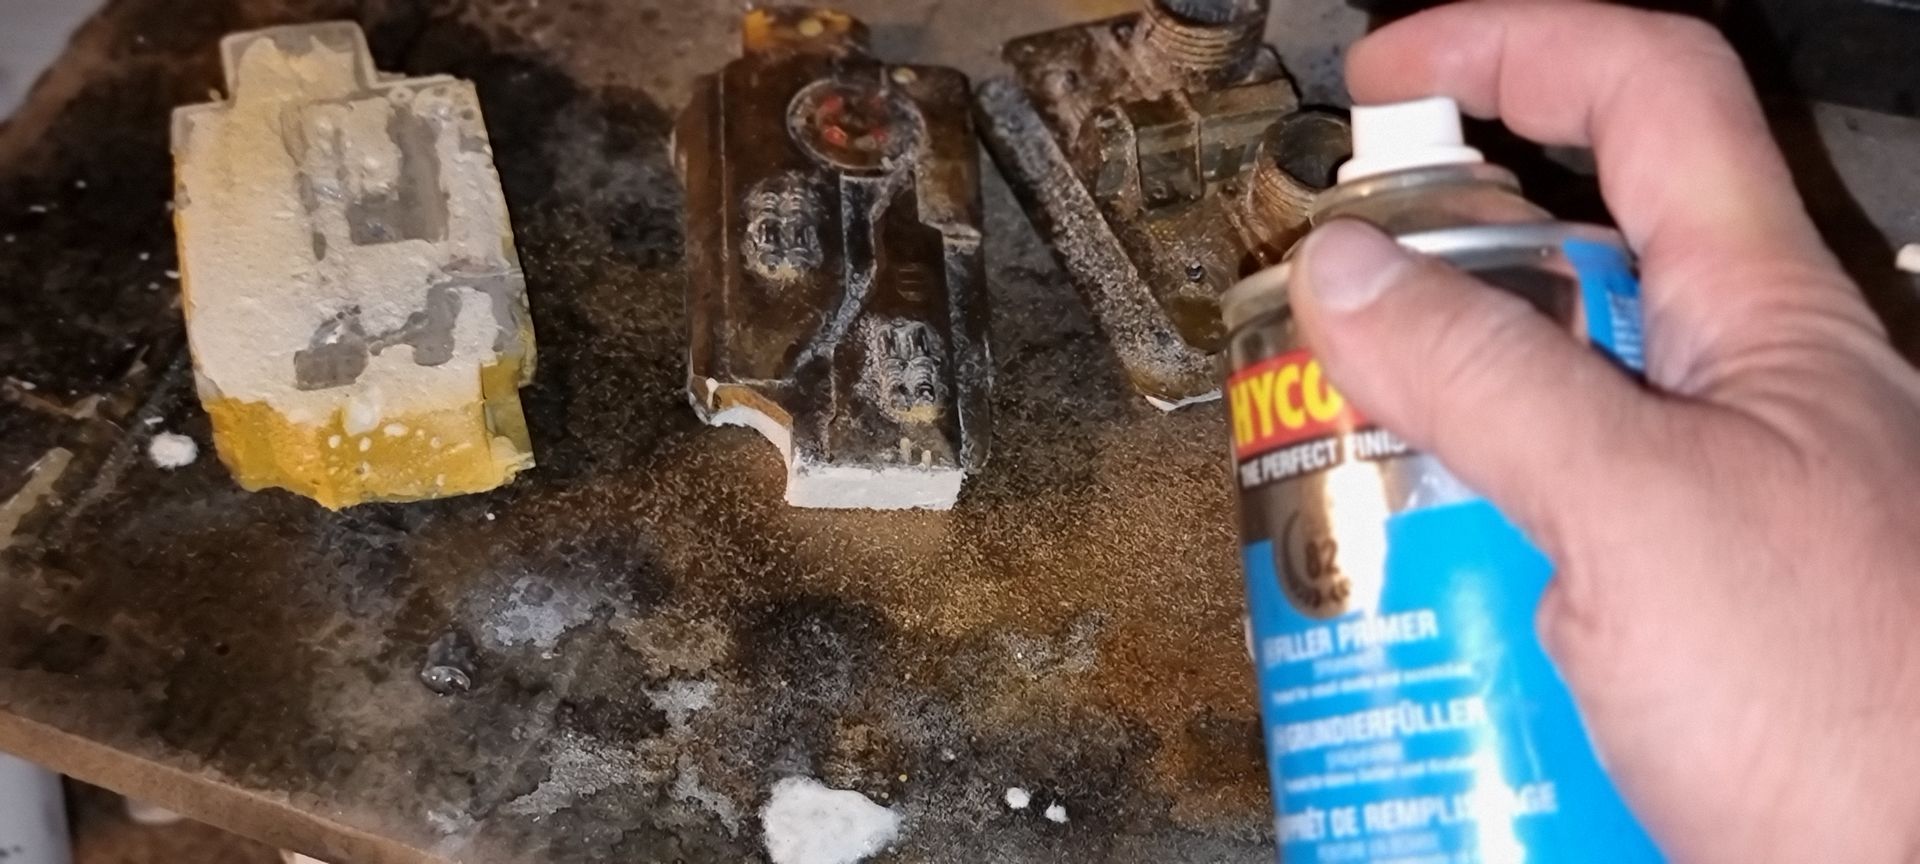
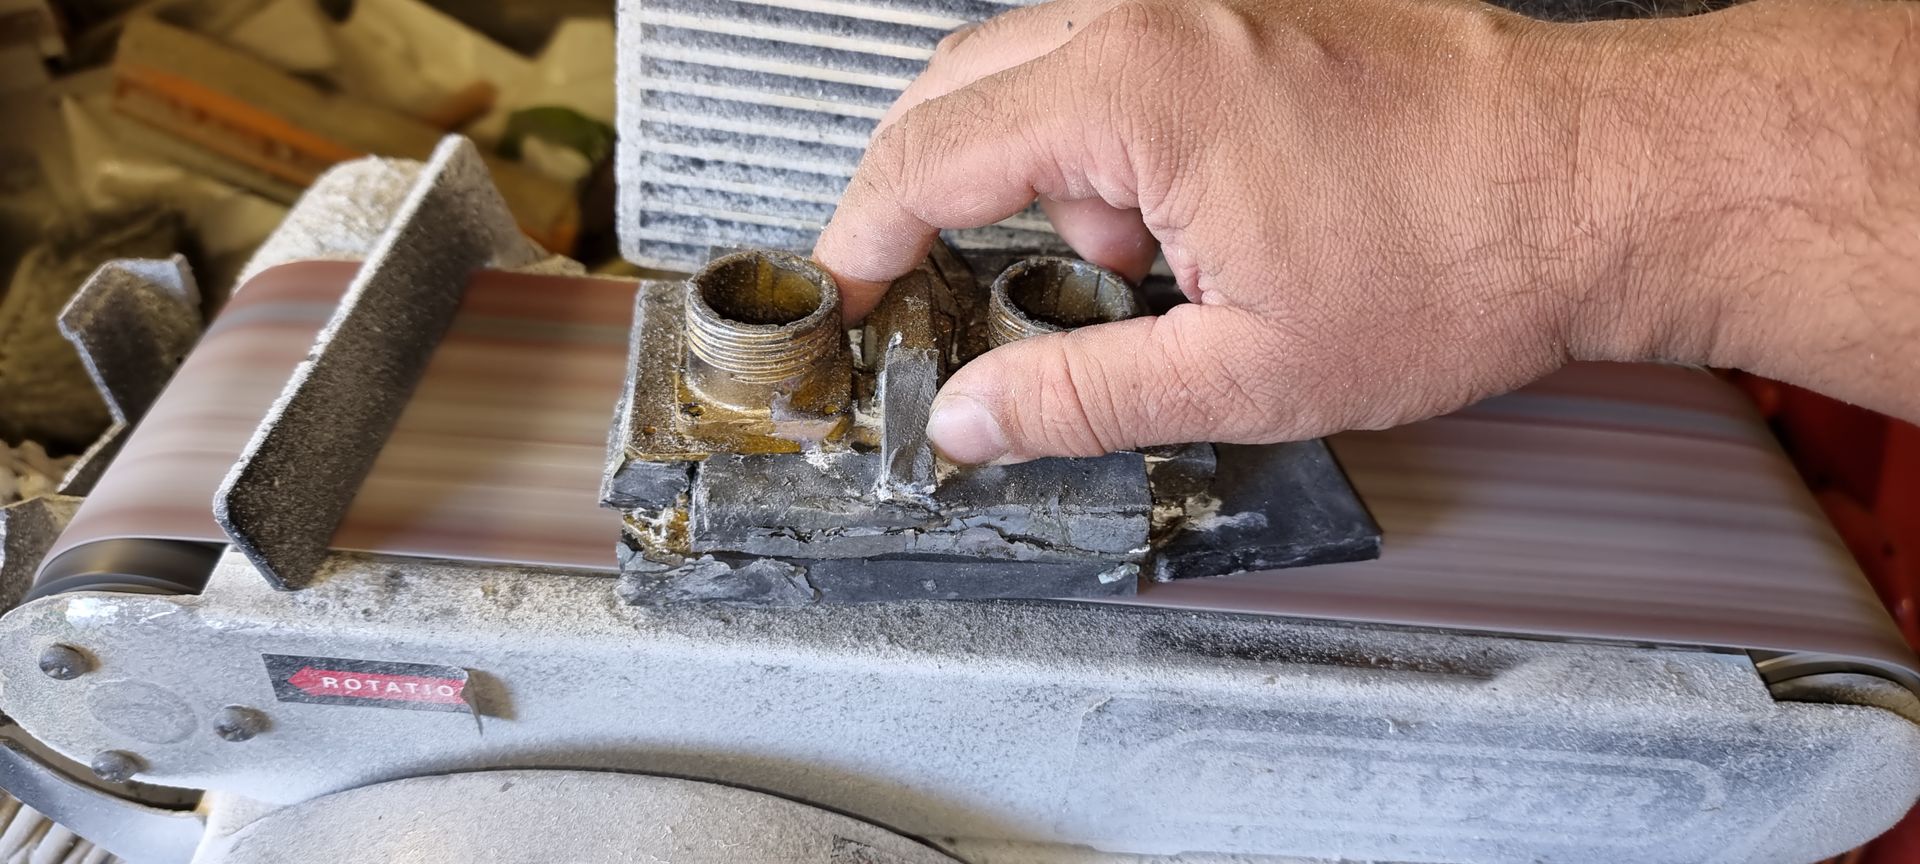
Another was to squirting in insulating foam which then goes hard. Then machine off the access
This seems to be the better option.
Adding an Inbetween Spring Foam Layer
As can be seen above my solution was to apply a composite material fix.
The expanding foam was a good filler, but weak and powdery so the odds were is I used this to glue to the prop surface it would just tear heaving a patch of glue and foam on the prop.
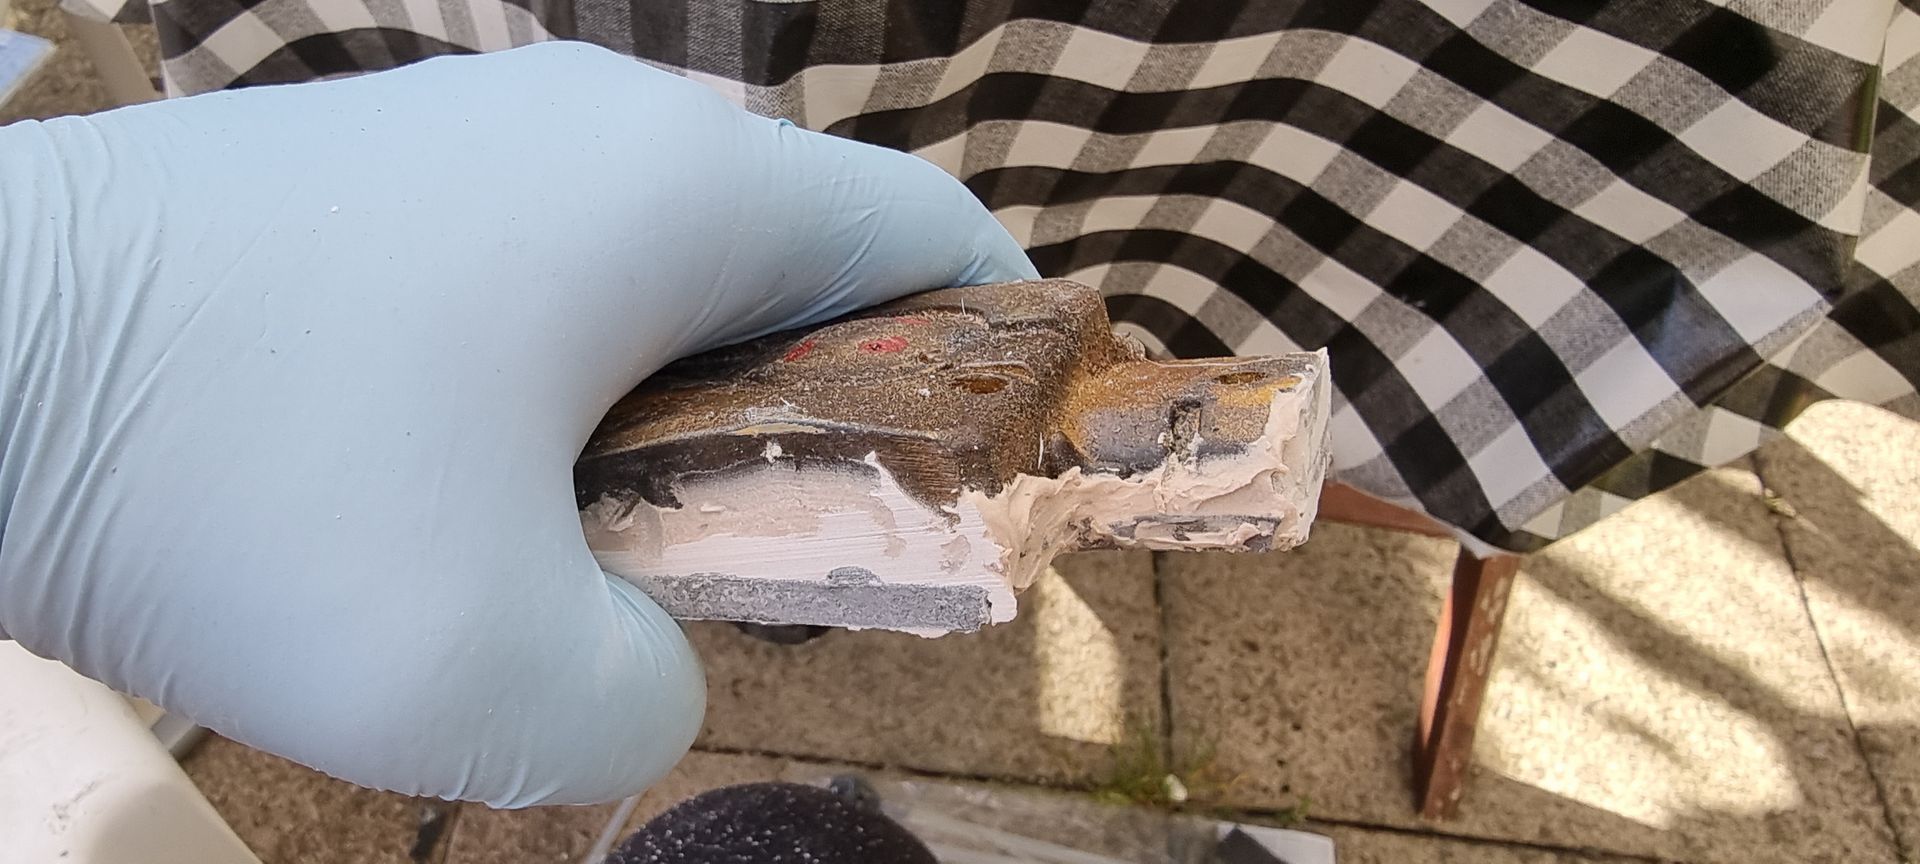
But adding a layer or stretchy by firm and tough Plastazote foam to the underside to be the glueing surface they forms a stronger bon which has some stretch and give to shock absorb is the parts are hit or caught on something so less likely to snap the glue bond. This causes less tensile stress on the inner foam which I hope will make the bonds stronger and trougher to prevent them coming off.
I also where I could stuff the holes in the parts helping the layers stuck and also giving less undercut to get hooked and pull.
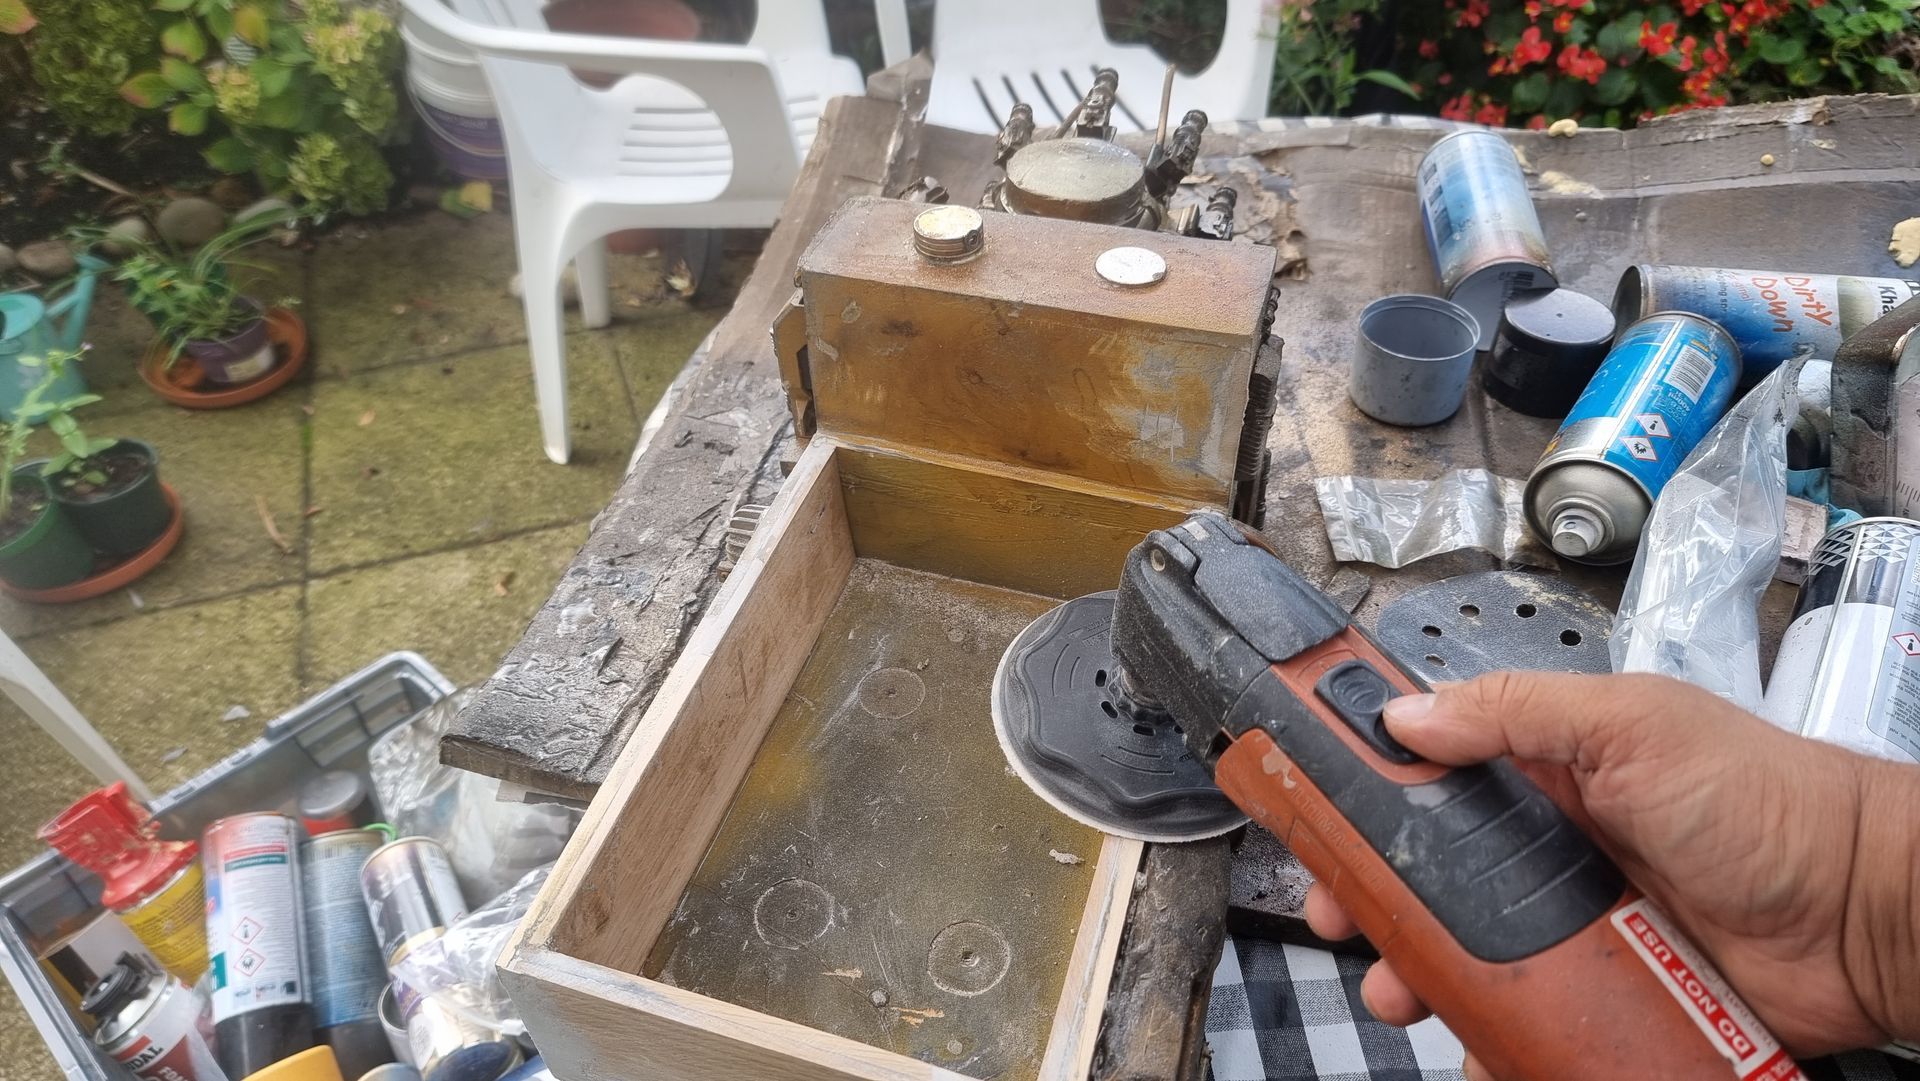
The excess expanding foam could them be grinded or sanded off and filler applied to the holes in the foam texture. My multitool could then be used to sand this smooth before repainting.
The part with the sockets or eyes also had another part that needed to be glued on at an angle so the foam gives a more solid angled base to glue onto than before.
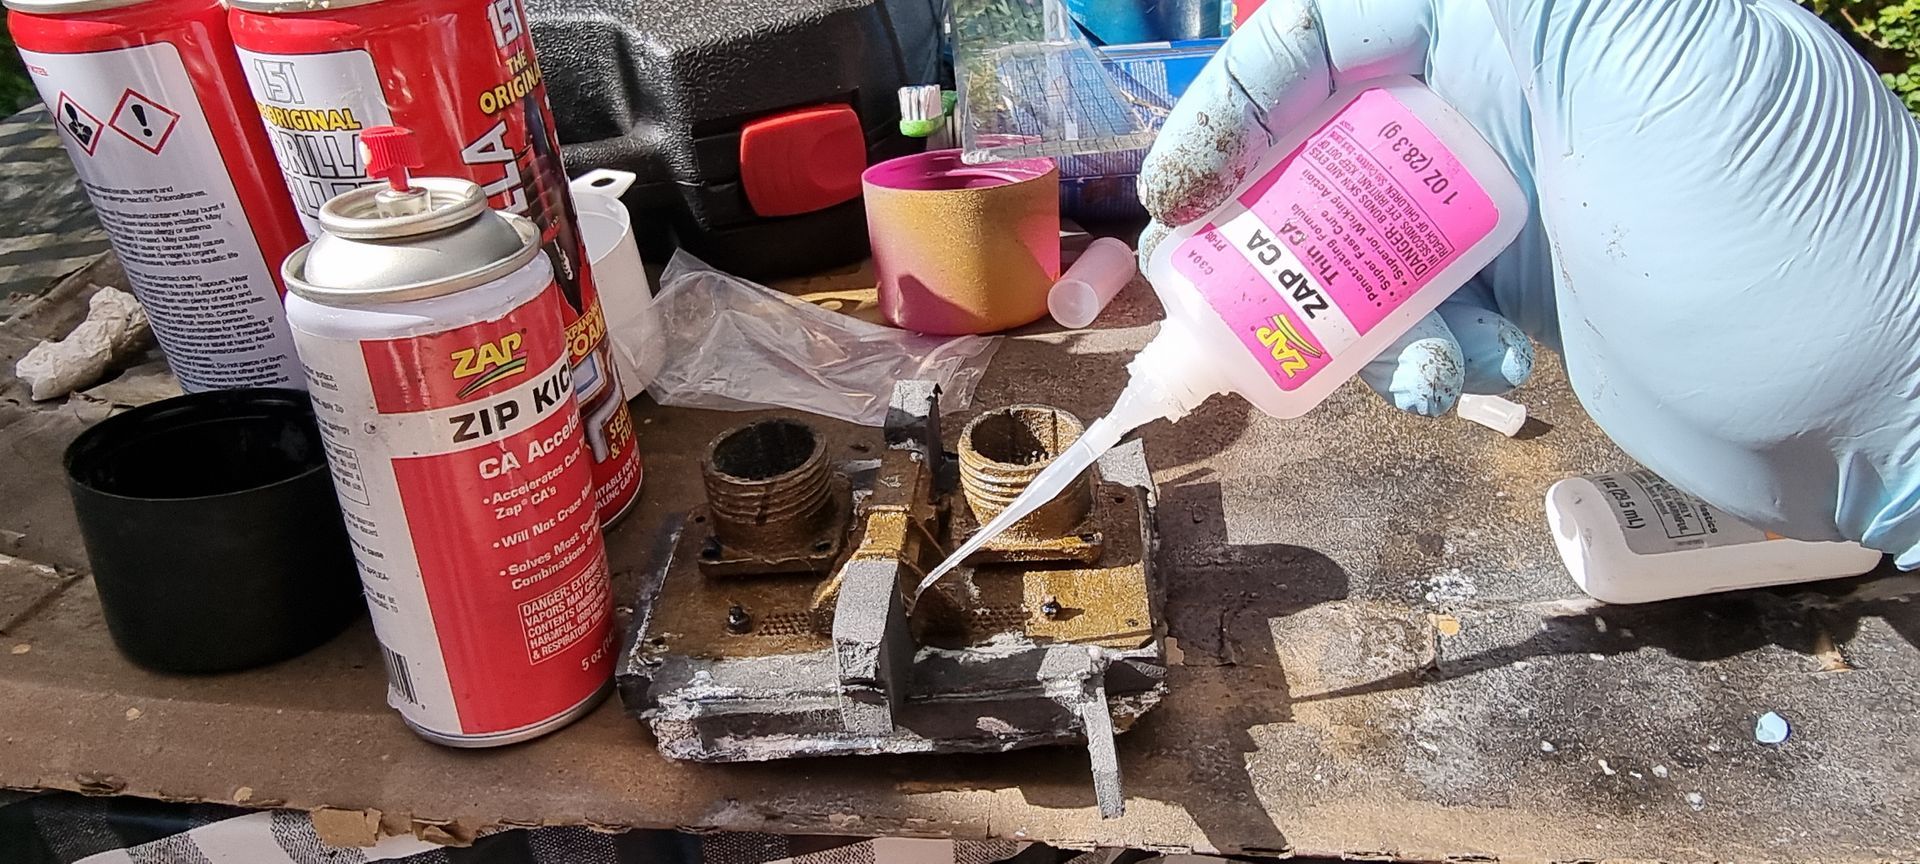
A mix of glues was used.
I used display mount as a flexible contact glue for some of the Plastazote foam boding as well as superglue.
To bond the underside to the prop I uses UHU glue for the centre for a strong surface bond and on the outside, I used in combination with thin Zap-It superglue. This instantly bonded with activator spray which also heated up the foam which may help the bond effectively weilding it.
The superglue with its instant bod could then hold the prop whilst the Uhu glue set.


