Star Wars Prop - Base Hacker System
Electronics and LED Strips 10
Electronics Intro
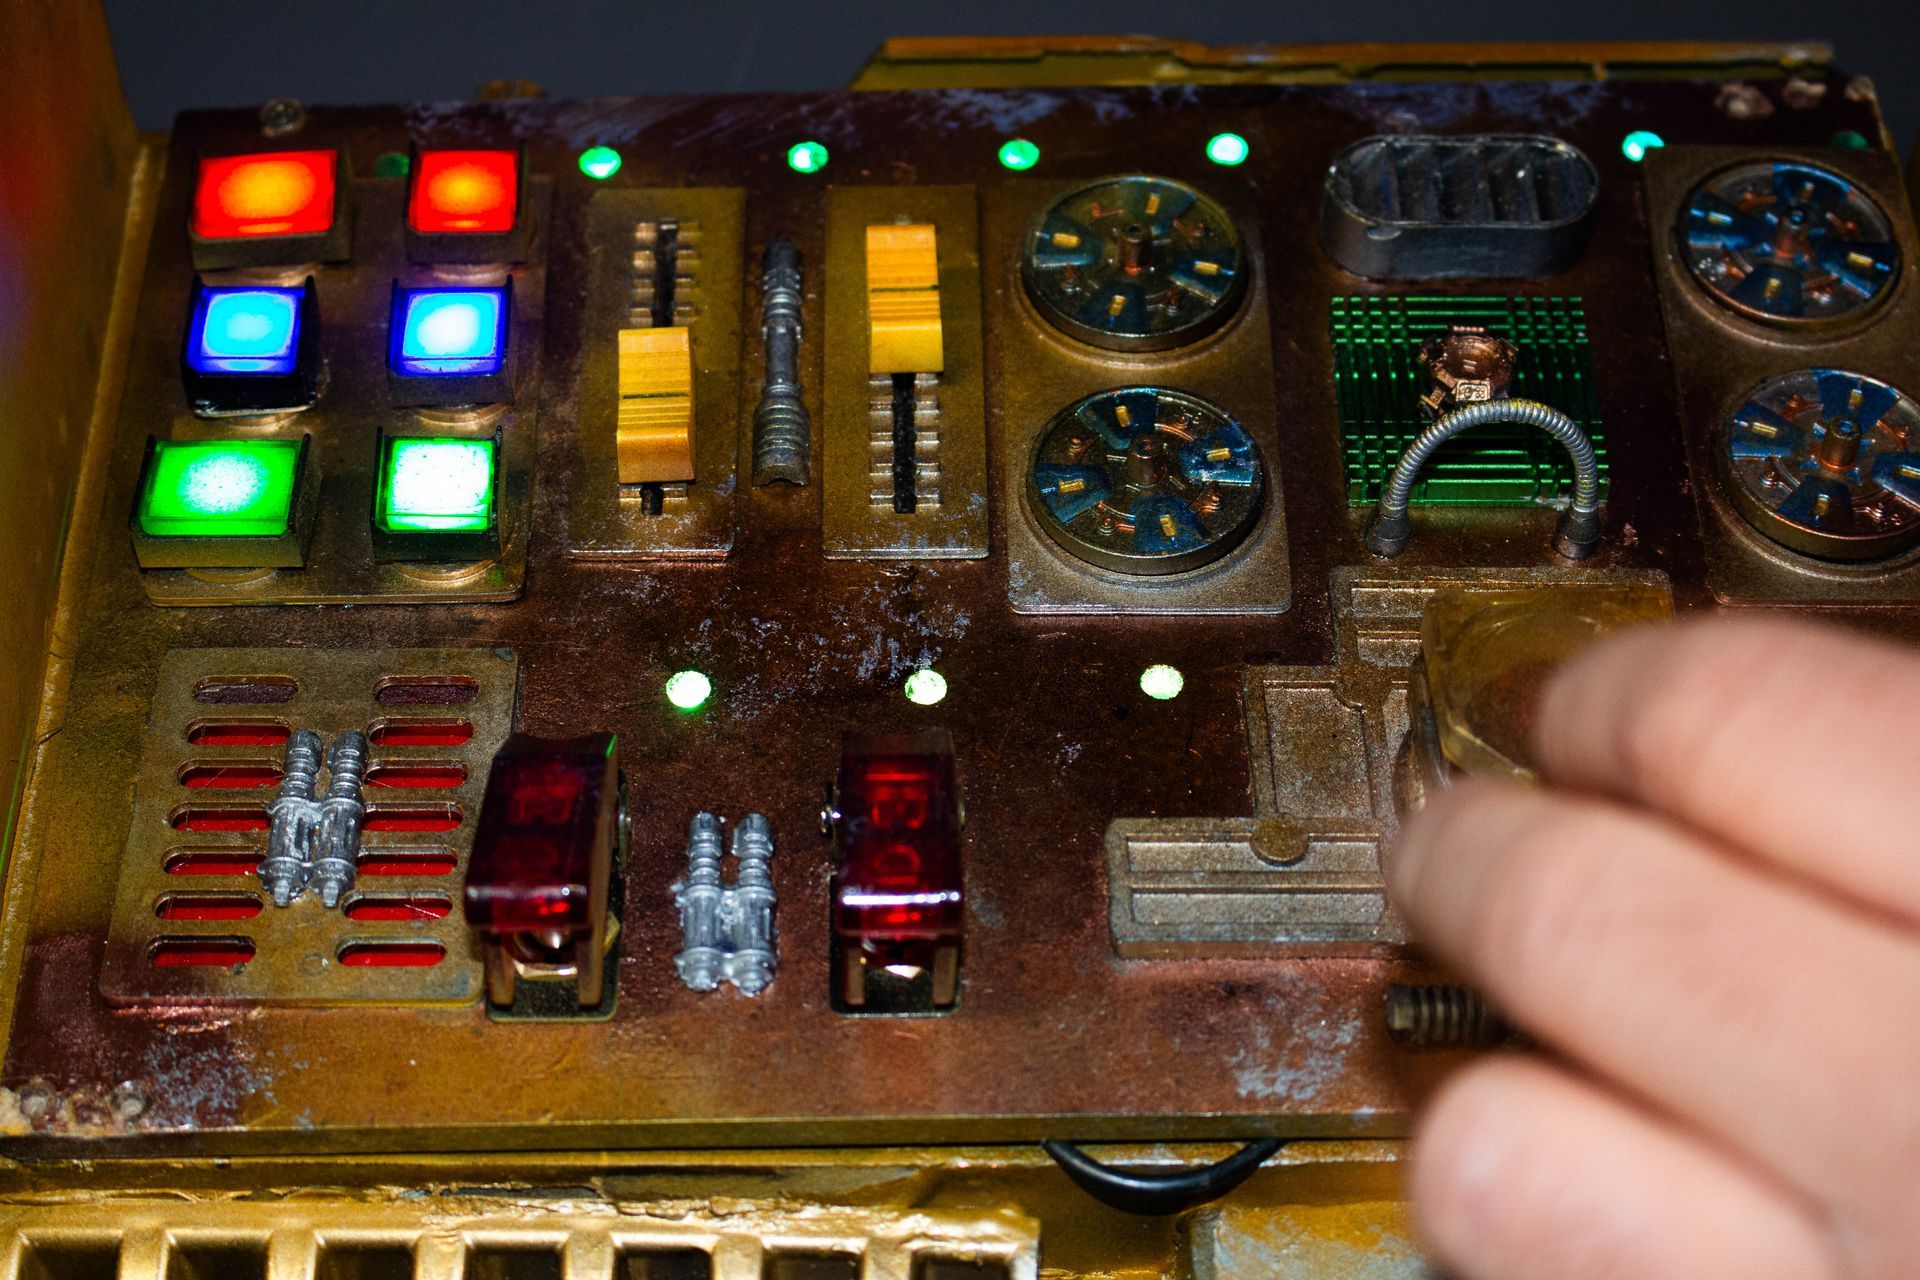
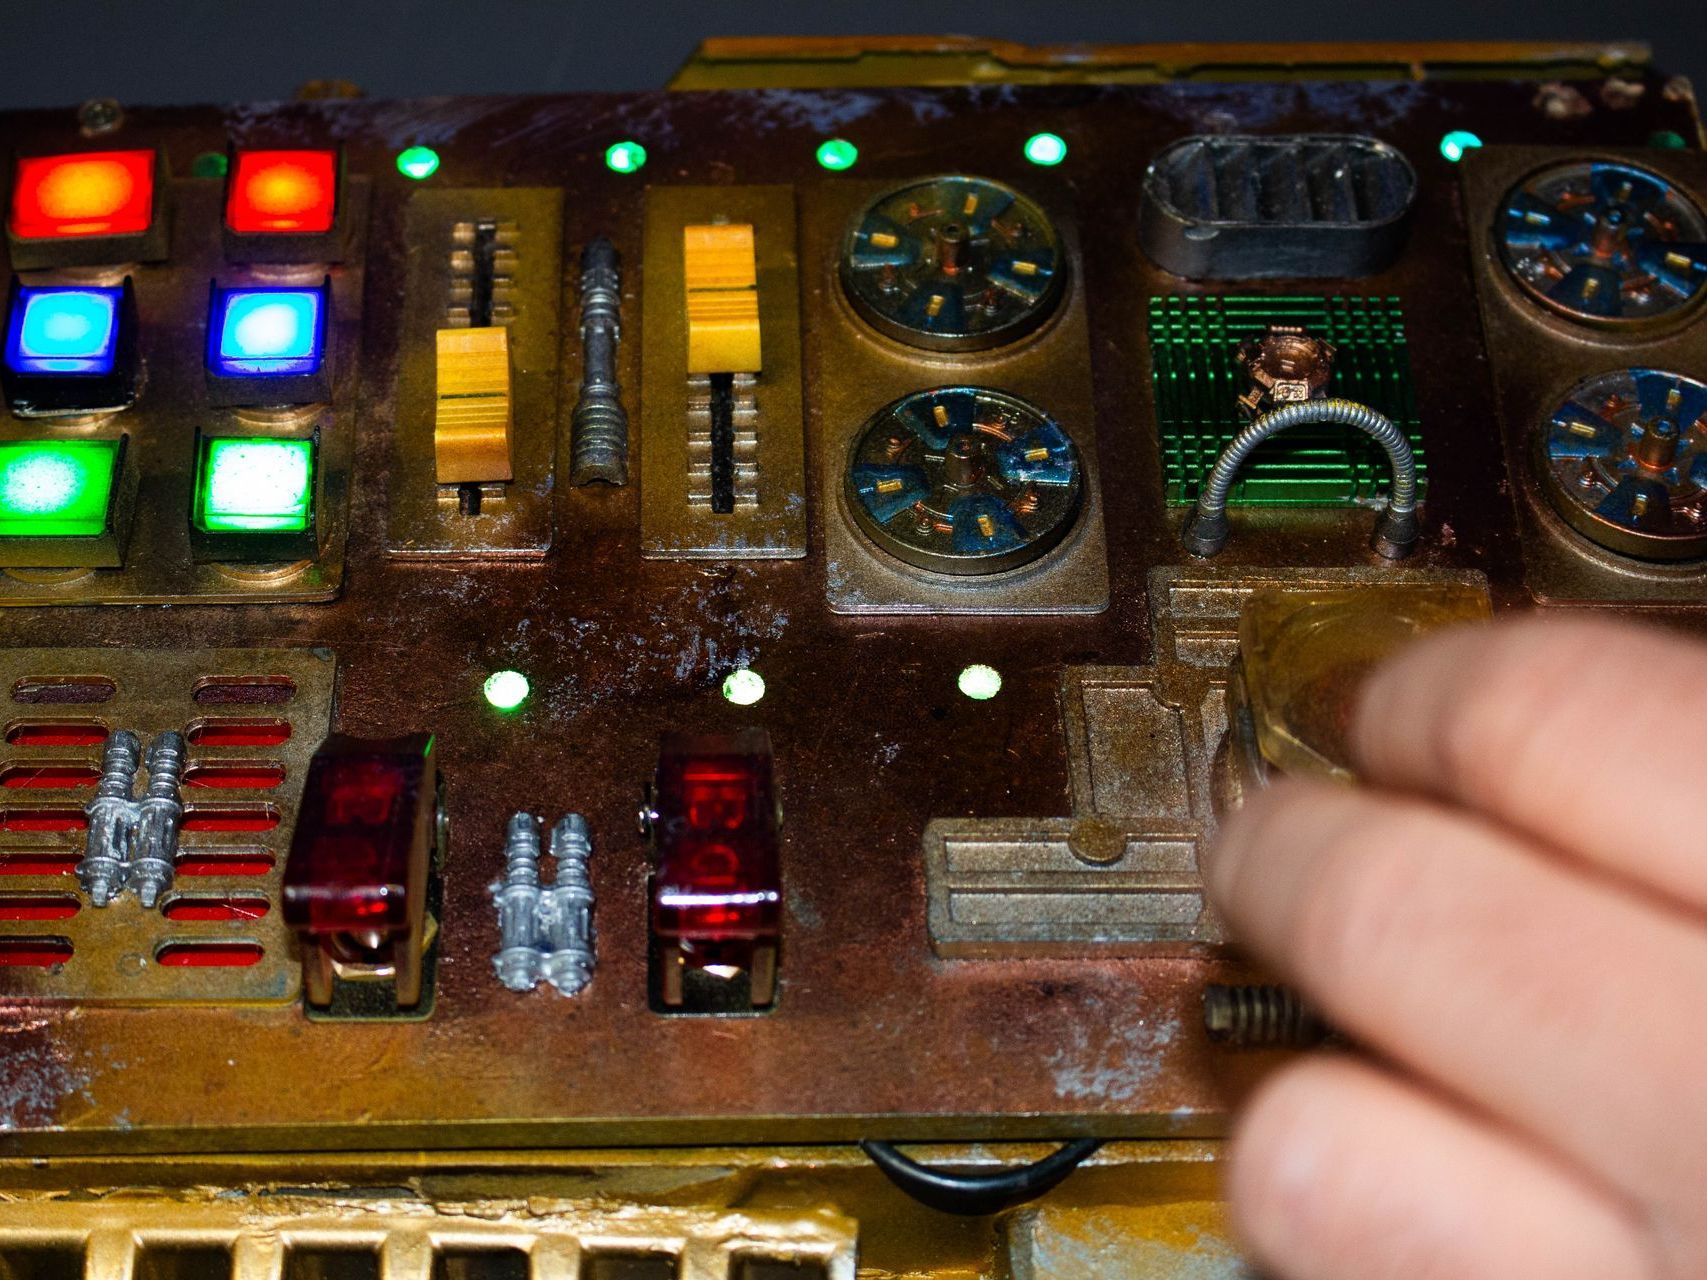
The prop needed to be interactive and the way to do this was to have a variety of controls.:
- Buttons
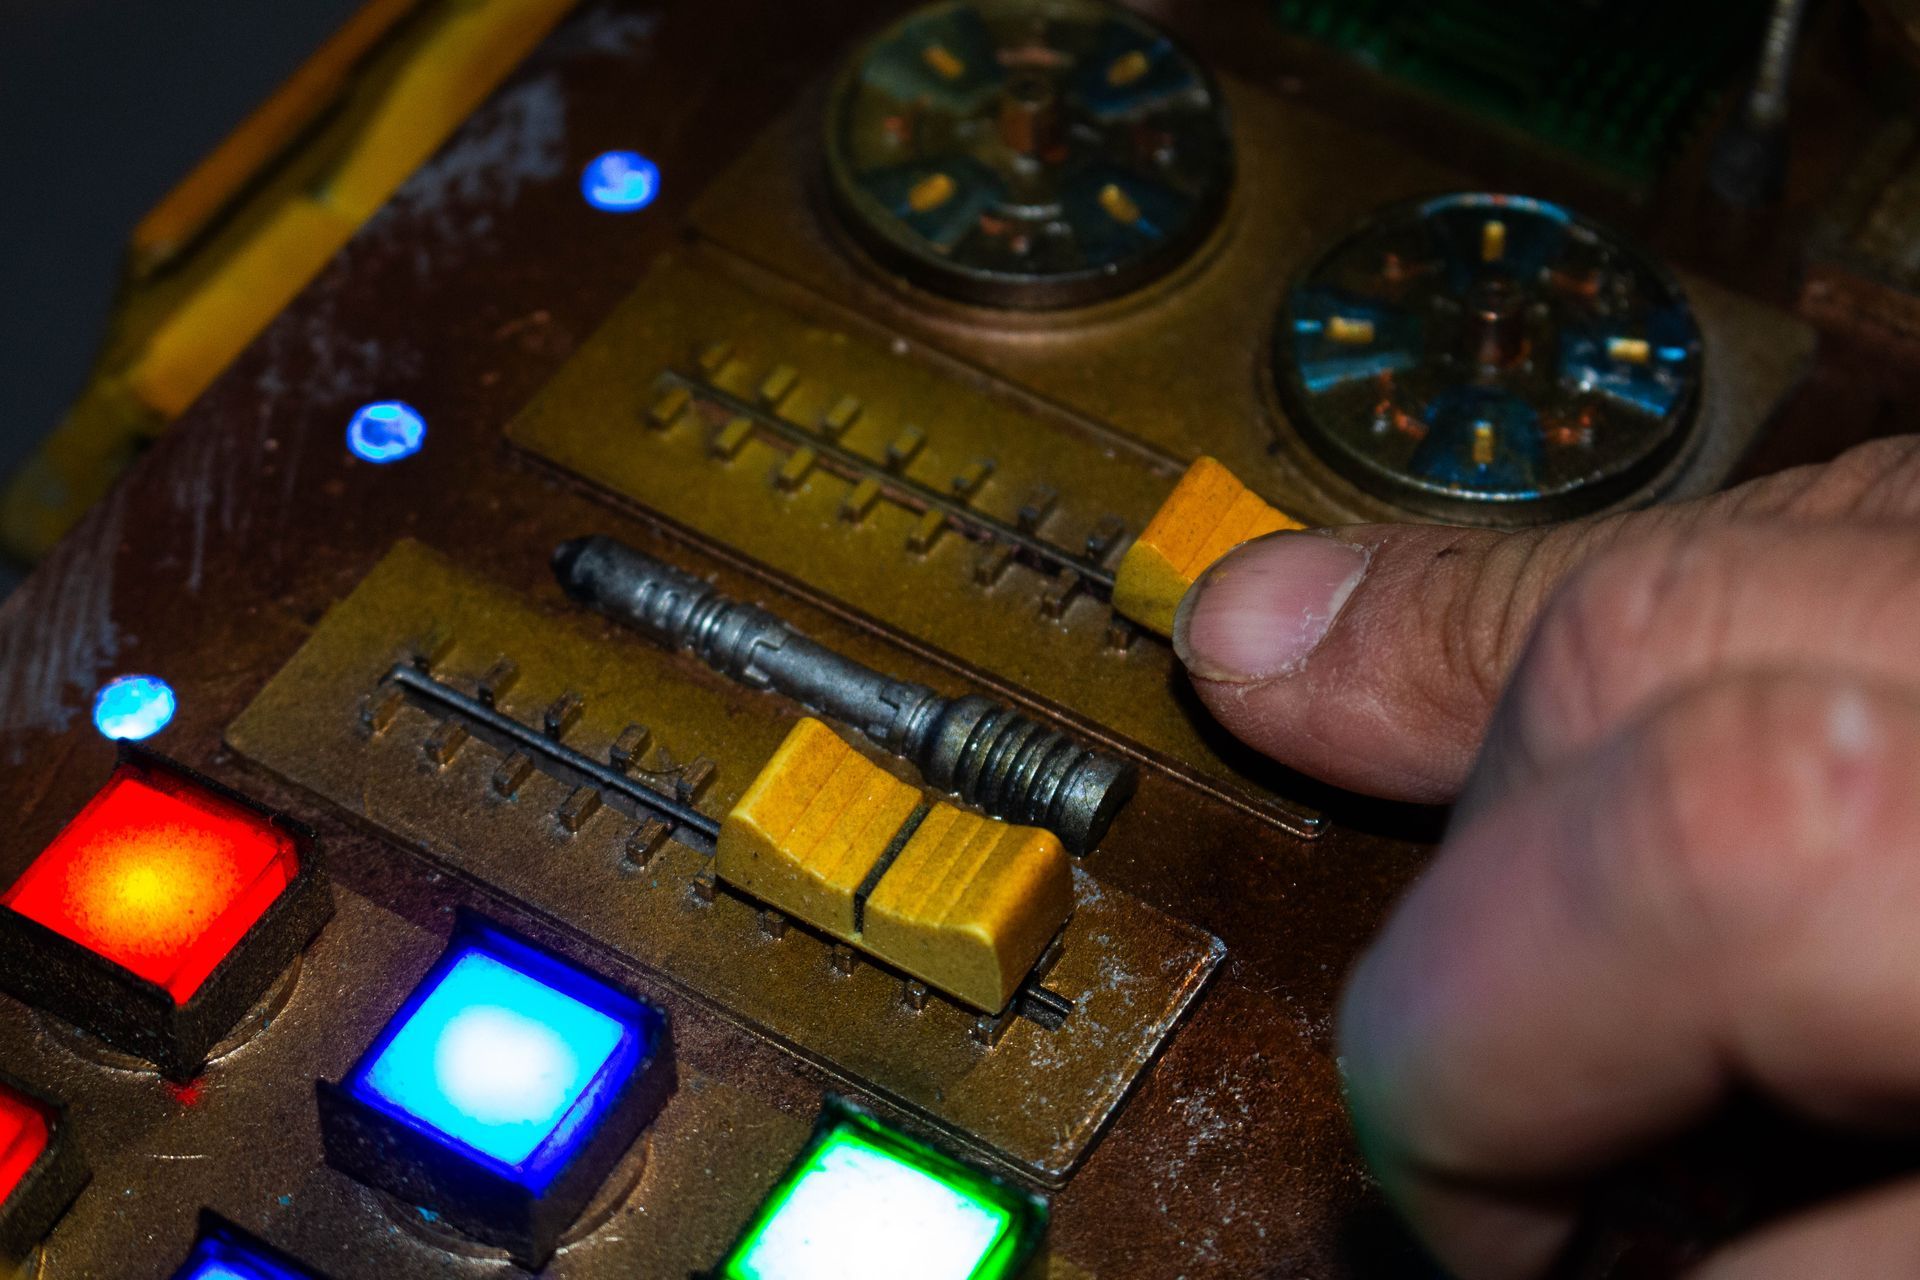
- Sliders
- Knobs
- Switches
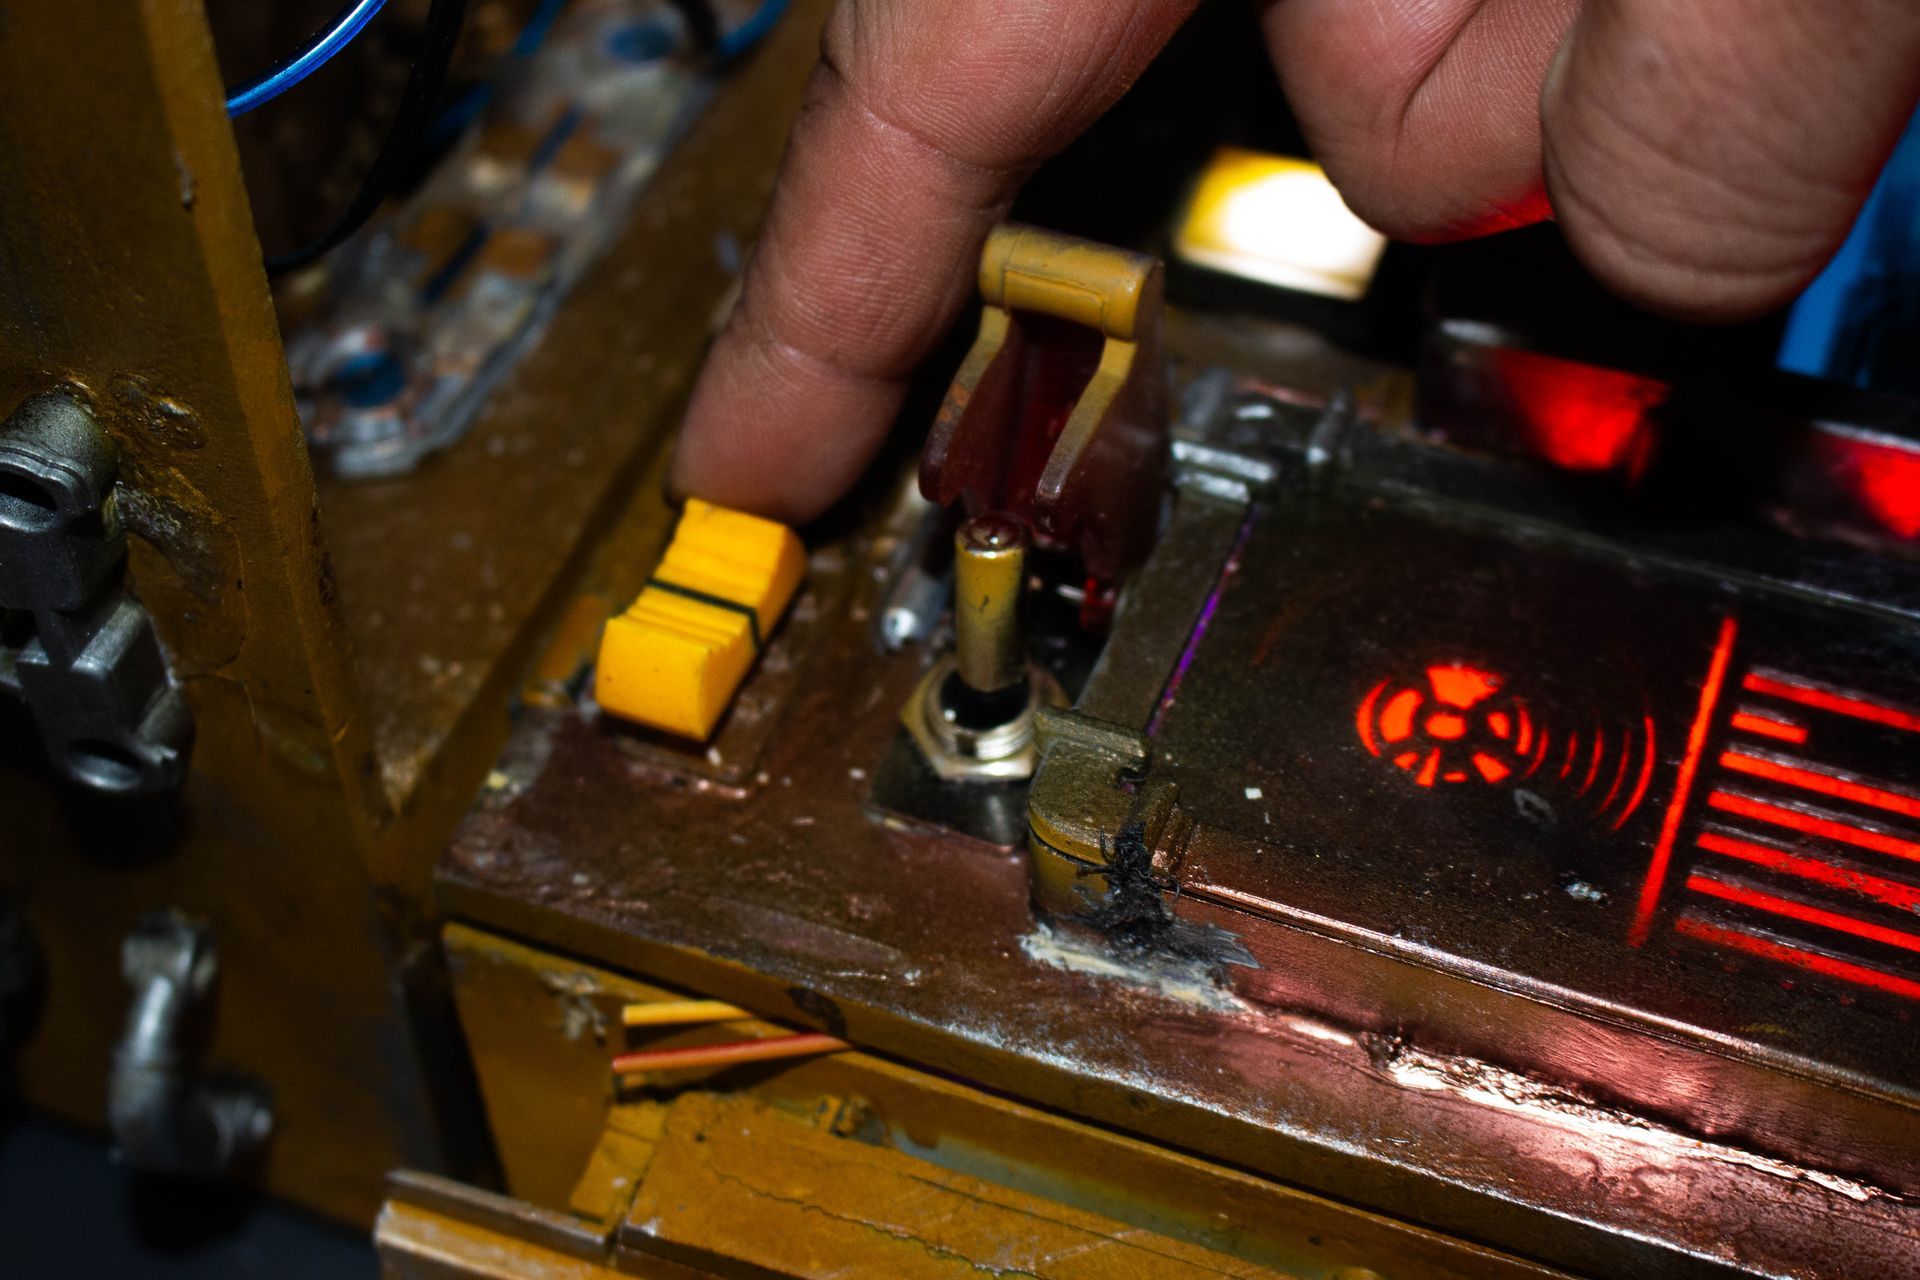
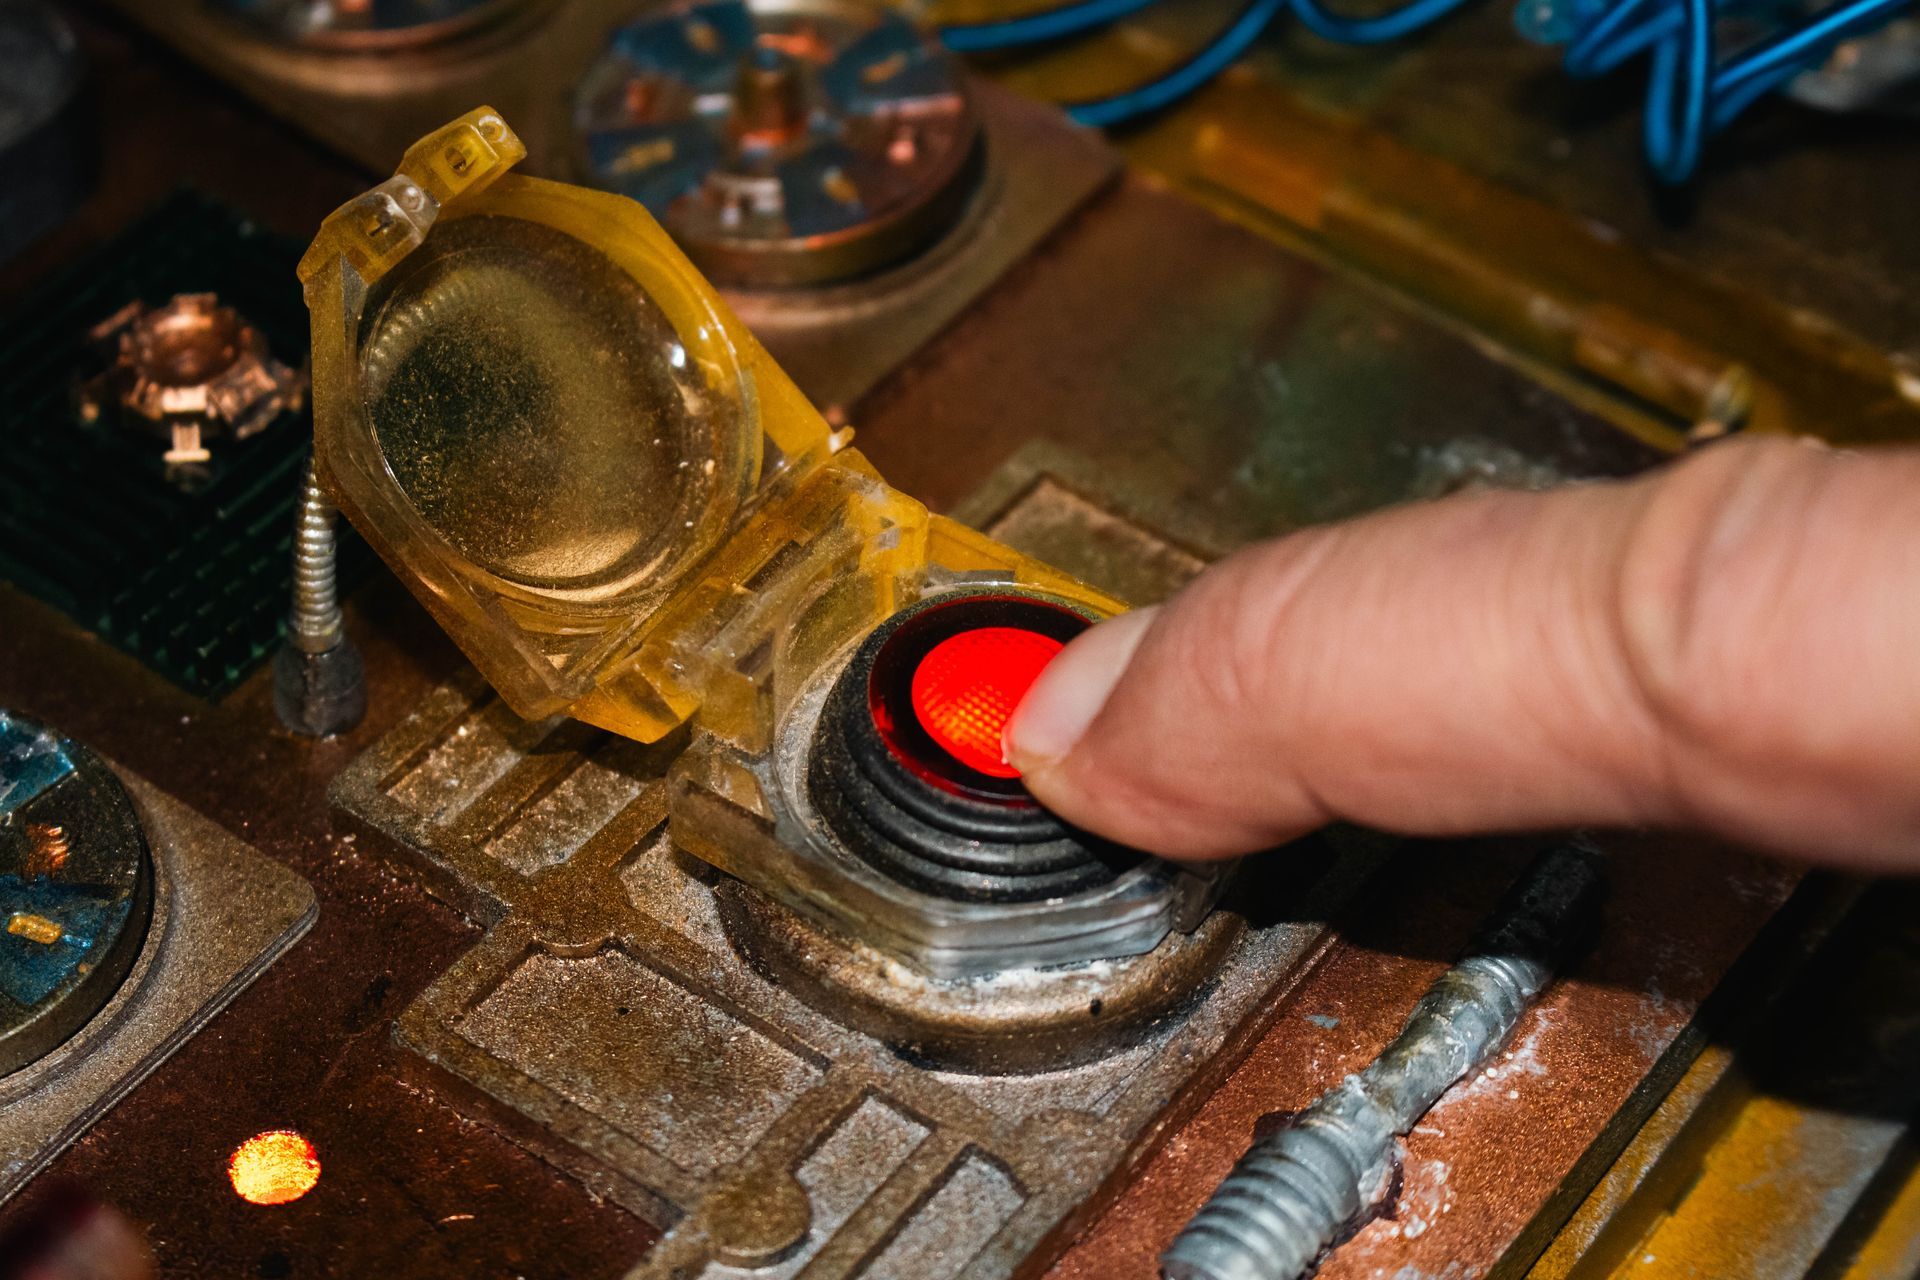
- Arming switches with covers on buttons and switches like seen in the military
There was also the intension to have light up and animated tactical displays and dials.
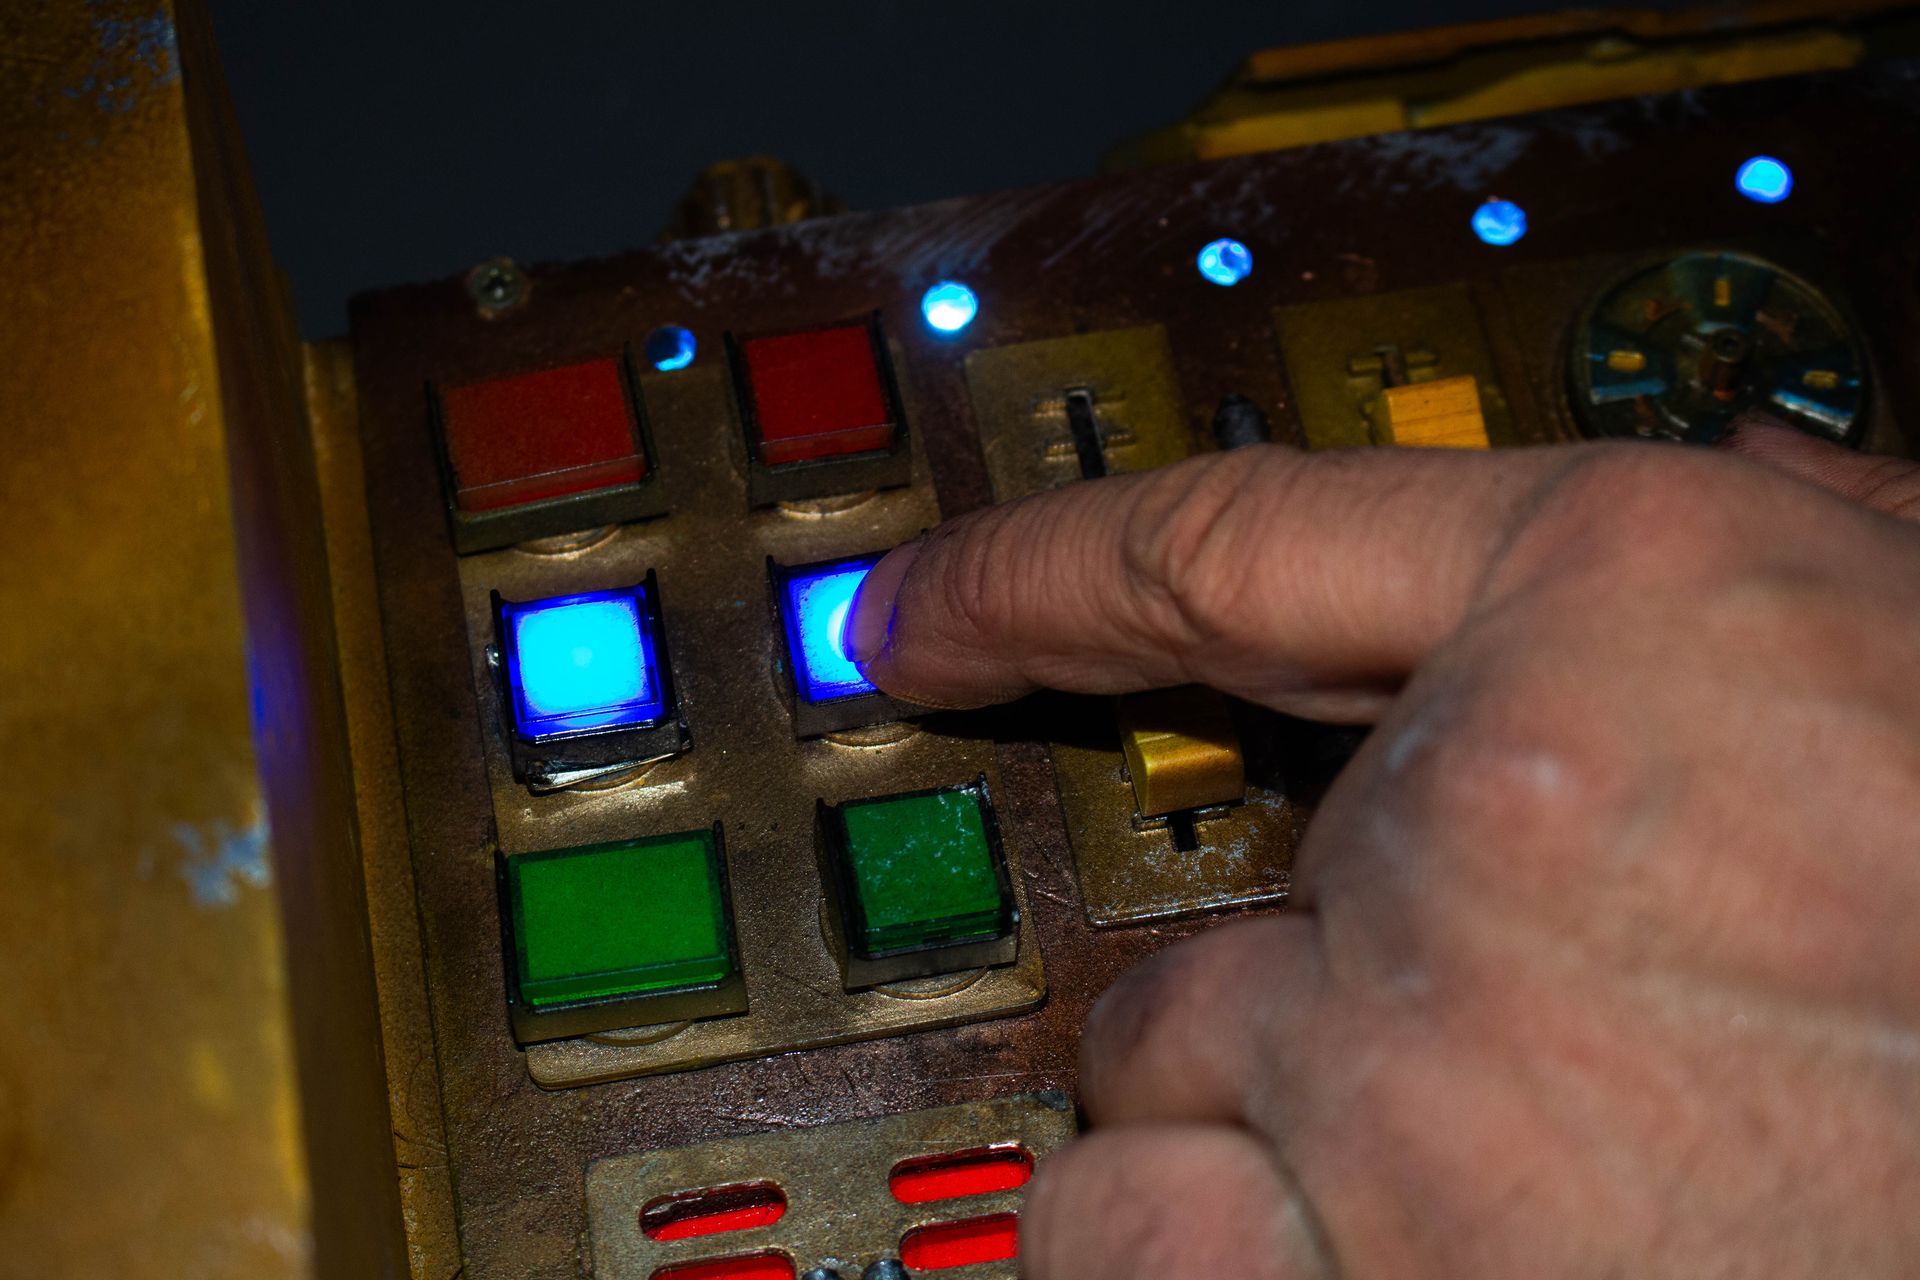
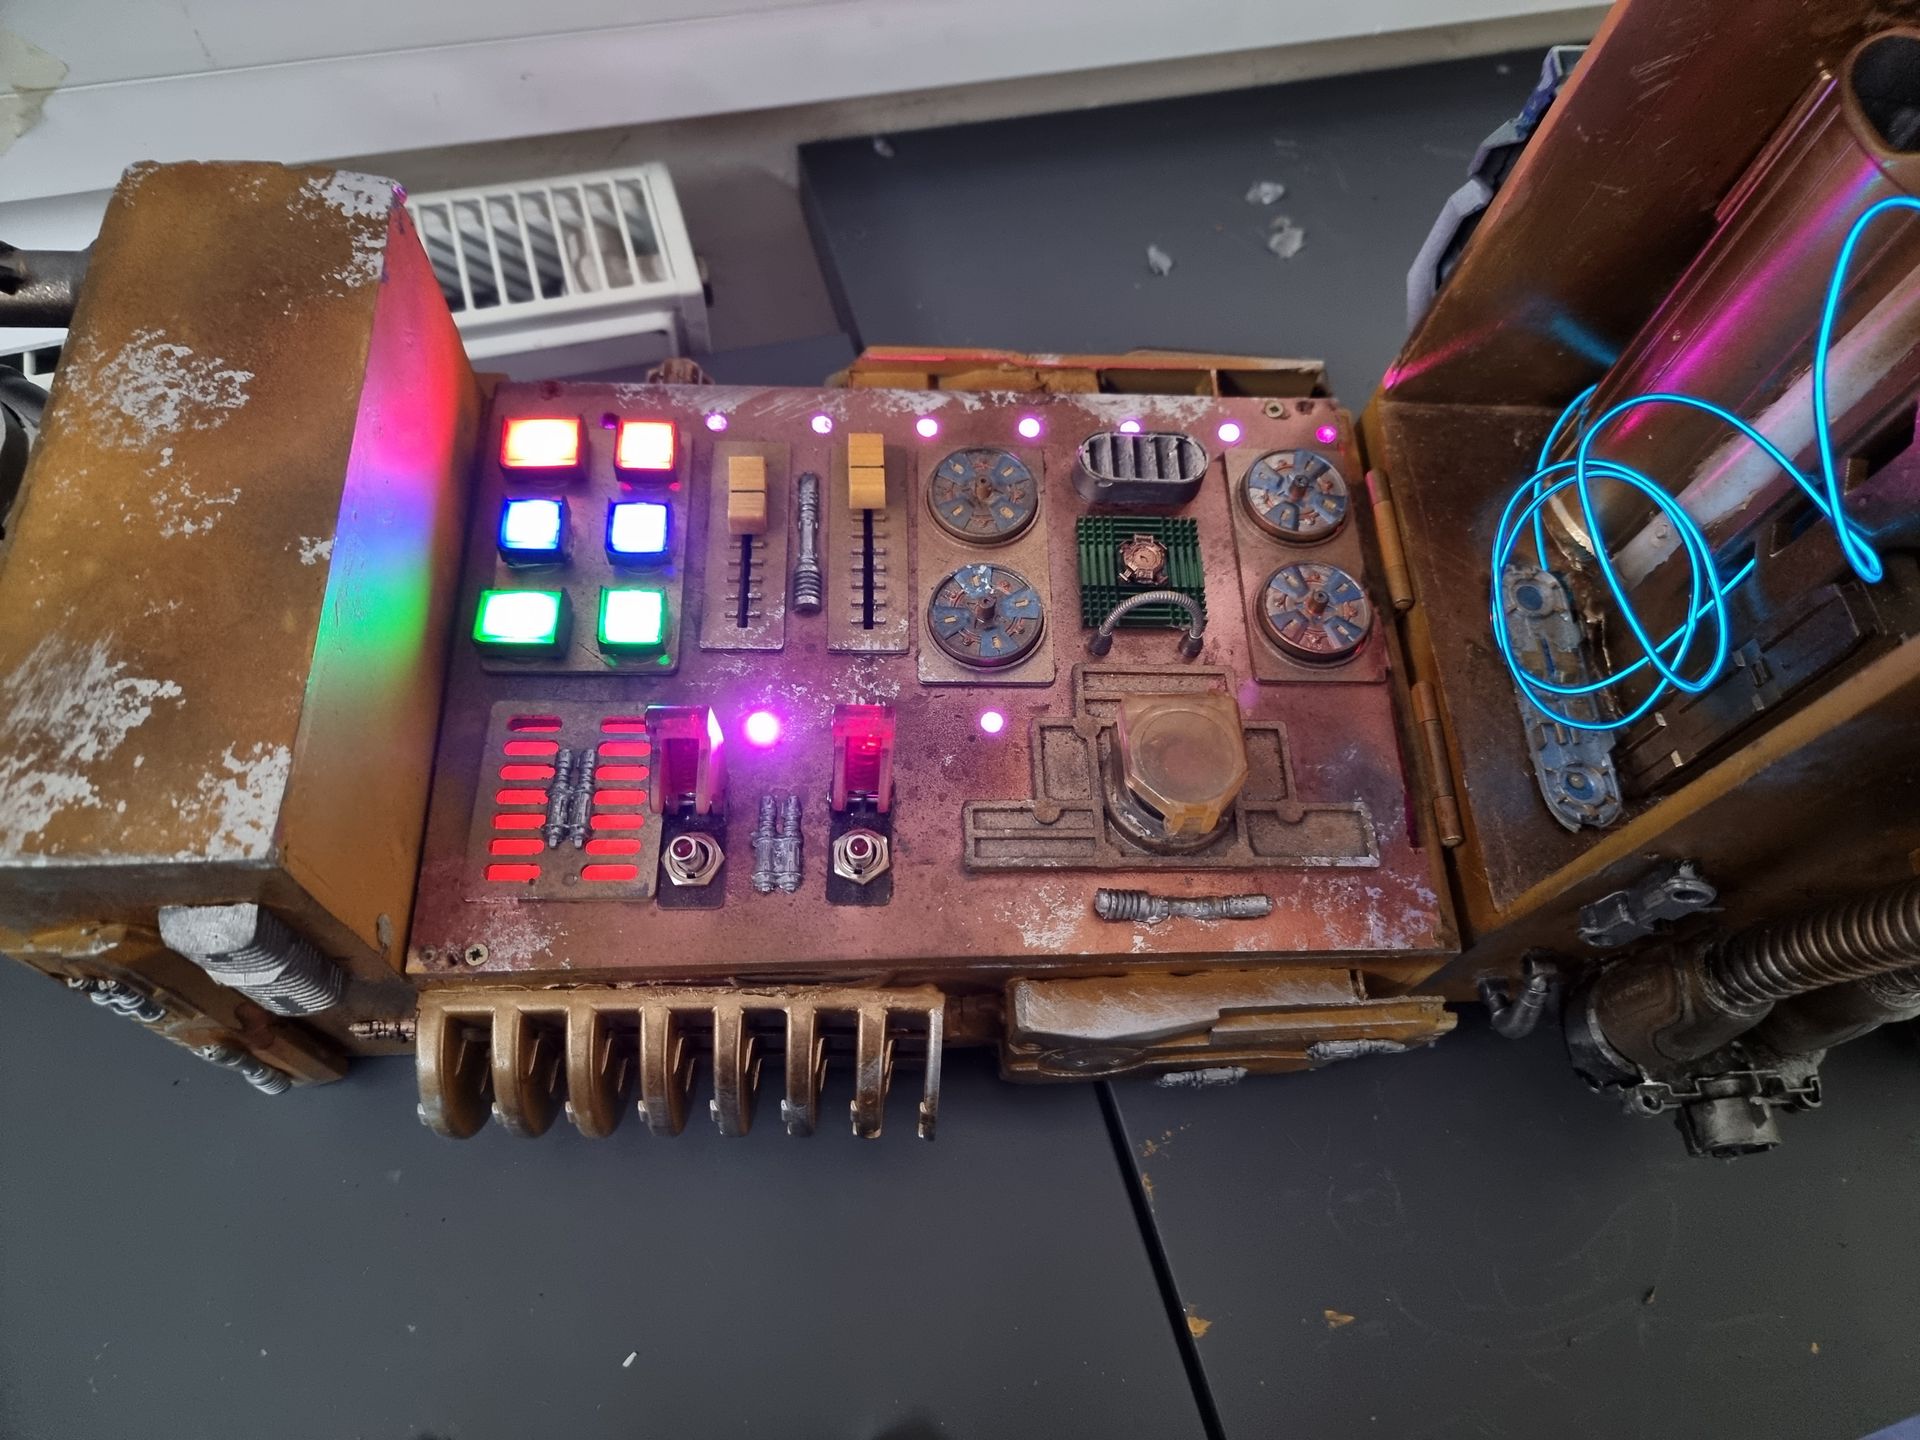
To have light up buttons, buttons that latch to stay on when pressed.
The idea being able to press a sequence of buttons to light up like powering up a vehicle like a helicopter or launch system.
The idea being able to press a sequence of buttons to light up like powering up a vehicle like a helicopter or launch system.
To have a launch button with a safety cover.
Indications something is powered inside.
Blue, red and white square buttons have been popular in the Sar Wars Universe in particular in Imperial bases, capital star ships and smaller vehicles so that was adopted.
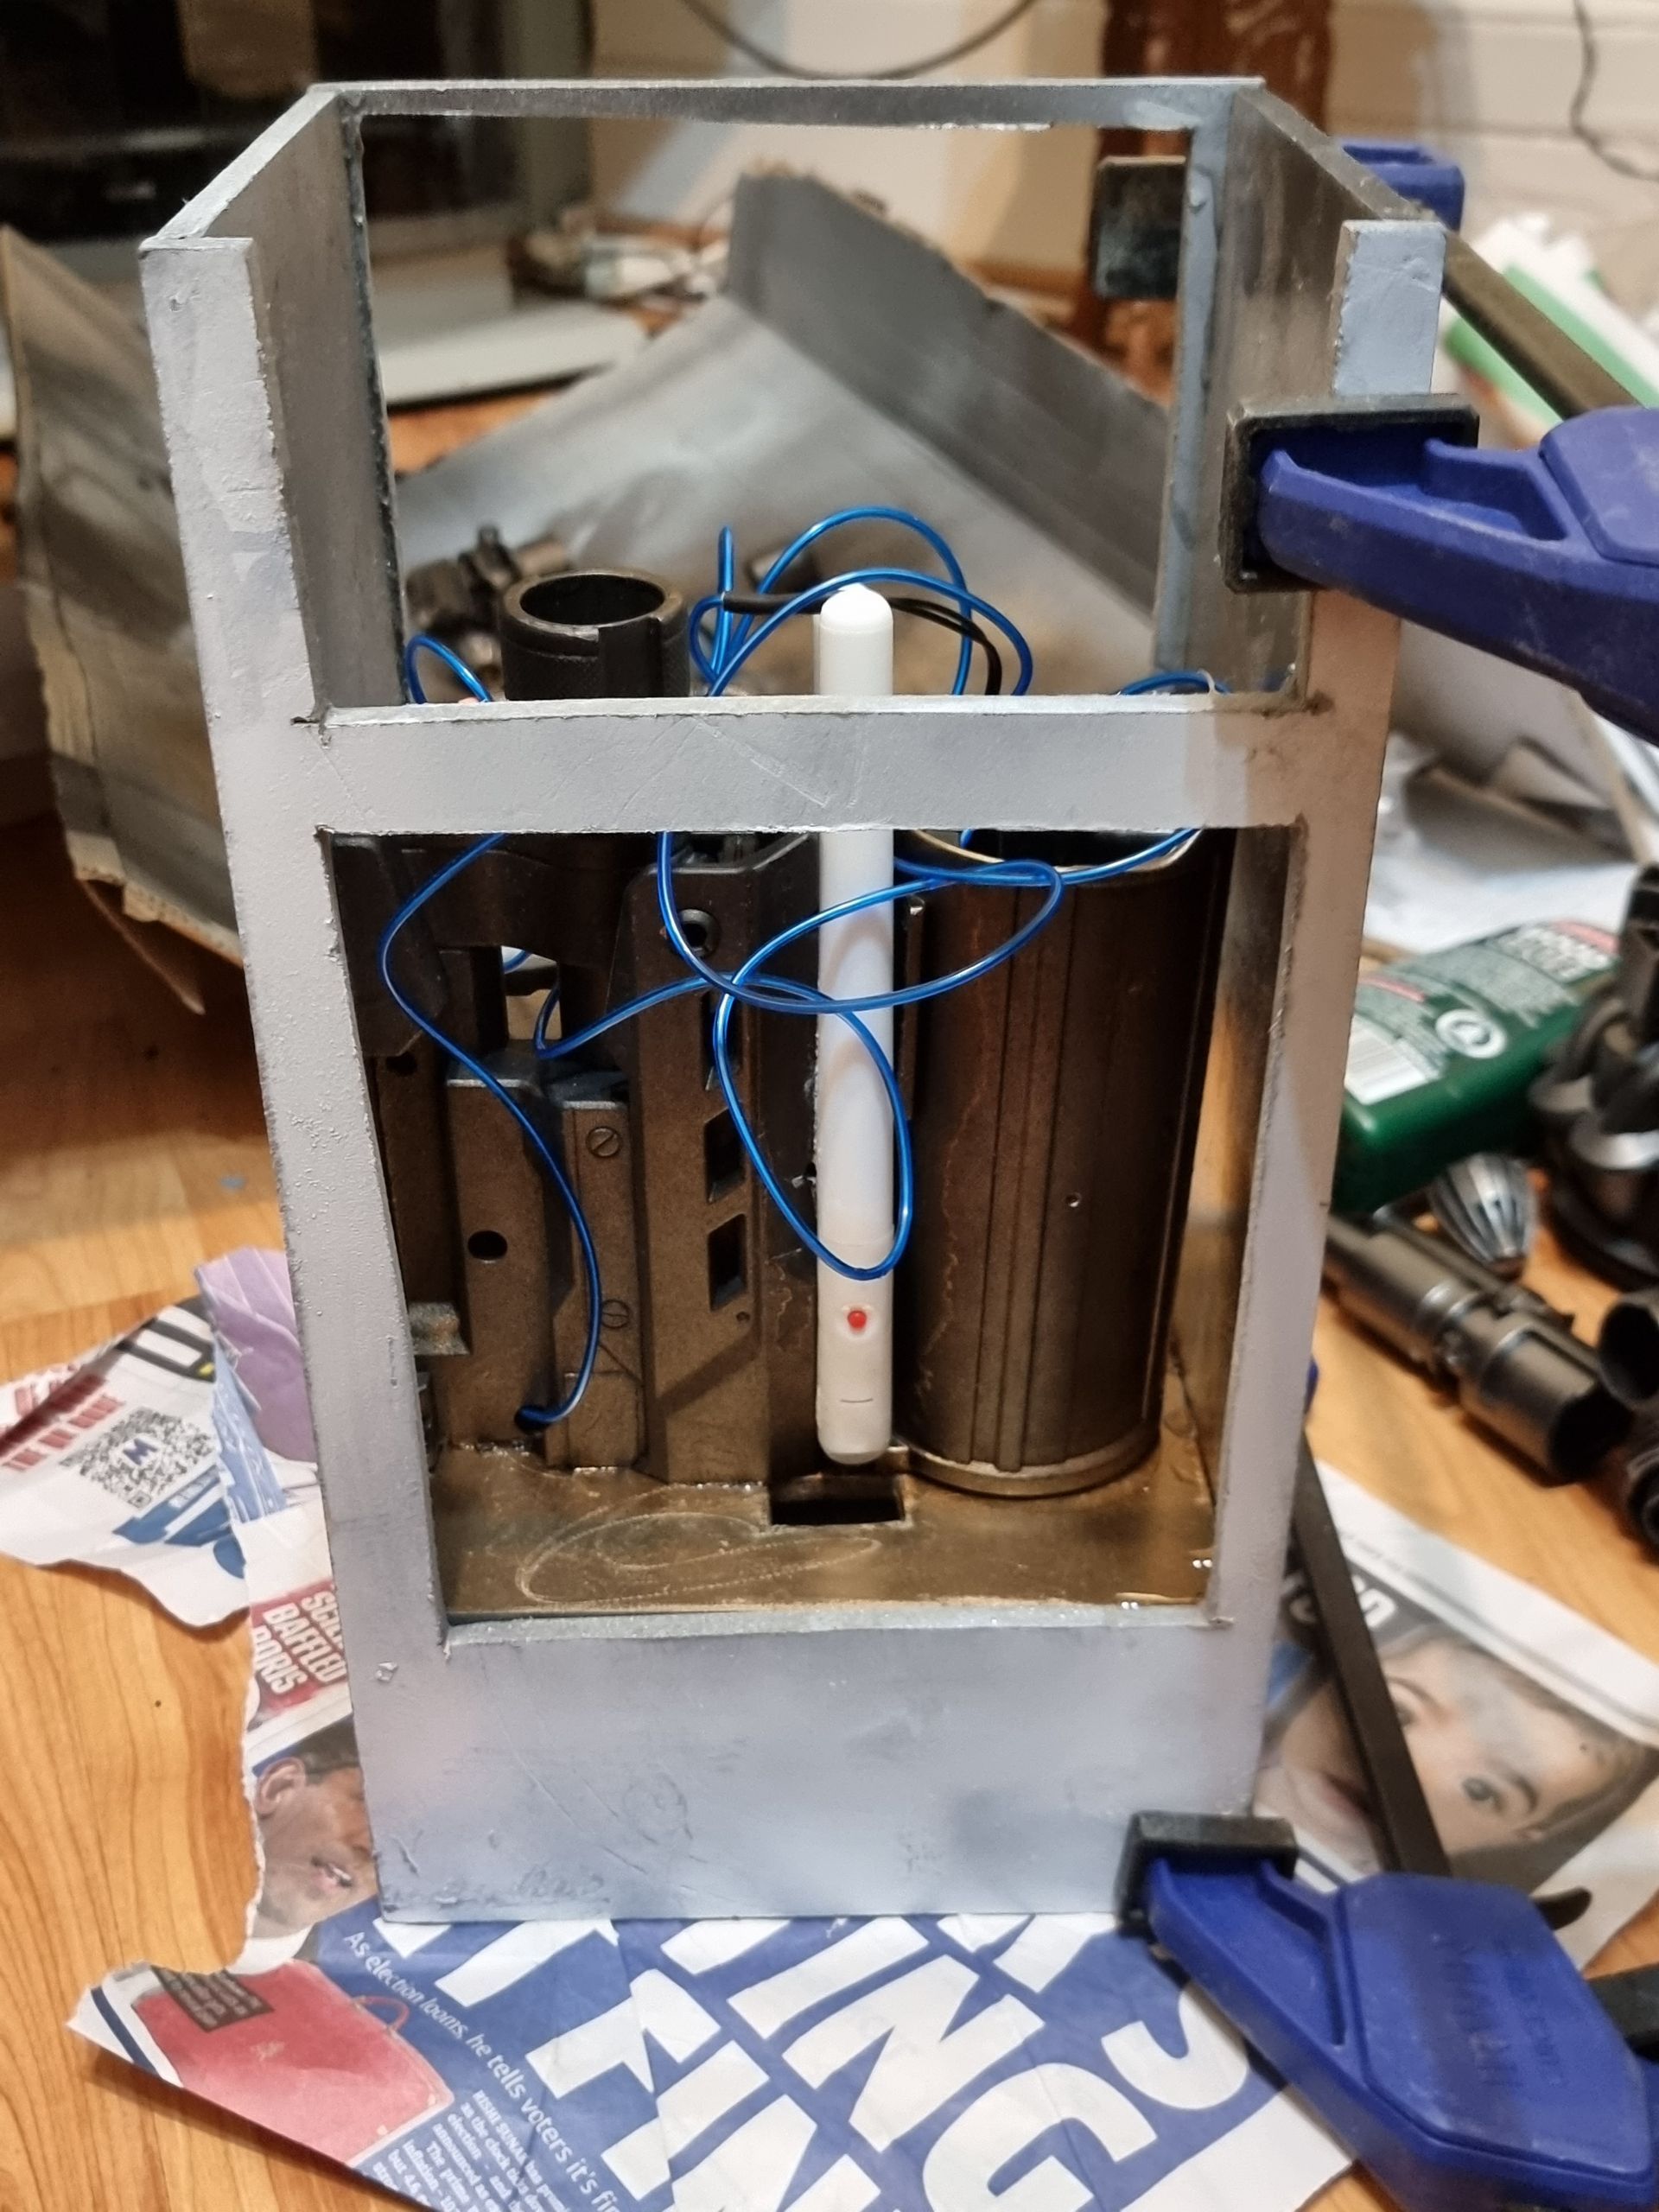
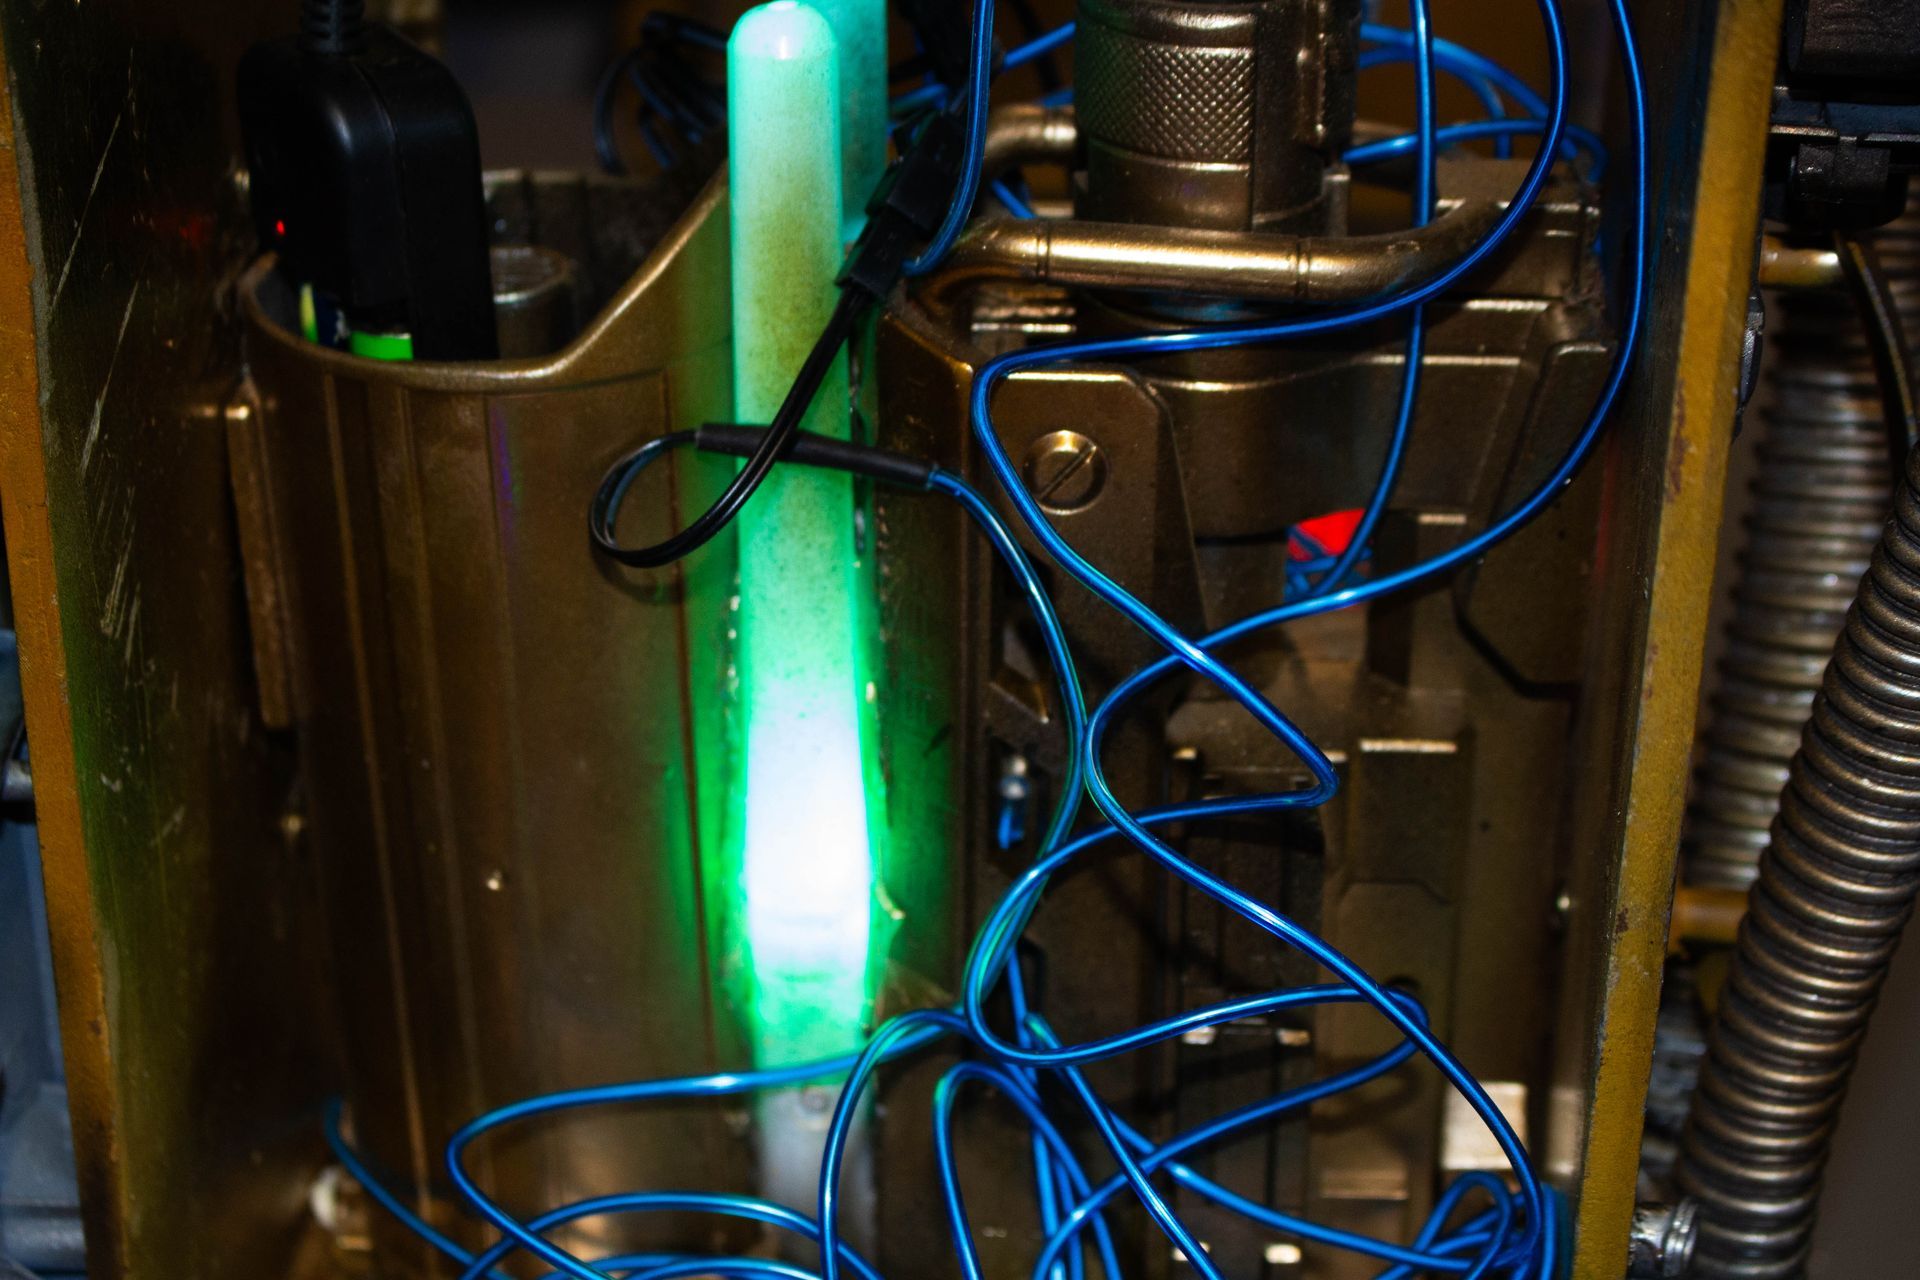
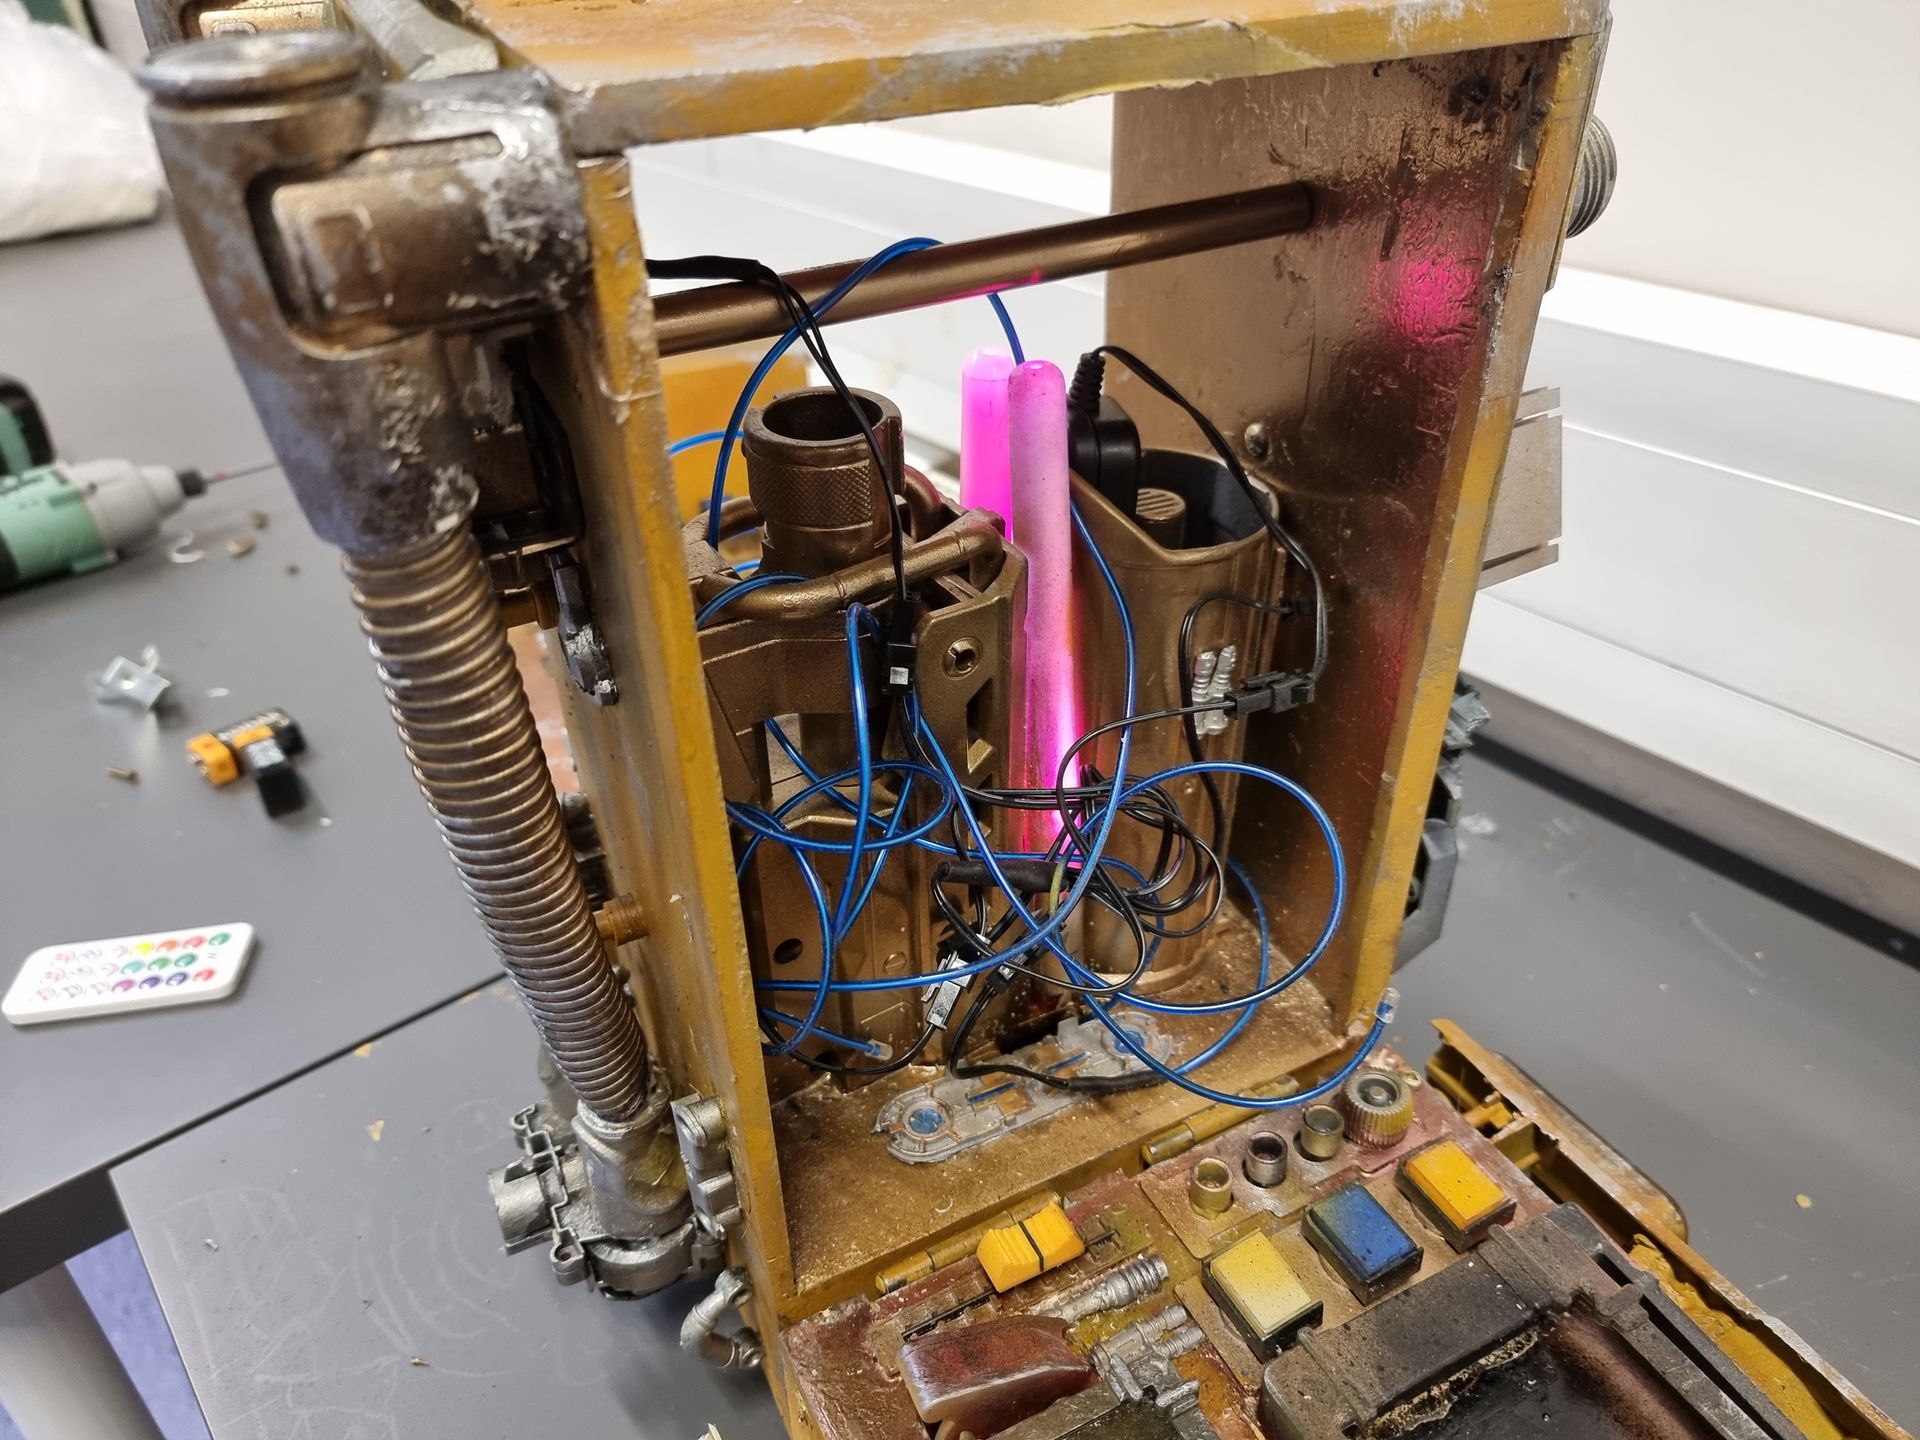
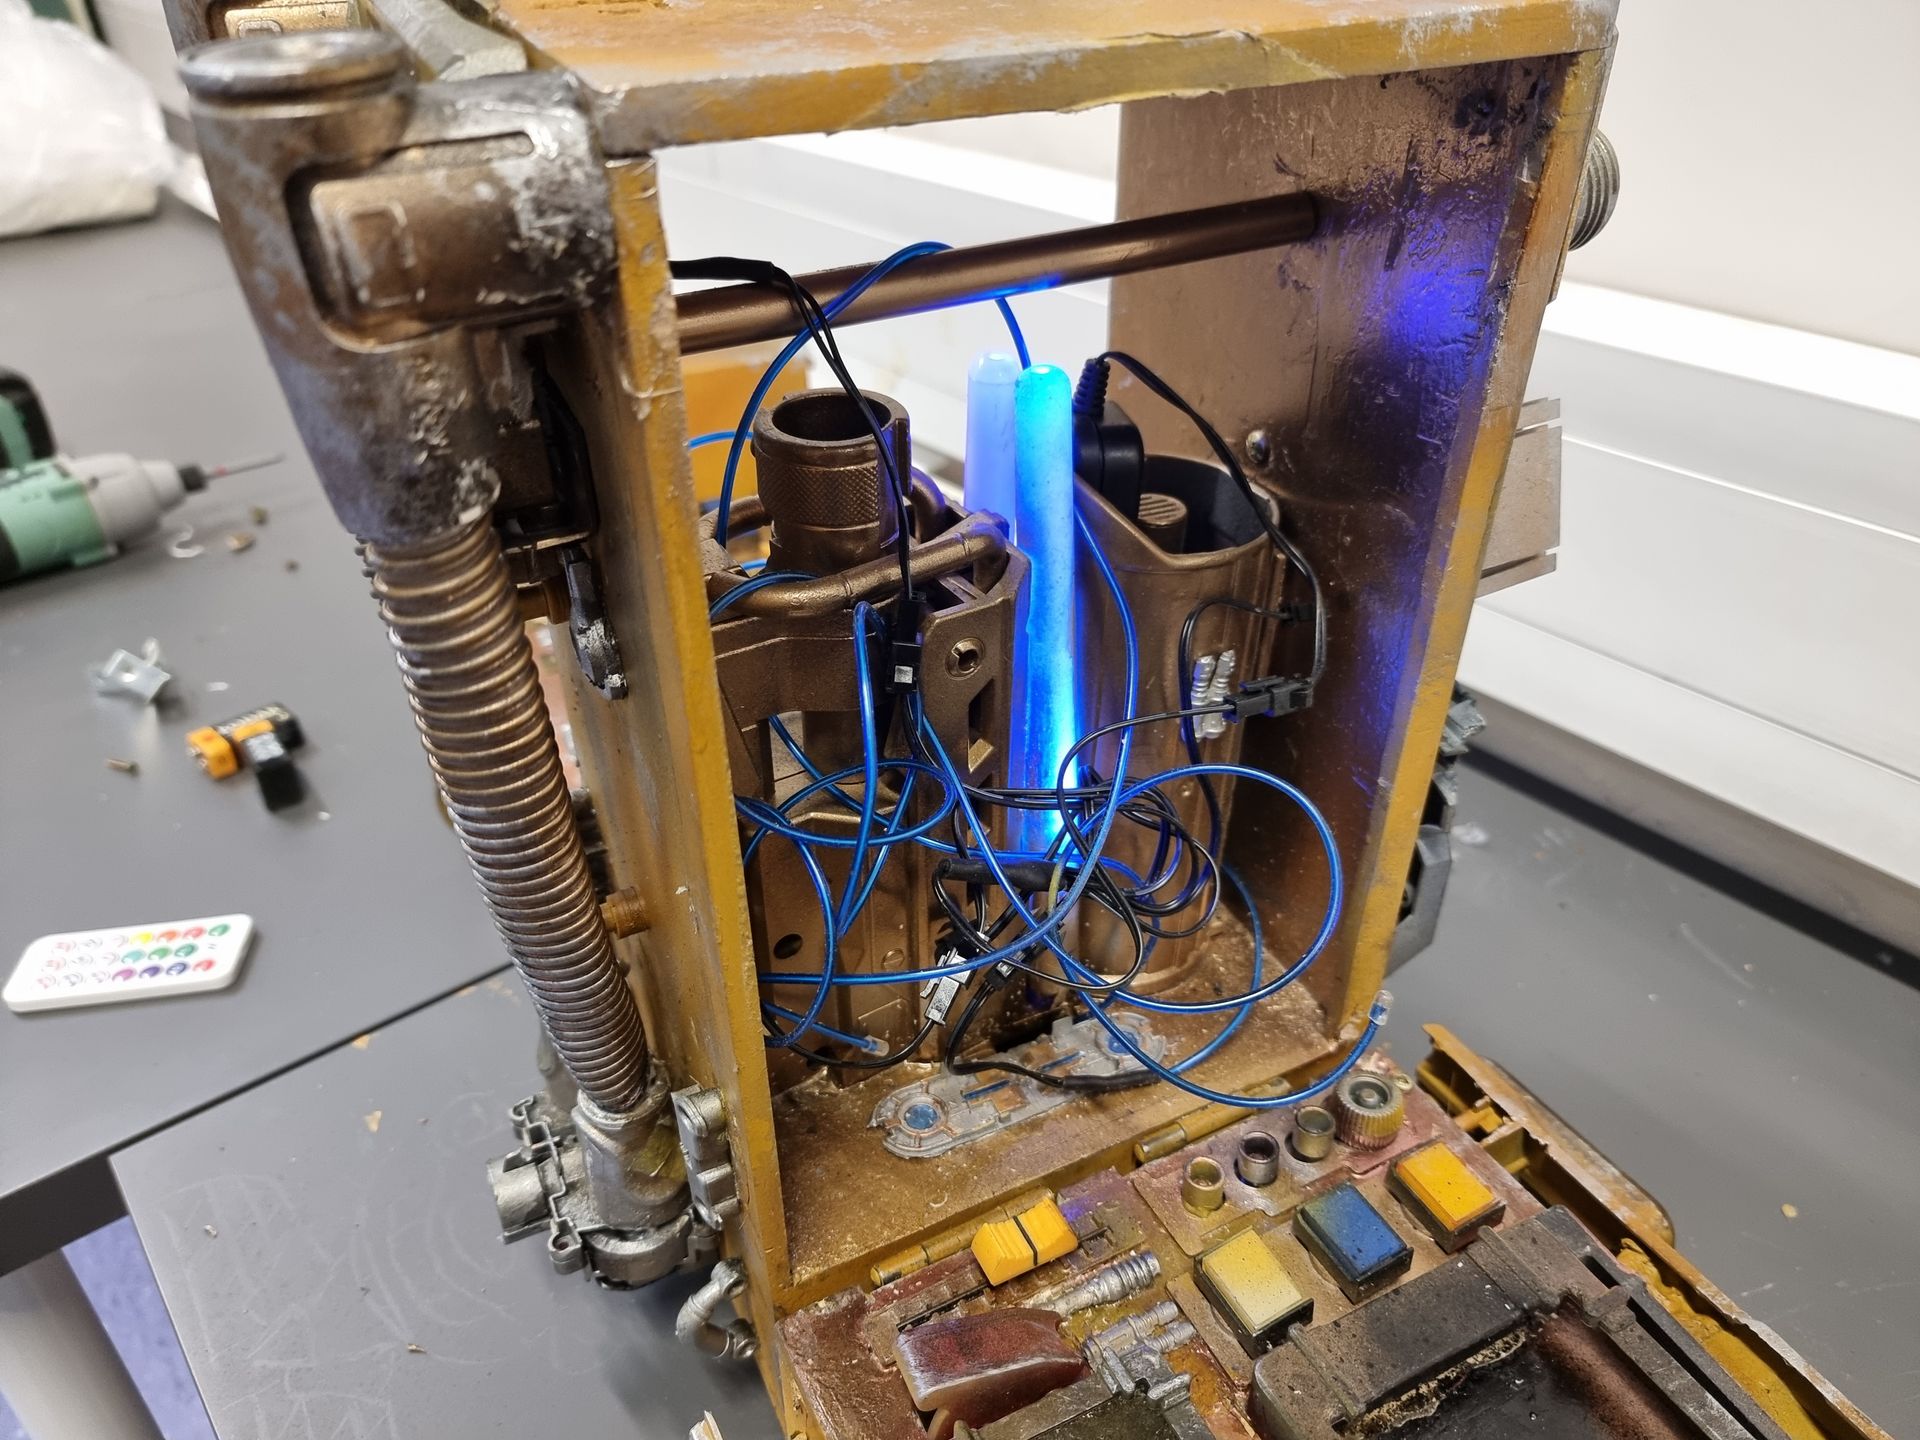
The central tower was to look like it had the power core, processing and technology so that was made to light up too and have wiring and piping etc.
All was to be distressed.
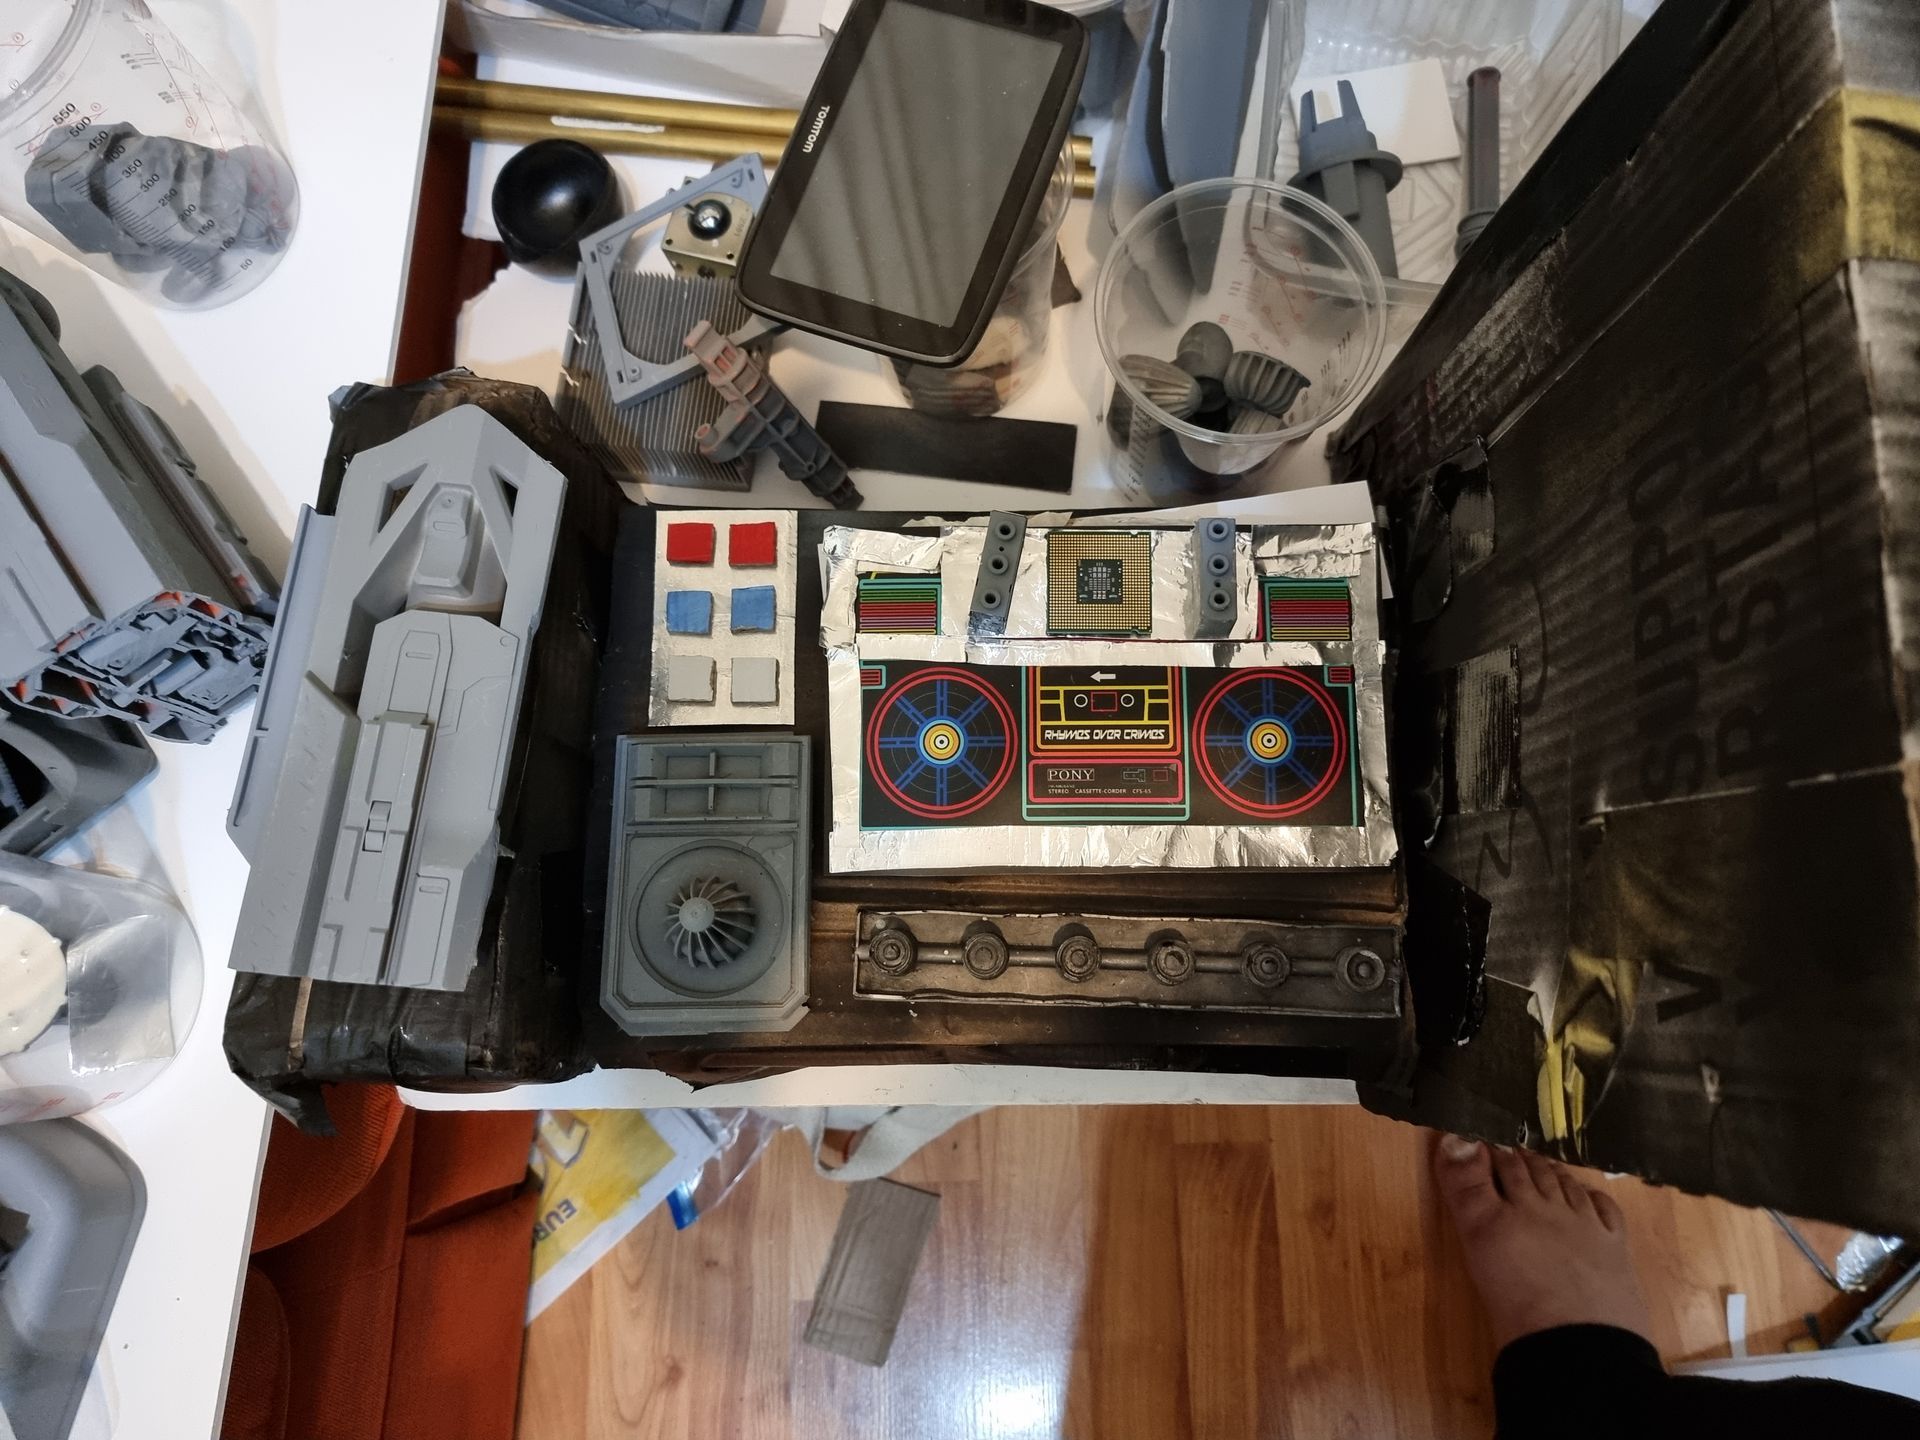
The control services started as prototypes to work out layout pattern and colour patterns, pallets and controls.


Light Up T shirt Panel
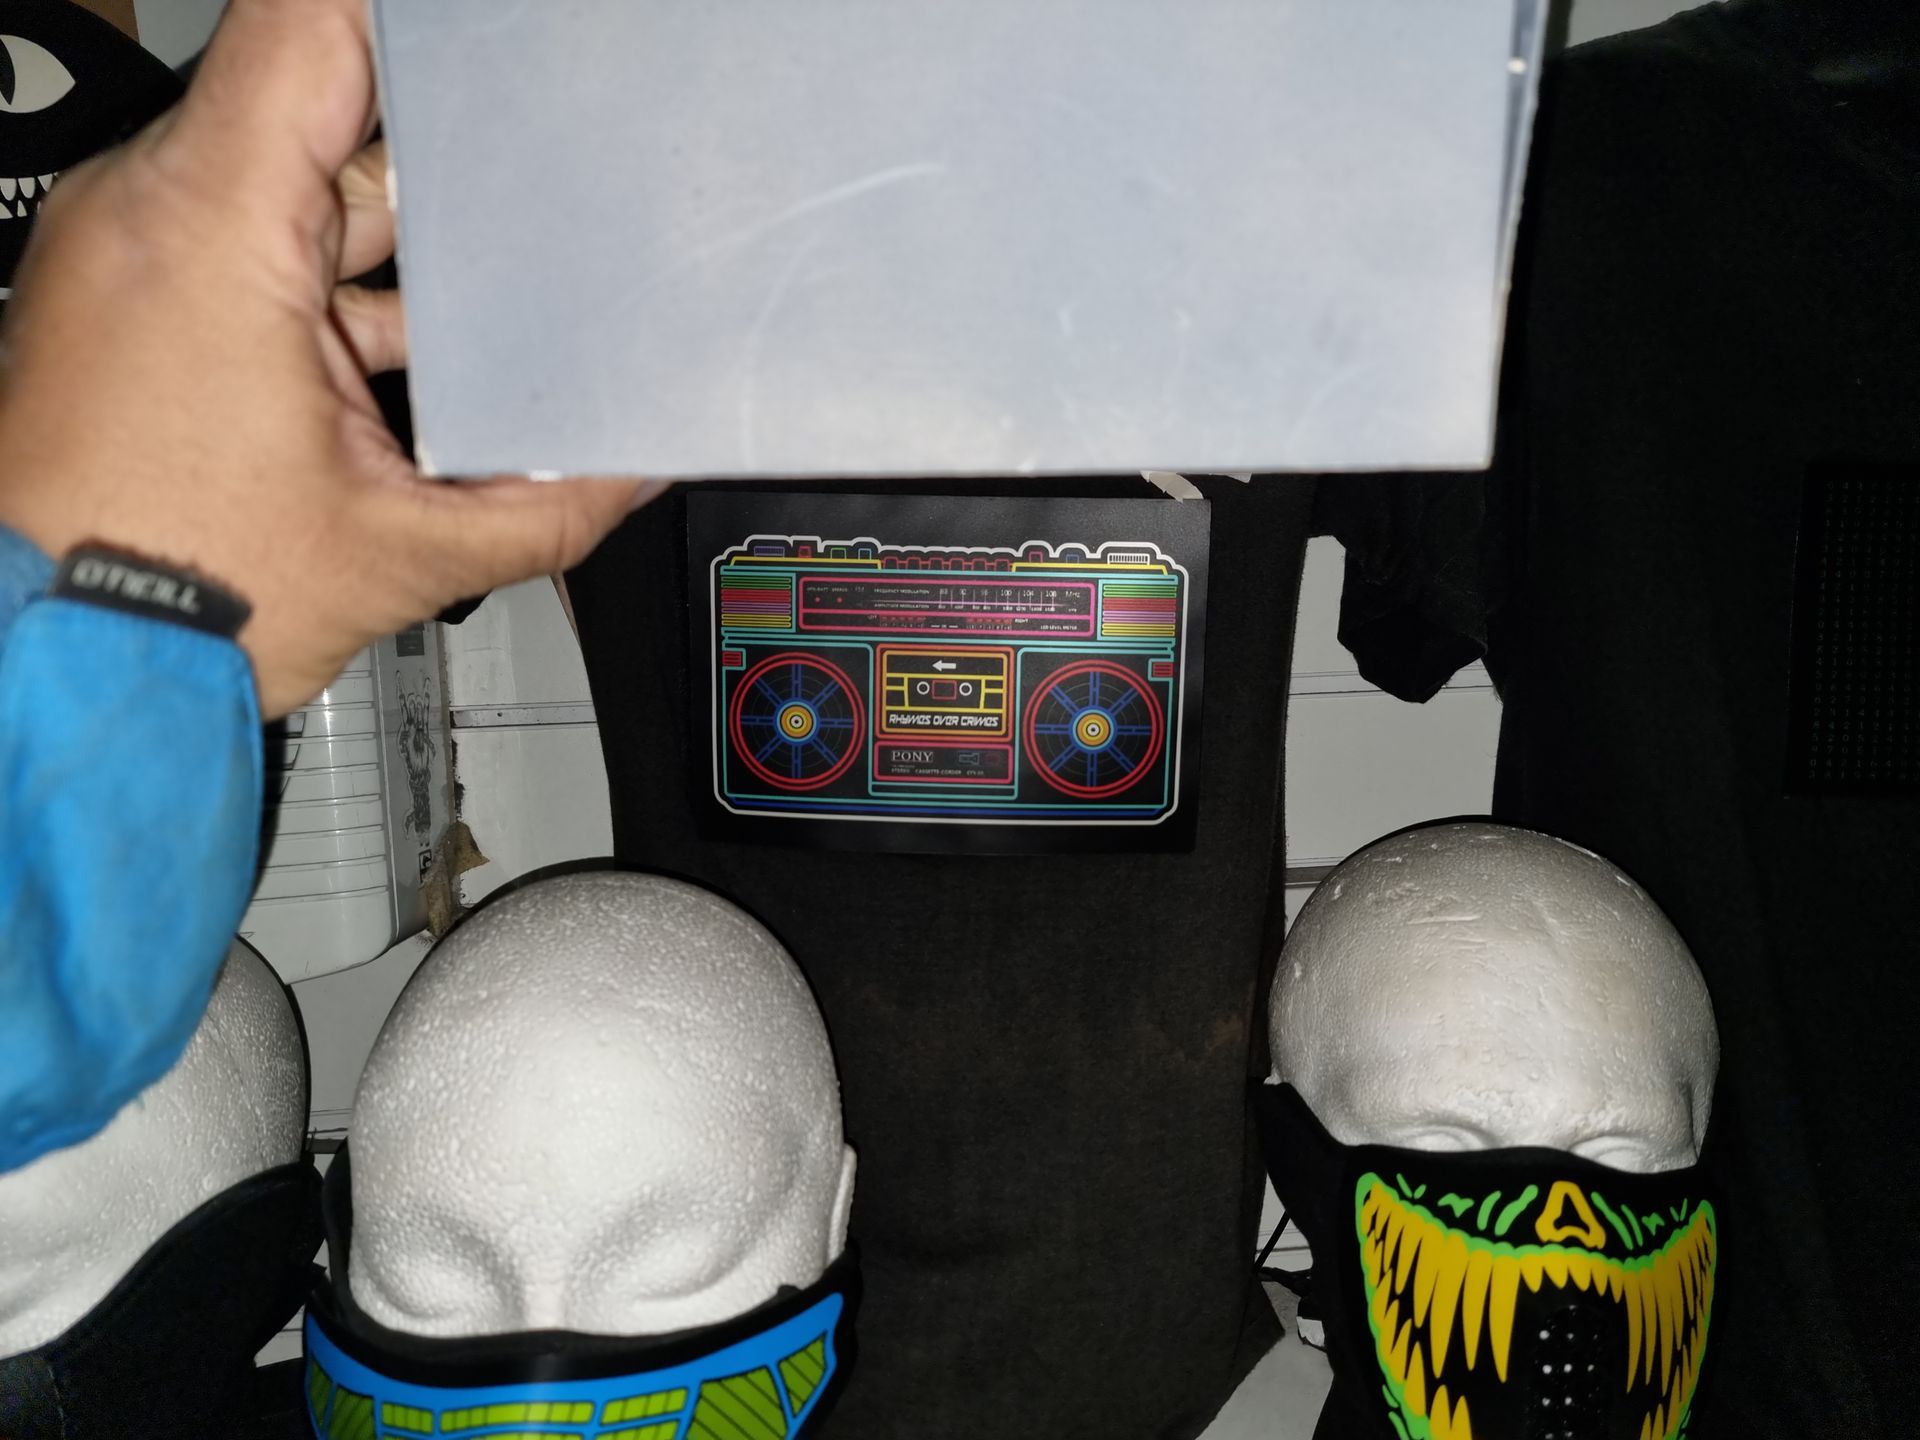
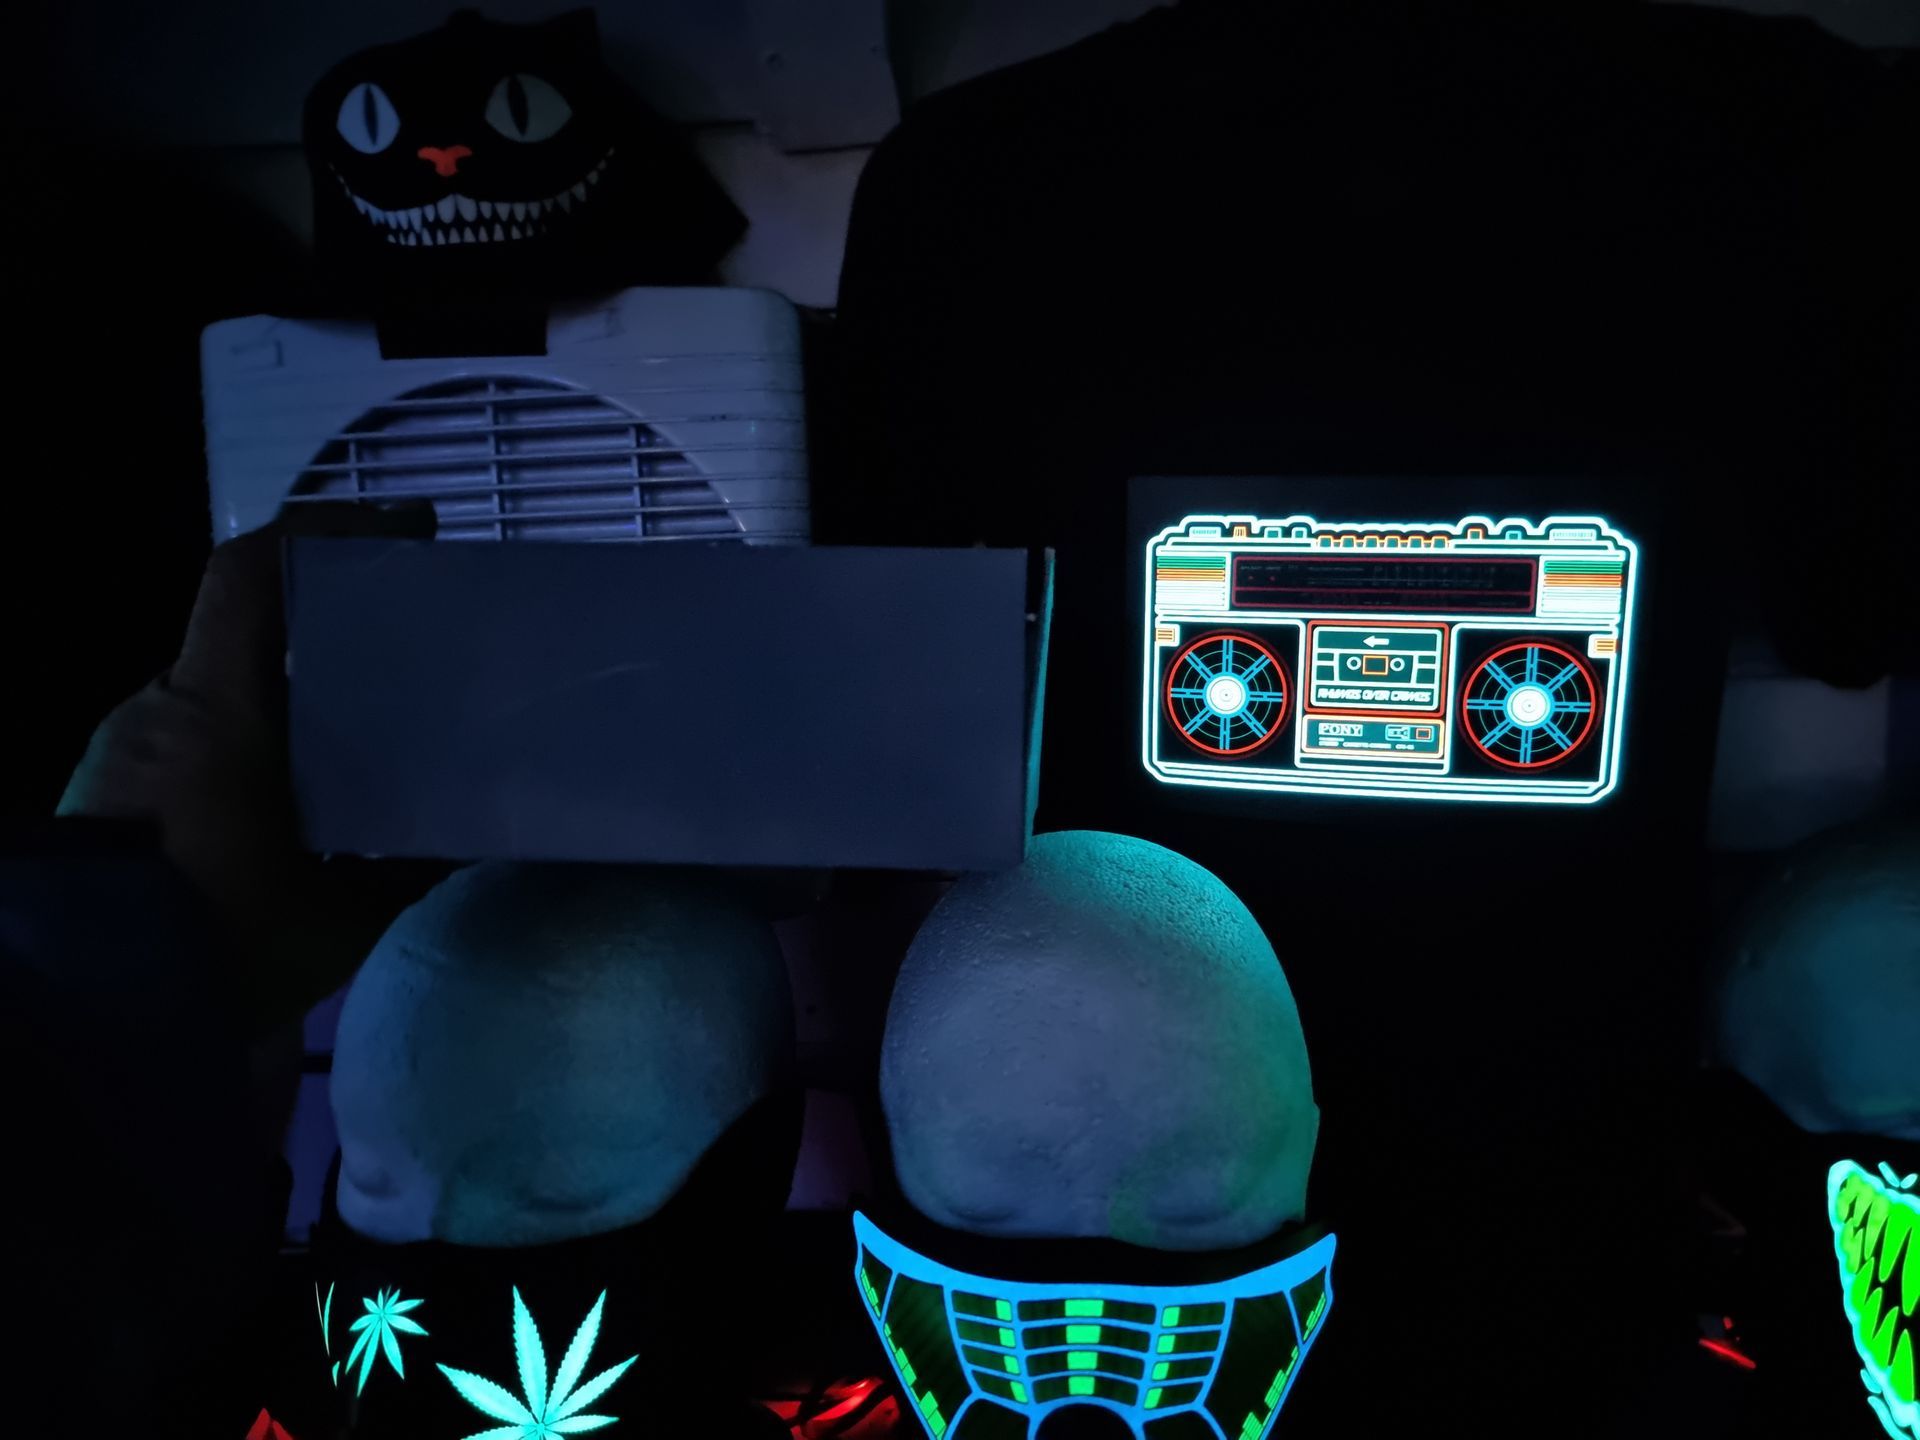
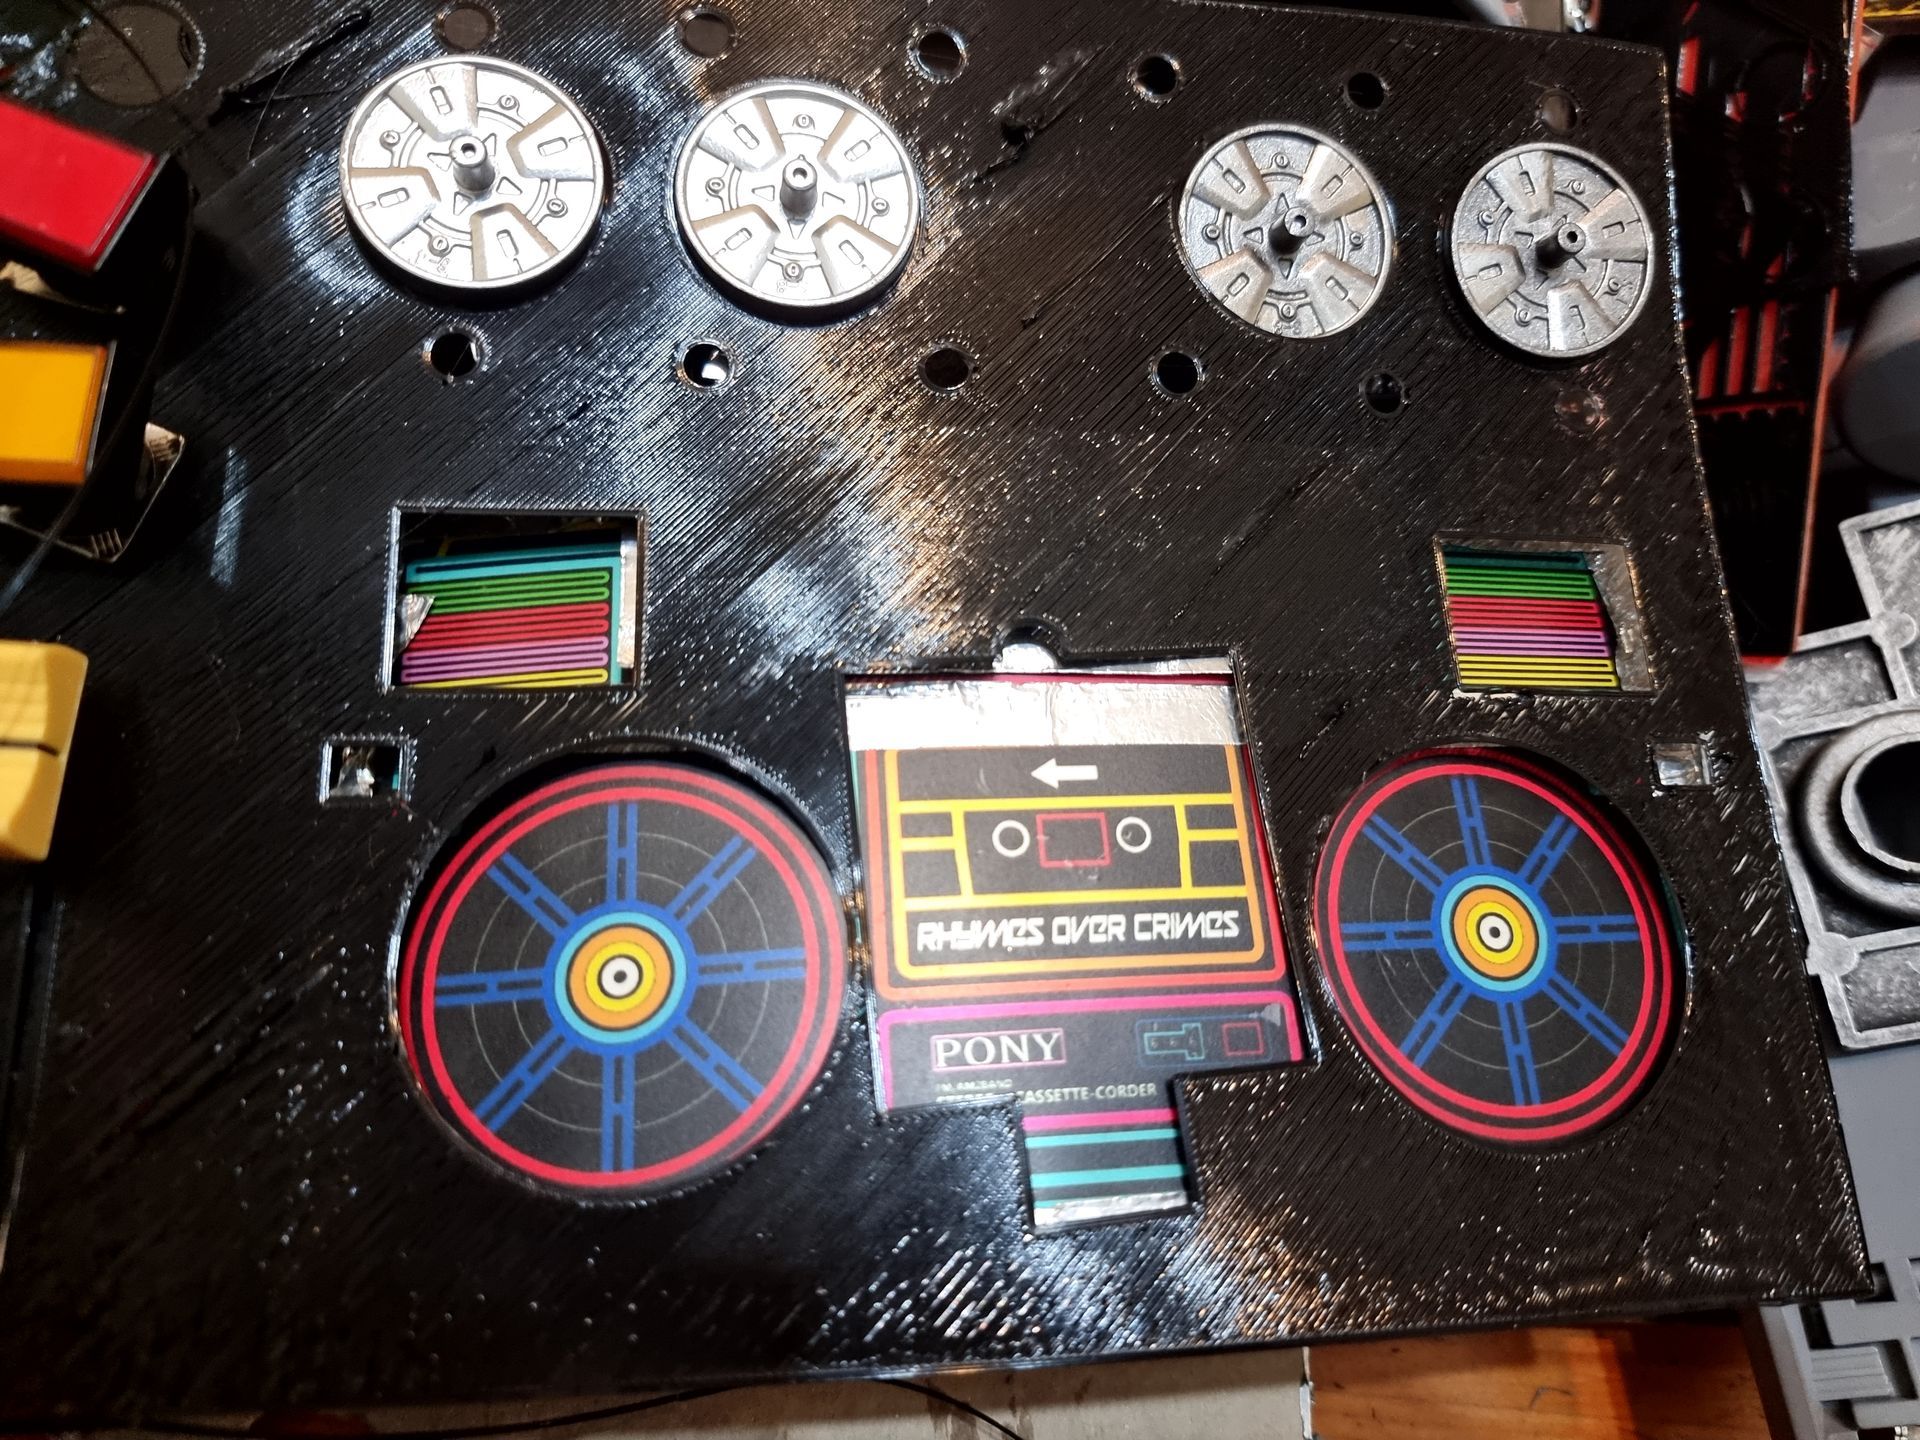
Seen below in the prototyping, I originally intended to use this electroluminescent light up t-shirt panel of a stereo system doe interactive eyes on a droid.
These can e set to respond and light up in various patterns to sound and music thus being more interactive.
When the droid concept was abandoned, I tried to incorporate this into one of my control panels and make it the focused centre piece.
As it was wonky it was also hard to position holes for the light up panels as they had to be very precisely positioned.
This could have looked great, but was meant to respond to loud music, so was a struggle to get working so was abandoned.
It was also too dim to be effective in bright light.
Layout Prototyping
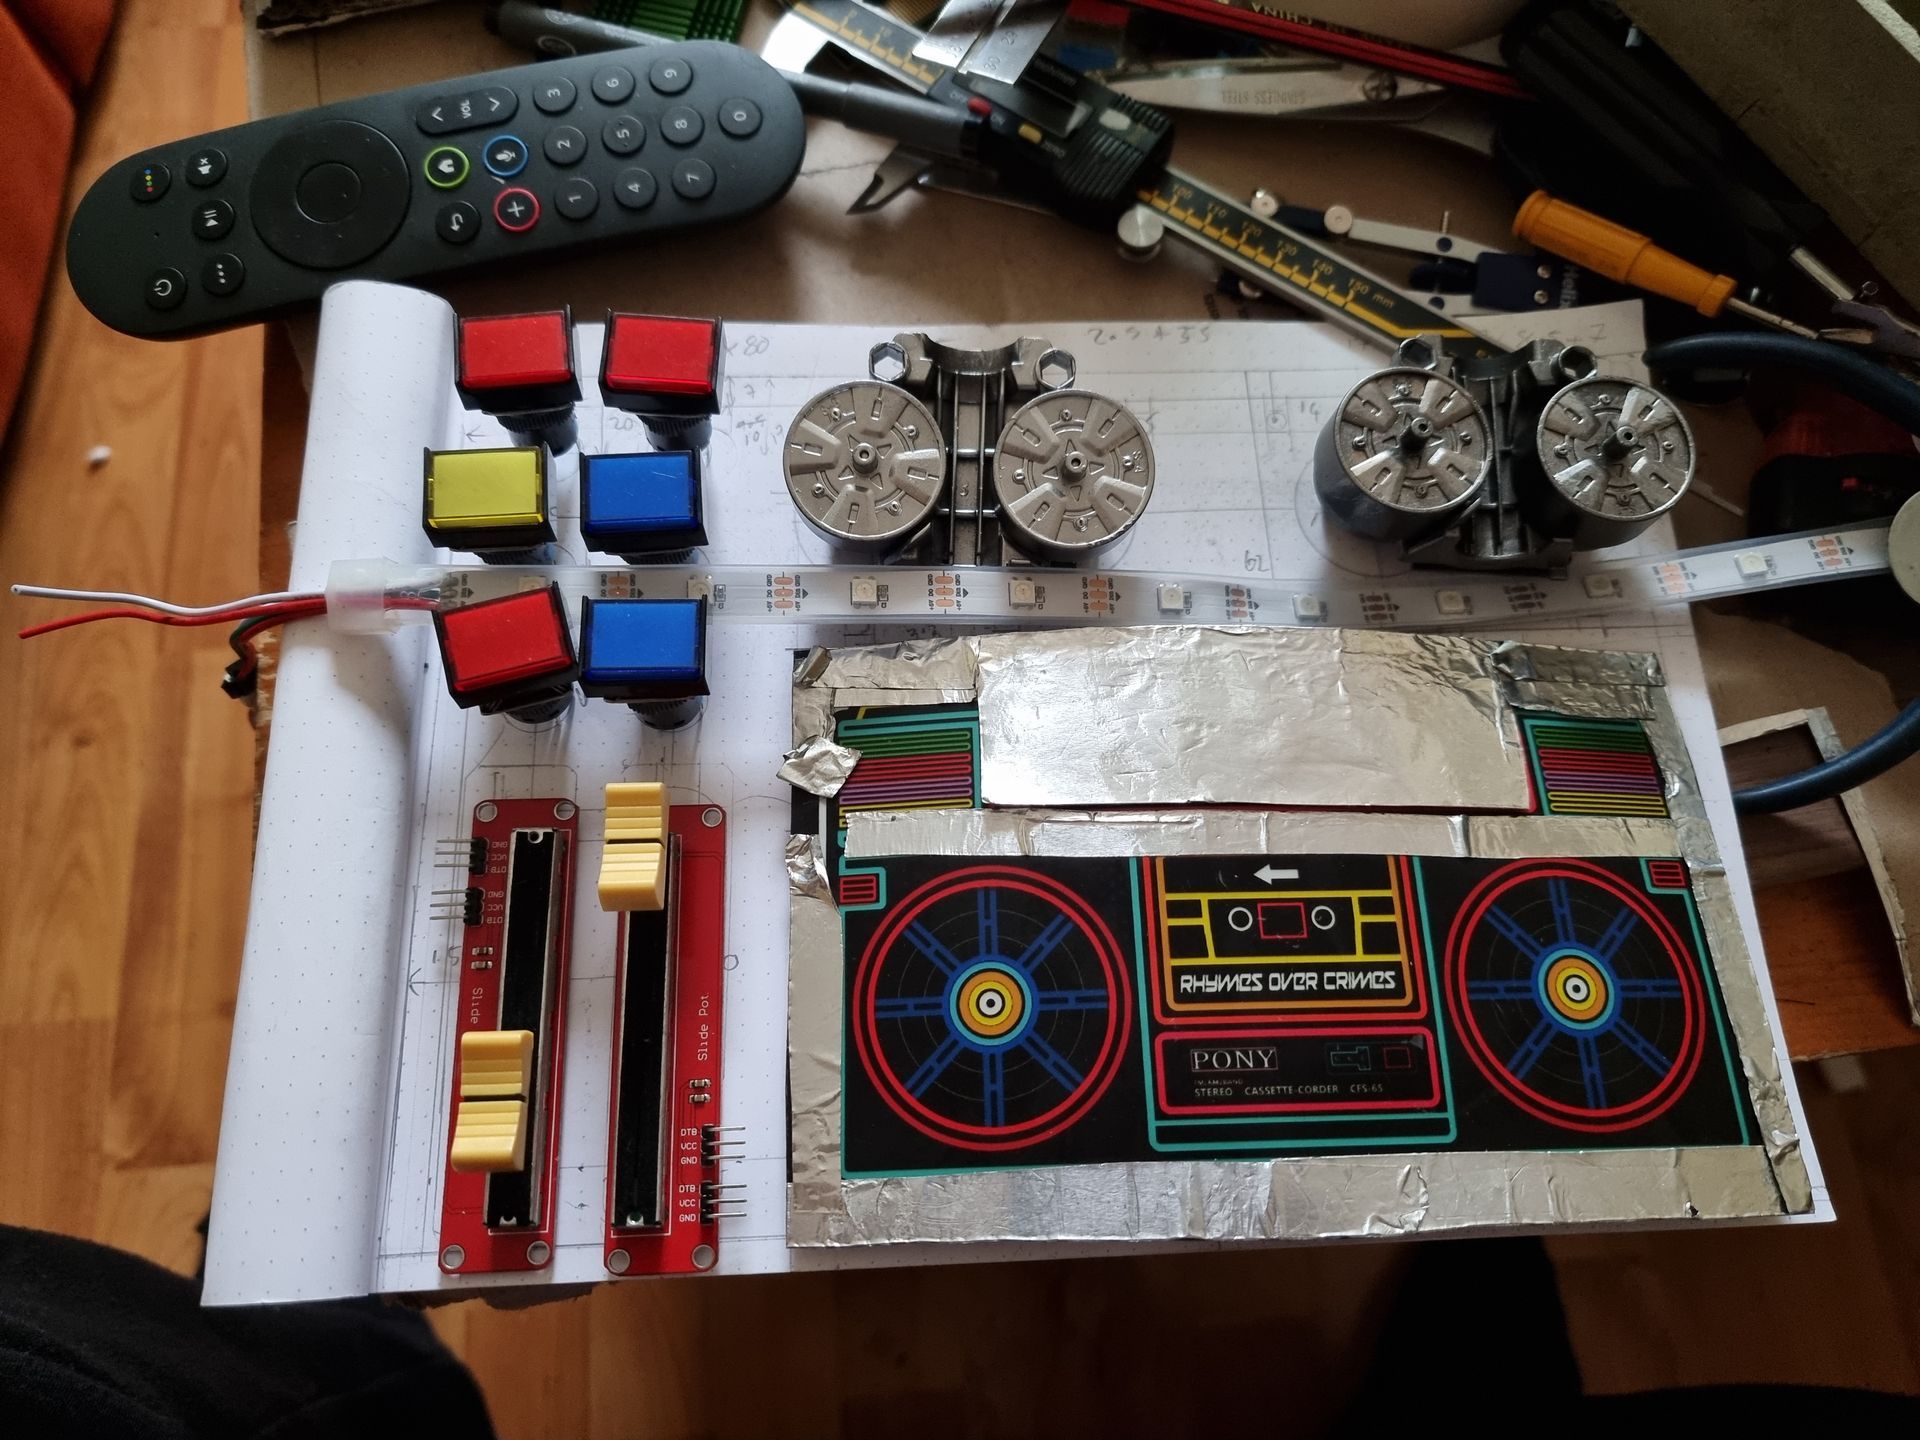
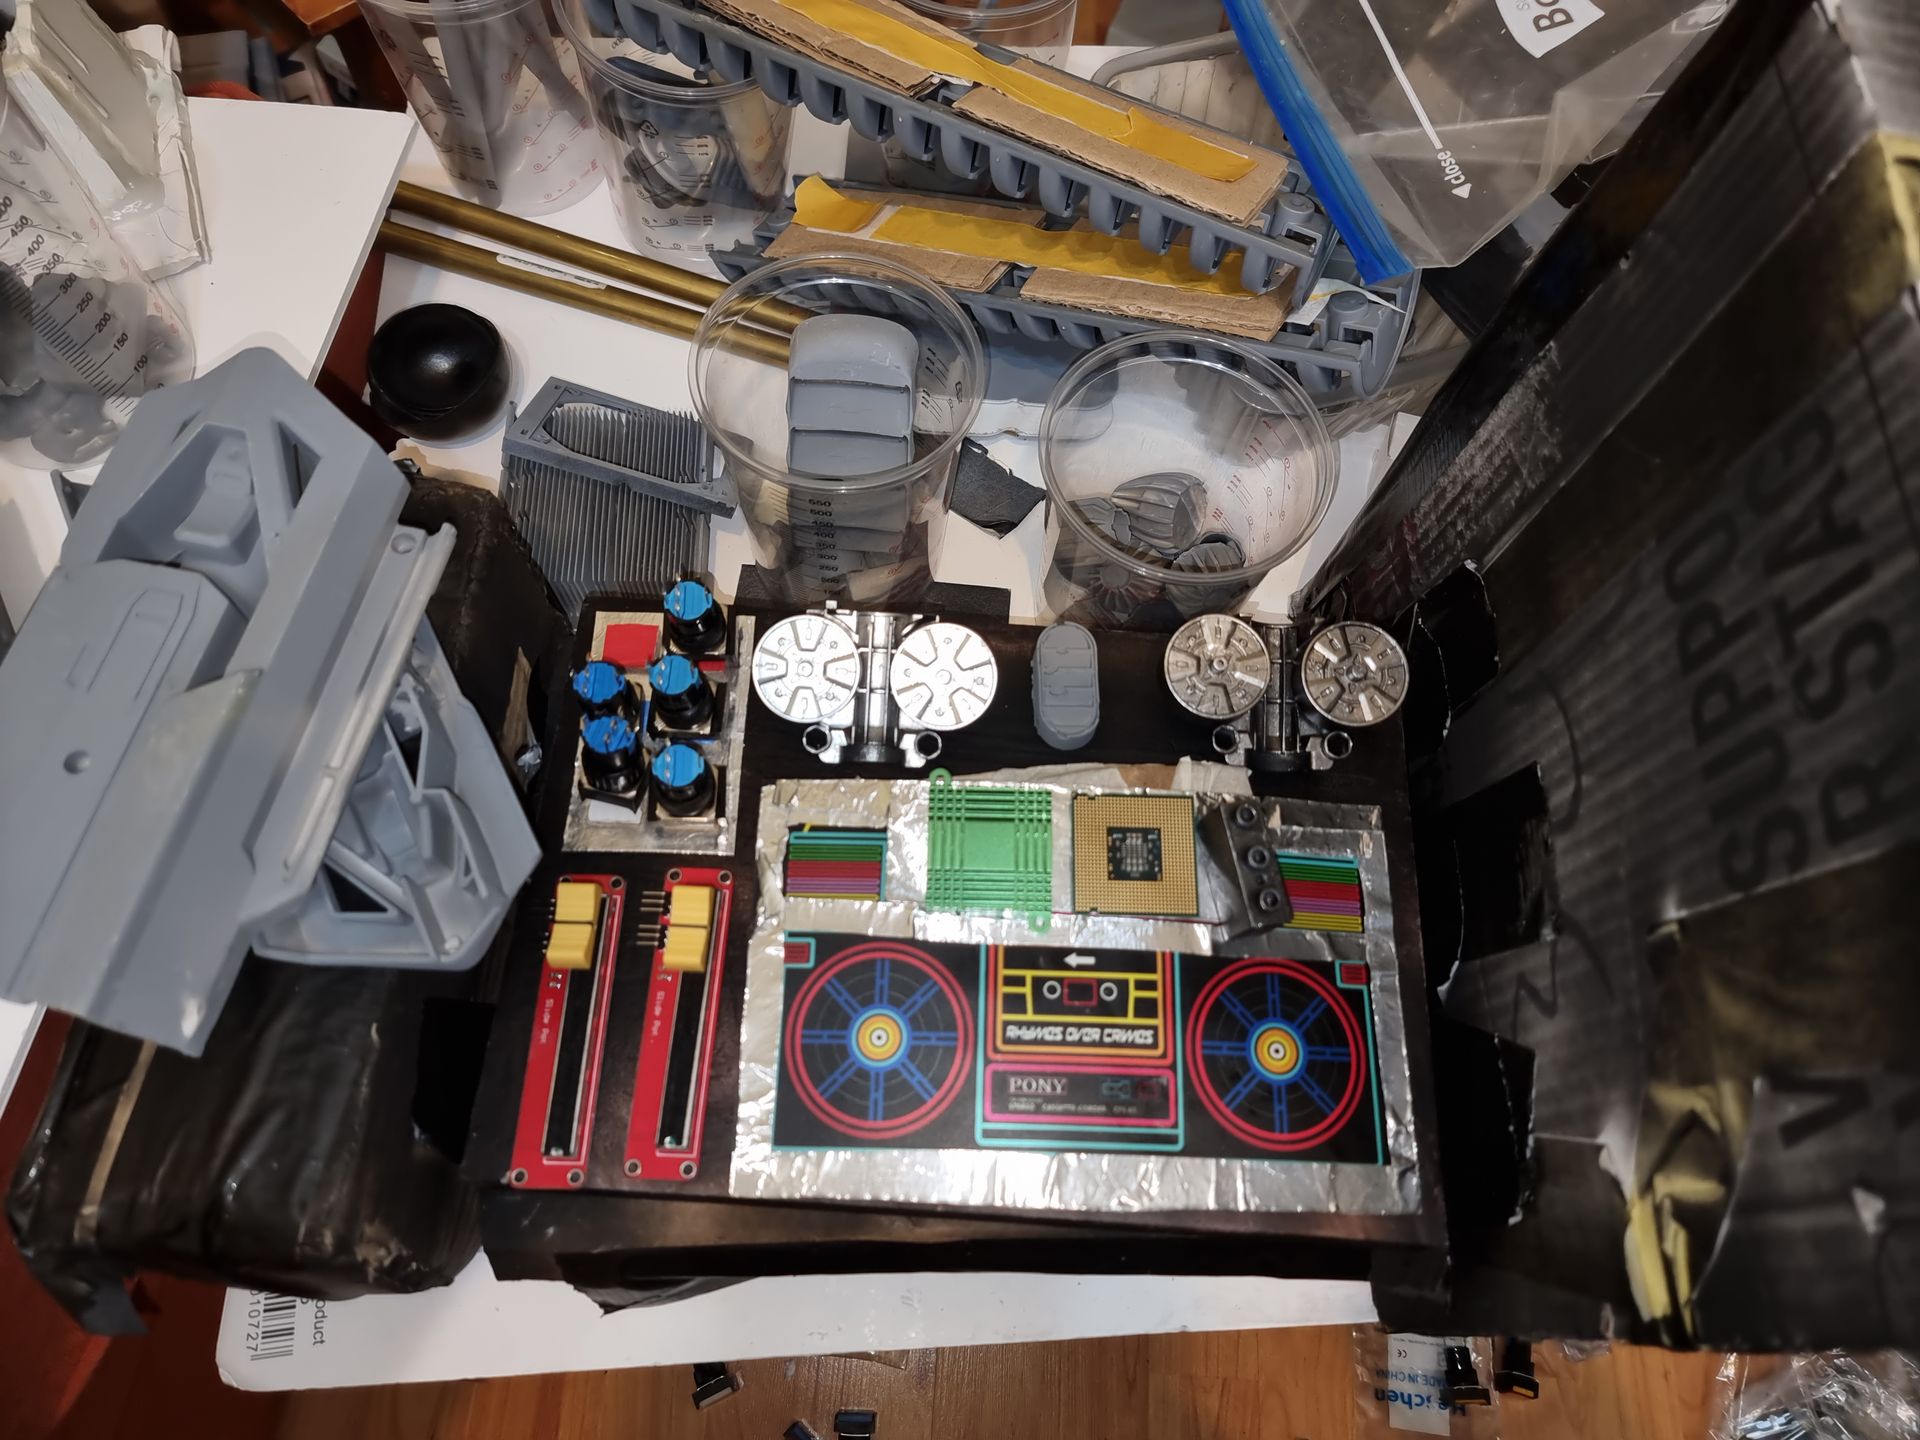
The prototyping was to work both the technology to get it working. the aesthetics, the size and fit of the buttons.
I started with silver foil coated card for the under controls and button panels.
Control knobs included Nerf fly wheel pairs (2nd photo).
Electrical Electronic Prototyping and Blowing Up Batteries
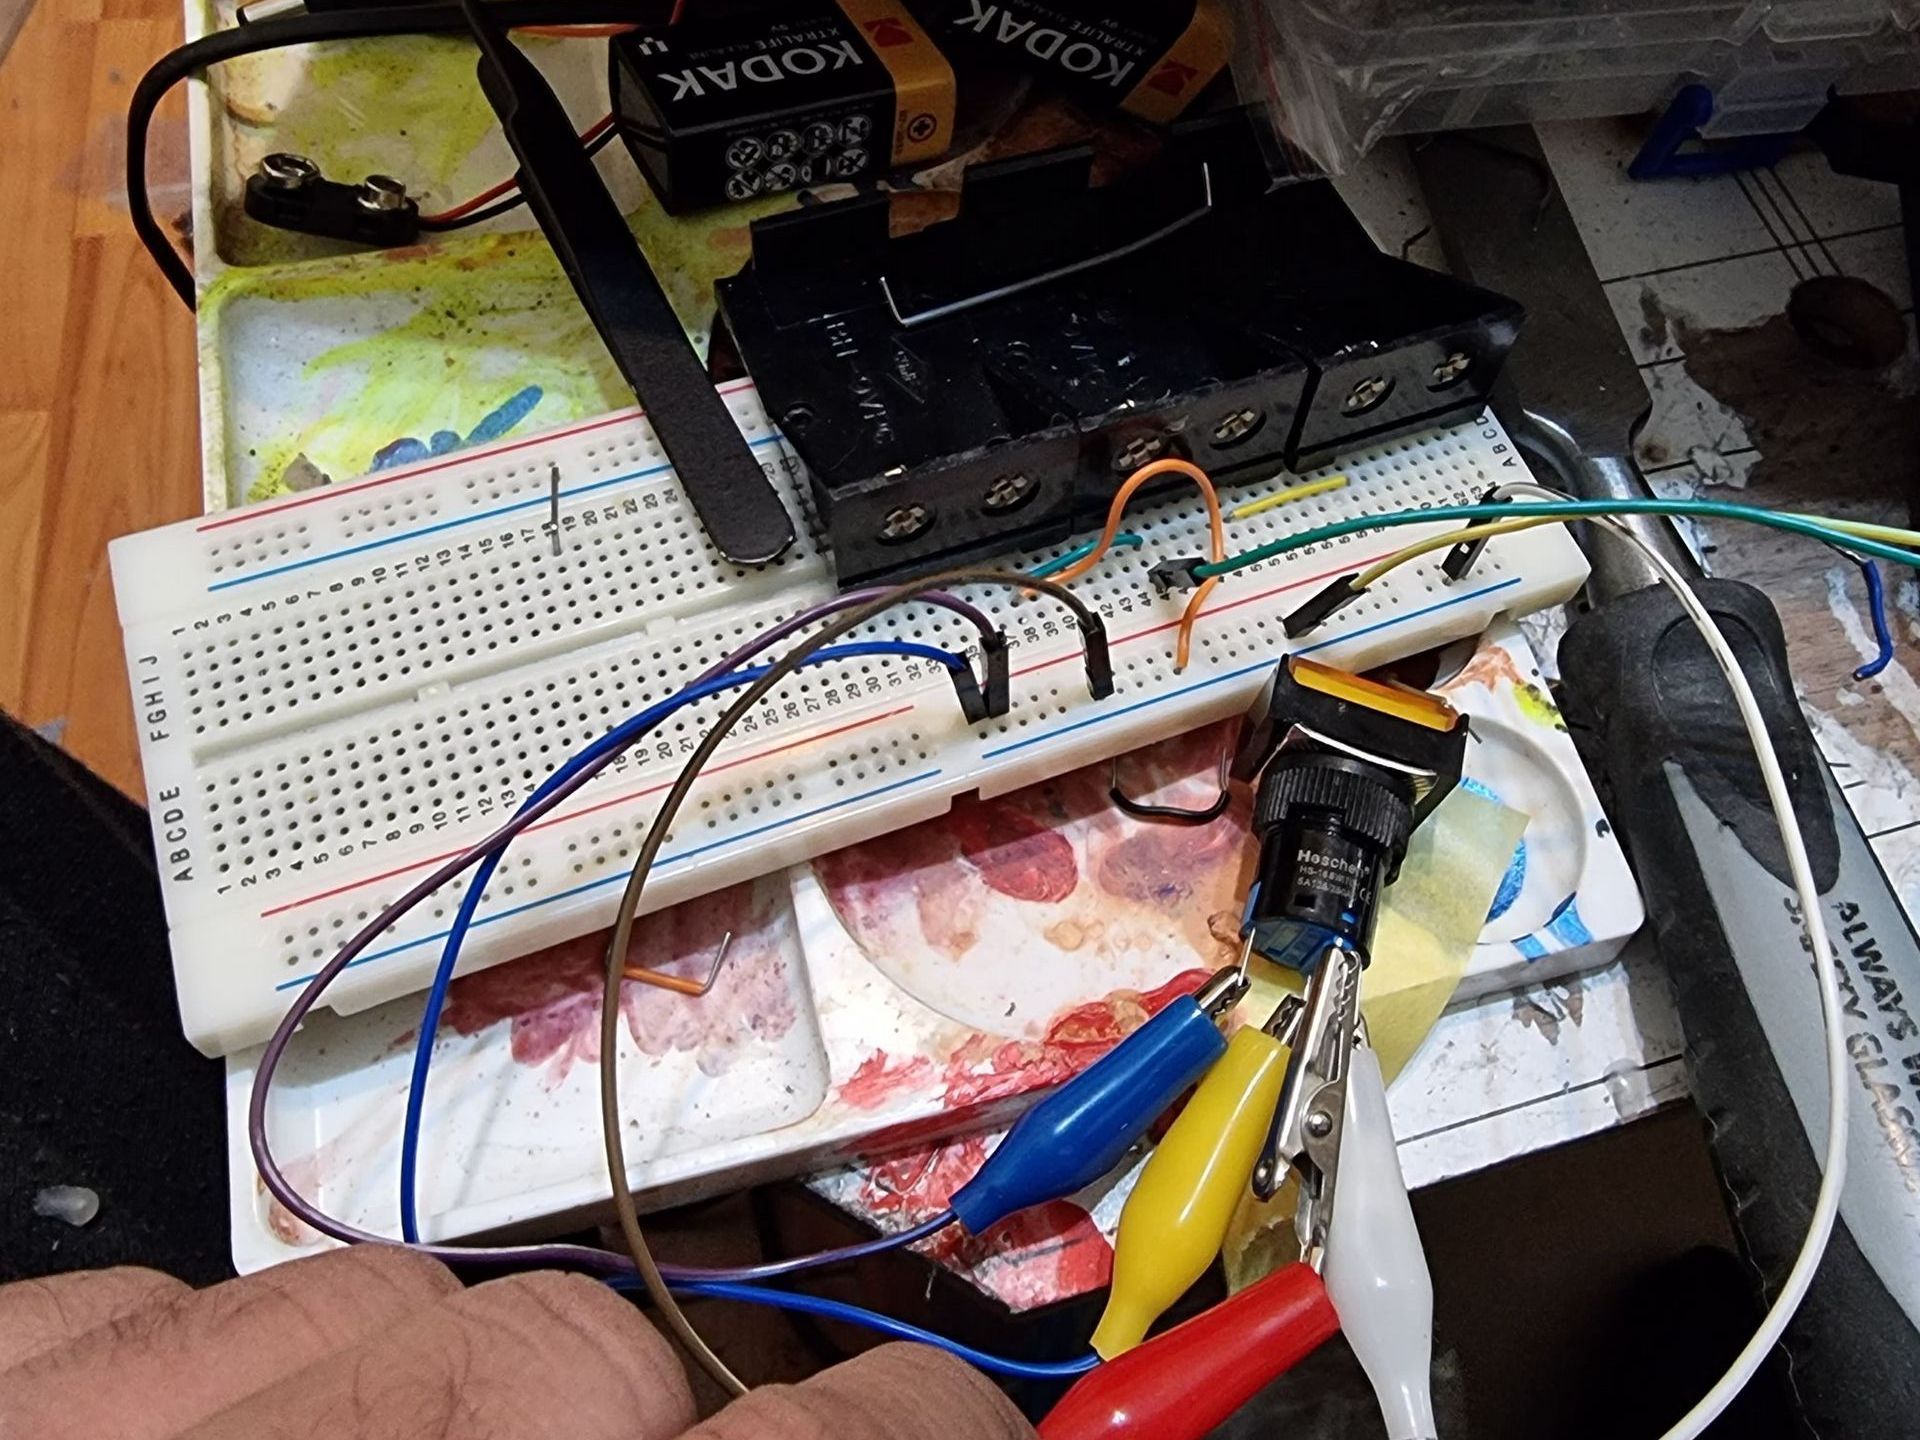
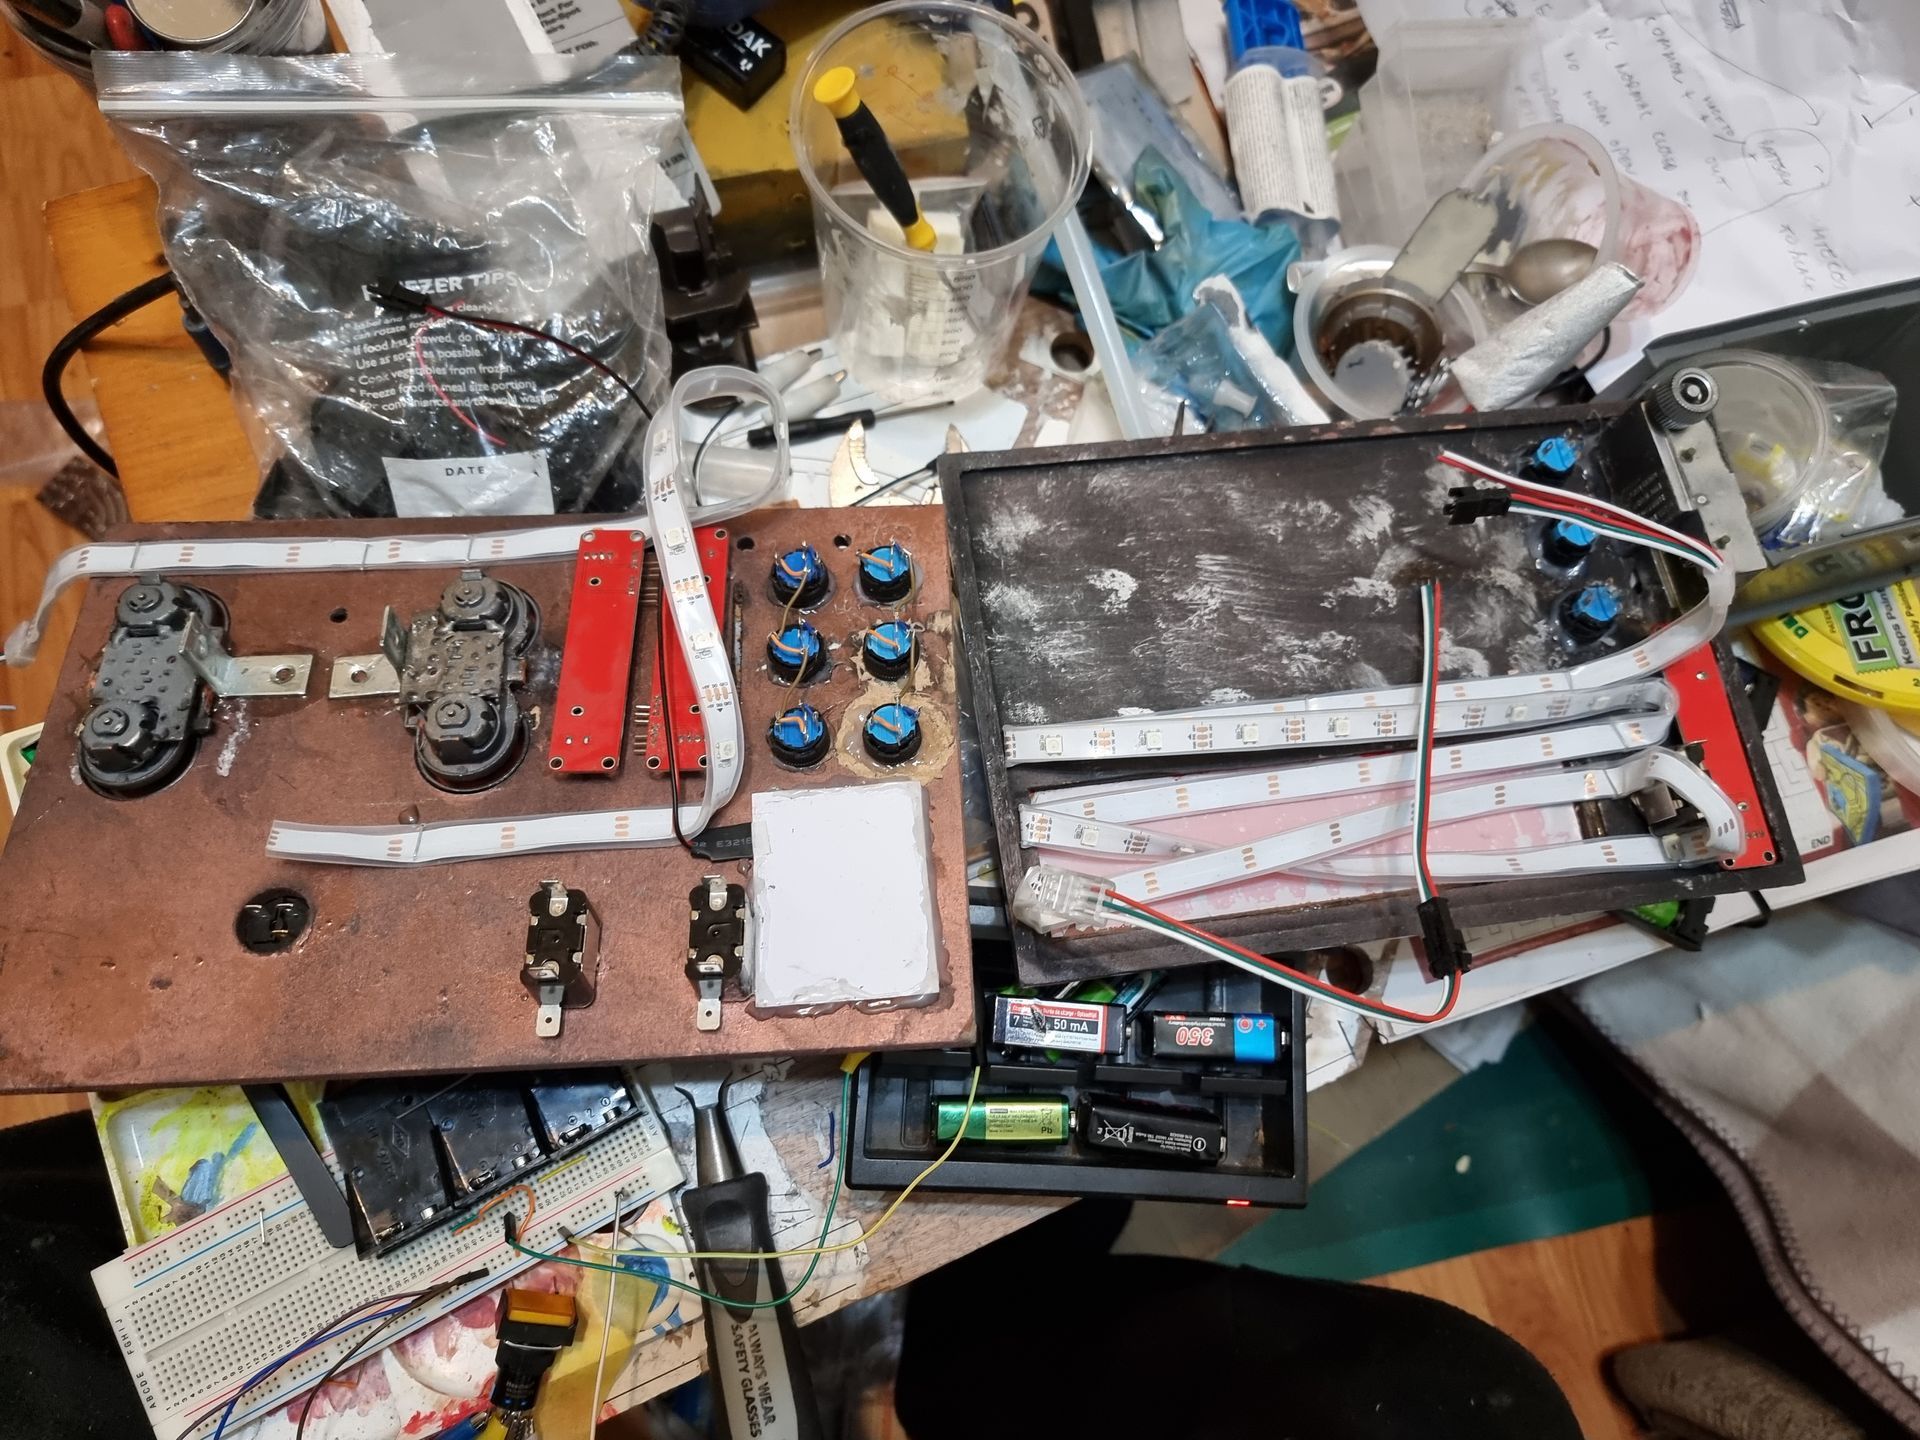
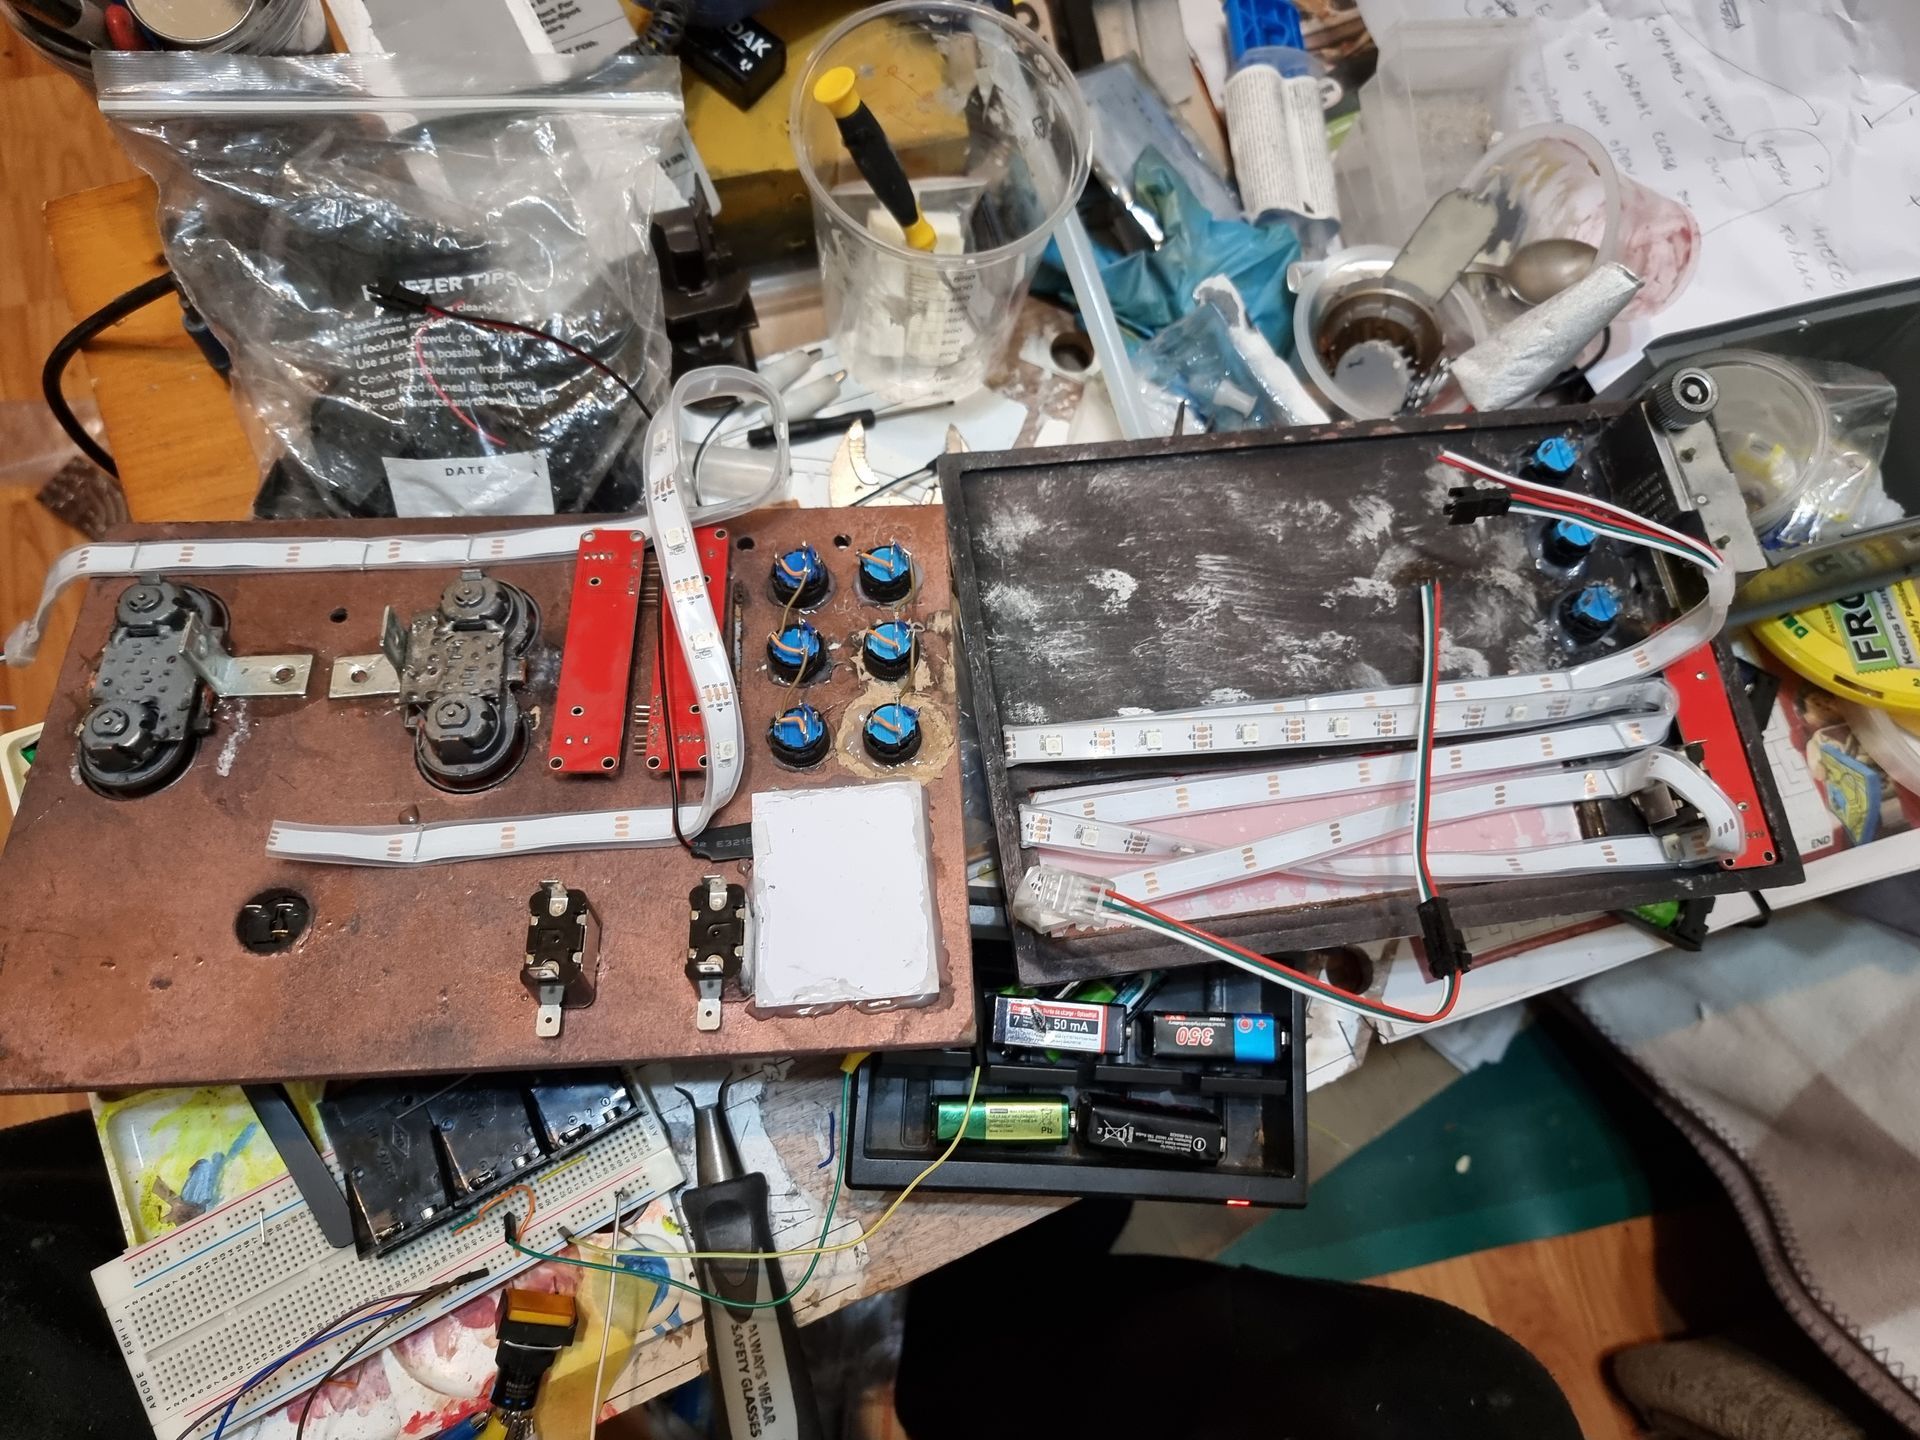
Electronic prototyping was next, using a white breadboard which has copper grip slots under a panel or wire holes.
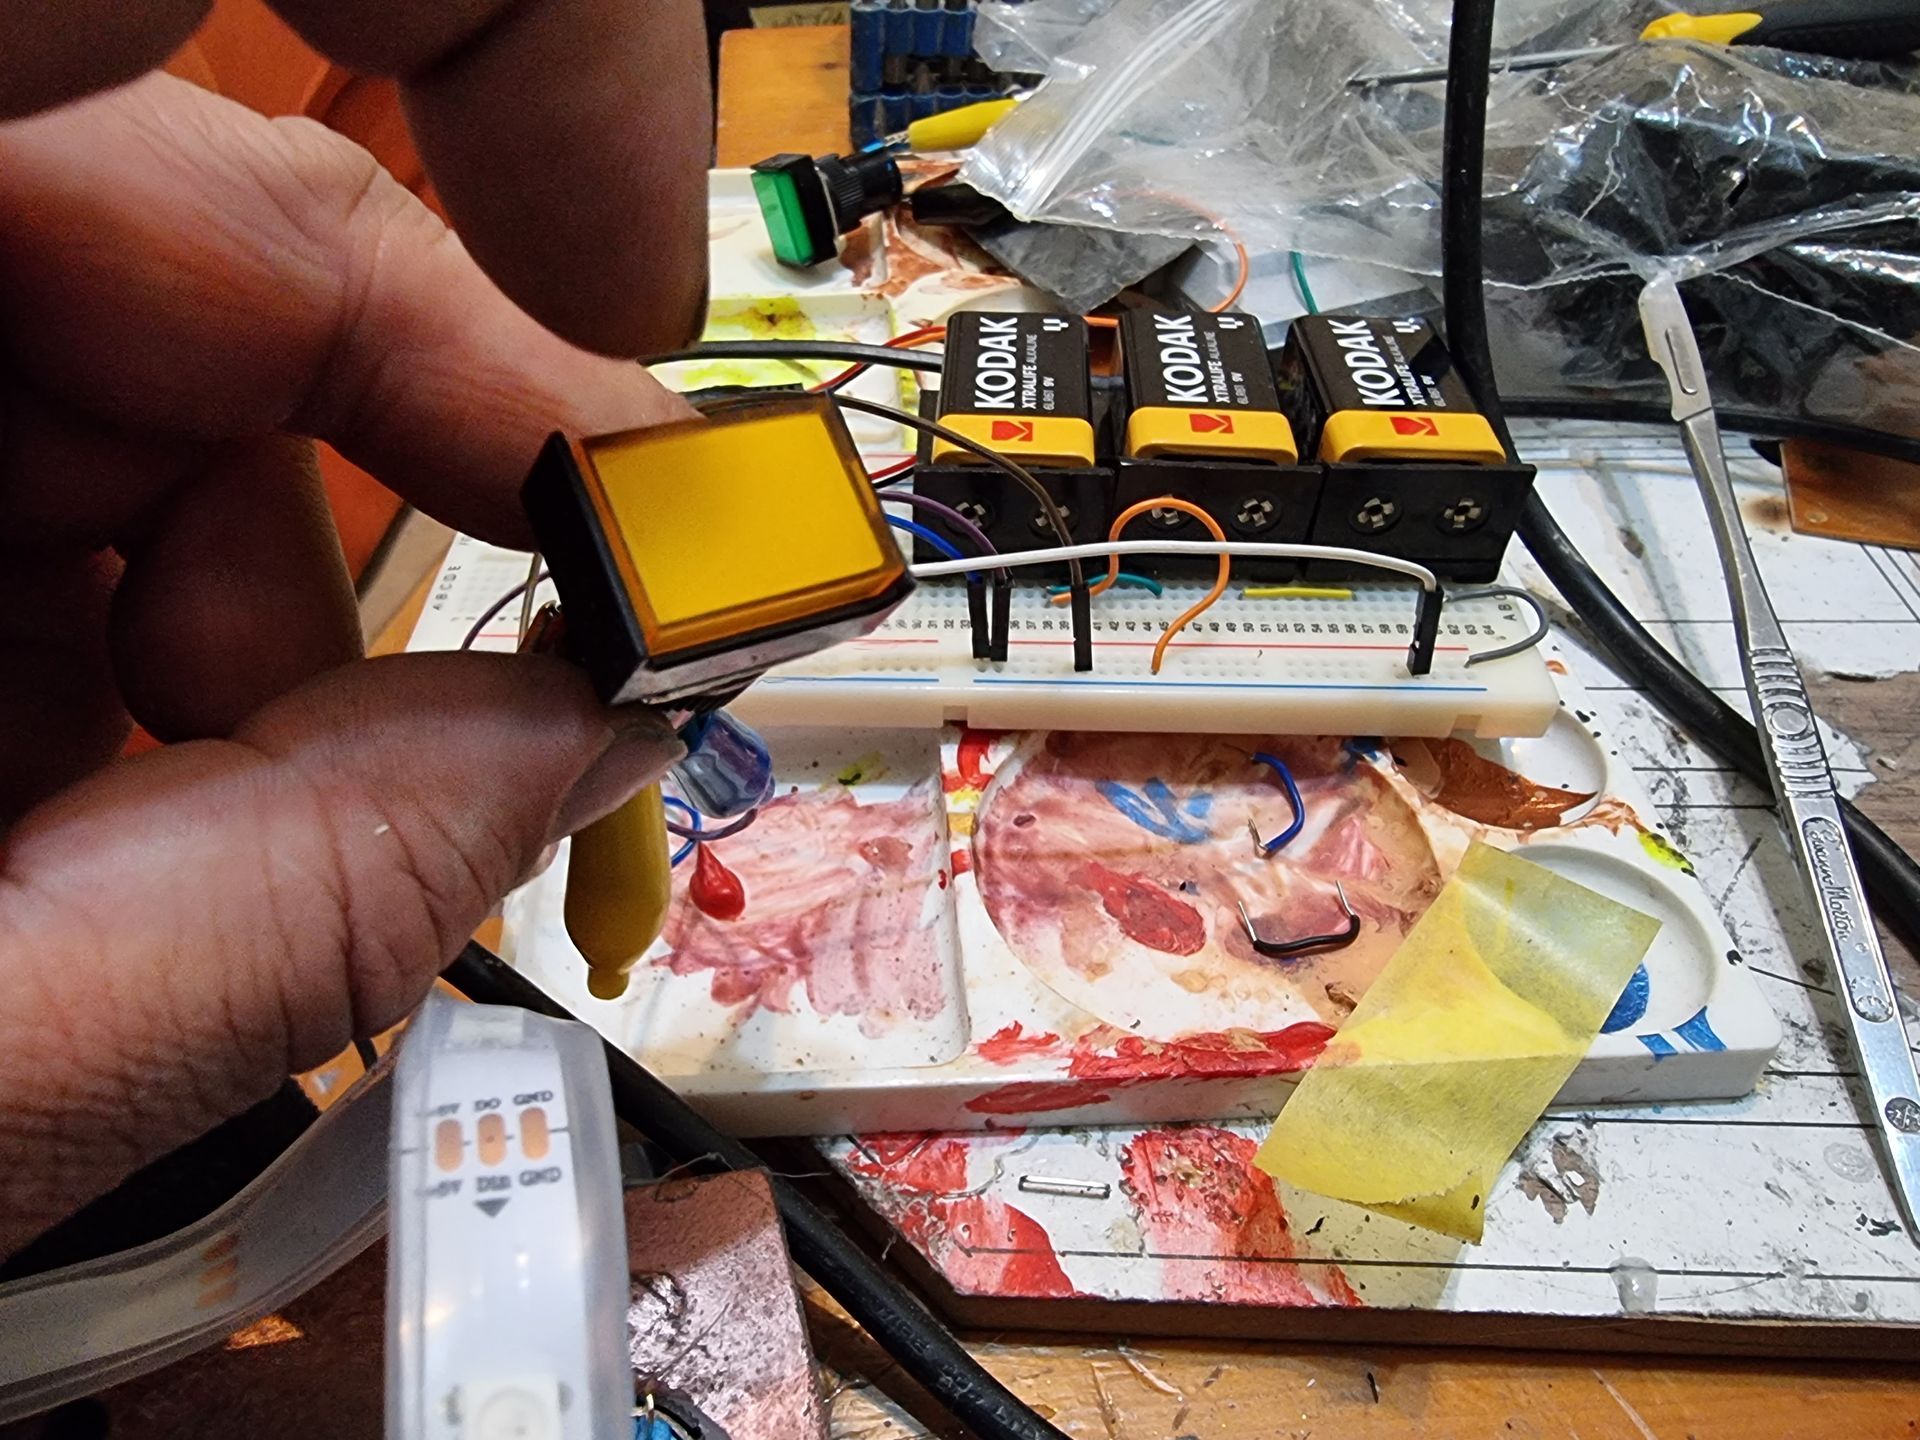
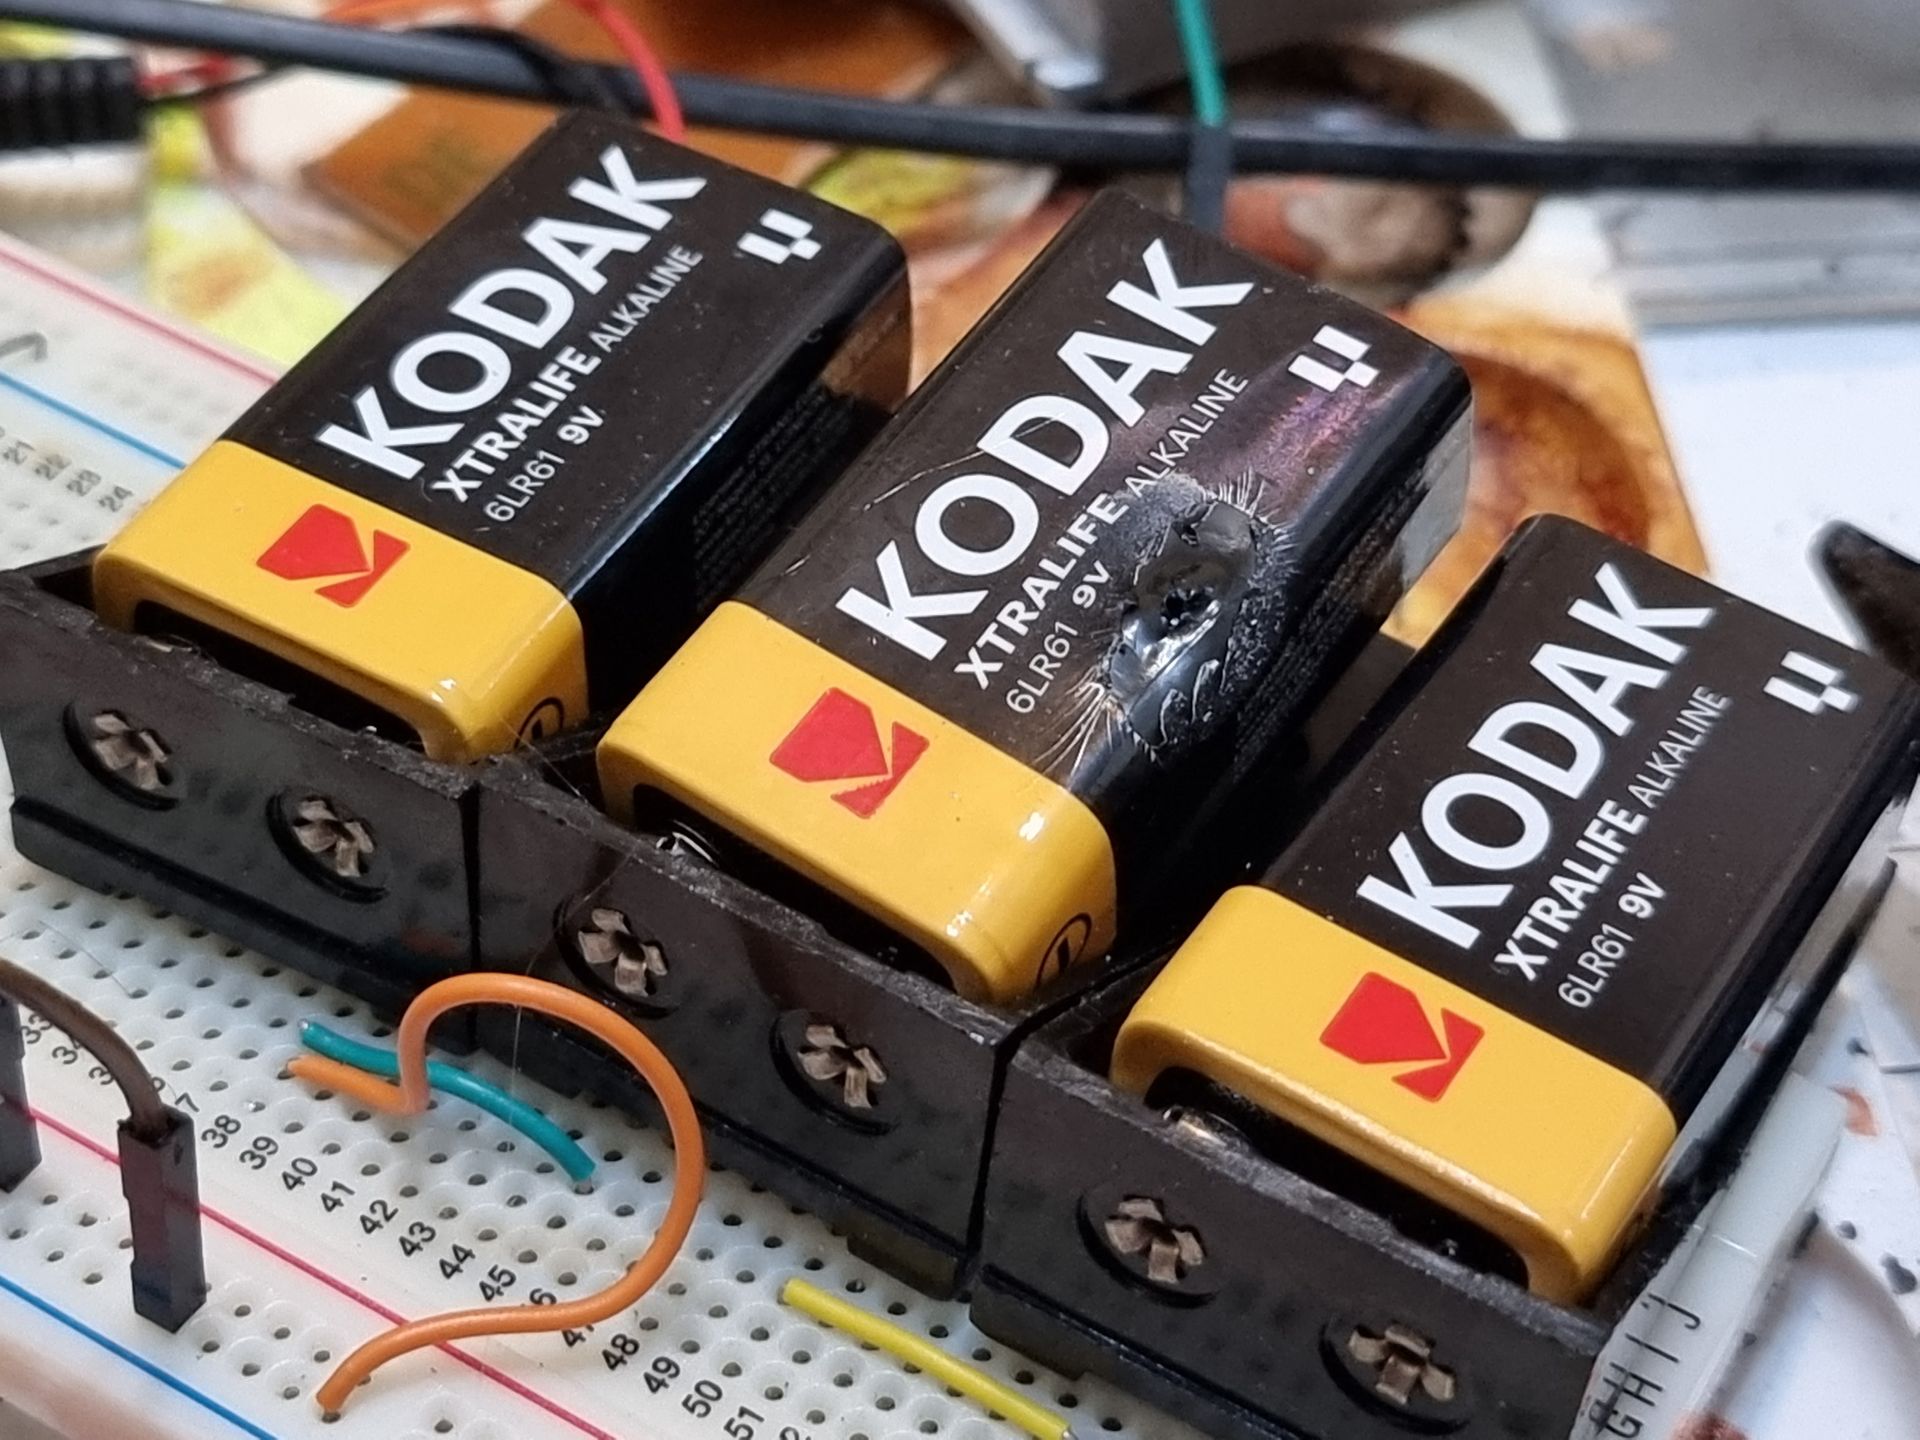
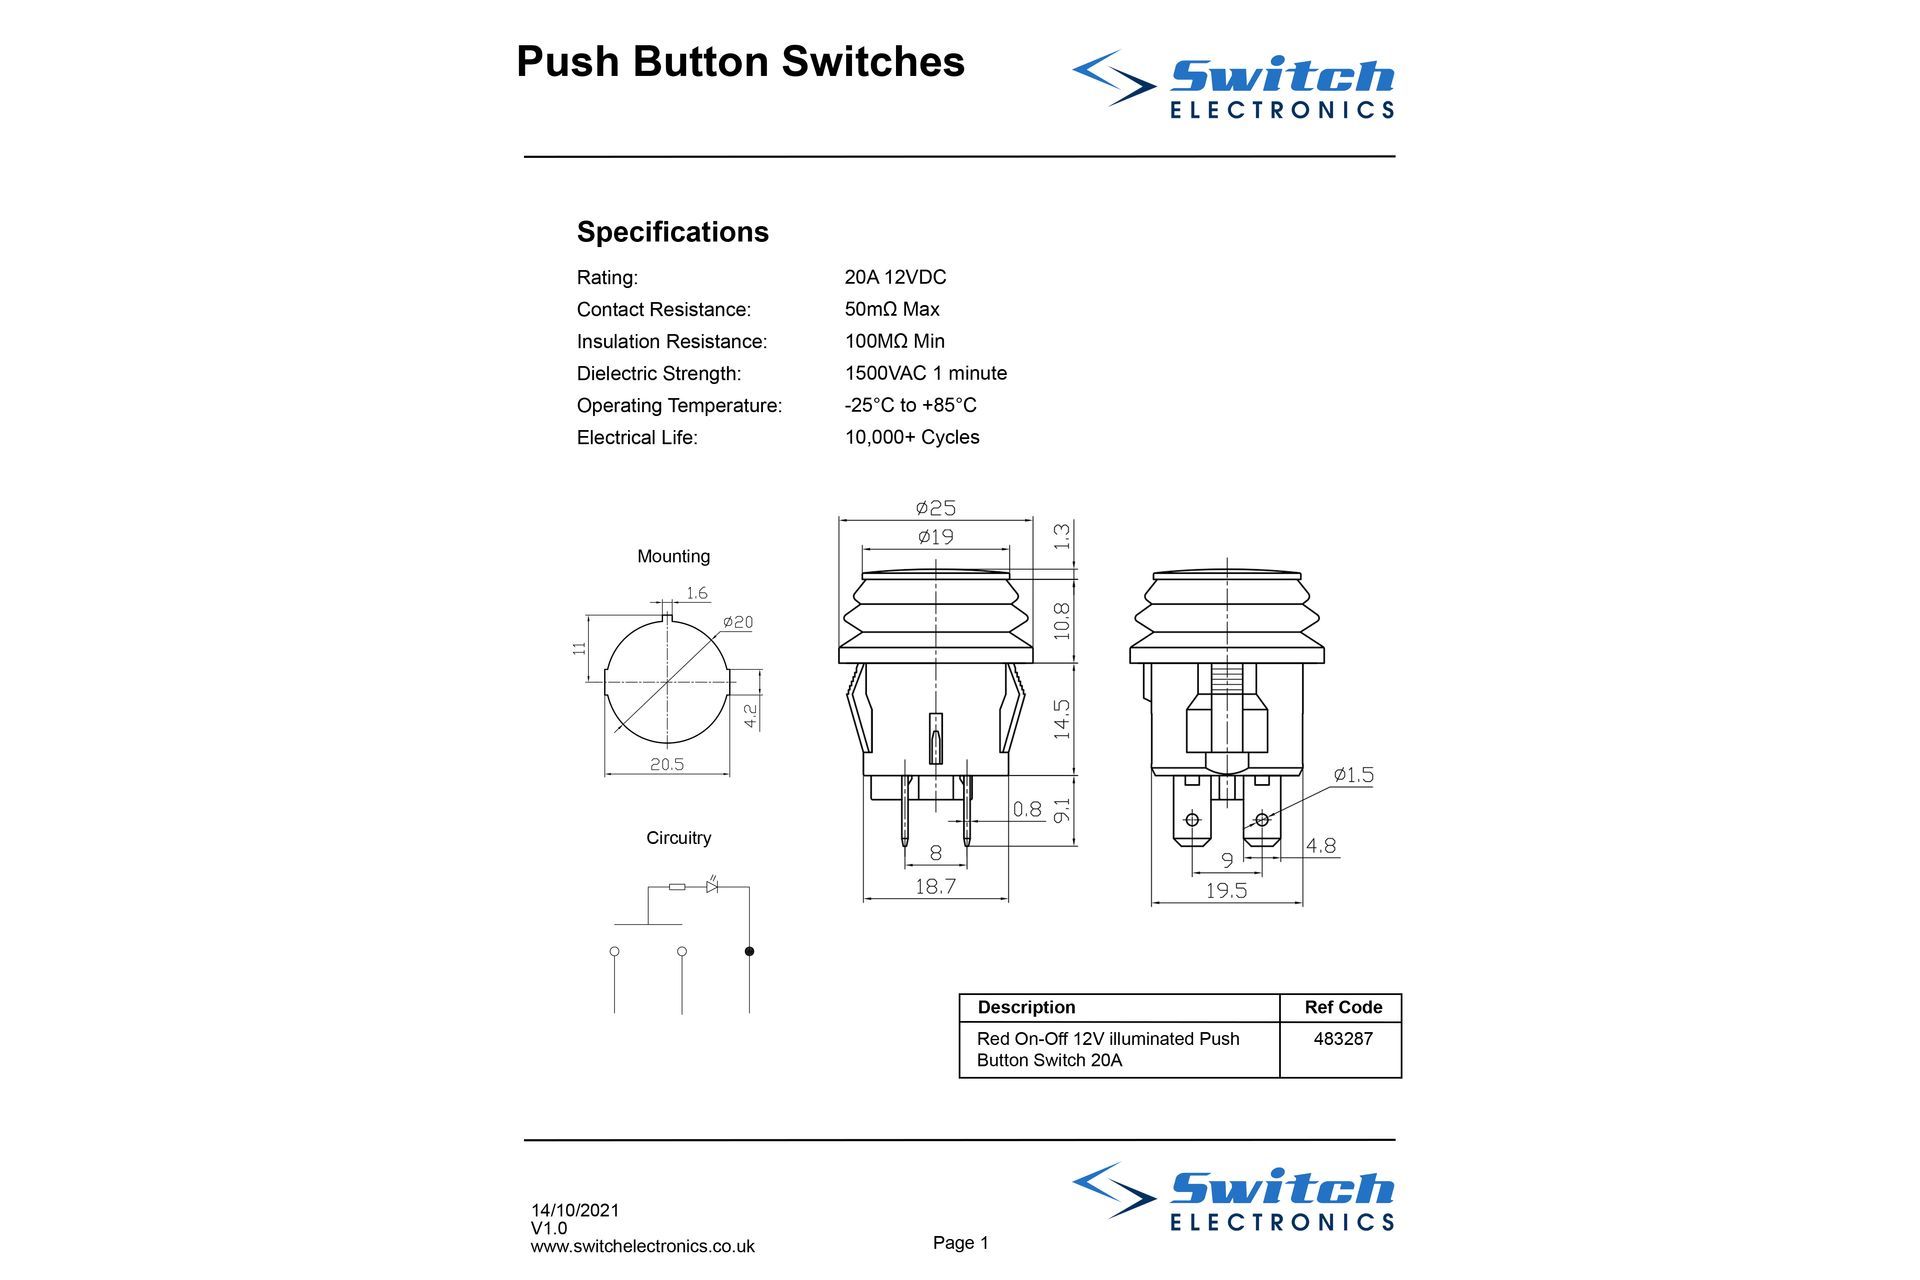
The light up switches were rated at 12v or 18v so that meant I needed to use PP3 Batteries in series.
These had a number of pins.
- Ground
- LED +
- LED -
- Normally Open
- Normally Closed
- Common
It took several attempts to work out the wiring I needed to do to get the result I wanted.
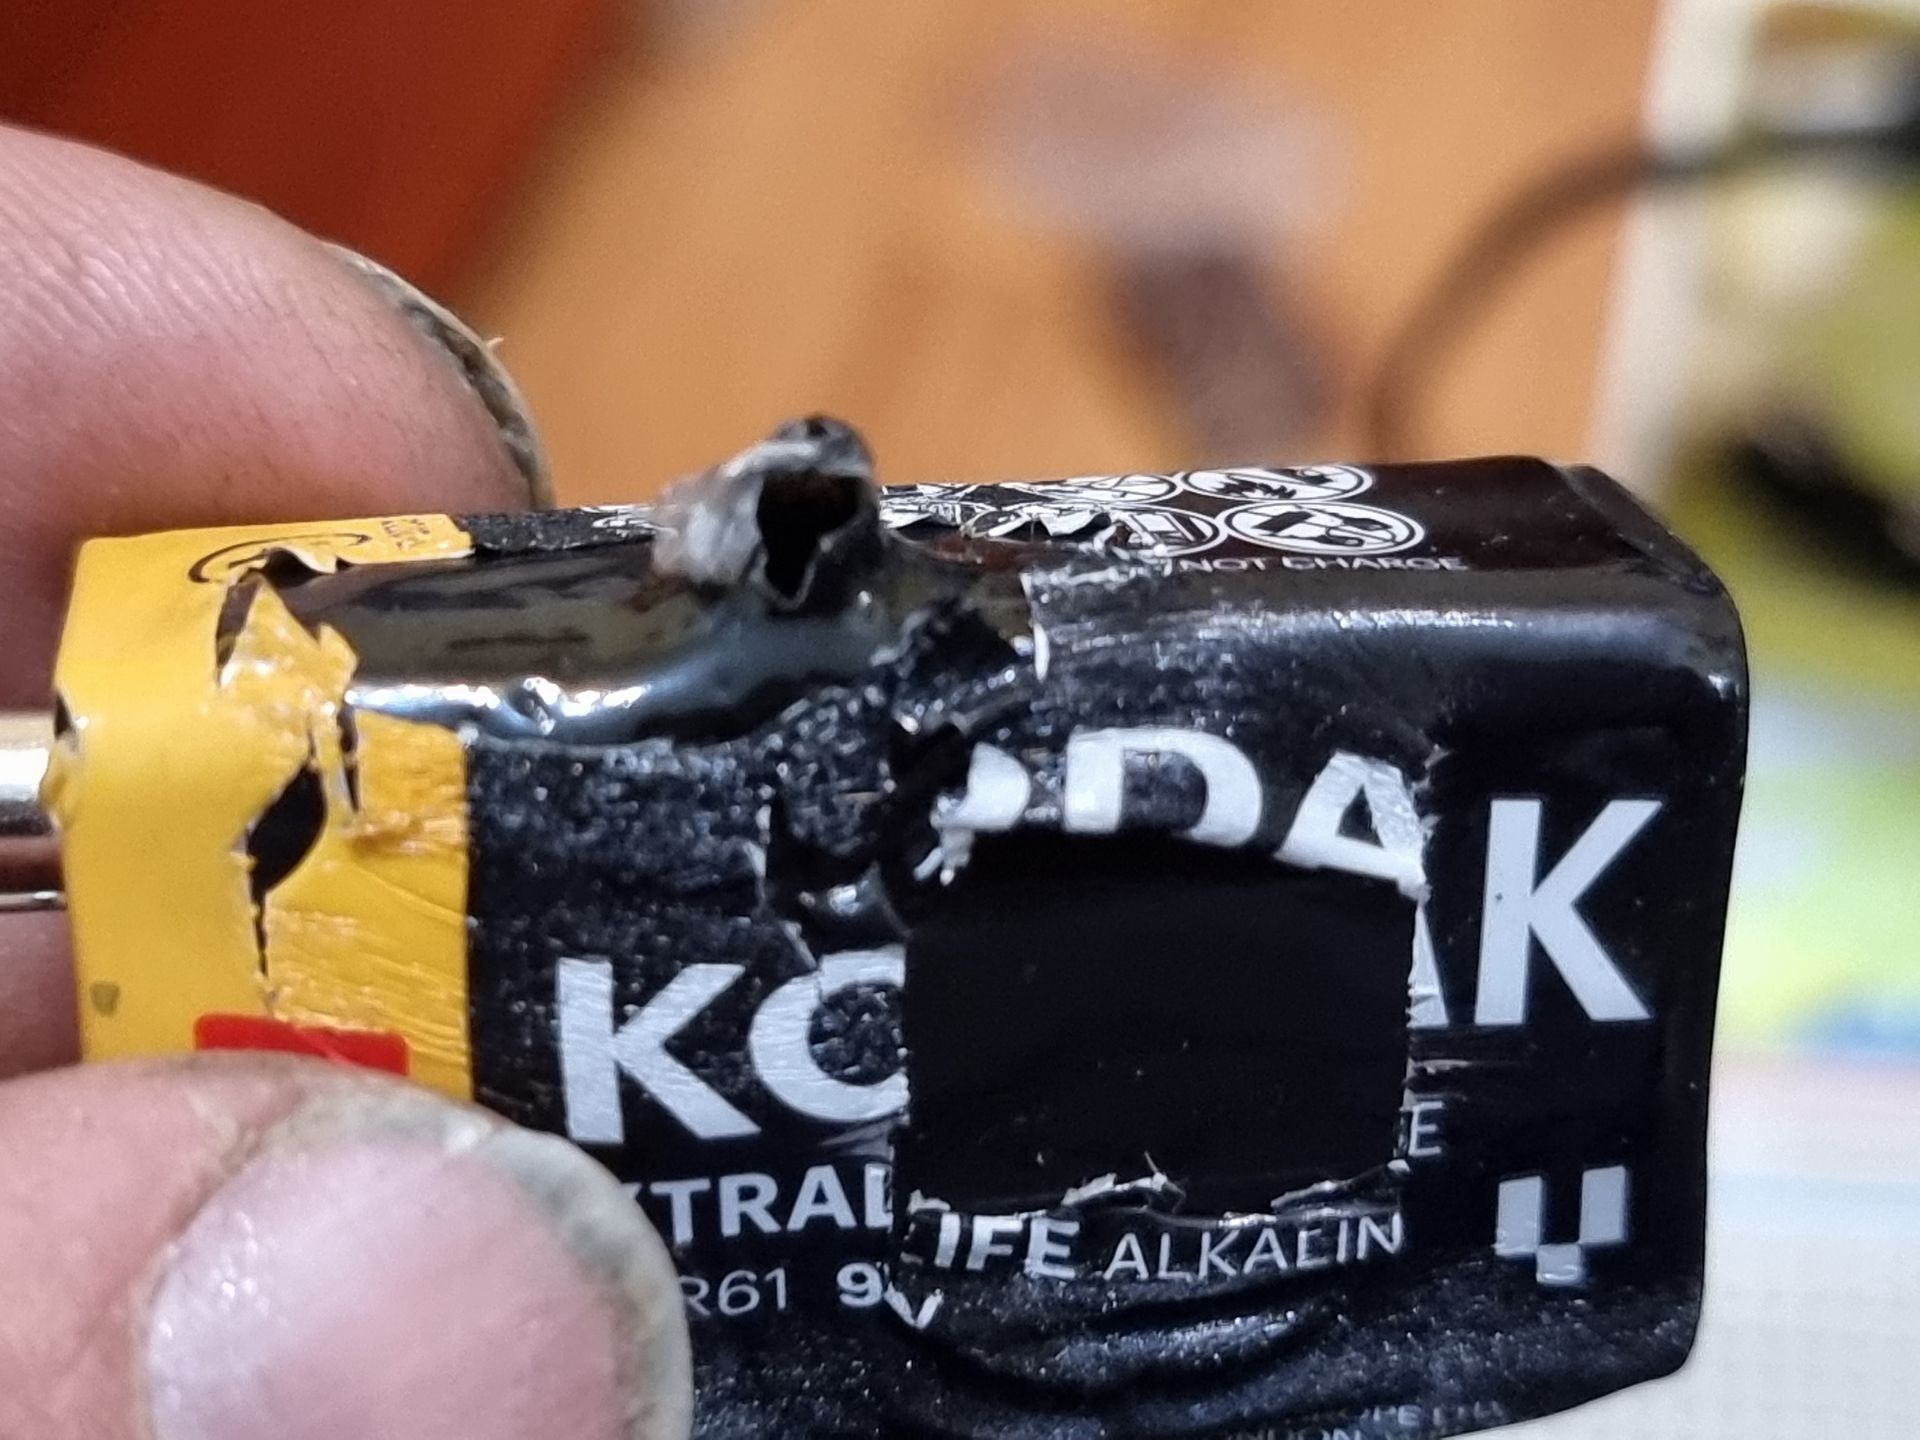
I also did not realise I needed a resister on the power input which resulted in a few batteries having holed blown out of them when they over heated.
This was fixed when I added a 2 k ohm resister on the LED + line.
Control Panels Cutting Guides
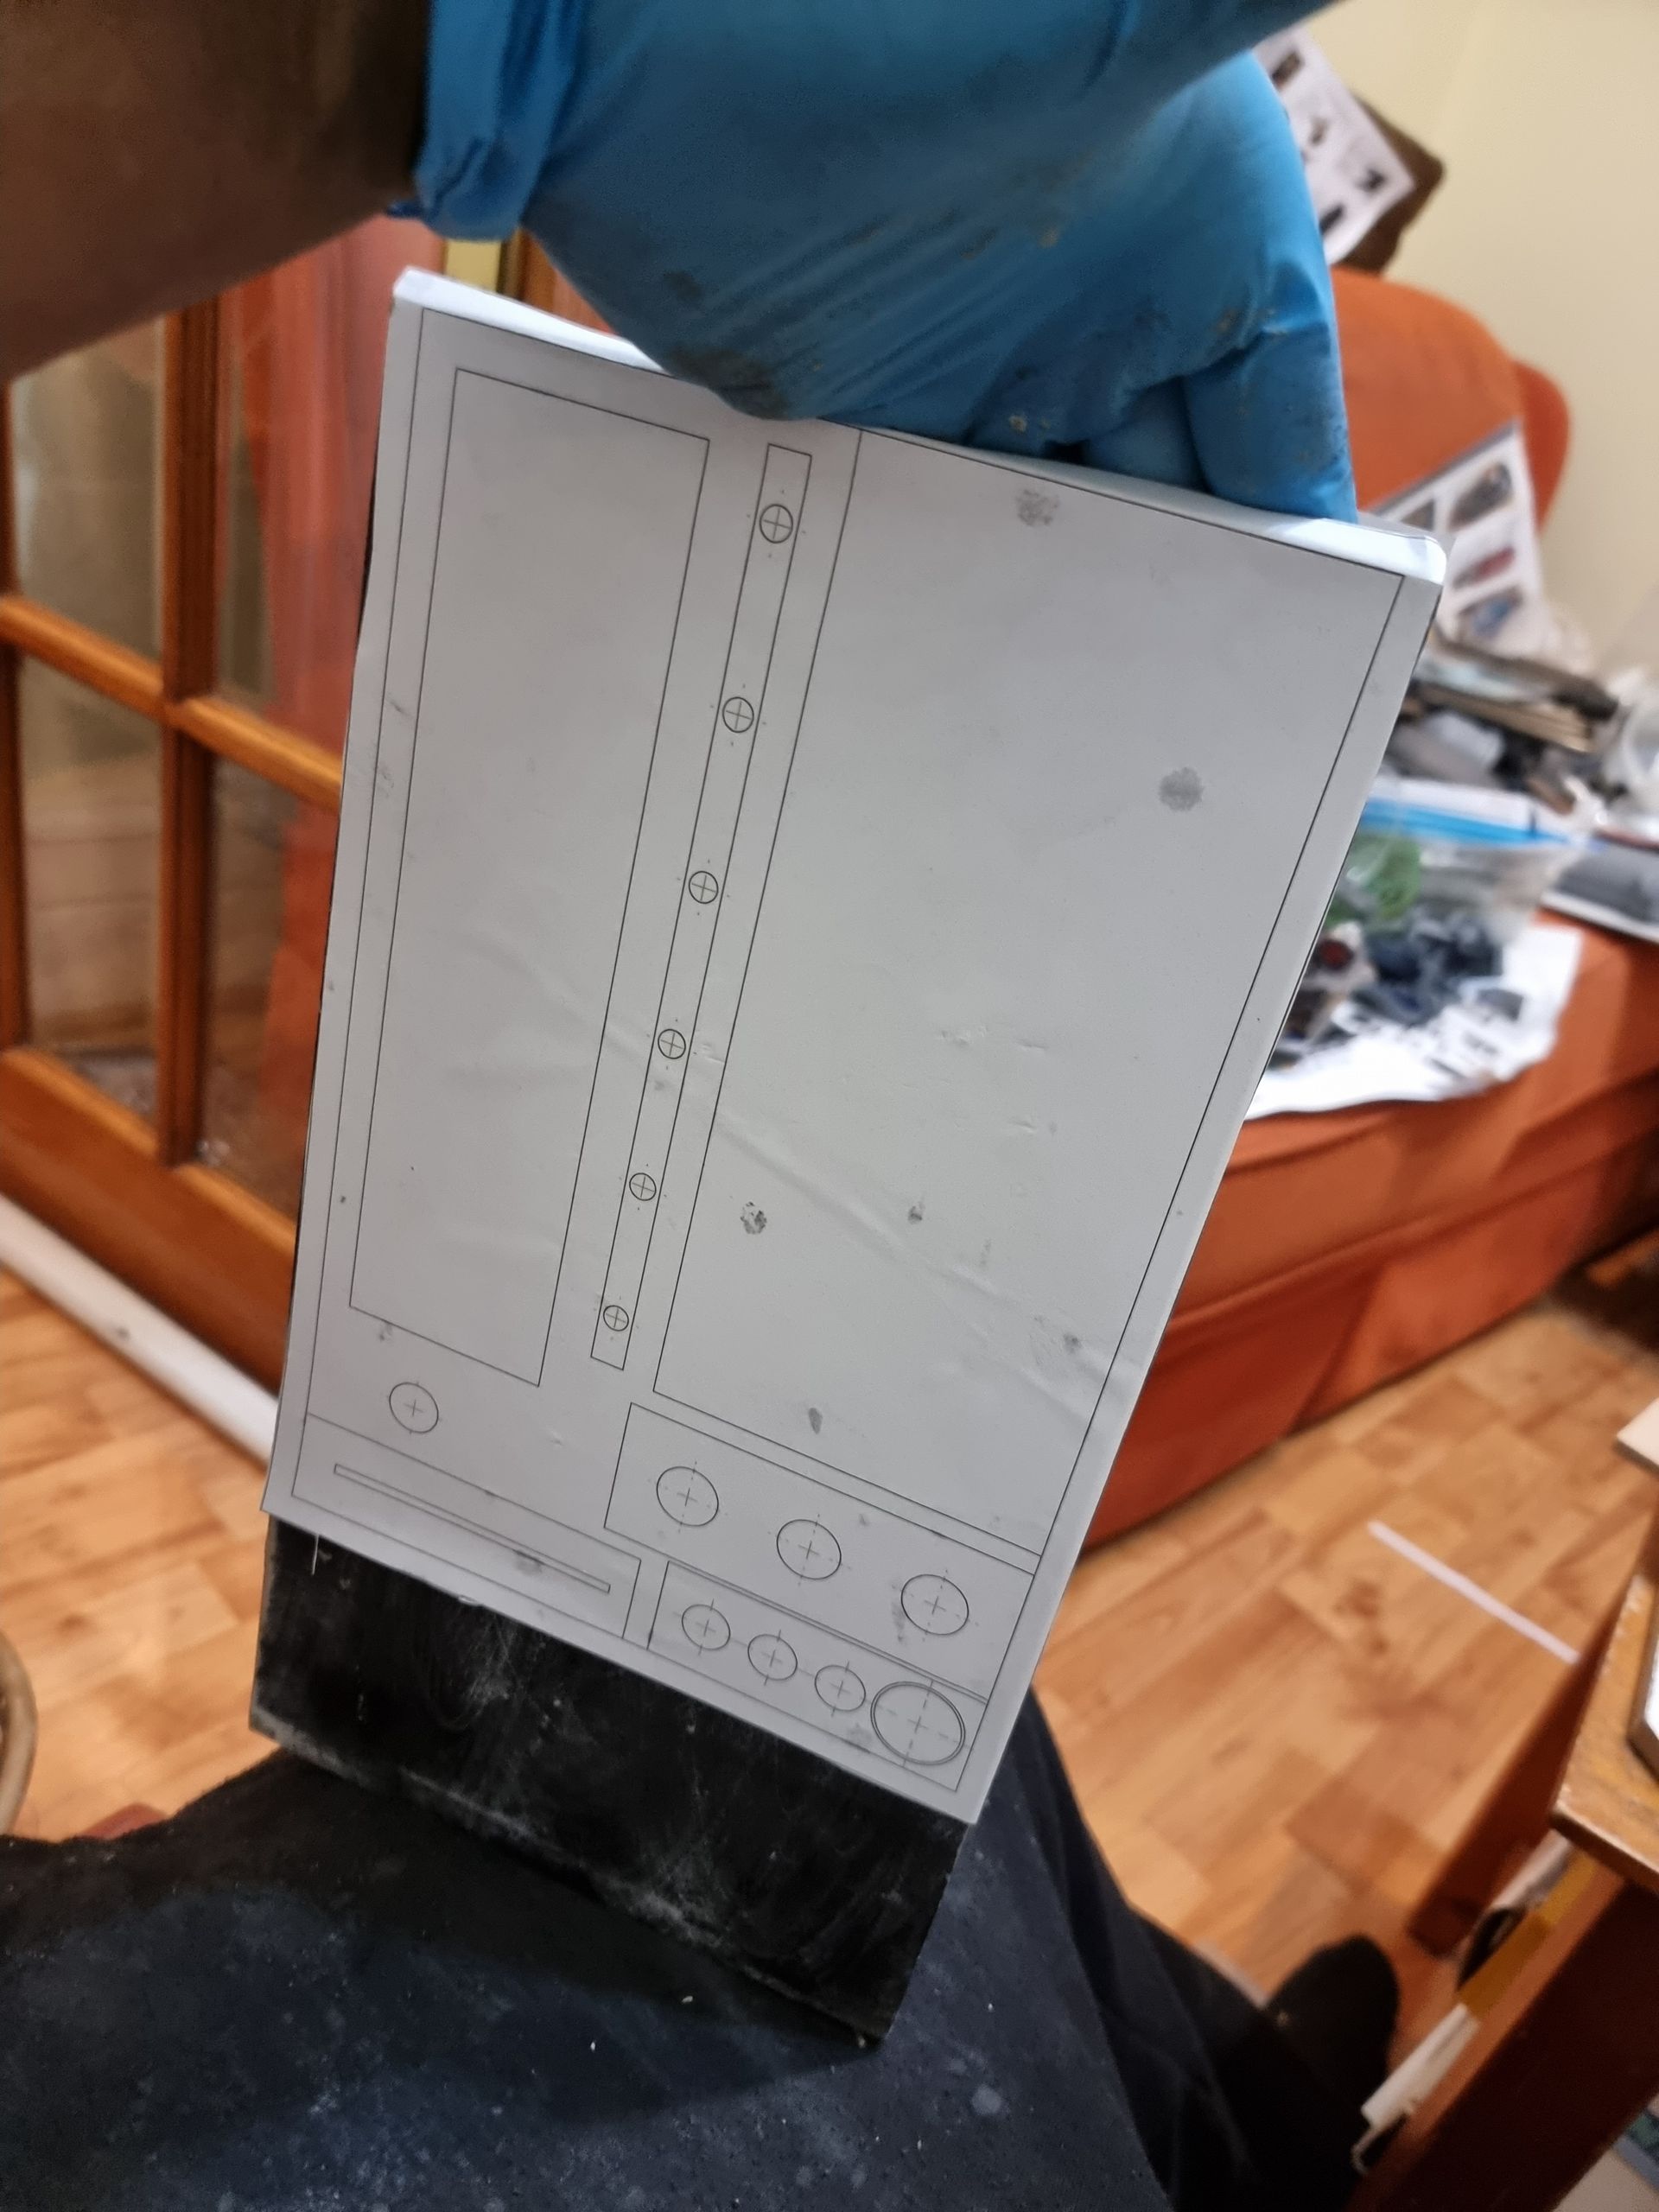
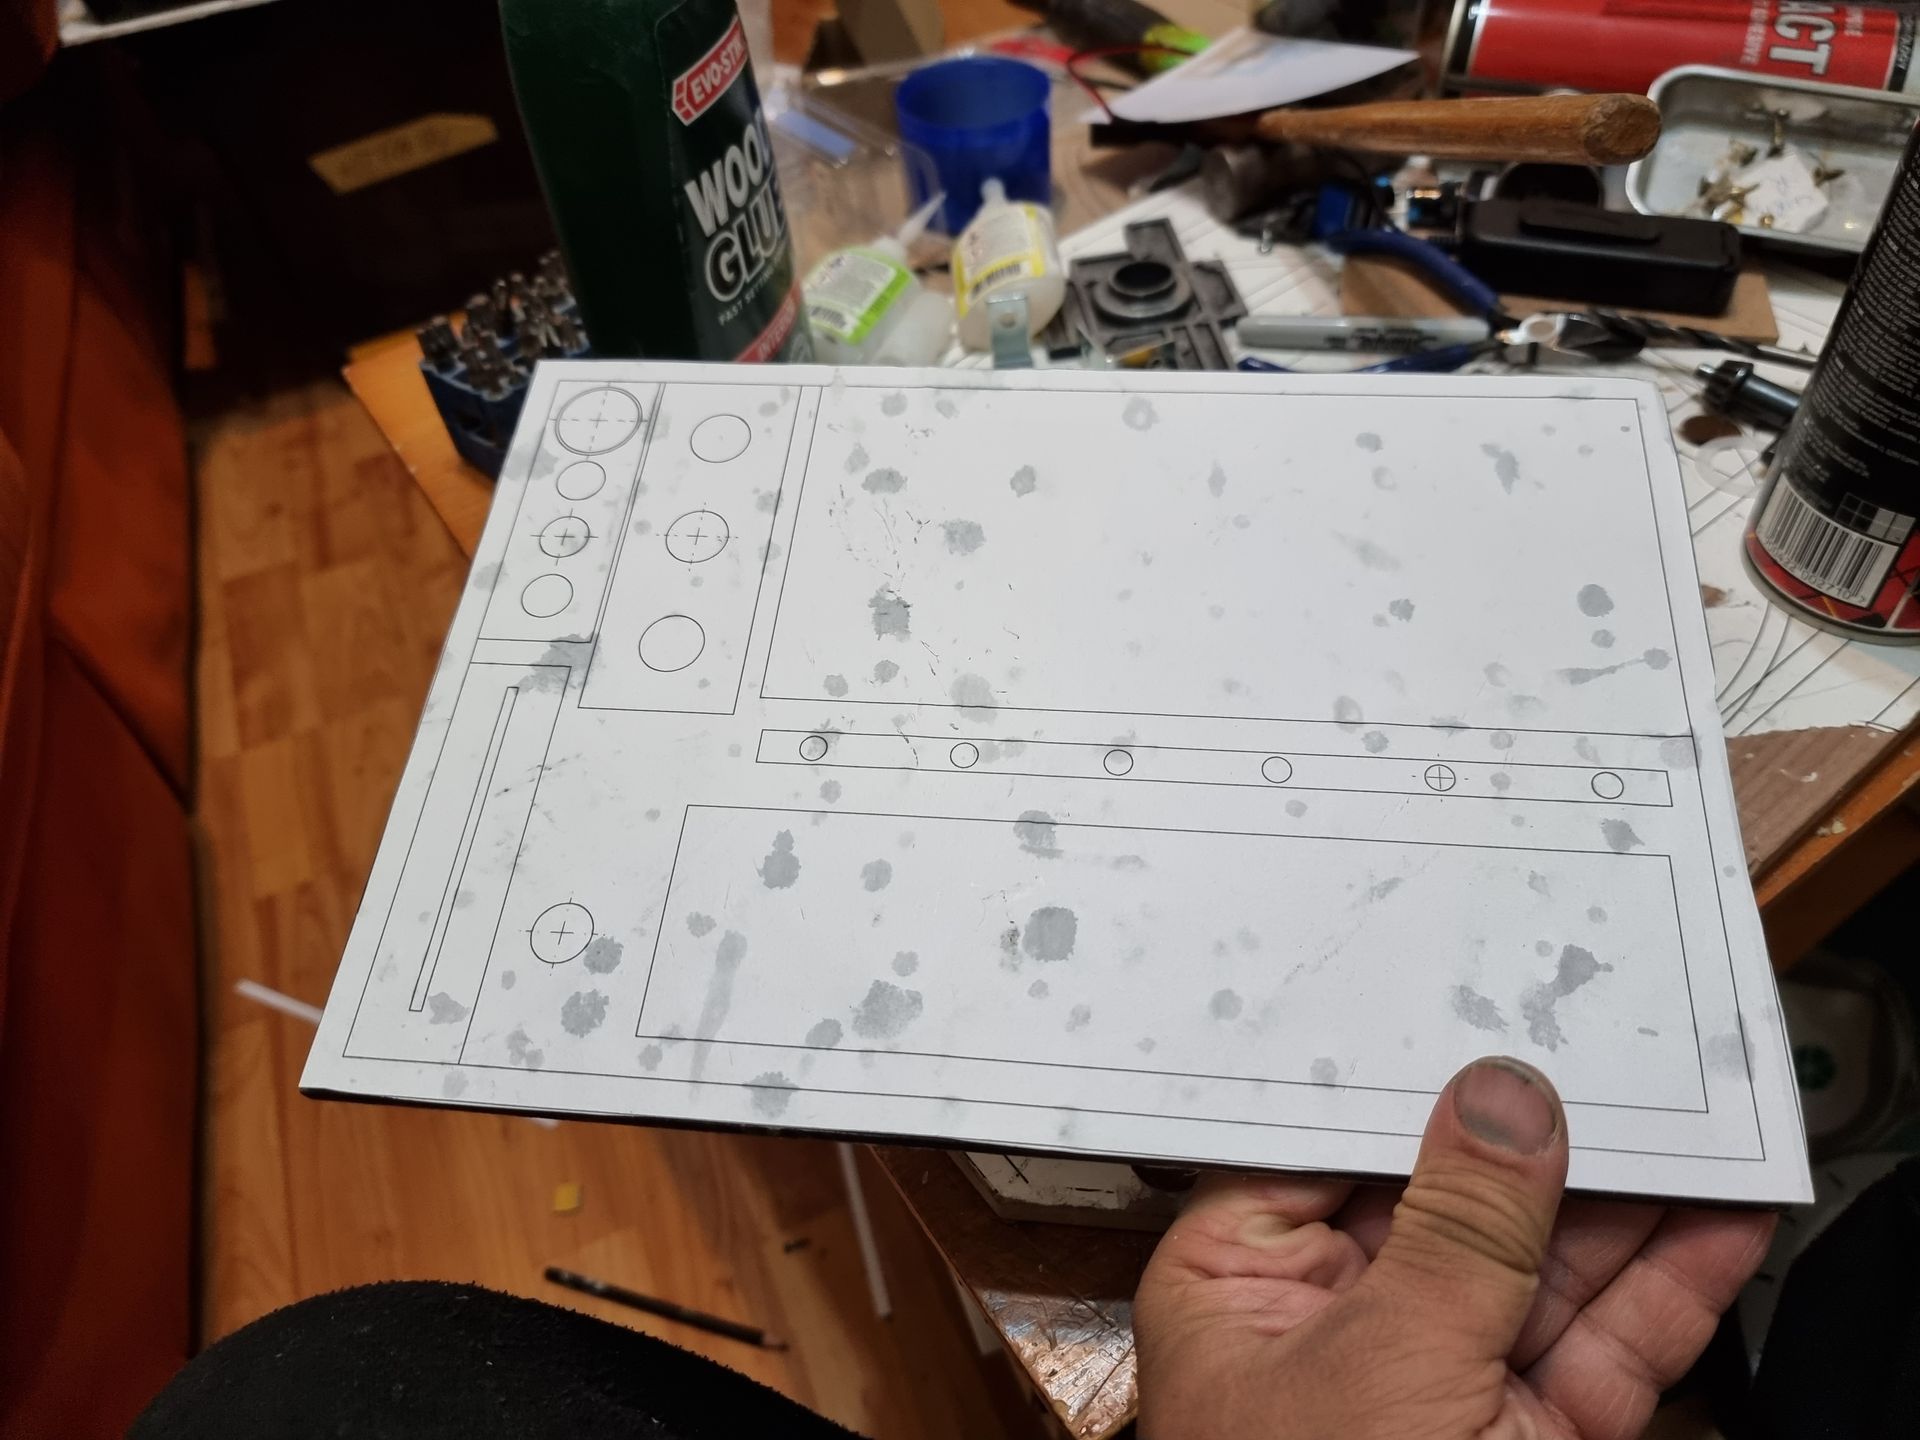
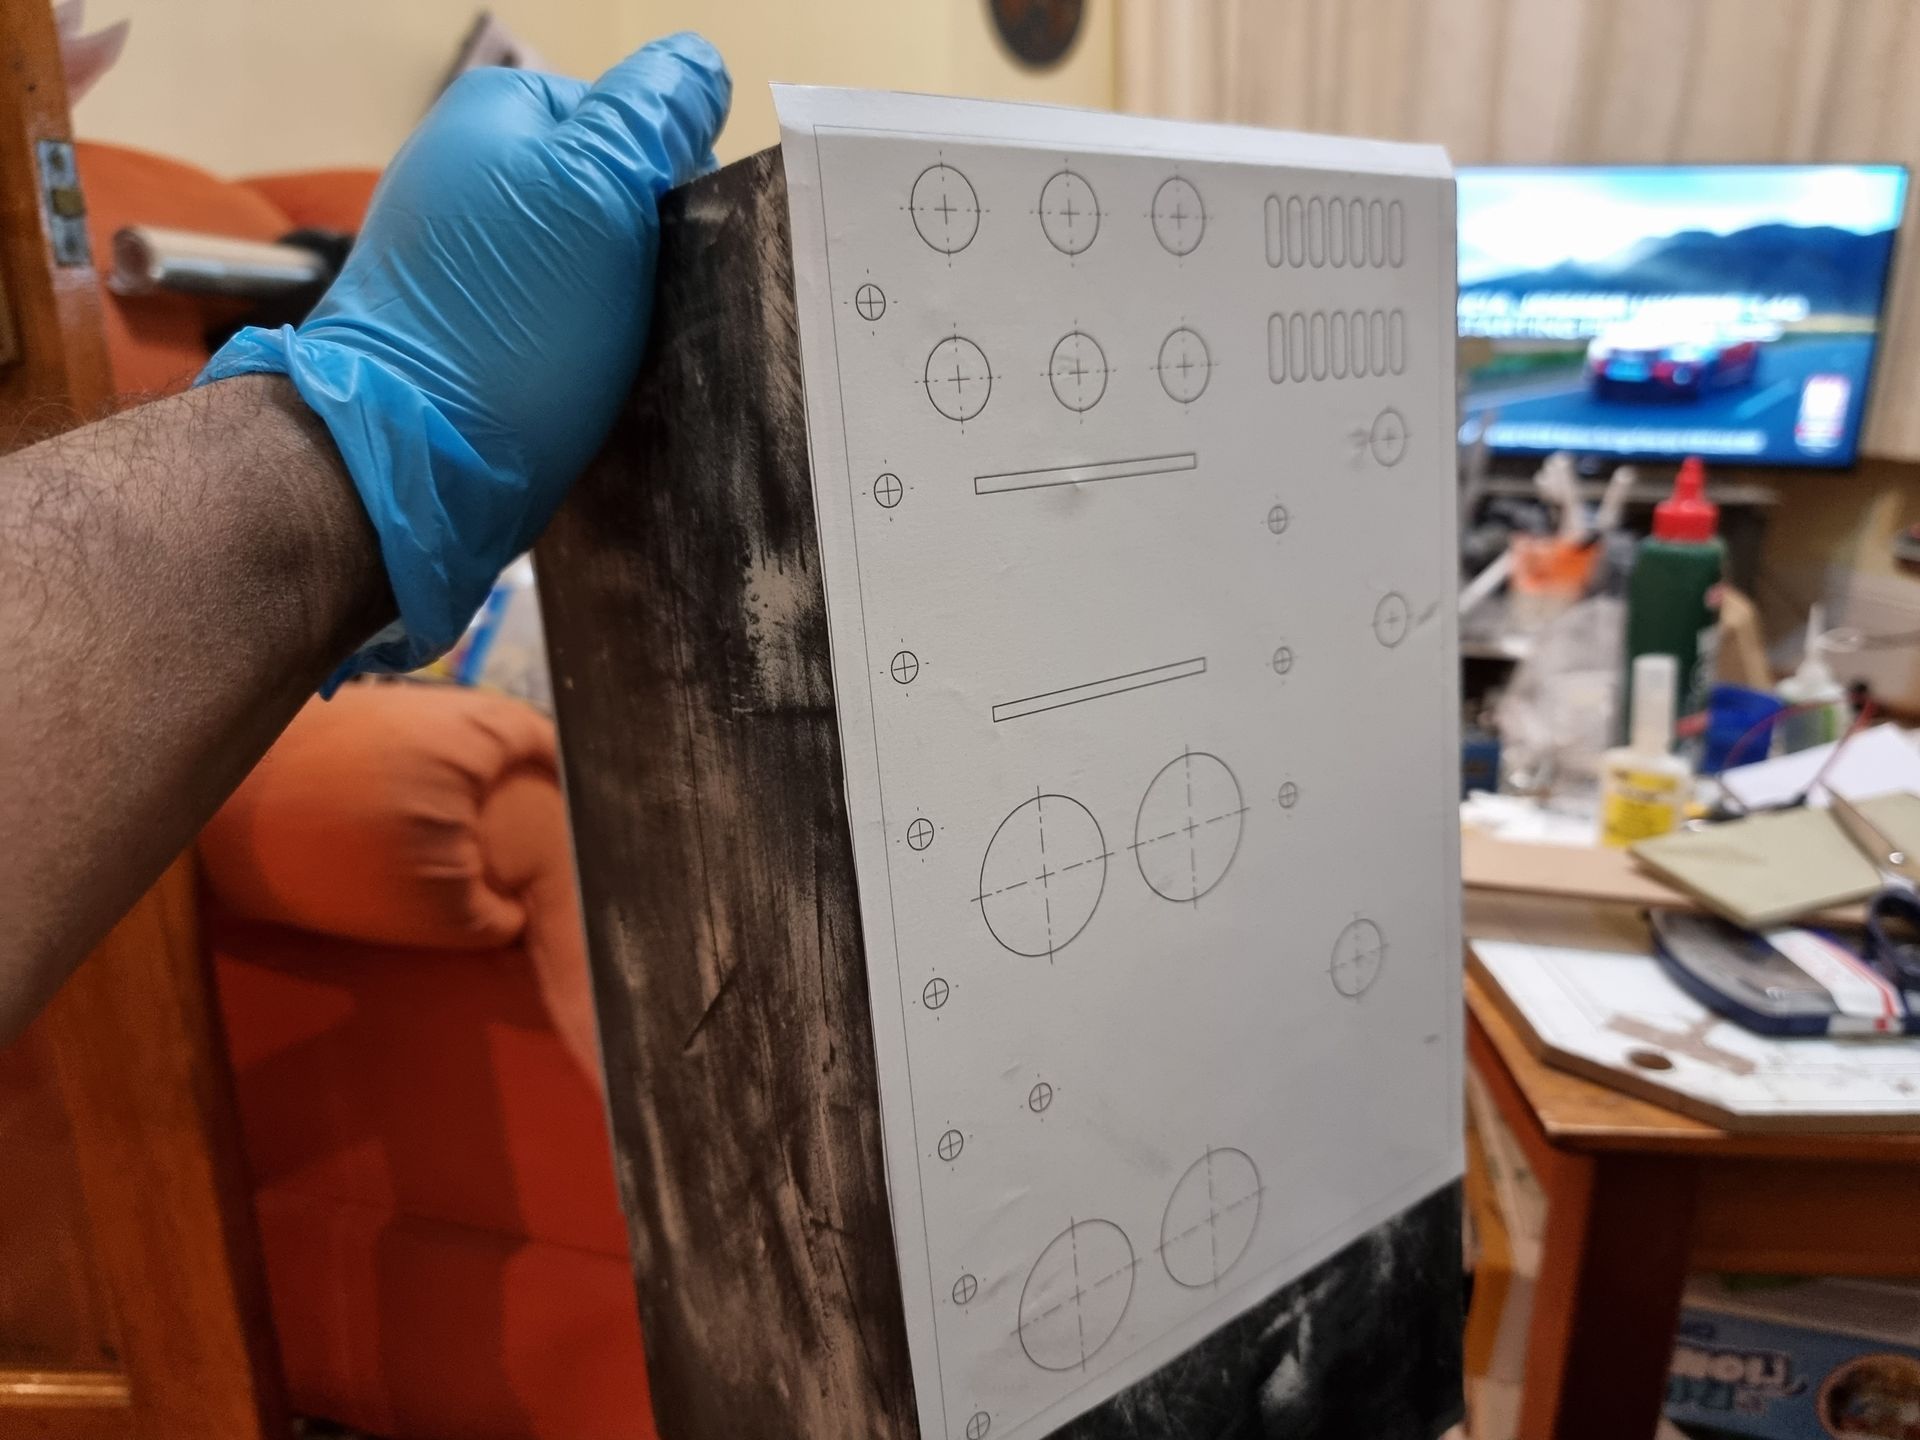
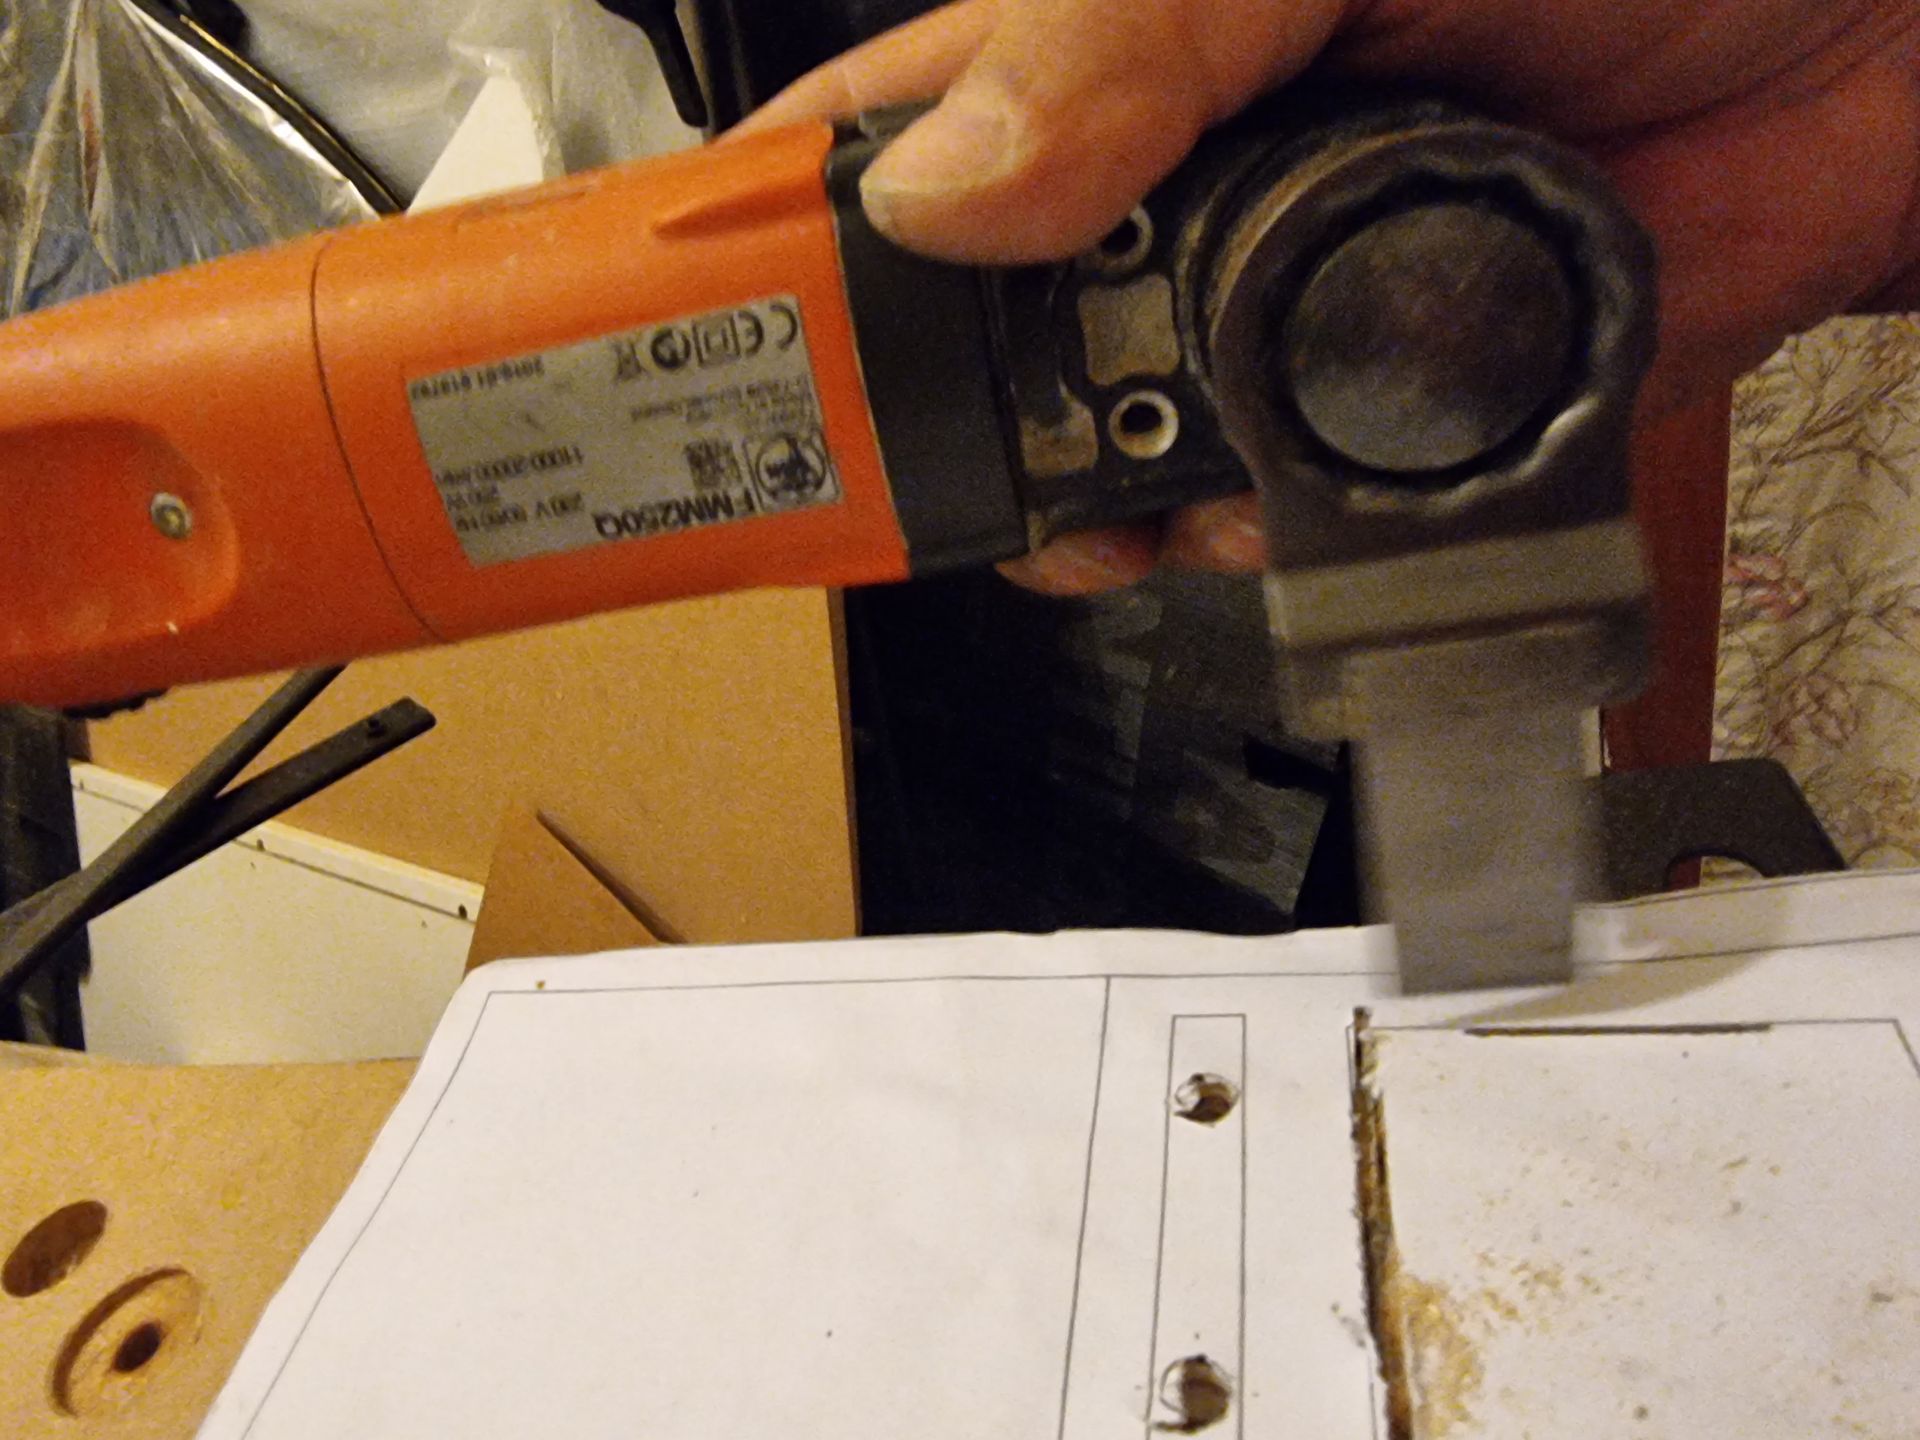
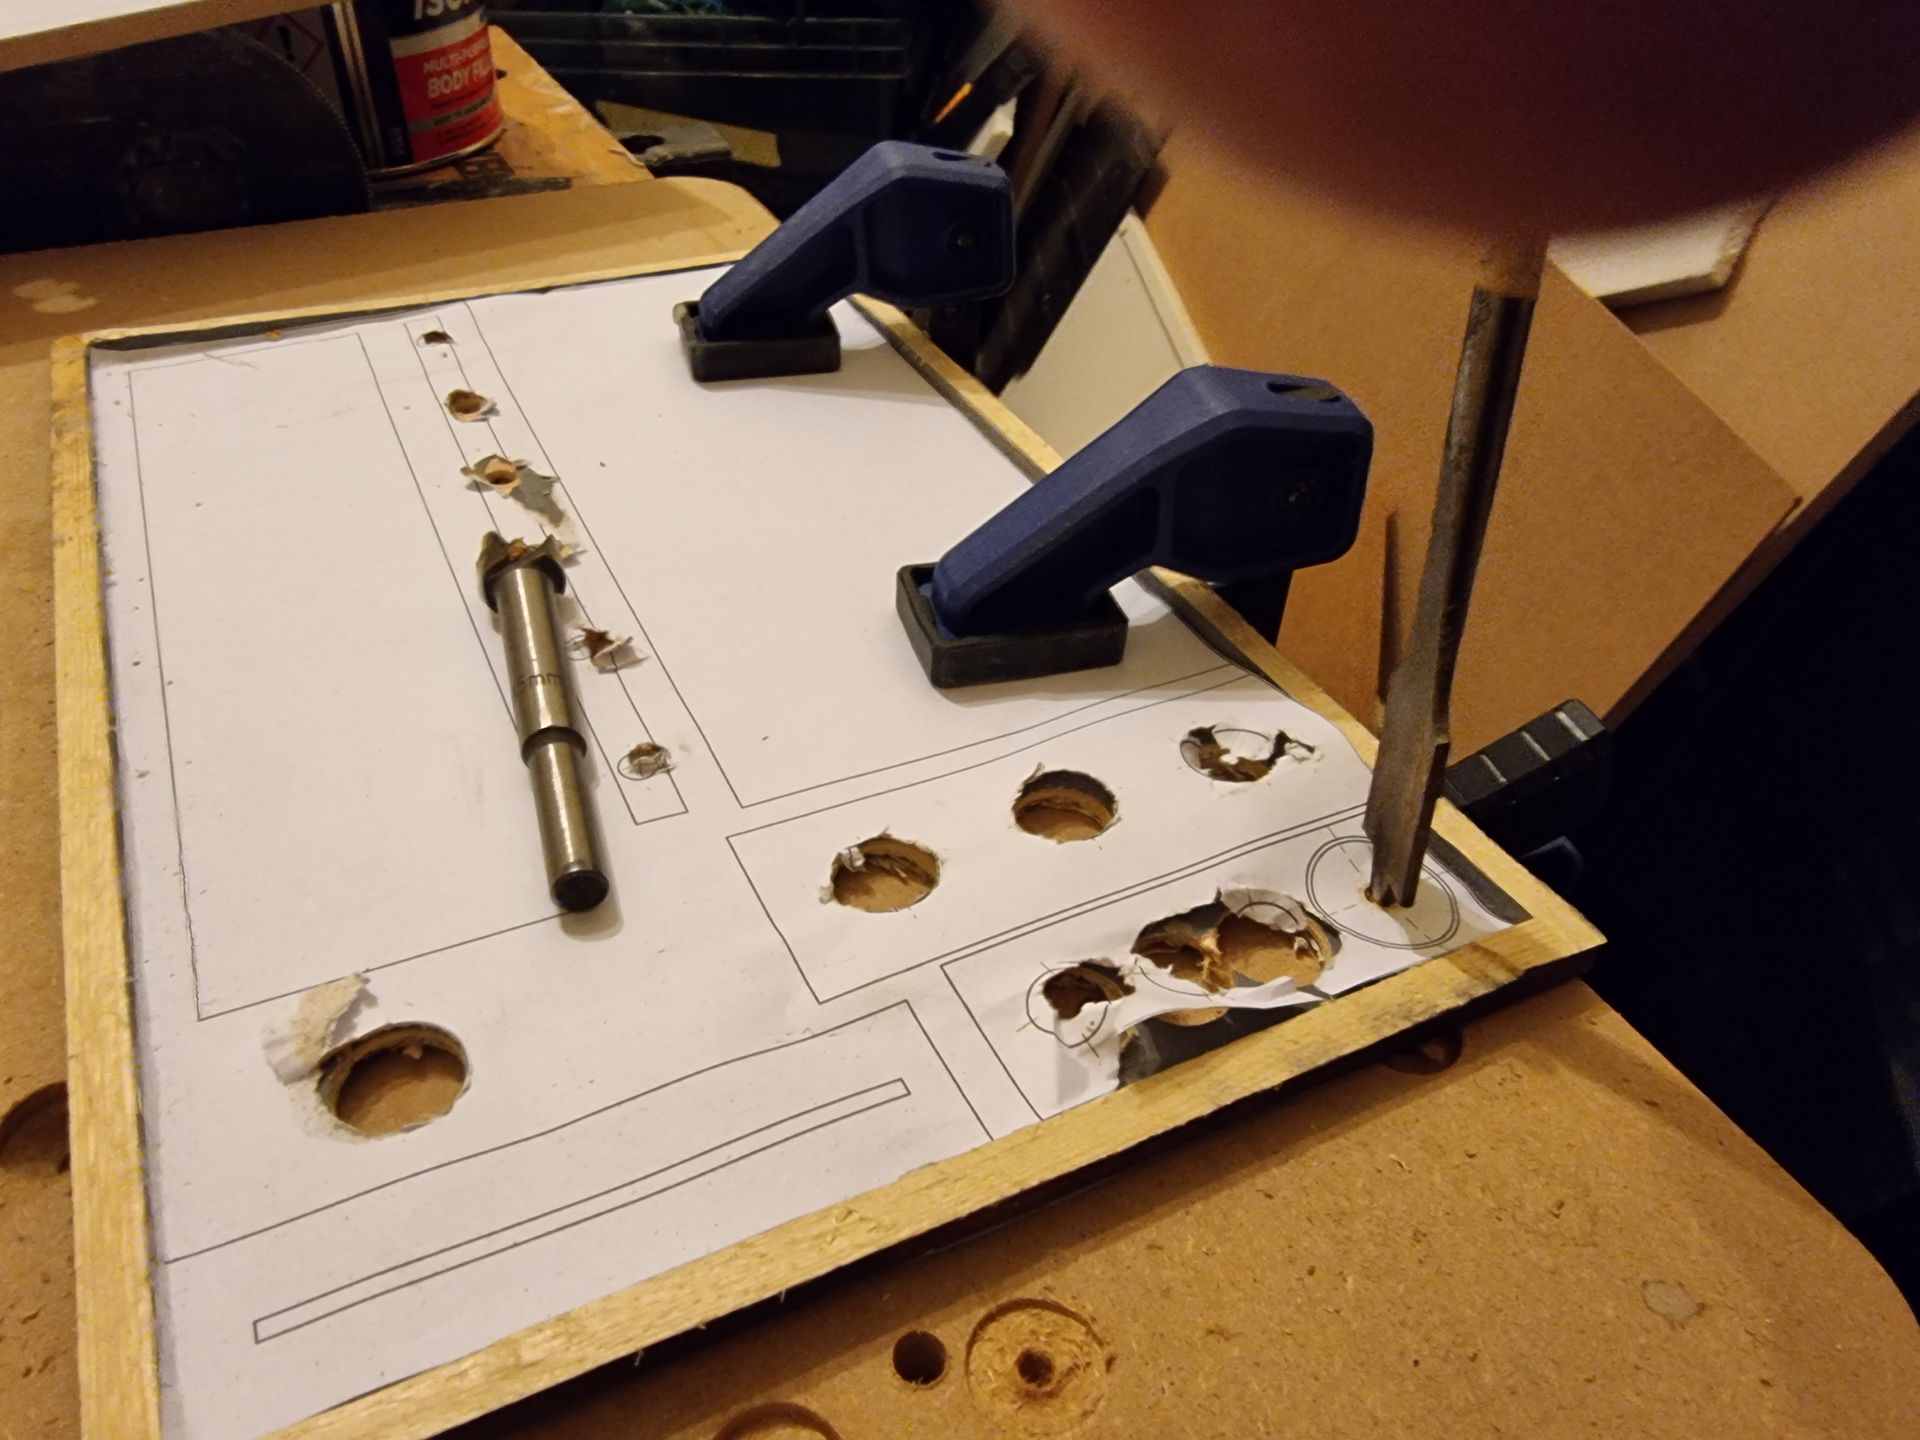
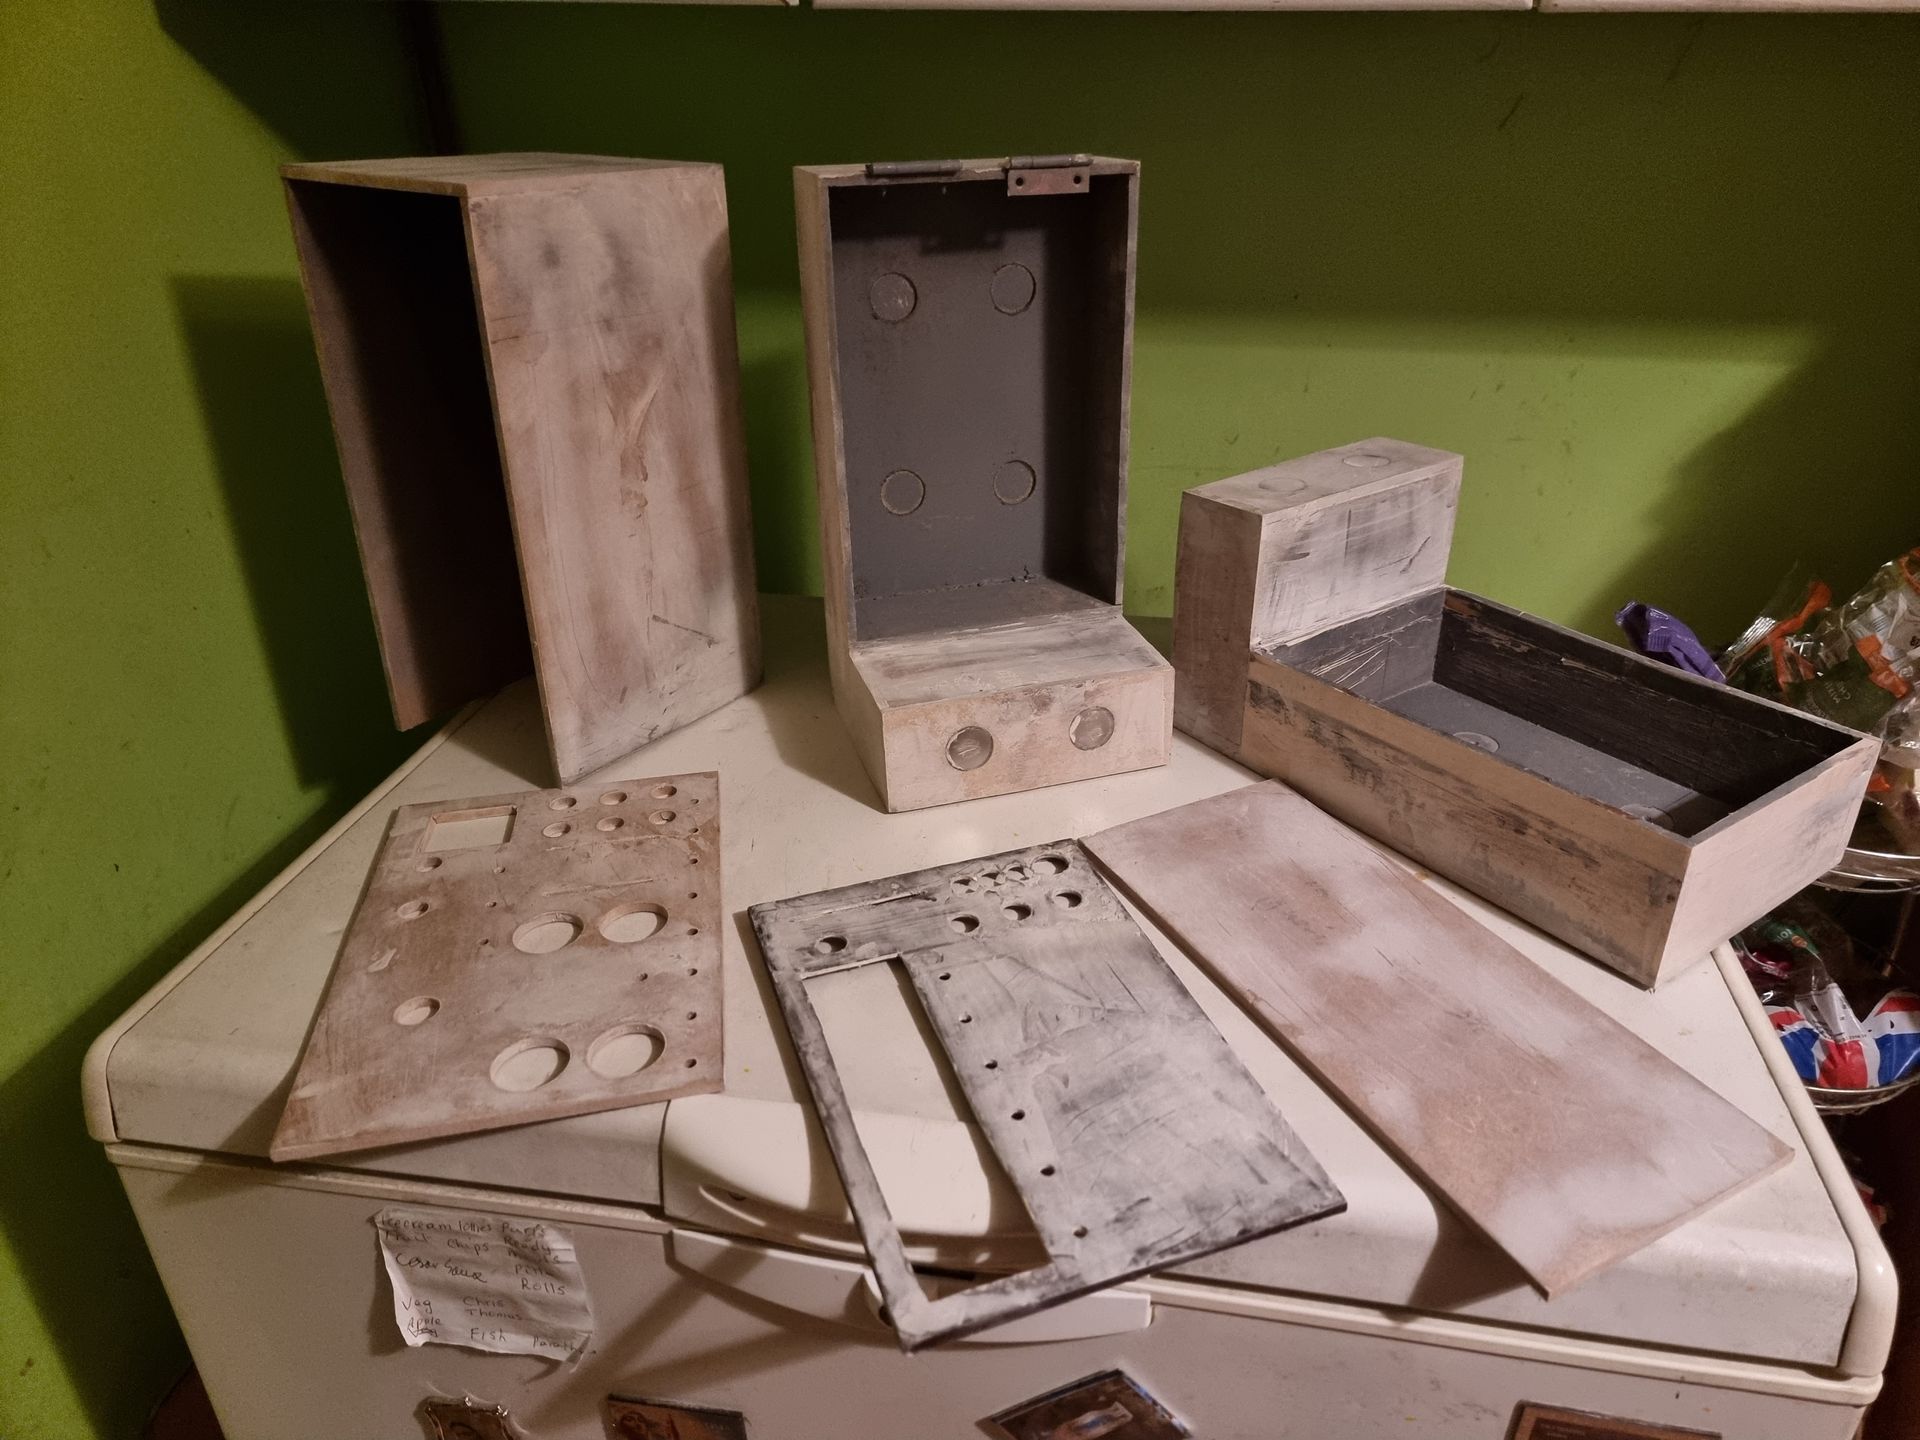
The control panels were started by using what I learned from the prototyping stage, the create in Illustrator cutting guide sheets which were stuck on the panels and used to guide drilling and slot cutting with the Finn Multi Master.
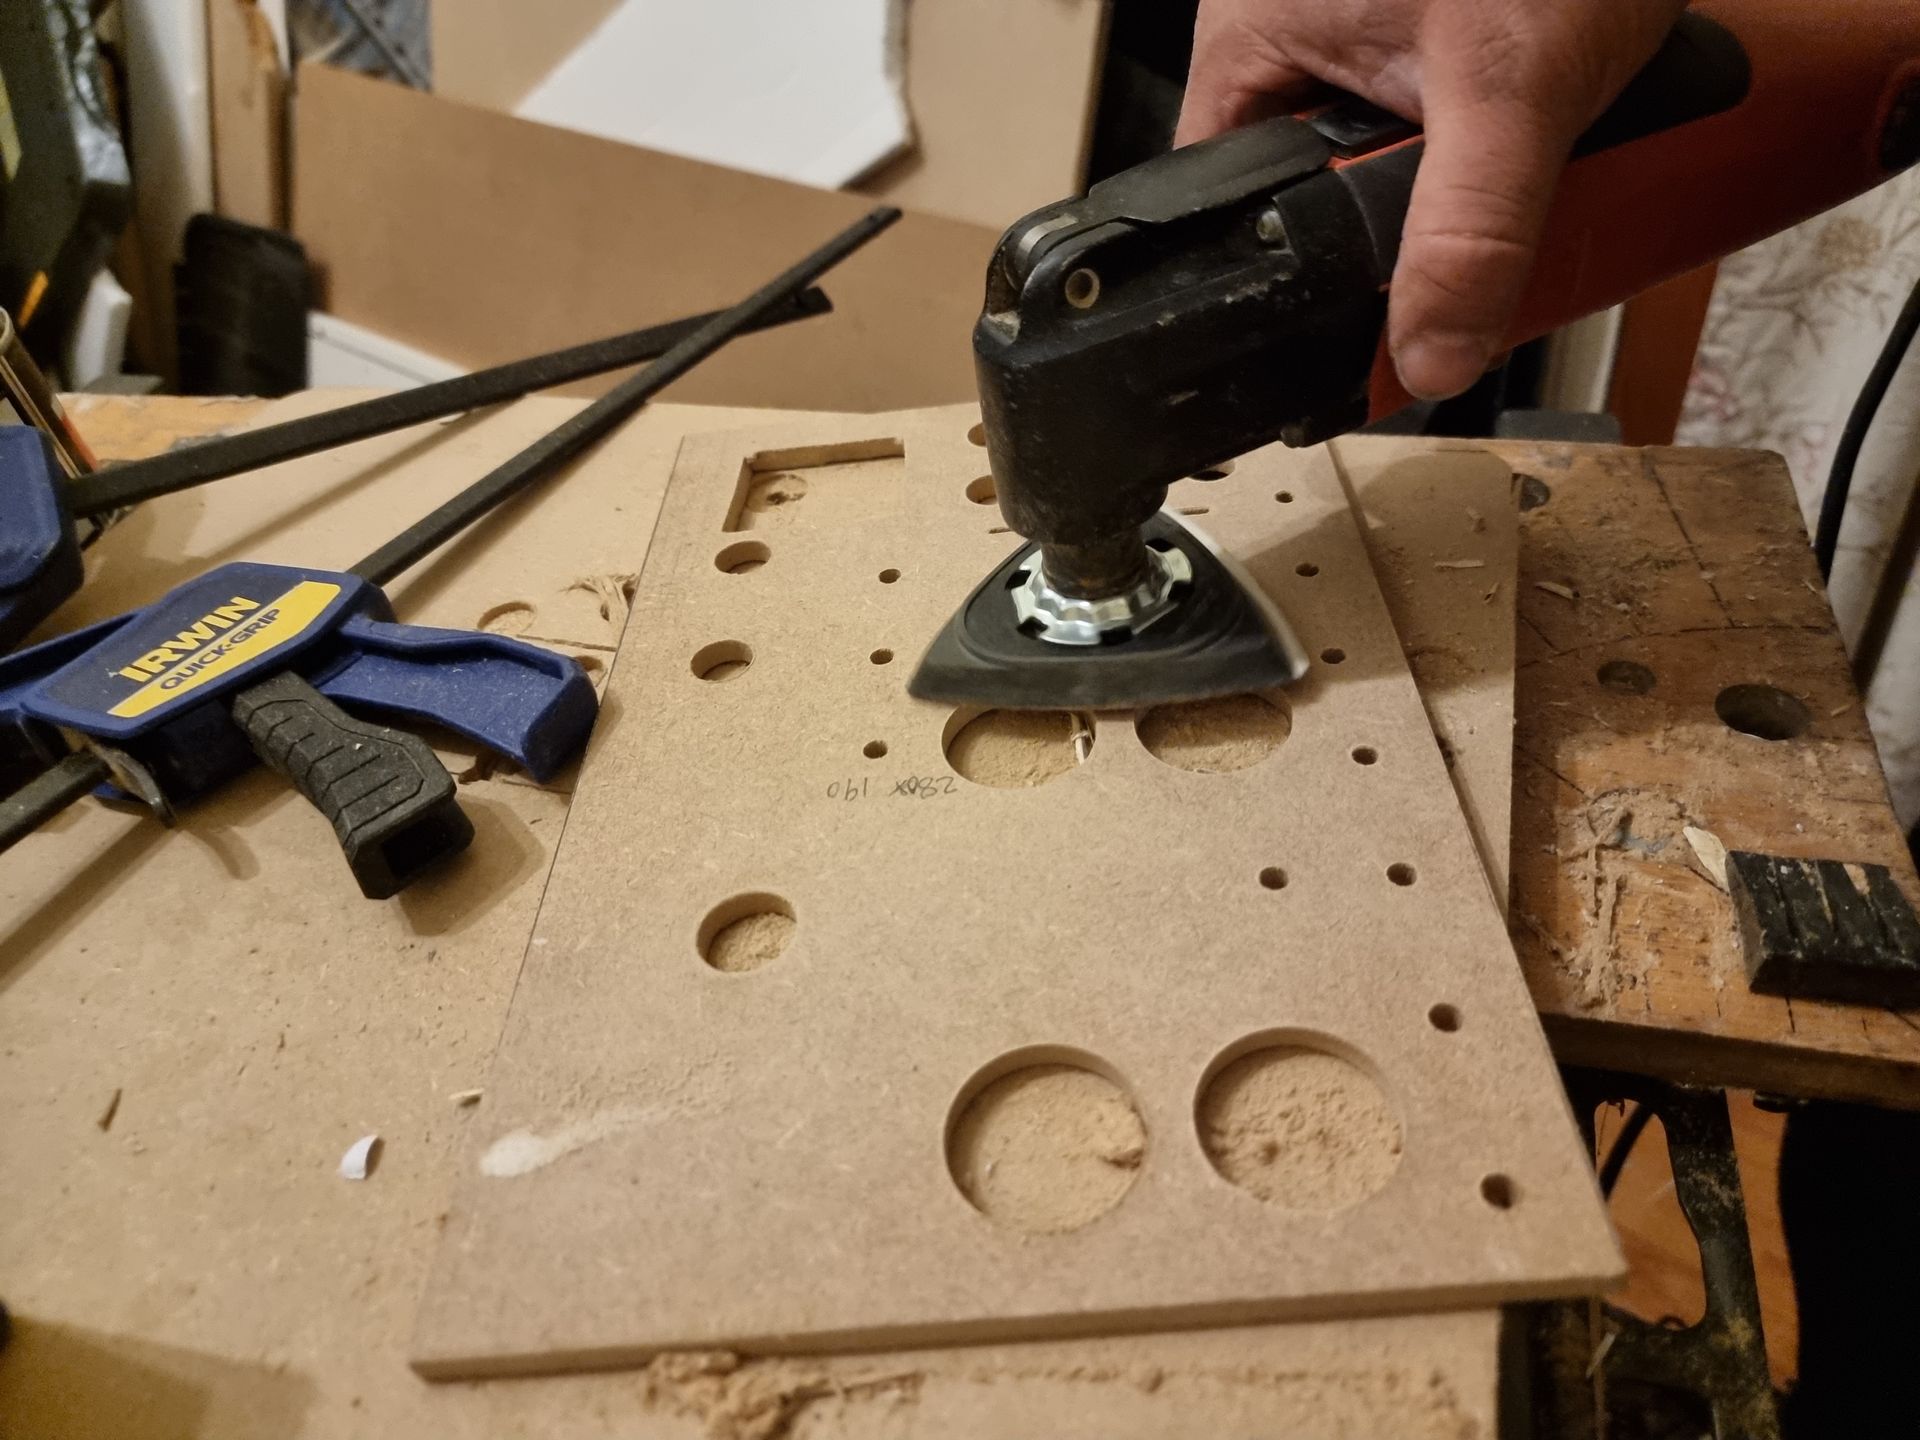
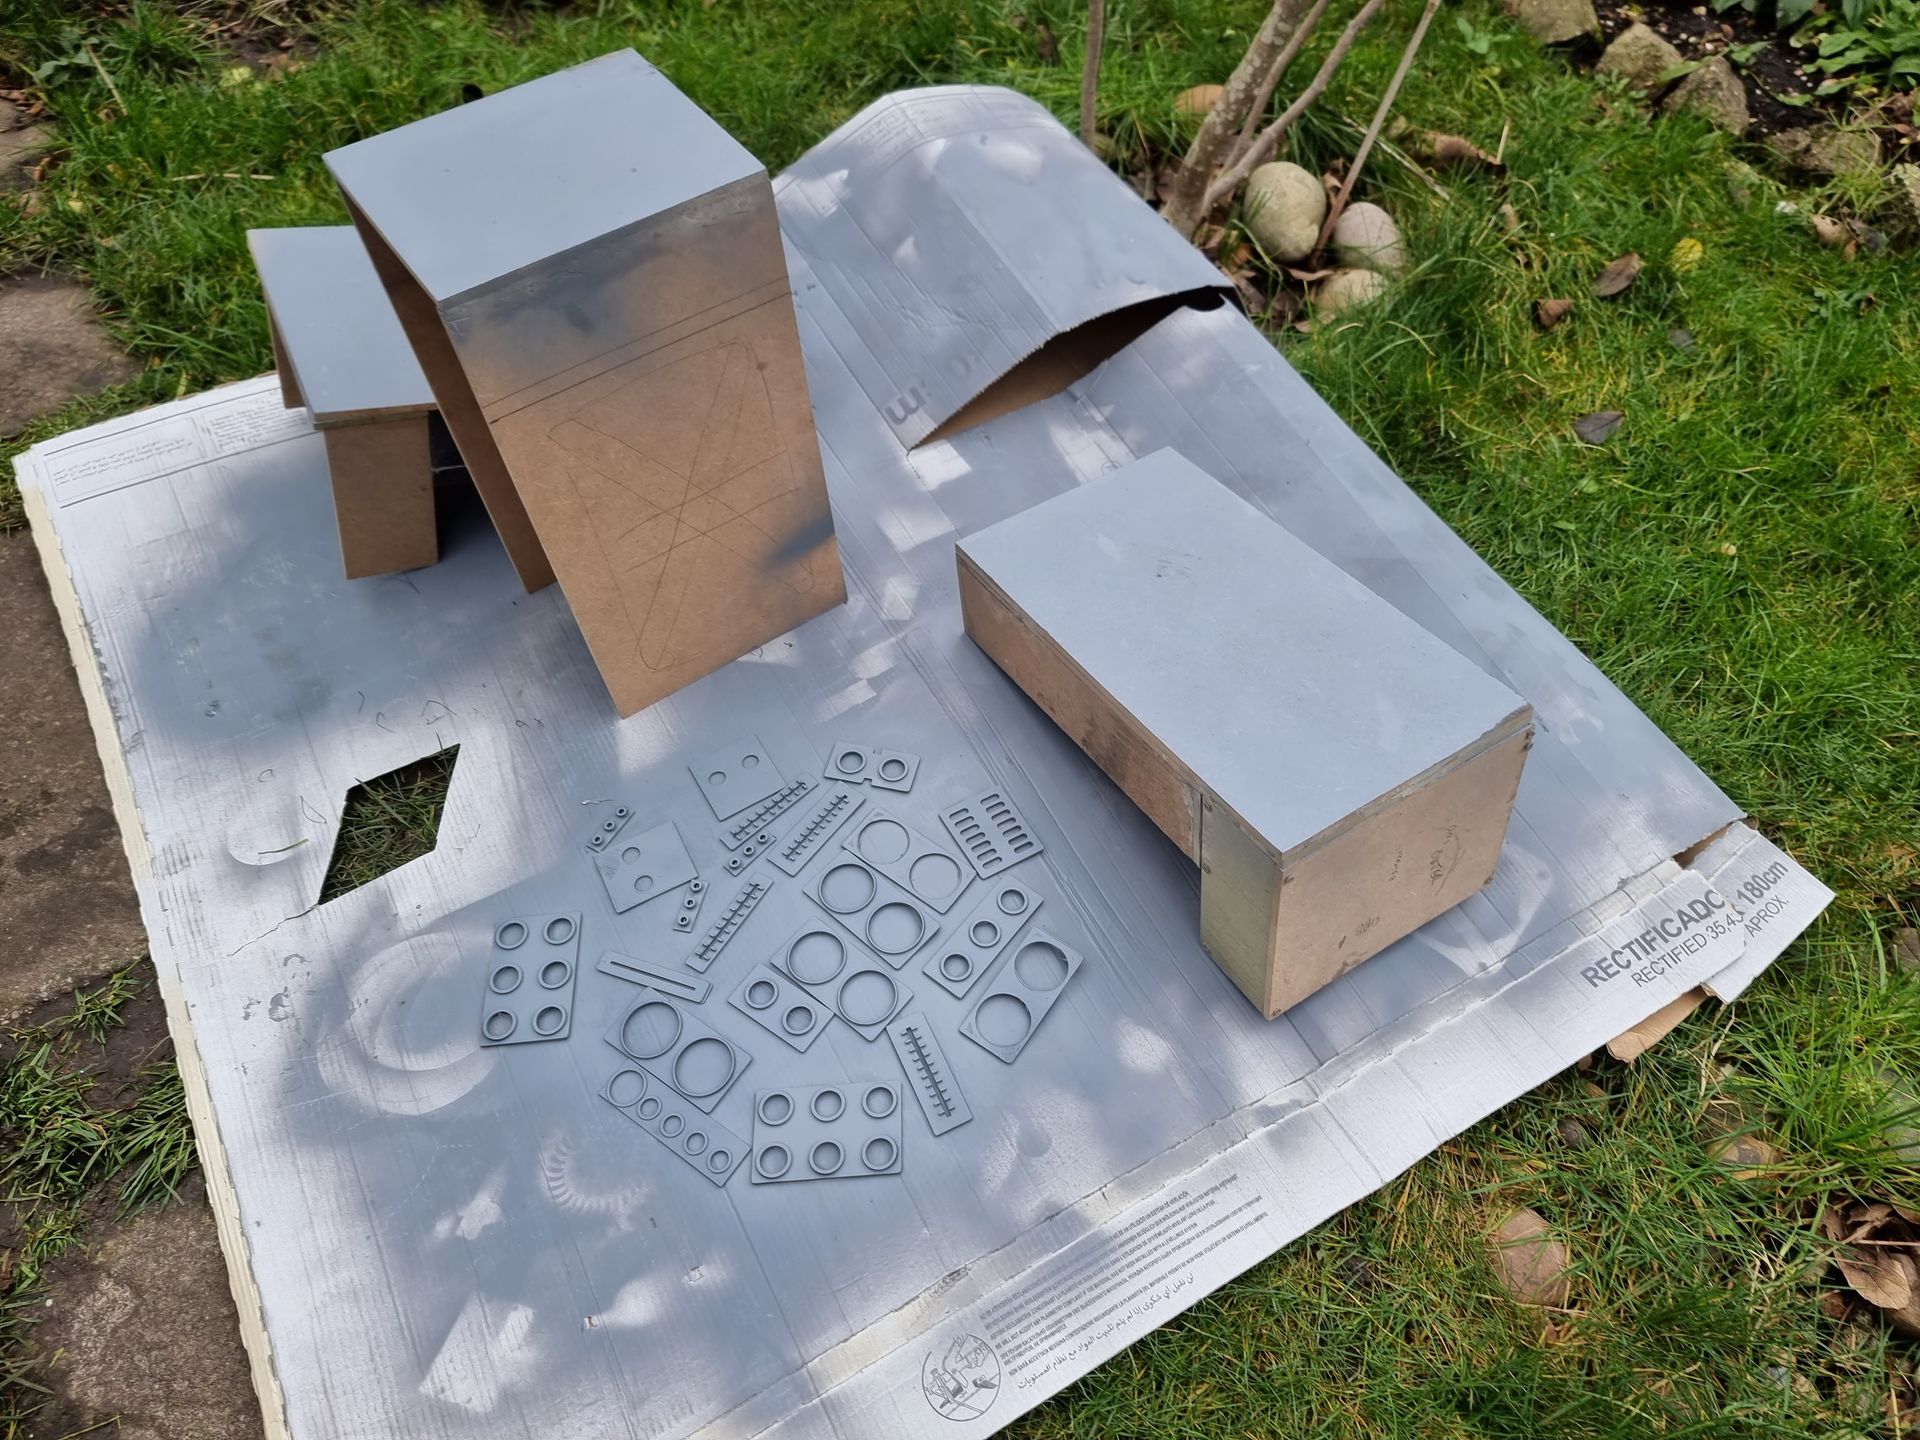
Once the holes were cut out of the MDF sheets I created top panels in Solidworks which were then 3D printed, then smoothed with filler and sanded to make mock metal panels to go under buttons and hide the less neat holes and slots.
LED Strips
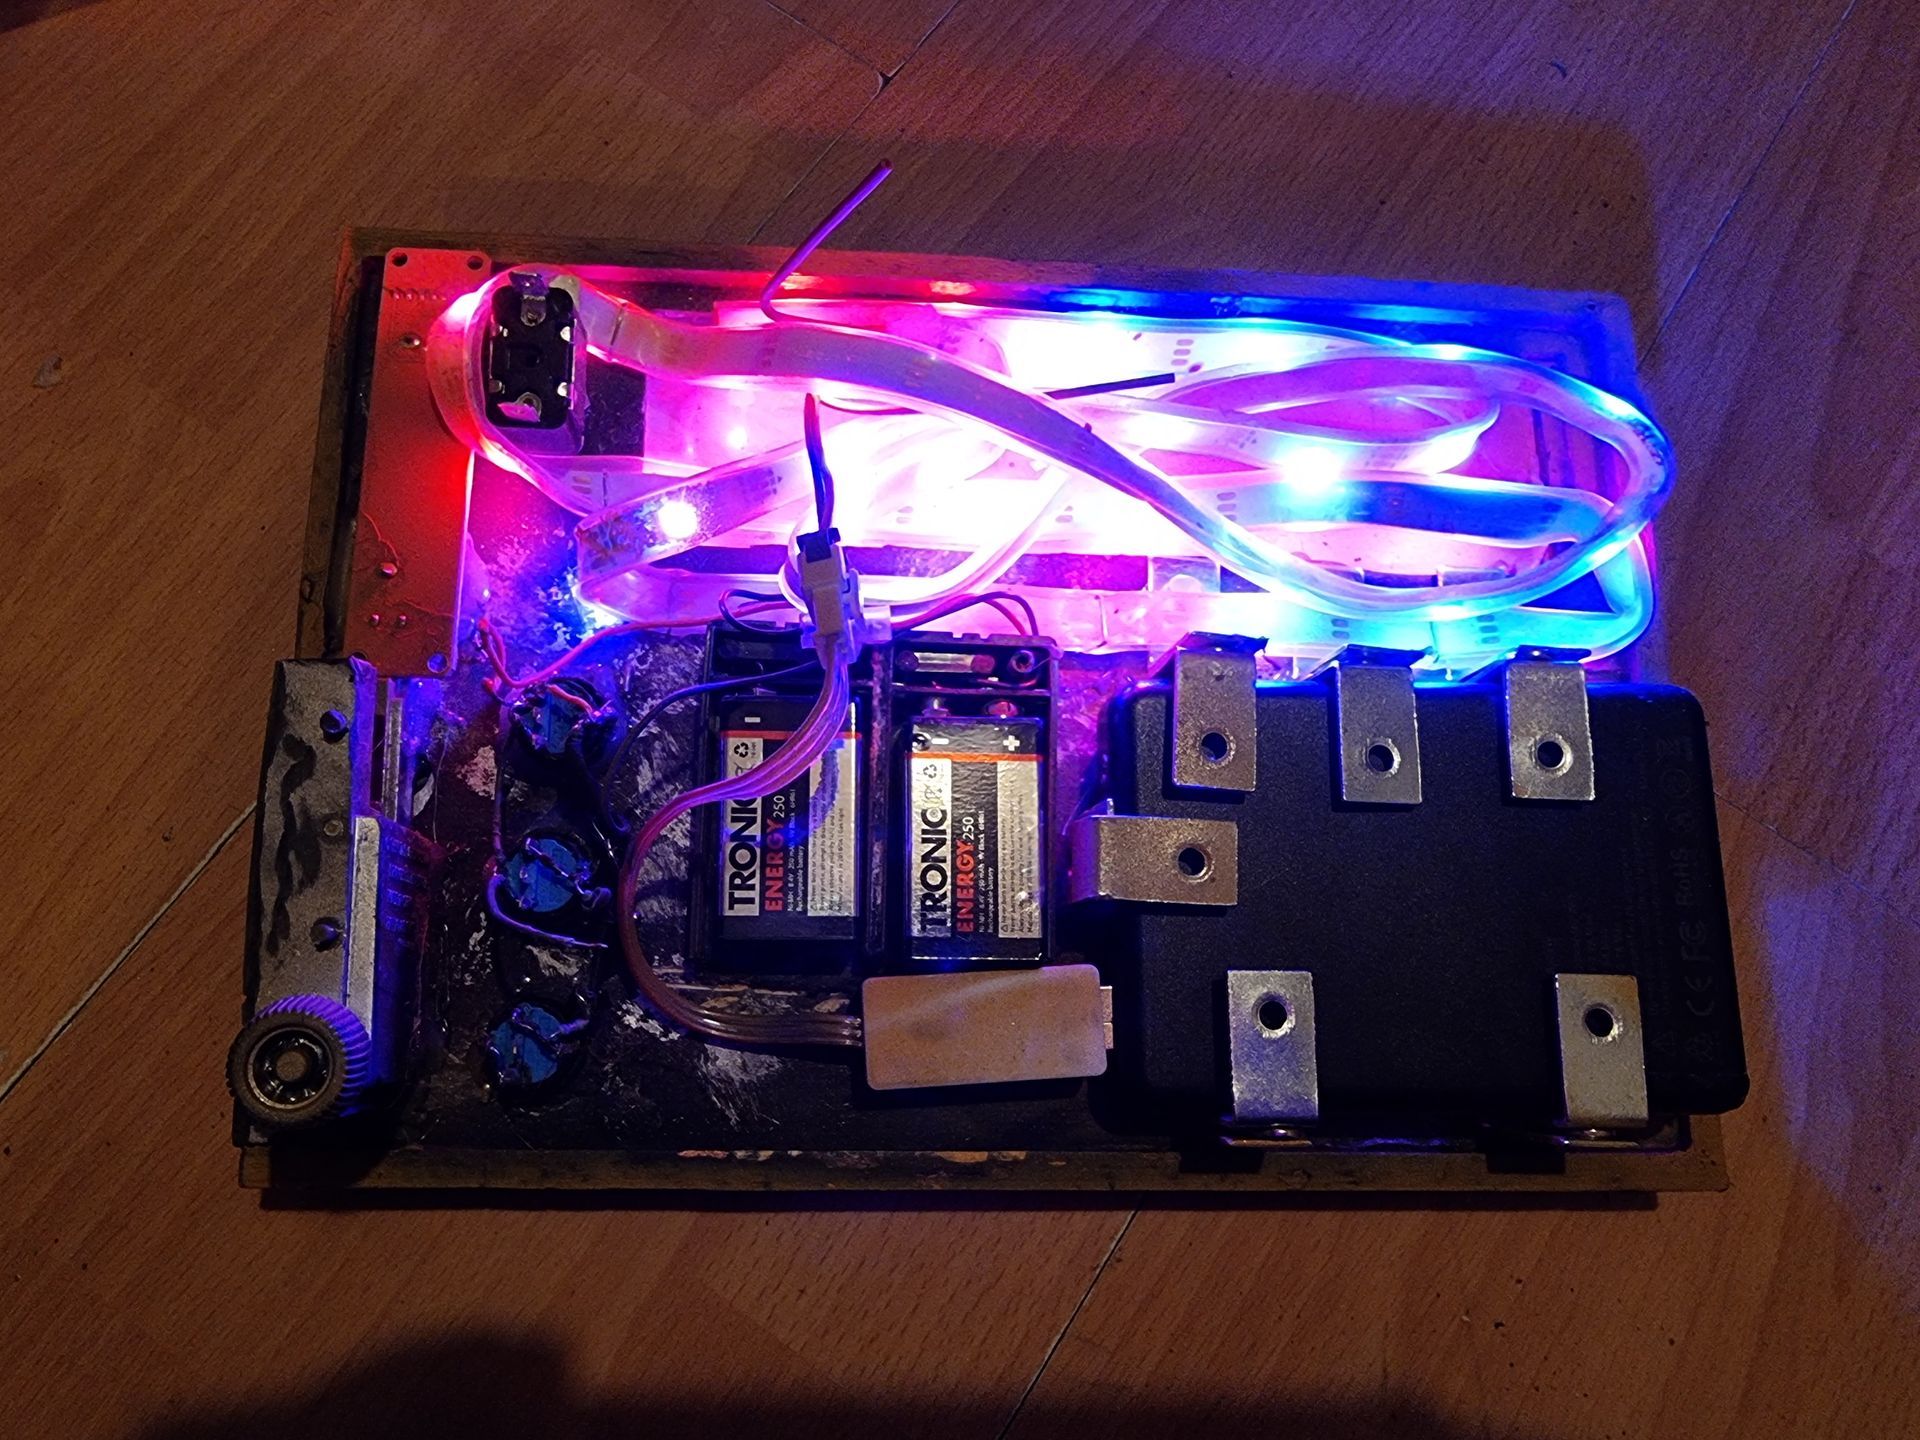
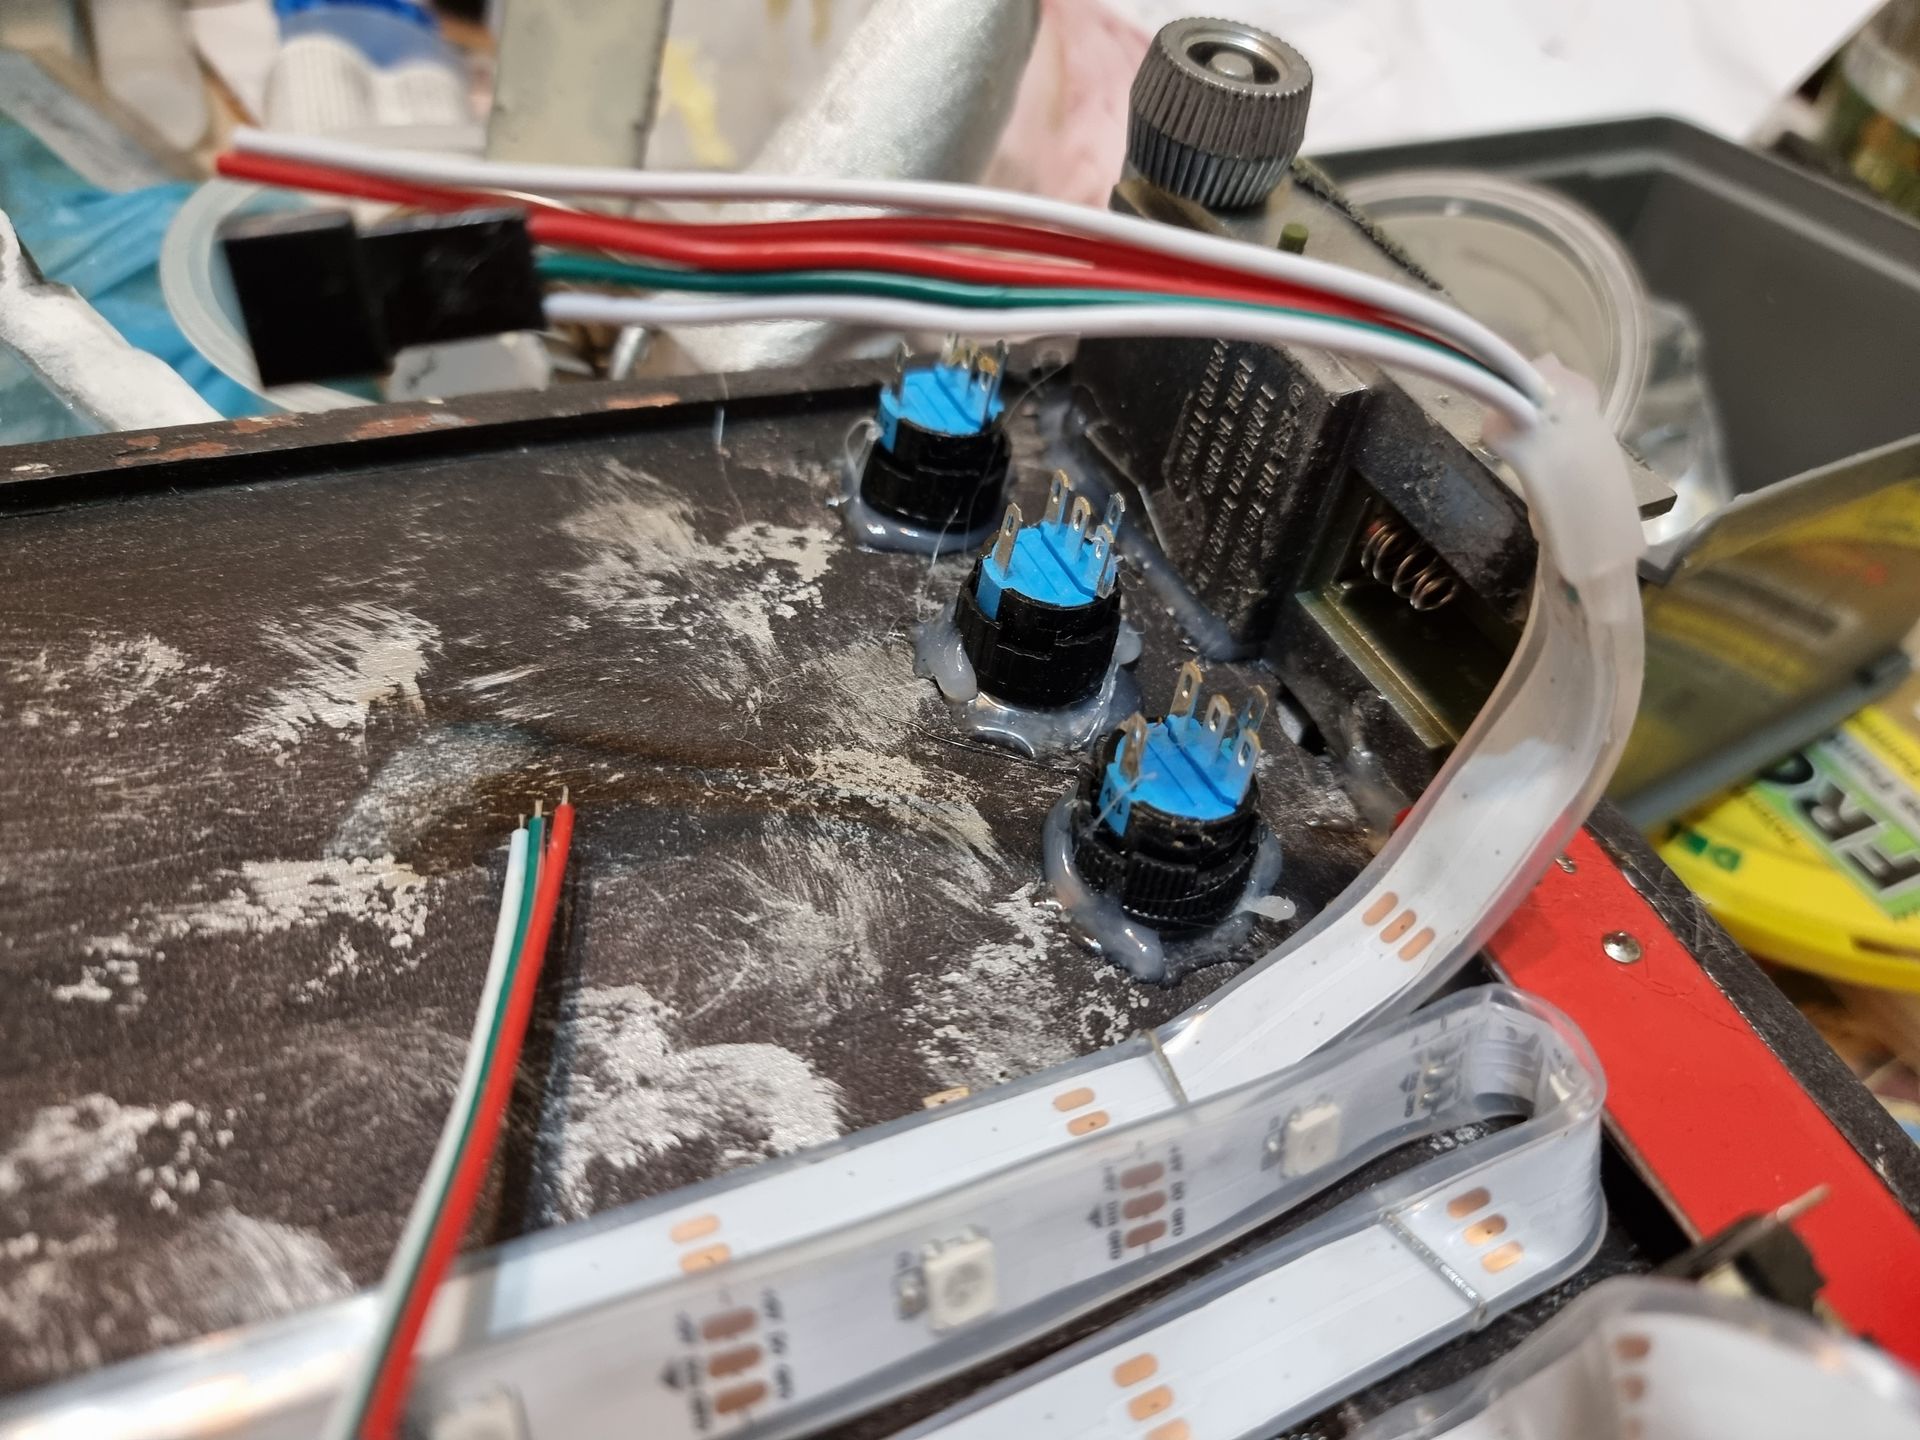
RGB multi colour programable and pattern LED strips were incorporated that become light up spots on the control panels to light up in different patterns.
This can be operated in sync with the actor turning the dials via remote or cell phone app control, to make it look like the system did something.
The LEDs cold be controlled by blue tooth or led control, remote or by phone.
The problem with phone control is that the phone was incorporated into the system displaying animated displays.
These strips were used under the template orange and black control to give it a pulsating look when I had no luck with a LED panel means as a security light.
I also used an electroluminescent red panel under a panel of slots, a style common in the Star Wars universe.
This could stay on red, fast or slow flashing.
The other problem is the material they are made out of , mainly silcon whihc resists all the glues I had, super, eposy, glue gun etc.
This led me to try a staple gun where the strips got pierced accidently making them unreliable like loose wires only sometimes working.
when replaces I used clips to hold them in place.
Tower Electronics
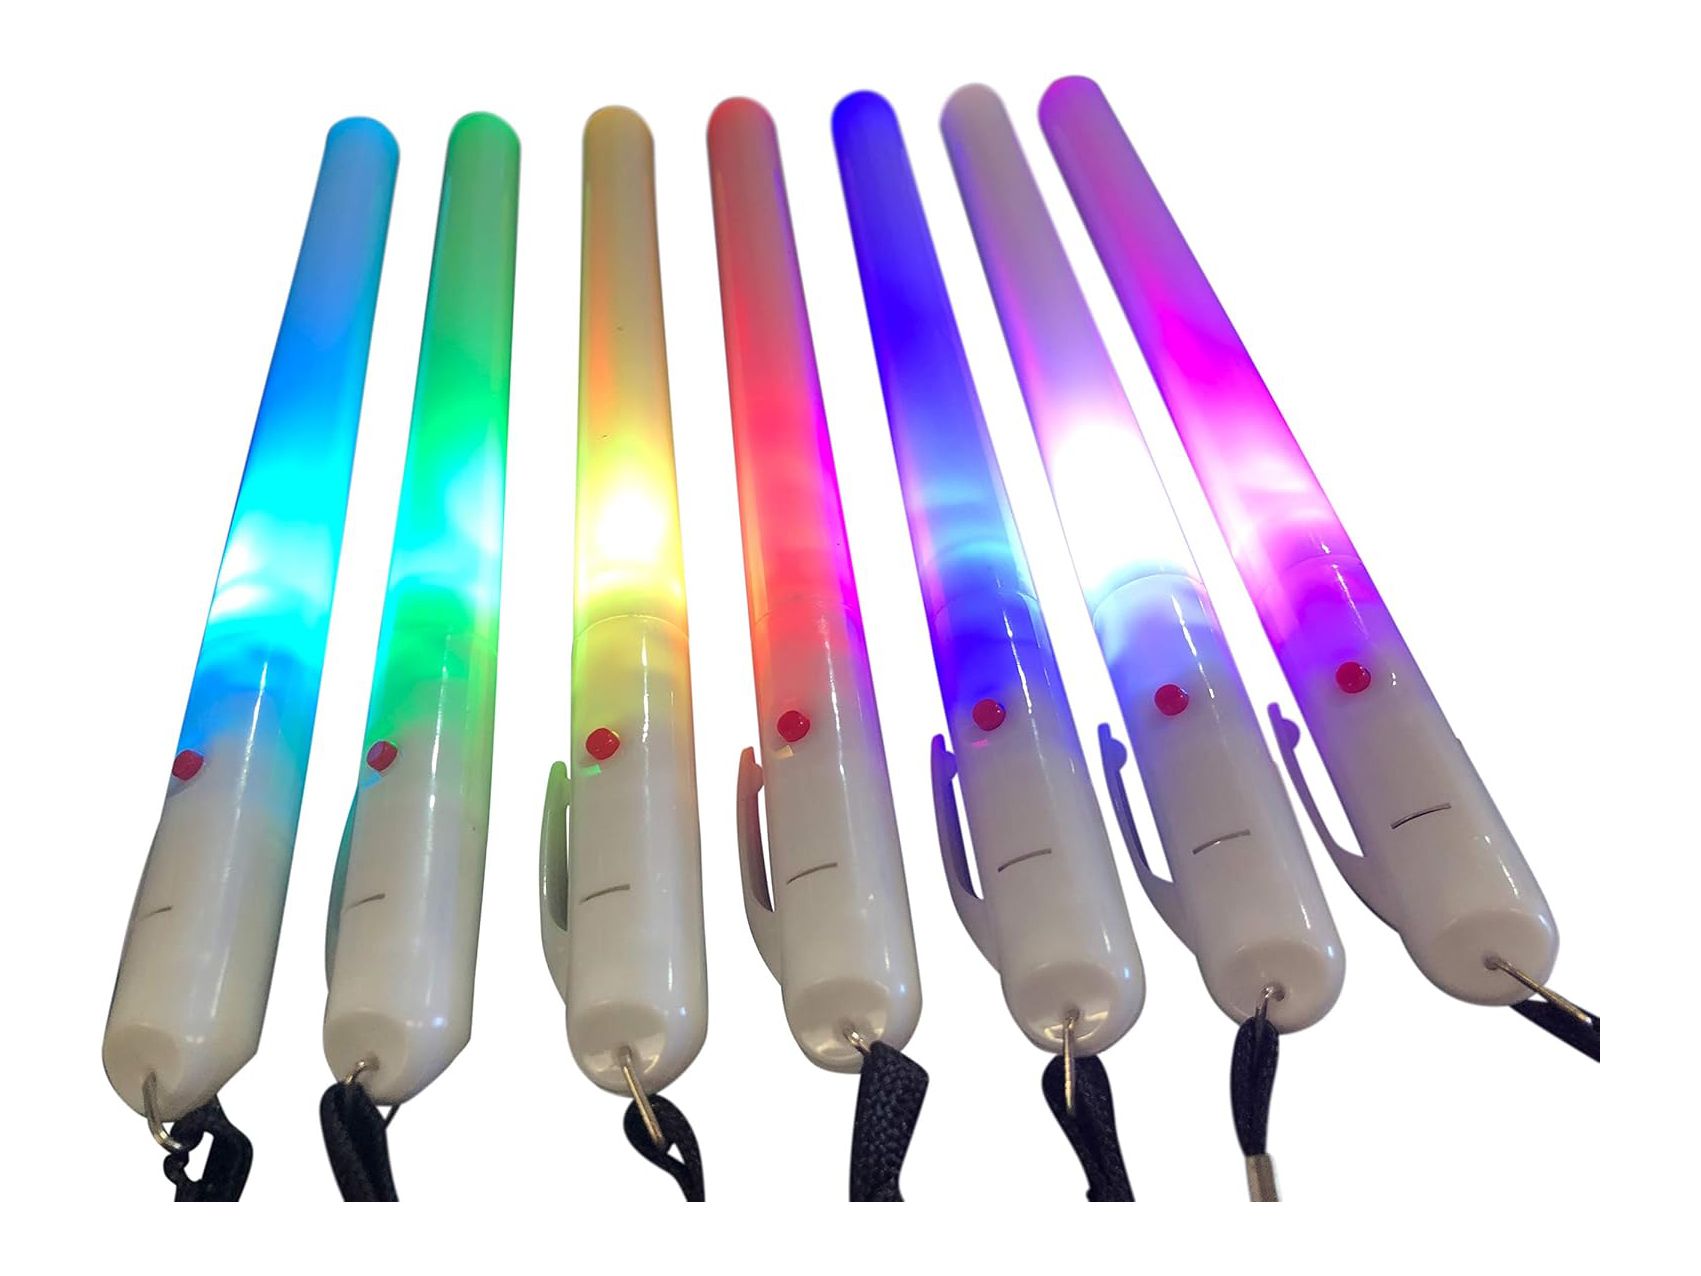
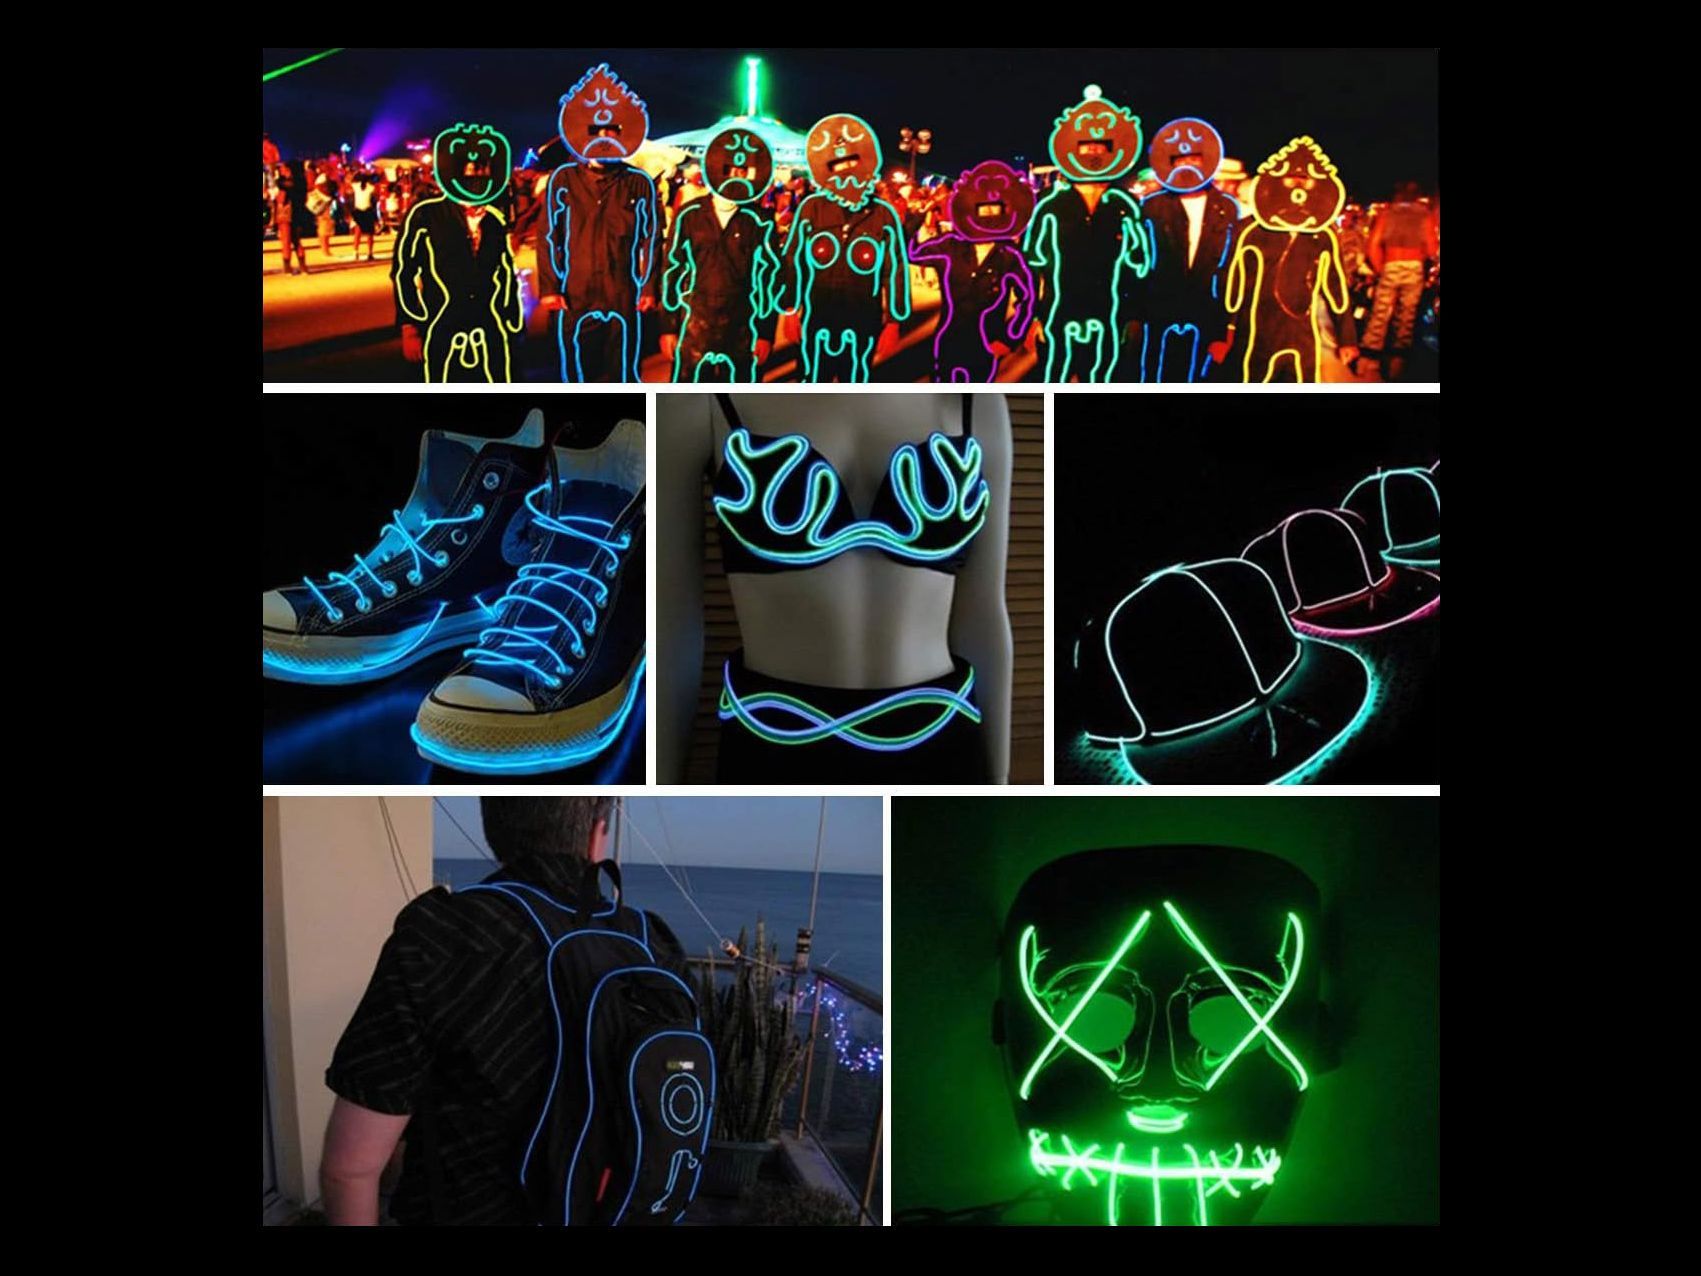
Light up glow sticks and electroluminescent strings were used in the tower to simulate technology and the red electroluminescent patch was used on the left wing under a grate.
Installing Electronics
With the holes cut having prototypes the positions with thin 3D printed sheets, dust tape and card cut outs, then the actual components there were installed and soldered.
3D printed backing places were also added under the buttons and sliders. Originally intended to be chrome mental they were dirties down to fit the Tatooine look.
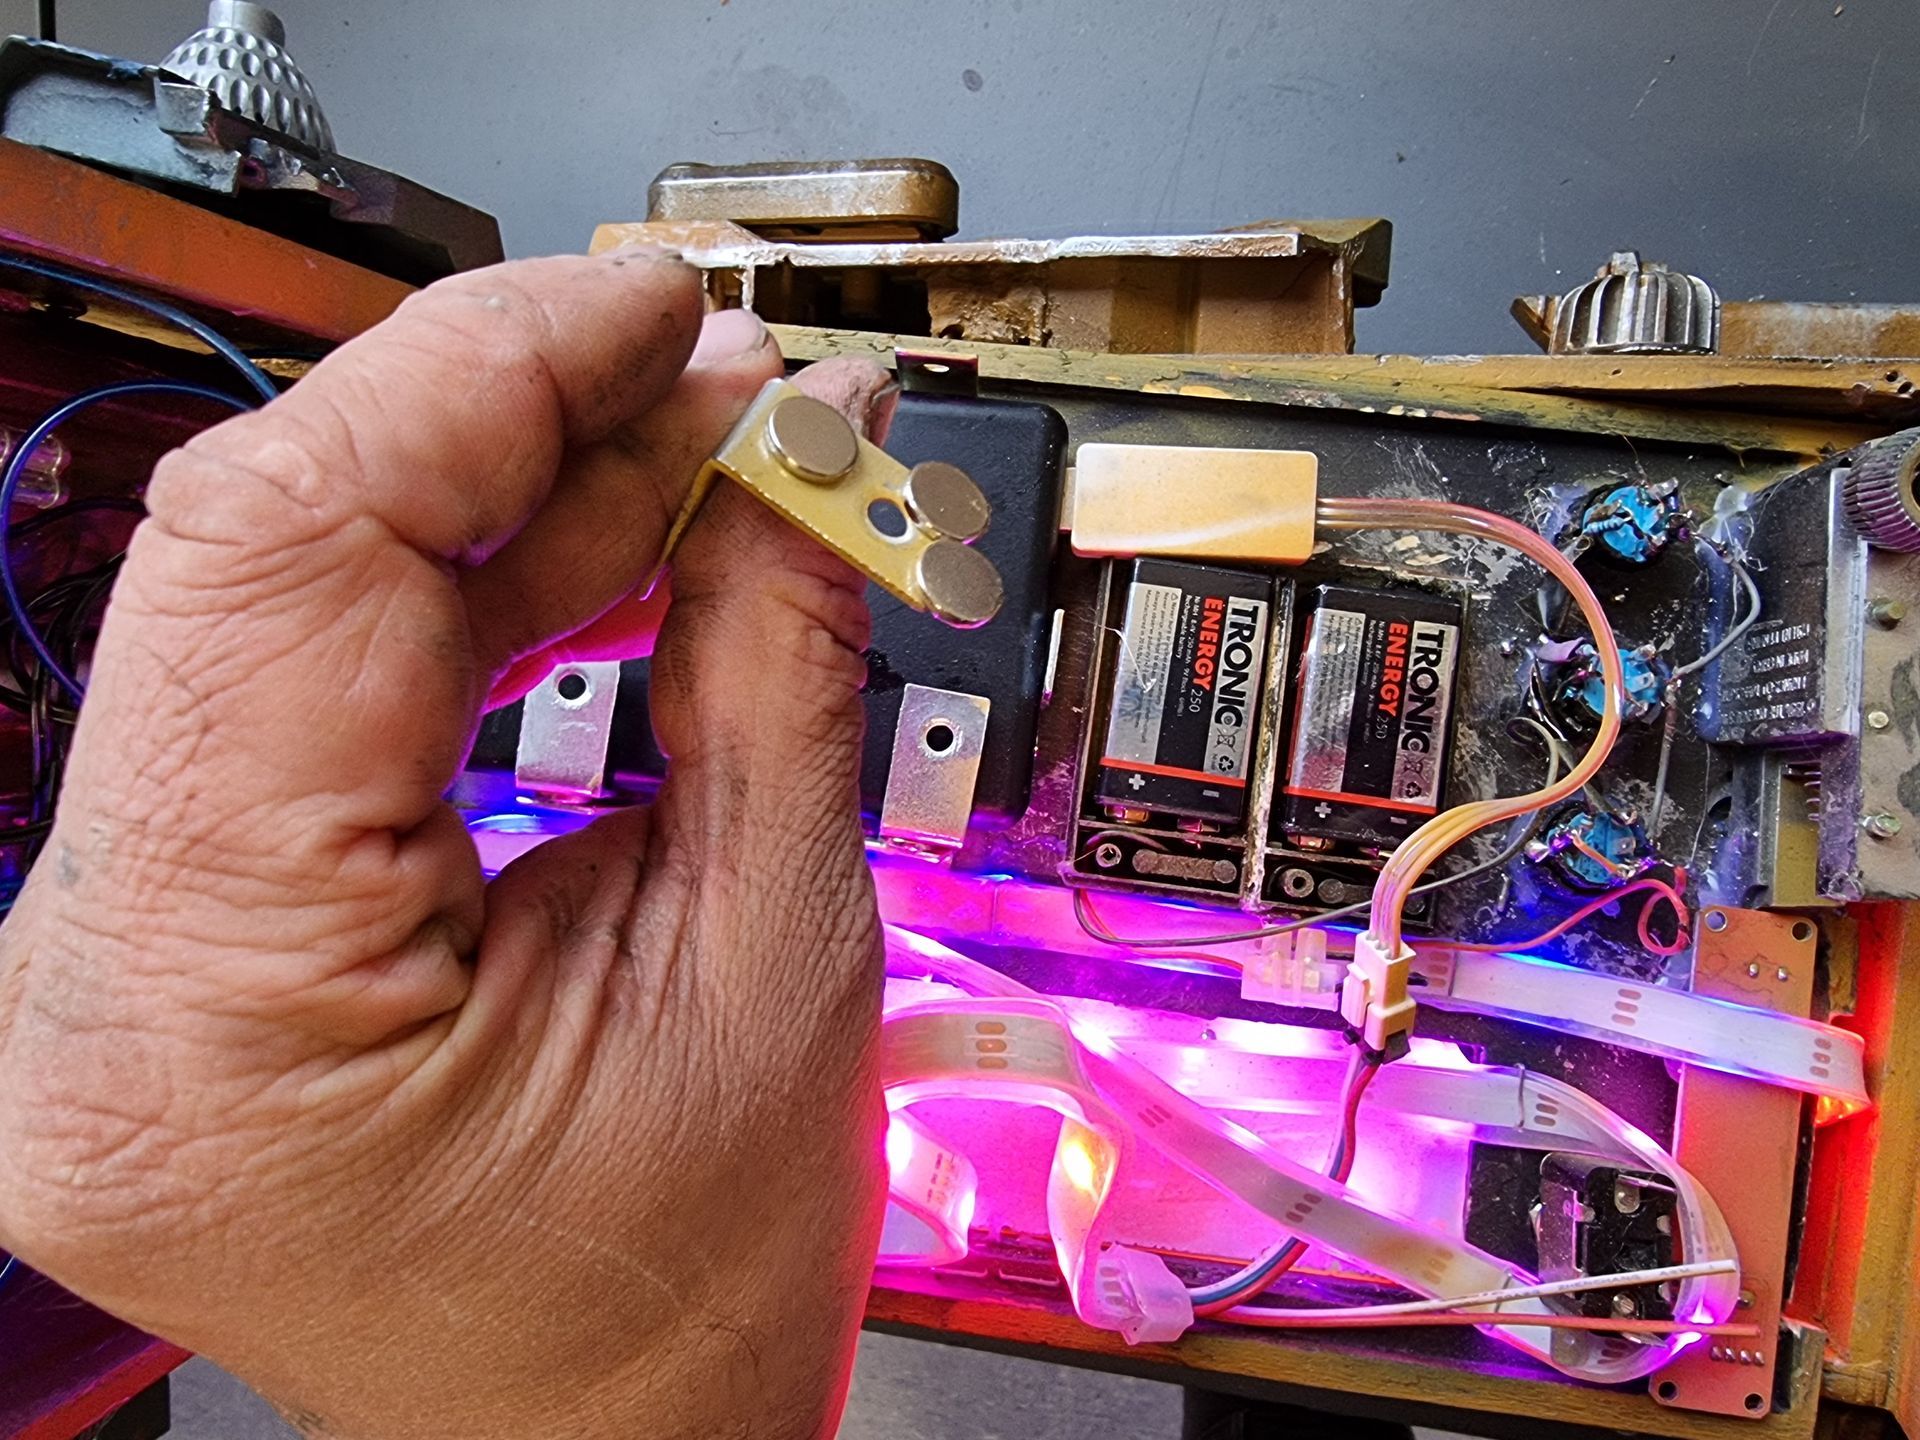
The LED strips required USB batteries. I tried to use the packs from my warm up gillet. Then used brackets with magnets to try and hold them in place. Theis did not work so well so later used velcro.
