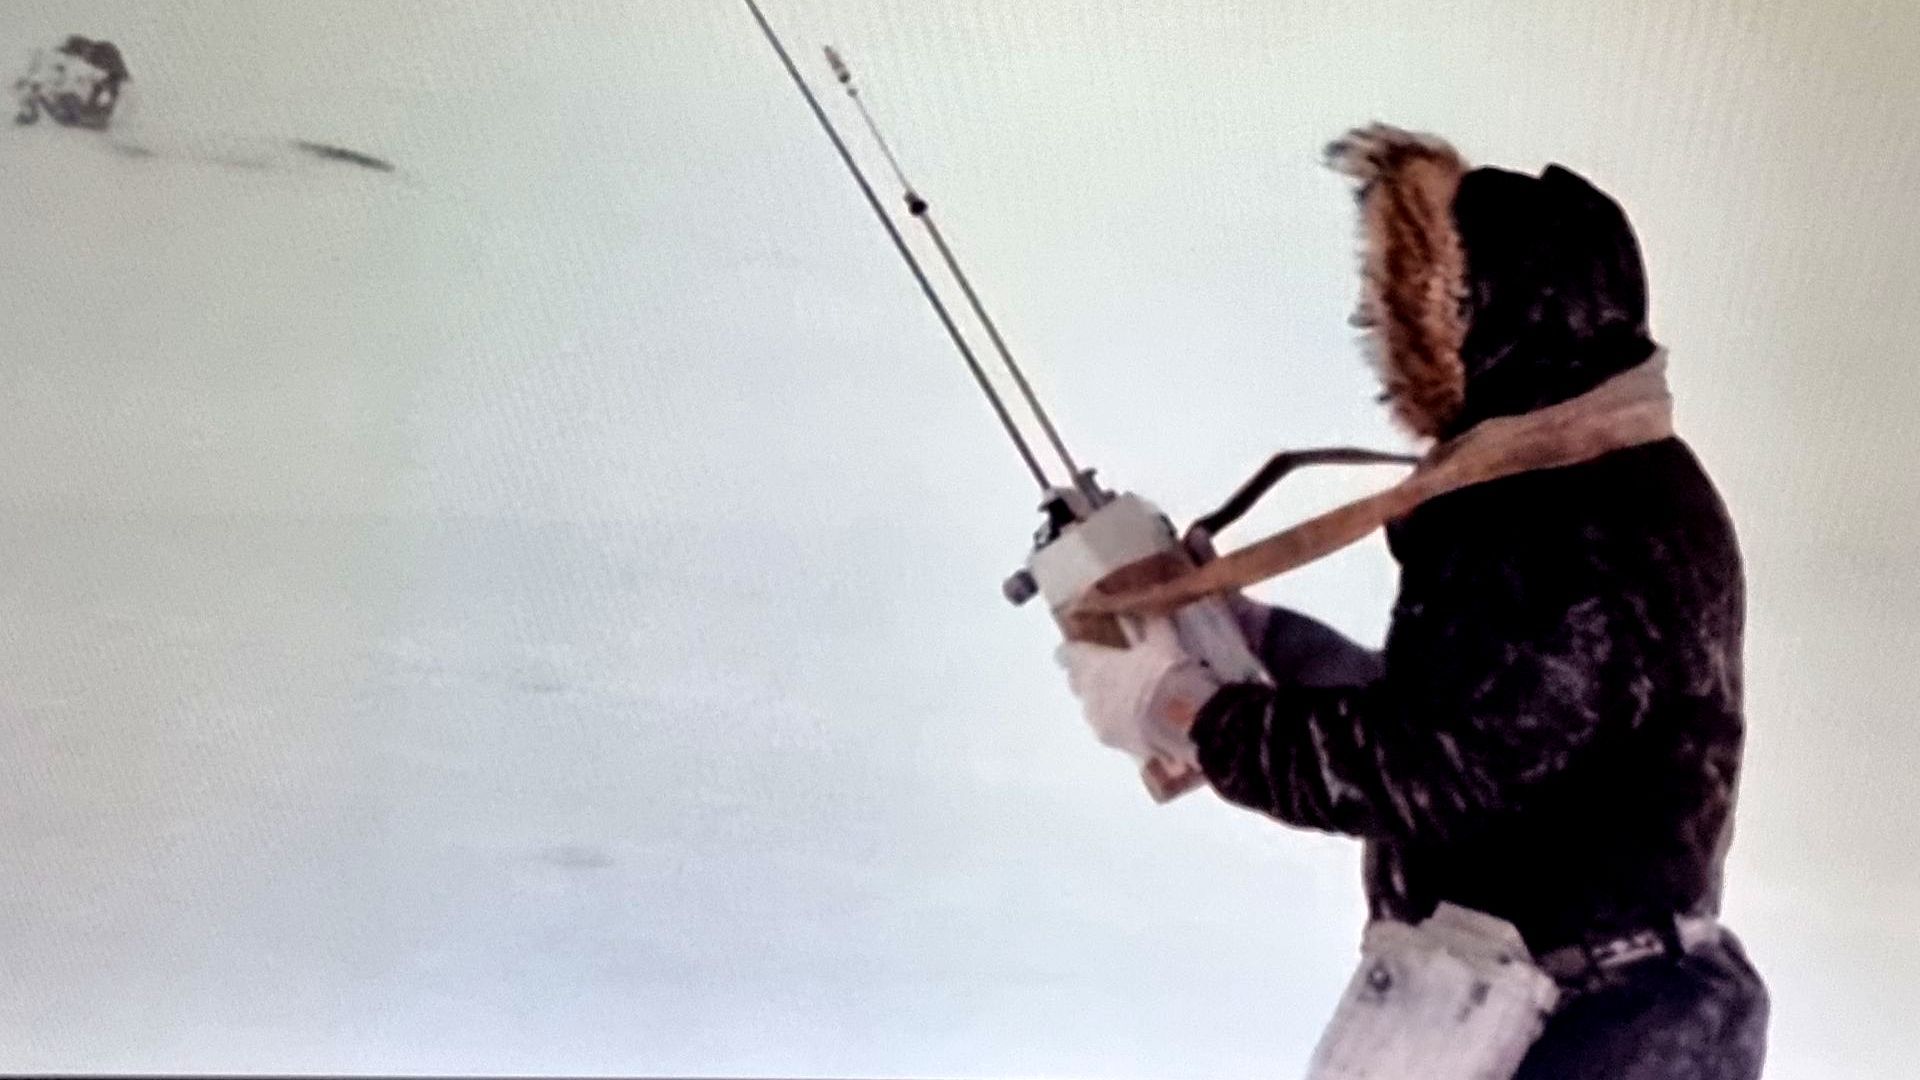
Star Wars Prop Box Project
Hacker System
Currently these pages are in the process of updating and adding photos of work done over the last few months.
Star Wars Box Project Development Journal
This was a very complex project and you can download my project journal that covers the development in depth here.
Please click to download the journal for term or semester 2 covering prop making.
This includes full construction and development for the various models and drafting along with any problem solving.
<<<<<<<<<<<<<<<<<<<<<<<<<<<<<<<<<<<<<<
Star Wars Box Project Intro
This was a very complex project and you can download my project journal that covers the development in depth here.
The base brief was:
To start with a small pine box and to construct a prop that would be of a high enough quality to fit into a scene on one of the following film franchises:
- Star Wars
- Lord of the Rings
- Harry Potter
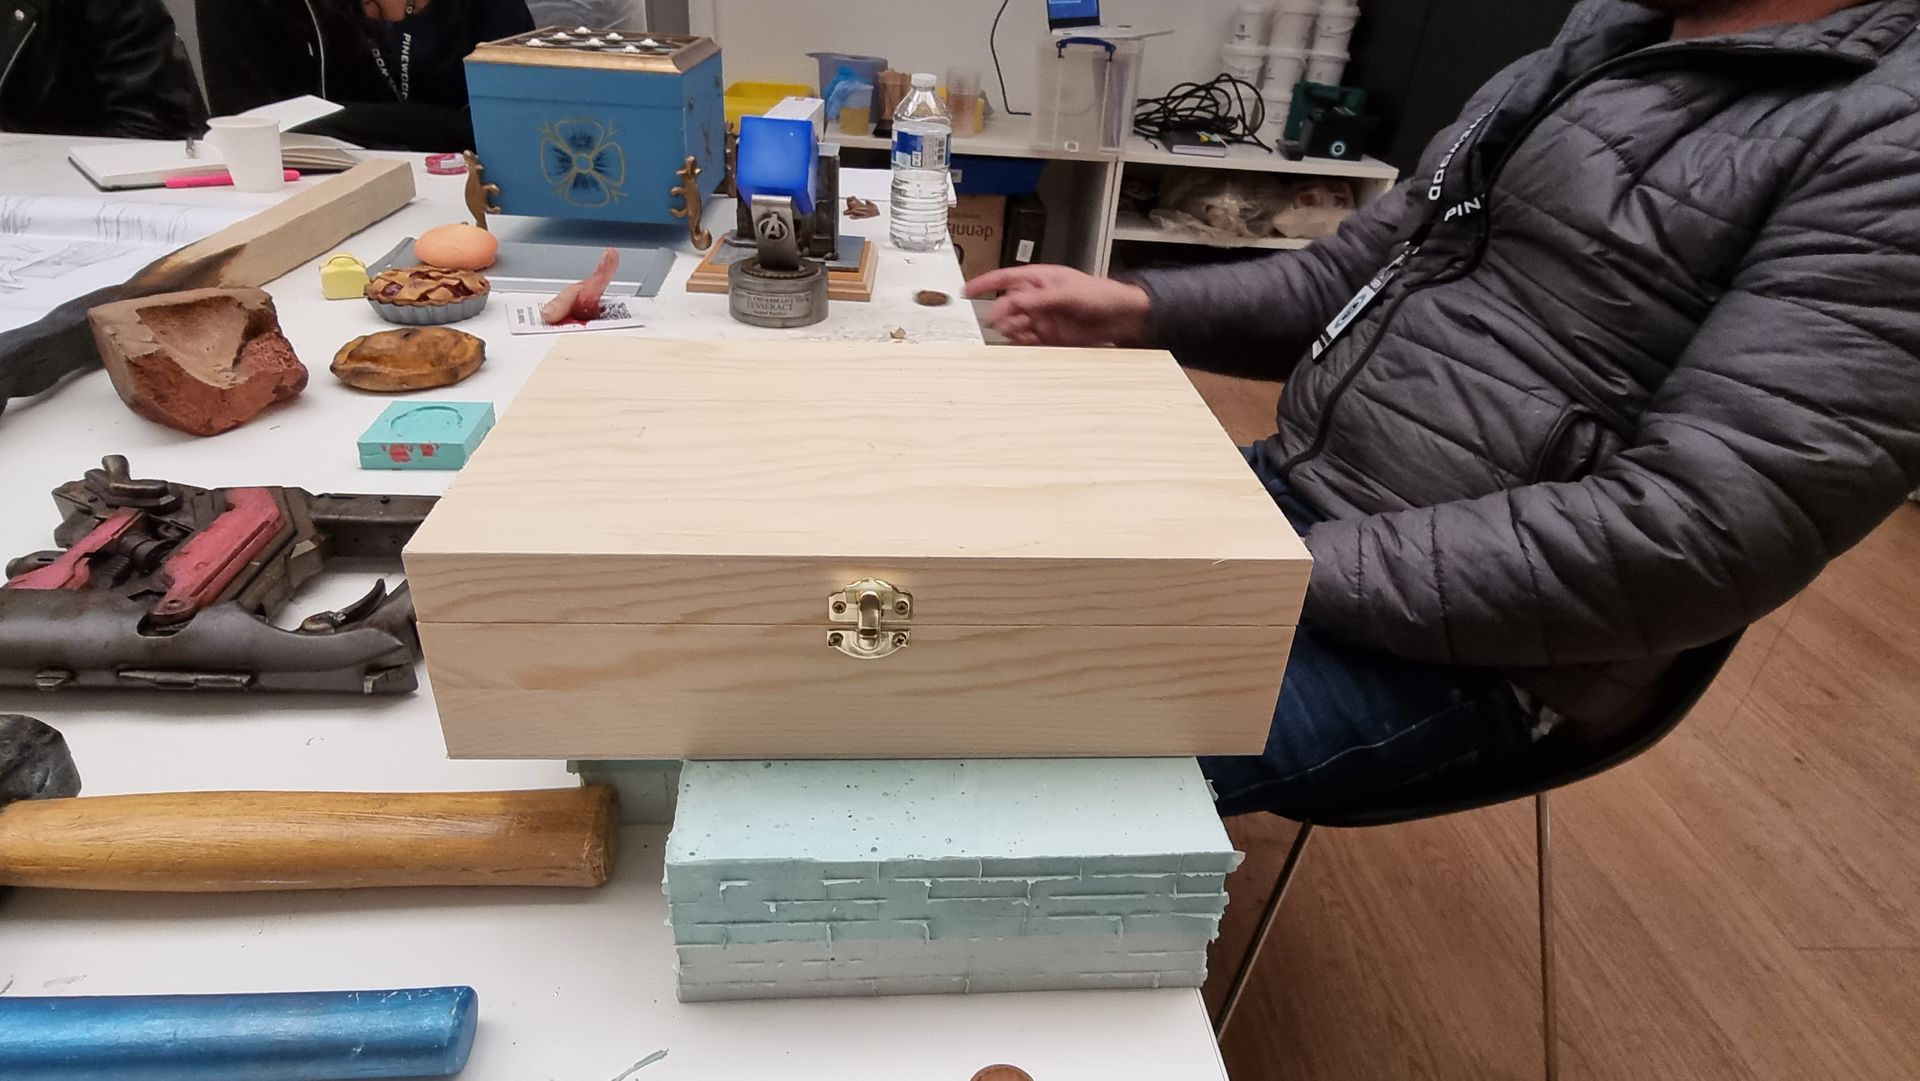
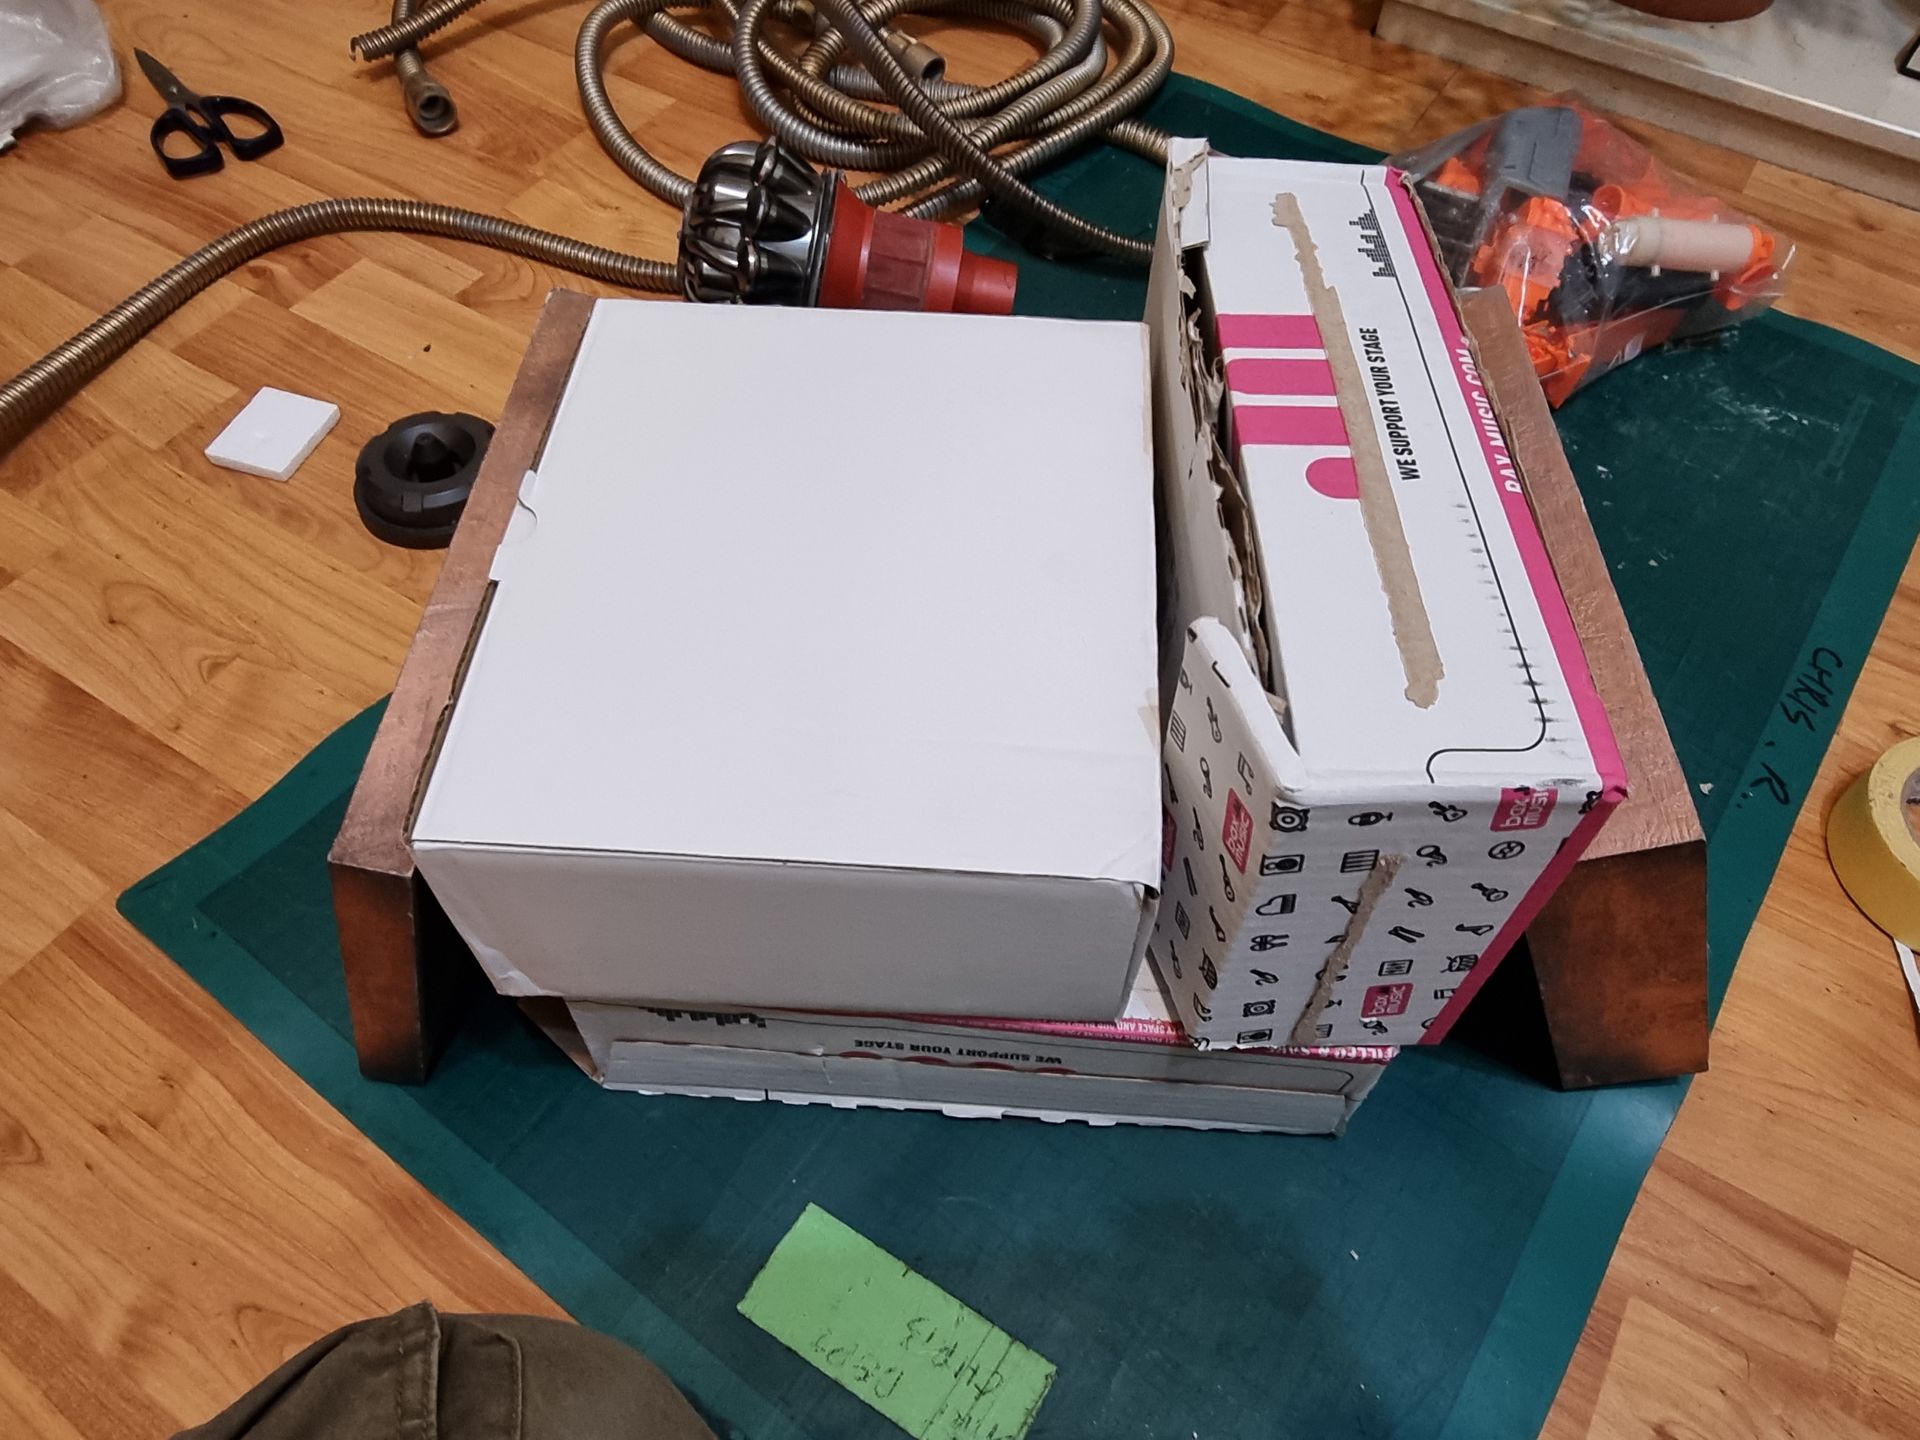
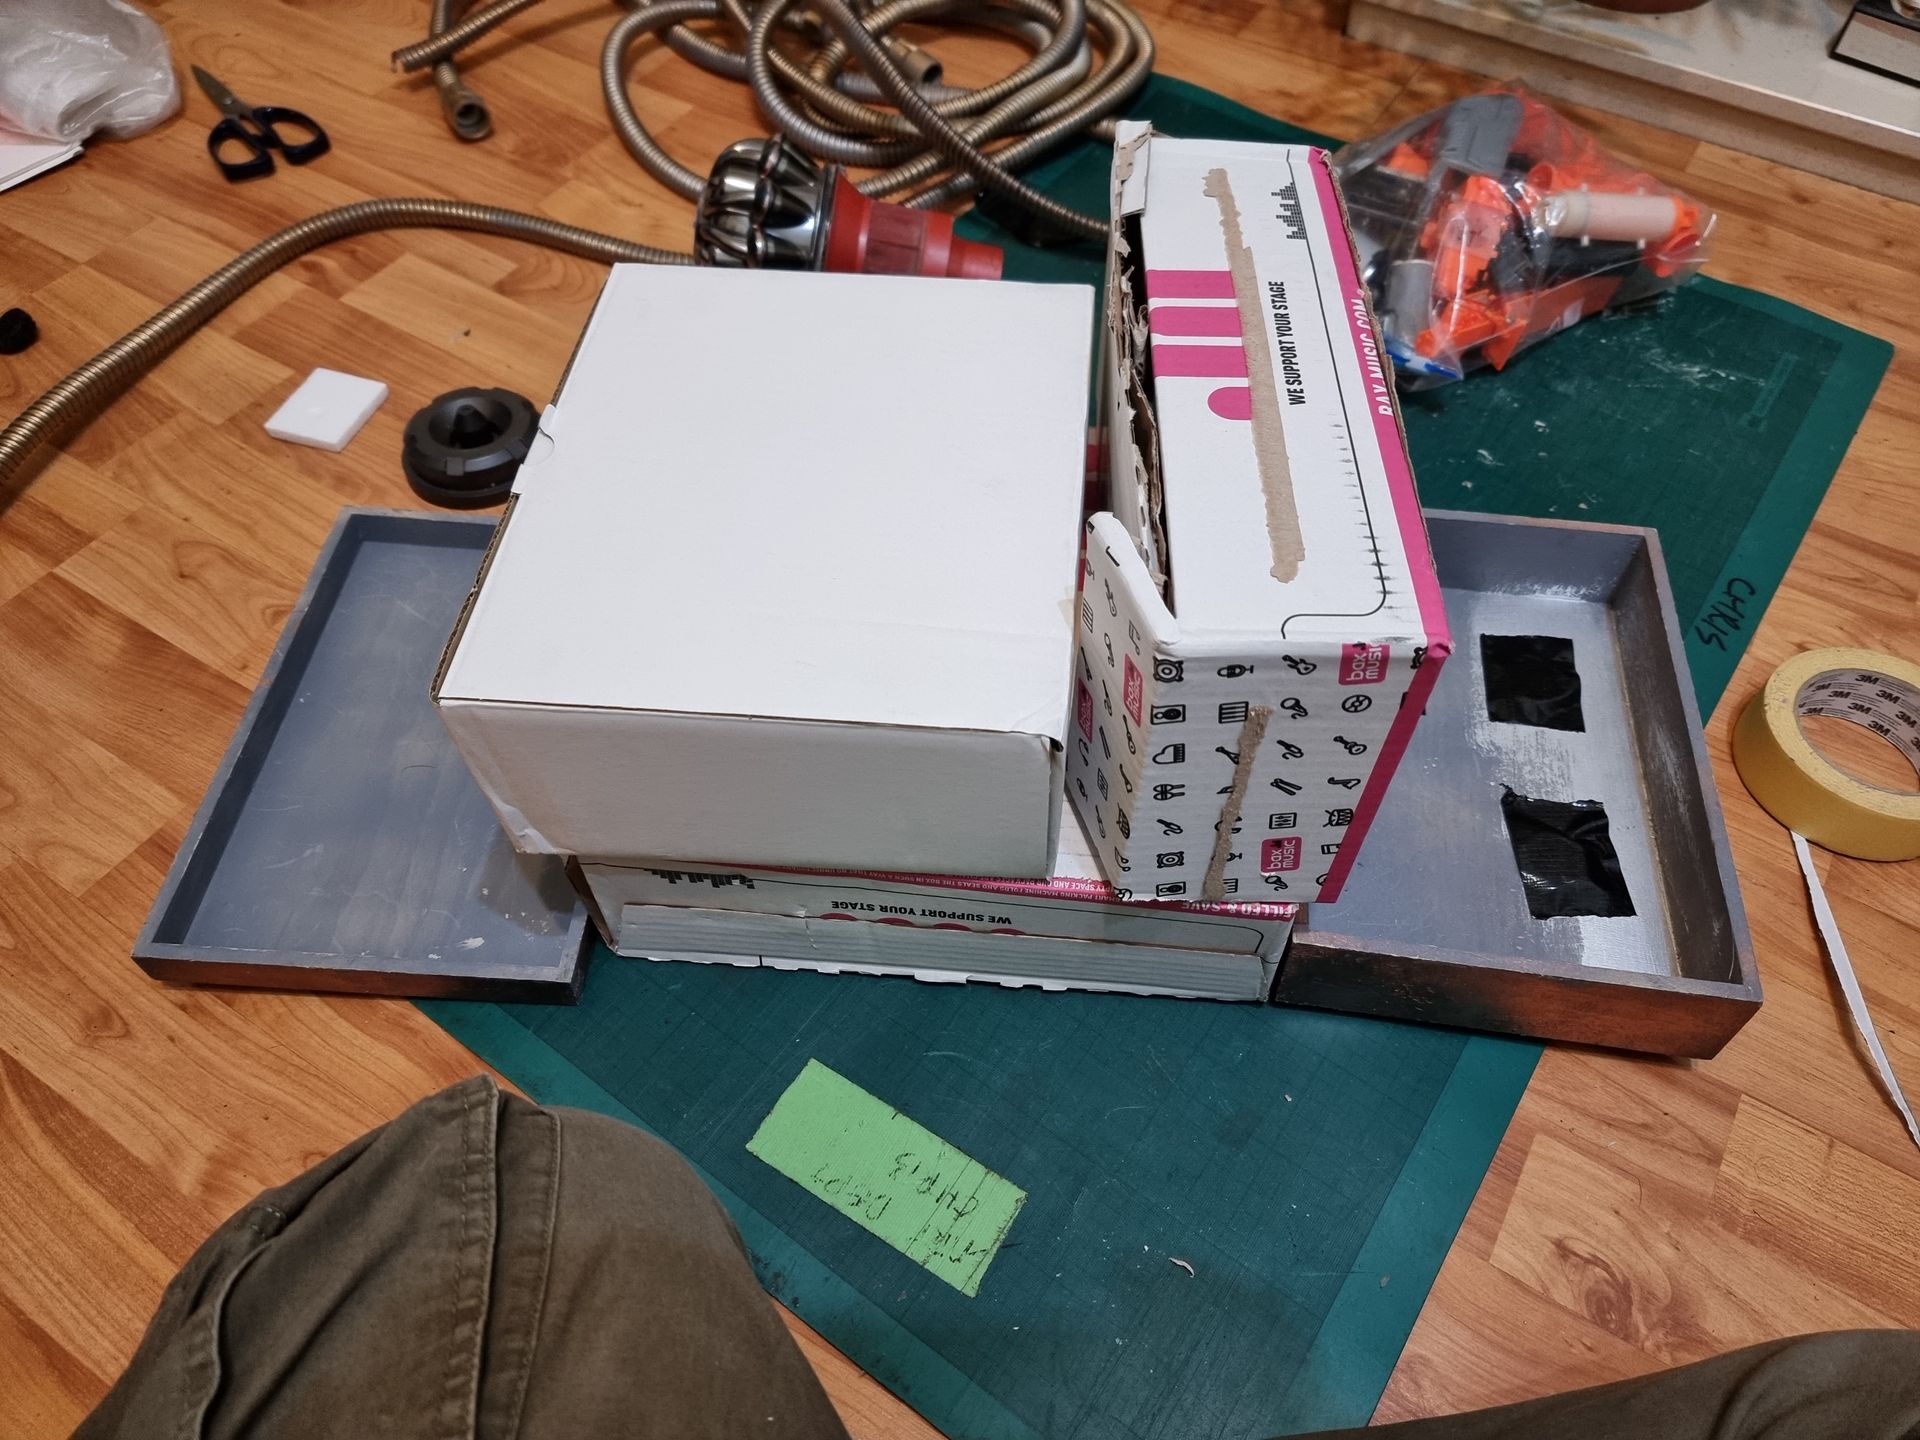
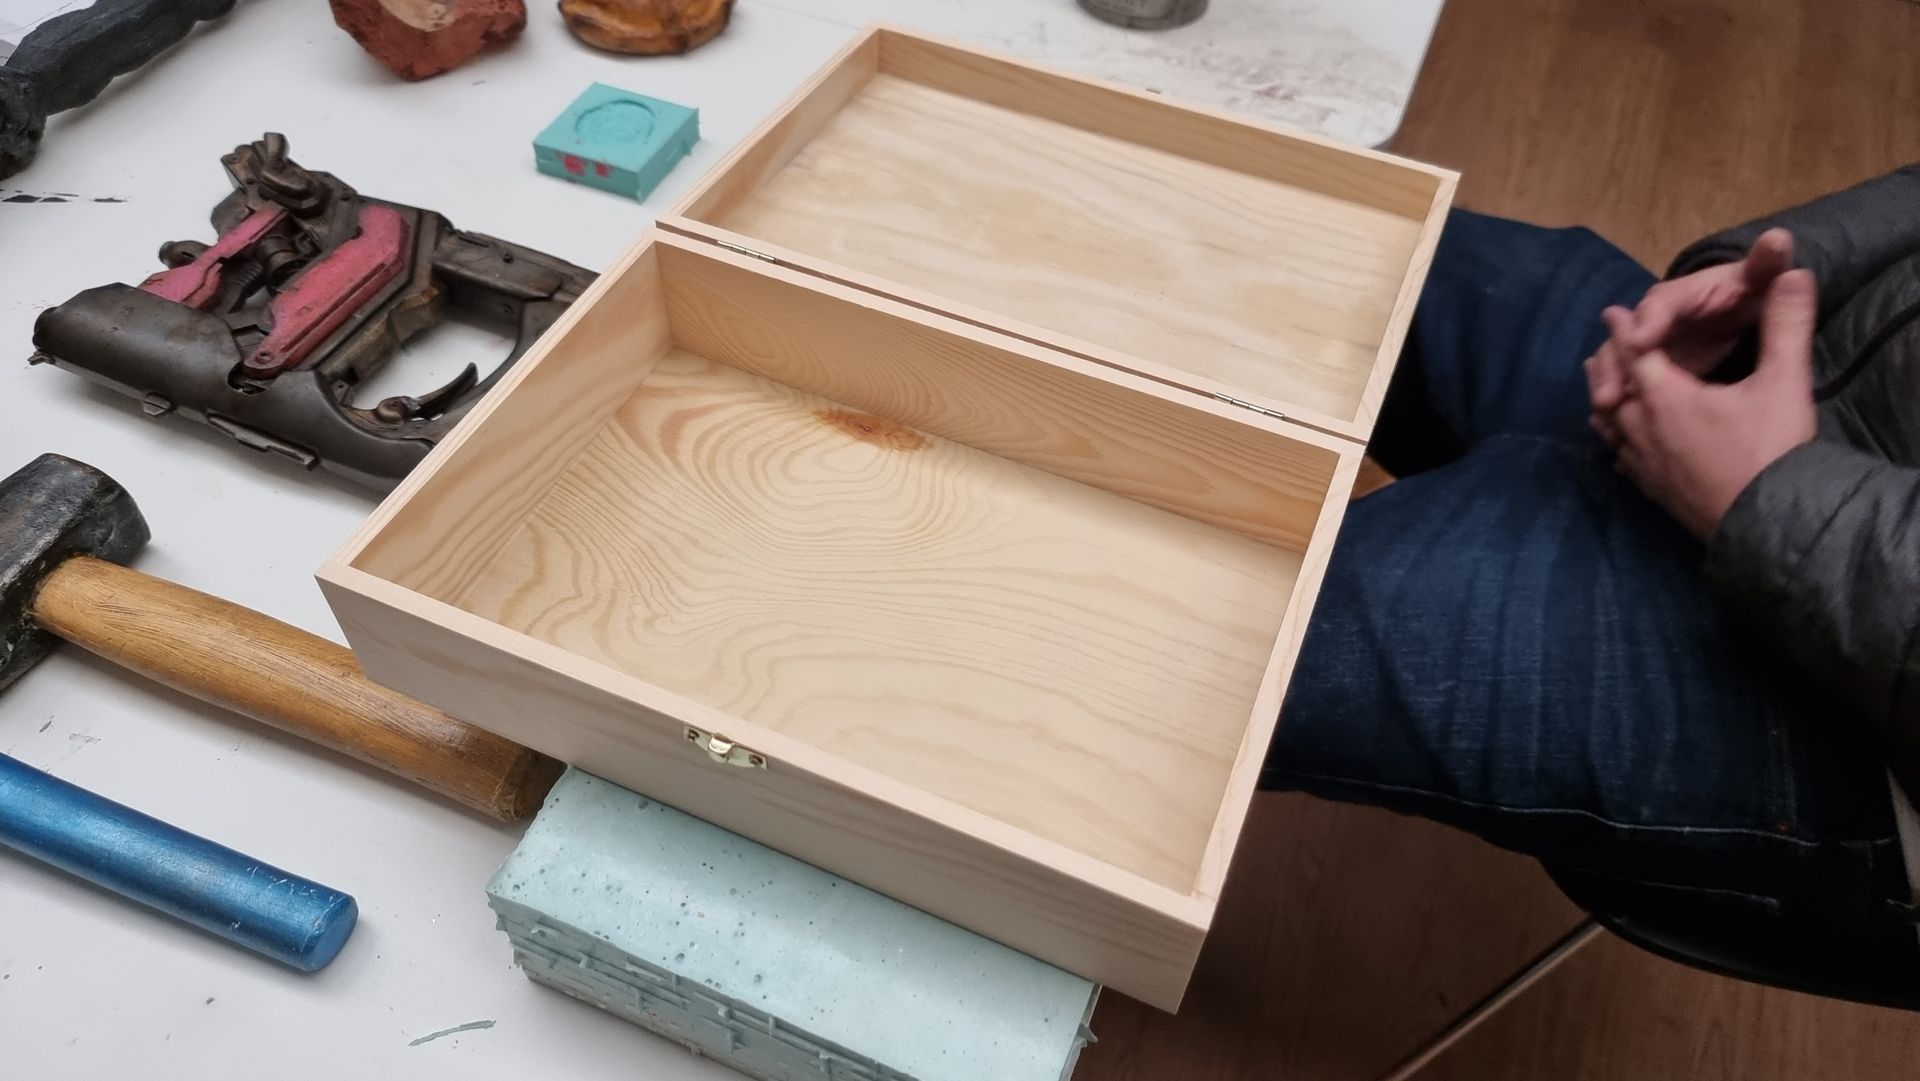
The box we started we started with is below. As at the time we had not been taught that a prop is defined as:
A hand held item a character interacts with
This project was restarted several times as :
· A miniature model of a spacecraft
· A miniature model of a speeder bike
· A utility droid base on B3EMO from the Star Wars Andor Series
· A stealth rebel imperial ambush limpet mine attack droid
Before settling on a:
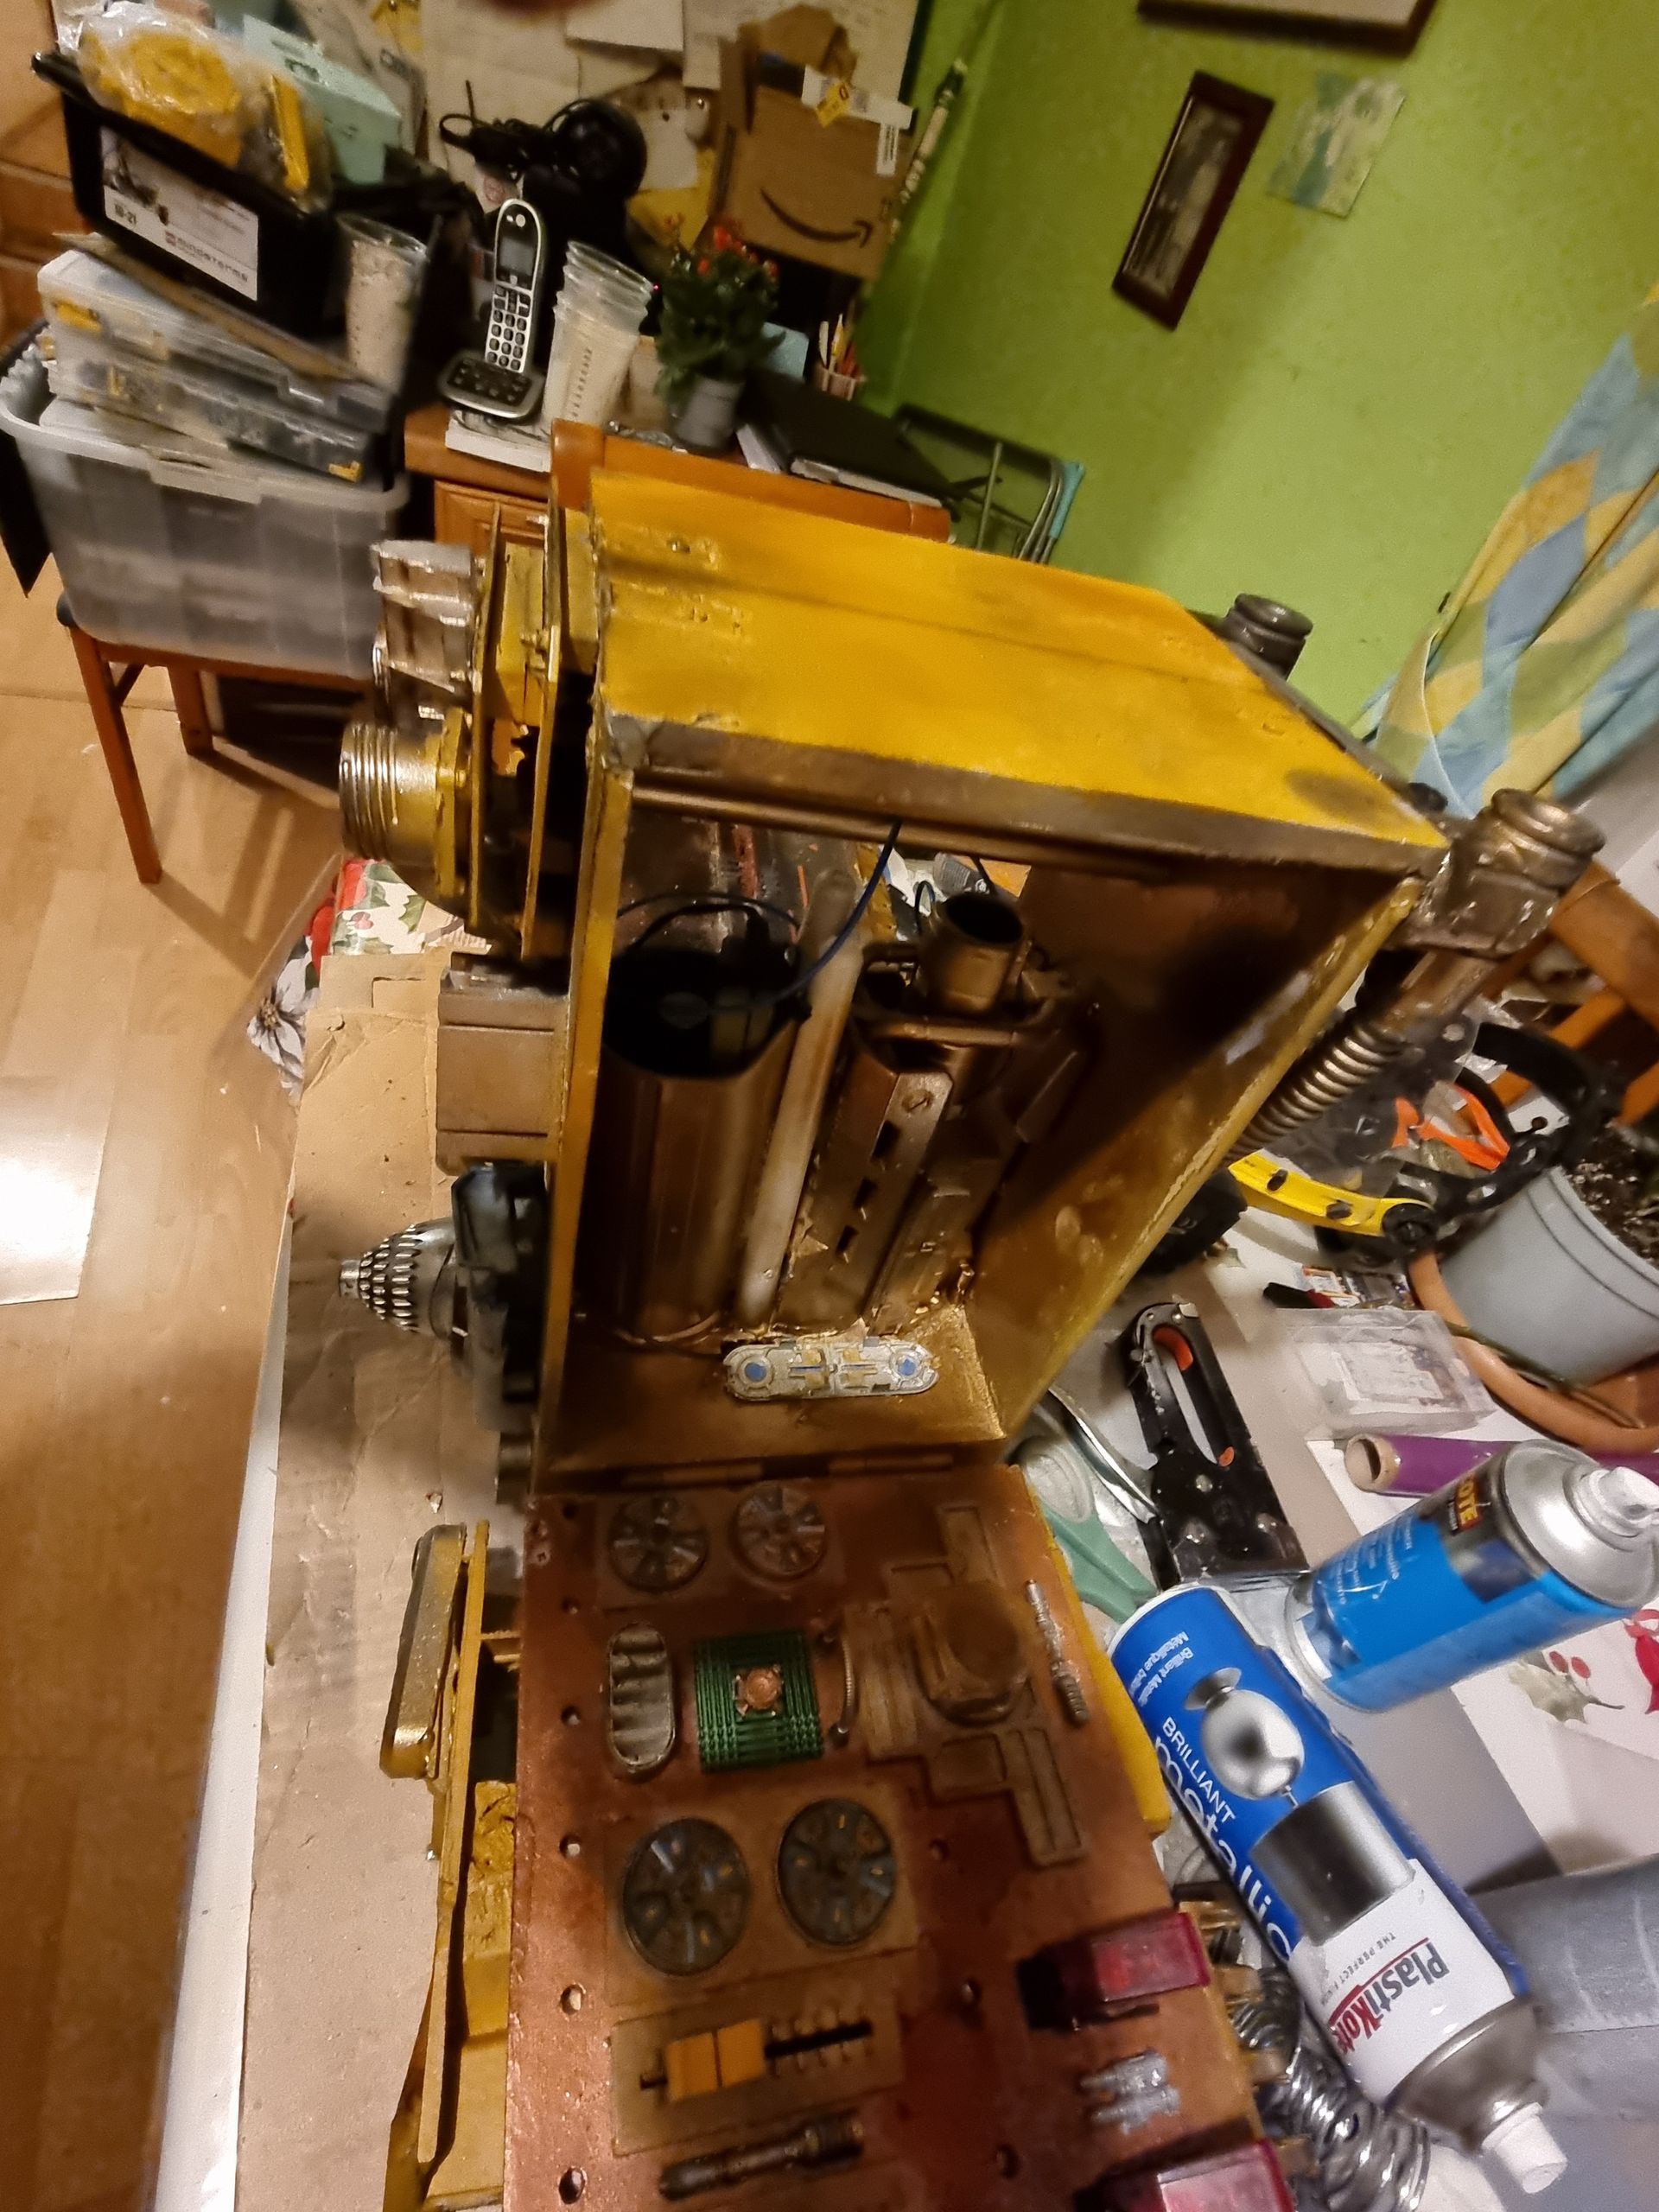
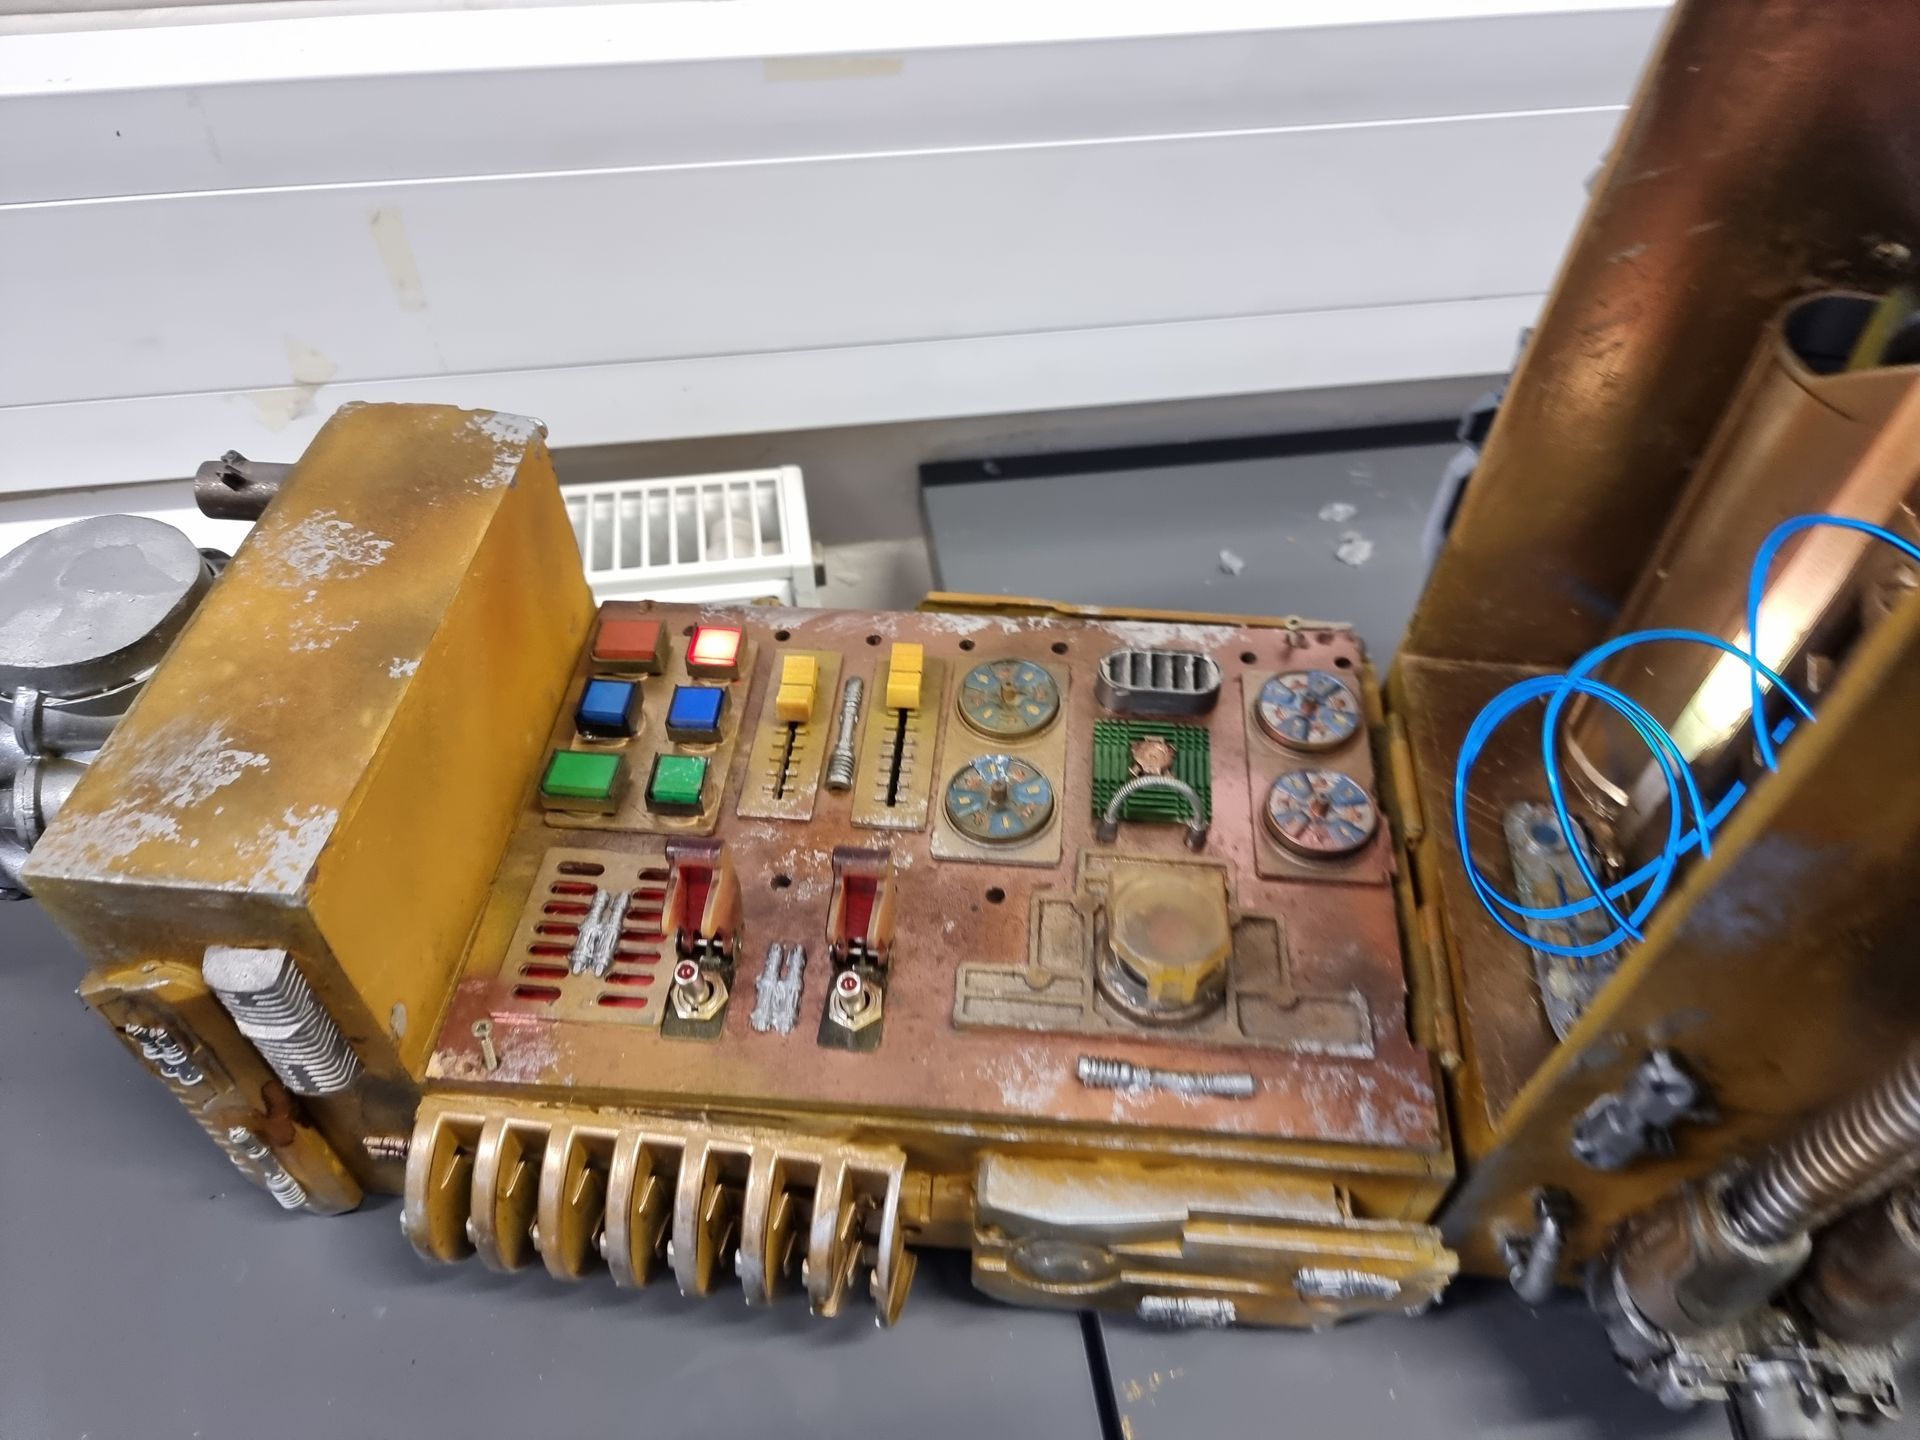
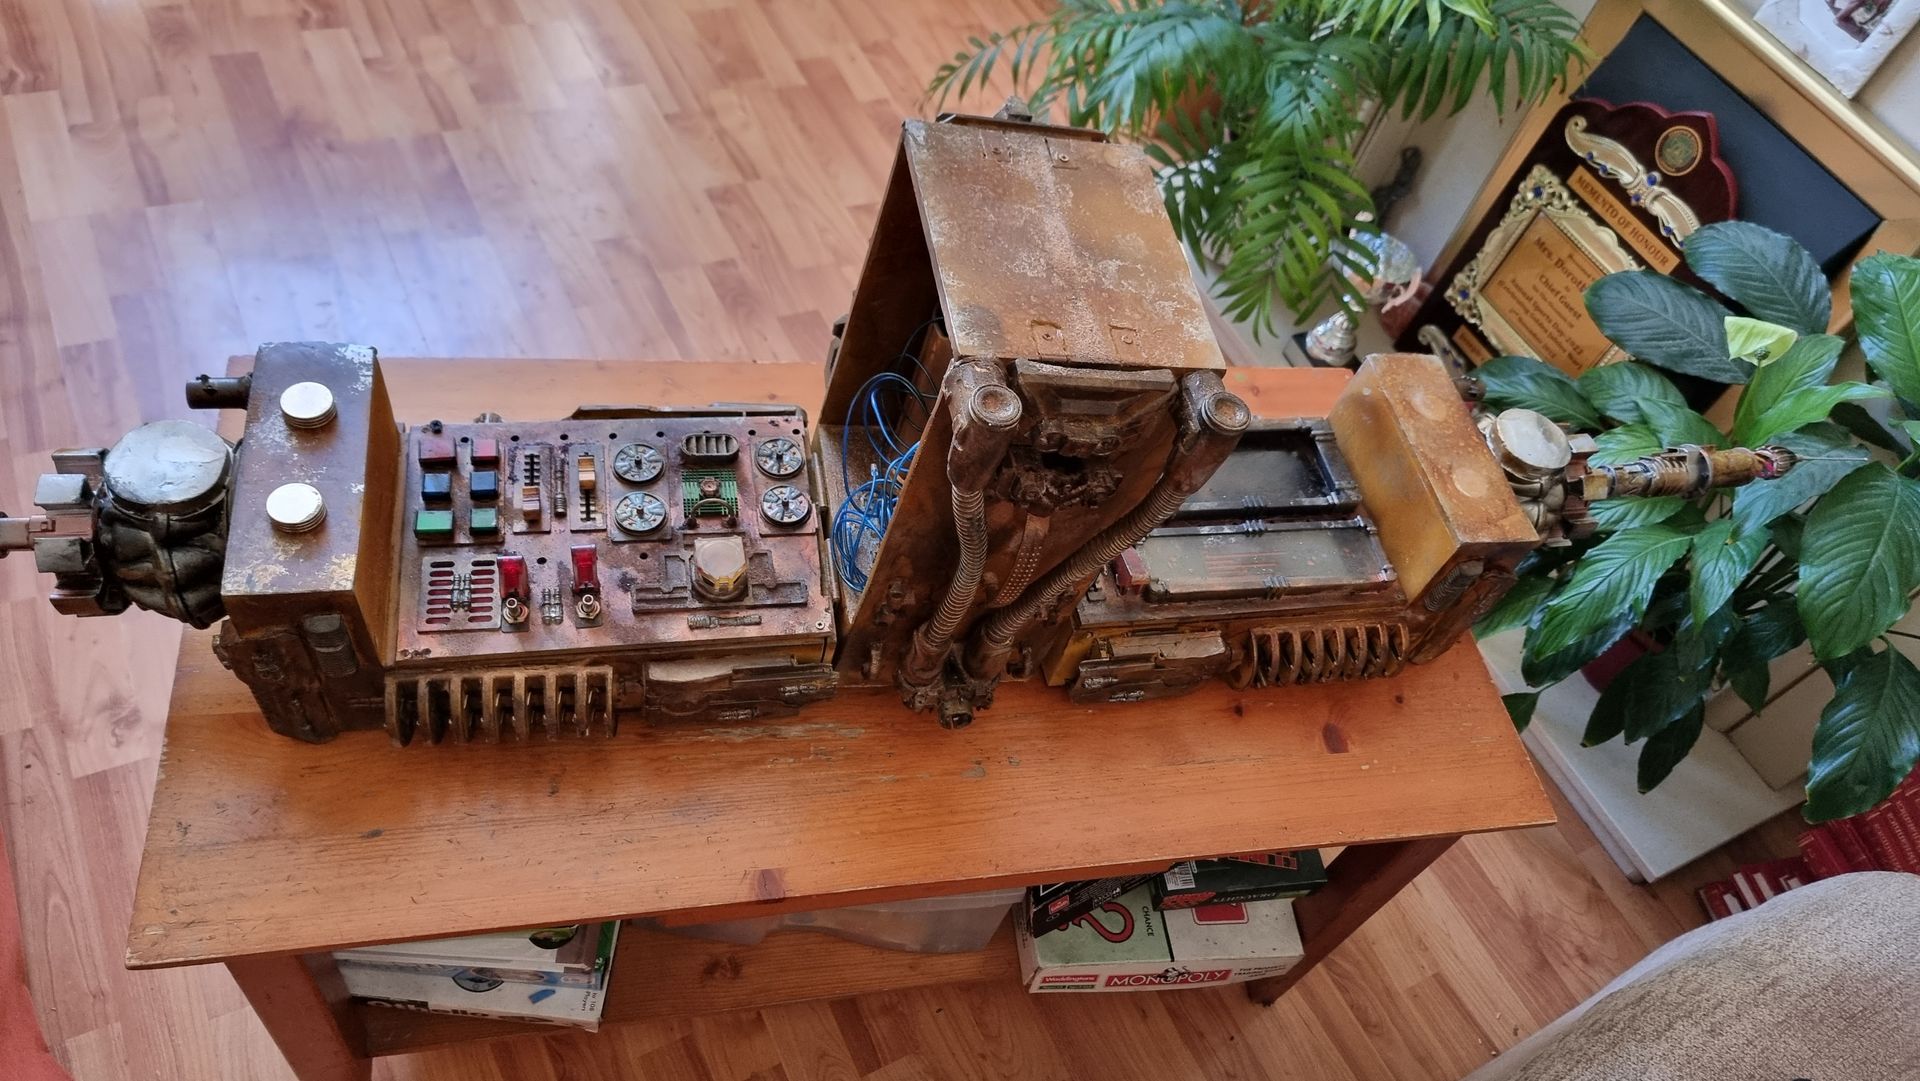
A portable control system that could be used for various riles such as a hacking tool, weapon s system, communications and more.
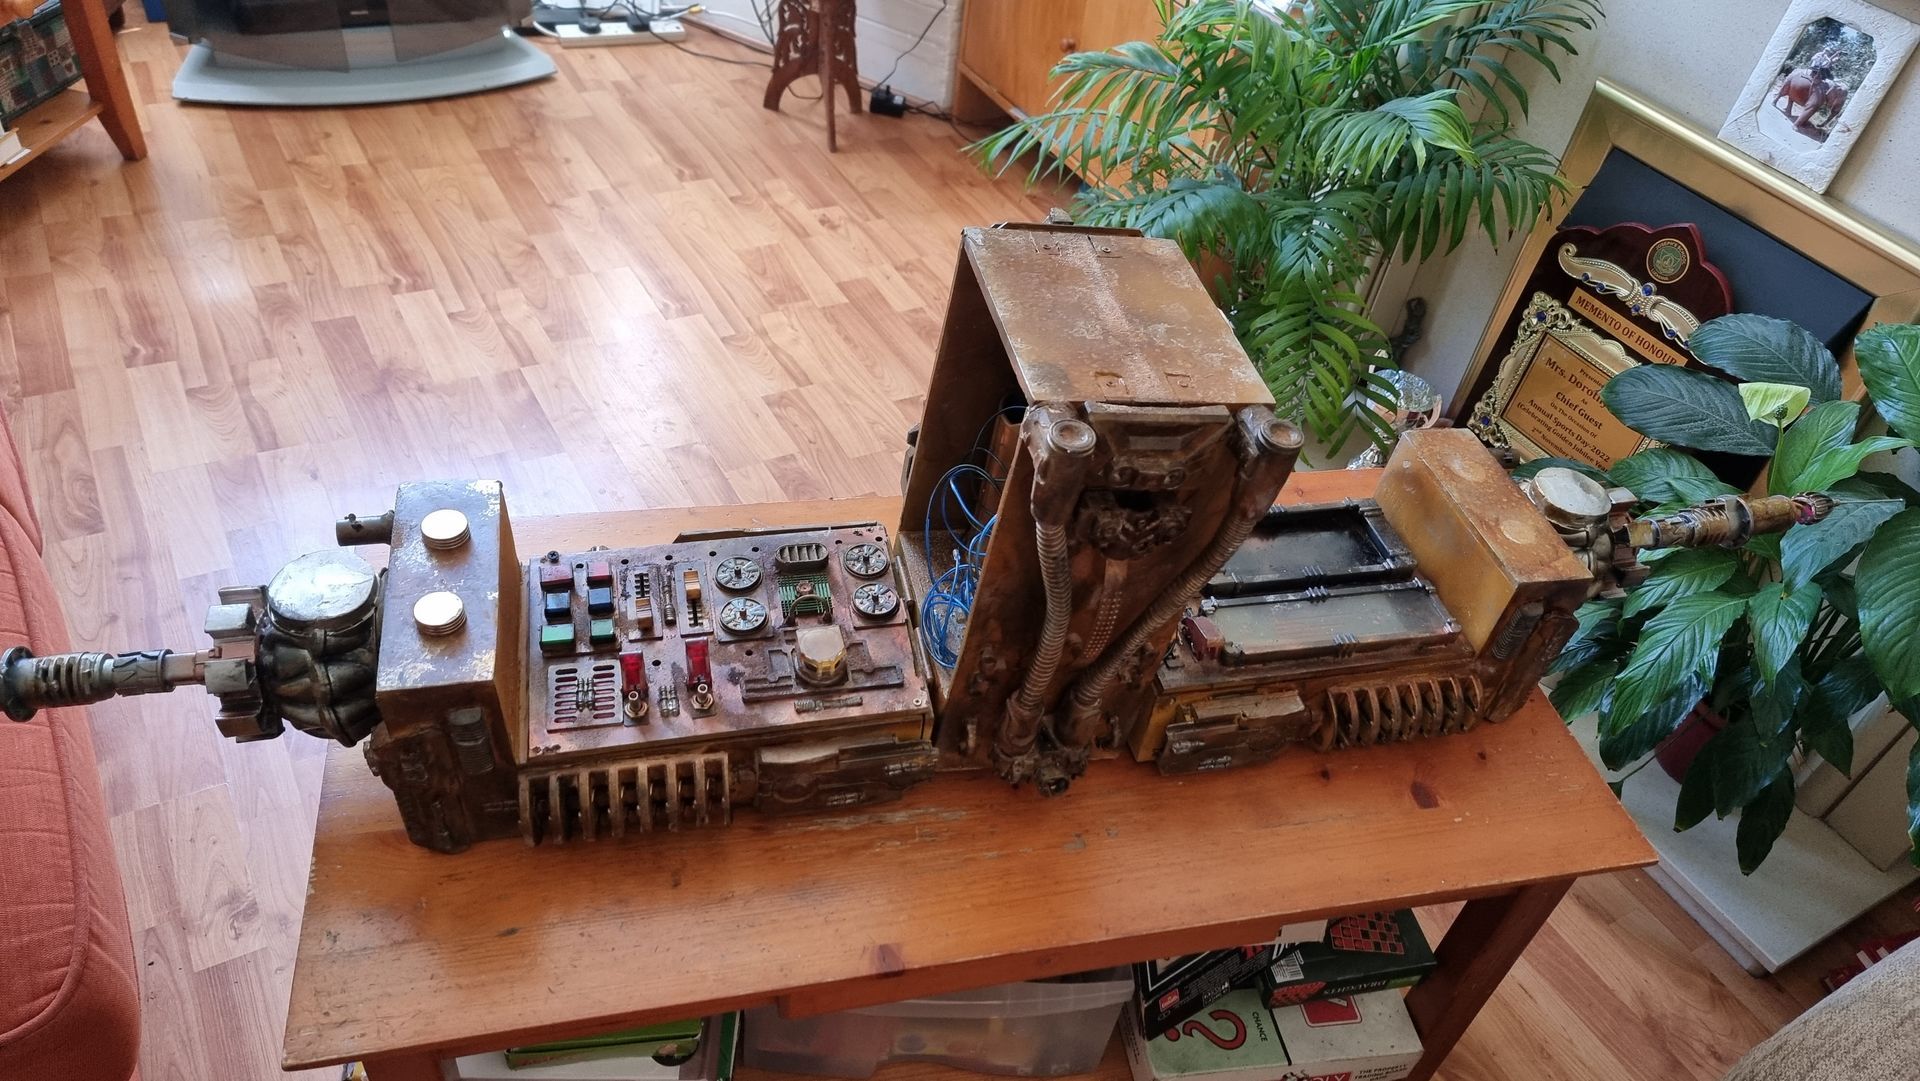
The system I build went through various designs and forms from a simple control box to an opting to dual opening with a tower, from neat corporate imperial style to a snow planet dirty worn system to the more jury rigged device that fits the outer rim outpost planets such as Tatooine.
Project Stages Below Include:
Pre - Construction
- Starting Point Box
- Research
- Potential Projects
- Sketch Ideation and Development
- Prototyping
Basic Construction
- Basic Box Construction
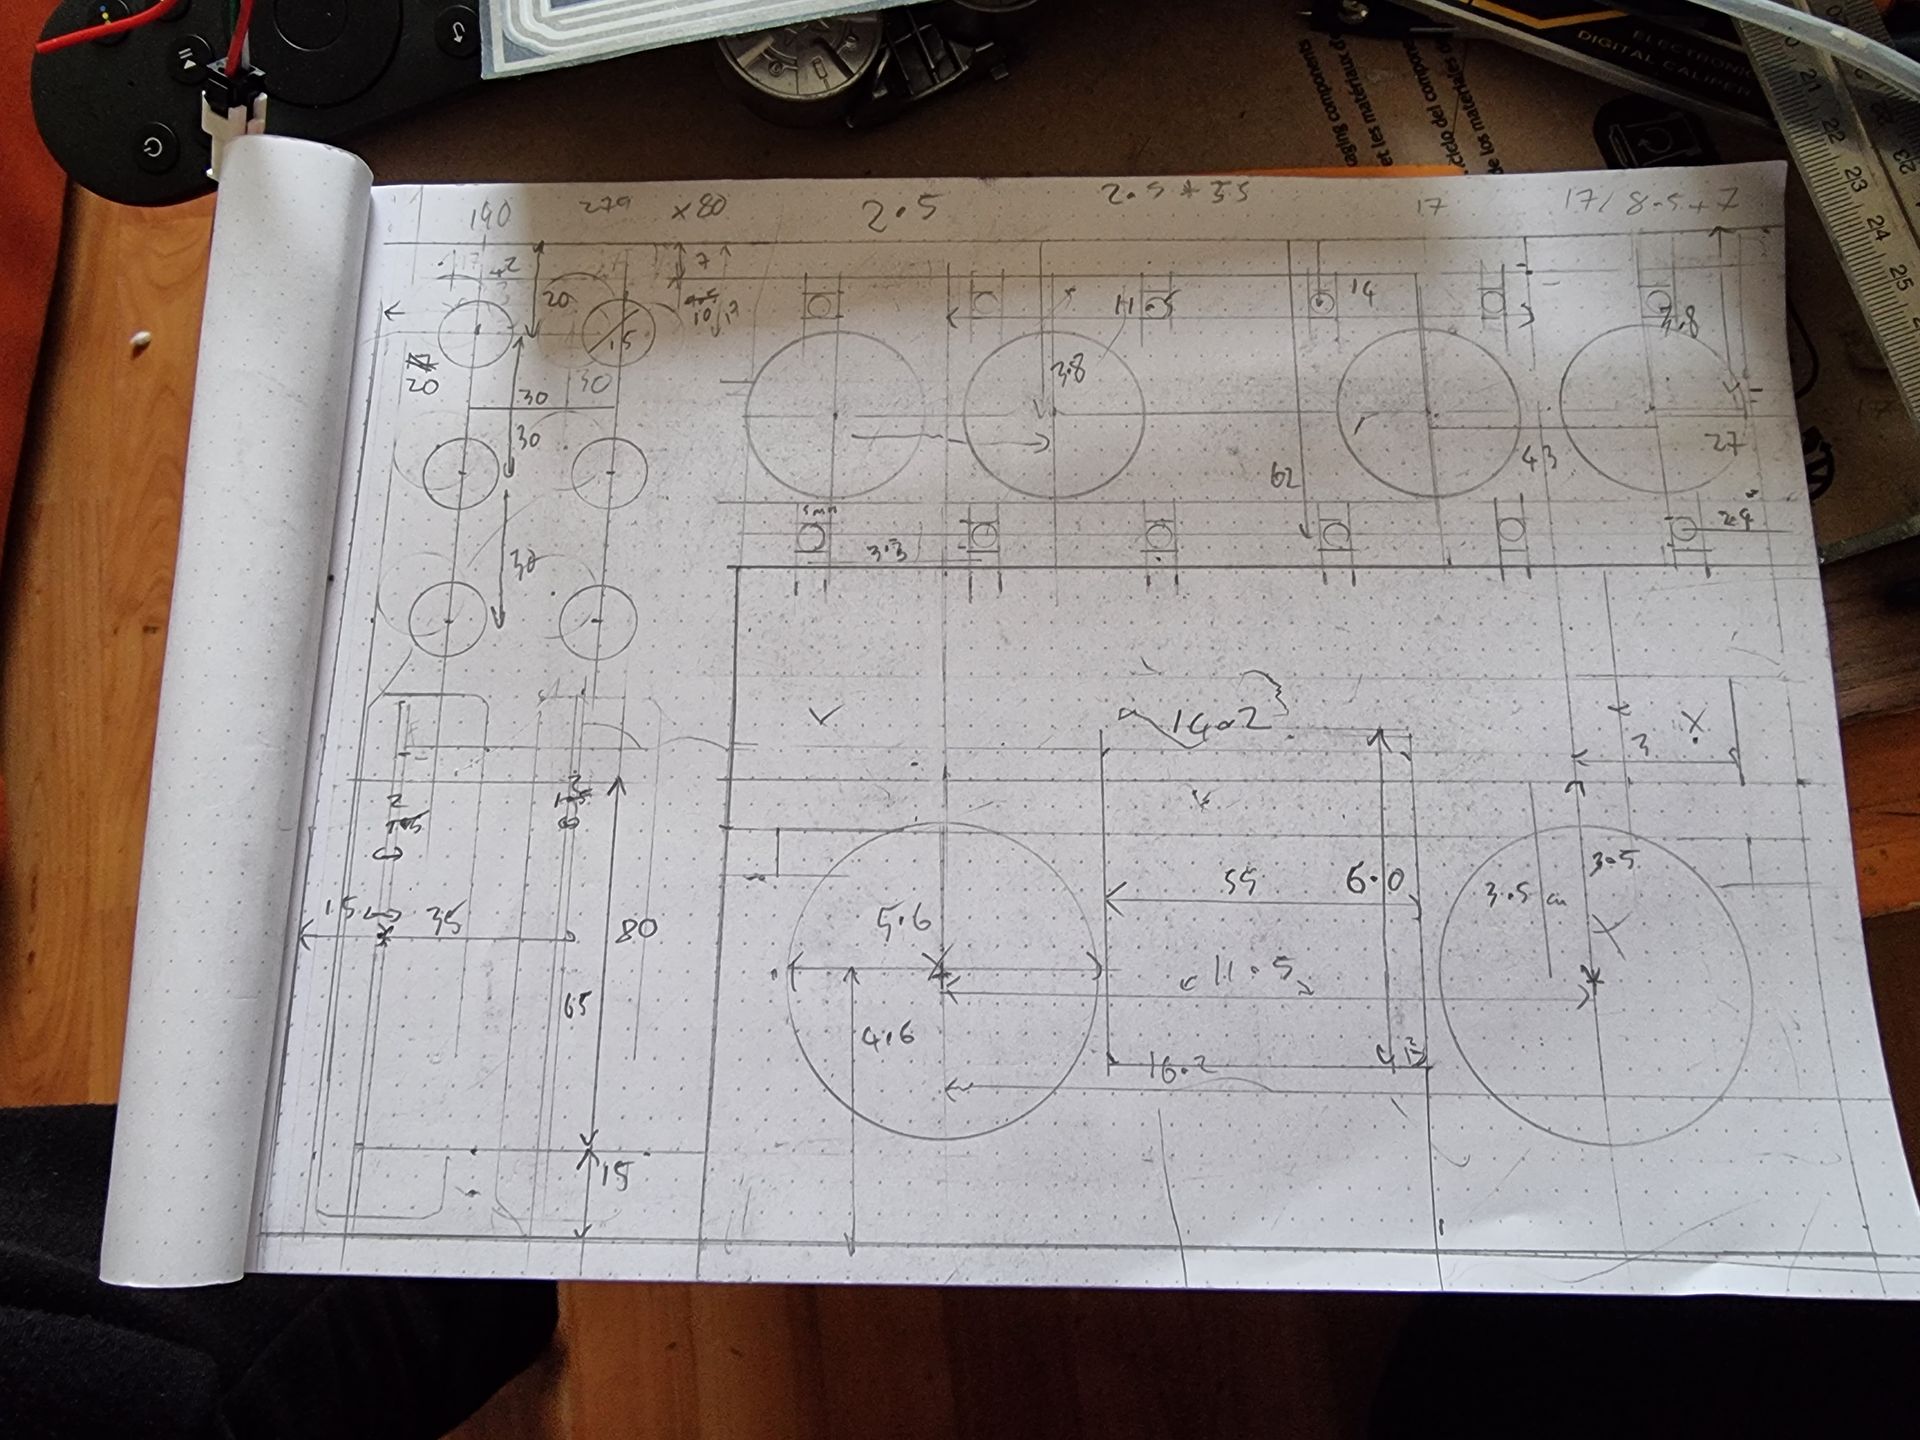
- Control Panel Cutting Guides
Kit Bashing
- Kit bashing Intro and Sourcing
- Part Duplication
- Chopping up Kit Bash Components
- Preparing the Dyson Motors and Cyclone Generators
- Transmitter Tower Development and Kit Bash Construction
- Faction Colour Pallet and Kitbash Assembly on Box Body
Star Wars Box Project - Starting Point
This was a very complex project and you can download my project journal that covers the development in depth here.
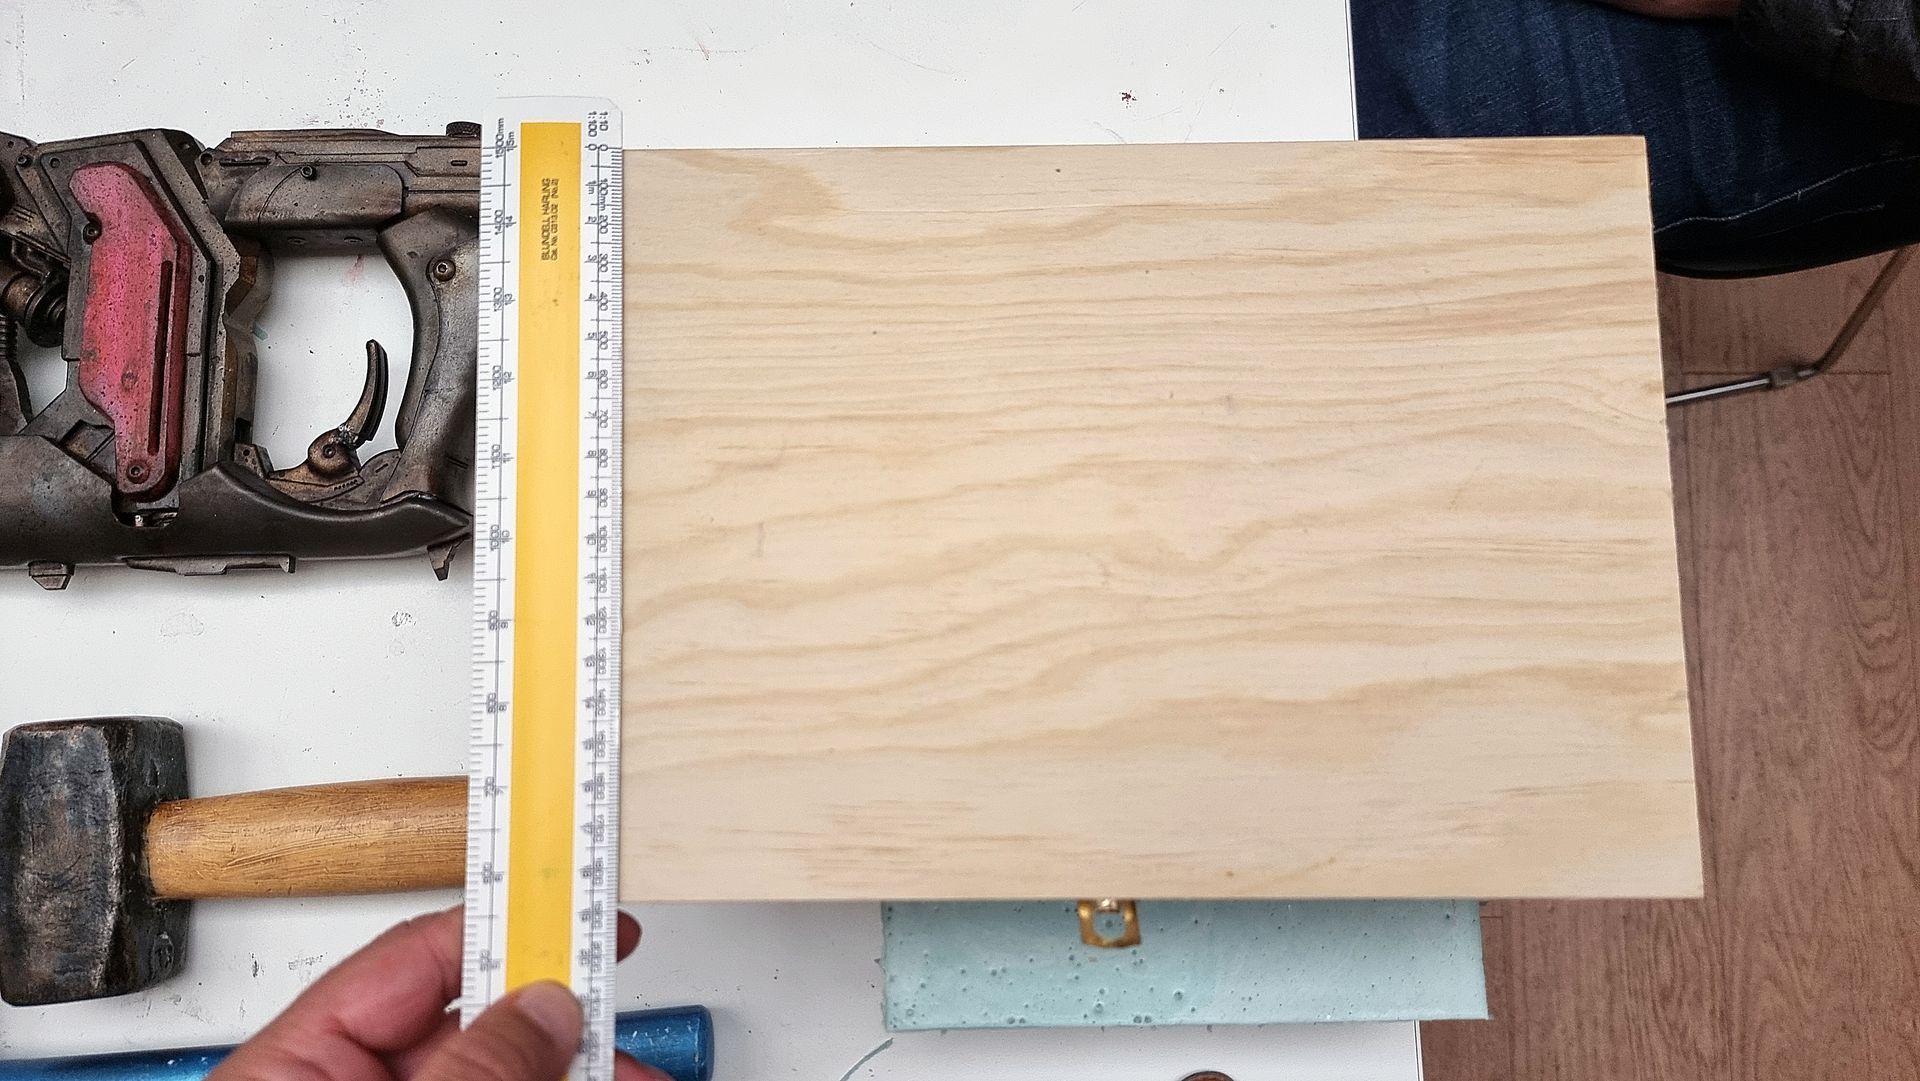
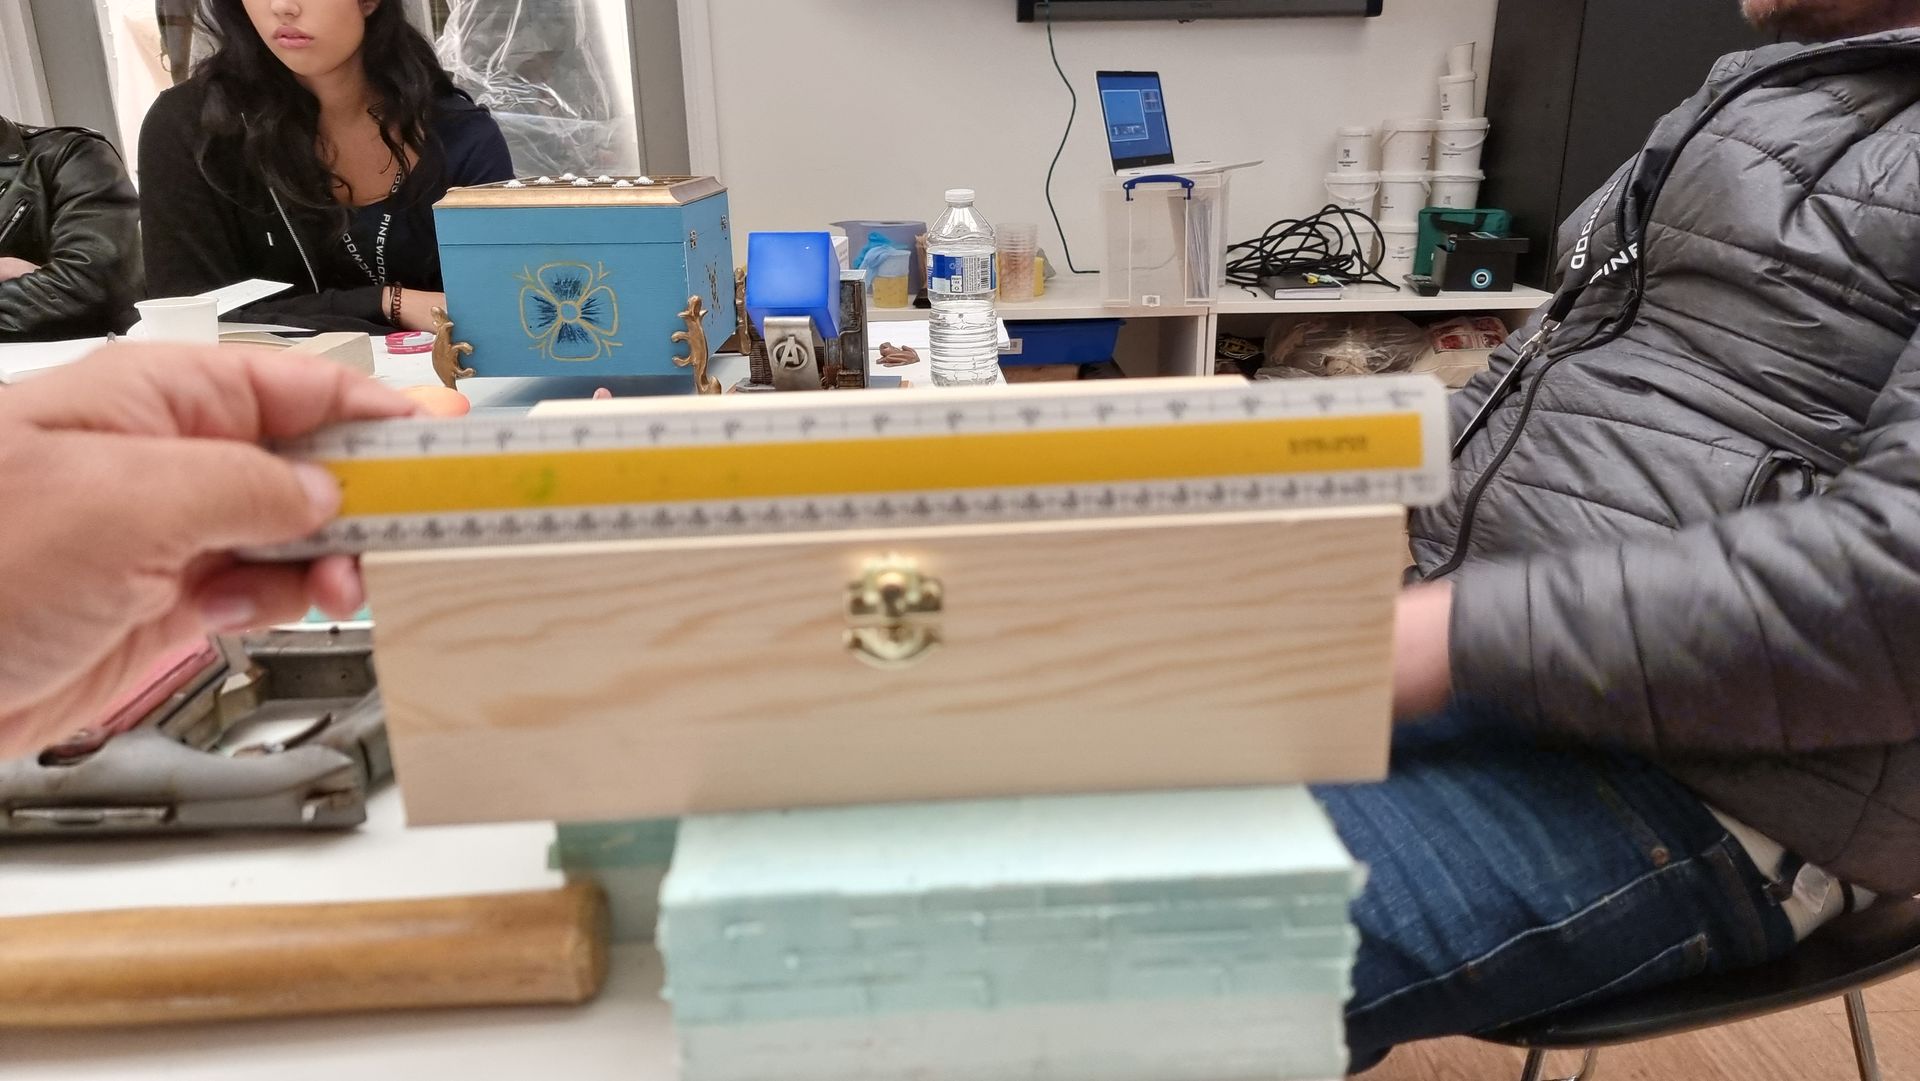
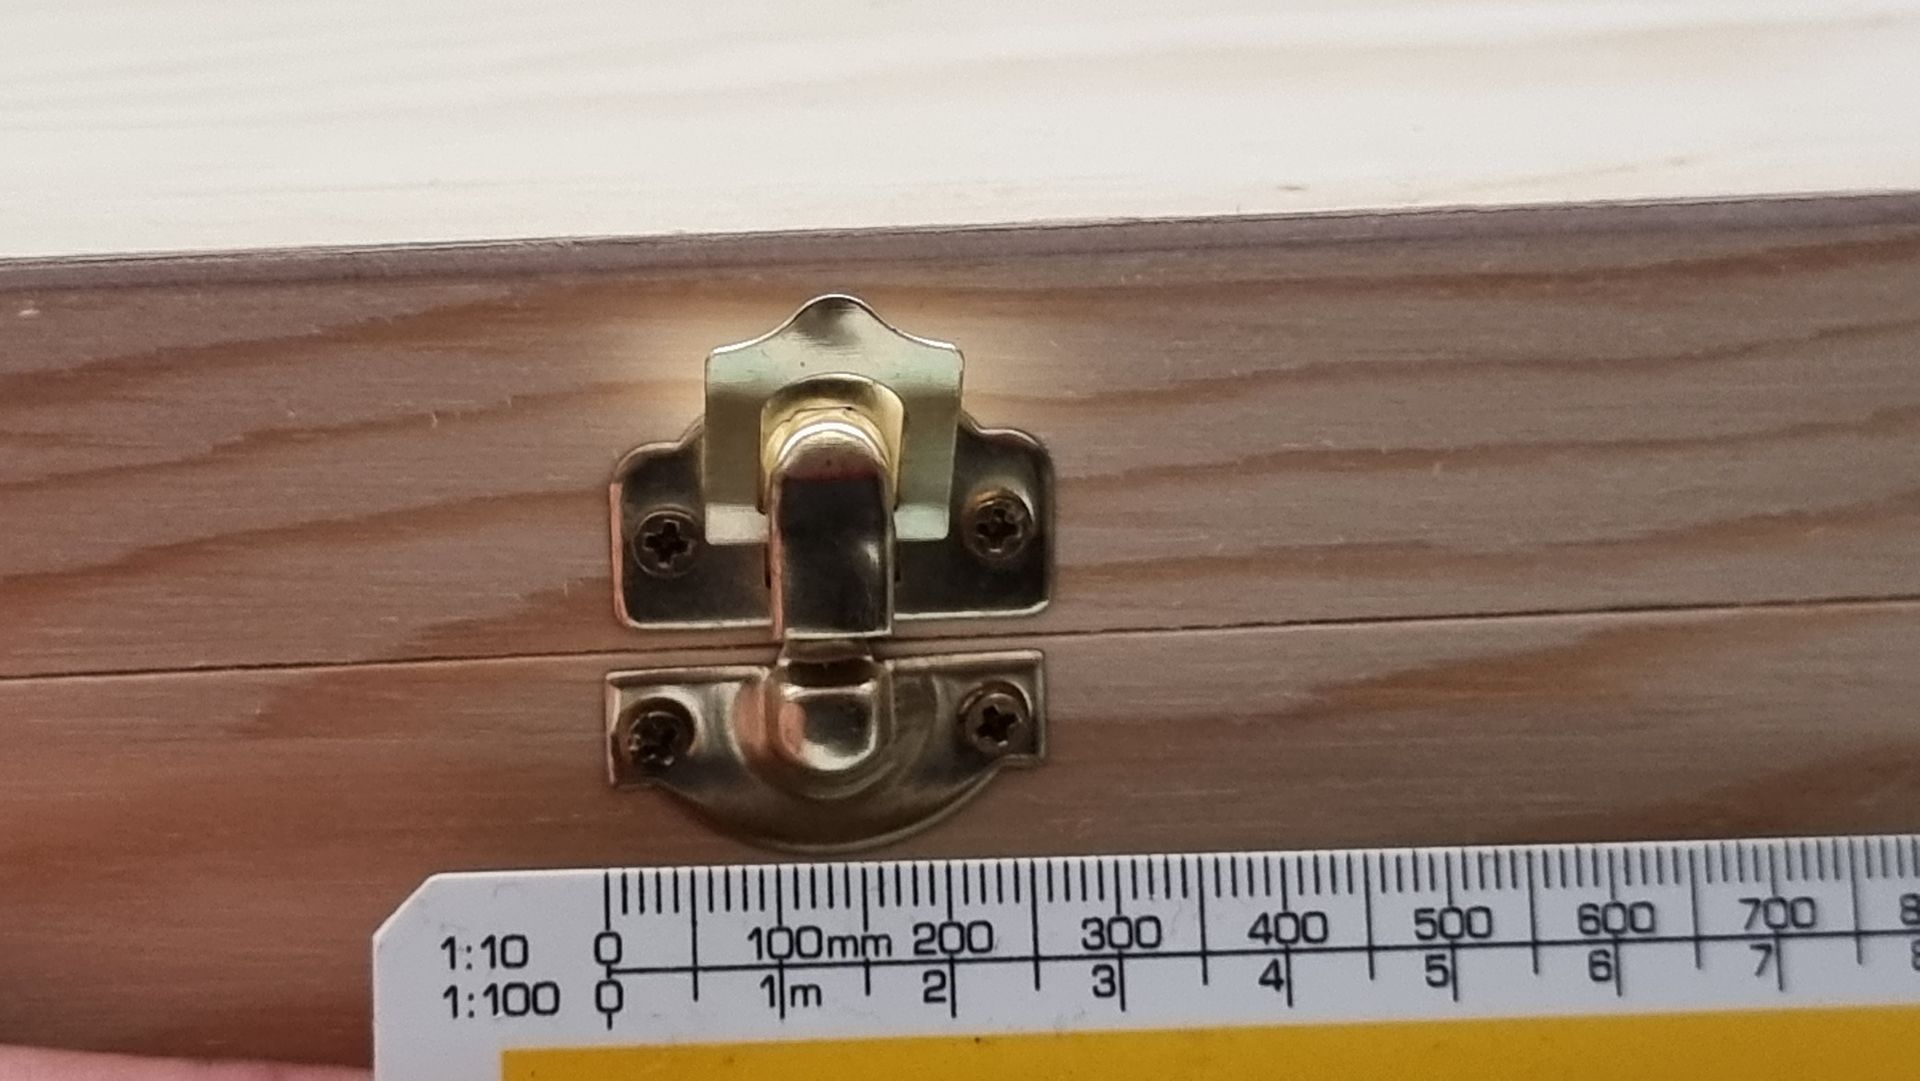
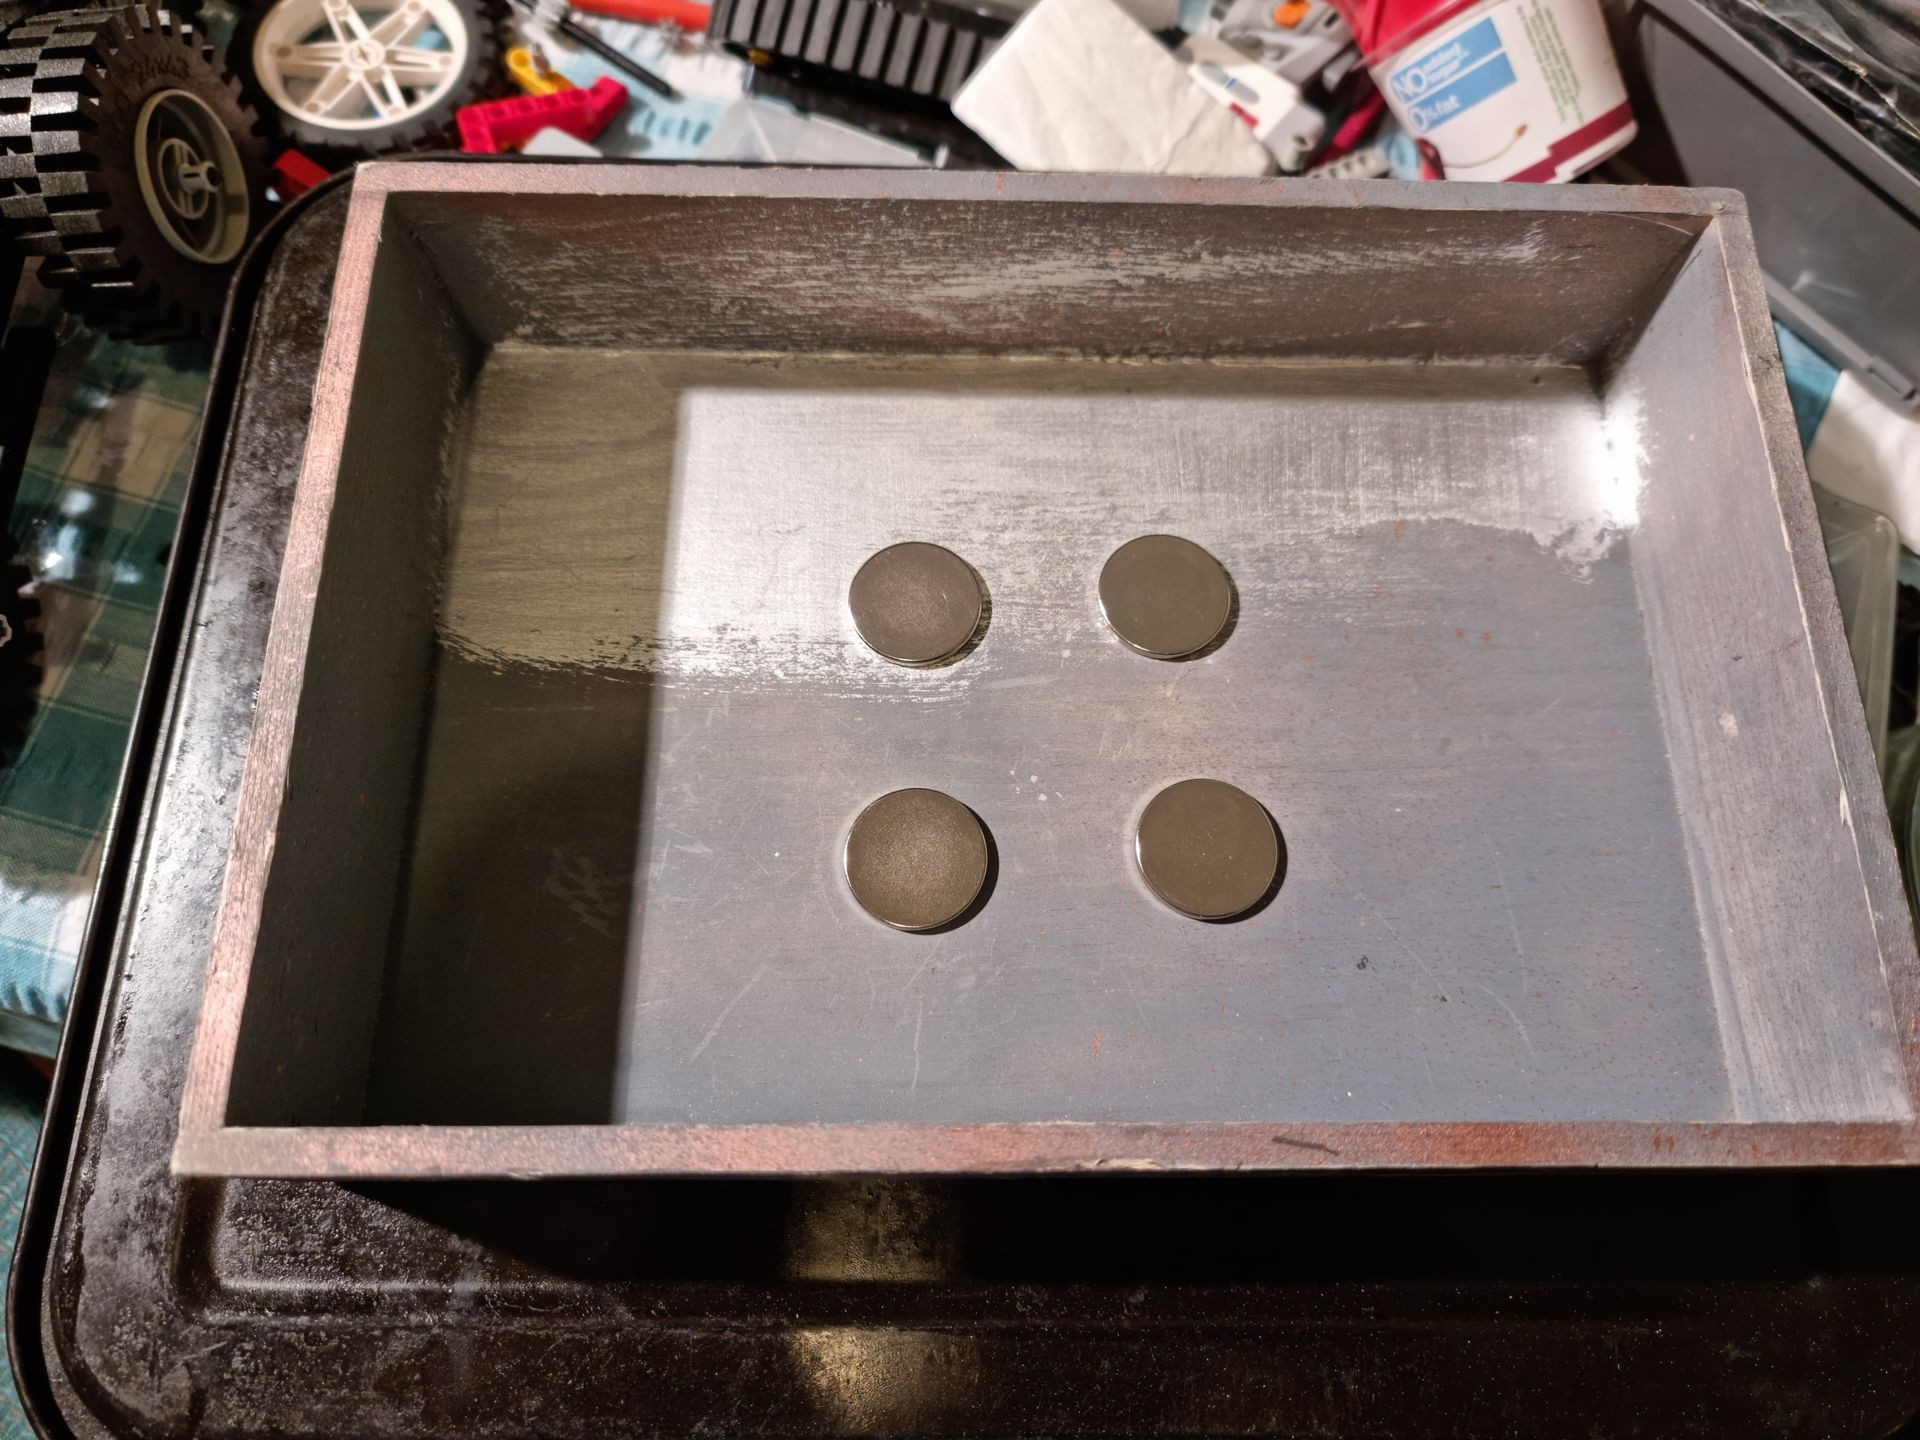
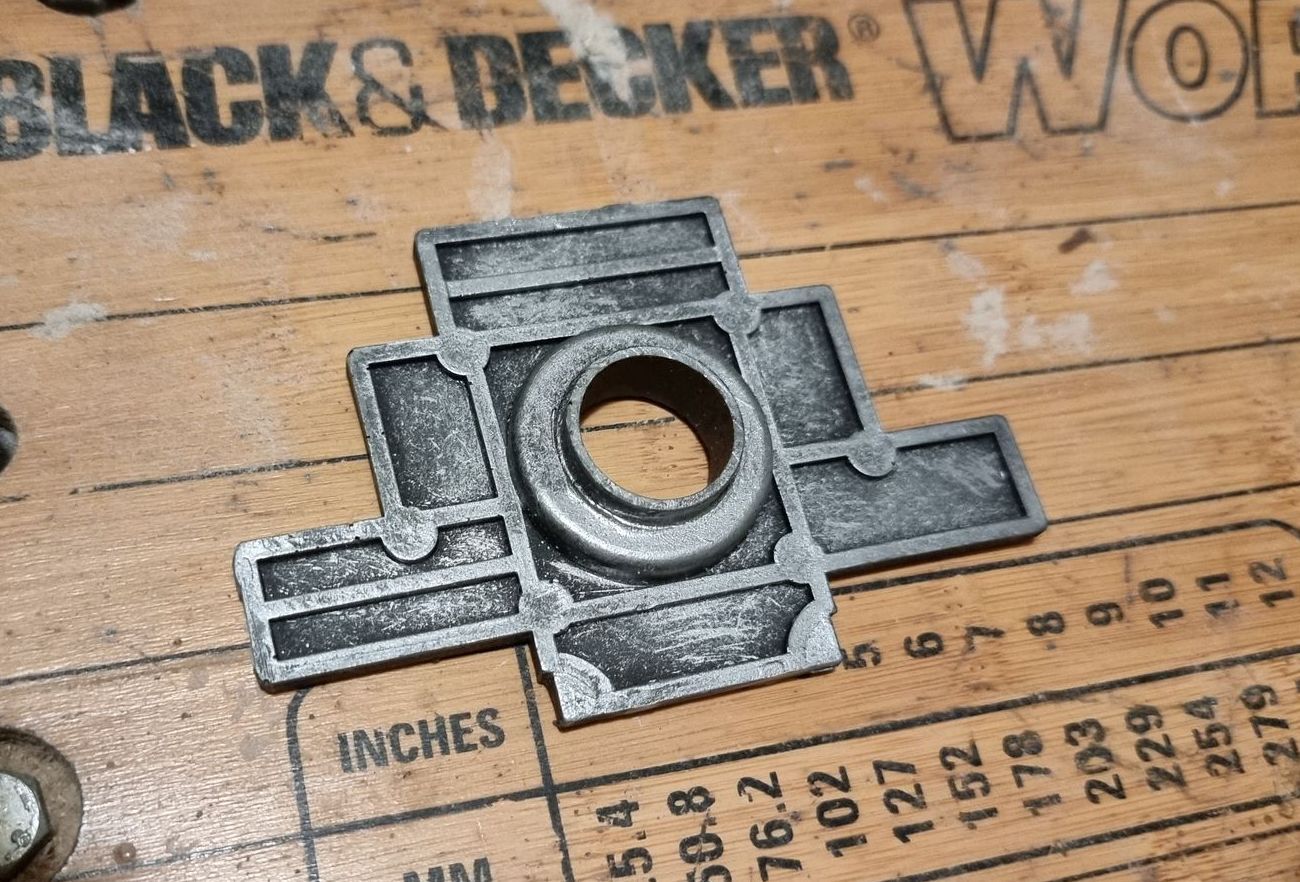
This is the box we were given to start with 28 x 19 x 6cm and 5mm thick walls. The base was 5.5 cm deep and the lid 2.5cm deep.
Star Wars Box Project Concept and Development Stage
Research
Huge amounts of research went into this project that are in my journal that can be downloaded to look in depth as this website only shows a tiny fraction of it. These included:
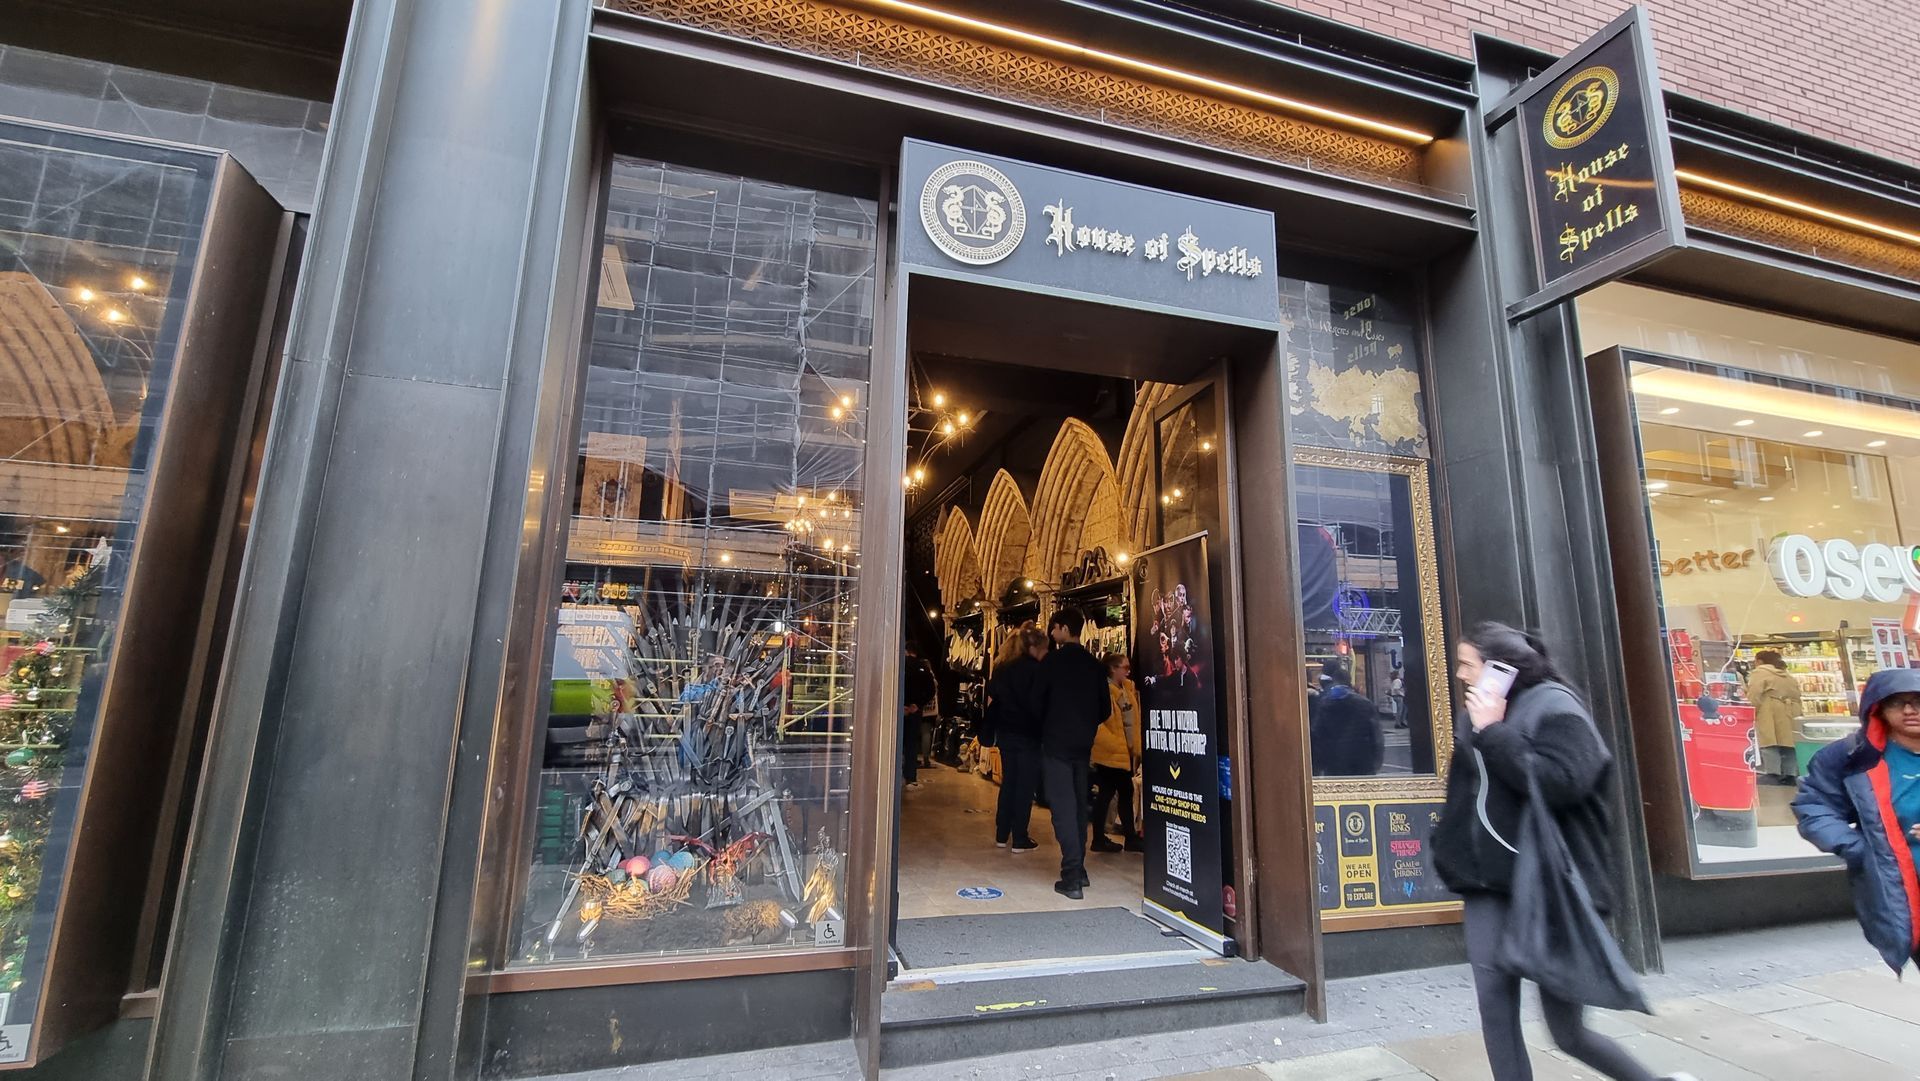
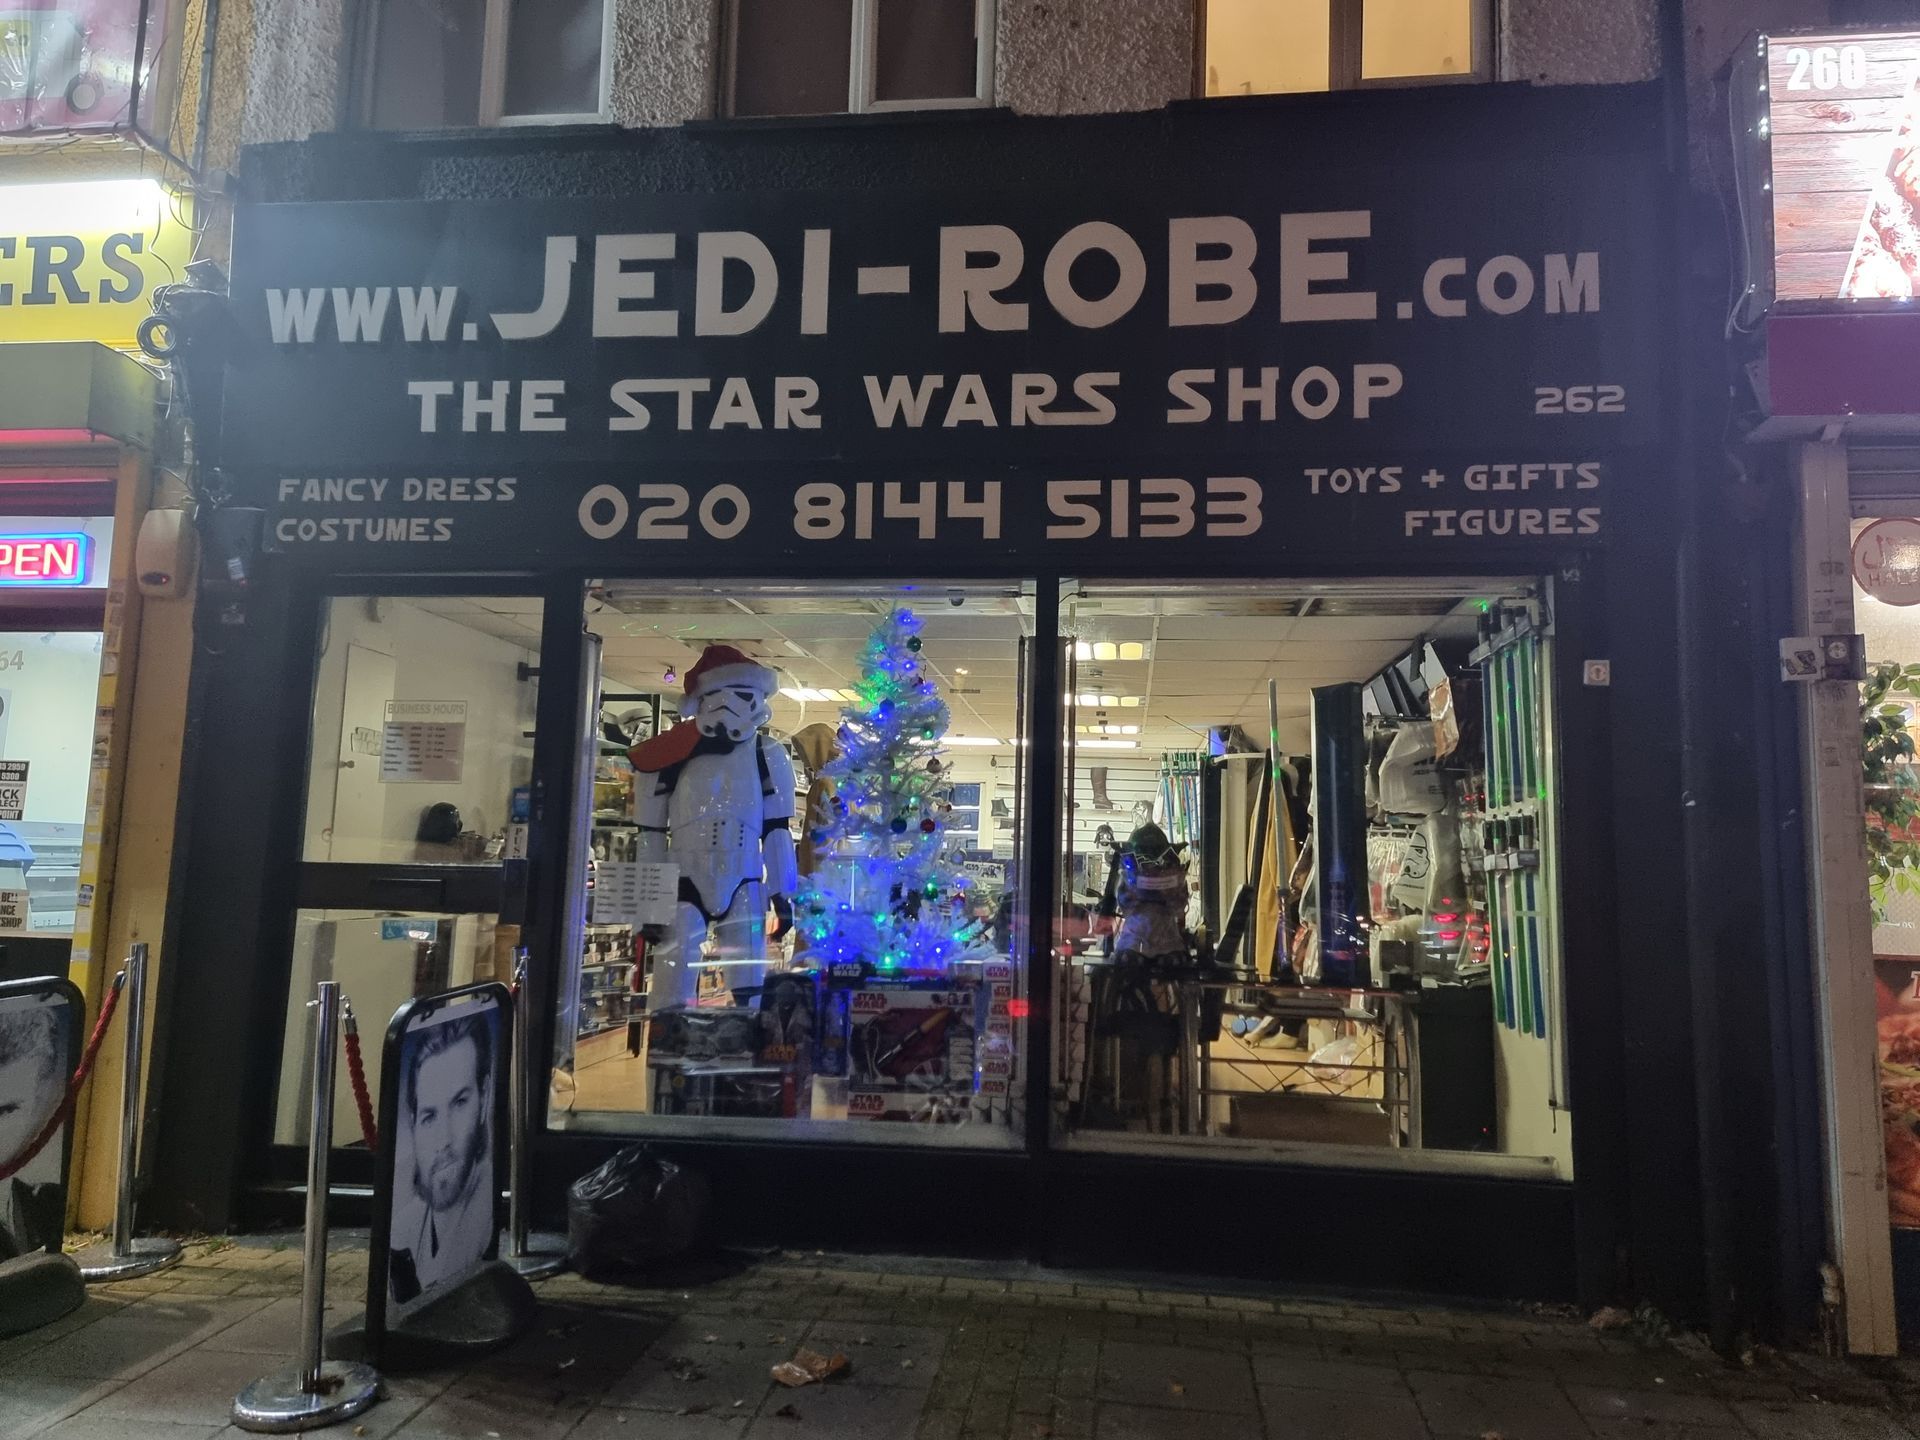
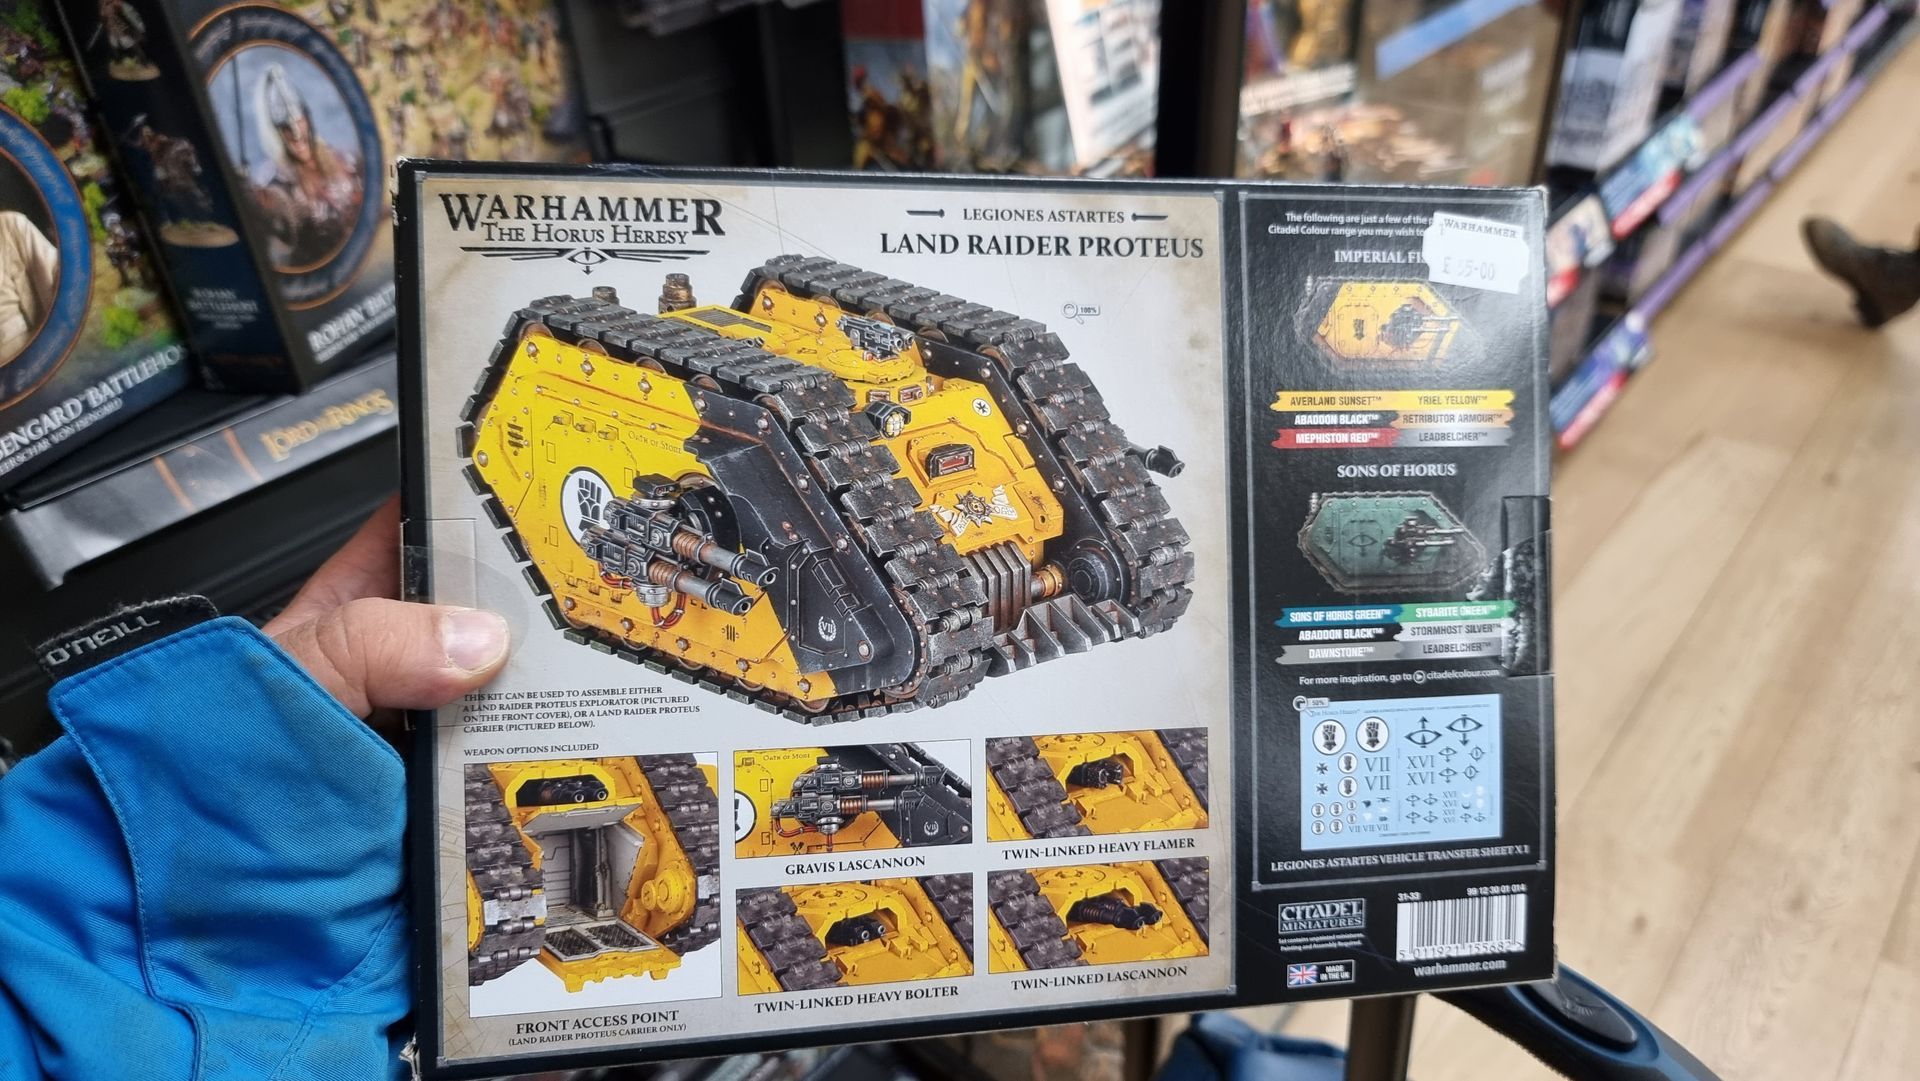
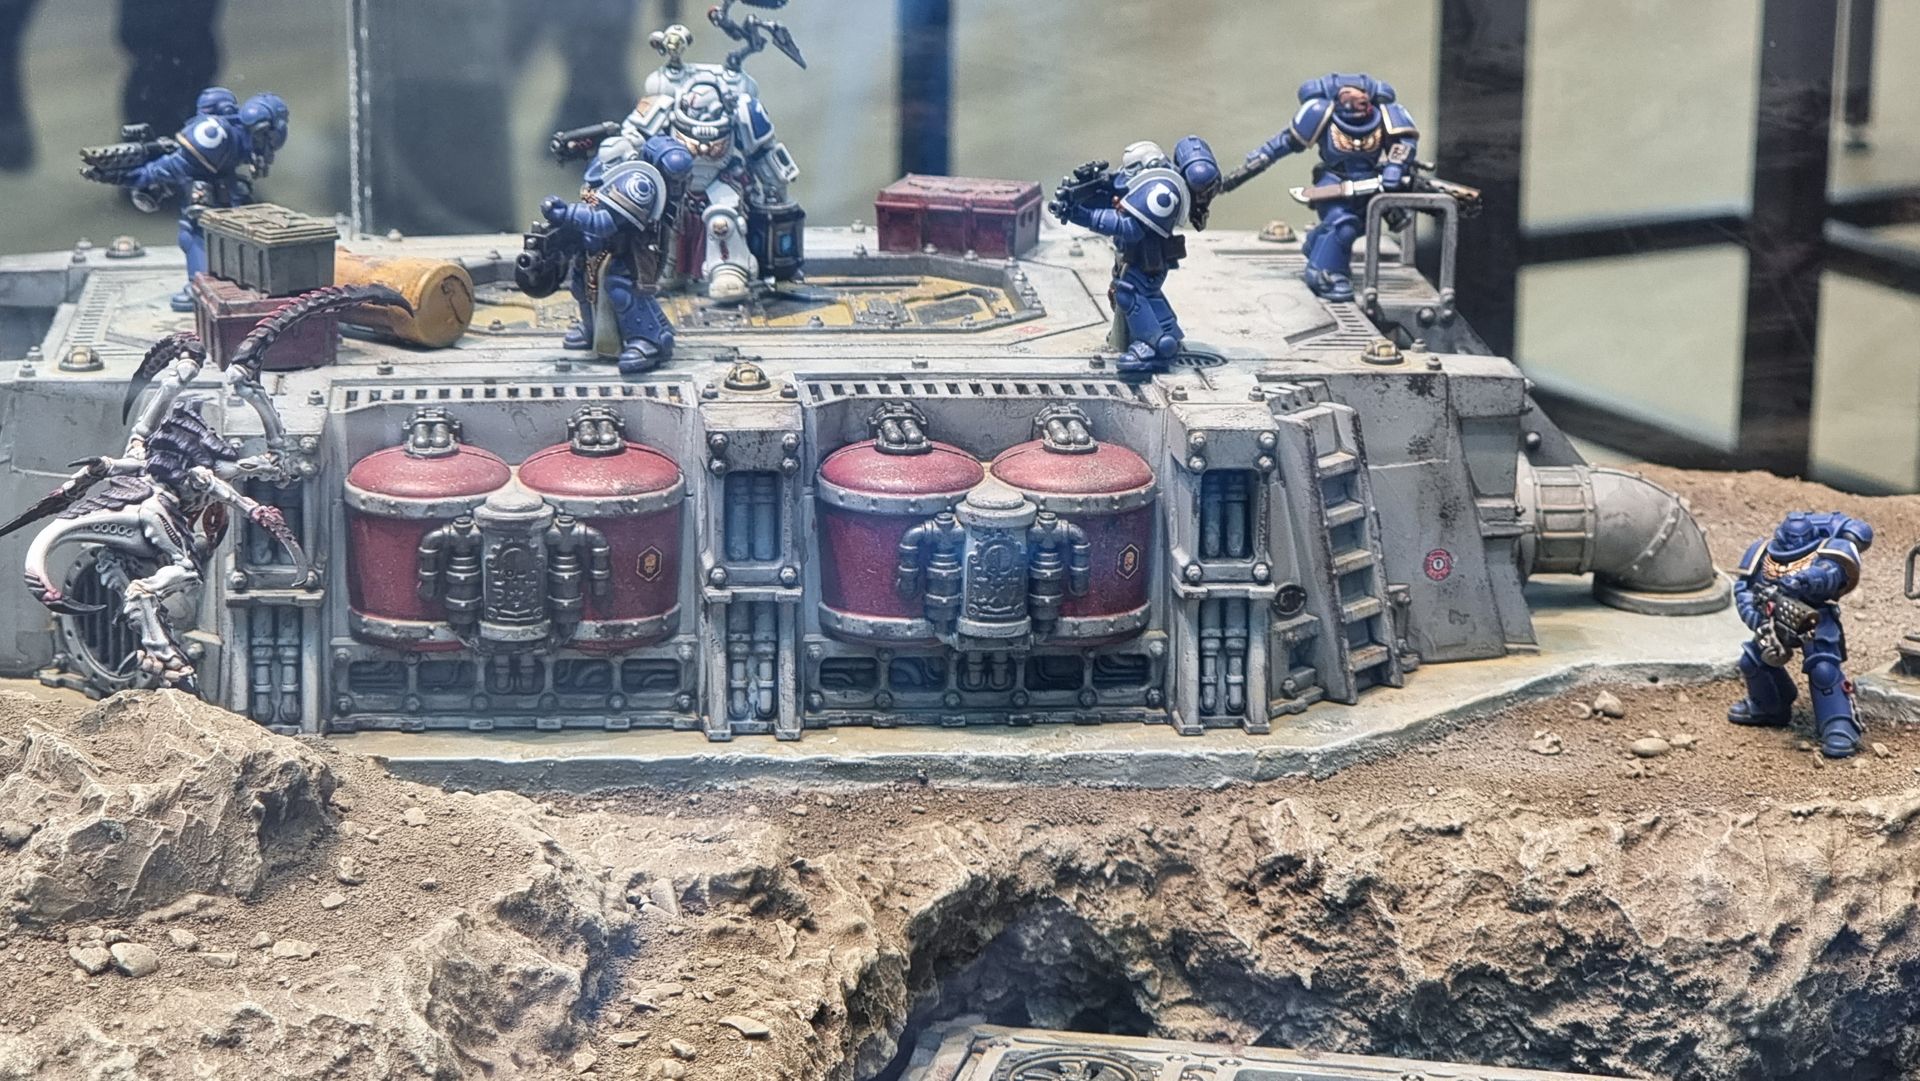
Trips into town to visit stores related to:
- Star Wars
- Harry Potter
- Lord of the Rings
- Merchandising
- Harry Potter
- Comic stors such as Forbiden Planet
- Science Fiction
- Star Wars Jedi
- Star Wars Conventions
- Star Was Prop, Space Ship and Costume Museum
- Fantasy
- Role Play
- War Hammer
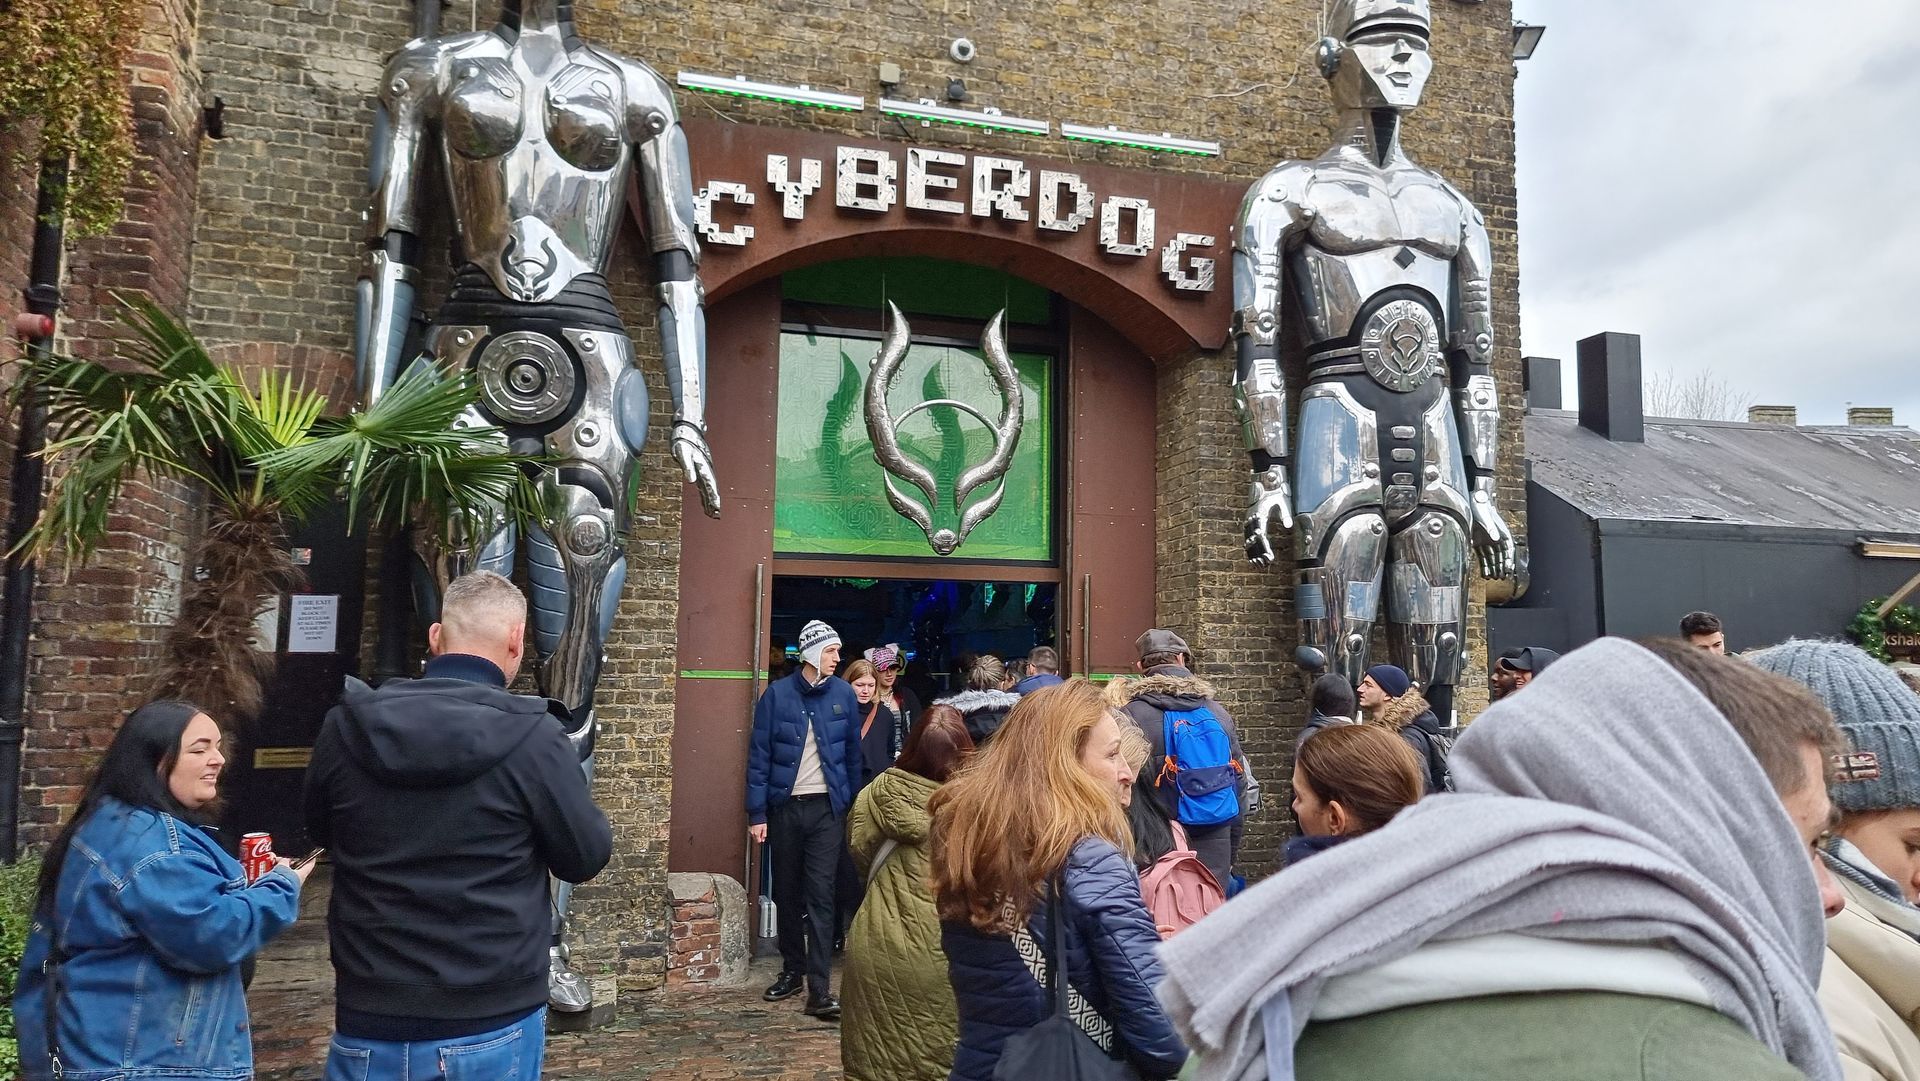
- Cyberdog
- Antique Shops
Books related to Star Wars that included the:
- Vehicles
- Spacecraft
- Bases
- Weapons
- Props
- Tools
- Driods
- Characters
Viewed and studied:
All the Star Wars Films and several of the TV shows and animated series including:
- Andor
- Mandalorian
- The Book of Boba Fett
- Obi-Wan Kenobi
- Star Wars Rebels
Features to Look at Included:
- Surface and Tech Set Decorated
- Dirty Surfaces
- Control Interfaces
- Robotics
- Internal Tech
Other sources included Shotdec
Star Wars Box Project - Potential Projects
Various ideas for what to build were looked into and some experimented with:
Various ideas at:
what to build were looked into and some experimented with.
The problems is that when the project started we had not been given clarification as to what a ‘prop was’ defined as a movable object that can be handled and interacted with by a character.
This being Star Wars (Which had been chosen due to at the time the perceived choice of things to make). When I researched and started watching the first 7 movies, I had a real struggle to find box sixed and shaped items.
Most potential props were more pipe shaped like lightsabres and weapons.
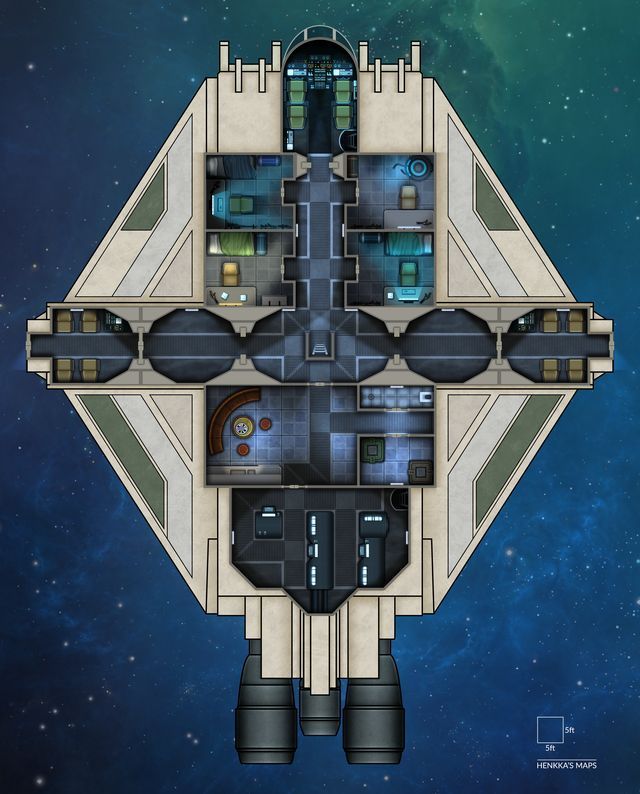
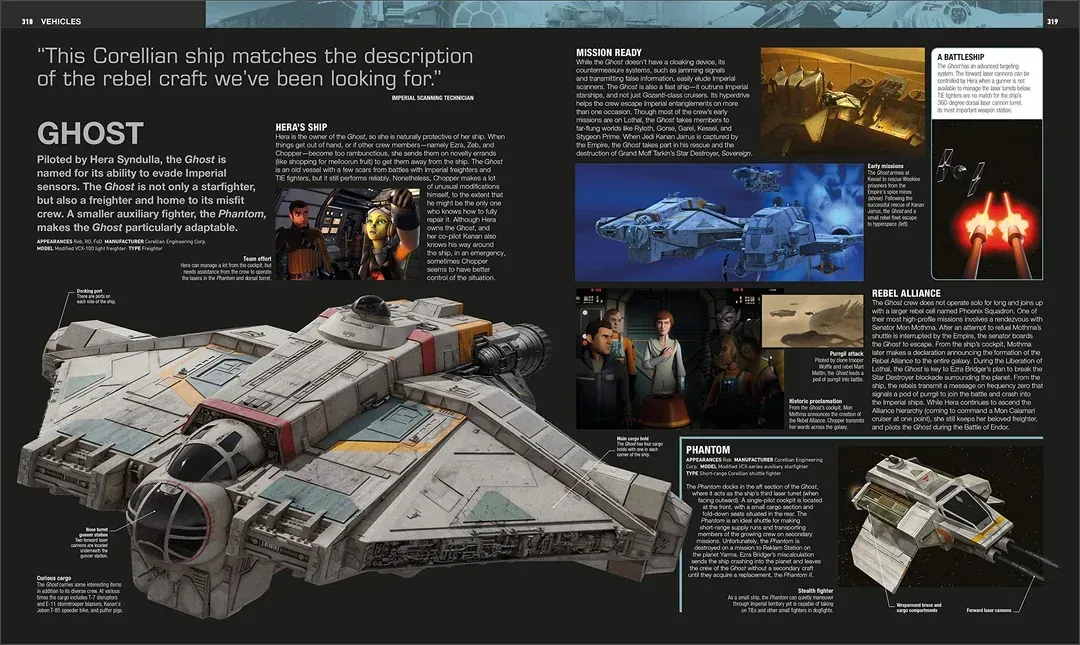
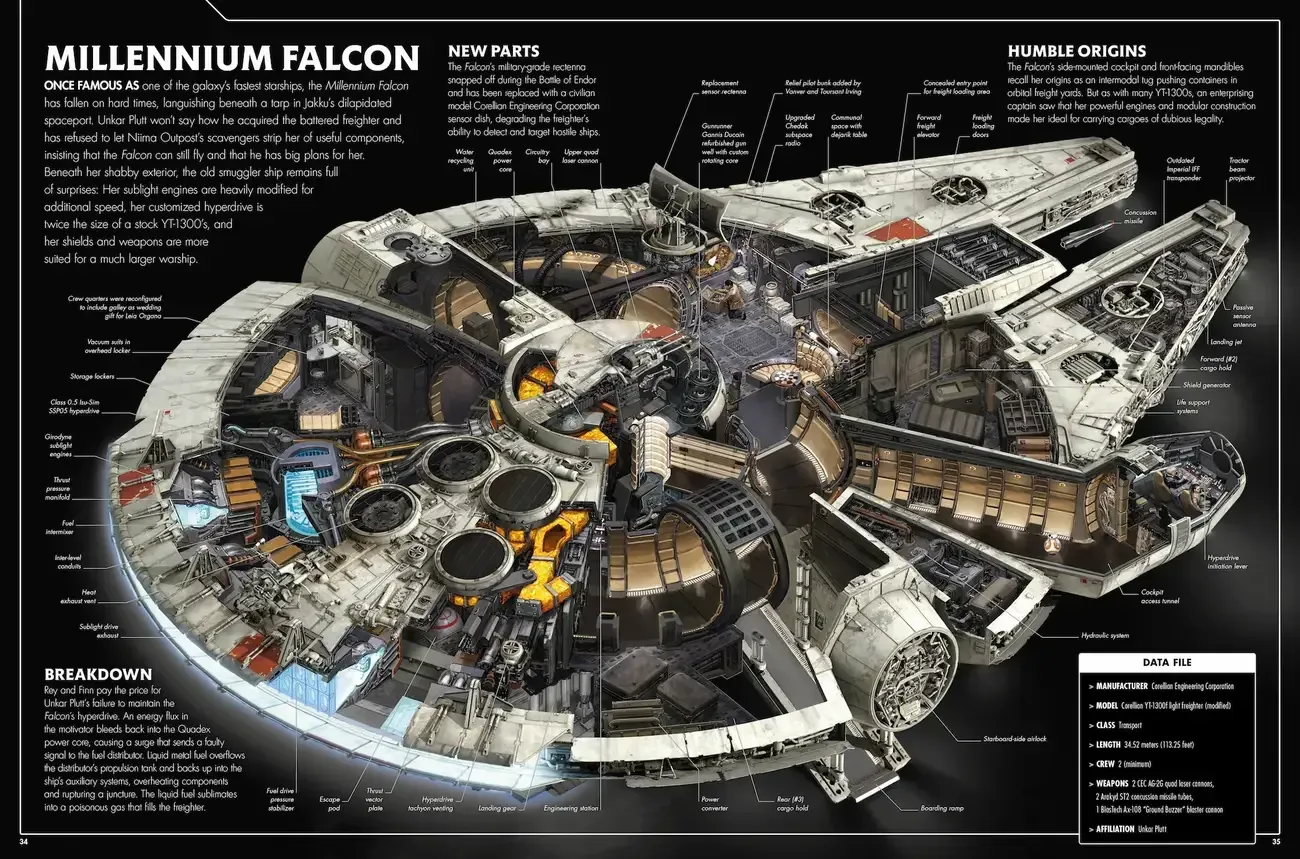
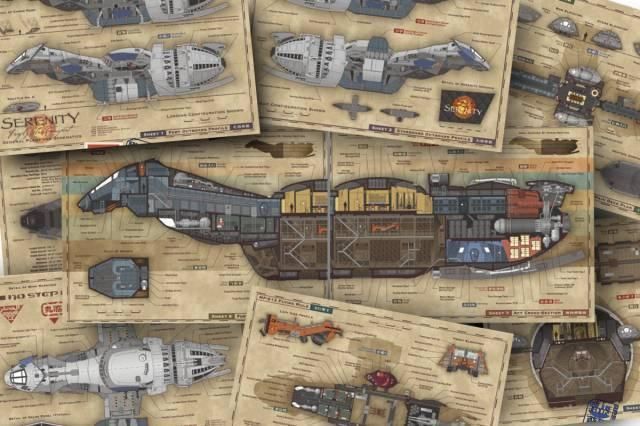
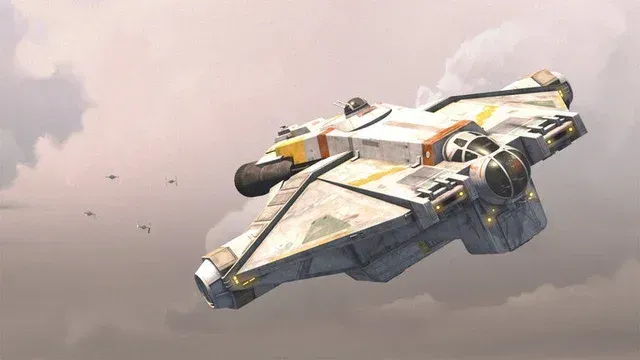
I started looking into making a spacecraft or vehicle and looked at the ‘Ghost’ small armed freighter from the Star Wars Rebels animated series which was a typical home sized craft much like the Serenity from Firefly Show, the family craft from lost in space or even the Millennium Falcon for inspiration.
The box would be the ships hold.
The idea was a white card model like interior an out prop outer shell at a scale to make for a build roughly 1m square size.
This was soon shelved due to size and complexity.
Ideas 2 was a miniature model of one of the later speeder bike designs from later Star Wass shows such as Andor.
I was told that was not a prop so had to restart.
I then looked into a maintenance droid roughly the size of B3EM0 from the Andor Star Wars show. In a couple of weeks this was proving more and more complex and time running out. I purchased a mitre saw to help.
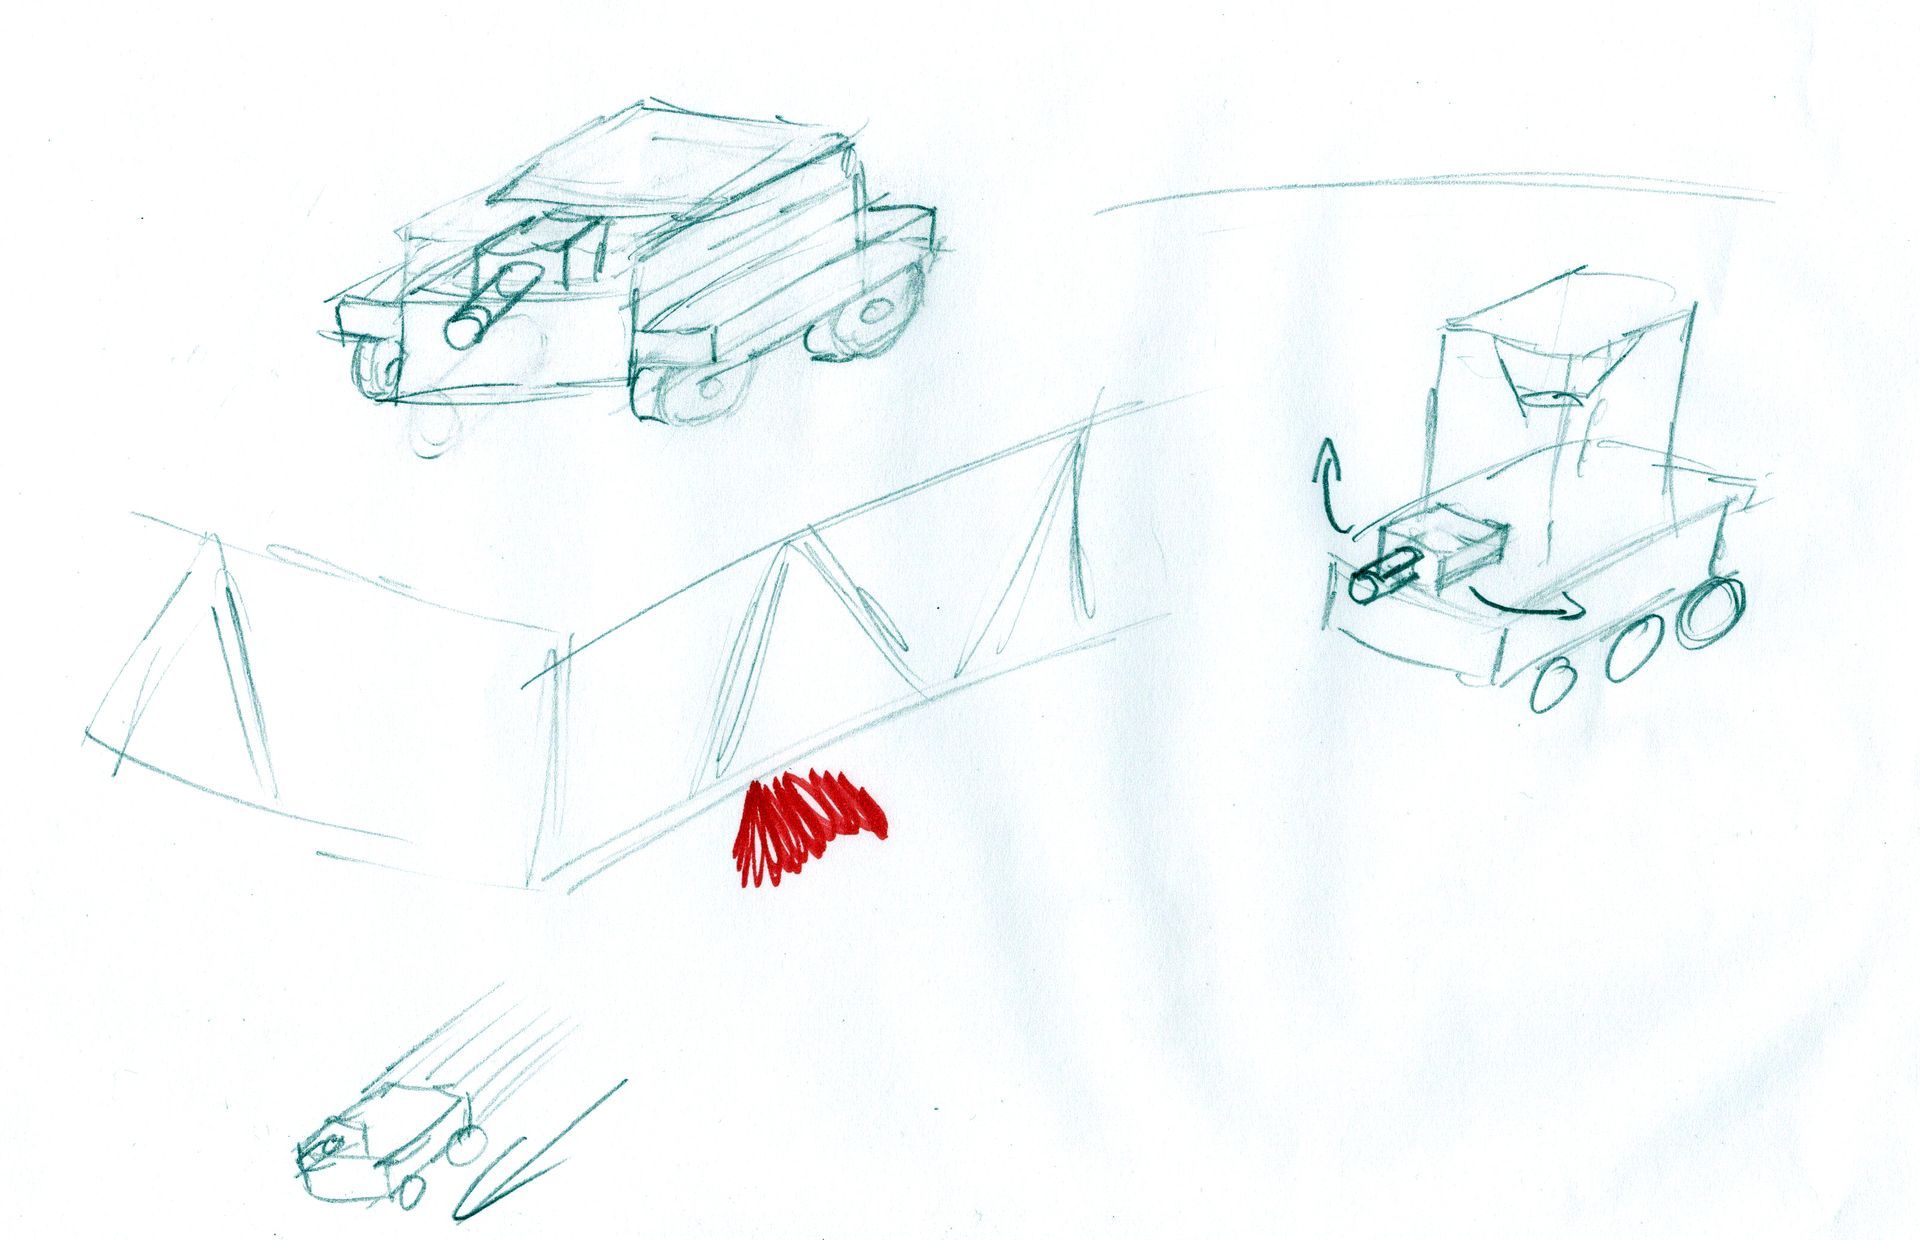
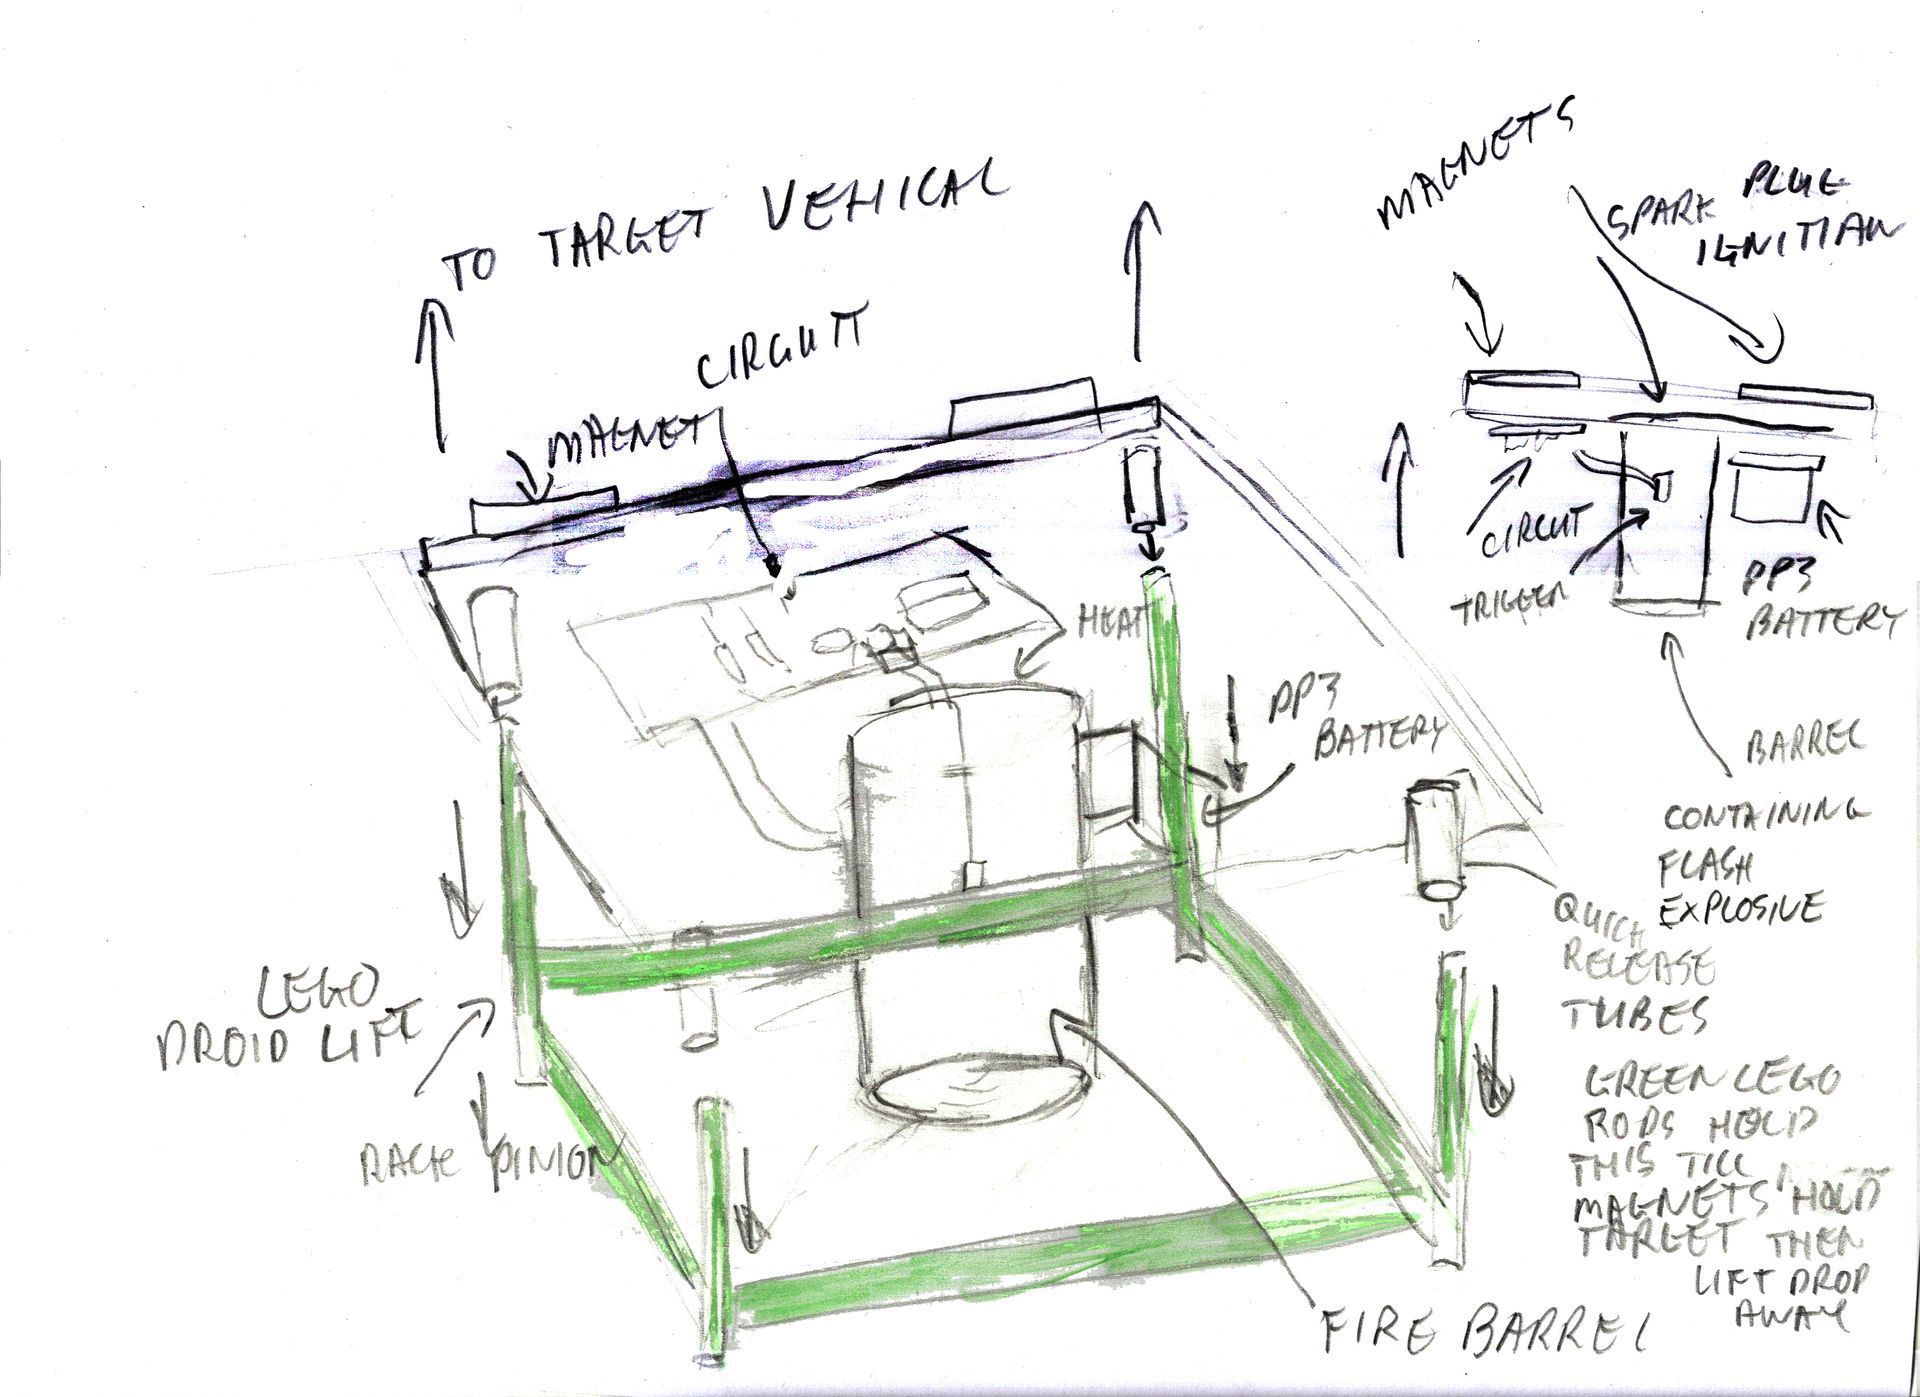
A smaller type droid was looked at and this was to be droid the size of the box that could be a sneaky limpet mine laying droid that could sneak up on imperial land convoys and place a magnetic mine which could explode using magicians flash cotton. This was based on the ambush scene in the Star Wars Movie Rouge One
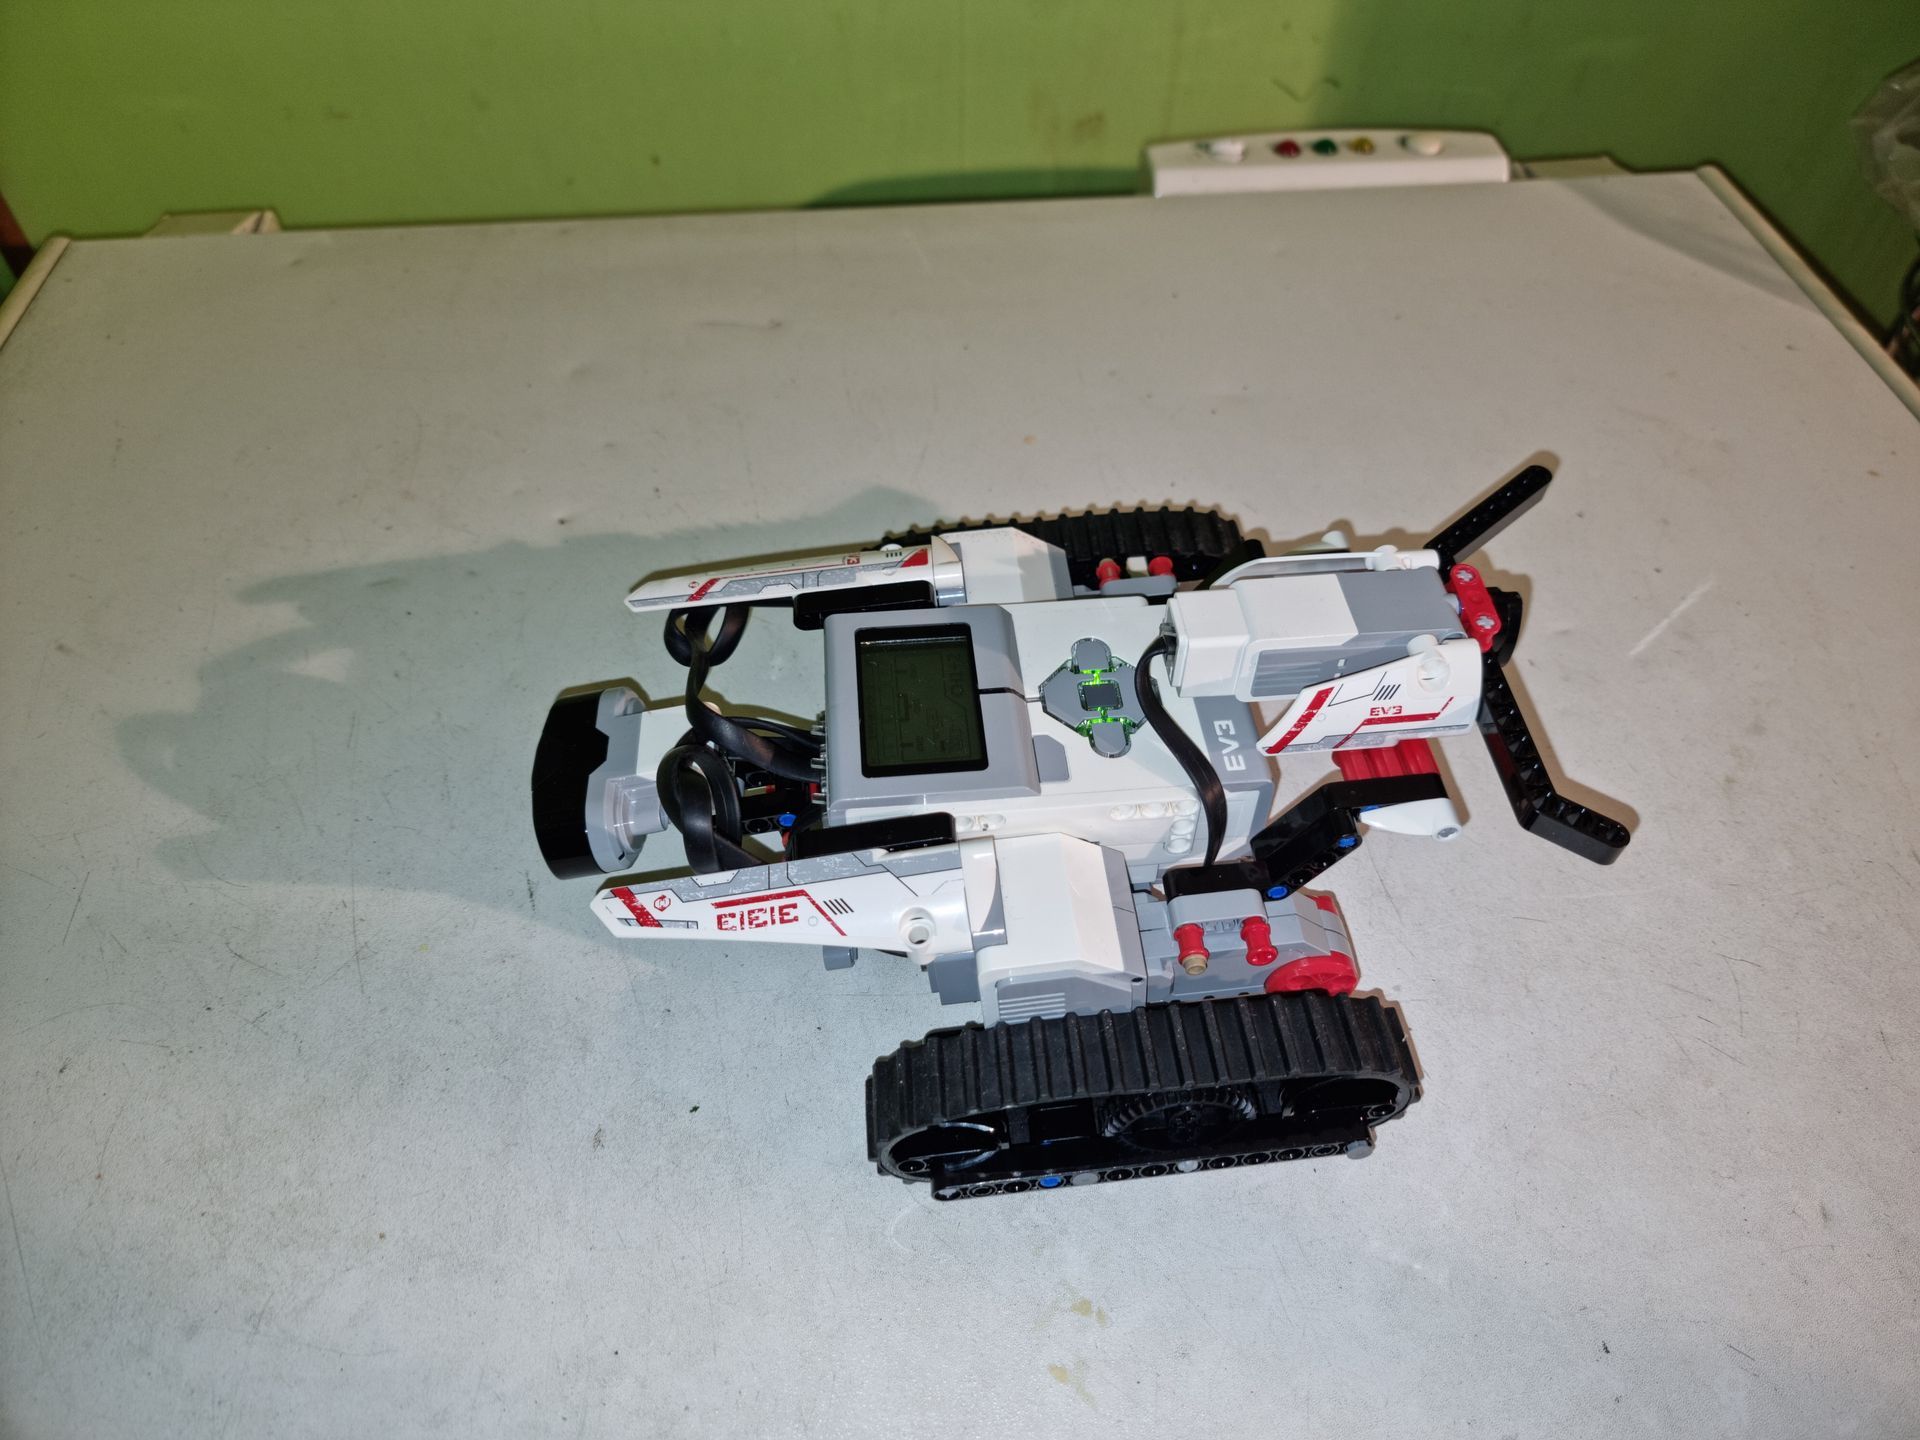
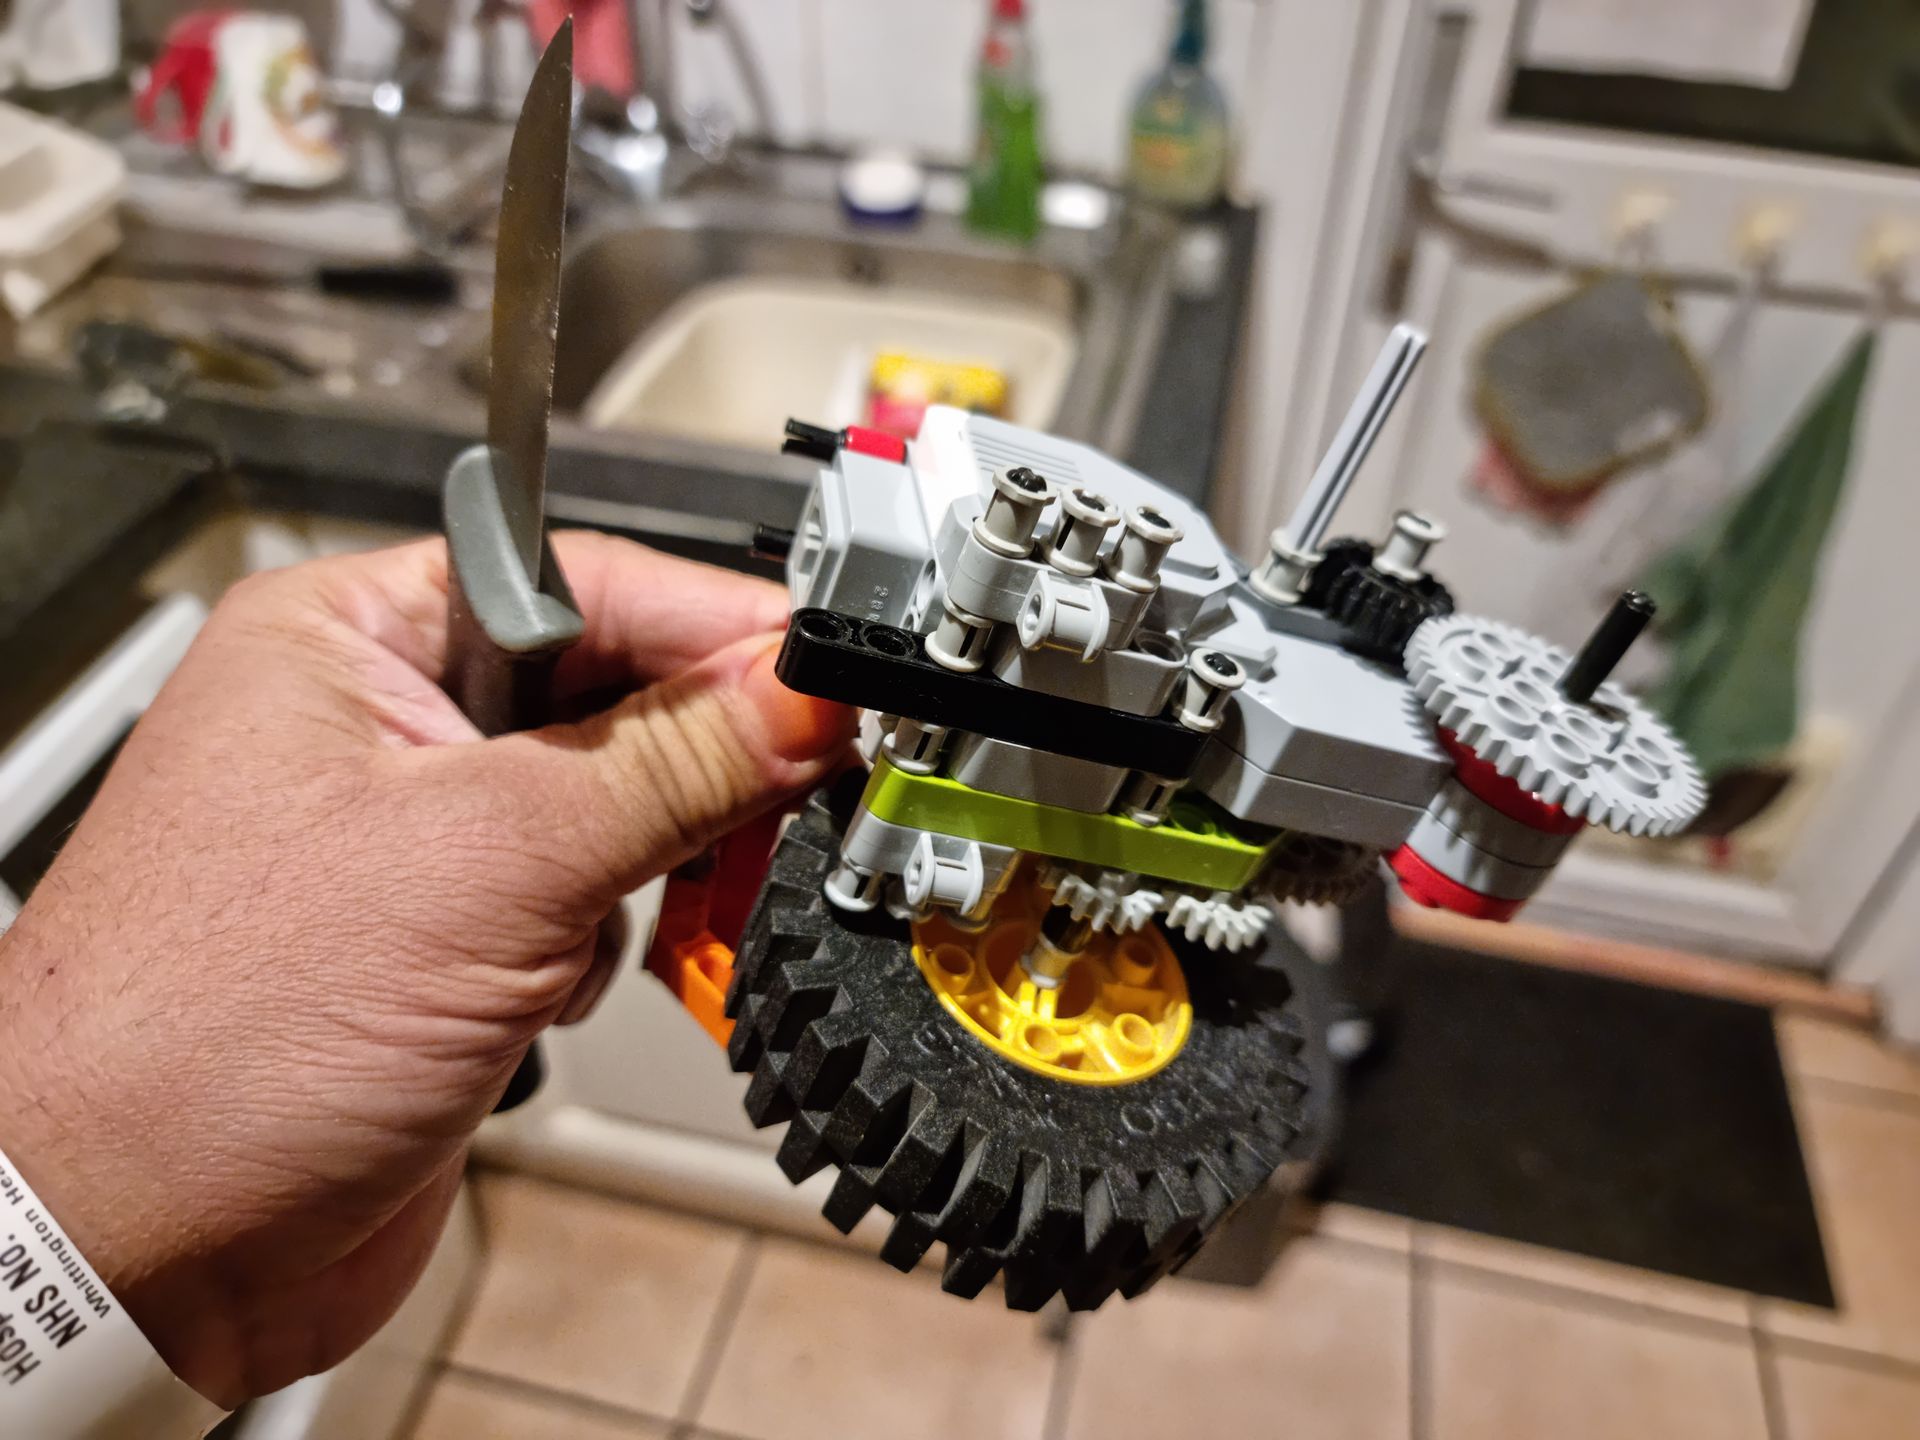
After spending a week with under-powered Lego Mindstorms motors and loose-fitting structure. Not to mention the safety issue and the course leaders not keen on a project that was effectively a car bomb IED layer that would not be out of place in the Ukrainian war this was again shelved.
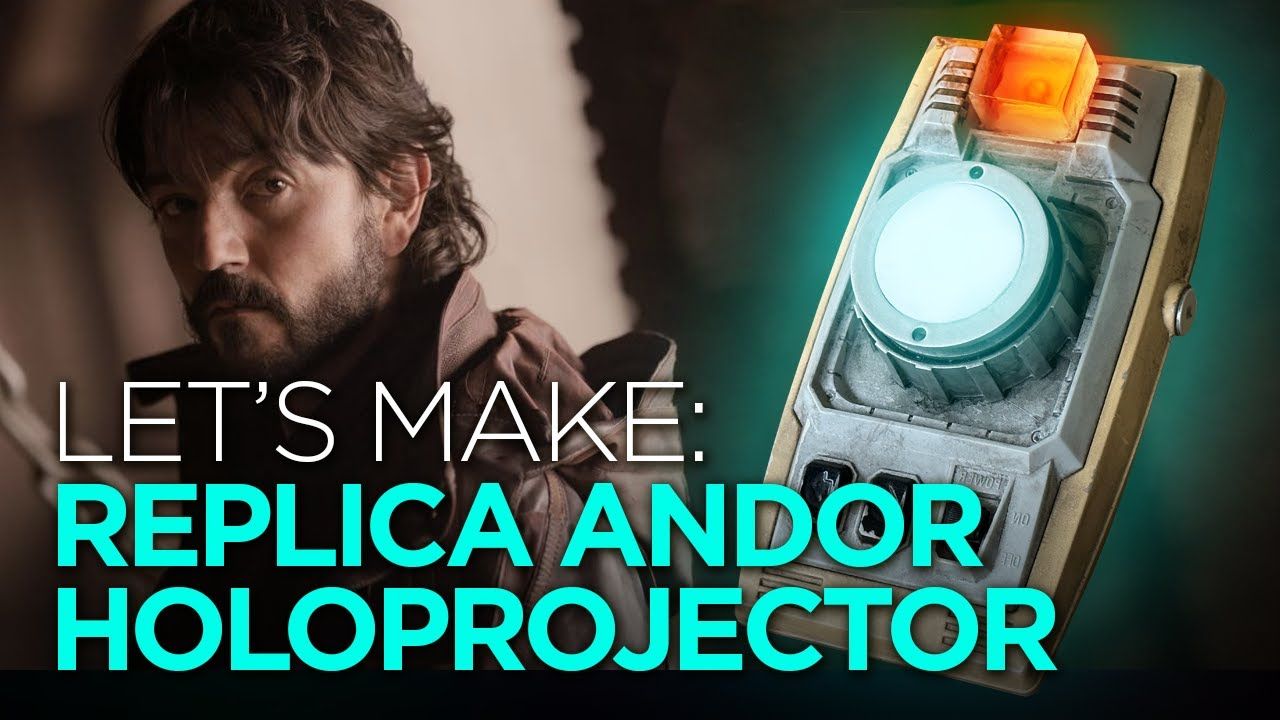
Eventually started on a control box system, based in the Imperial control unit that the leading character in the Andor show was trying to sell at the beginning then expanded on this so the box was replicated.
Star Wars Box Project - Potential Projects - Space Craft
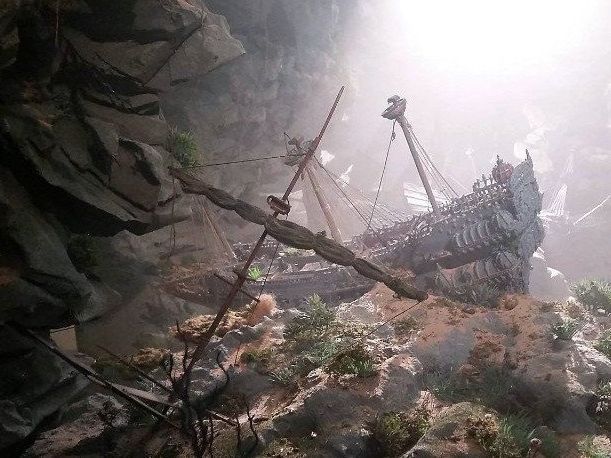
The first abandoned Project that lasted a week of research and a day in class due to us not being informed that a prop was defined as a movable interactive item and not a miniature vehicle model was a spacecraft.
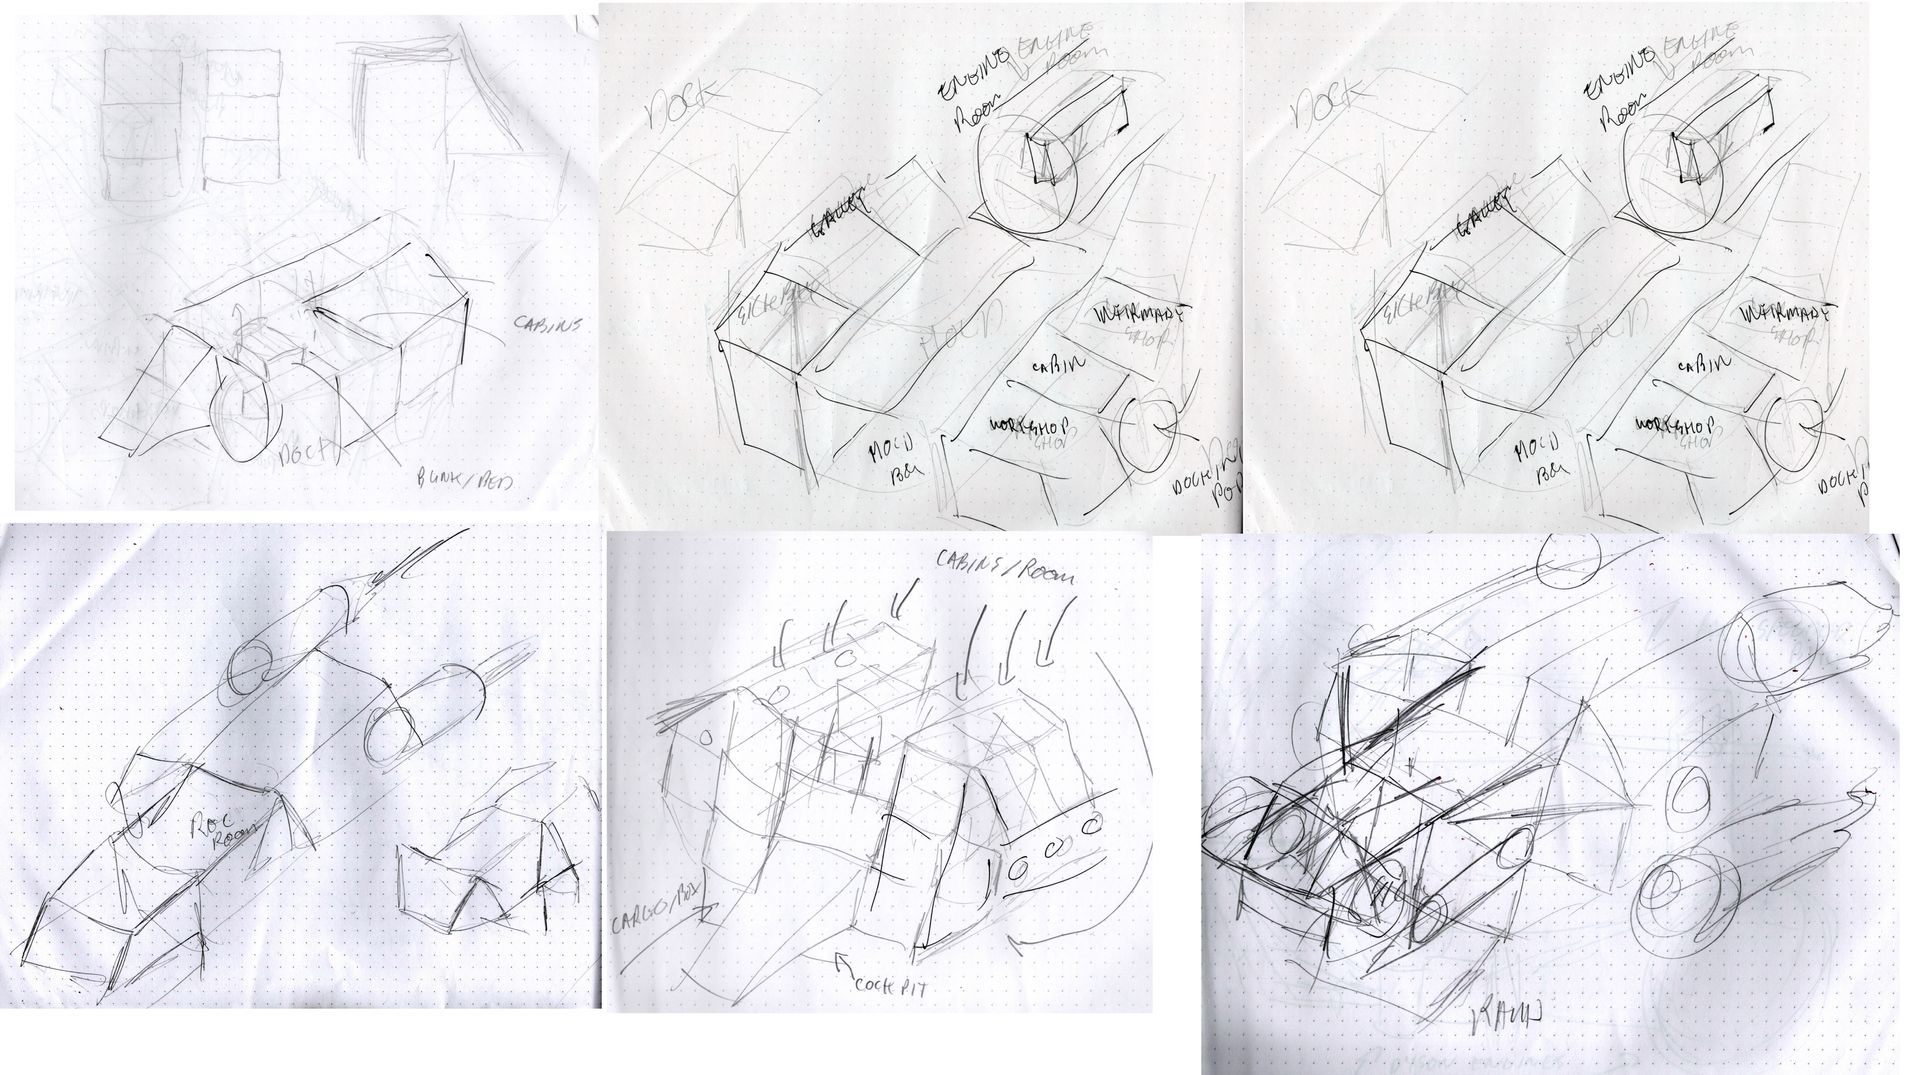
Star Wars is all about spacecraft so I thought build a spacecraft model that could be opened out so inside once could see the layout and cabins etc.
Typically plots in sci-fi revolve around turning a typical home set up with bedrooms, a kitchen, living space, a garage, an office space or say the car into a space craft, maybe with a sick bay where the crew like a family live, interact have their space etc. Now this could be big like say in Startrek where the ship is more like the village or neighbourhood with bars and work places as well, or castle with defensive zones swapping battlements for gun torrents, but overall, it’s a home and a suitable size for the cast of a large family or crew.
Thus, I looked at craft in sci-fi of that sort of size such as the Serenity from the TV series Firefly, the family craft in Lost in Space and more so the likes of the Ghost in the animated series Star Wars Rebels the Marauder in animates series Star Wars – the Bad Bunch, the Millenium Falcon etc.
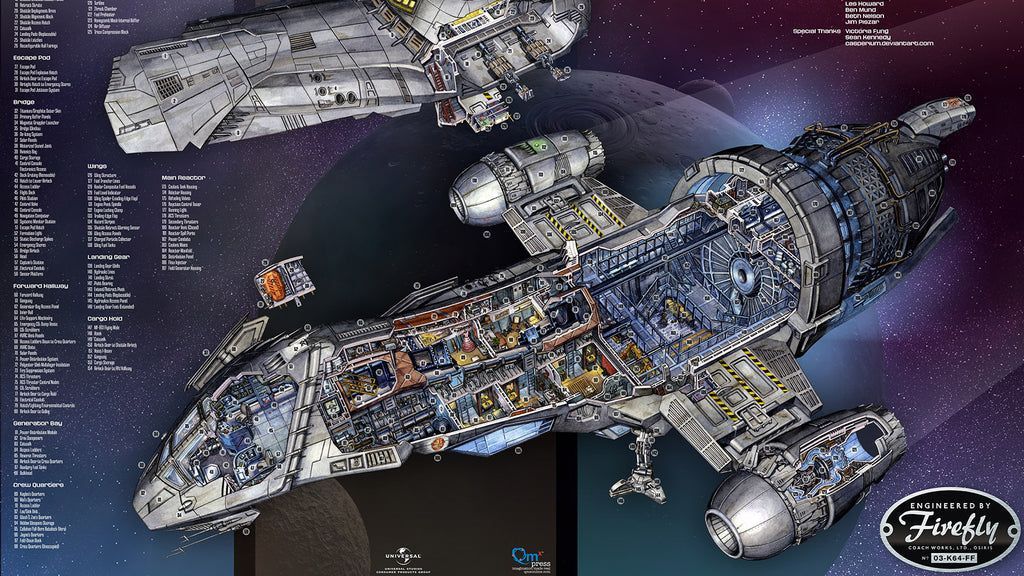
I was looking at what craft could be made around our boxes or how it could be incorporated and the ships hold came to mind, such as the underside of the Firefly in Serenity.
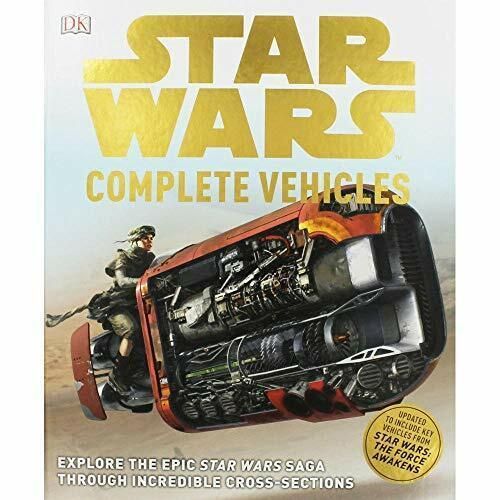
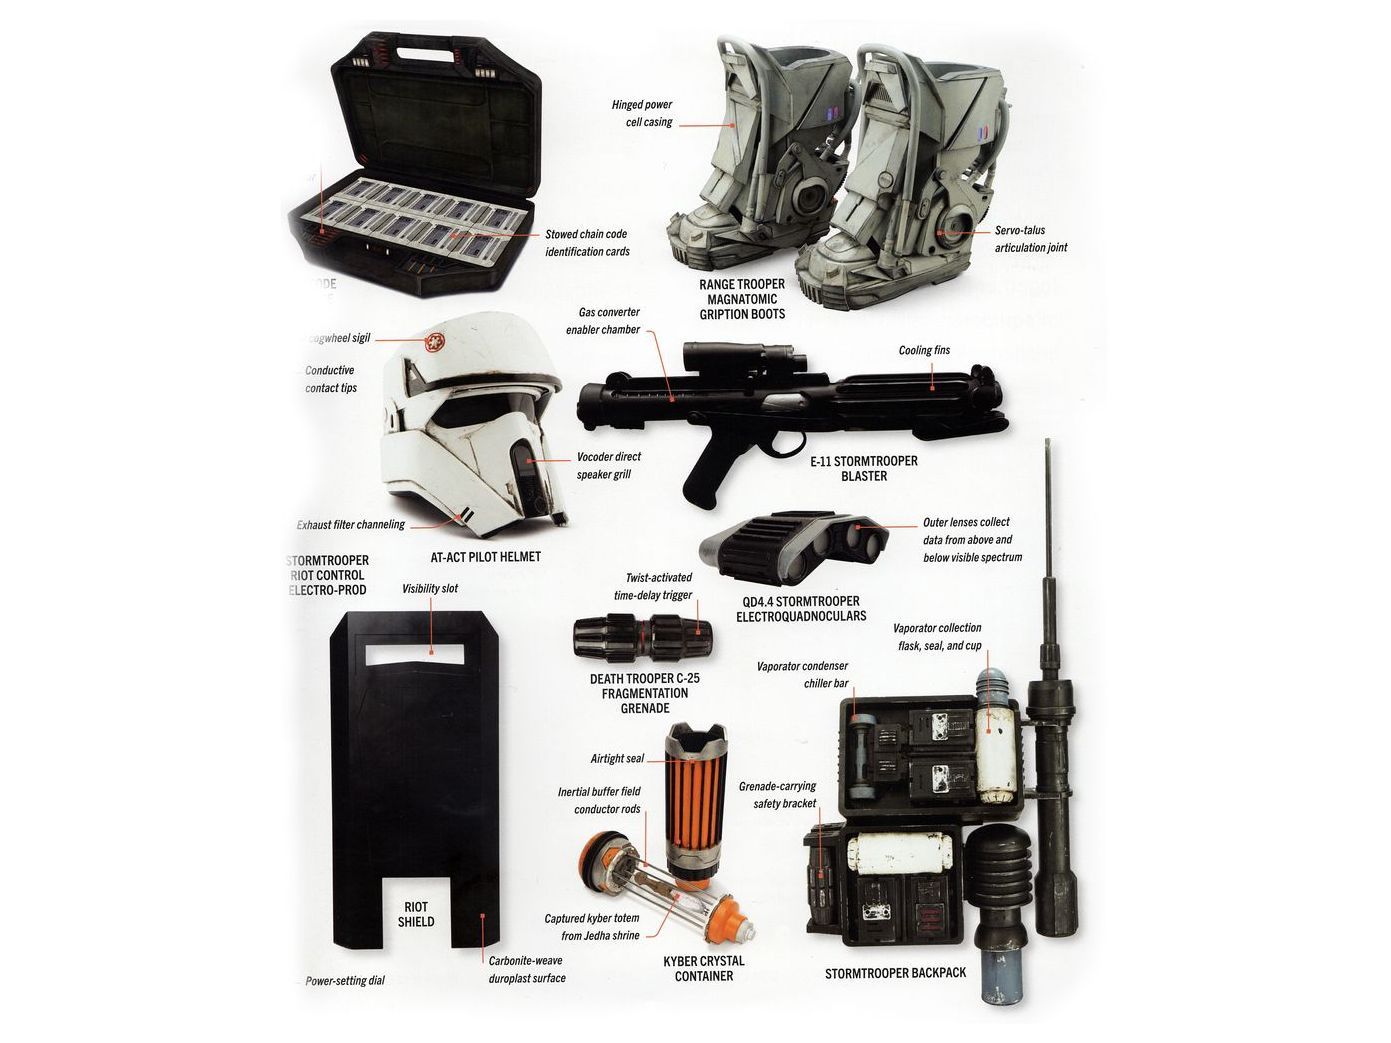
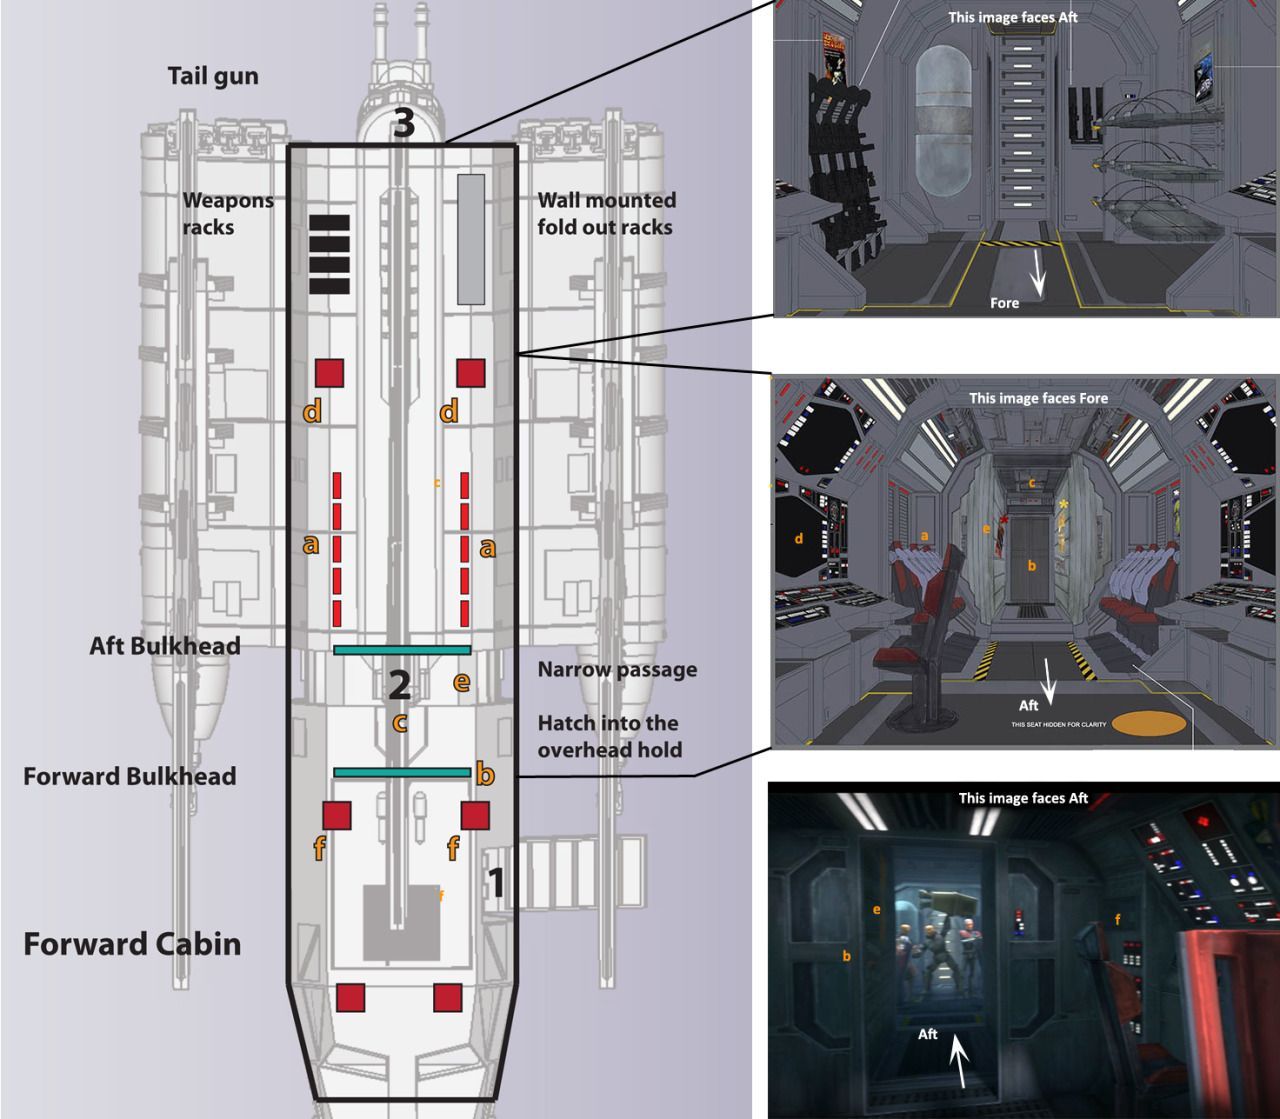
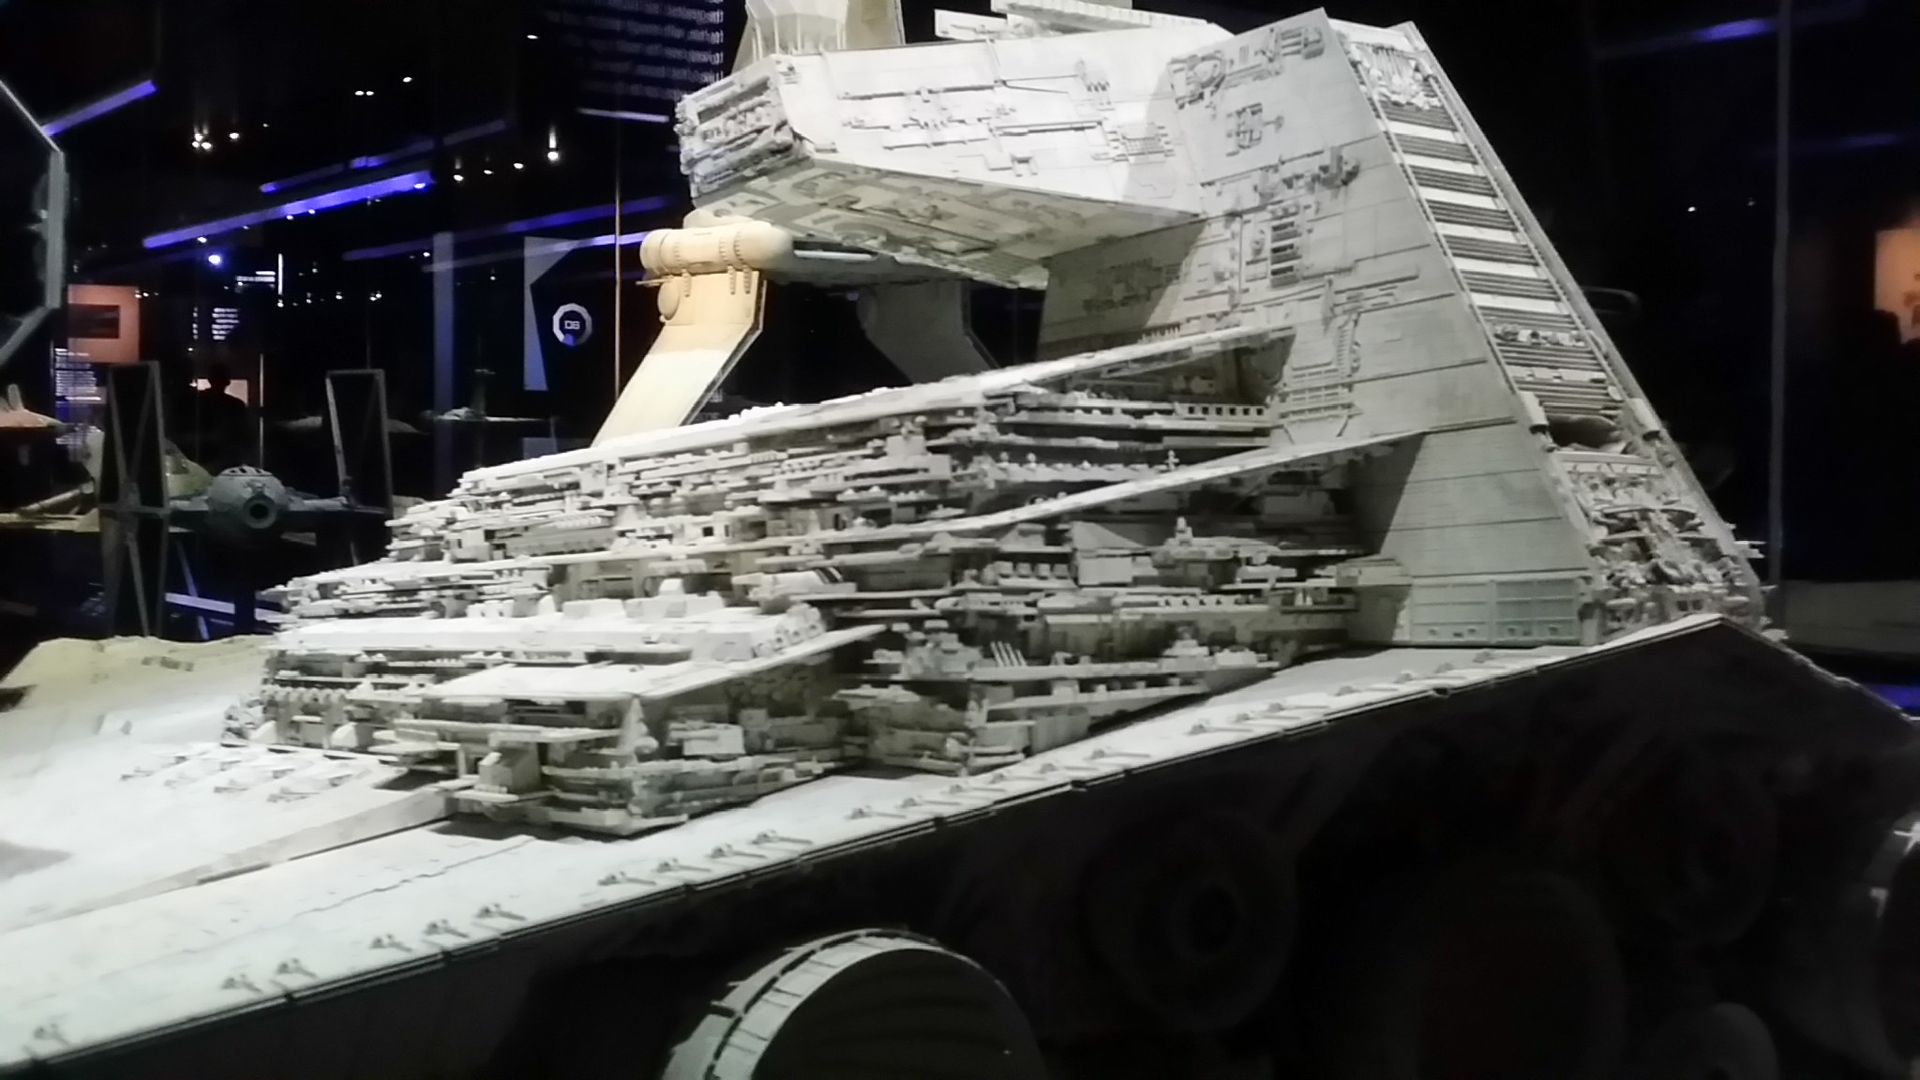
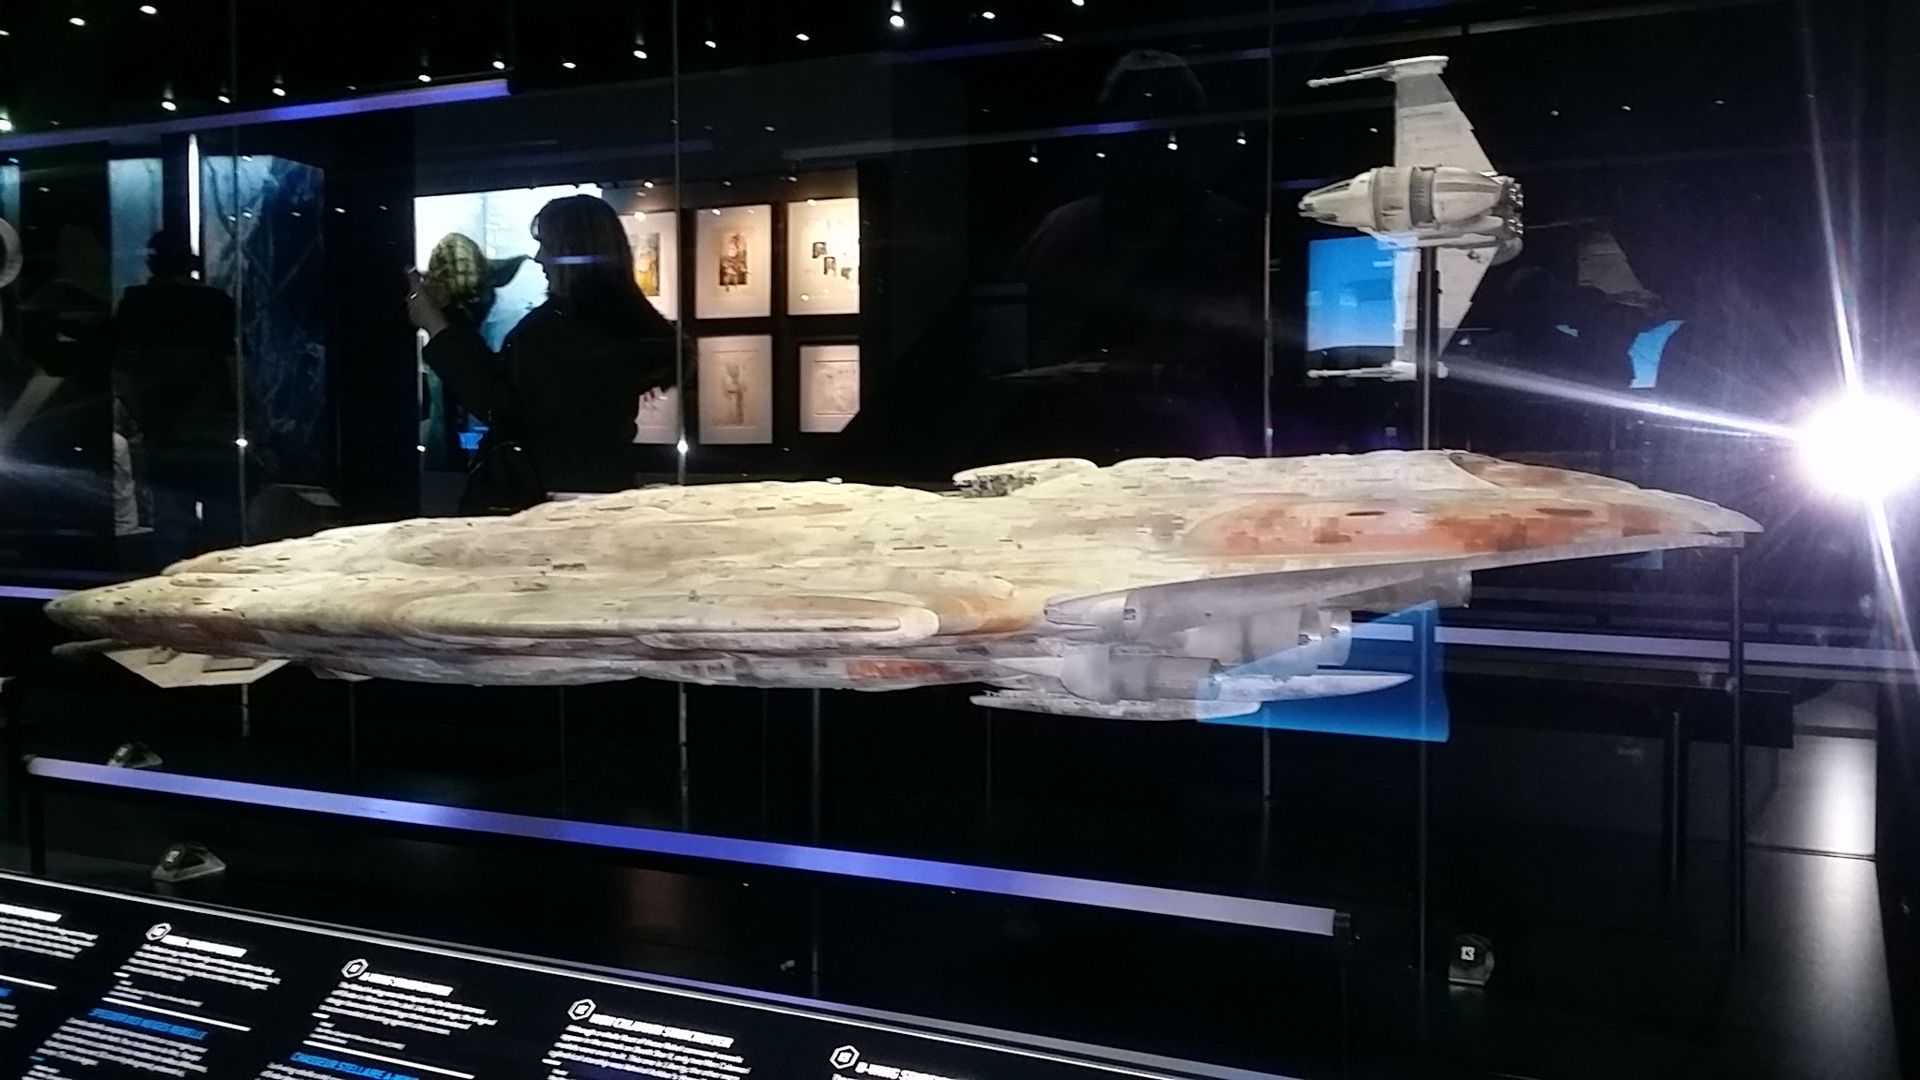
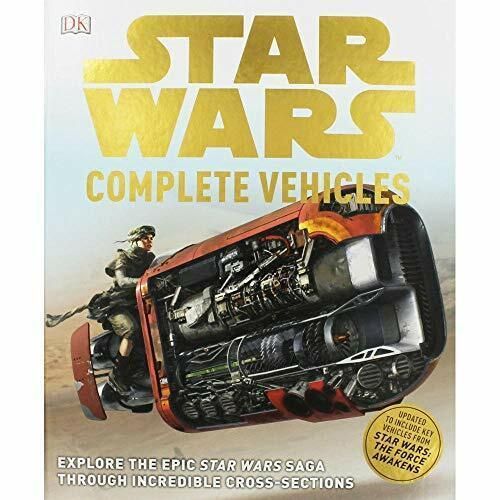
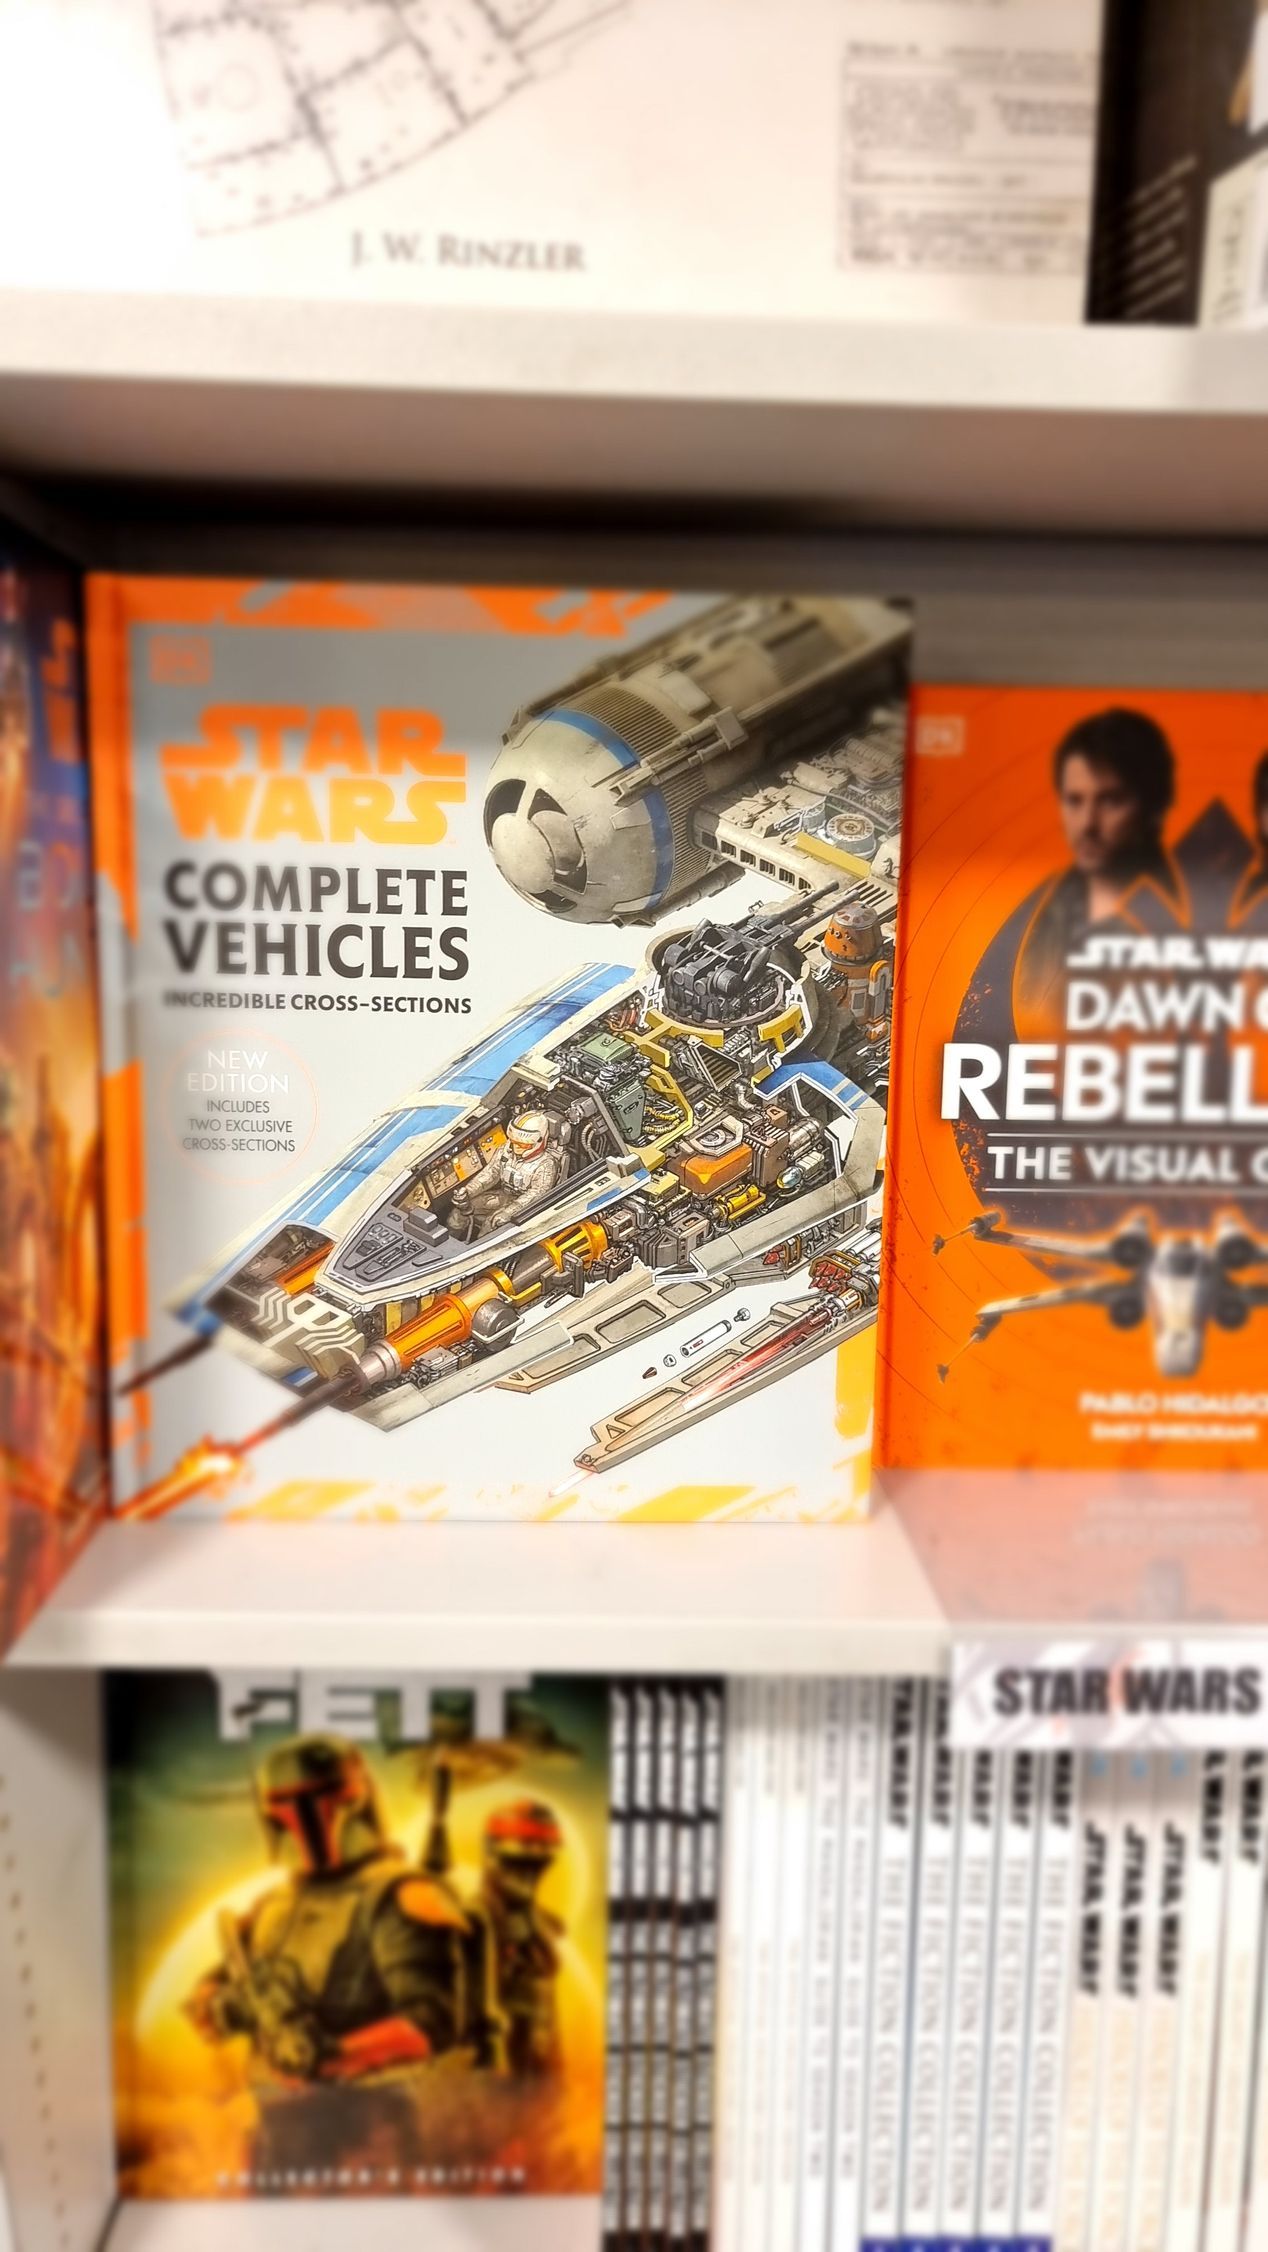
Key research was a trip to a Star Wars Exhibition featuring all the original spacecrft models used in the films and schematic books such as Star Wars Complete Vehicles (Various Editions) and Star Wars Complete Locations which showed complex and detailed illustrations of interiors.
I looked up artworks showing plans and interiors for craft like this from the Star Wars vehicles books and similar art work
This seemed a good shape to go with so I started sketching and planning out a craft like this at about 1:25 scale like out white card models but this was rapidly abandoned due to the predicted size and complexity.
Star Wars Box Project - Potential Projects - Box Speeder Bikes
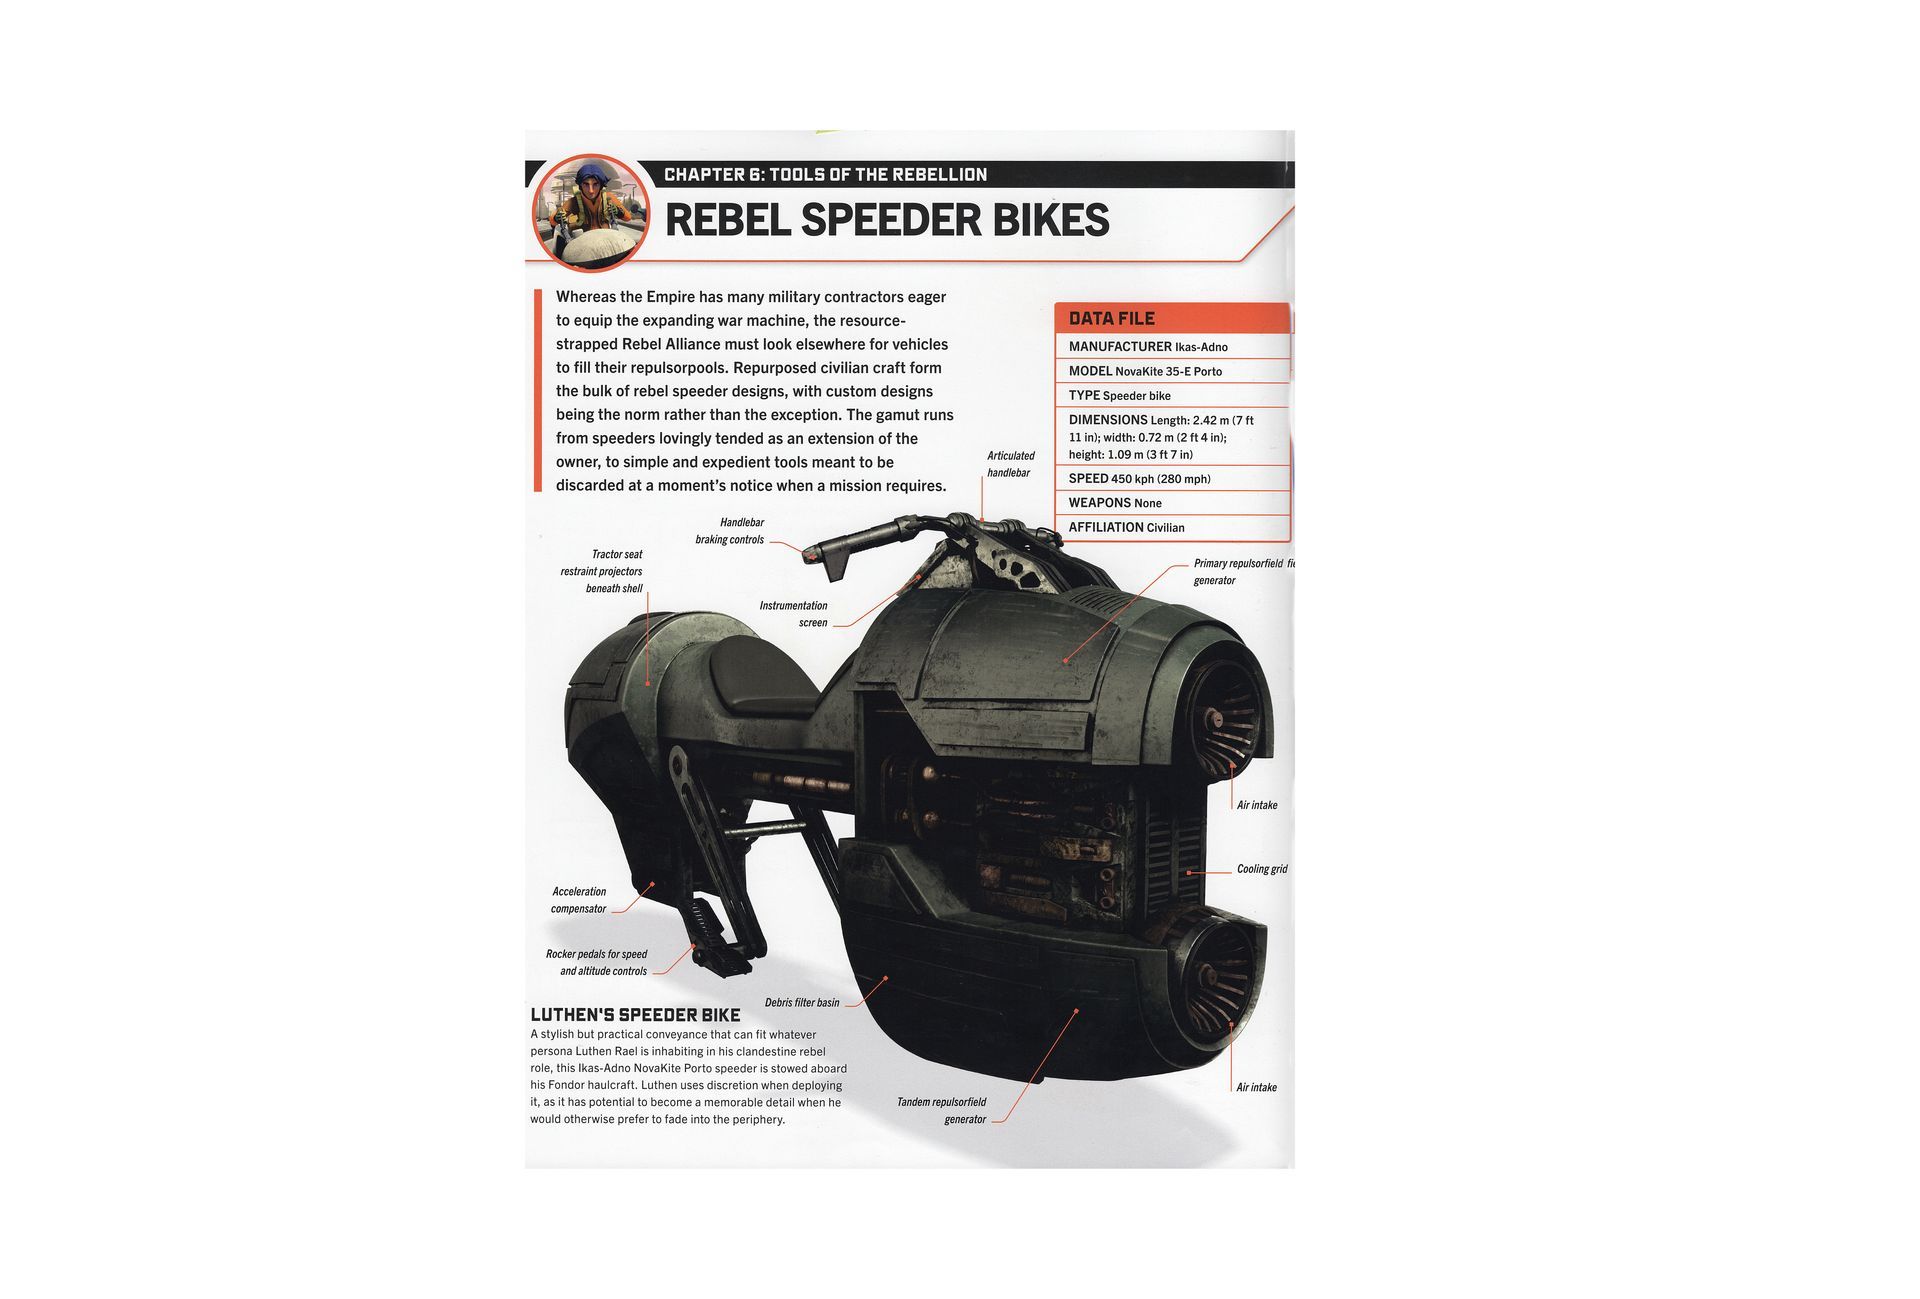
Project idea 2 was a miniature model of one of the later speeder bike designs from later Star Wass shows such as Andor. Whilst there was no parts resembling my pine box with the early speeder bike designs such as those from return of the Jedi, later speeder bikes from after the original films and TV shows were much more box like and solid. such as the bikes of Luthen Rael in the Star Wars Andor series and Ray's bike in the Star Wars Force Awakens.
These came across much simpler to make, would feature plenty of kit bashing, showing the internal tech and mechanics very Star Wars, but then was told that I could not make miniature vehicle models as they were not classed as props and not interacted with.
Star Wars Box Project - Potential Projects - Utility Driod
Looking for a more interactive Star Wars Project, I went for the next most popular Star Wars element that could be box shaped after space craft and other vehicles (given that lightsabres and weapons are the wrong shape) and that was Droids.
The problem is that there is no much use and thus purpose for a droid the shape and size of our box and many are round or fiddly and not a suitable shape. Its too small and flat to have much purpose.
I then thought a droid that could be multiple stacked boxes could sort of work and looked at the B3EMO delipidated maintenance droid from the Andor Series that could be made with layers and have room for various gadgets and a rotating held, possibly with a smoke machine inside and various Lego Mindstorms mechanical features, use the light up T shirt panel as eyes and have a legno Mindstorms drive system, This went on for a fortnight as was no panicking about the deadlines purchased with help from parent a mitre saw to try and speed things up.
Not a copy more a similar line and type of droid.
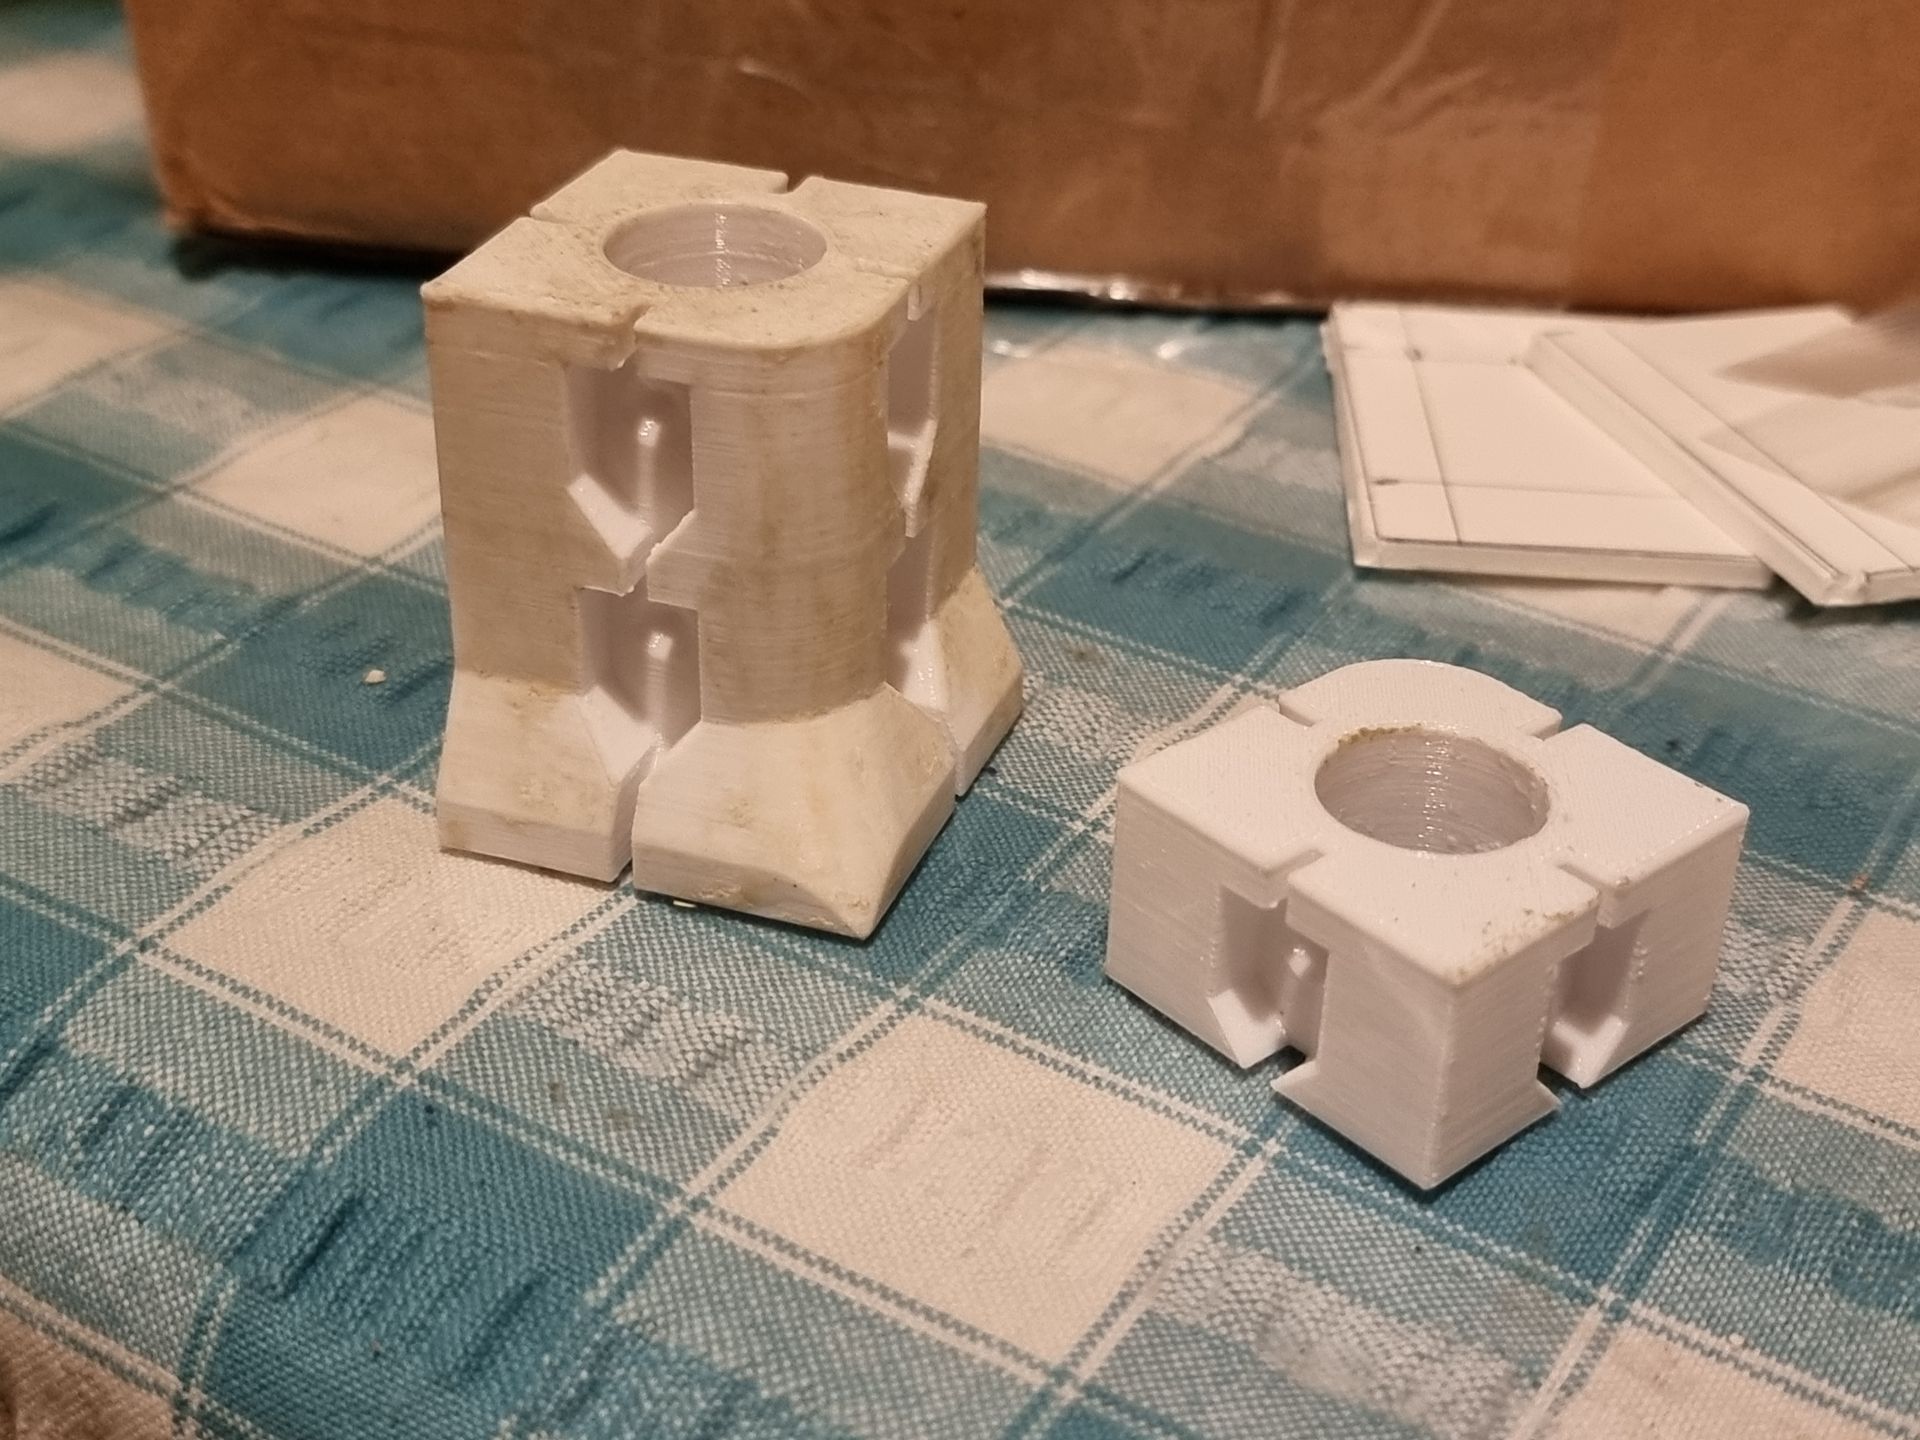
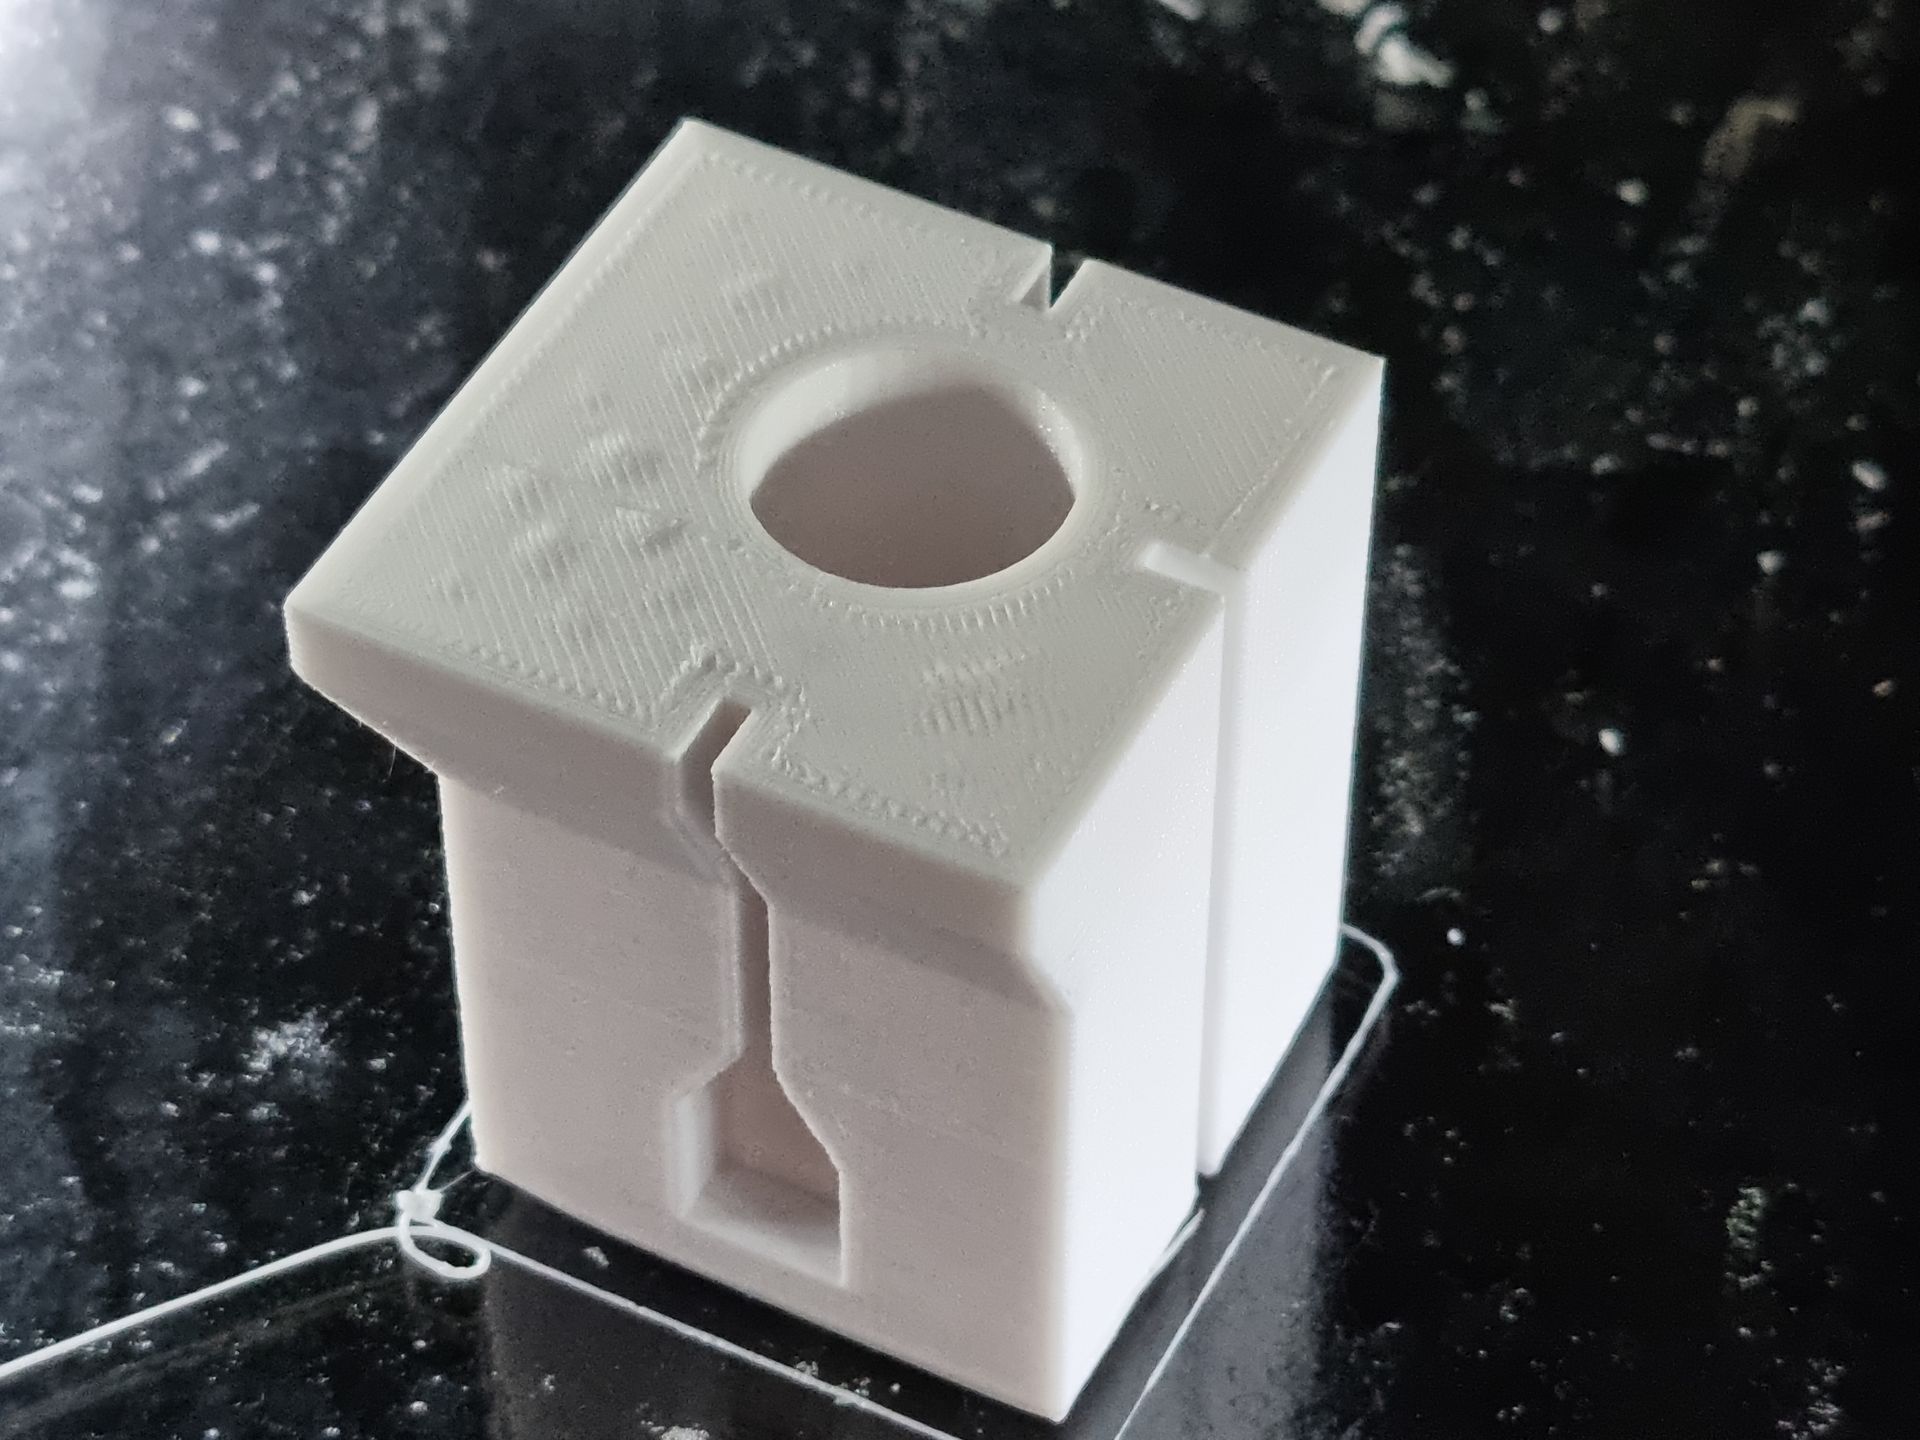
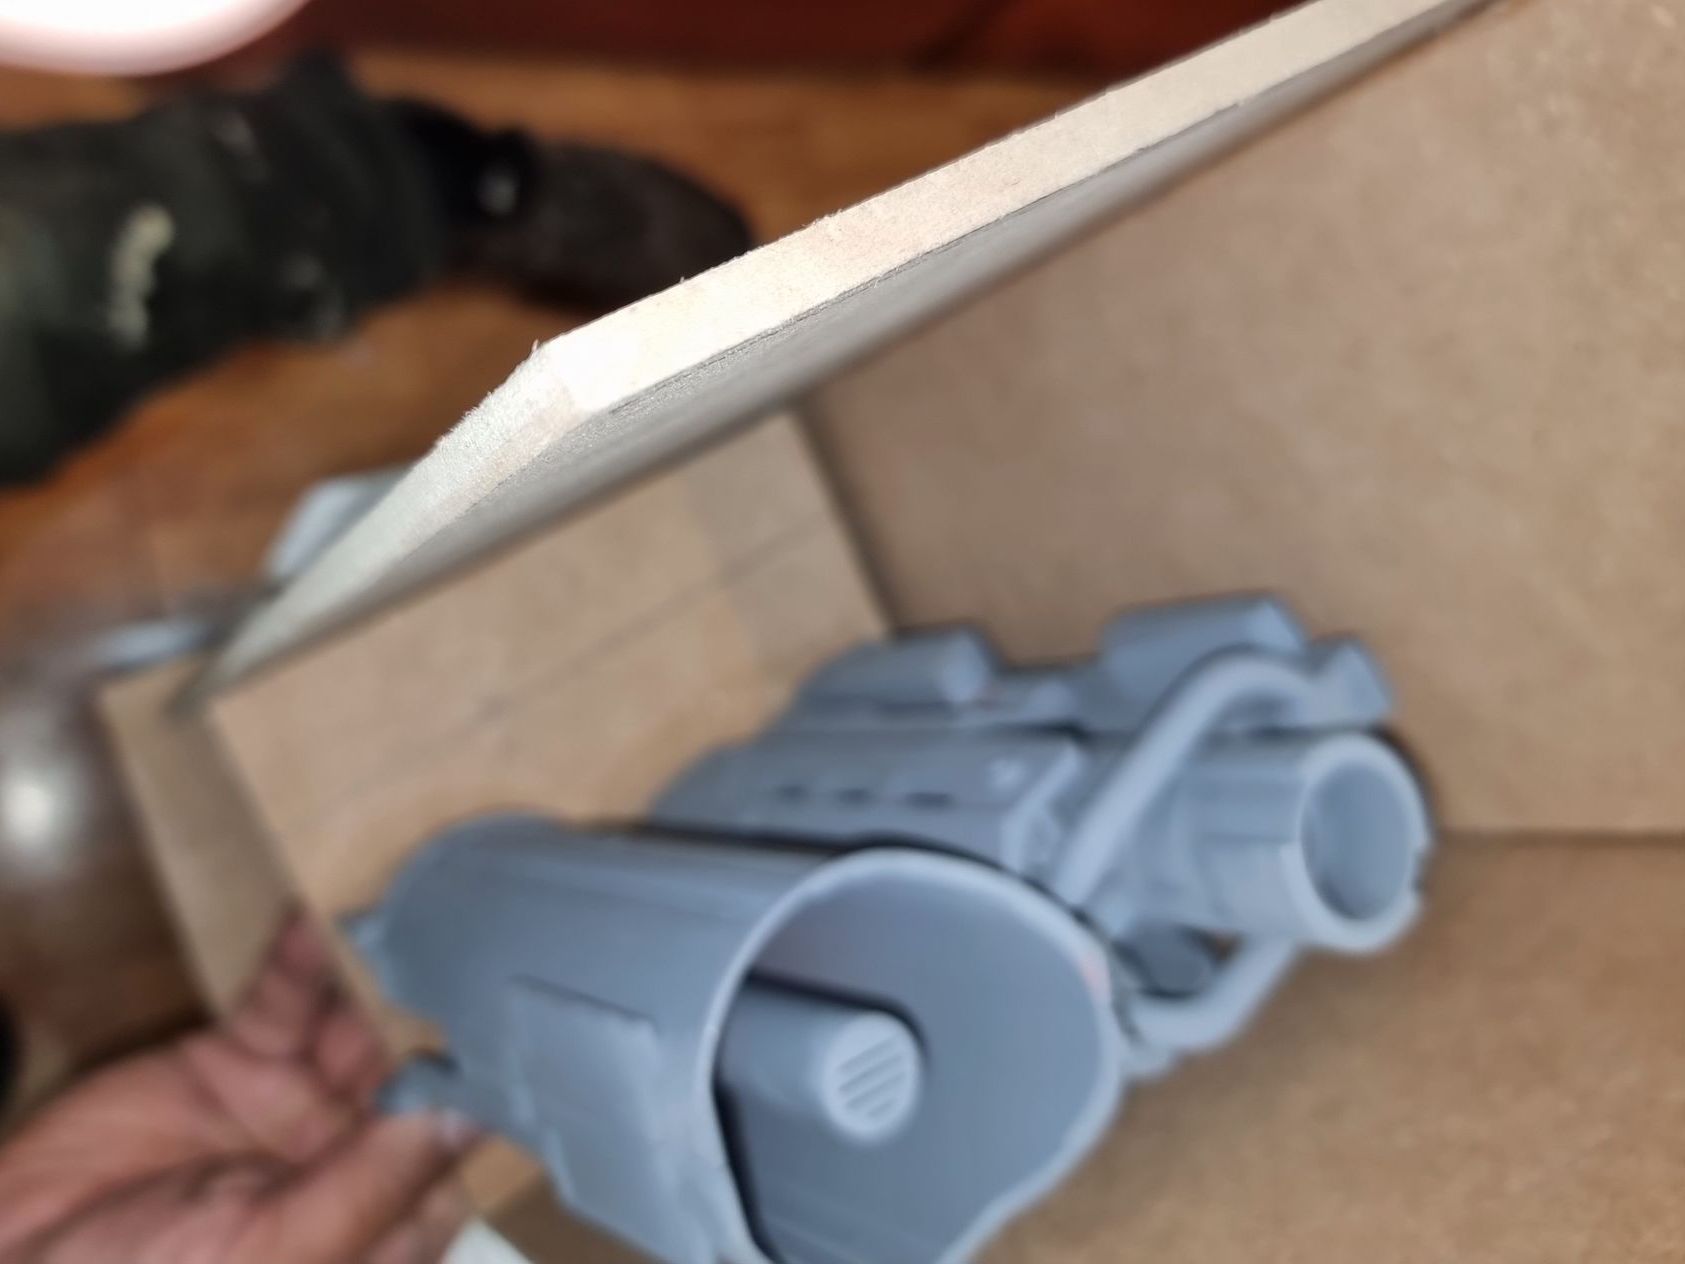
I looked at how the layers could be supported and connected and designed and developed connecting blocks that I 3D printed.
Also started to try and build floors and layers from MDF but as only think layers were available this was proving difficult, overweight, using huge amounts of the college supplies, was difficult due to size to machine a and the killer was that I could not get a Lego technic and Mindstorms chassis that could fit together strongly and be powered enough to move.
In the end this was aborted leaving me very little time to get a prop done and needed something smaller and simpler.
Star Wars Box Project - Potential Projects - Rebel Ambush Droid
I then saw ‘Rogue One a Star Wars Story’ again, and was watching the Jeda Ambush Scene and thought that gives me an idea. The one thing a tiny flat droid can feature is its ability not to be noticed, seen and hide under things. It would be thus ideal to start an ambush by sneaking out from under cover, slipping under an imperial transporter vehicle, lift and attach a tracking beacon or more so a magnetic shaped charge limpet mine onto the underside and then sneak out unnoticed so the mine could be detonated.
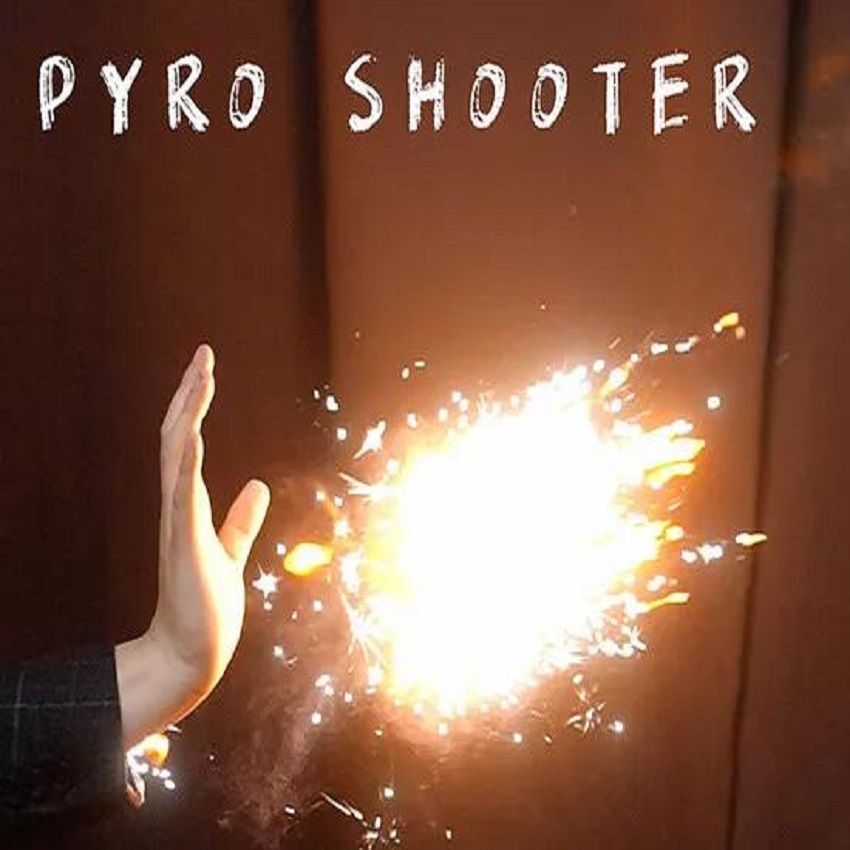
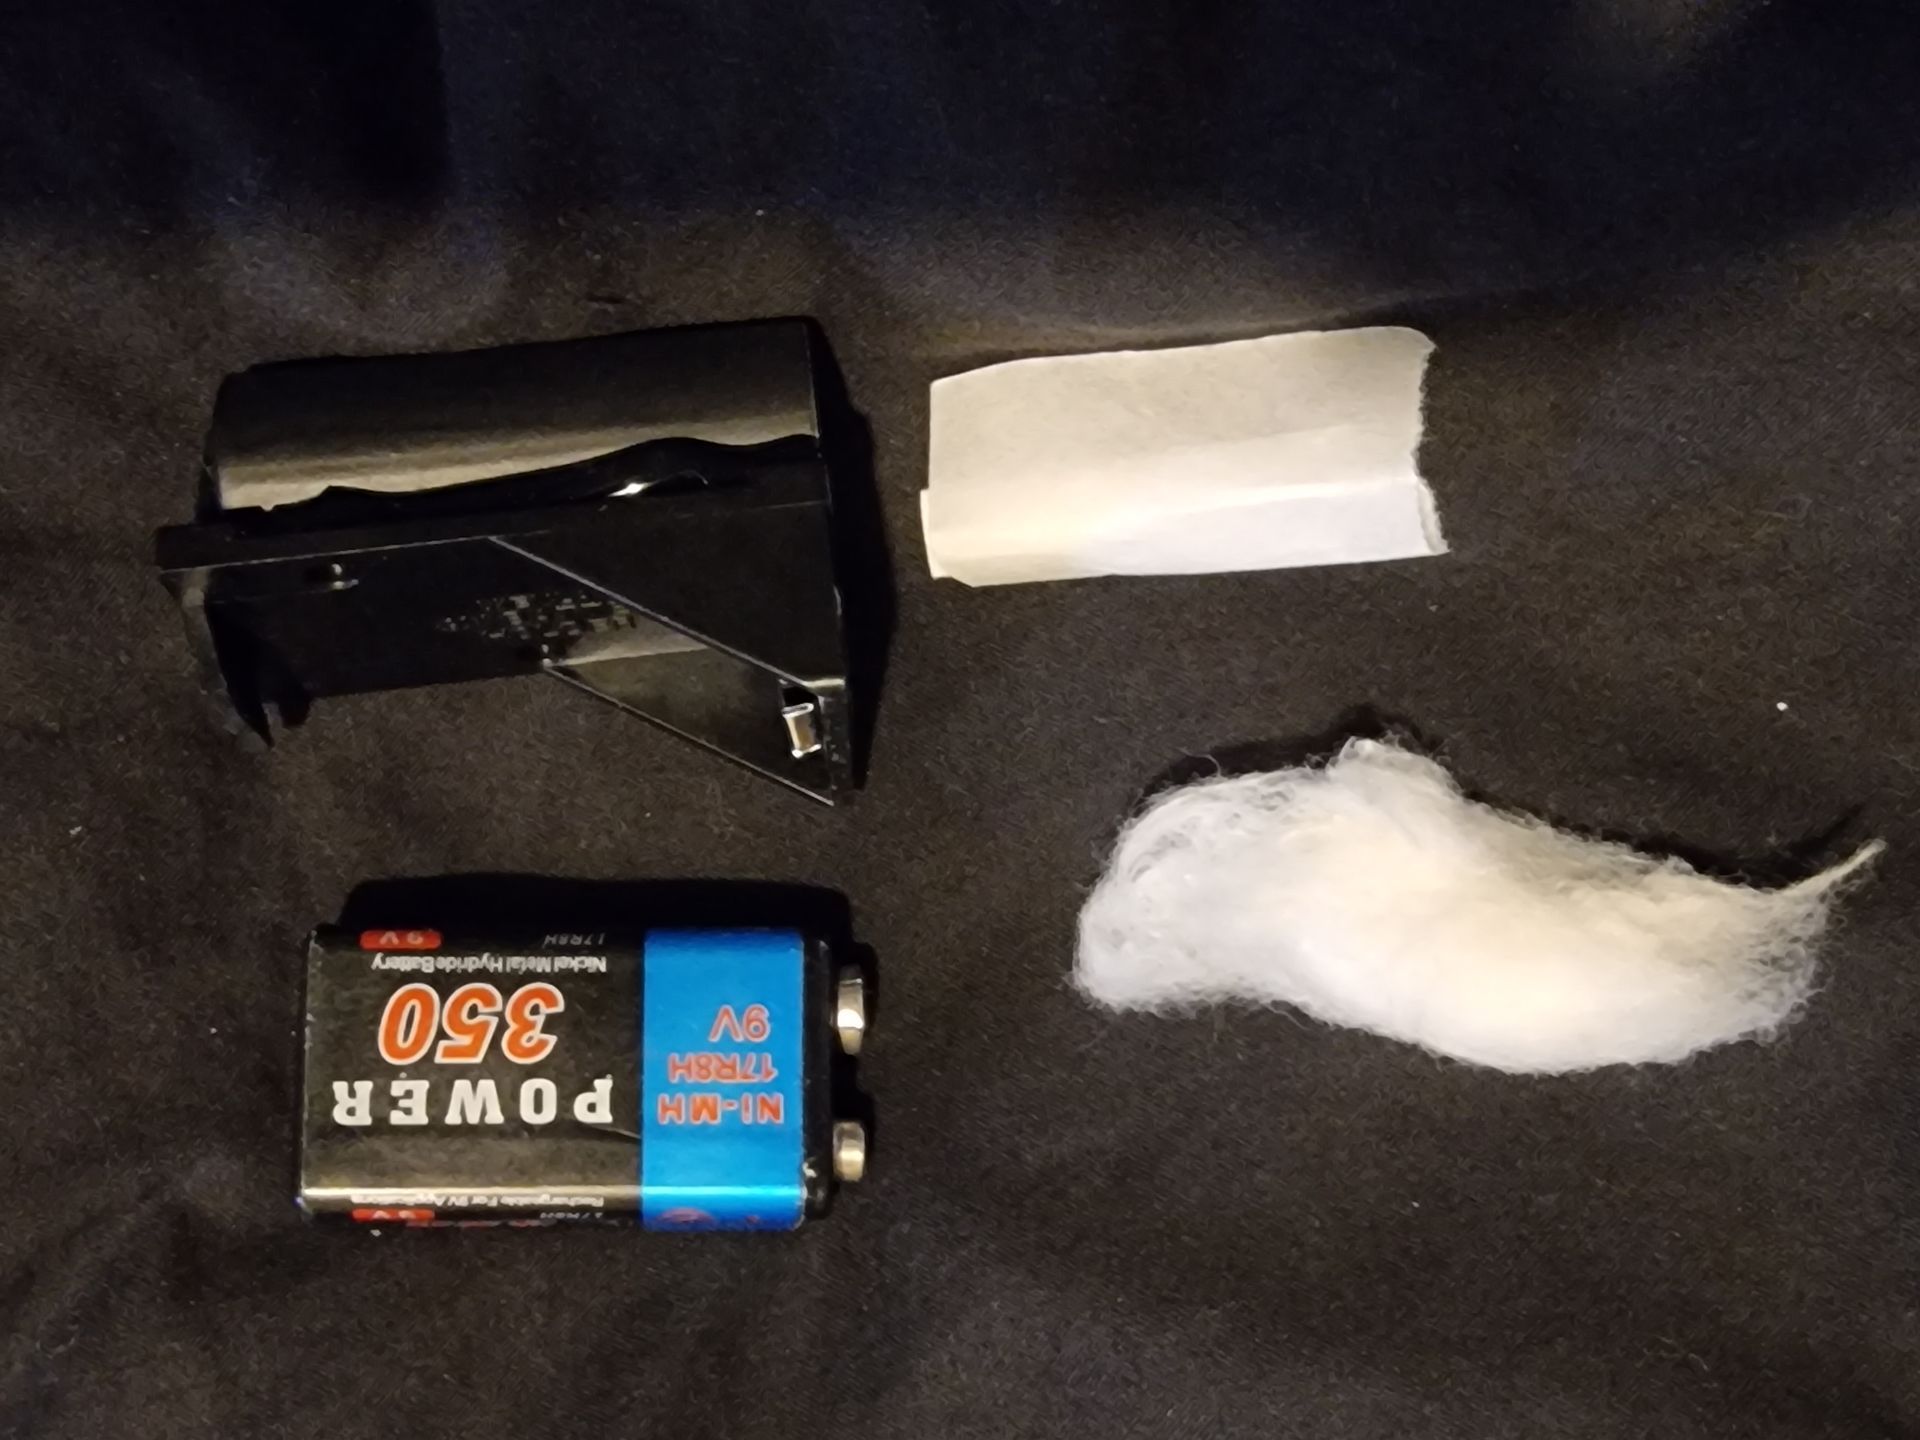
I also have had experience using nitrocellulose explosives such as magician’s flash cotton and paper n both a fireman strip act to the tune of “Goodness Gracious Great Balls of Fire” to try and win the dating and spend £100,000 in a week like Brewster Millions game show. “The Boys and Girls Show” as well as rig a Godzilla puppet to breath fire balls. This is fairly save and can explode over hands harmlessly only singeing hairs and done that many times before as long as not contained.
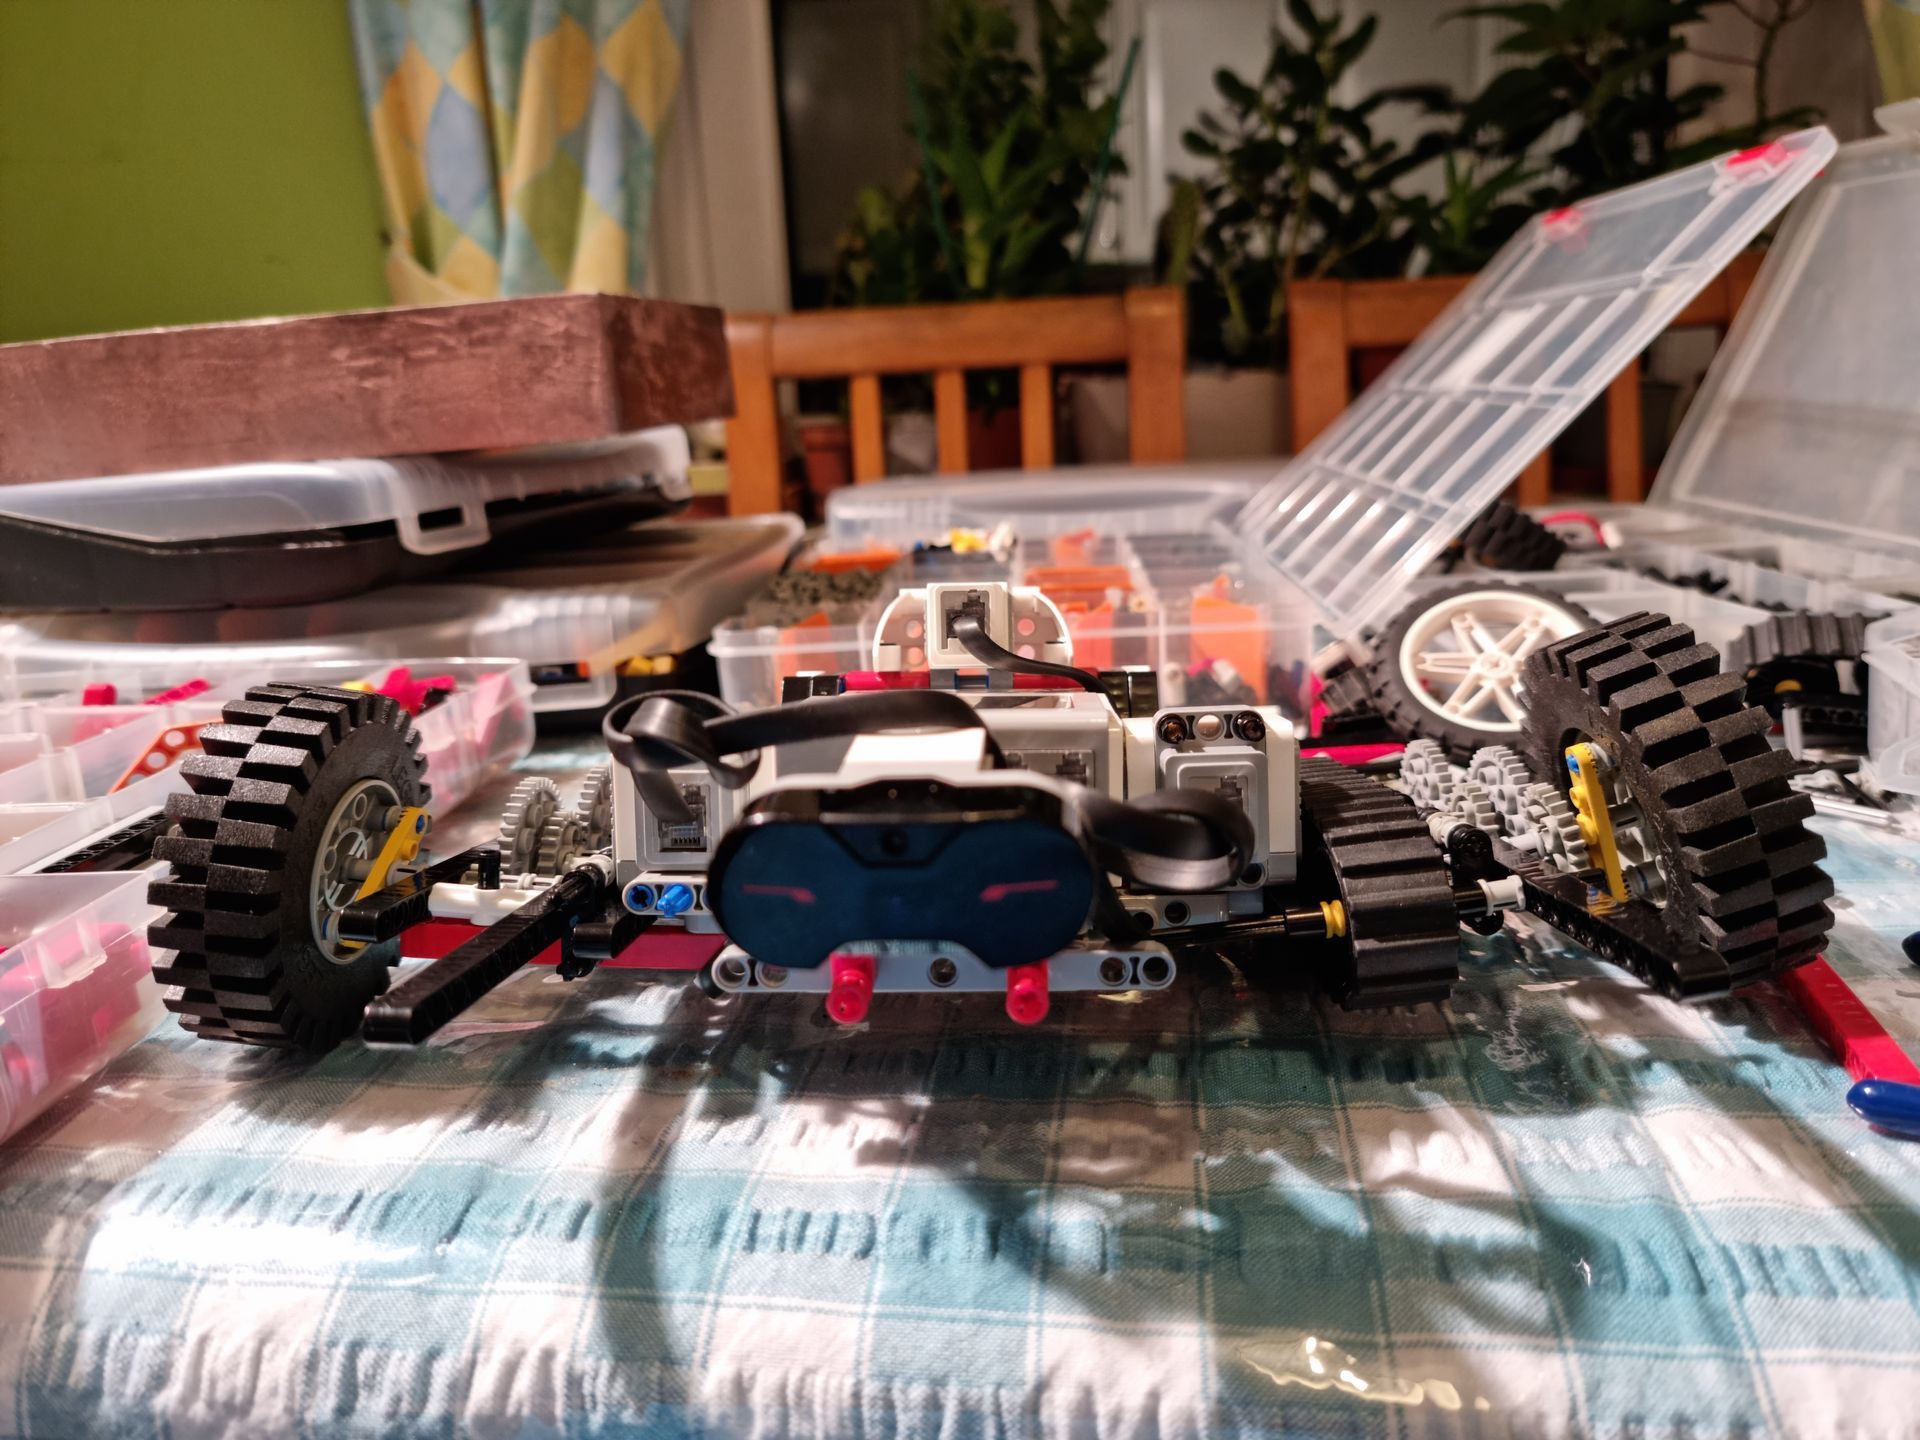
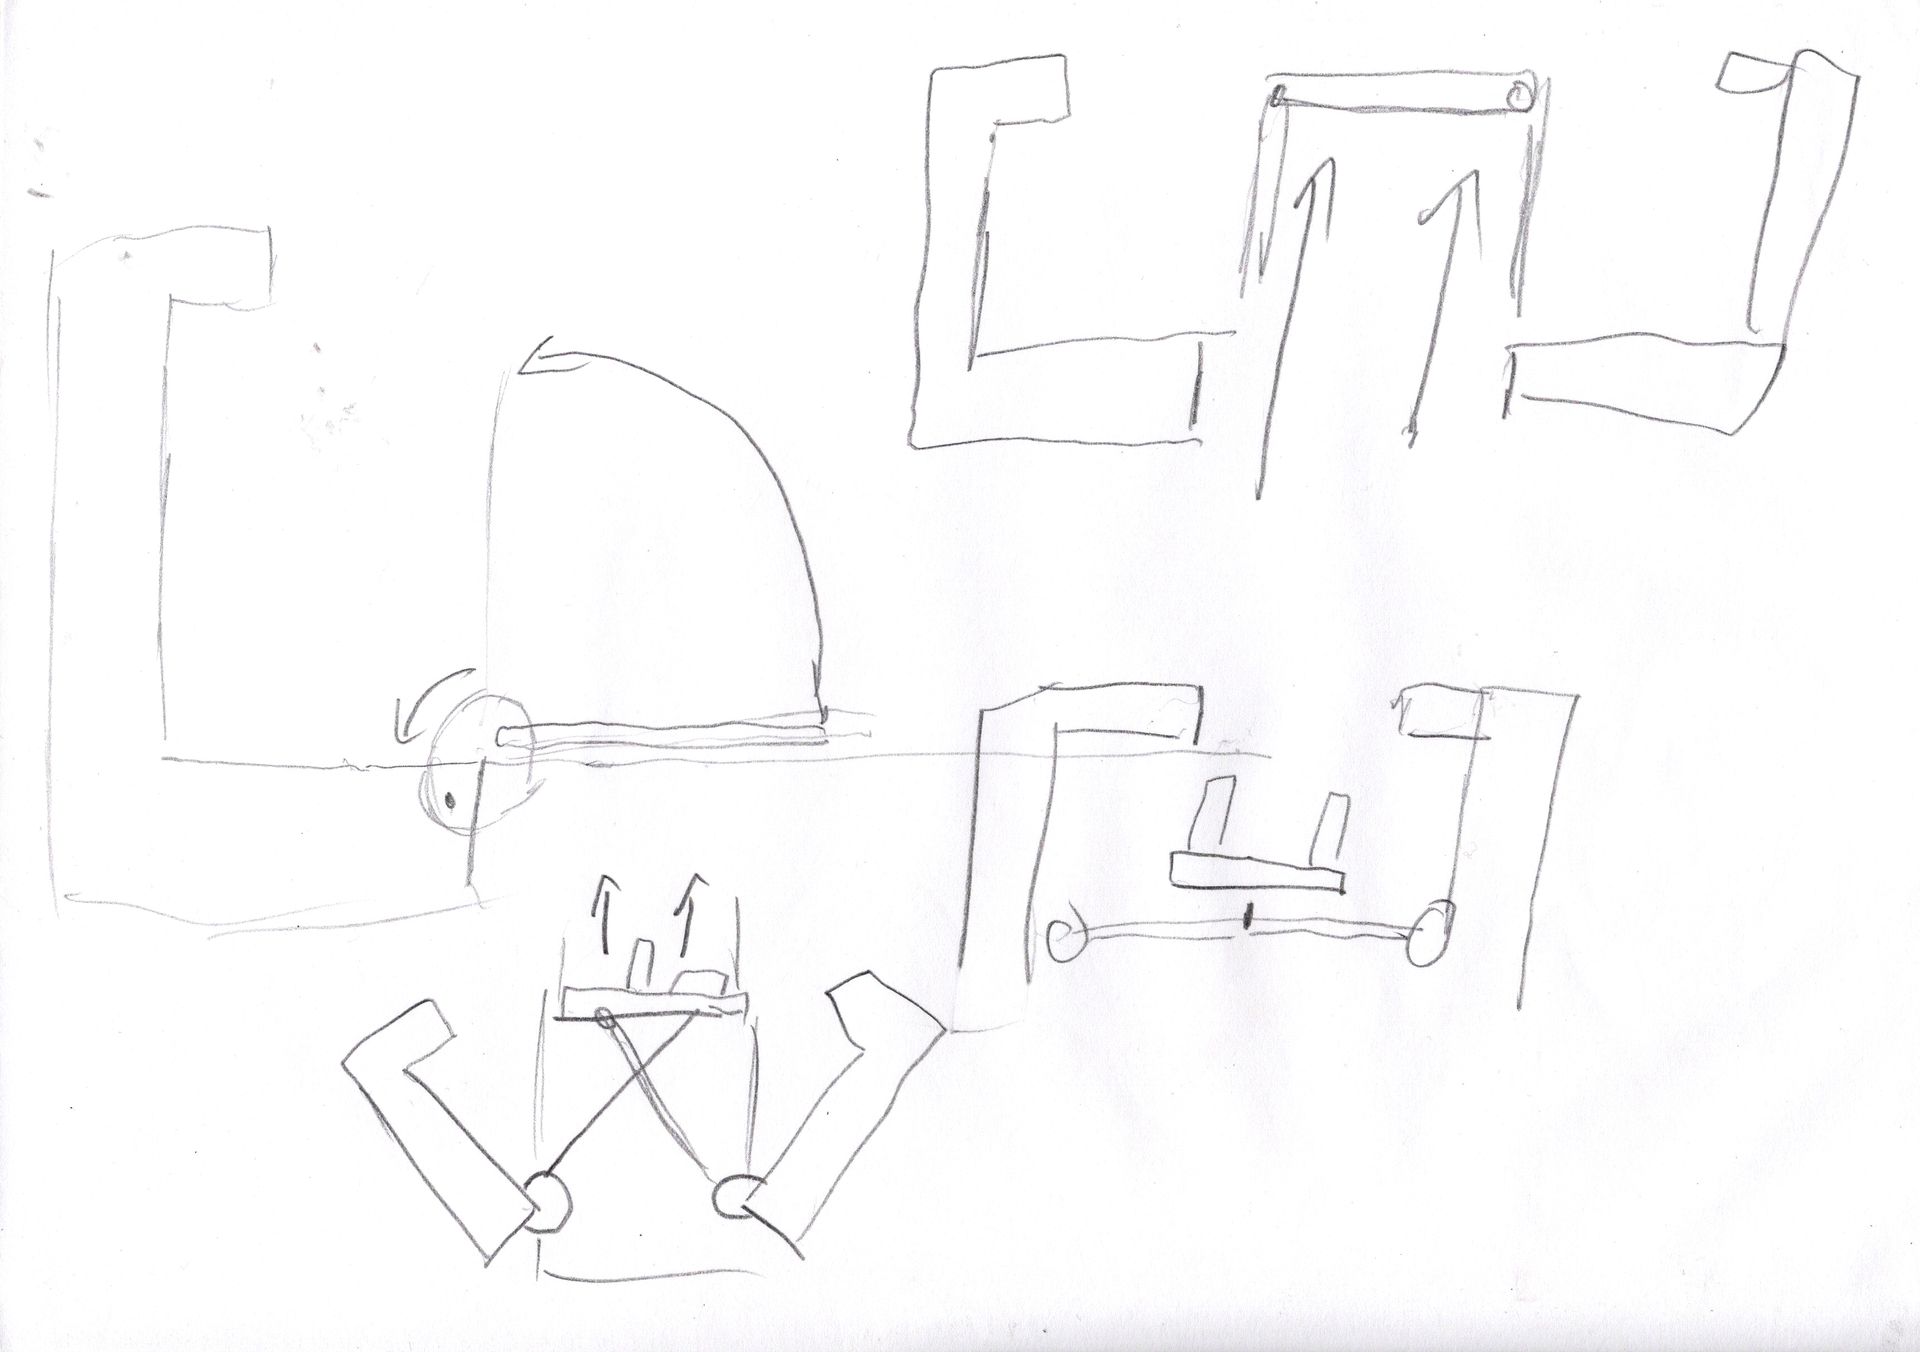
This seems much simpler especially as the base would be existing Lego Mindstorms robots that could be pre-programmed or remote control which was the approximate size and shape of the box and could have the mine attaching mechanics being a simple scissor life mechanism on a drive chassis device. The box could contain the computer block and motors and the outside decorated and kit based with a camera lens being the eye. I then could rack and pinion Lego technical parts which seems and easier solution but required a raised wheel base.
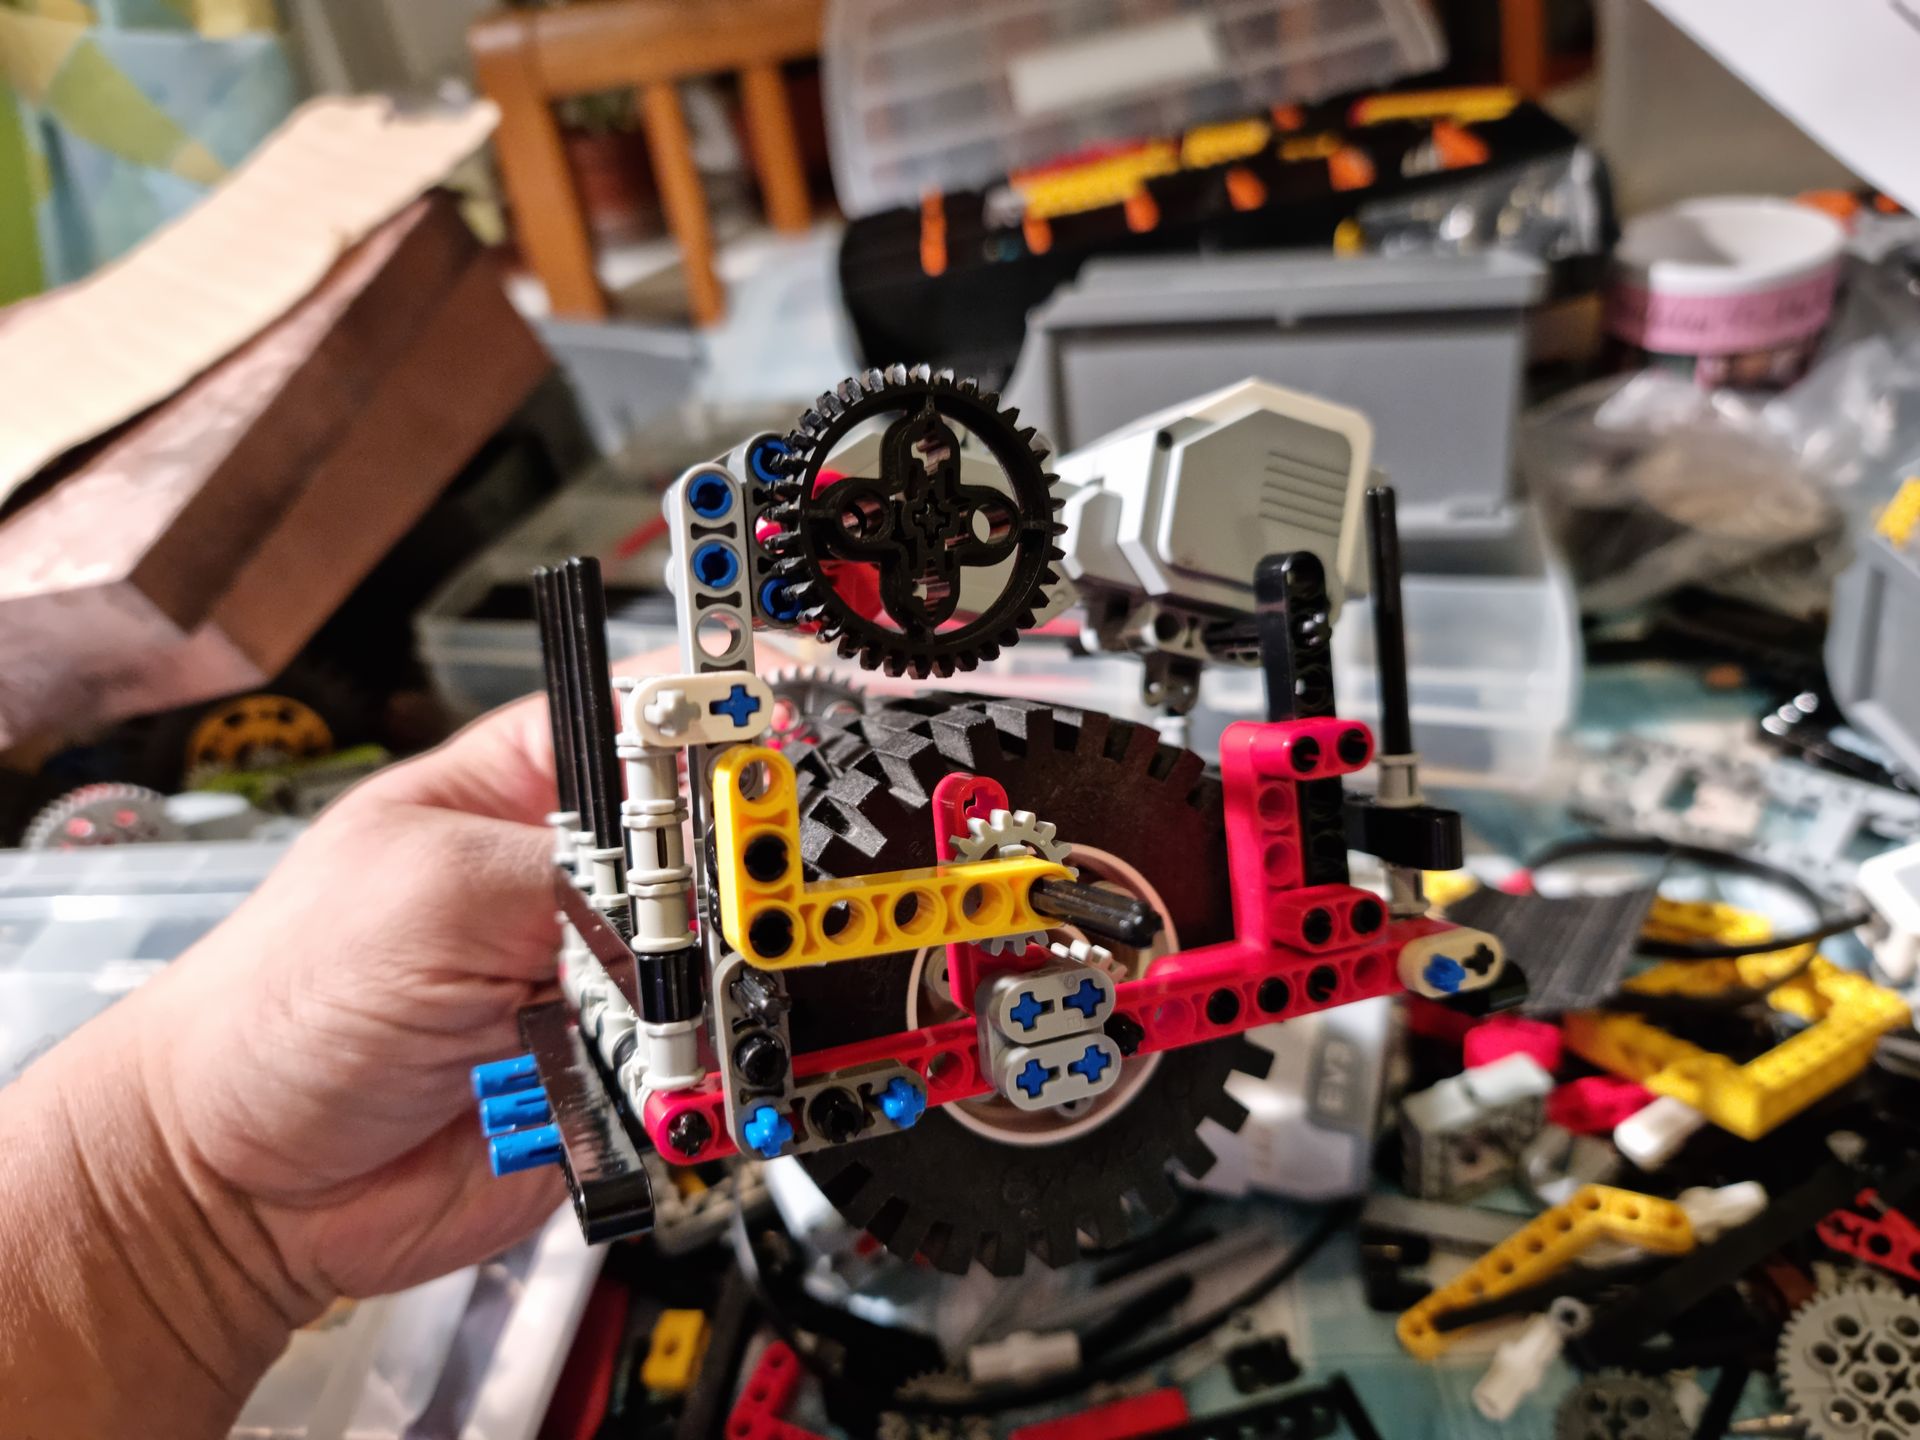
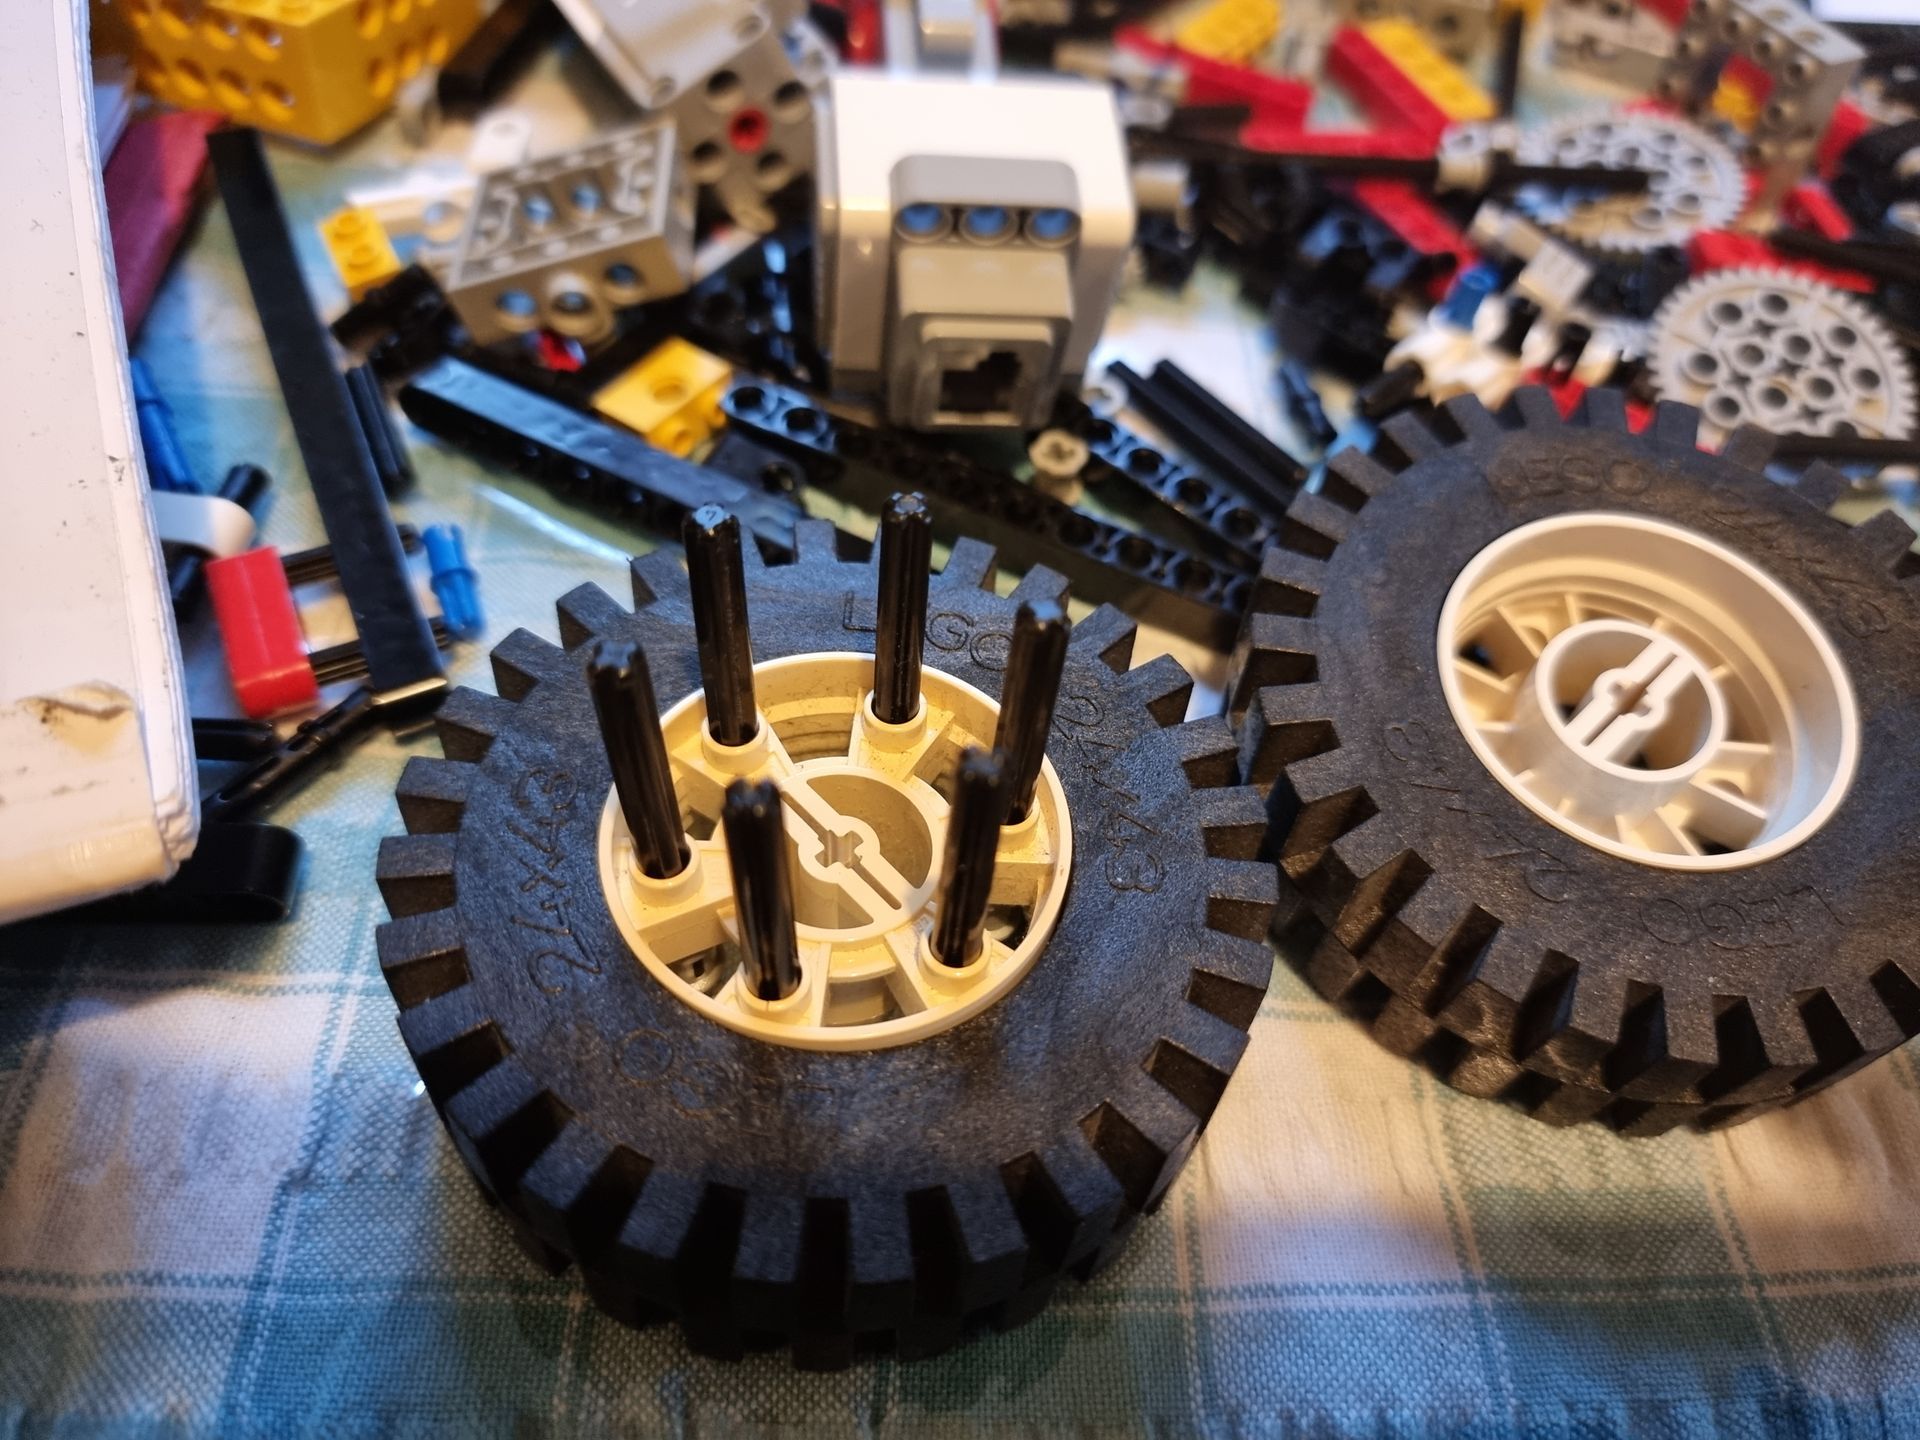
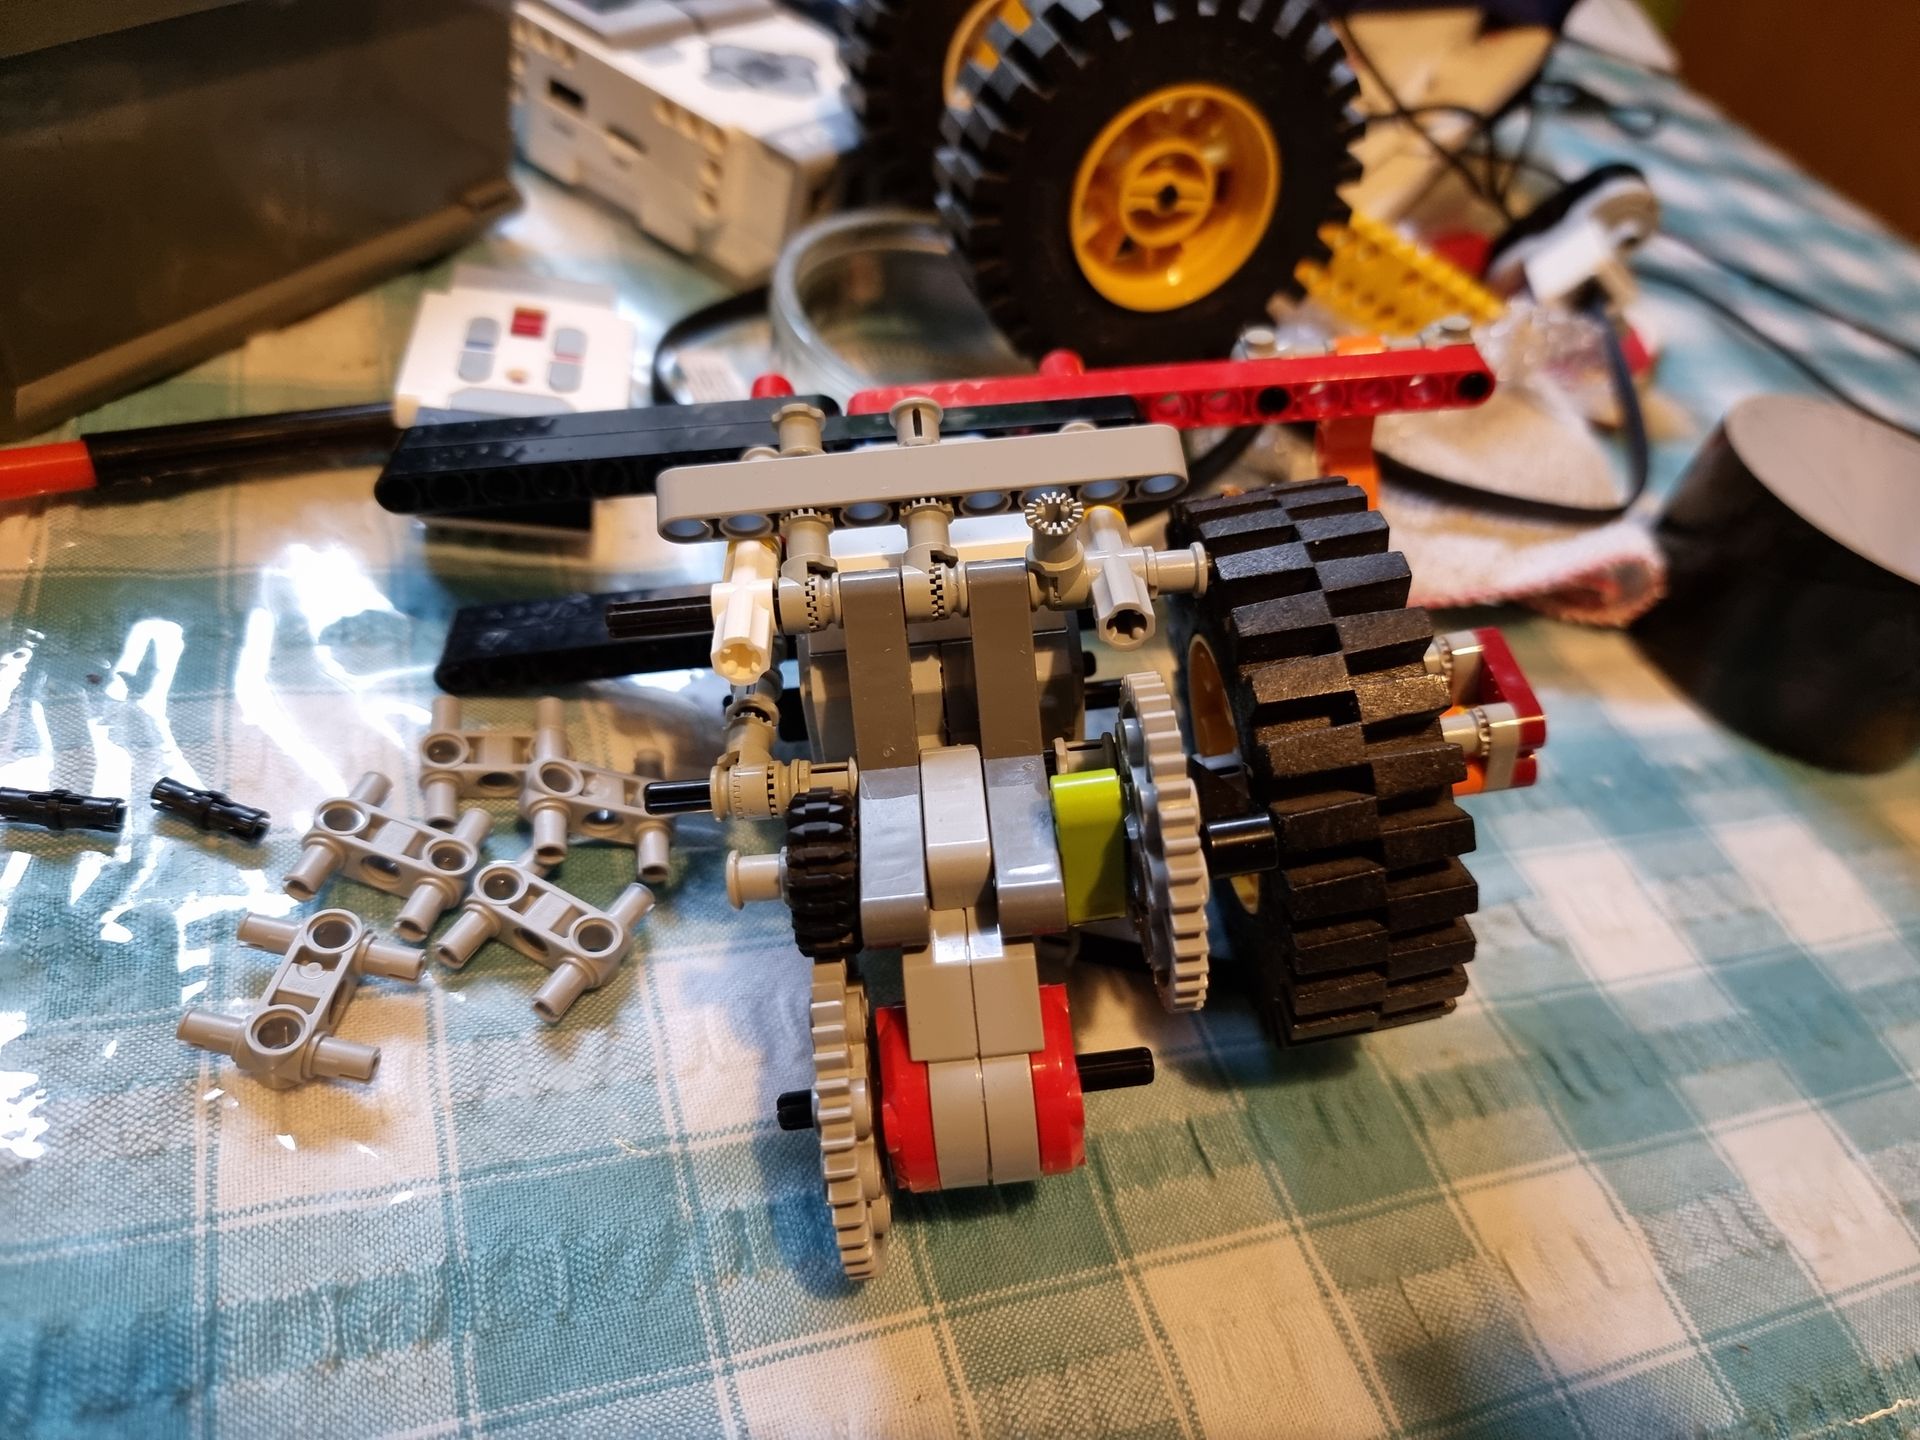
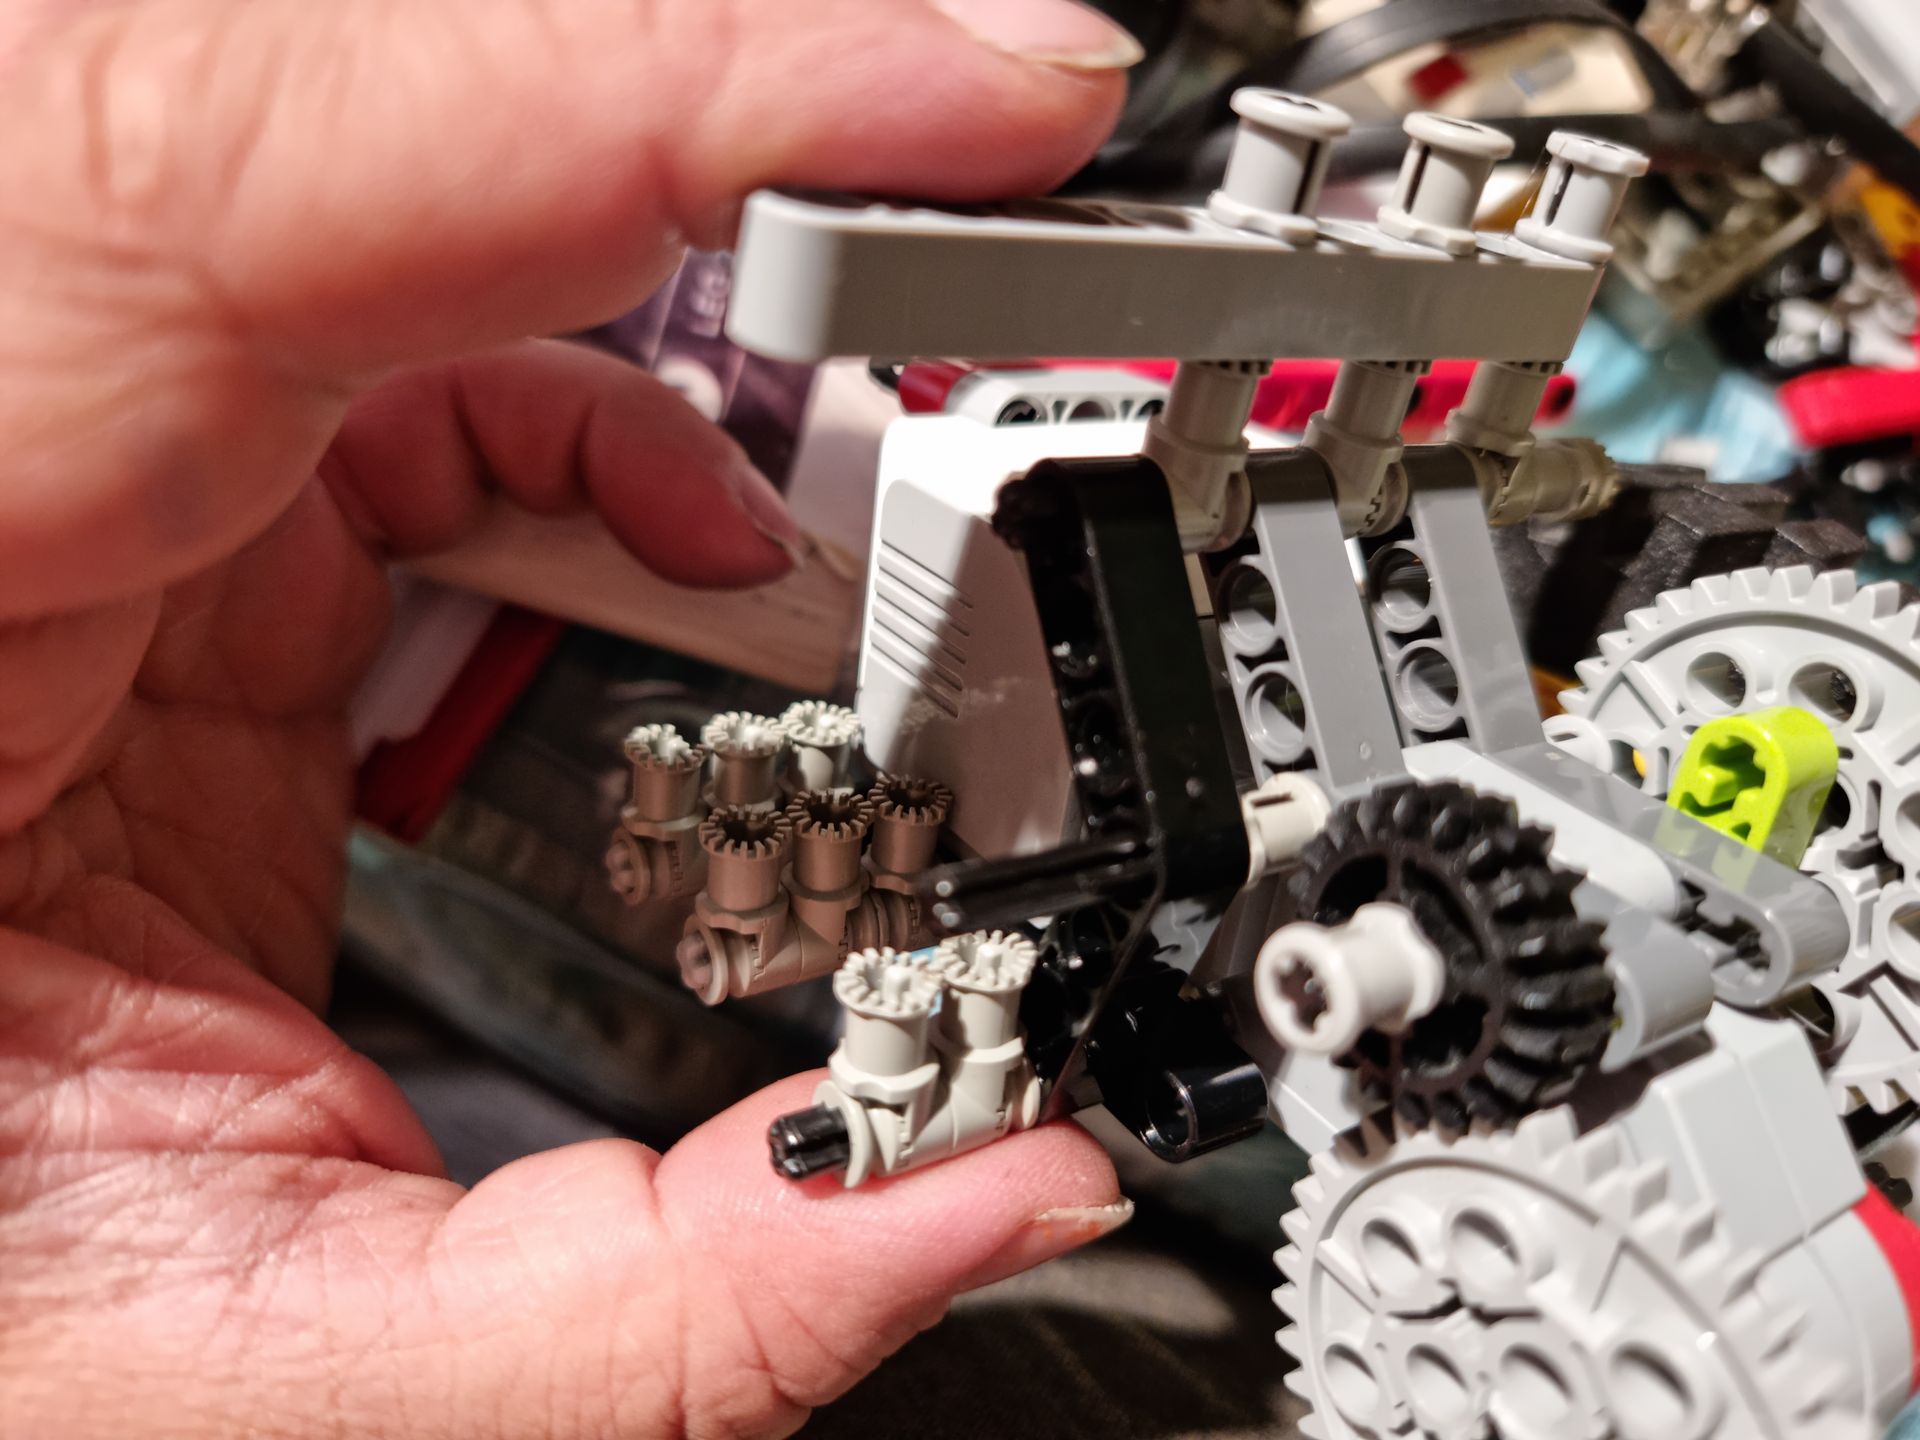
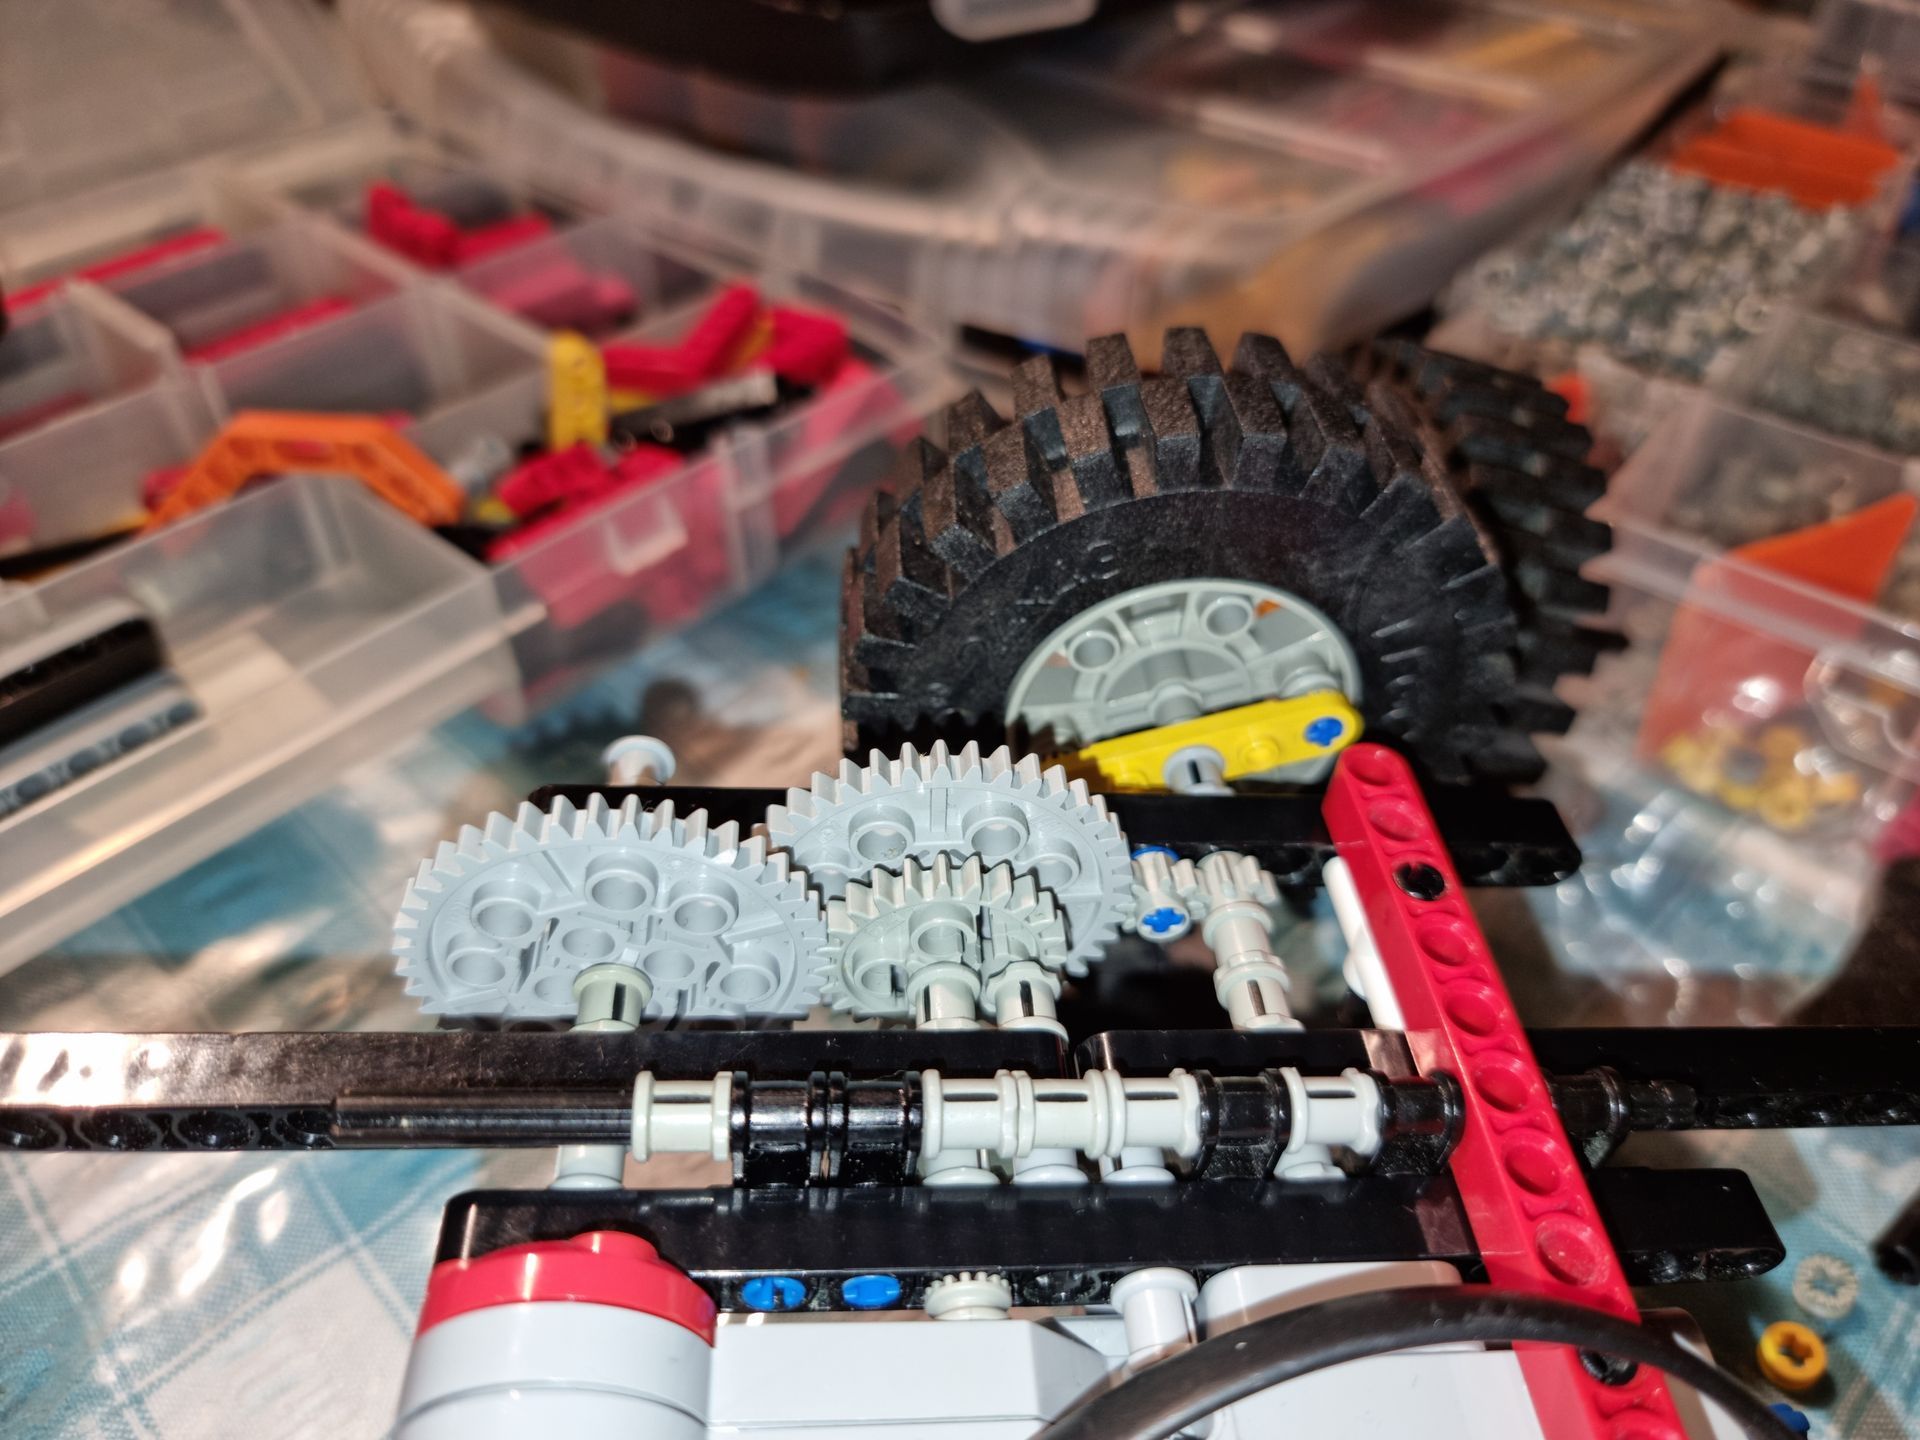
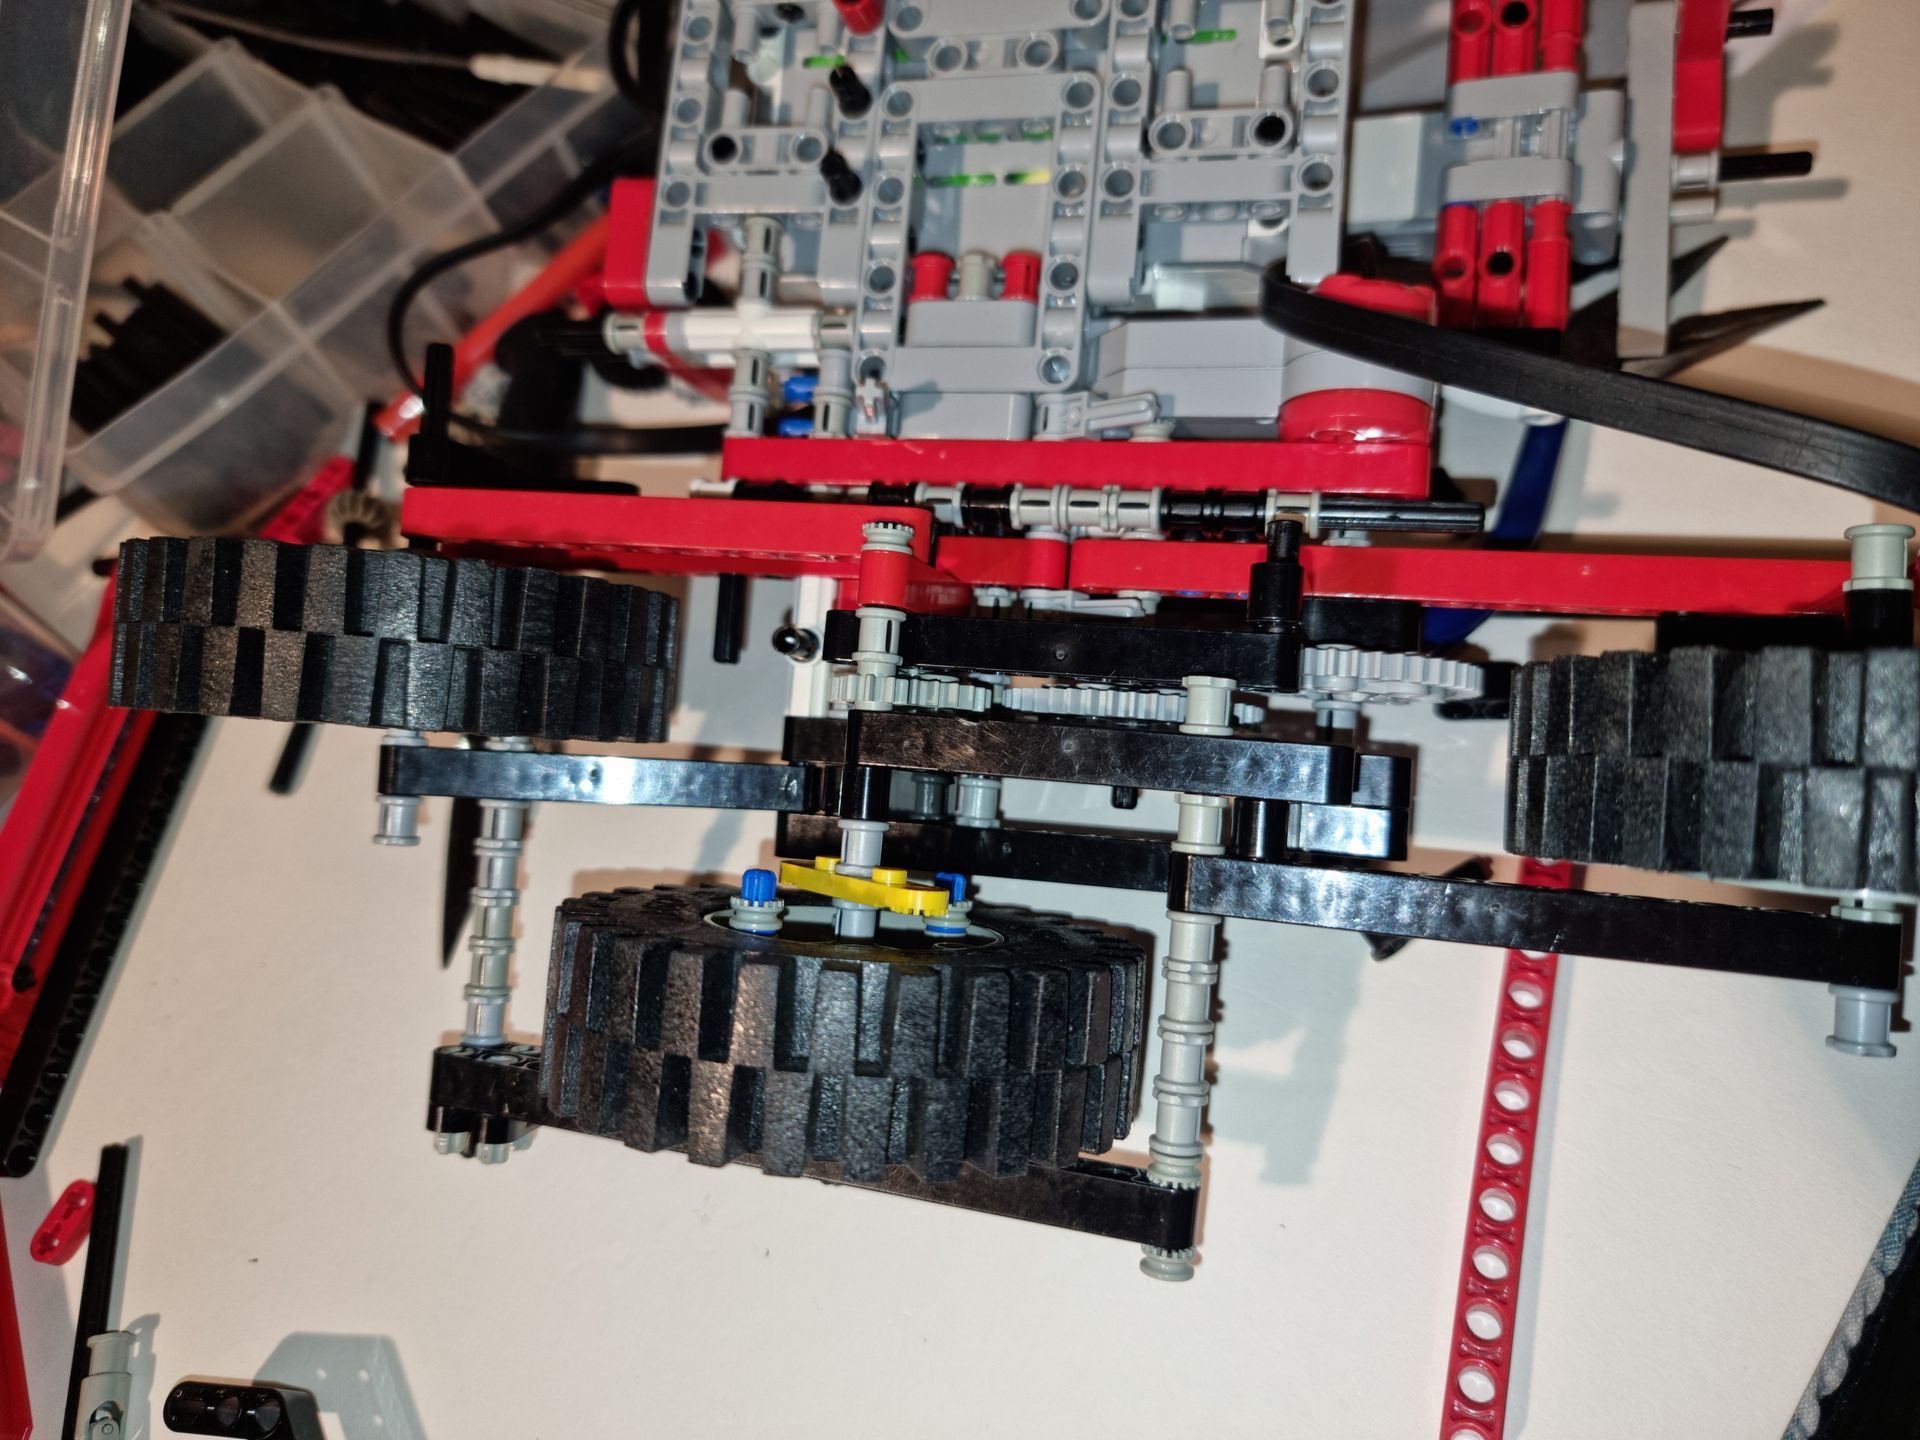
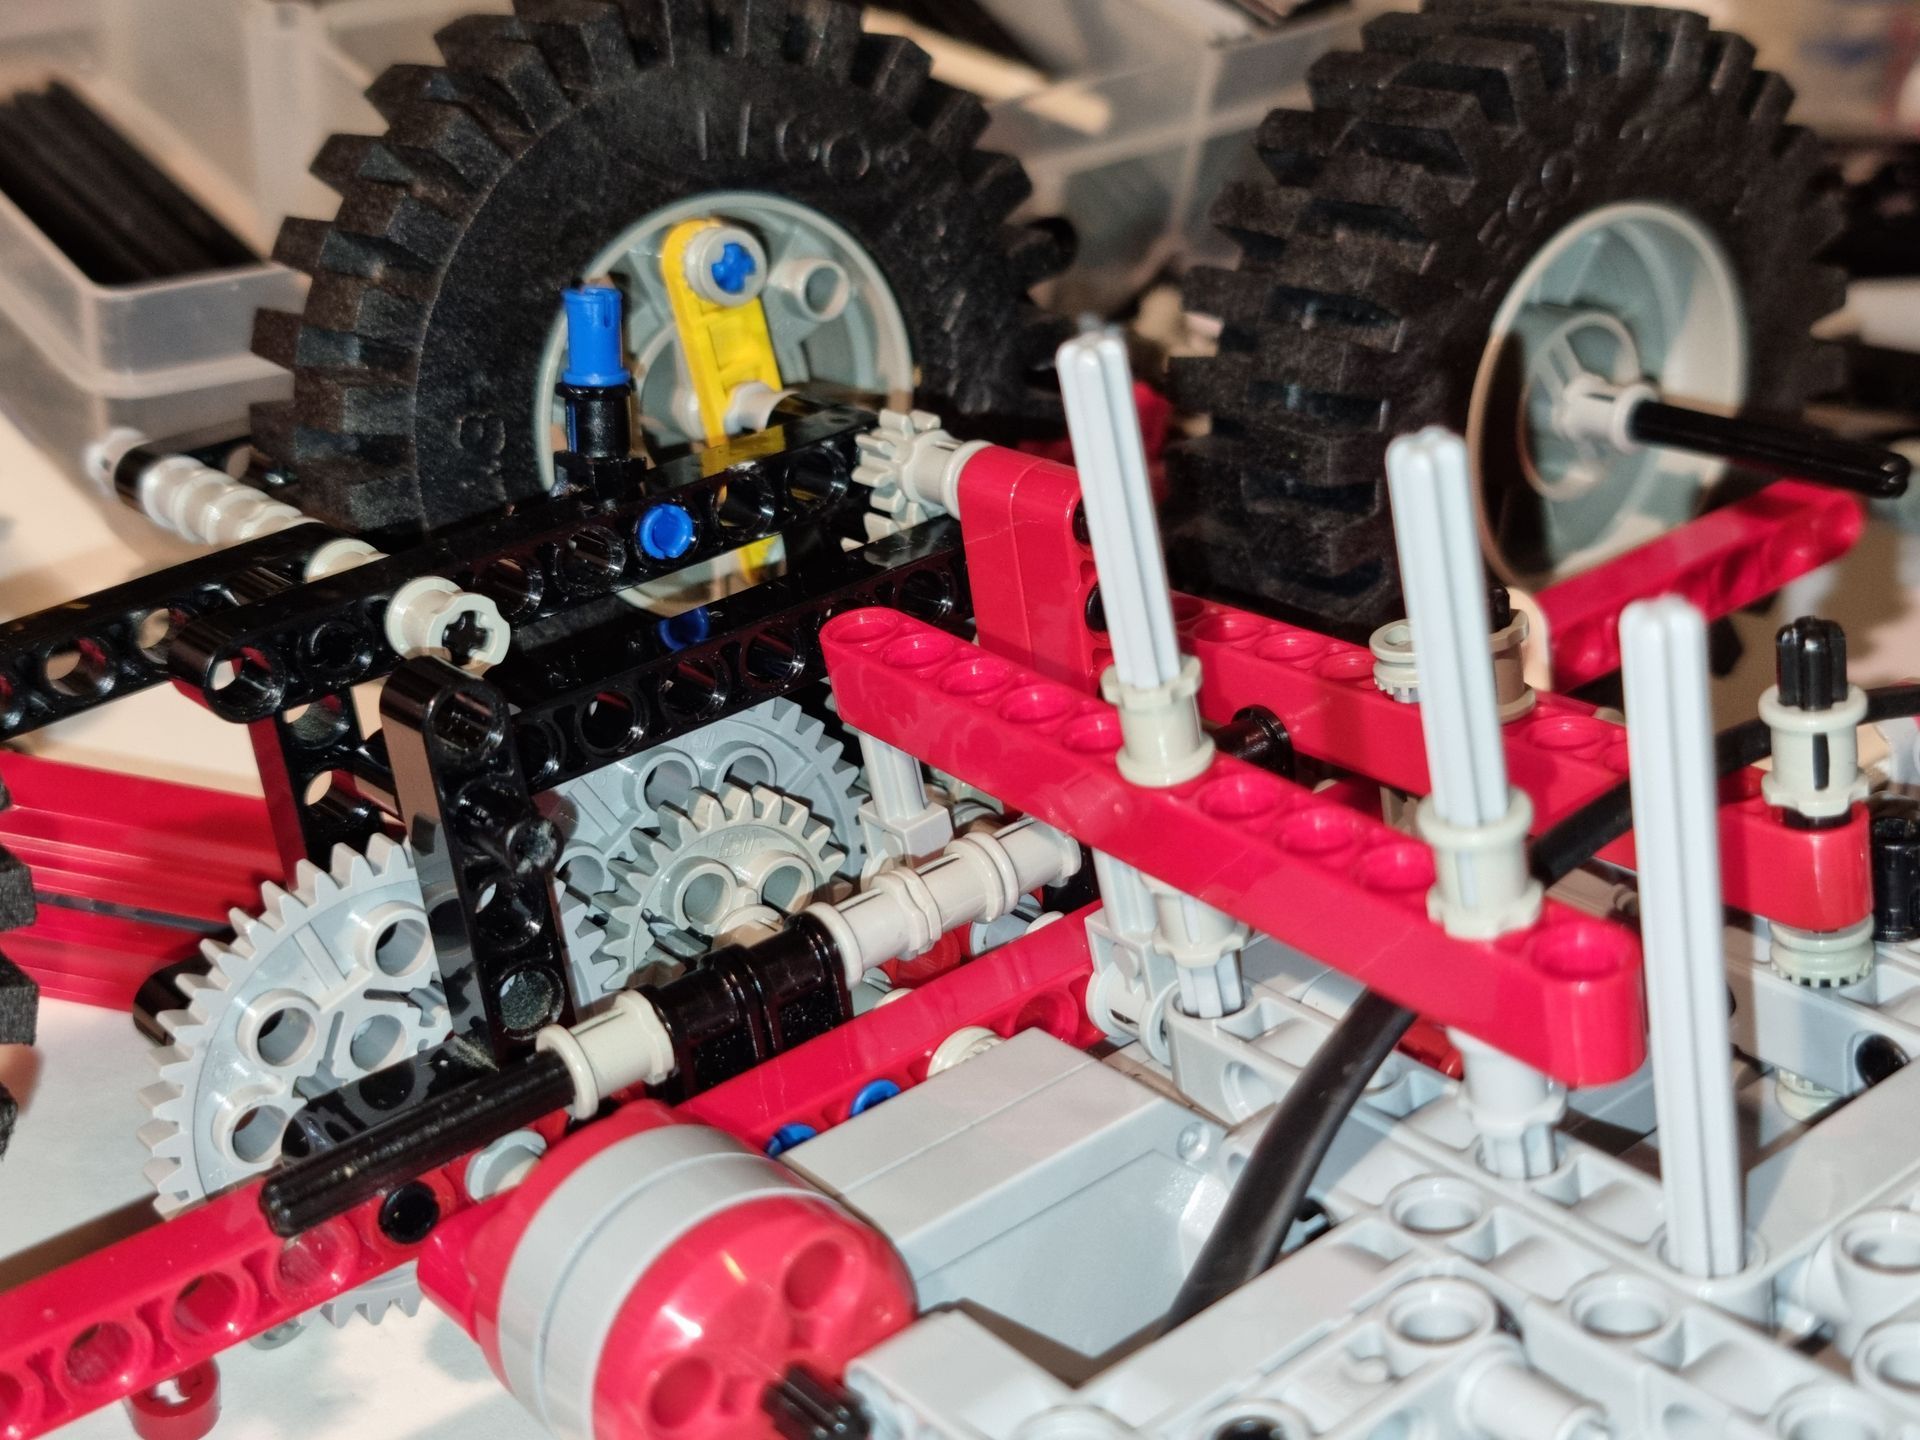
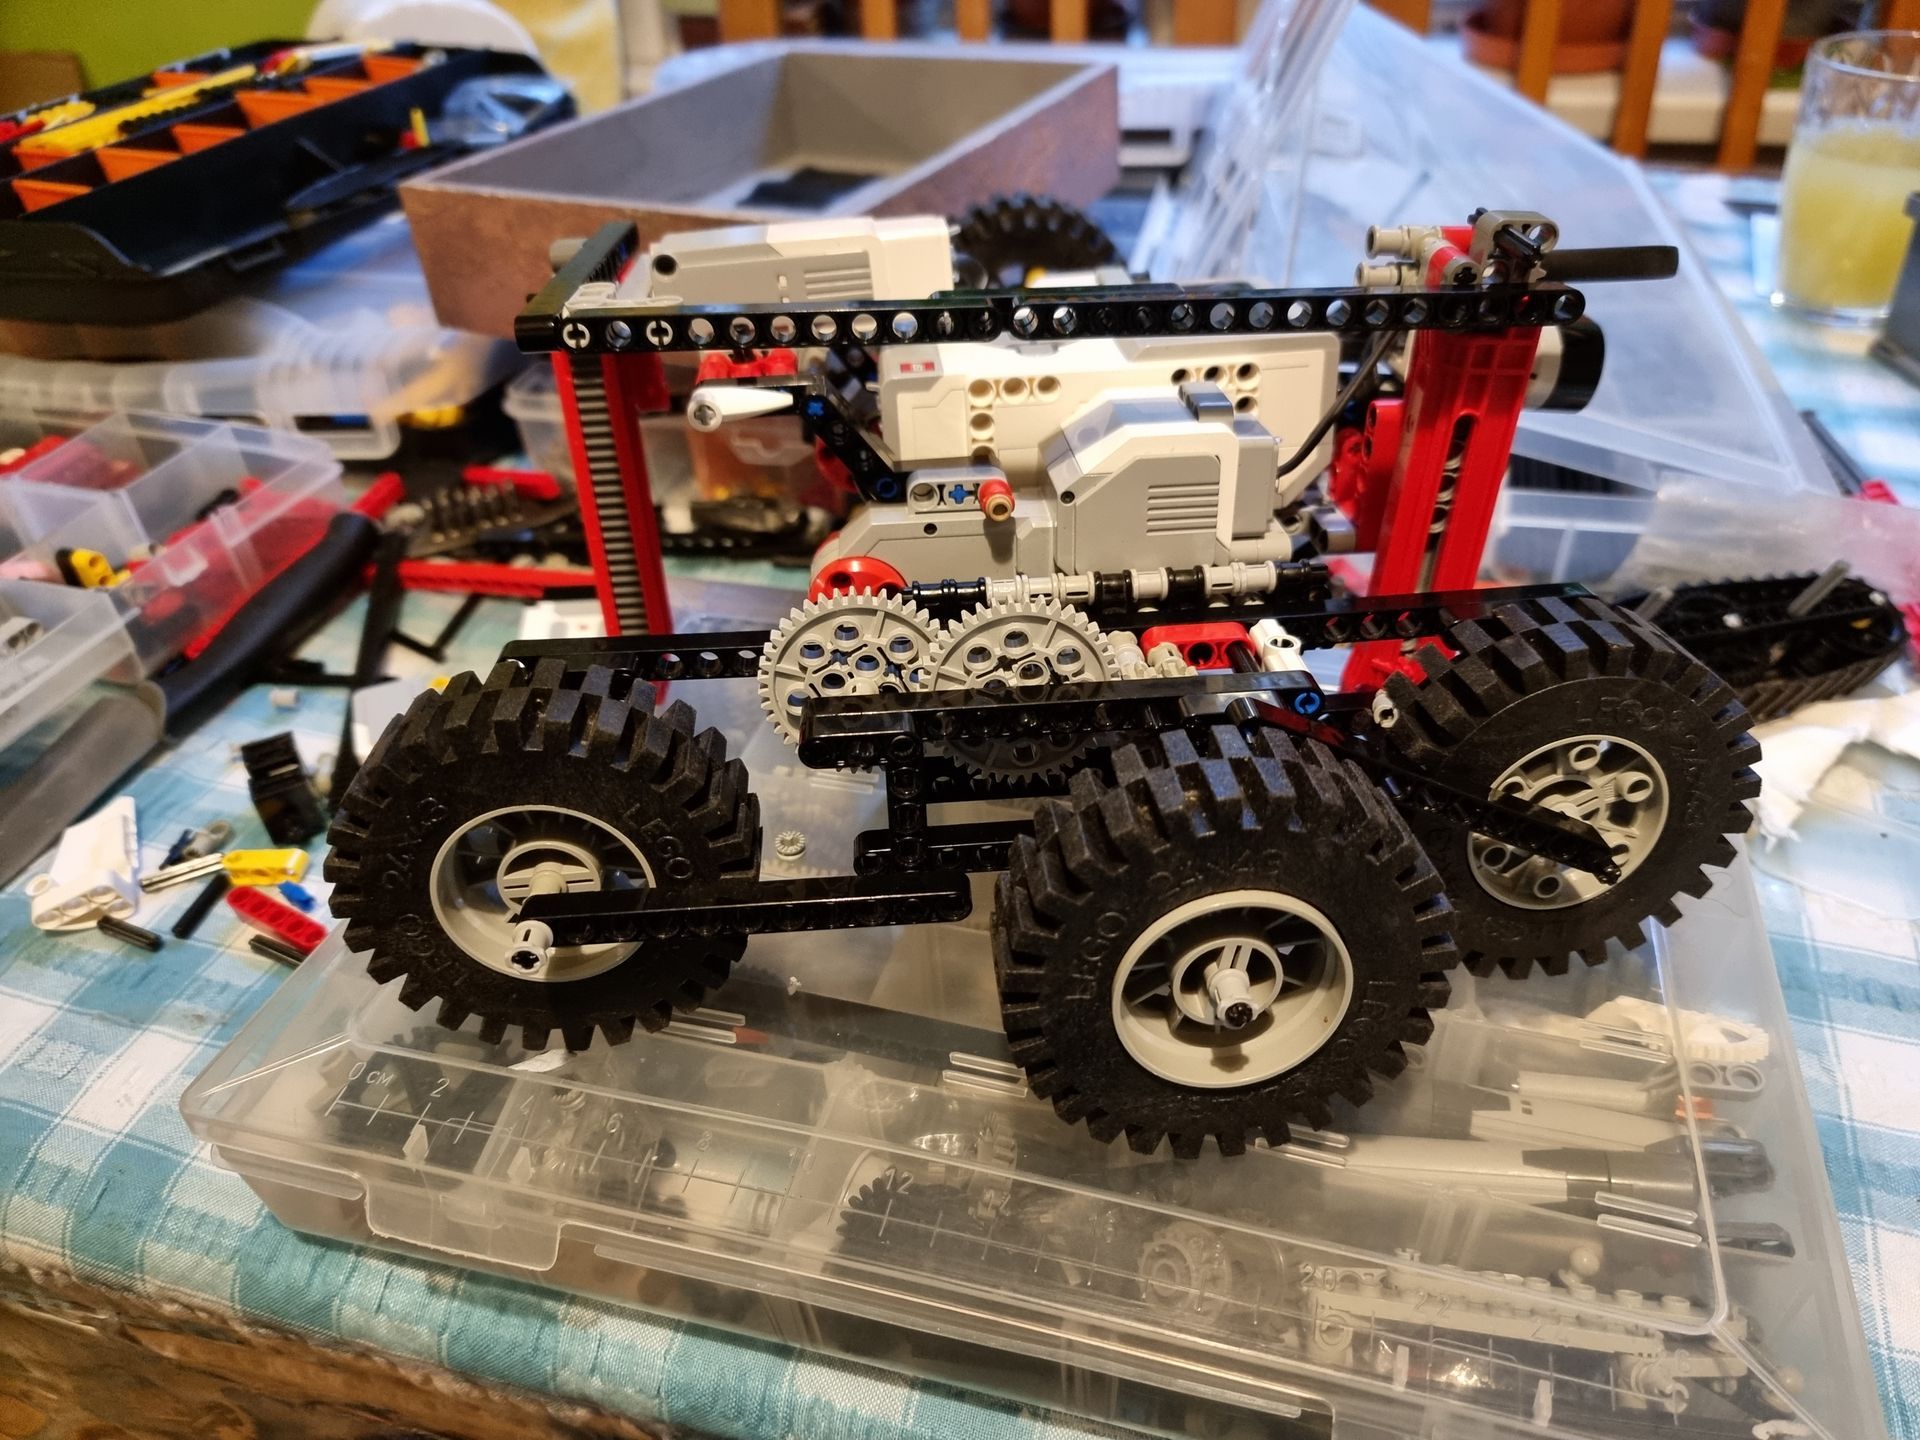
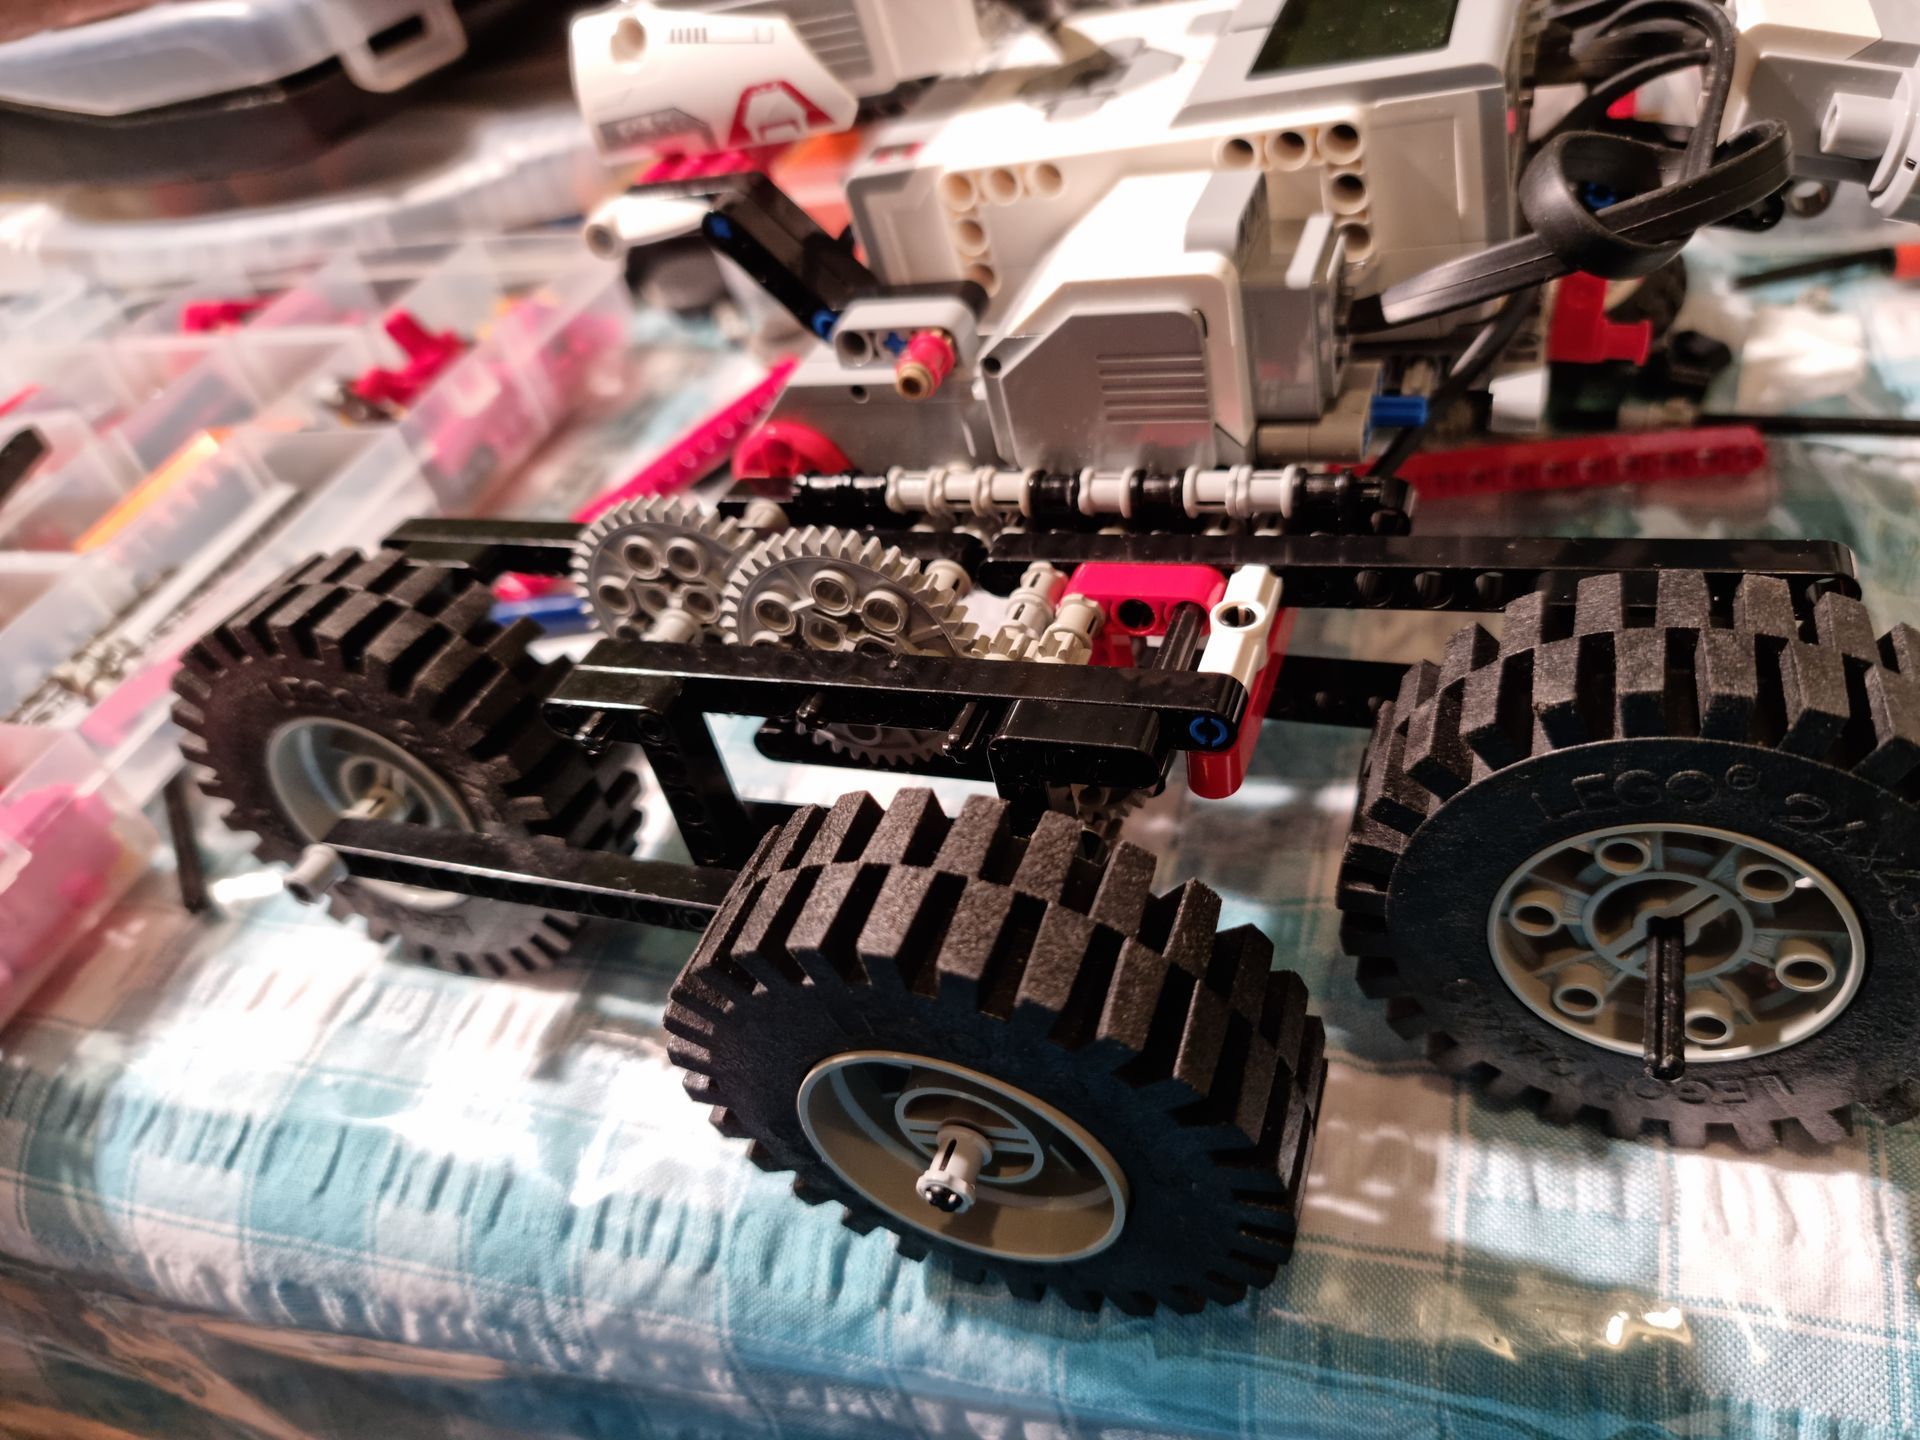
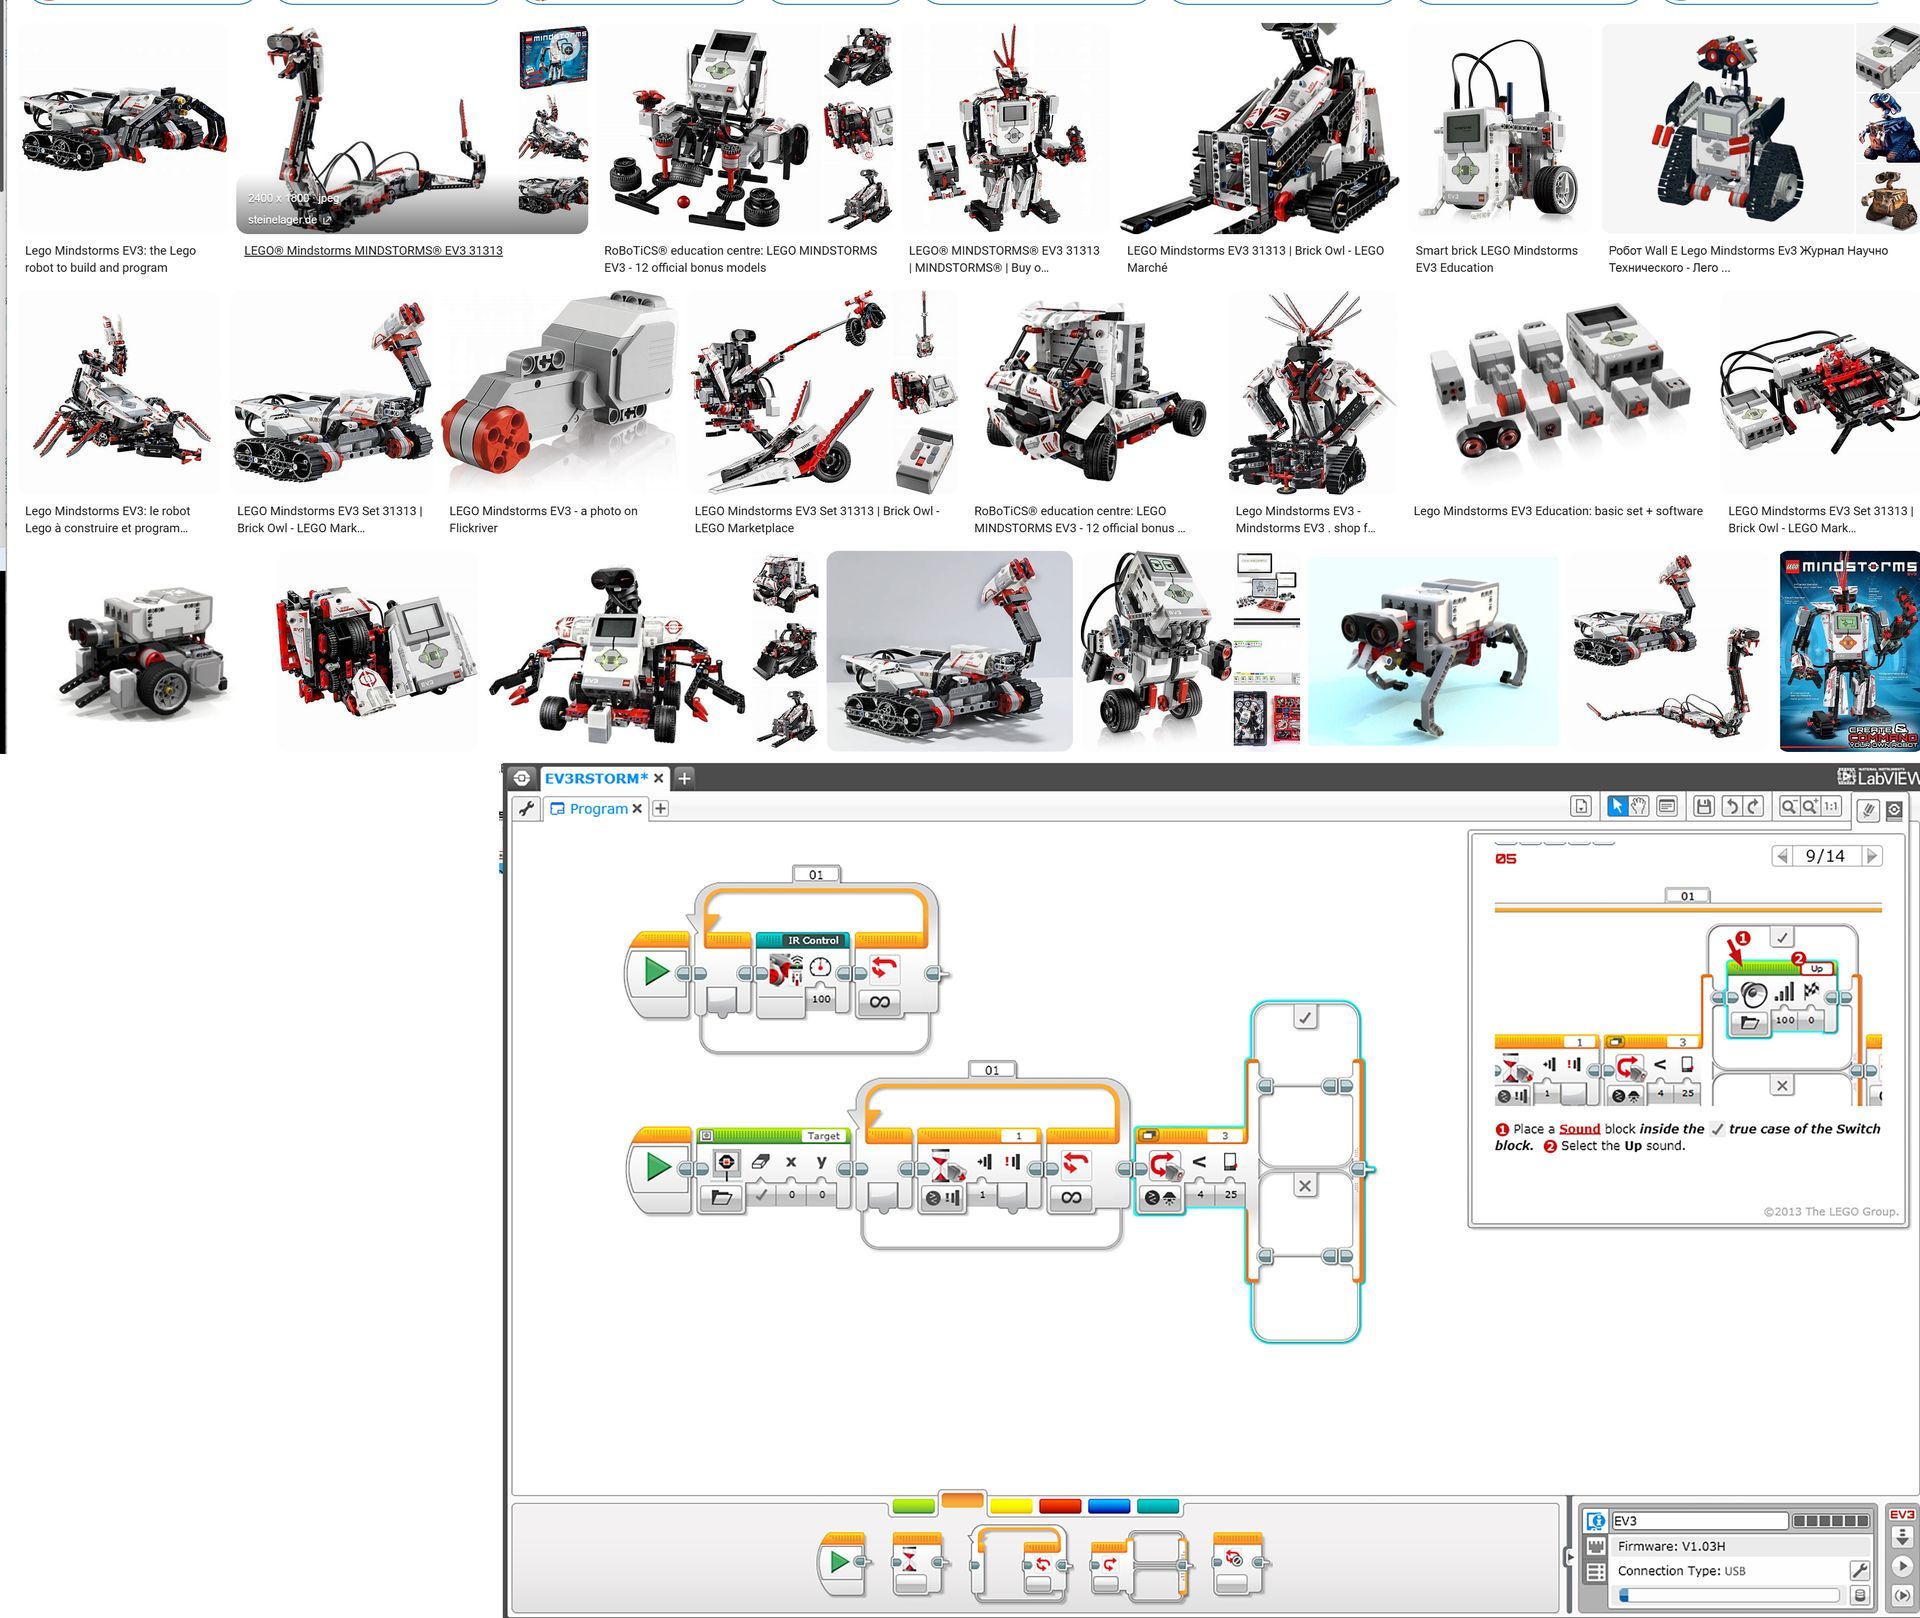
Sounded simple in theory. The problem is that Lego tech does not fit together well in a solid structure and any little error or misalignment jams the gear system as well as being grossly under powered so for a week was going around in circles trying every iteration I could think of. Nothing seems to work or more commonly fit. When I did get something, hat did fit there was no power or speed so this too got abandoned. The pictures below only show a small fraction of the attention to form the Lego Mindstorms structure with a variety of interlocking for strength and axle systems.
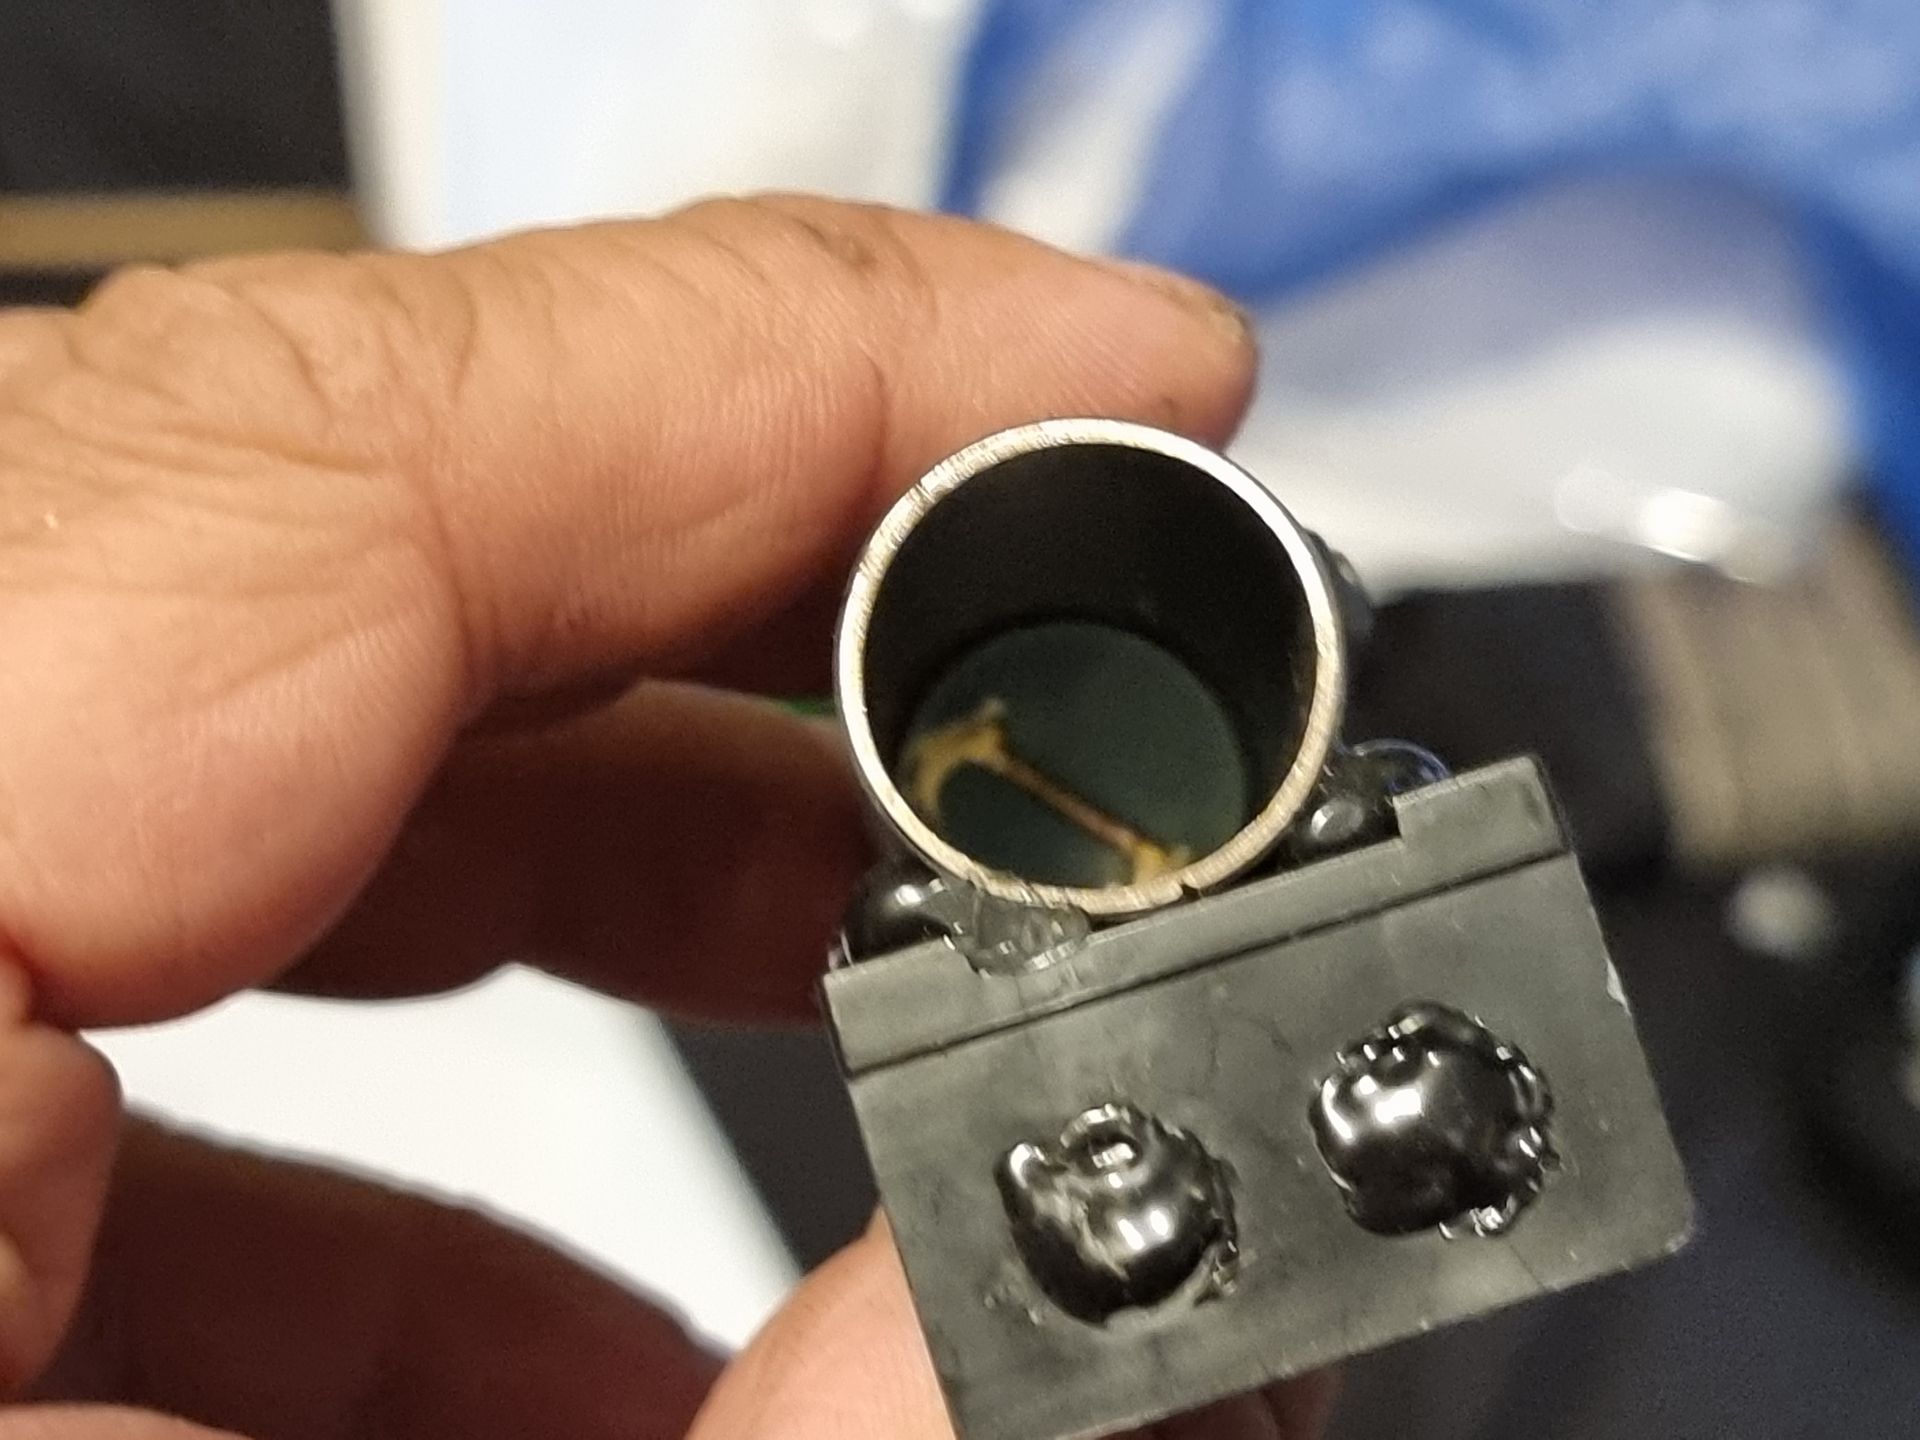
In addition to this the course heads and admin were somewhat weary of a student having great fun wit the idea of building what was effect a whilst relatively harmless very low powered IED improvised Explosive device laying ground drone where the only real difference between this and what is used in the Ukraine war being the explosive power of the payload. There was also the risk that the ignition system I was going to use for the flash cotton. A magician’s flash cotton cannon consisting or a metal tube with a batter operated spark plug could get some sort of hard debris like gravel in it turning it to a gun or get blocked or overly stuffed which would increase the blast and possibly result in it exploding outwards like a pipe bomb, or just be a dud and then issues of disarming etc. Plus was meant to fair down which could finger the floor so the risk assessment ruled it out.
This was a disappointment as it would have been great fun for myself and several of the students to try and say this was our project. Words like get put on a government watchlist also came to mind.
The below is a tiny fraction of the Logo prototyping and mechanics experimentation.

Selected Star Wars Prop Project
Chosen Star Wars Project - Research Crates and Boxes
With the plans on making model spacecraft, Speeder bikes and droids shelved and running out of time and despirate for a simpler prop that fitted the brief better, tutors were nervous about my deadlines and seeing the various attempts go wrong and abandoned with me over a month behind peers were pushing me to simply this to a star wars packing crate and I did looking into the concept of a bug out box like the one featured in season 2 of the Andor series .
Chosen Star Wars Project - Research Star Wars Control Panels
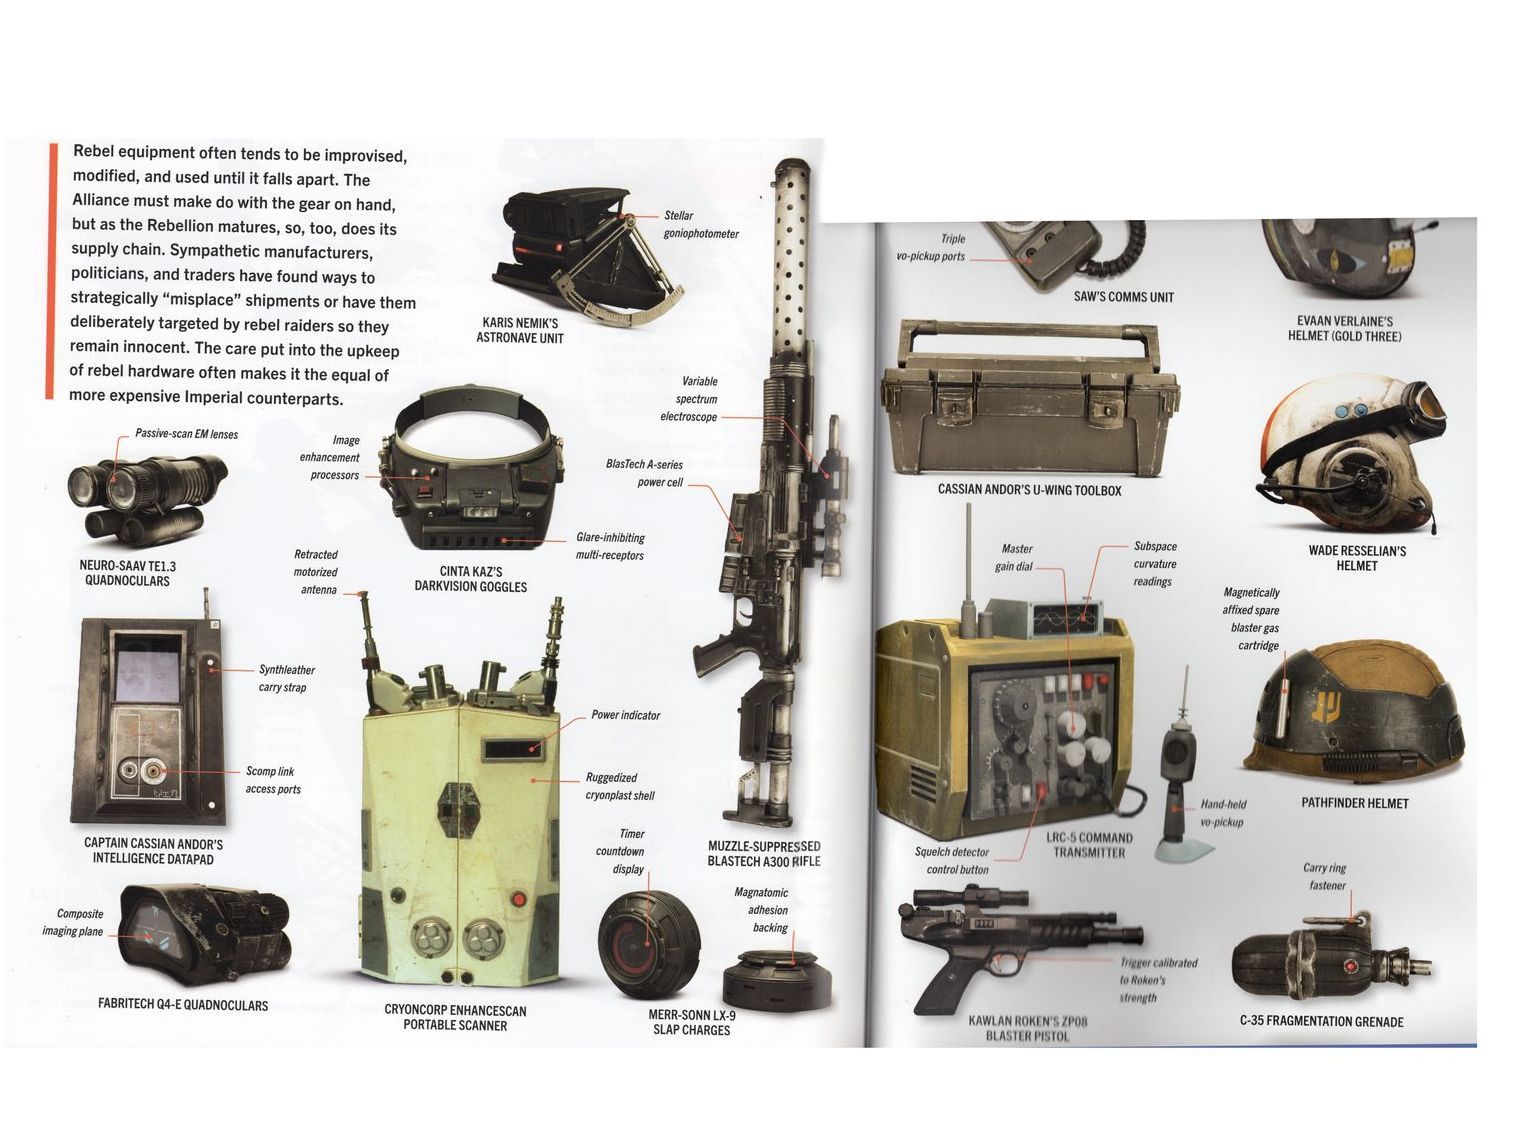
Tutors nervous about my deadlines and seeing the various attempts at a prop and been over a month behind as a result wanting me to go for something super simple, just a box crate to be able to get something done. In the end we were all given a n extension over Christmas which I worked my self to the bone over. I still wanted to make something great as only opportunity to so a project like this and wanted to shine. It was the NS-9 Starpath unity control box that gave inspiration and I started looking at both he boxes and control systems from Star wars and control panels
Chosen Star Wars Project - NS -9 Starpath Research & Sketches
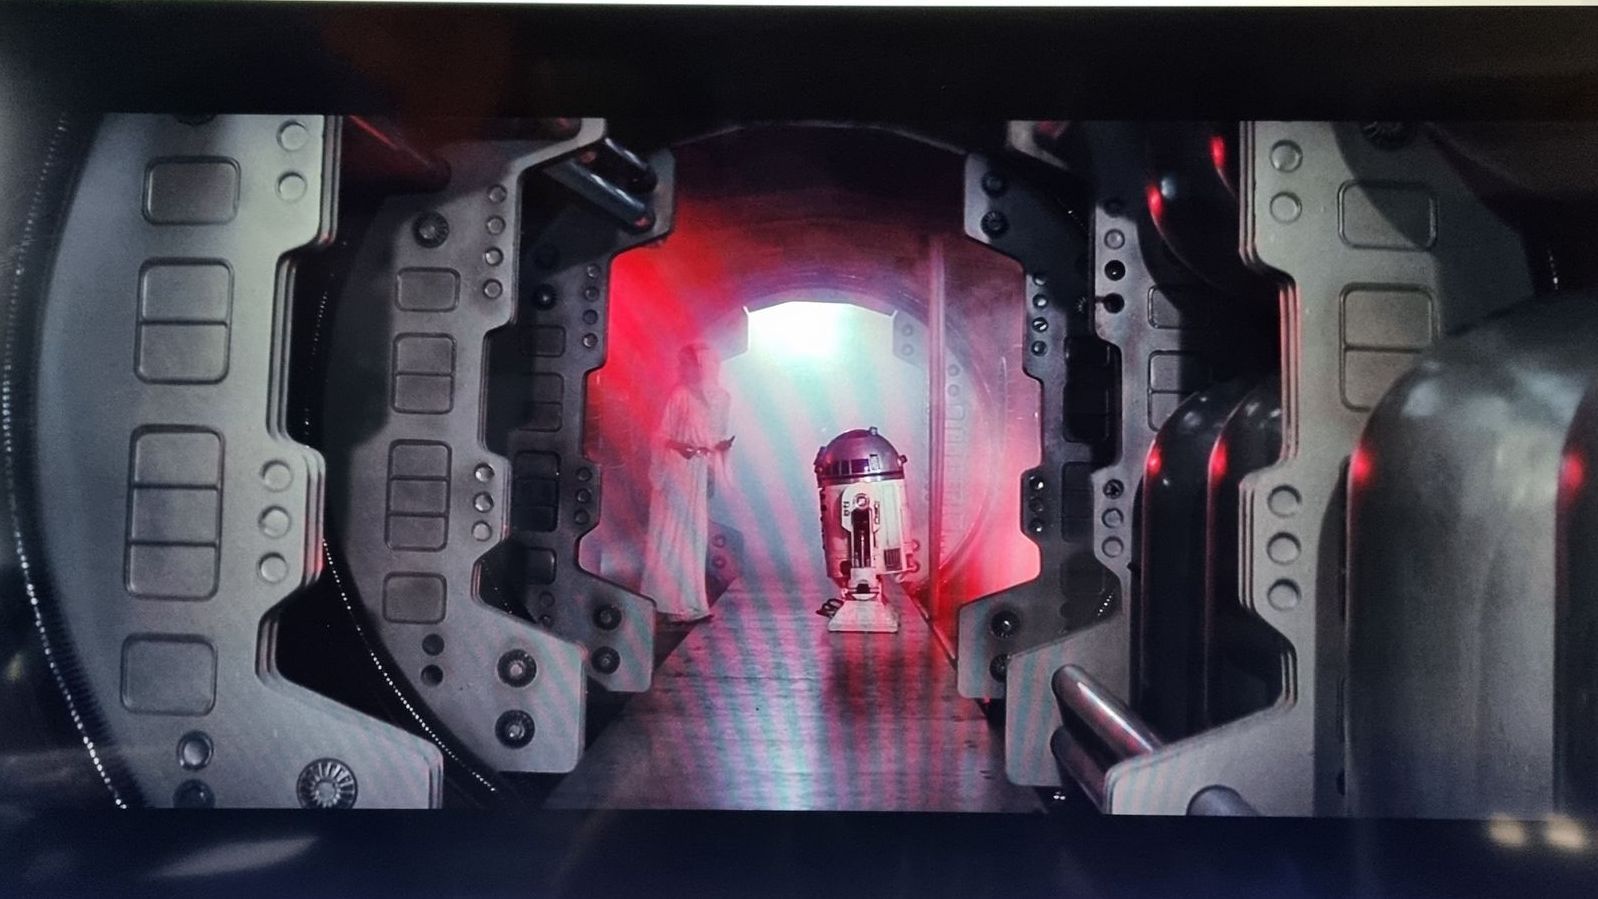
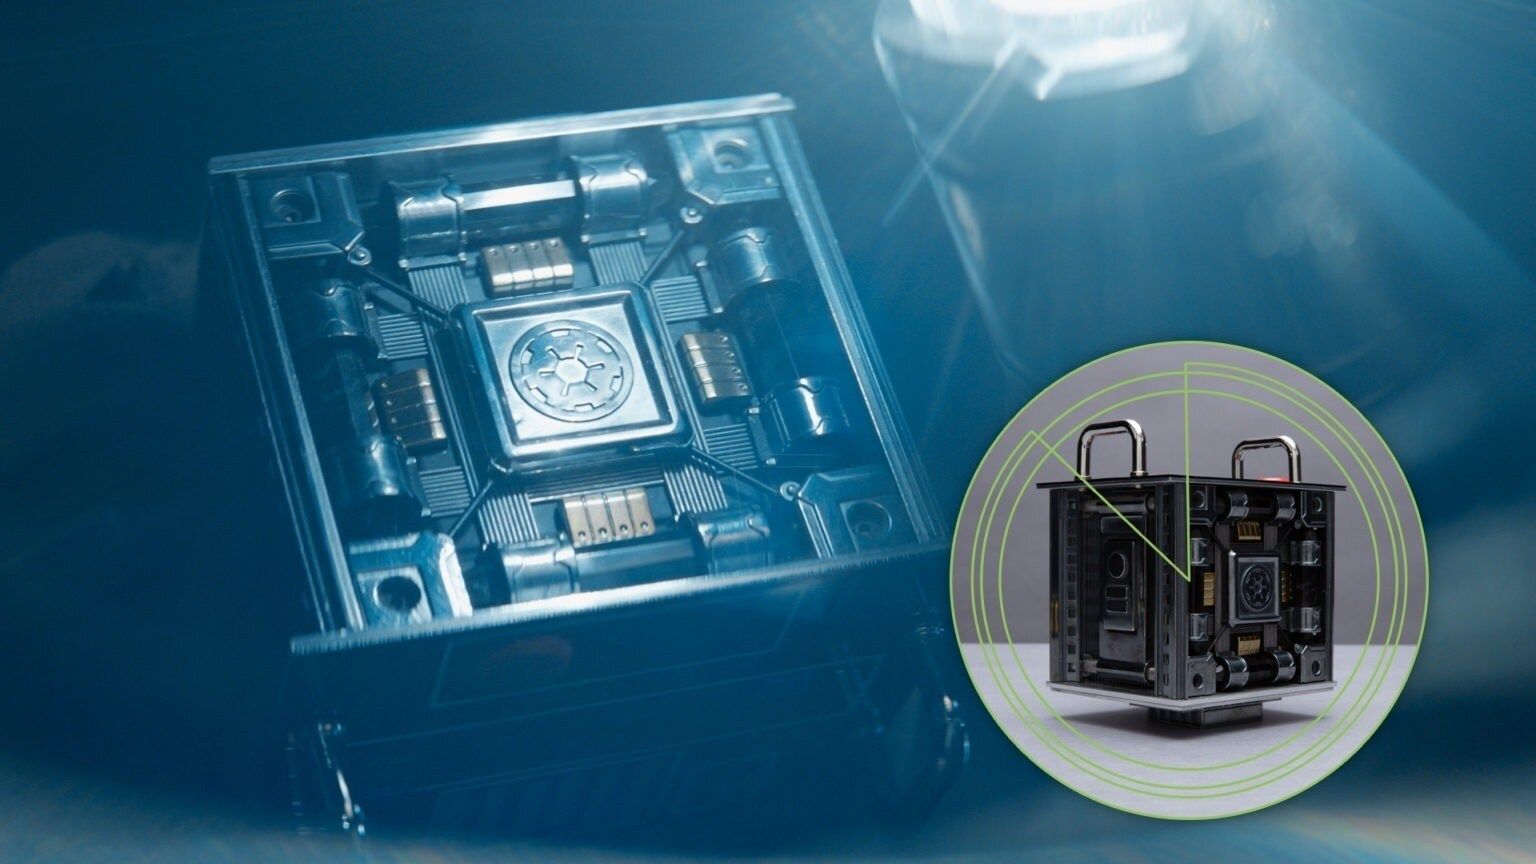
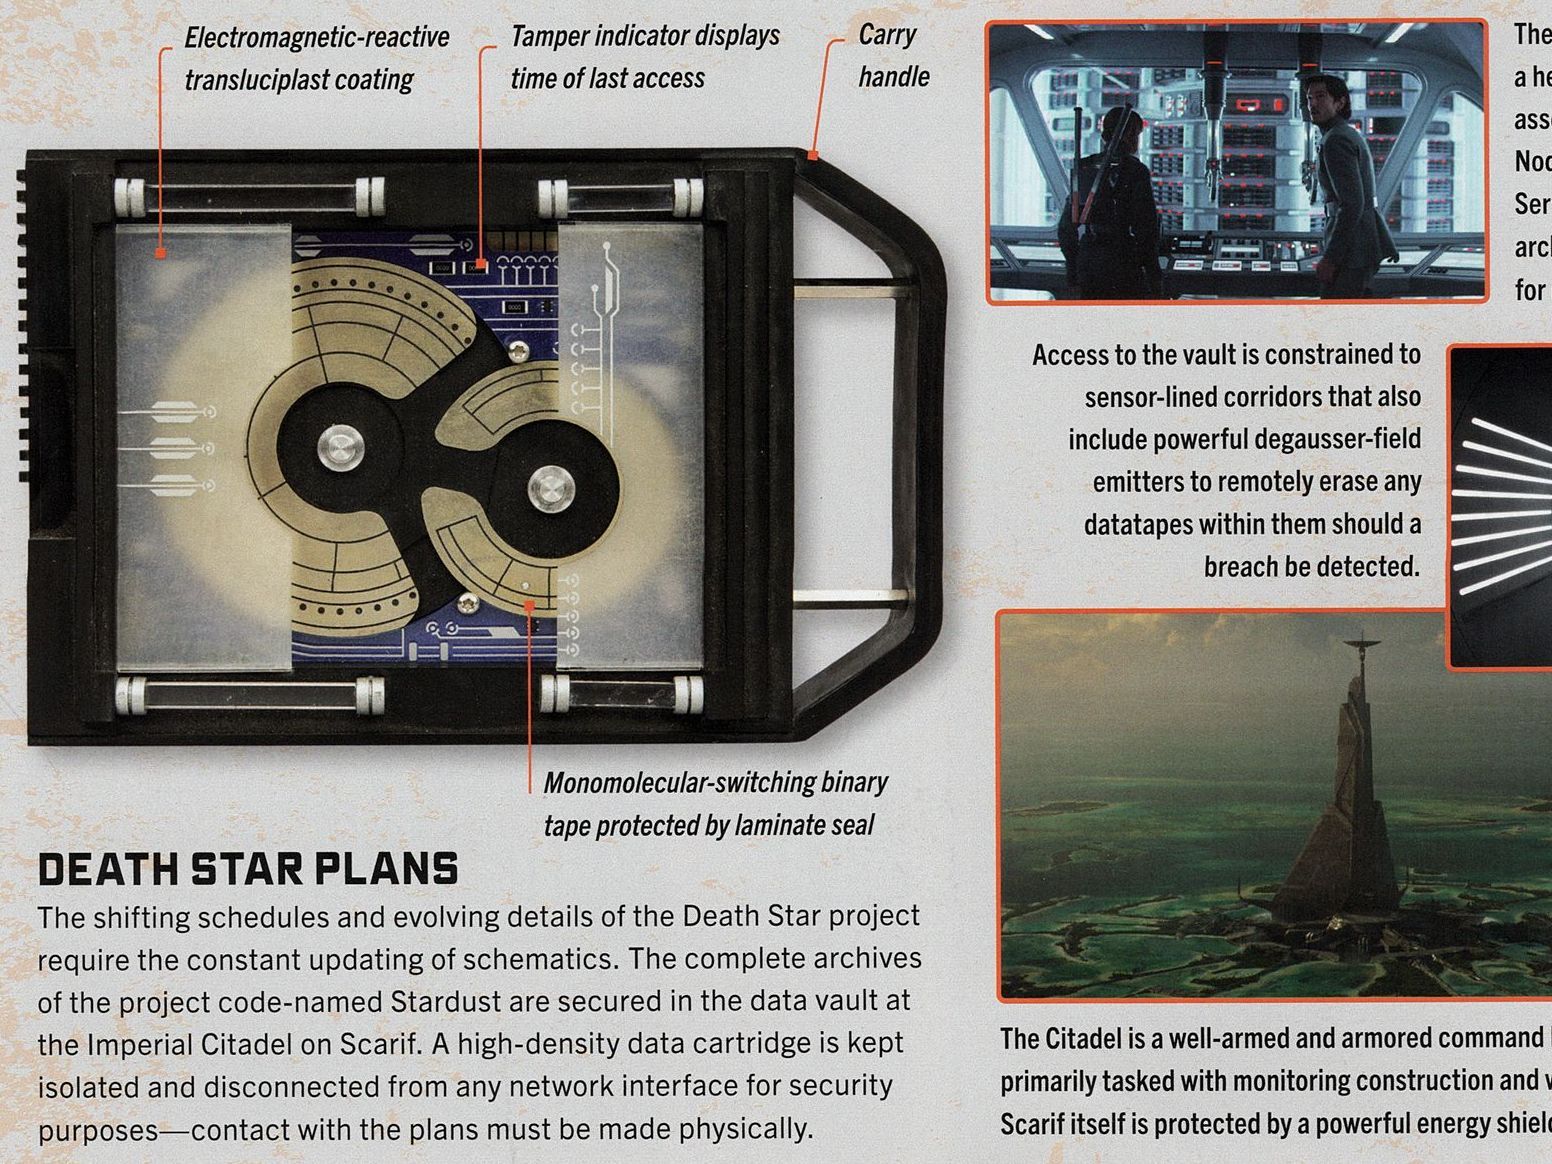
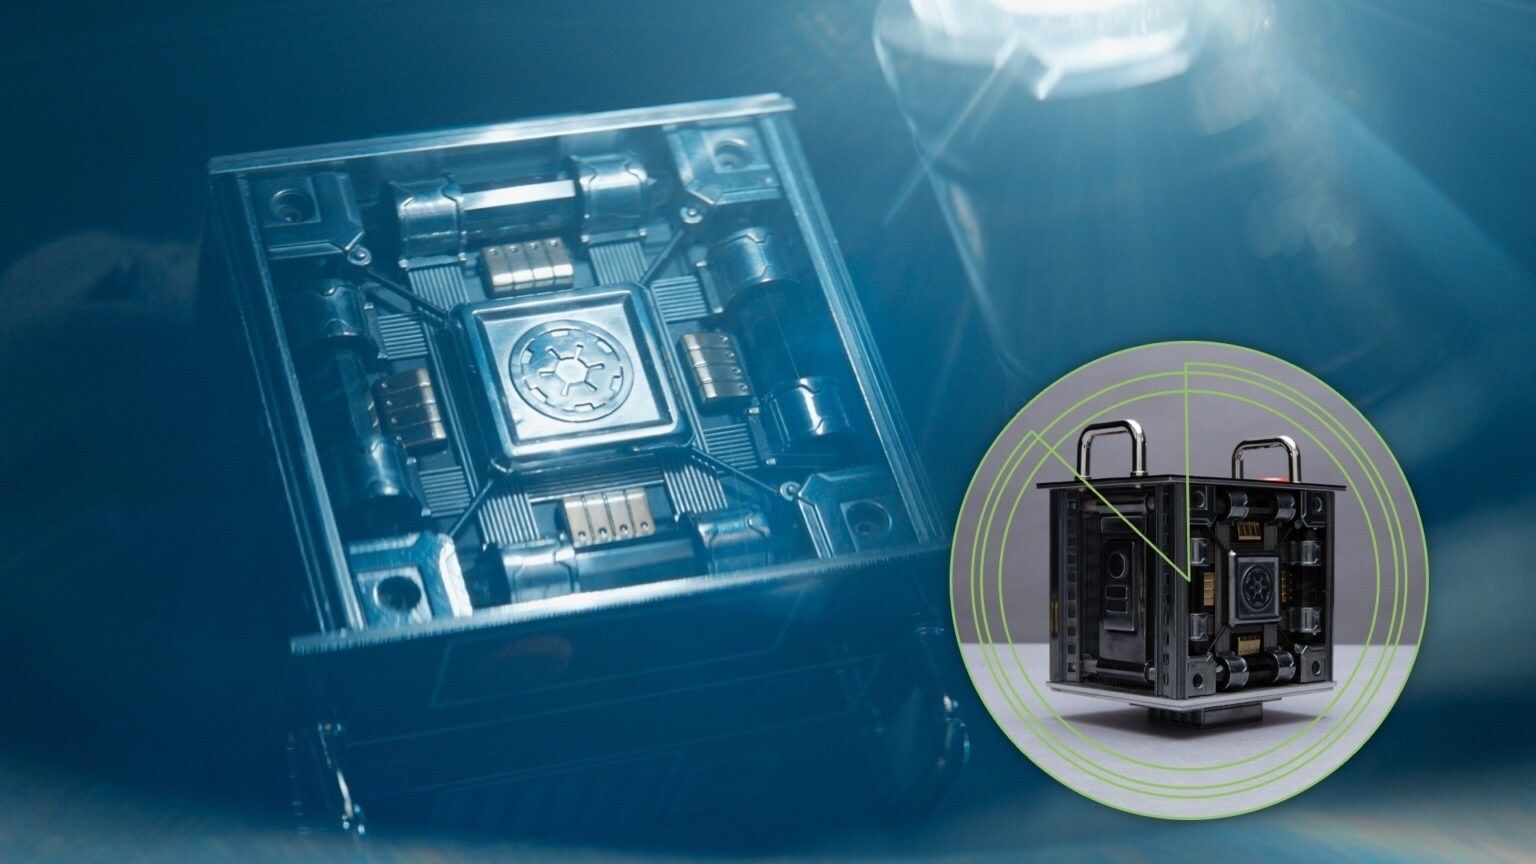
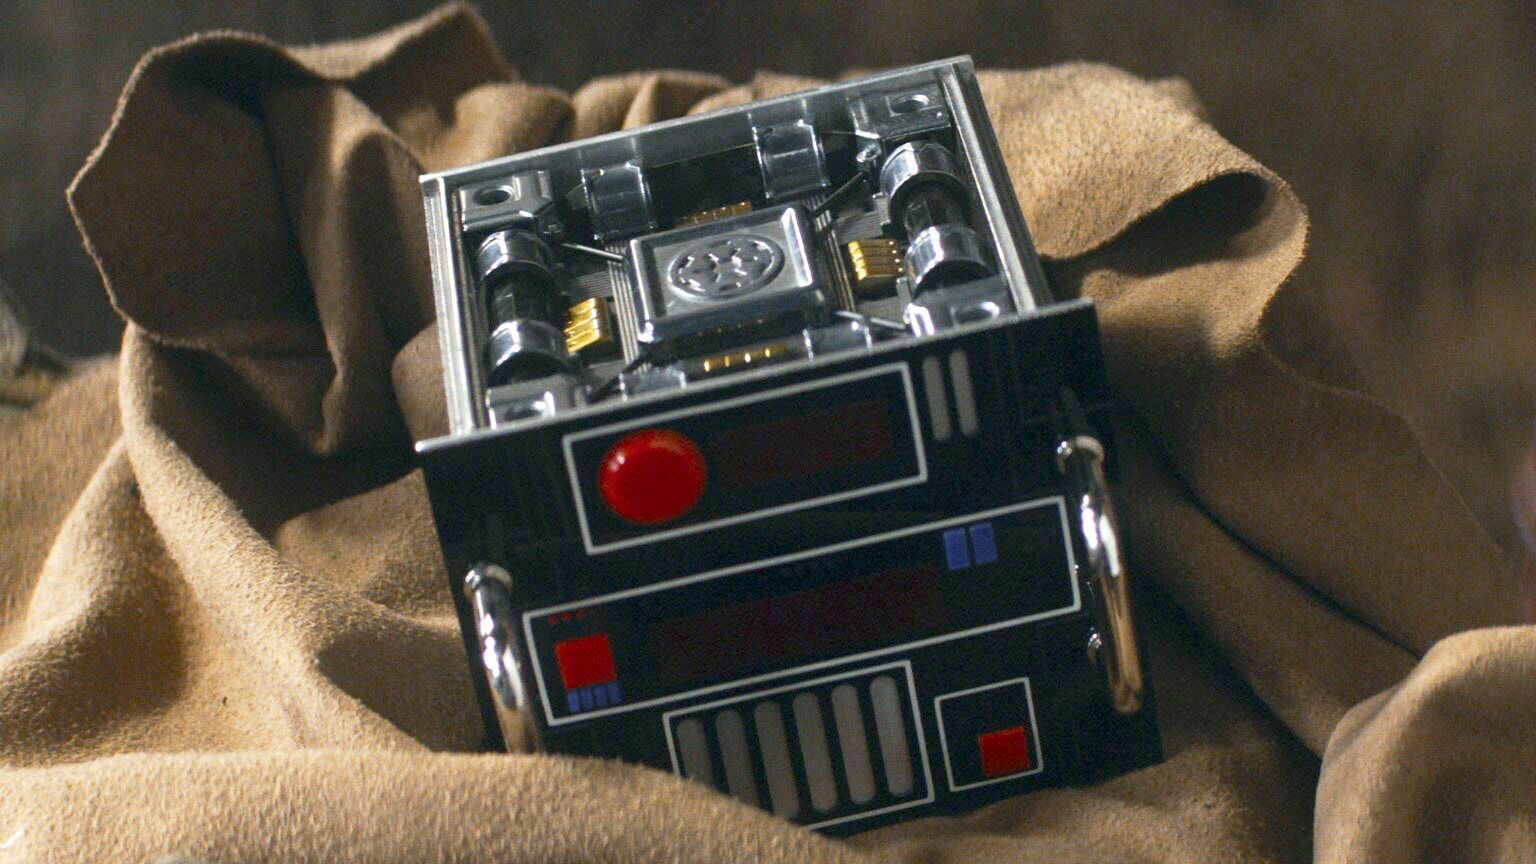
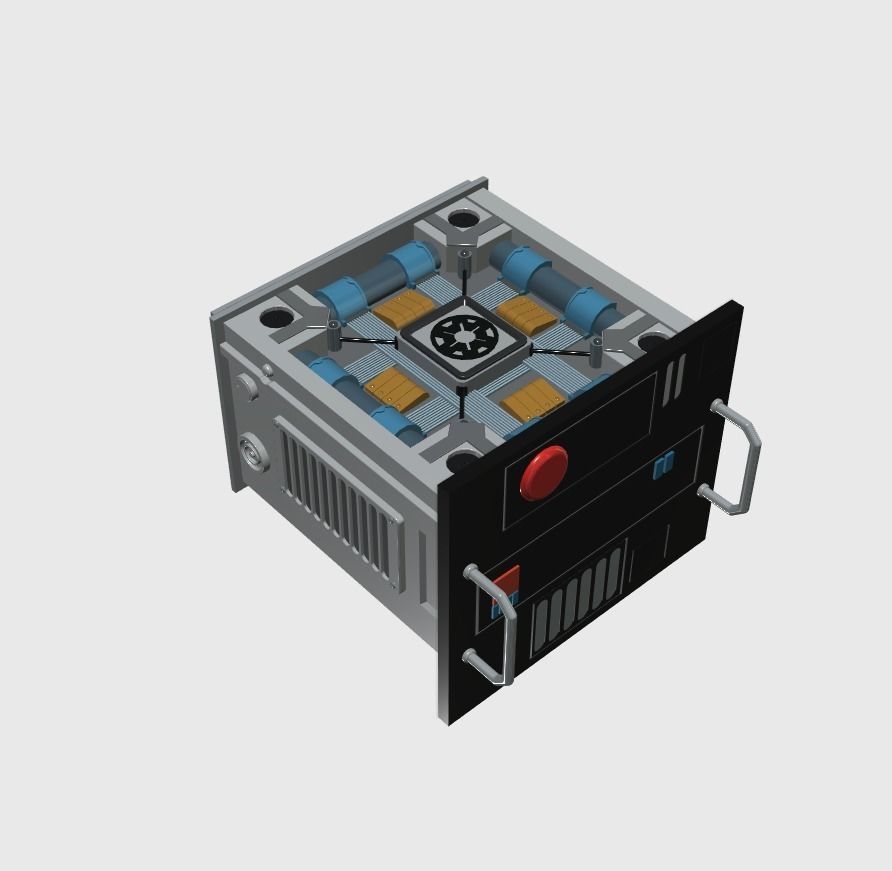
The inspiration came from the opening episode of Andor the stolen Starpath Unit, an imperial component being sold black market by the lead character Andor to the head of the developing rebel alliance.
Basically a control unit covered in kitbash parts that was small and box shaped so went with that.
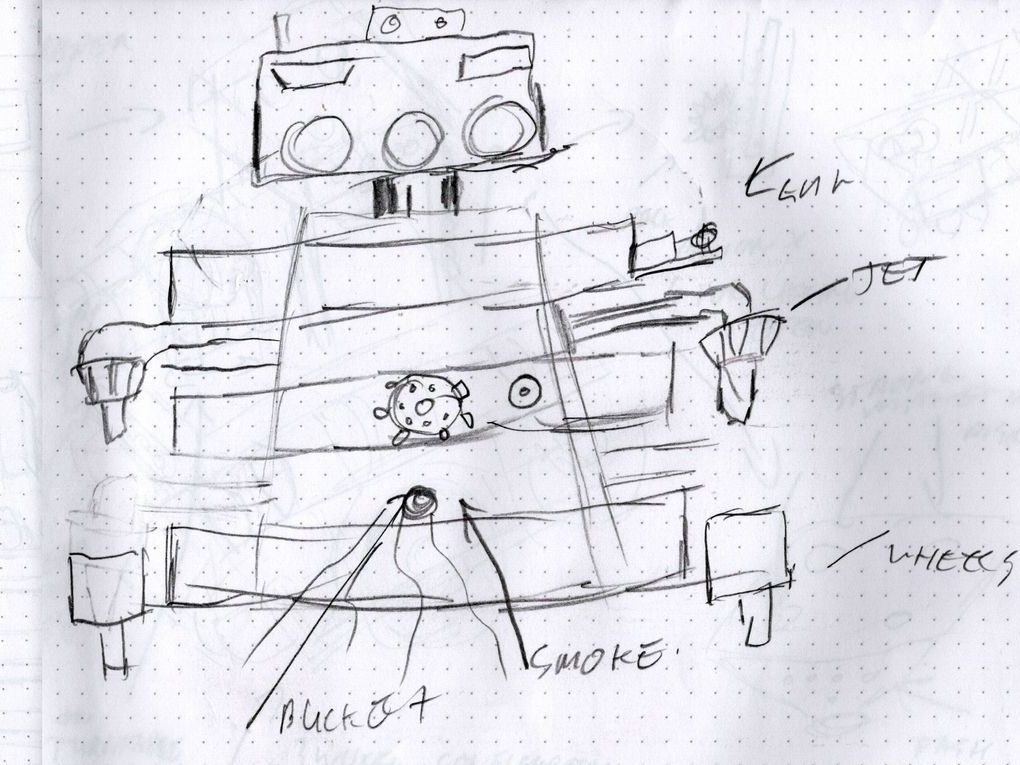
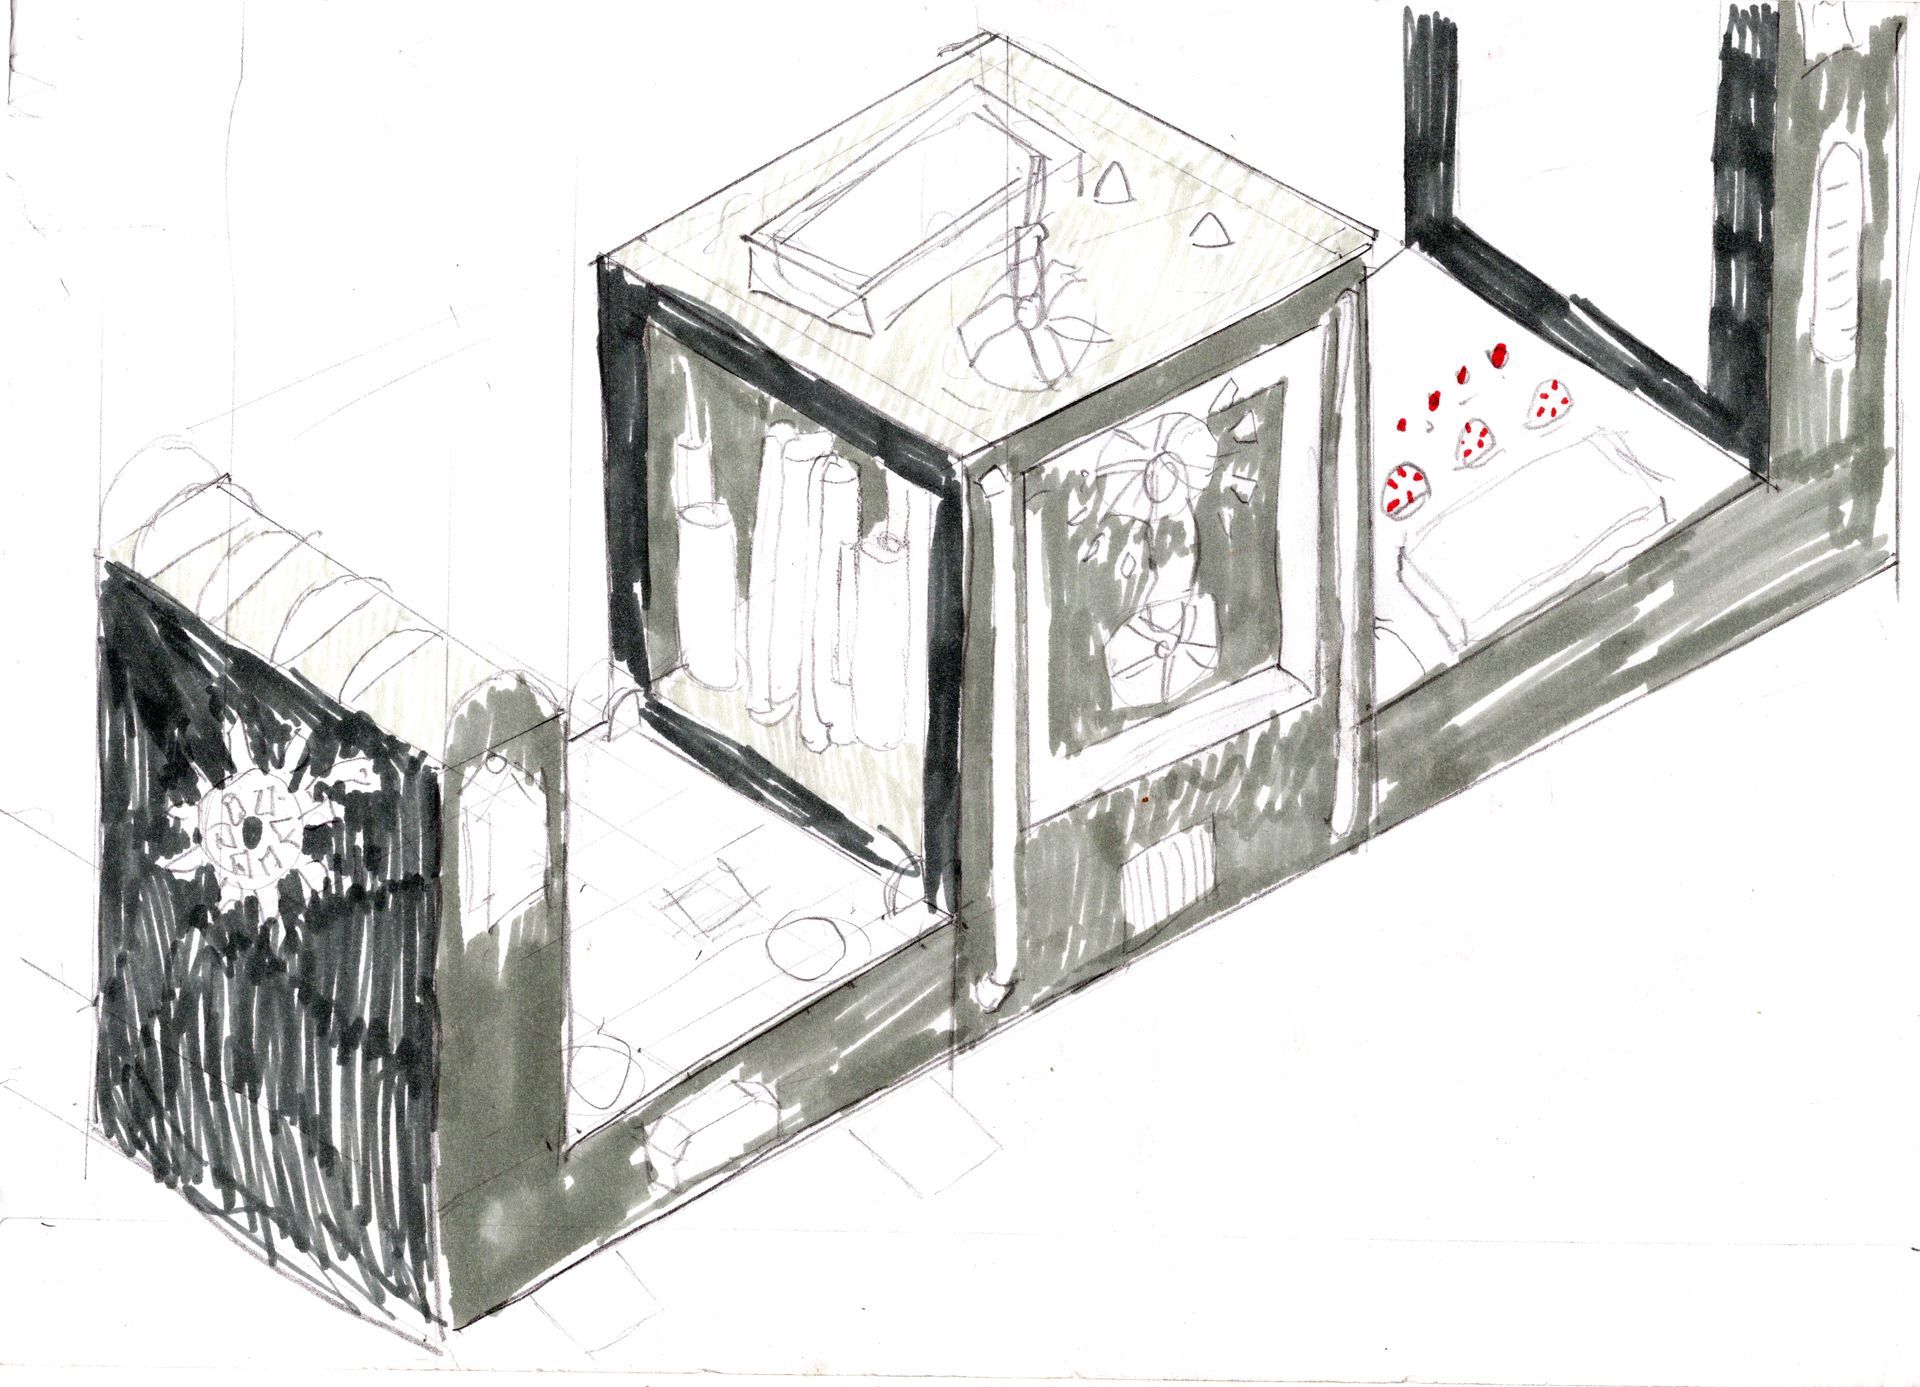
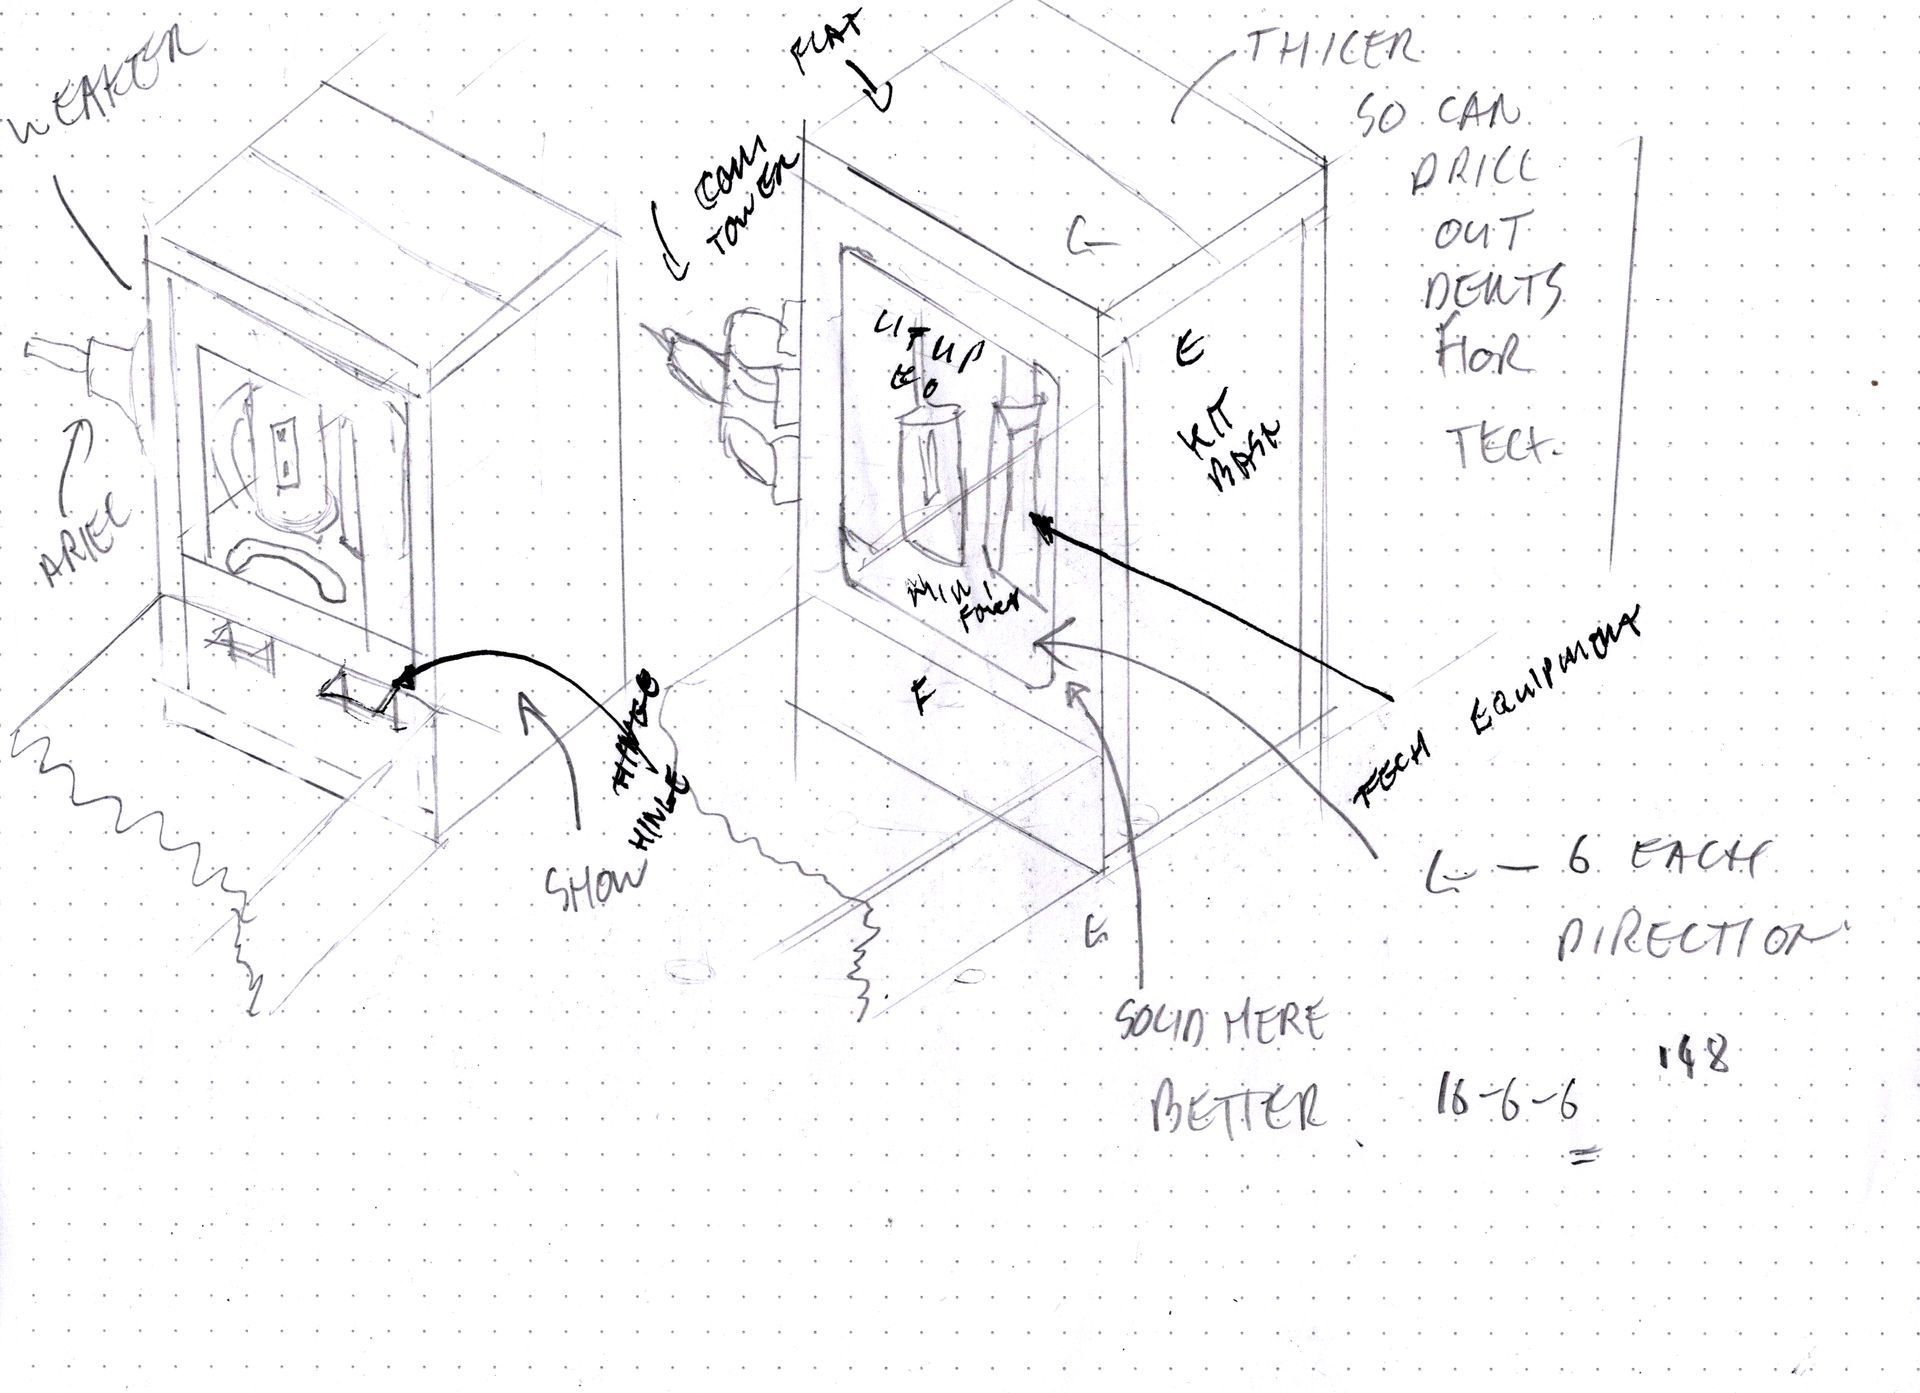
Sketch Ideas was the next stage to try out different concepts quickly and cheaply to develop the idea into something to move into prototyping and building. The sketch stage does not use up limited materials and glues etc.
Tutors nervous about my deadlines and seeing the various attempts
The concept was developed from the Ns-9 Starpath Unit cube with various controls and instruments to first a flattened box like the one were given to start the project.
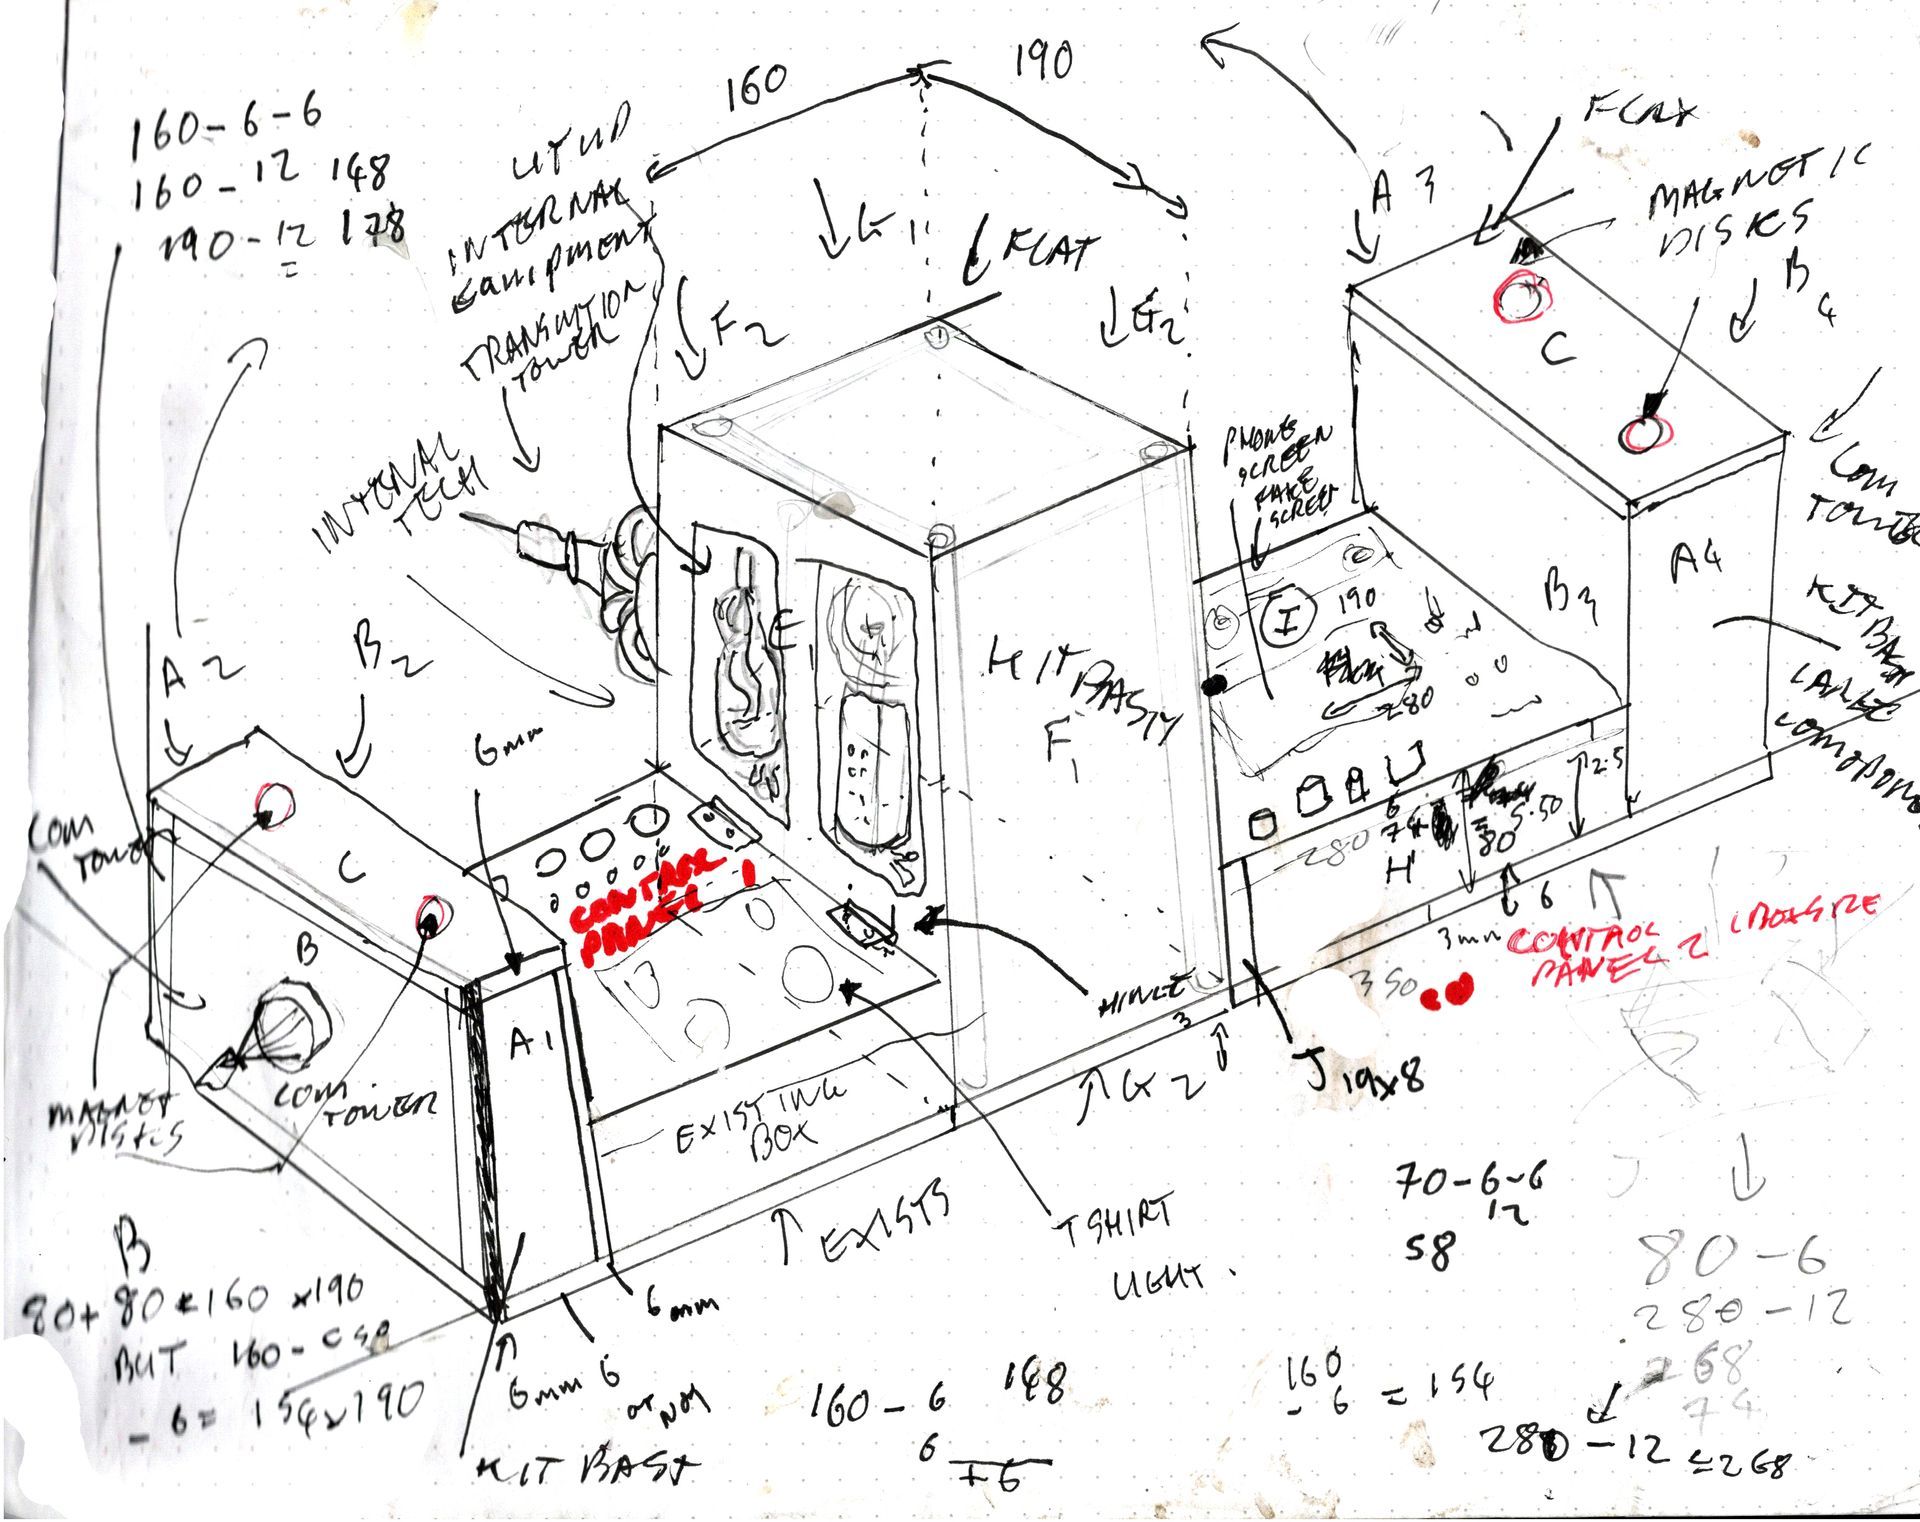
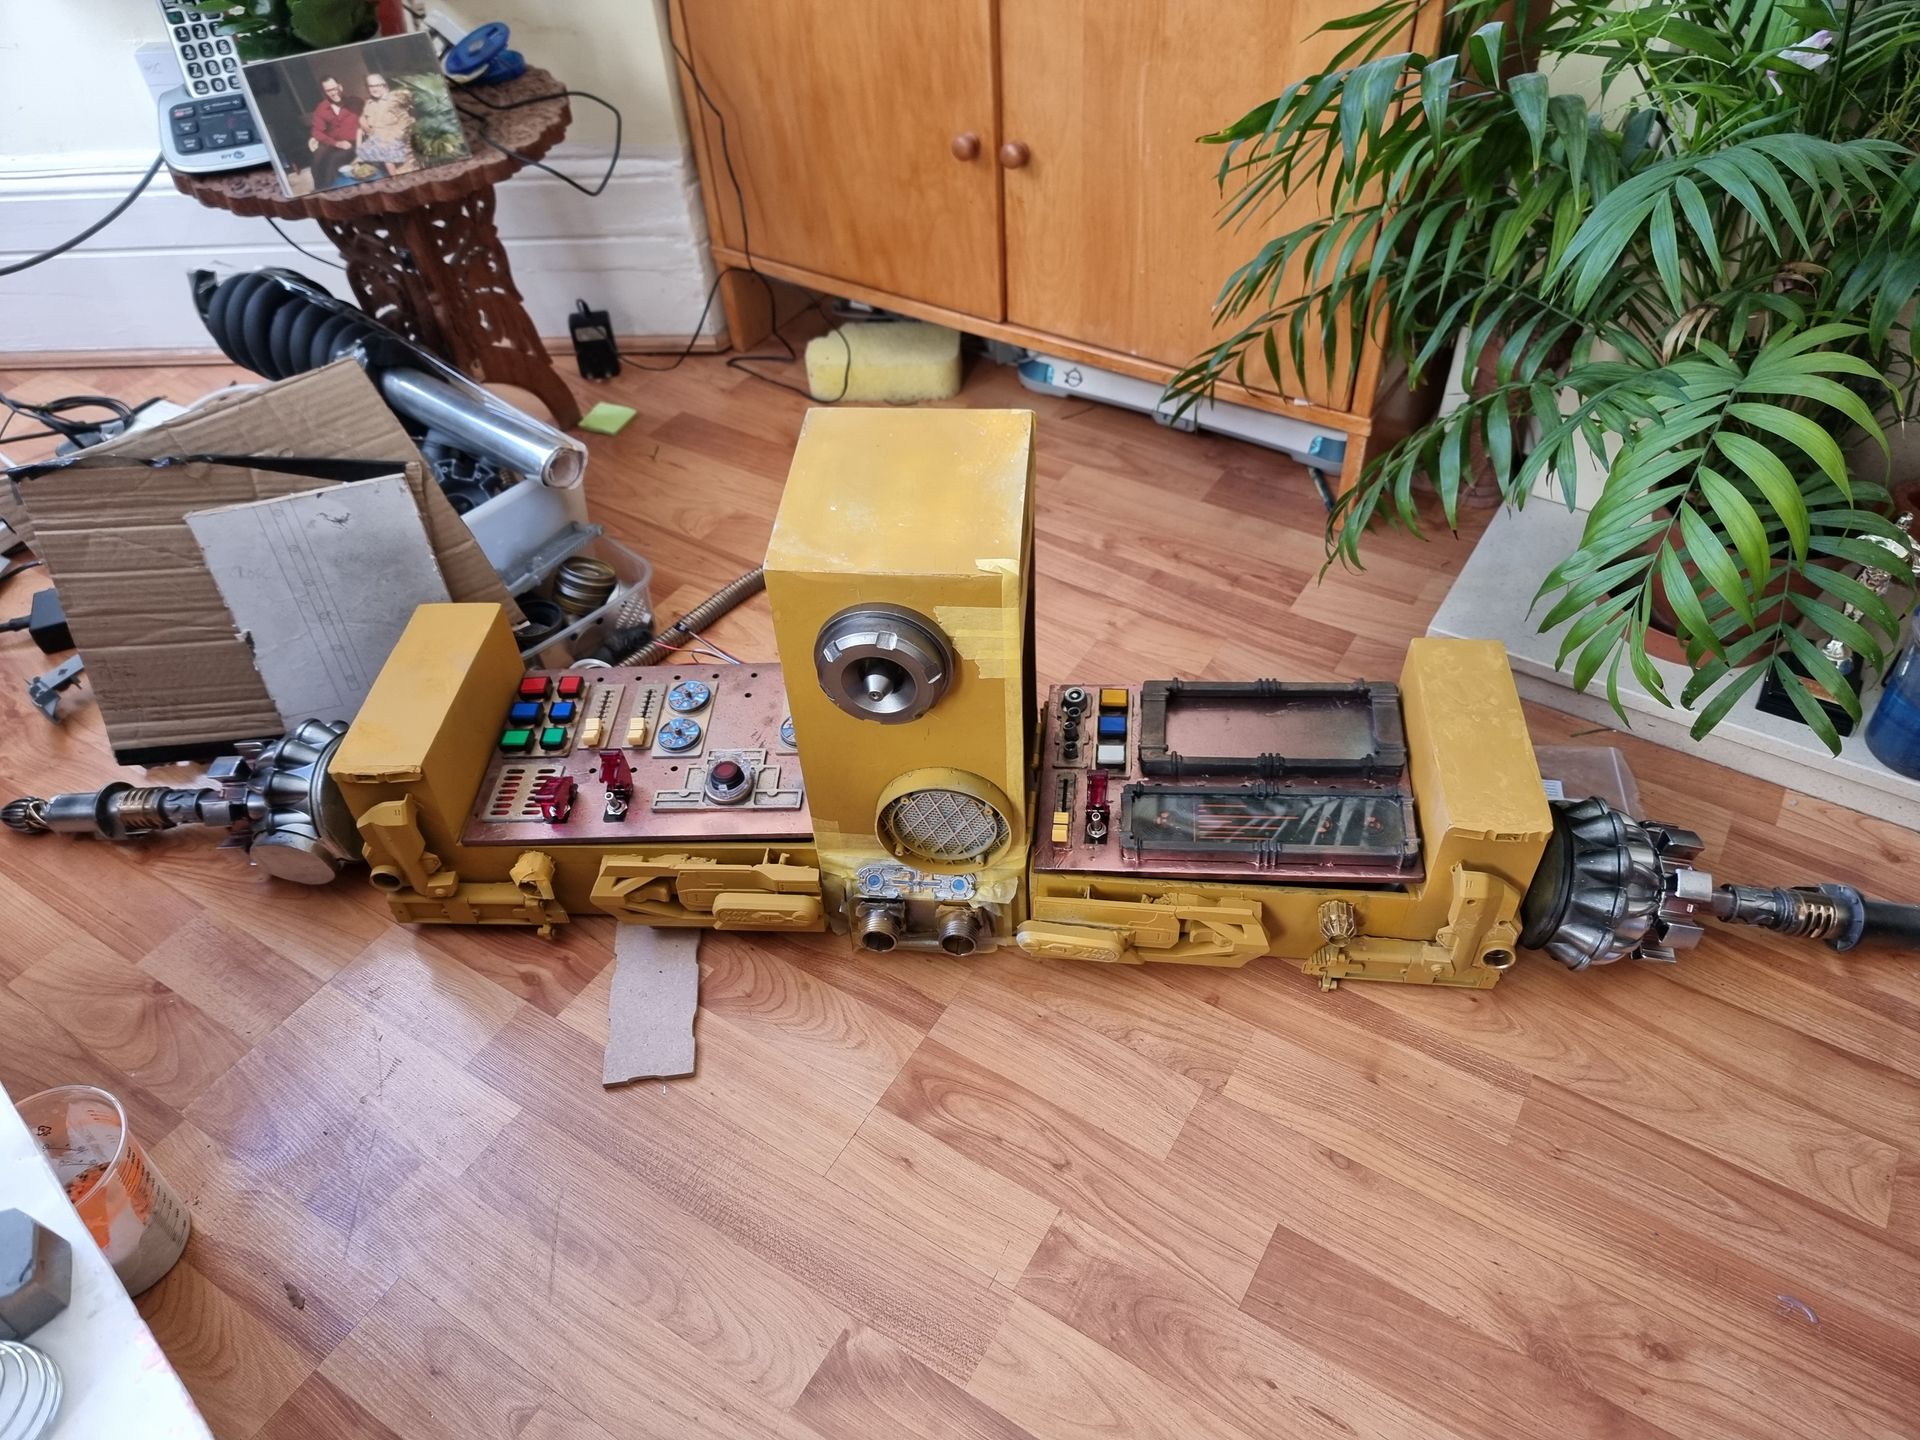
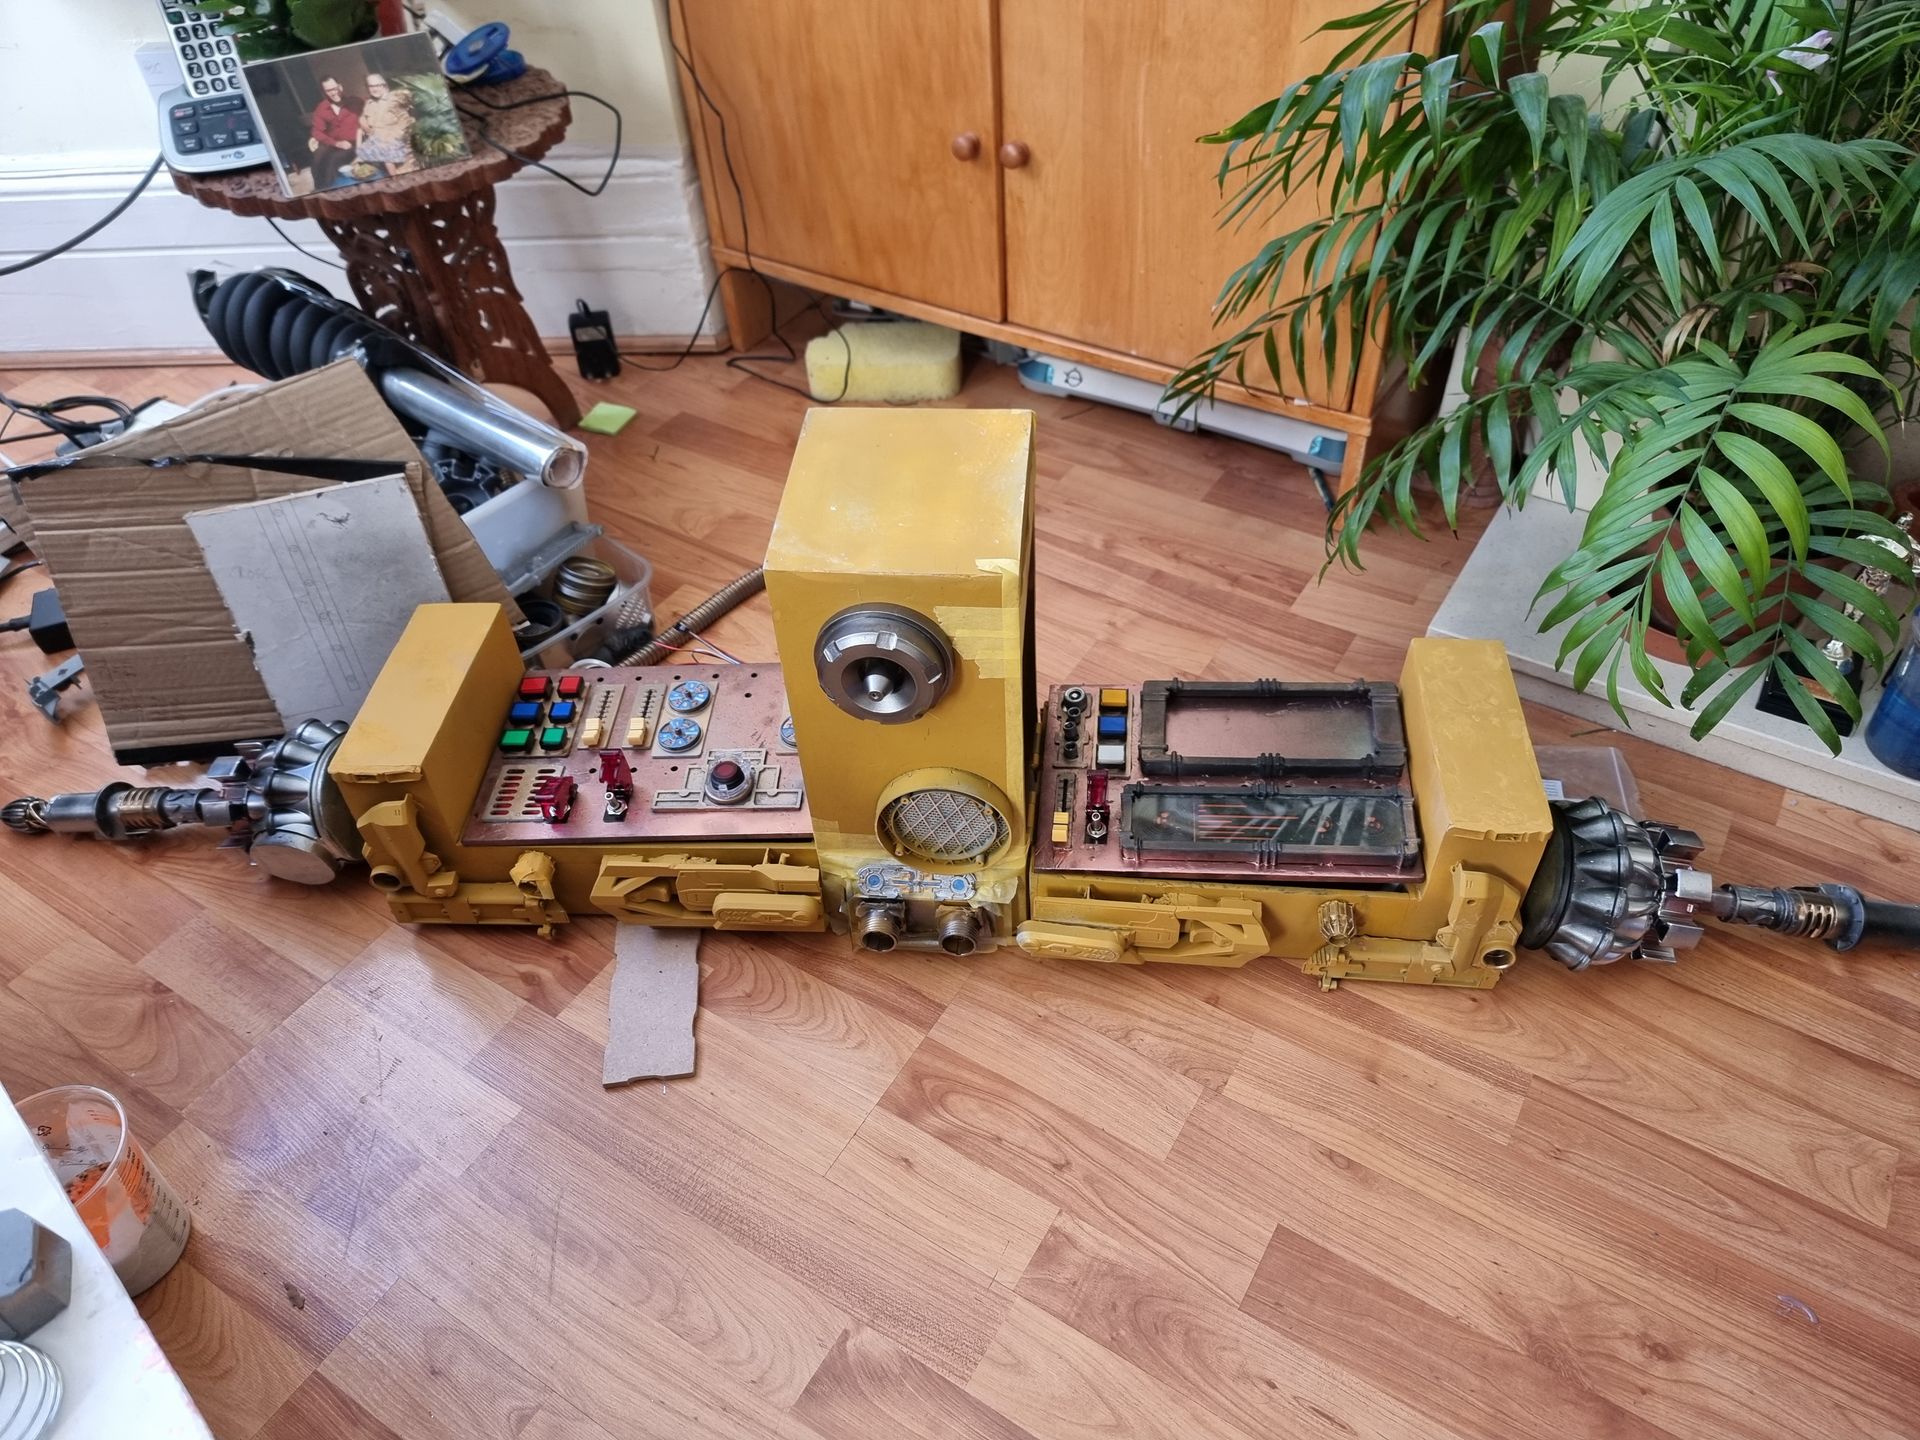
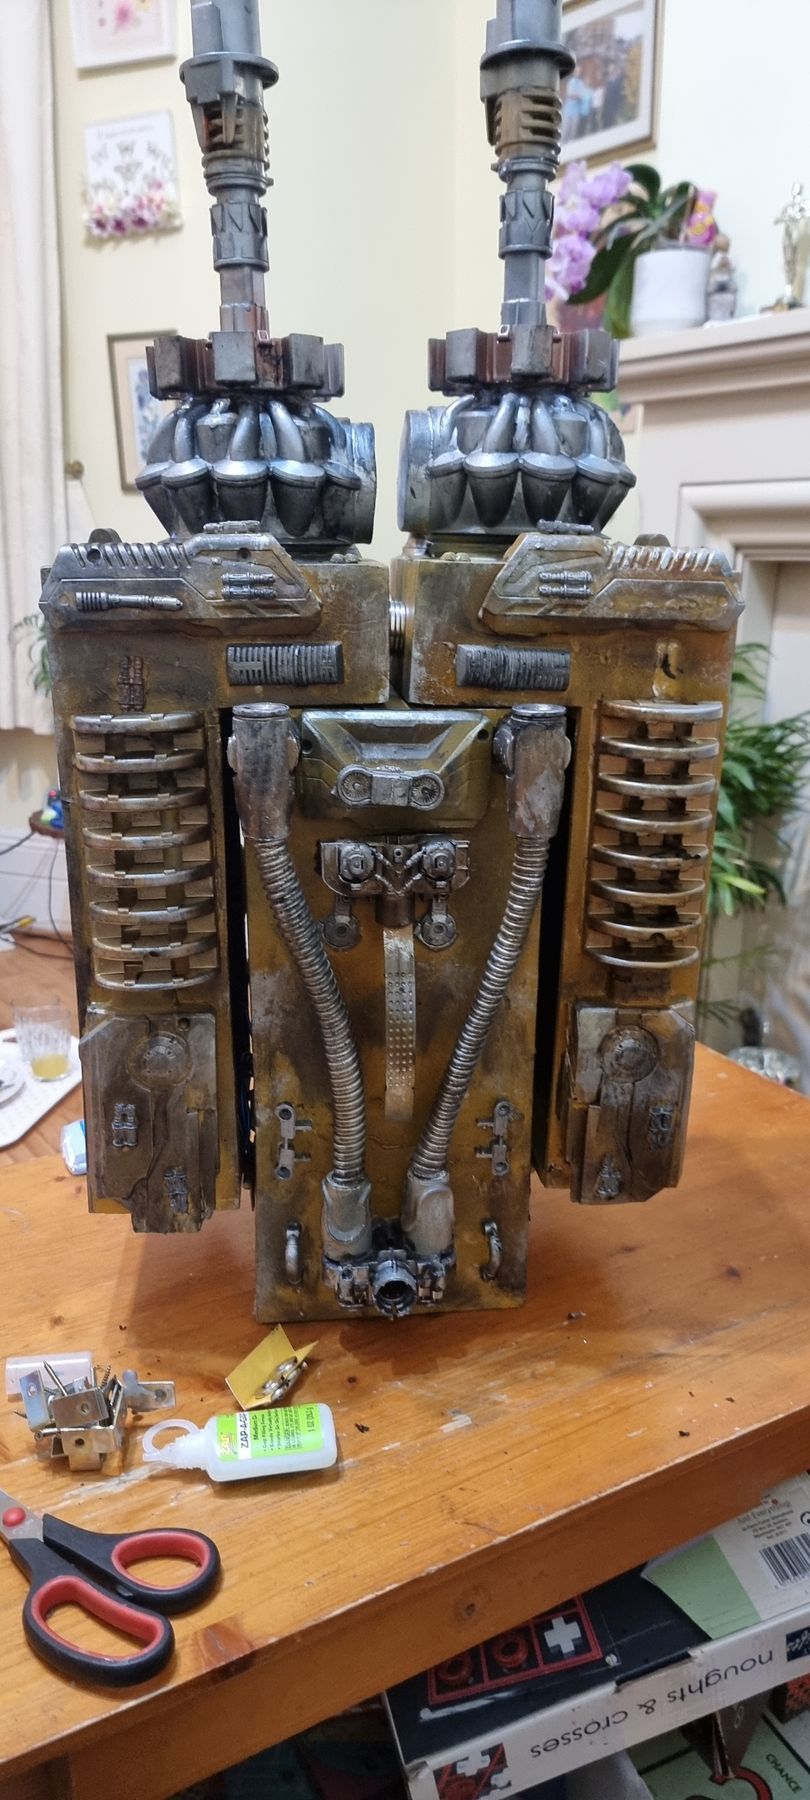
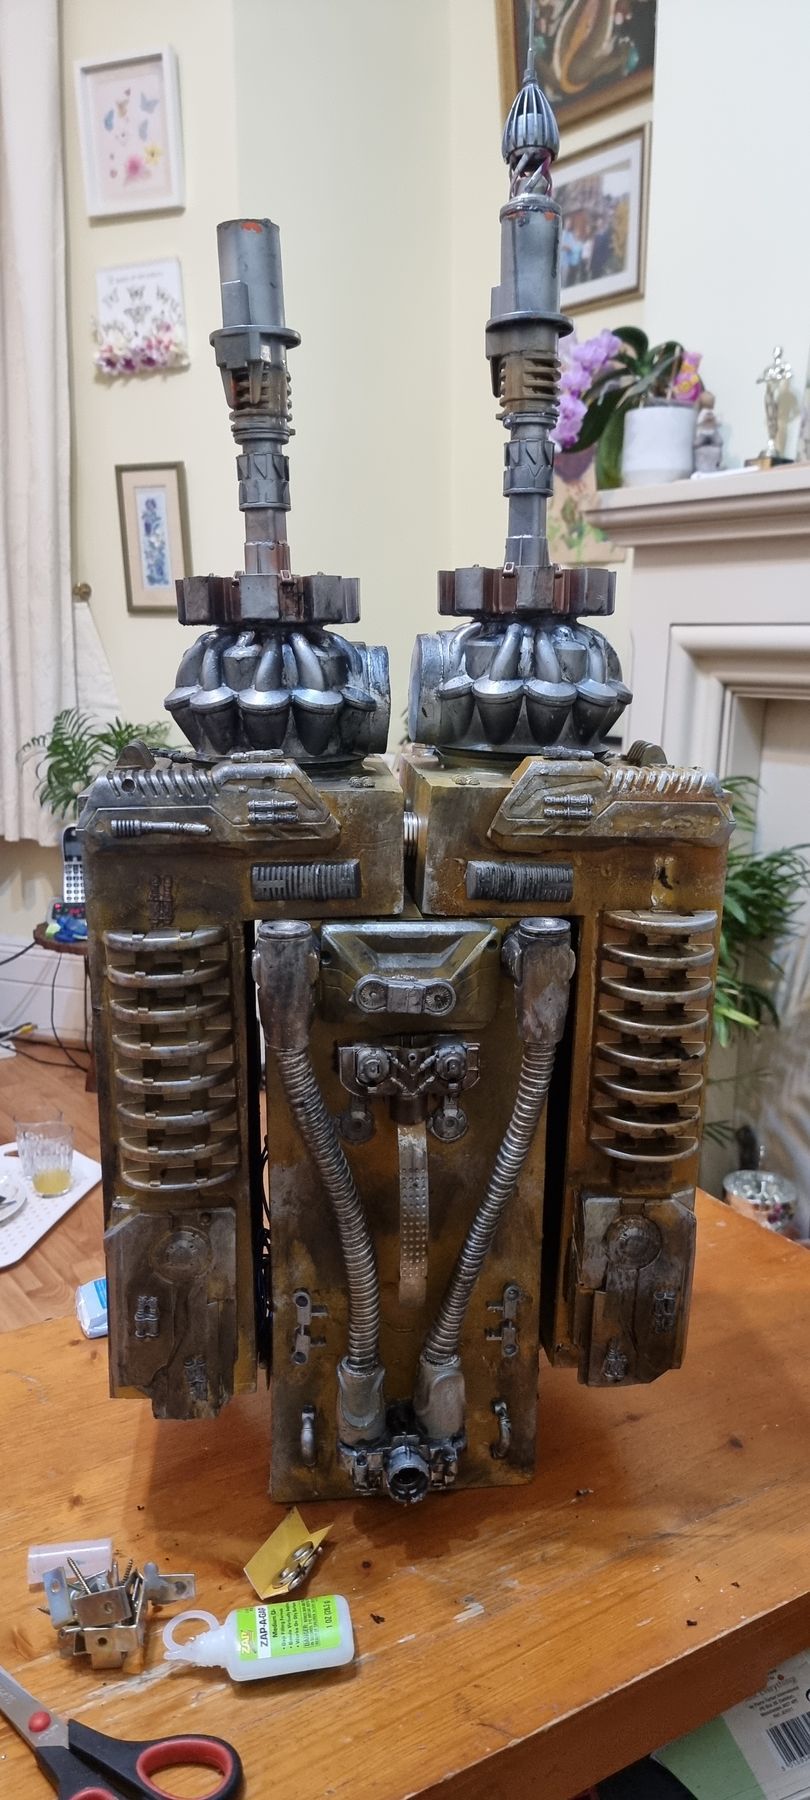
This was developed to a closing hinged 2 box unit. To one where with two wings. Each the size of the start box that closed around a central tower full of power ad computer cores with transmitter towers.
Chosen Star Wars Project - Mobile Control System
Prototyping
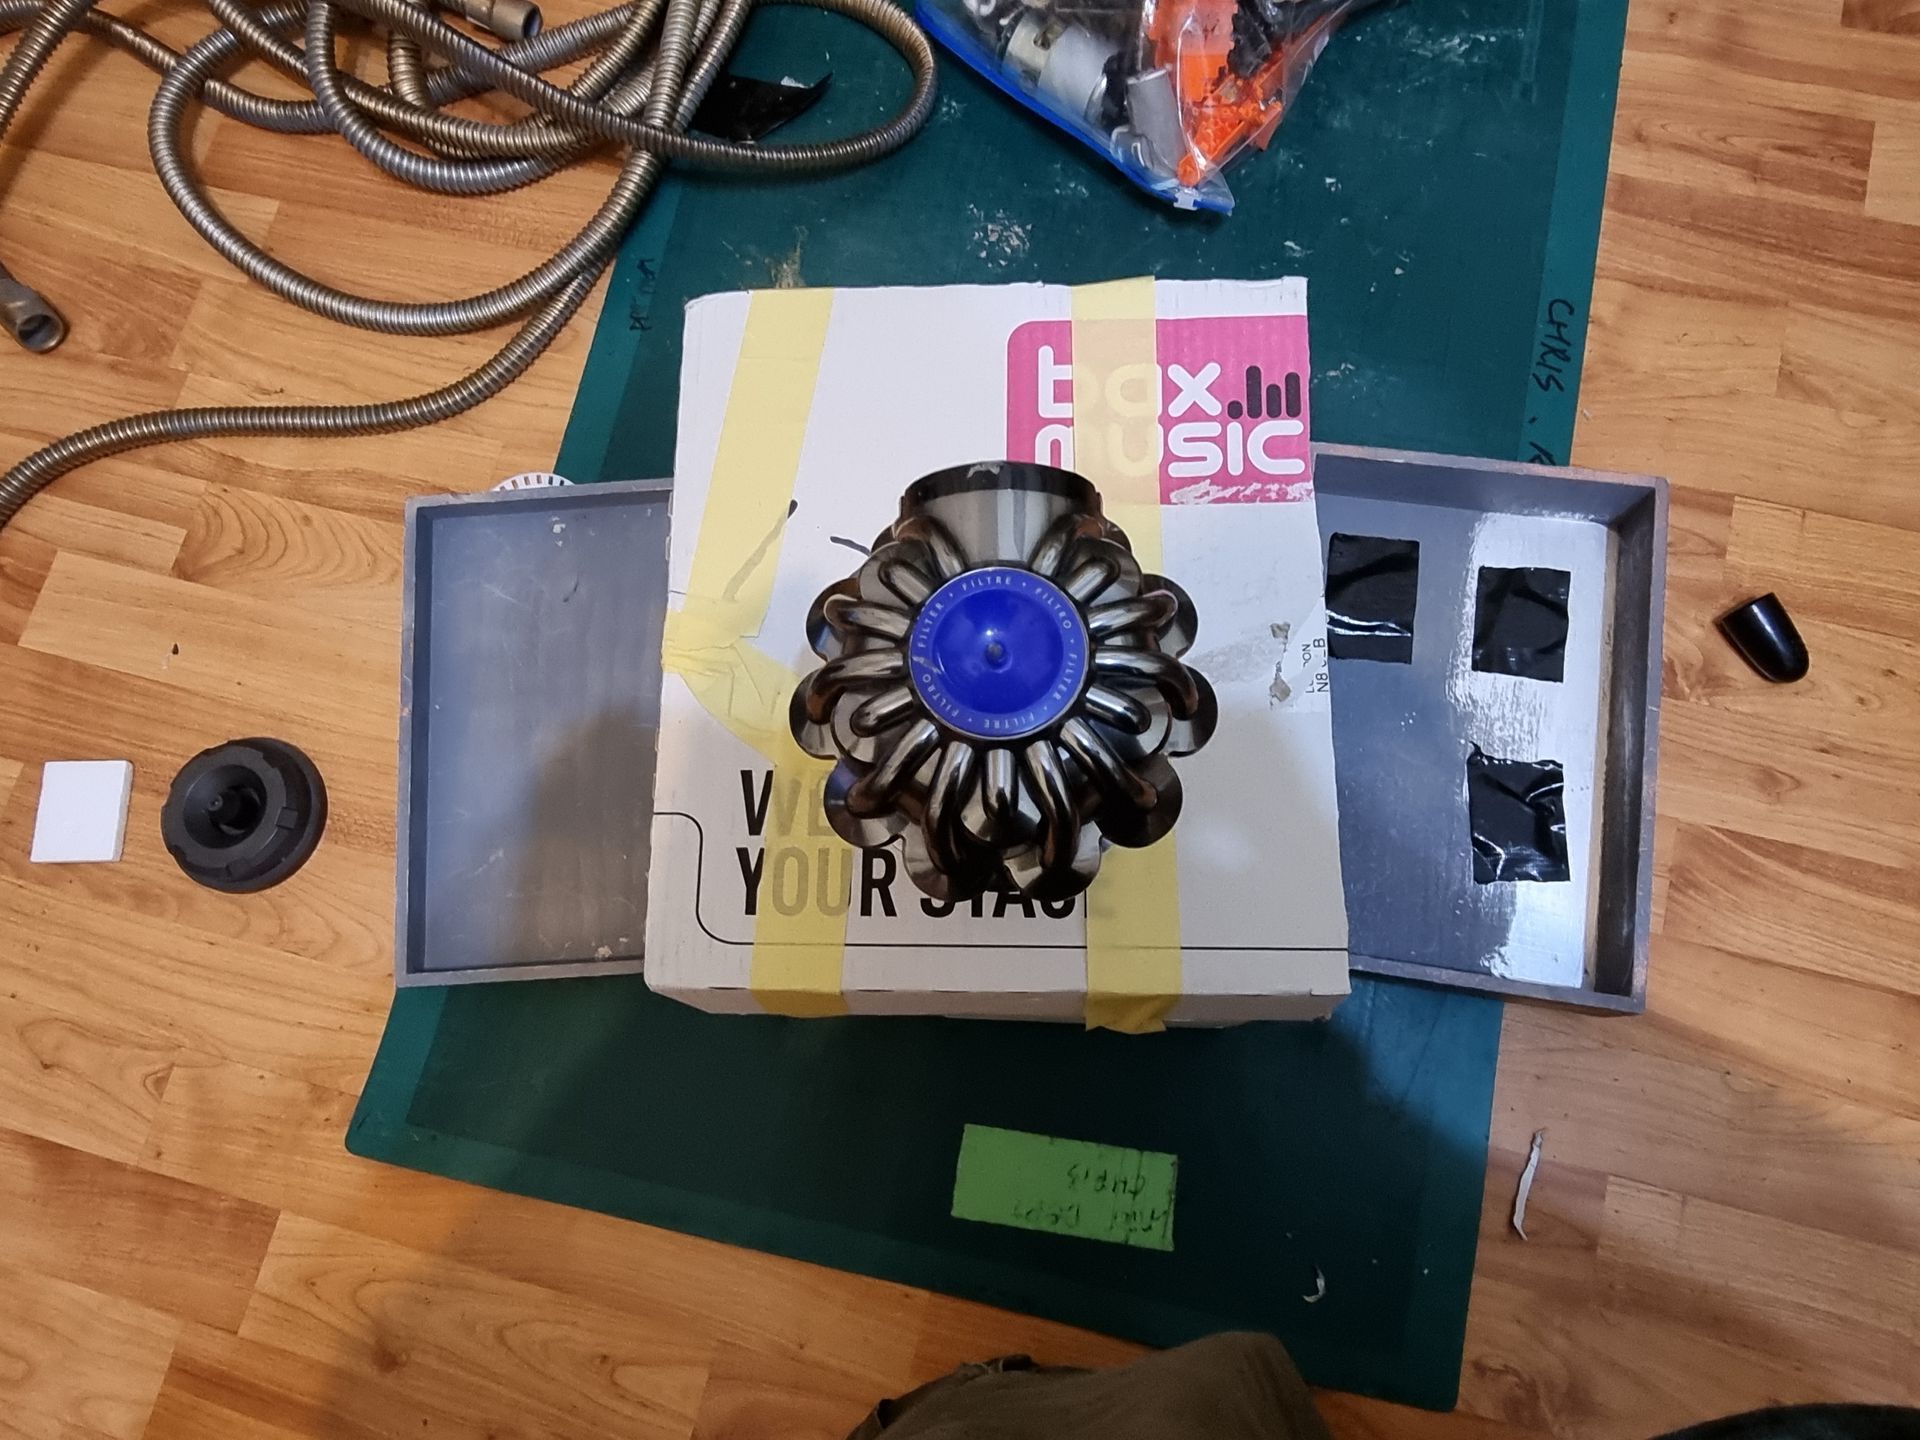
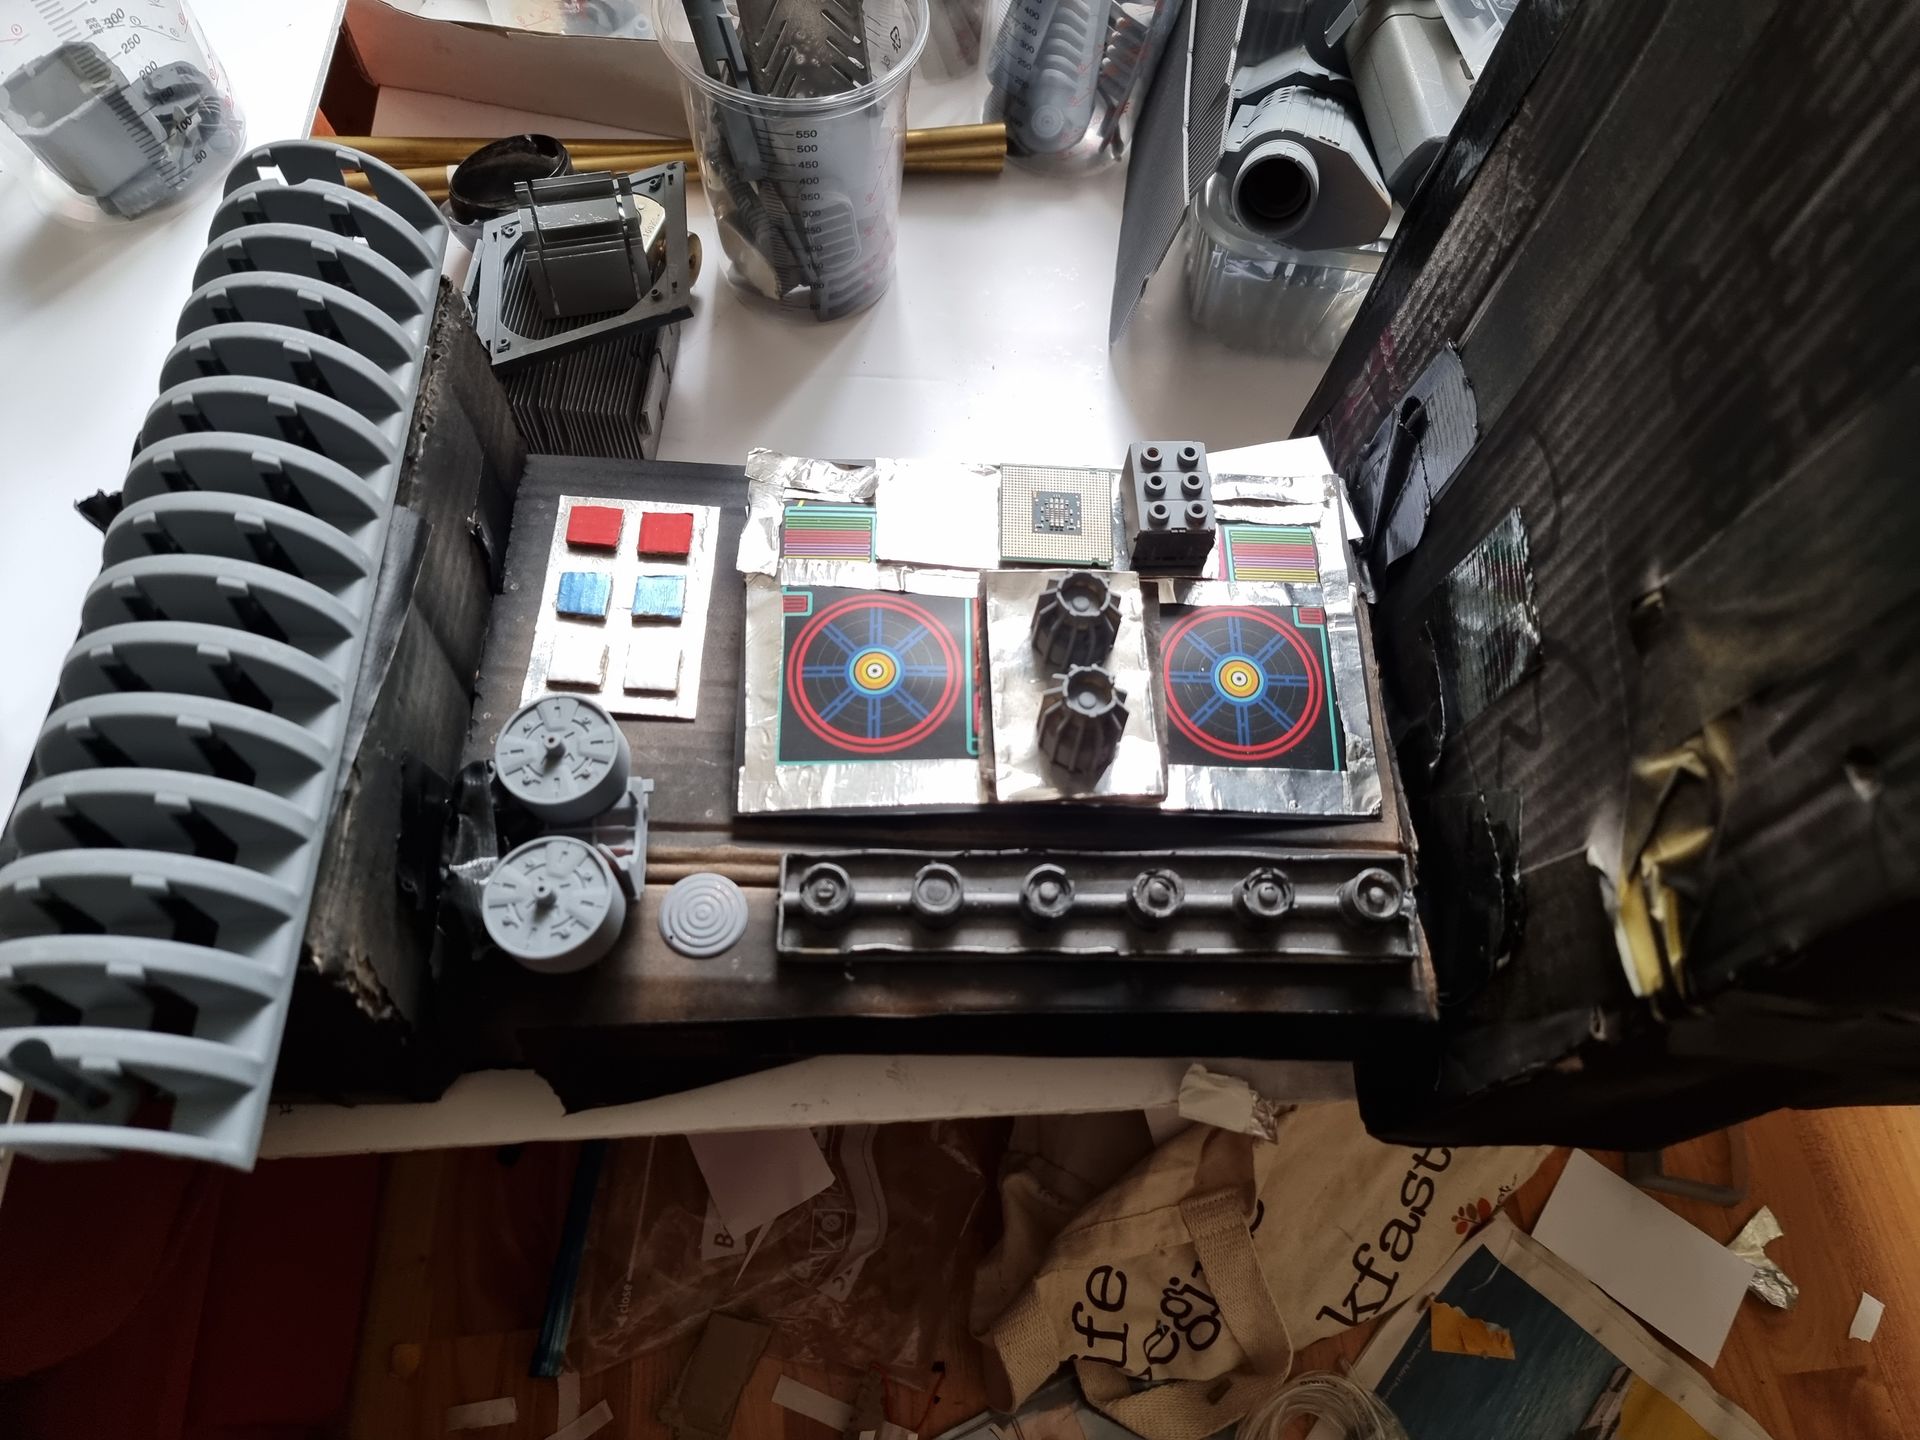
As I started to pick up set decoration to help kit bash the prop I started to prototype the concept with card boxes and duct tape to look at size and mechanics of how the unit will work and fit together and what sizes to build the component parts, how to place the controls, what works what does not and how to fit it together.
Initial Prop Construction
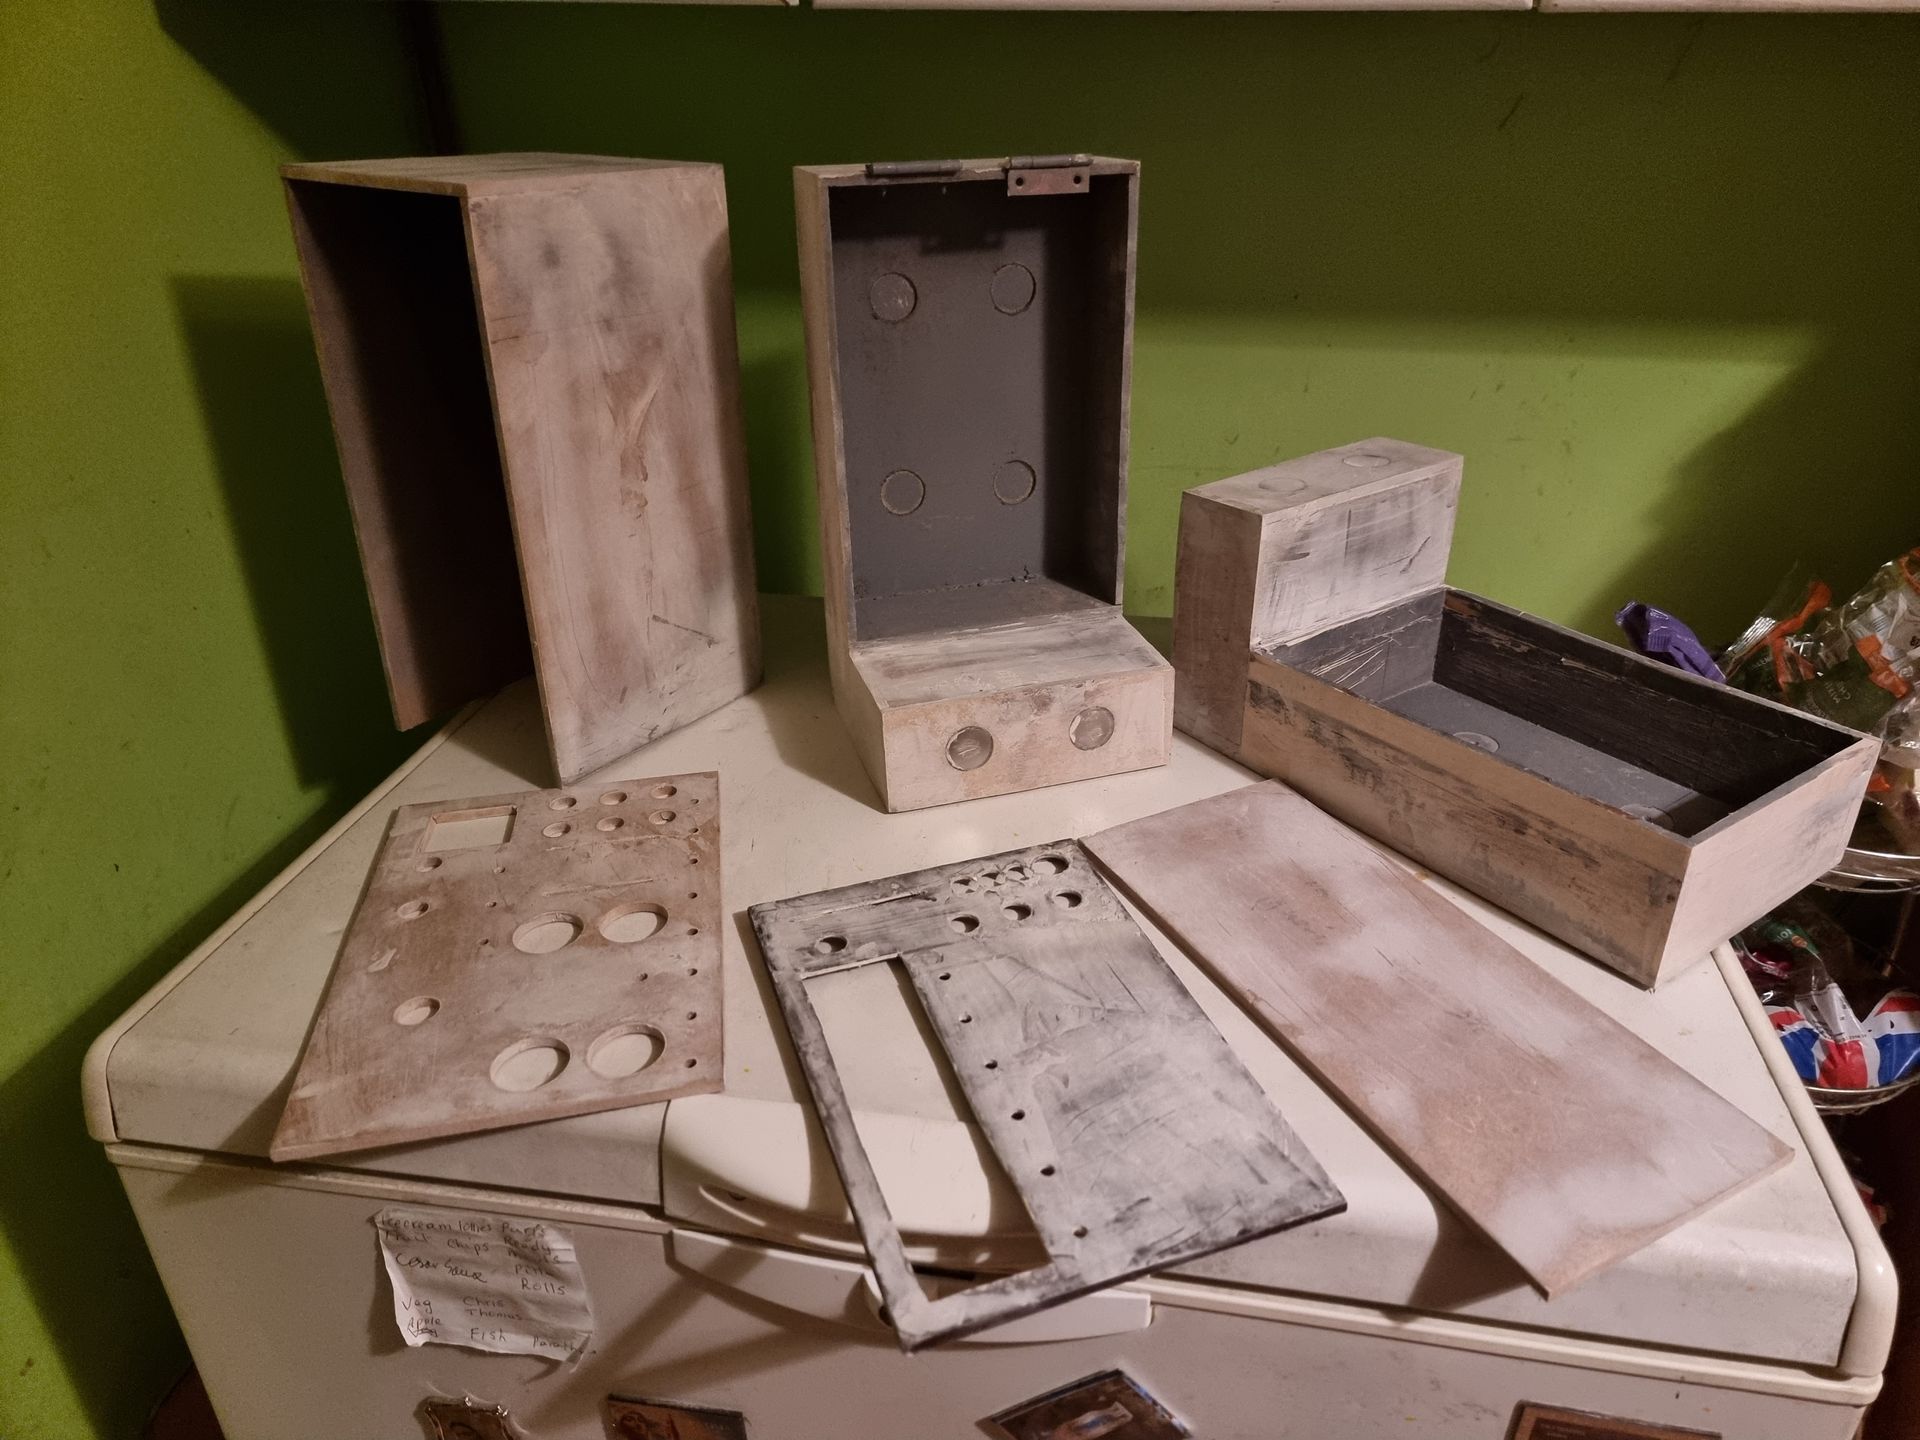
Basic Box Units Construction
Using what was learned from the research, sketch ideation and prototyping and using tools I had purchased from what was learned on the course and that I had purchased from earlier project attempts.
The three primary tools were my:
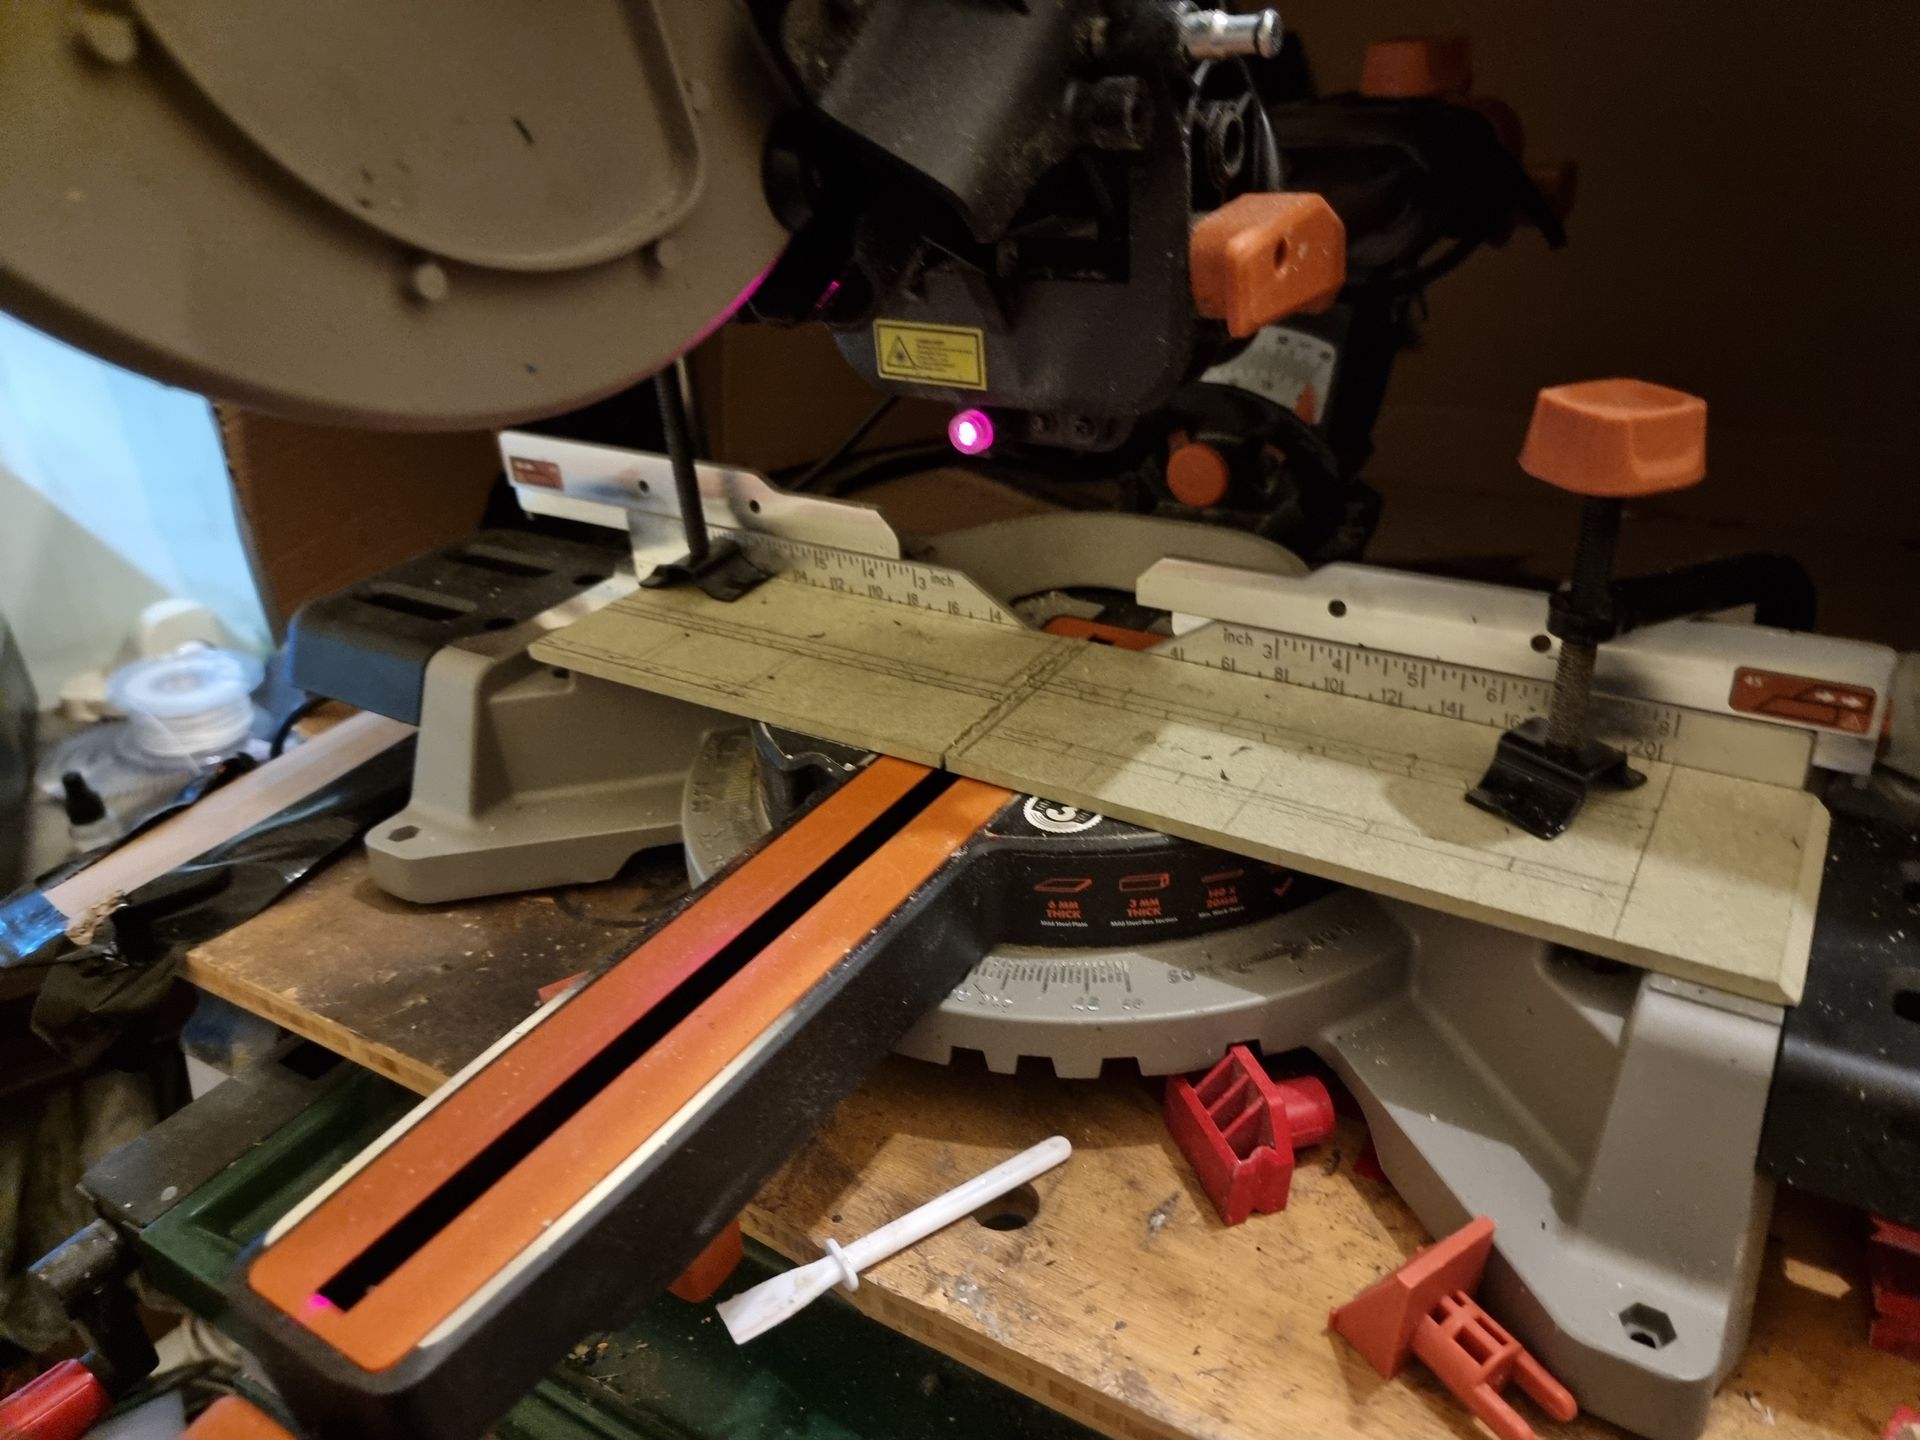
- Evolution Mitre Saw
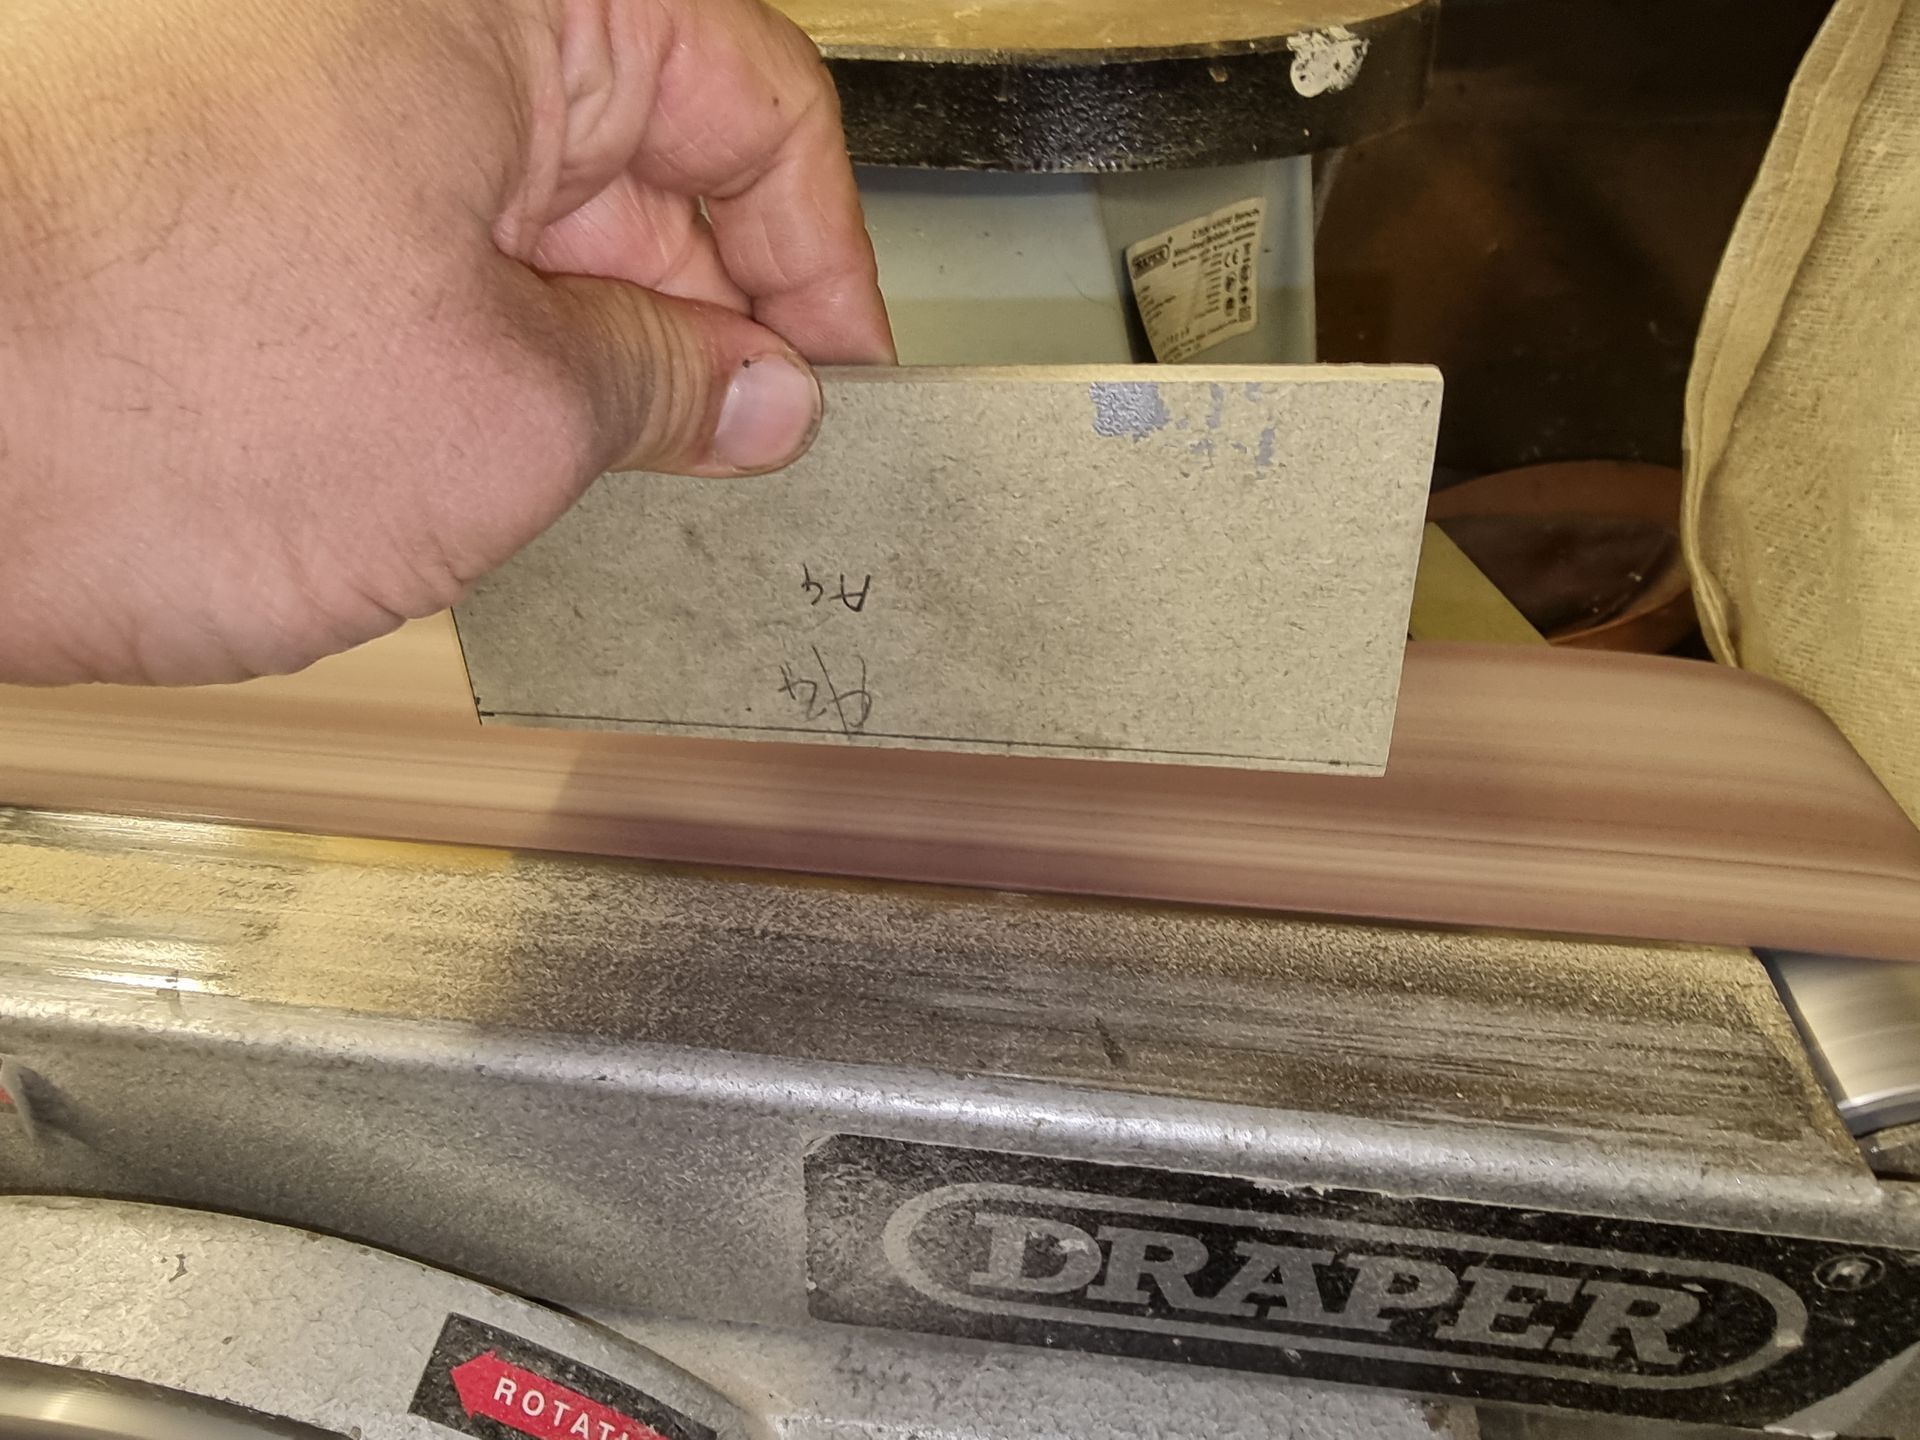
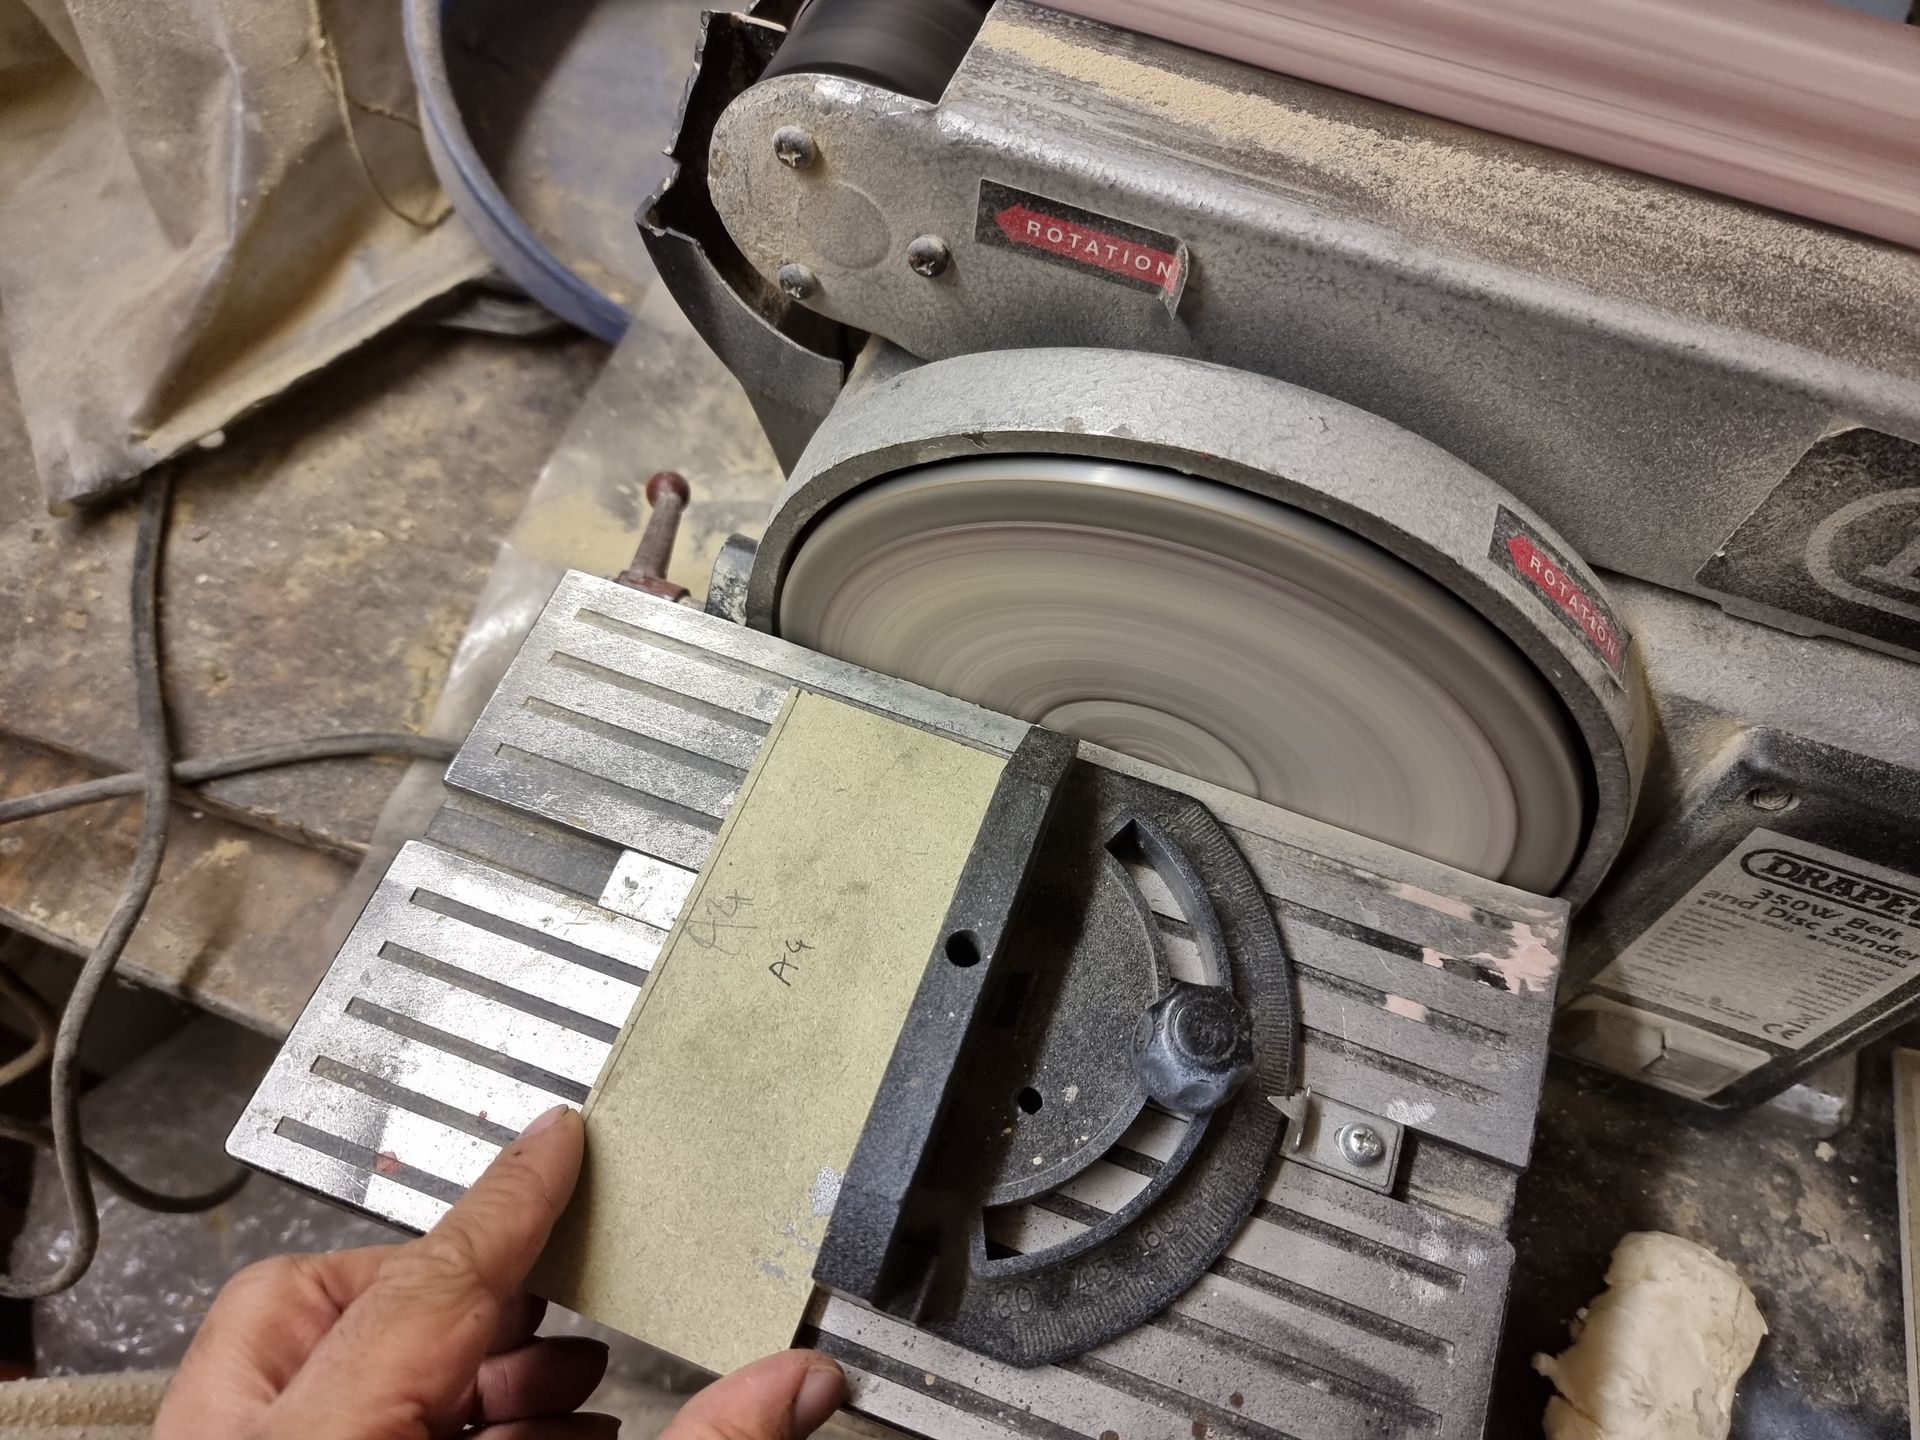
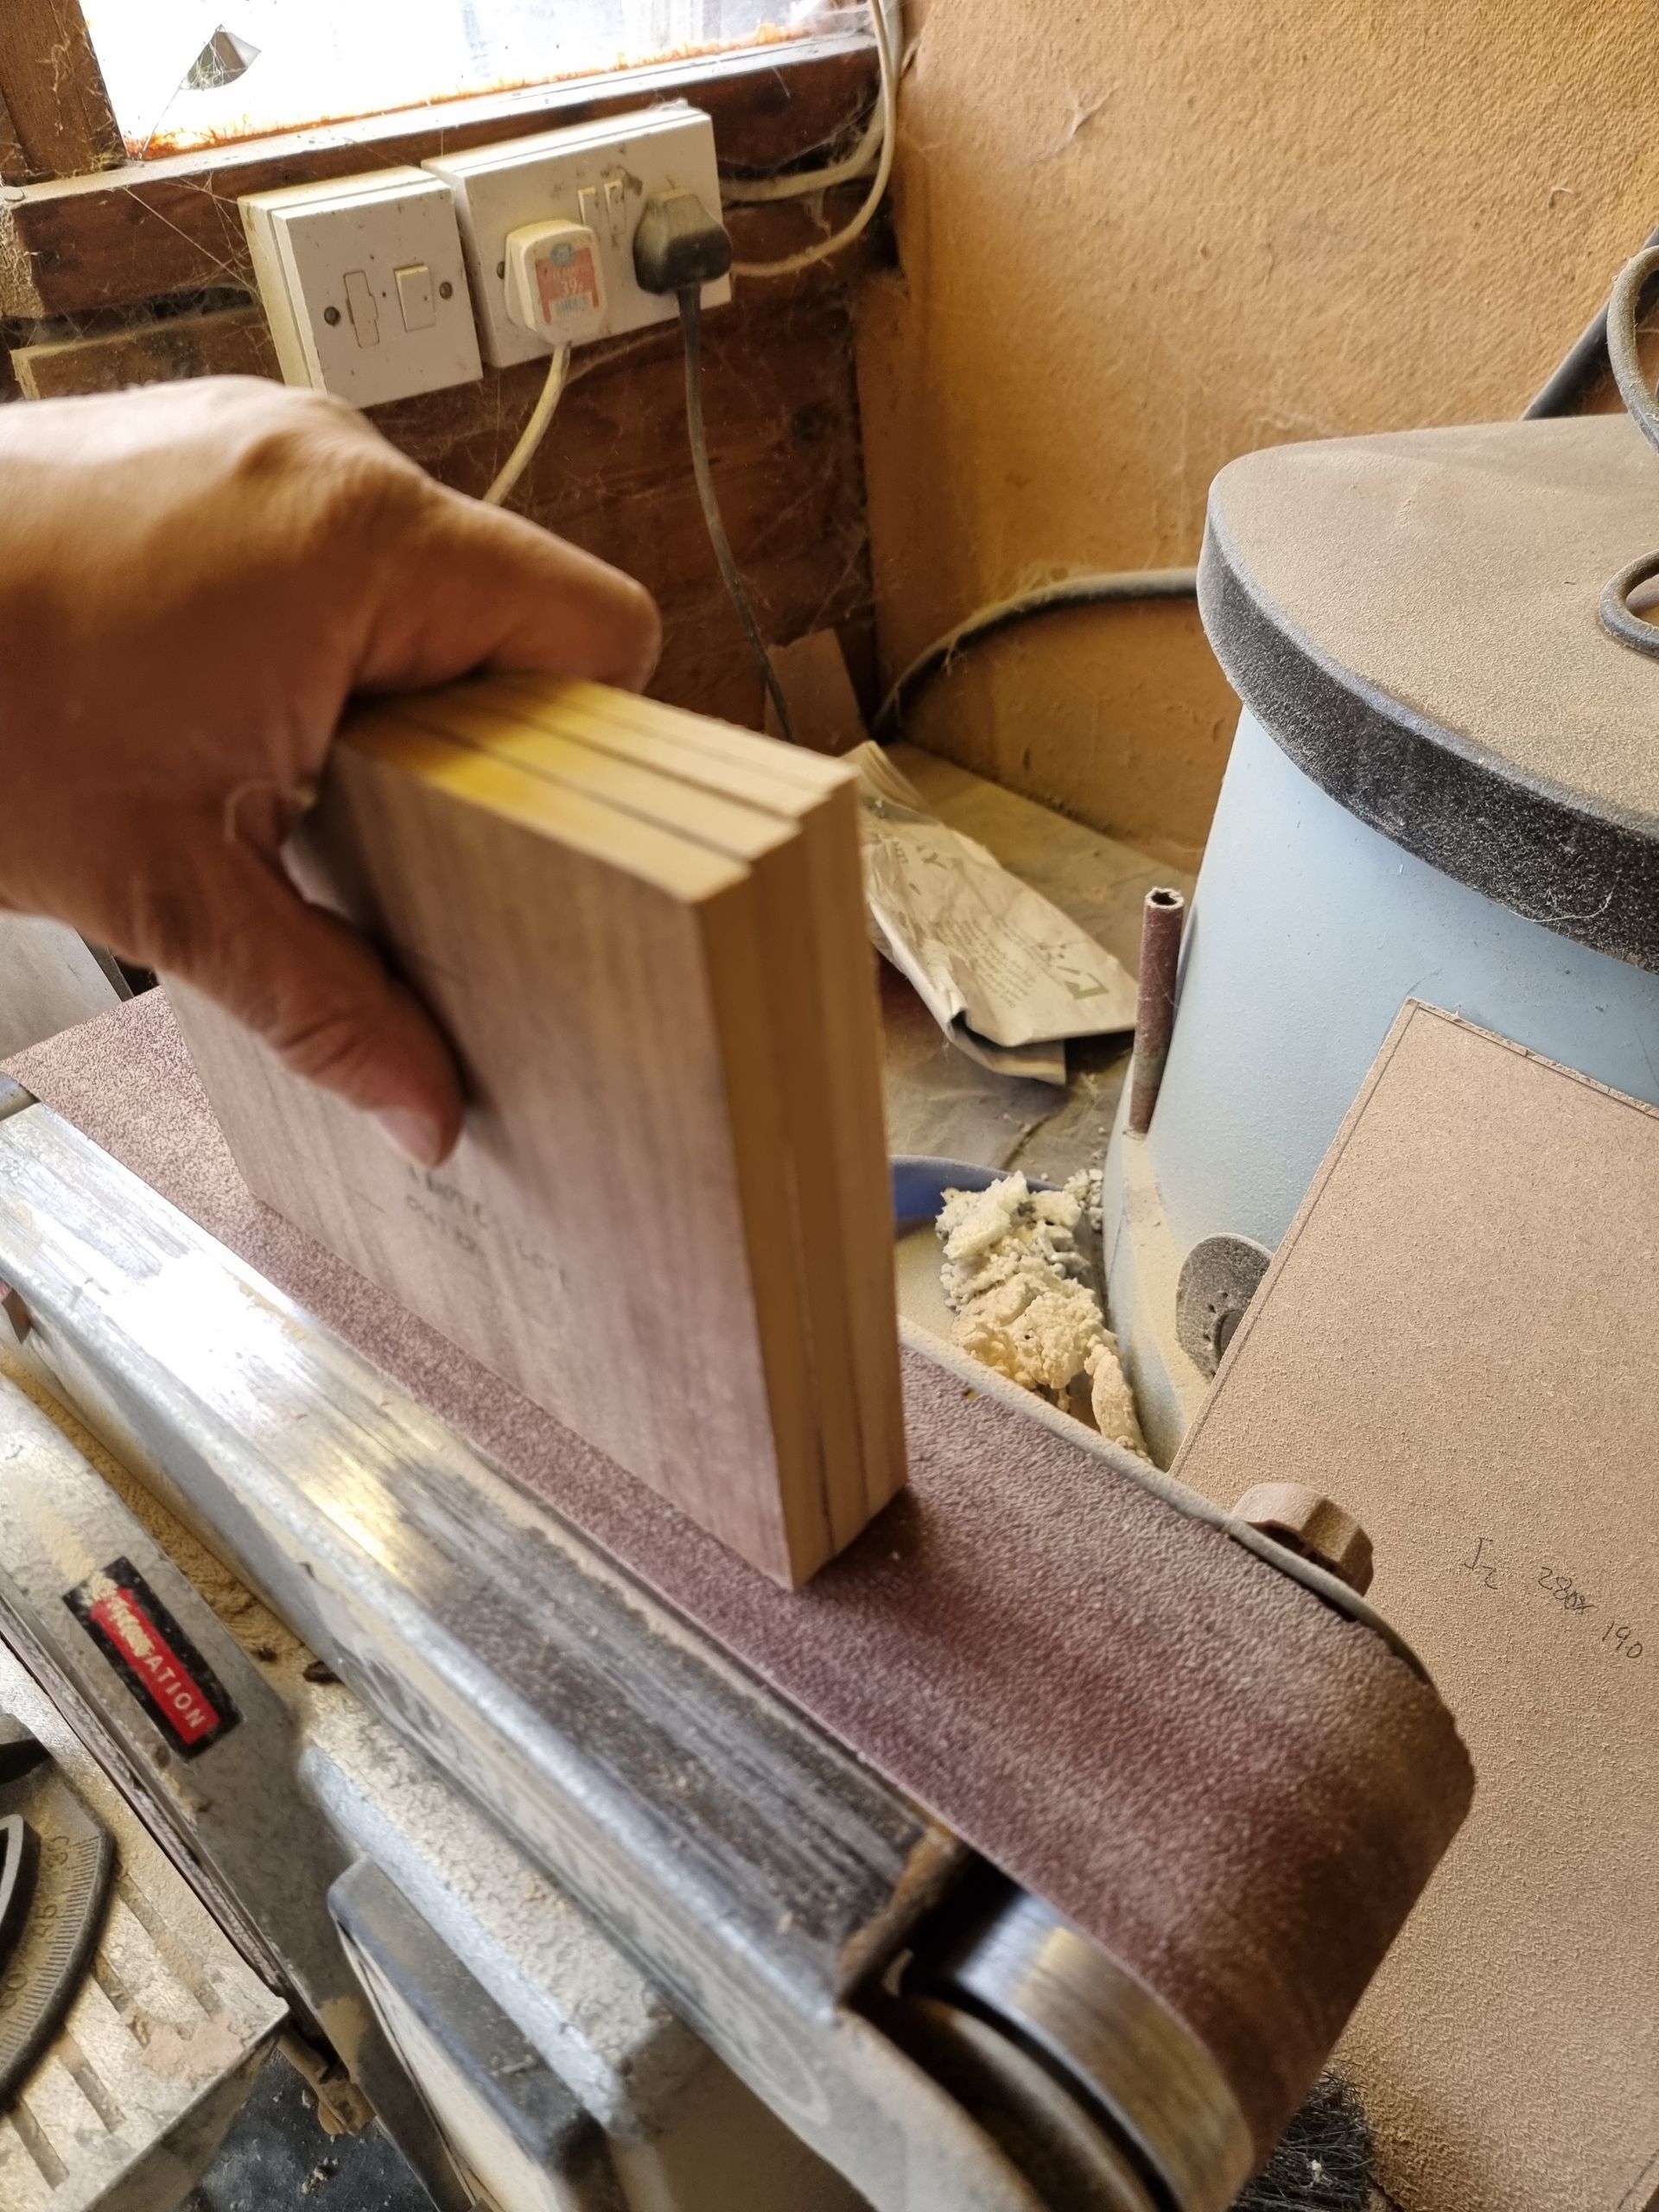
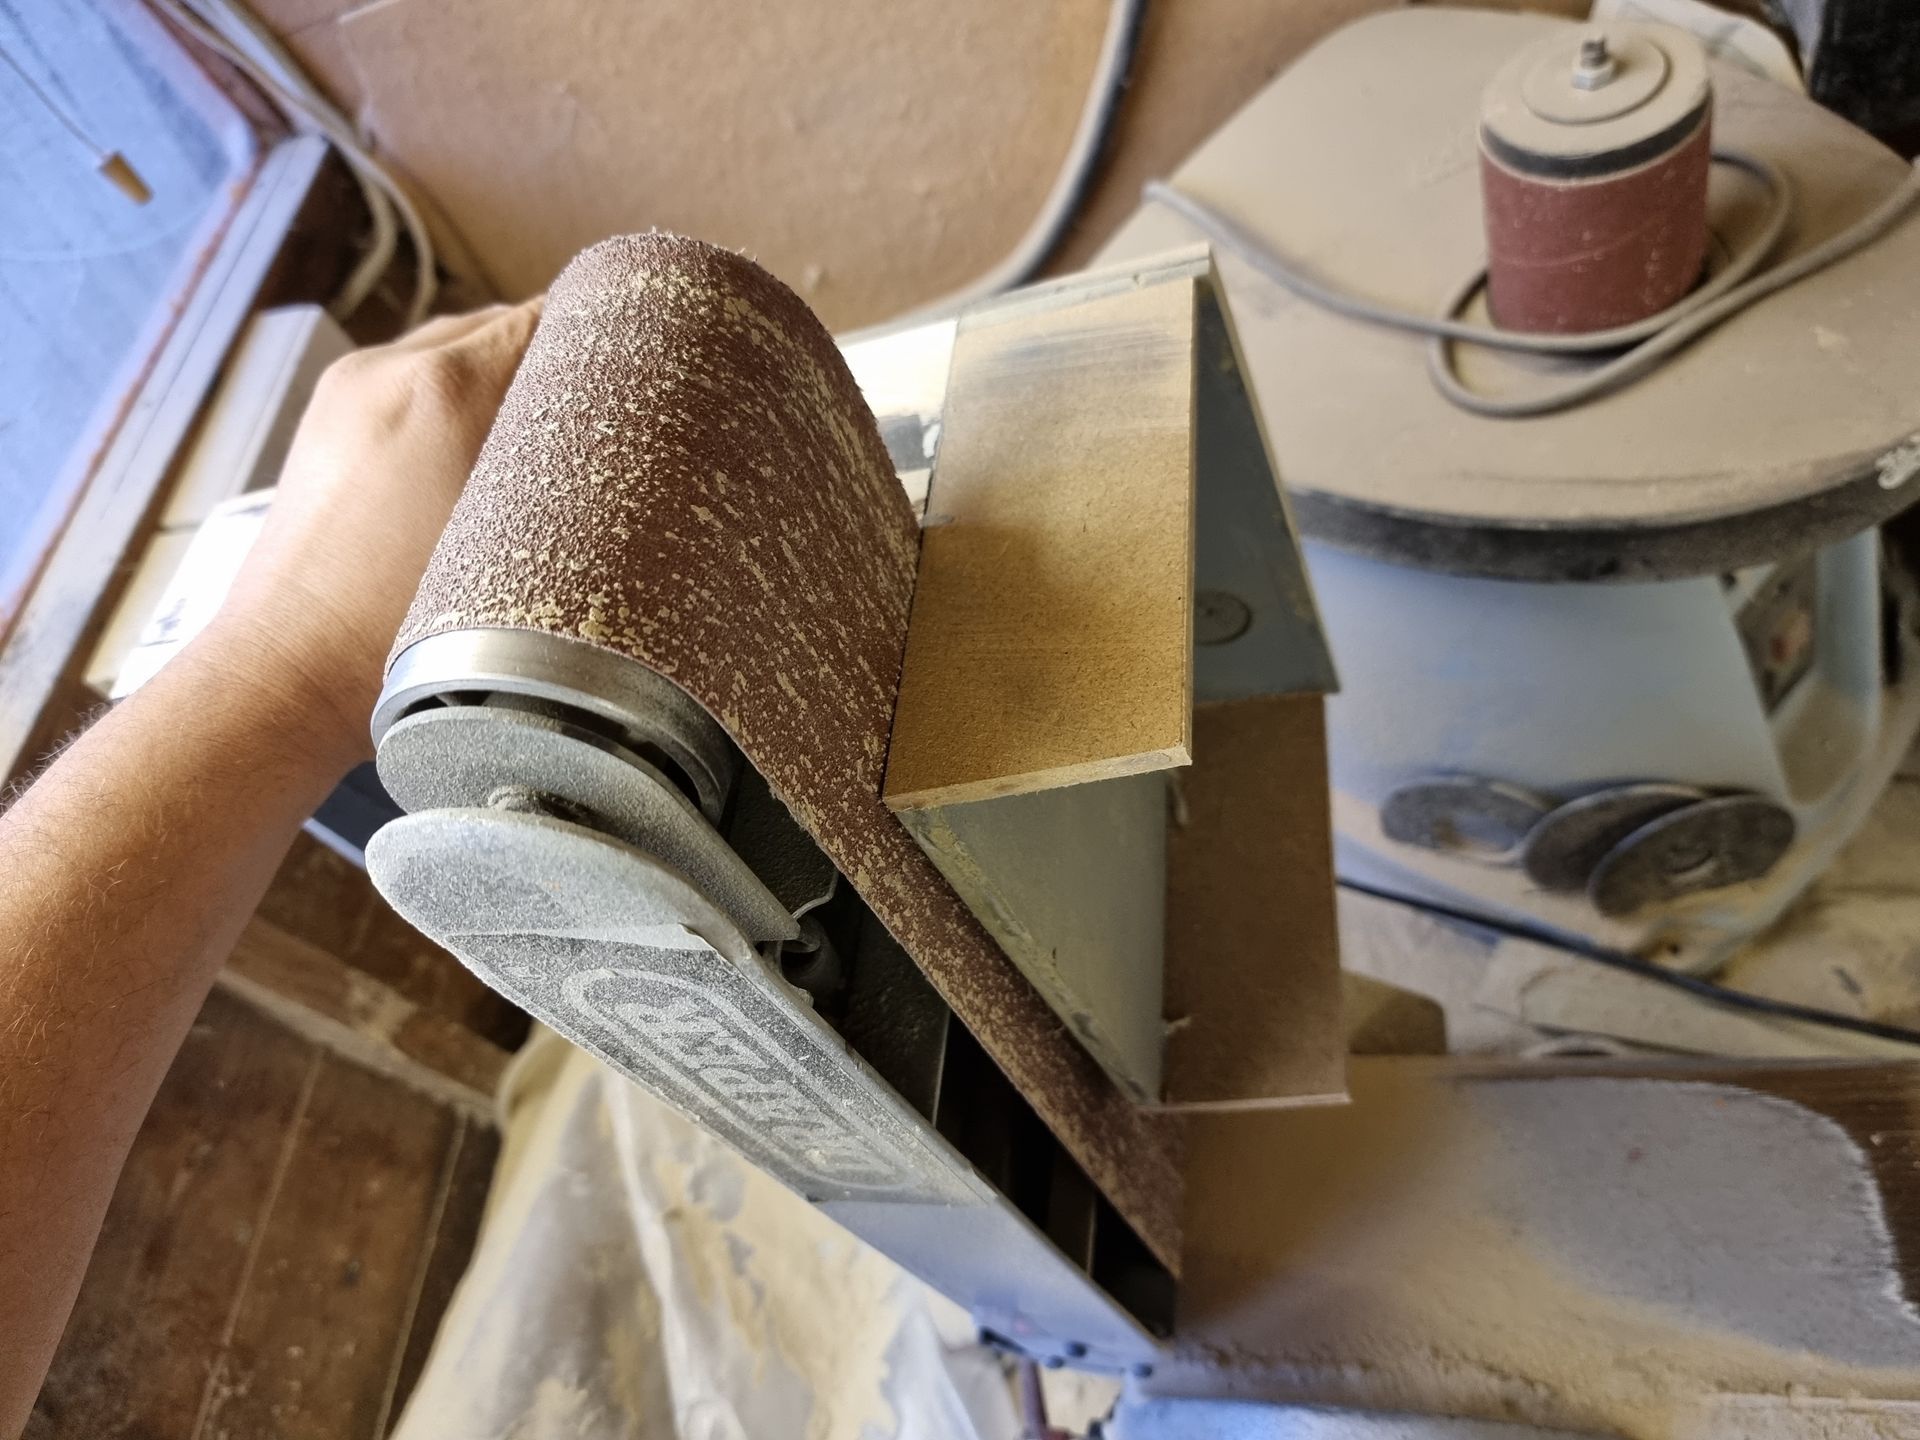
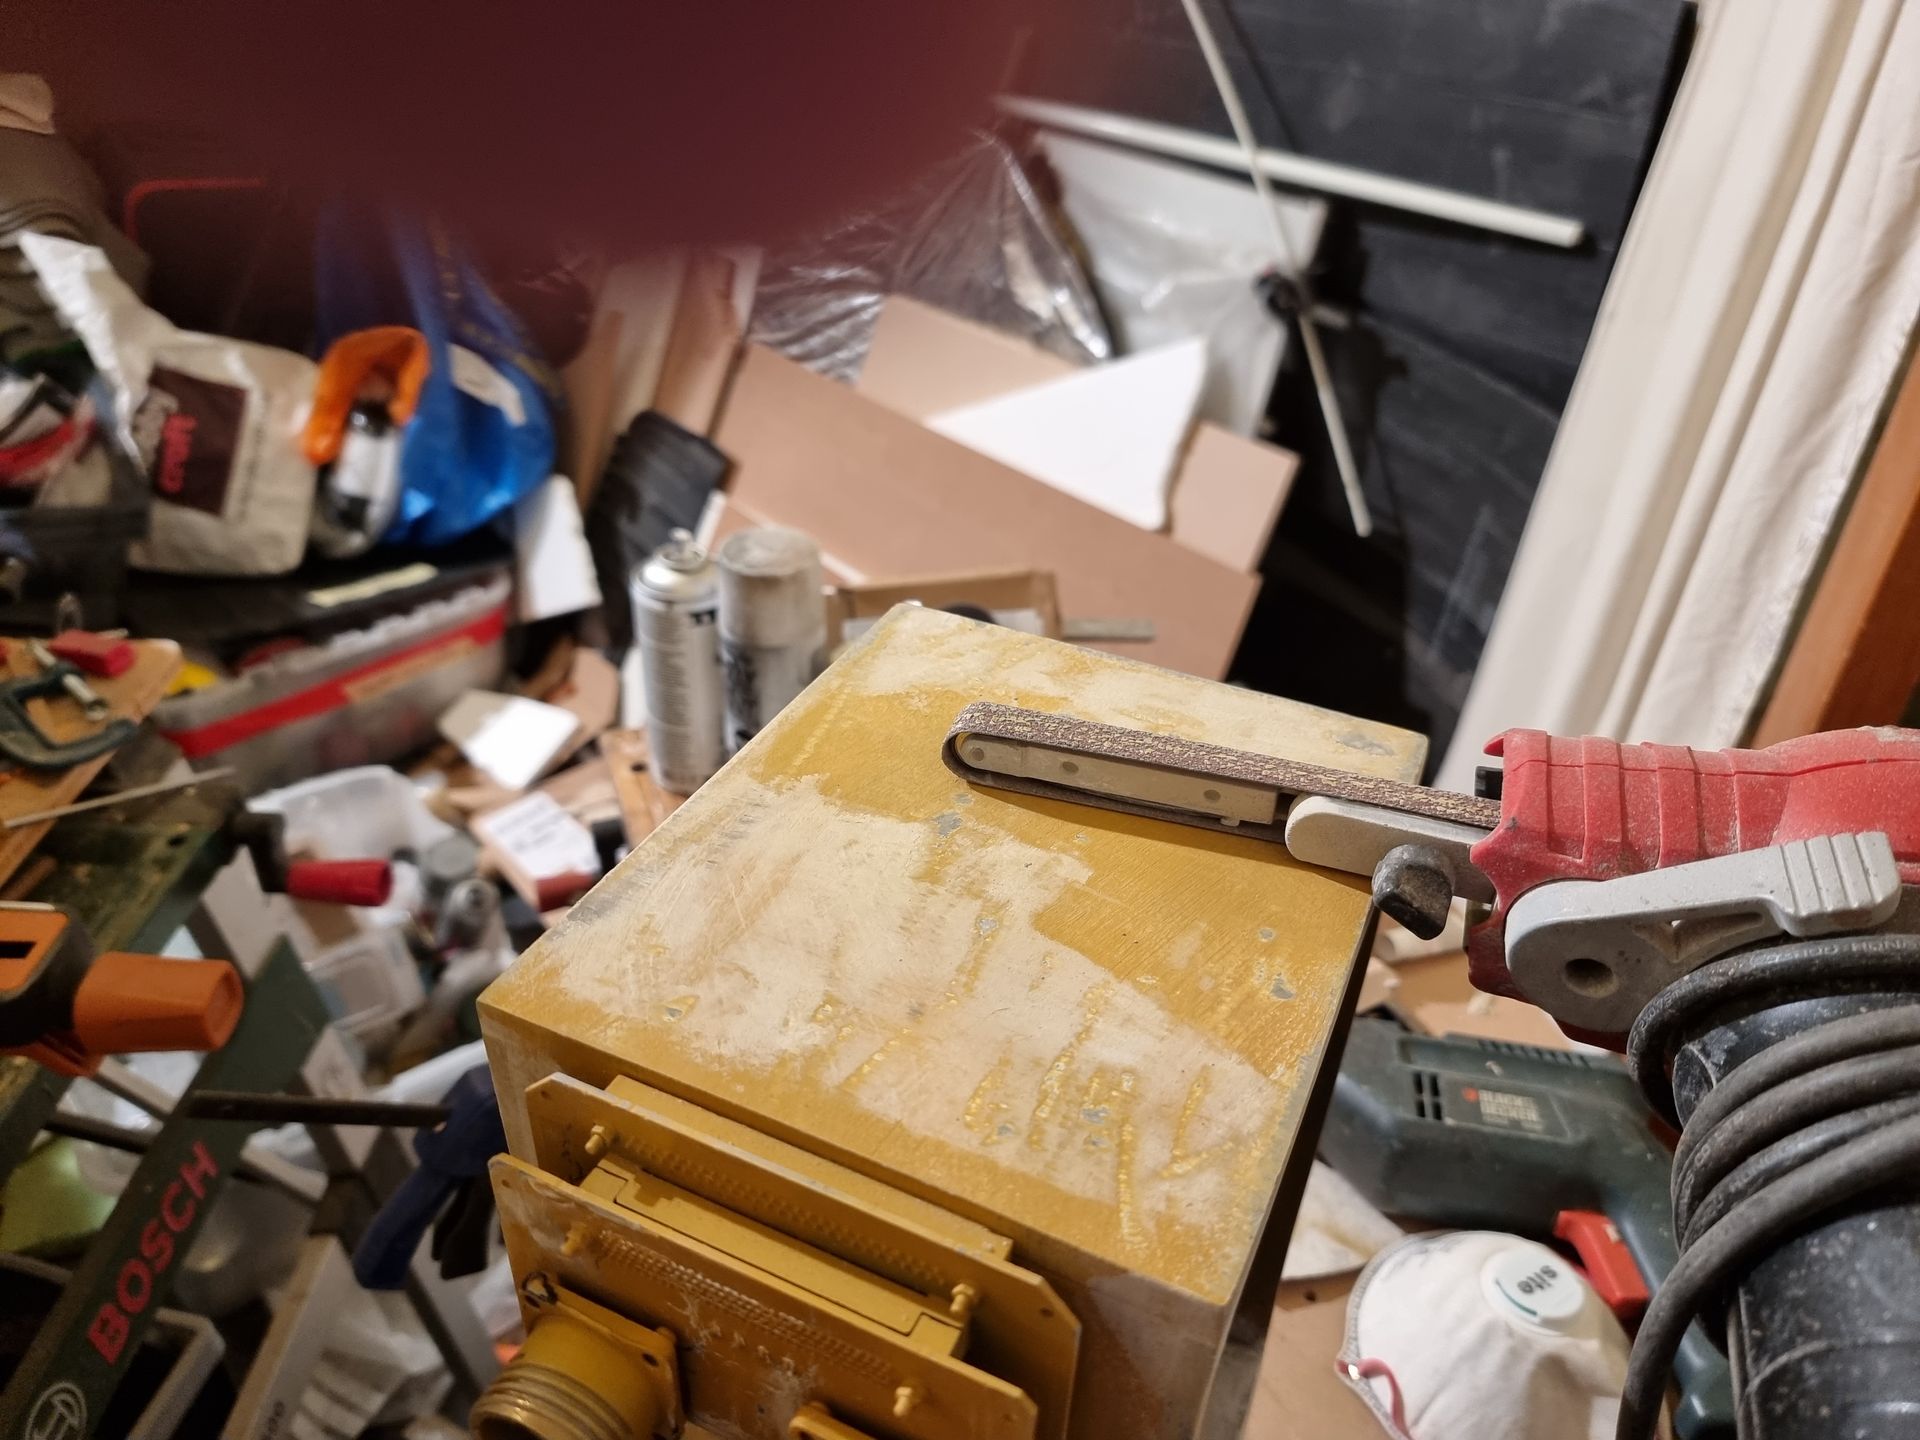
- Draper Disc Belt Sander
and the amazing
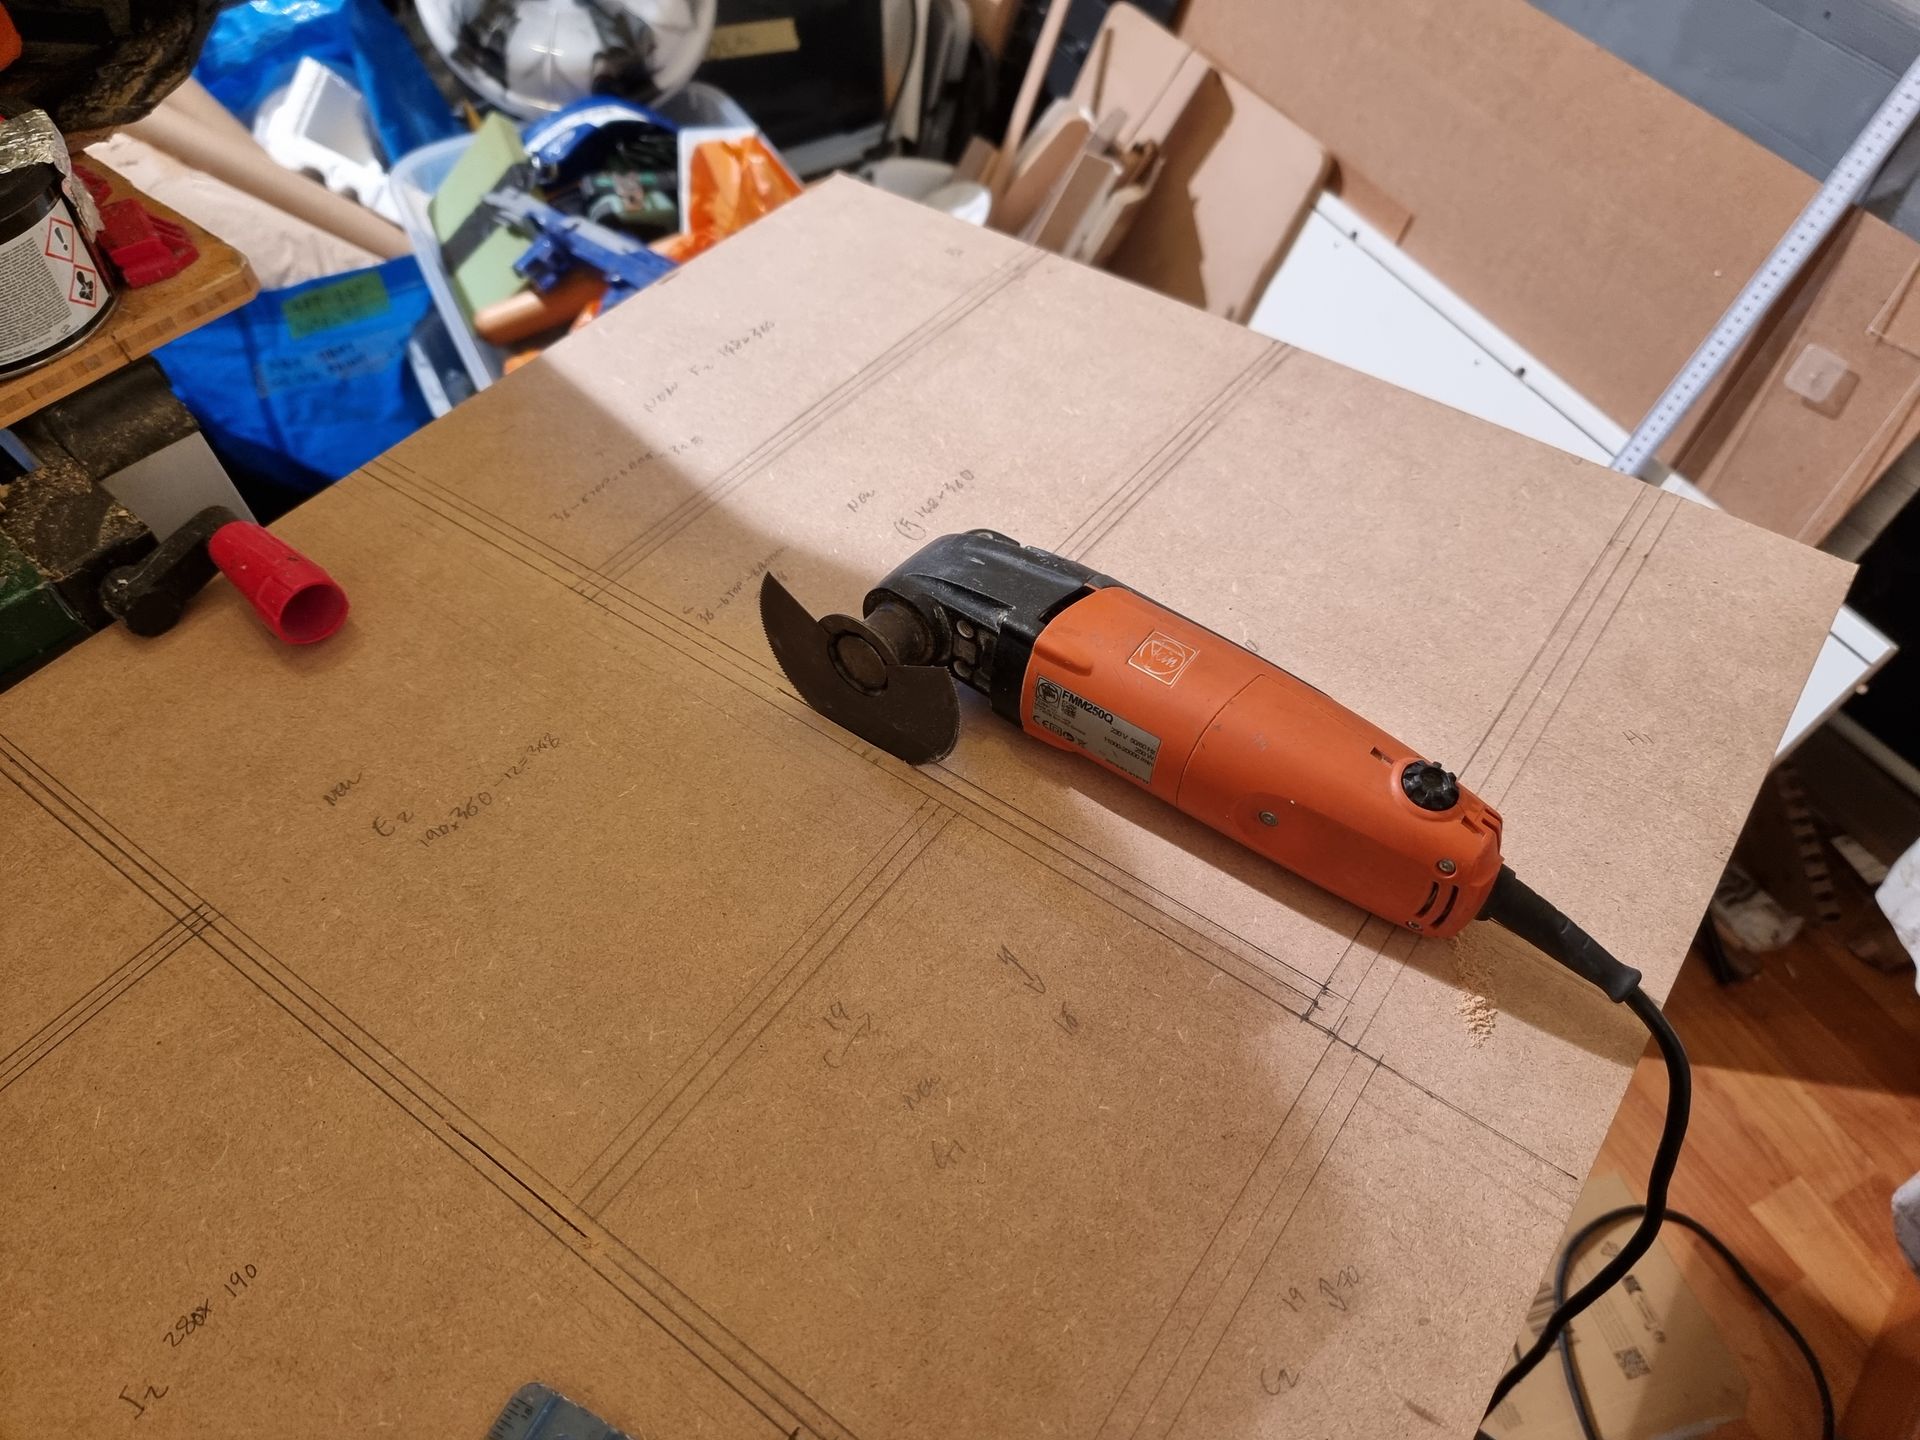
- Finn Multi Master Multi Tool.
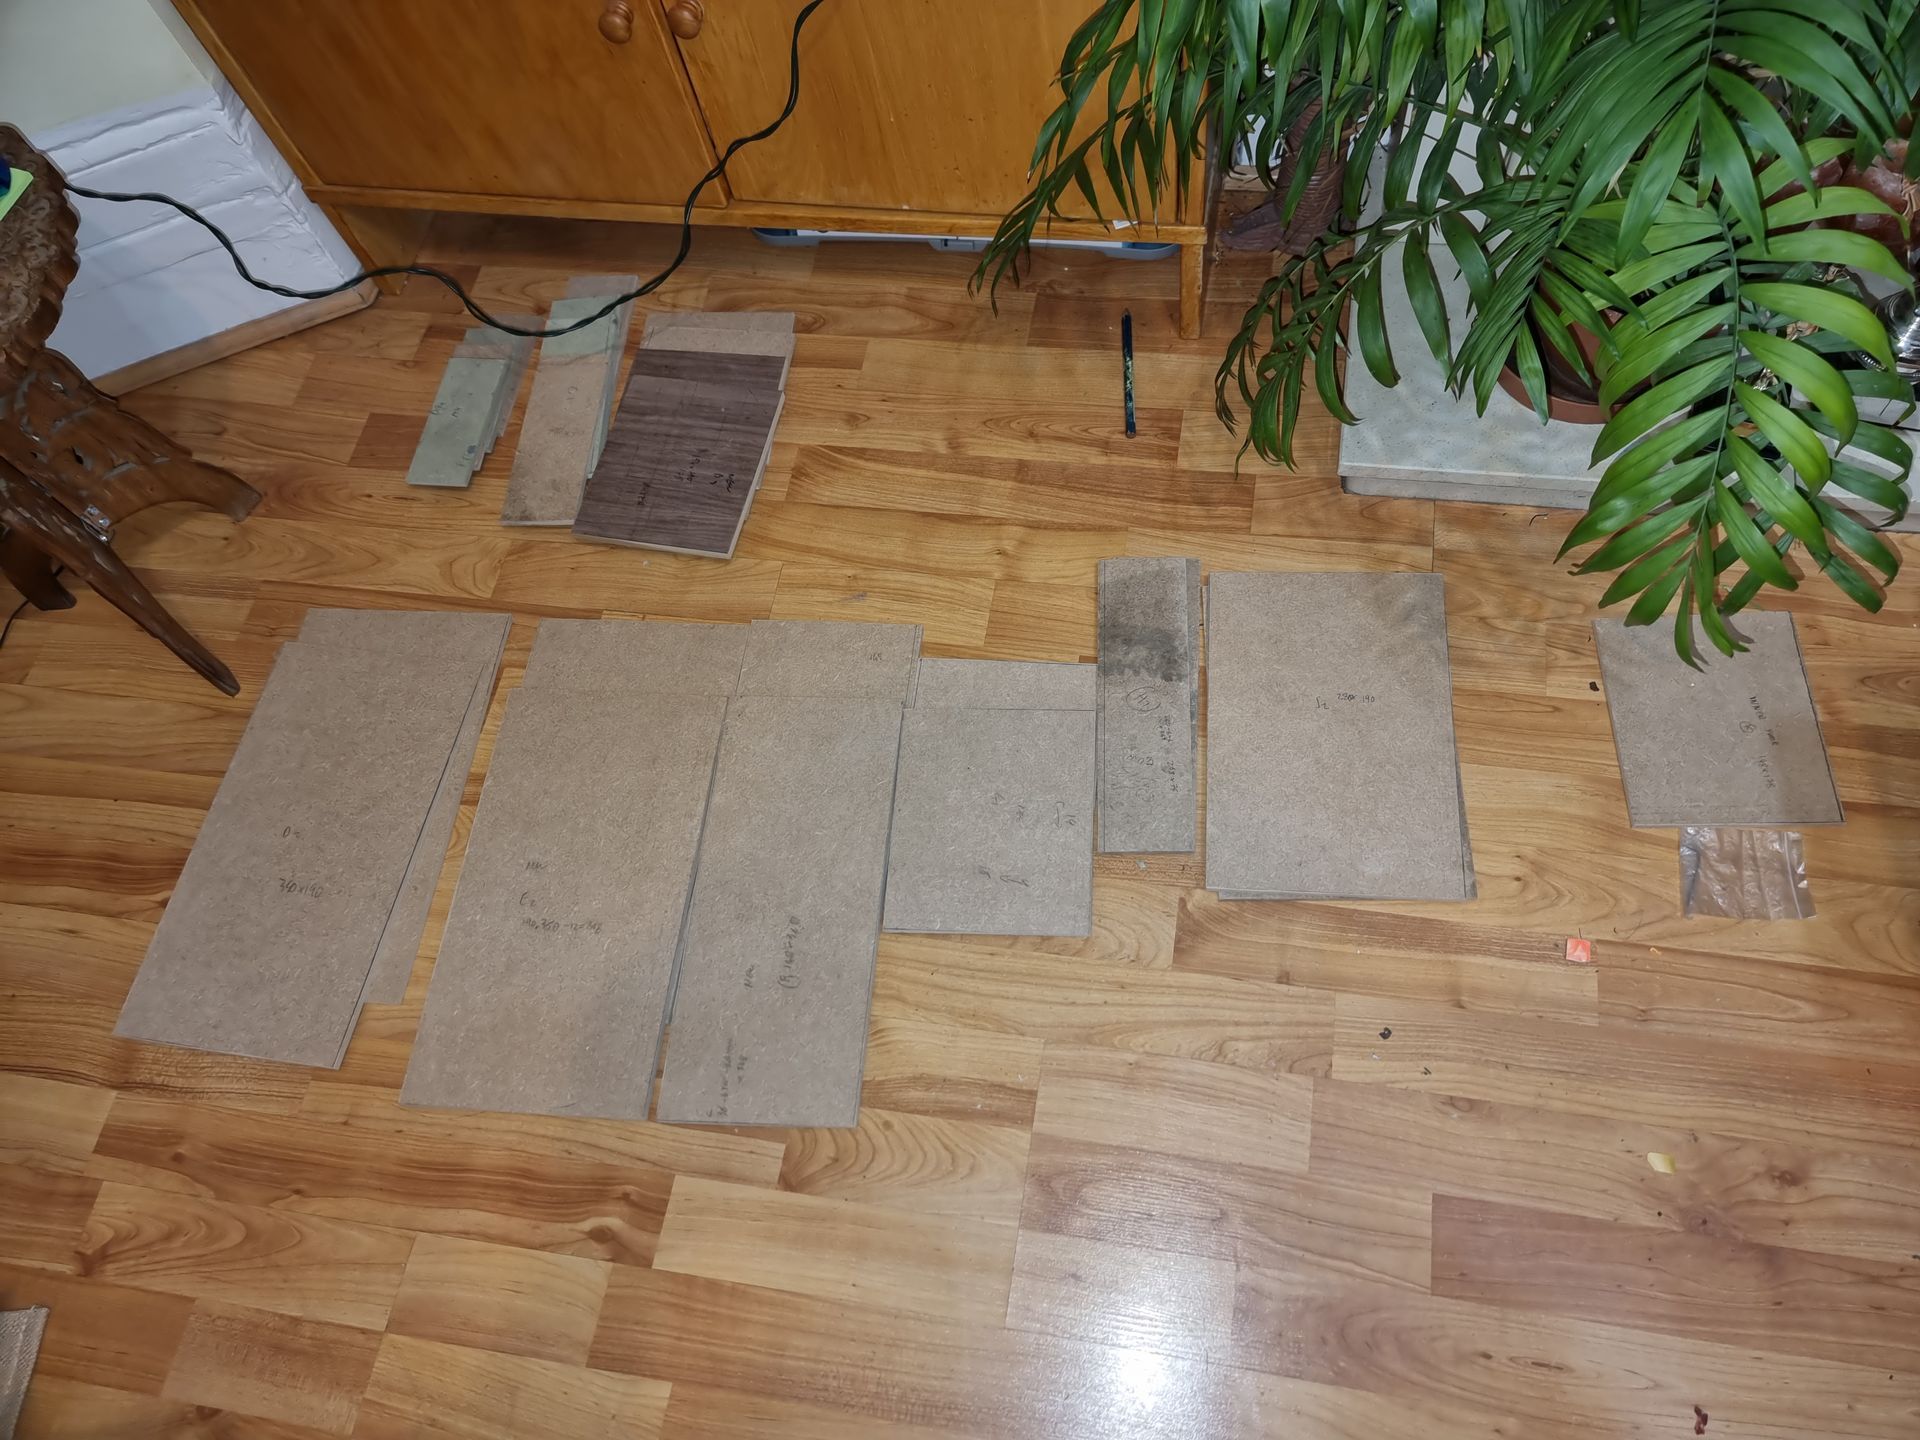
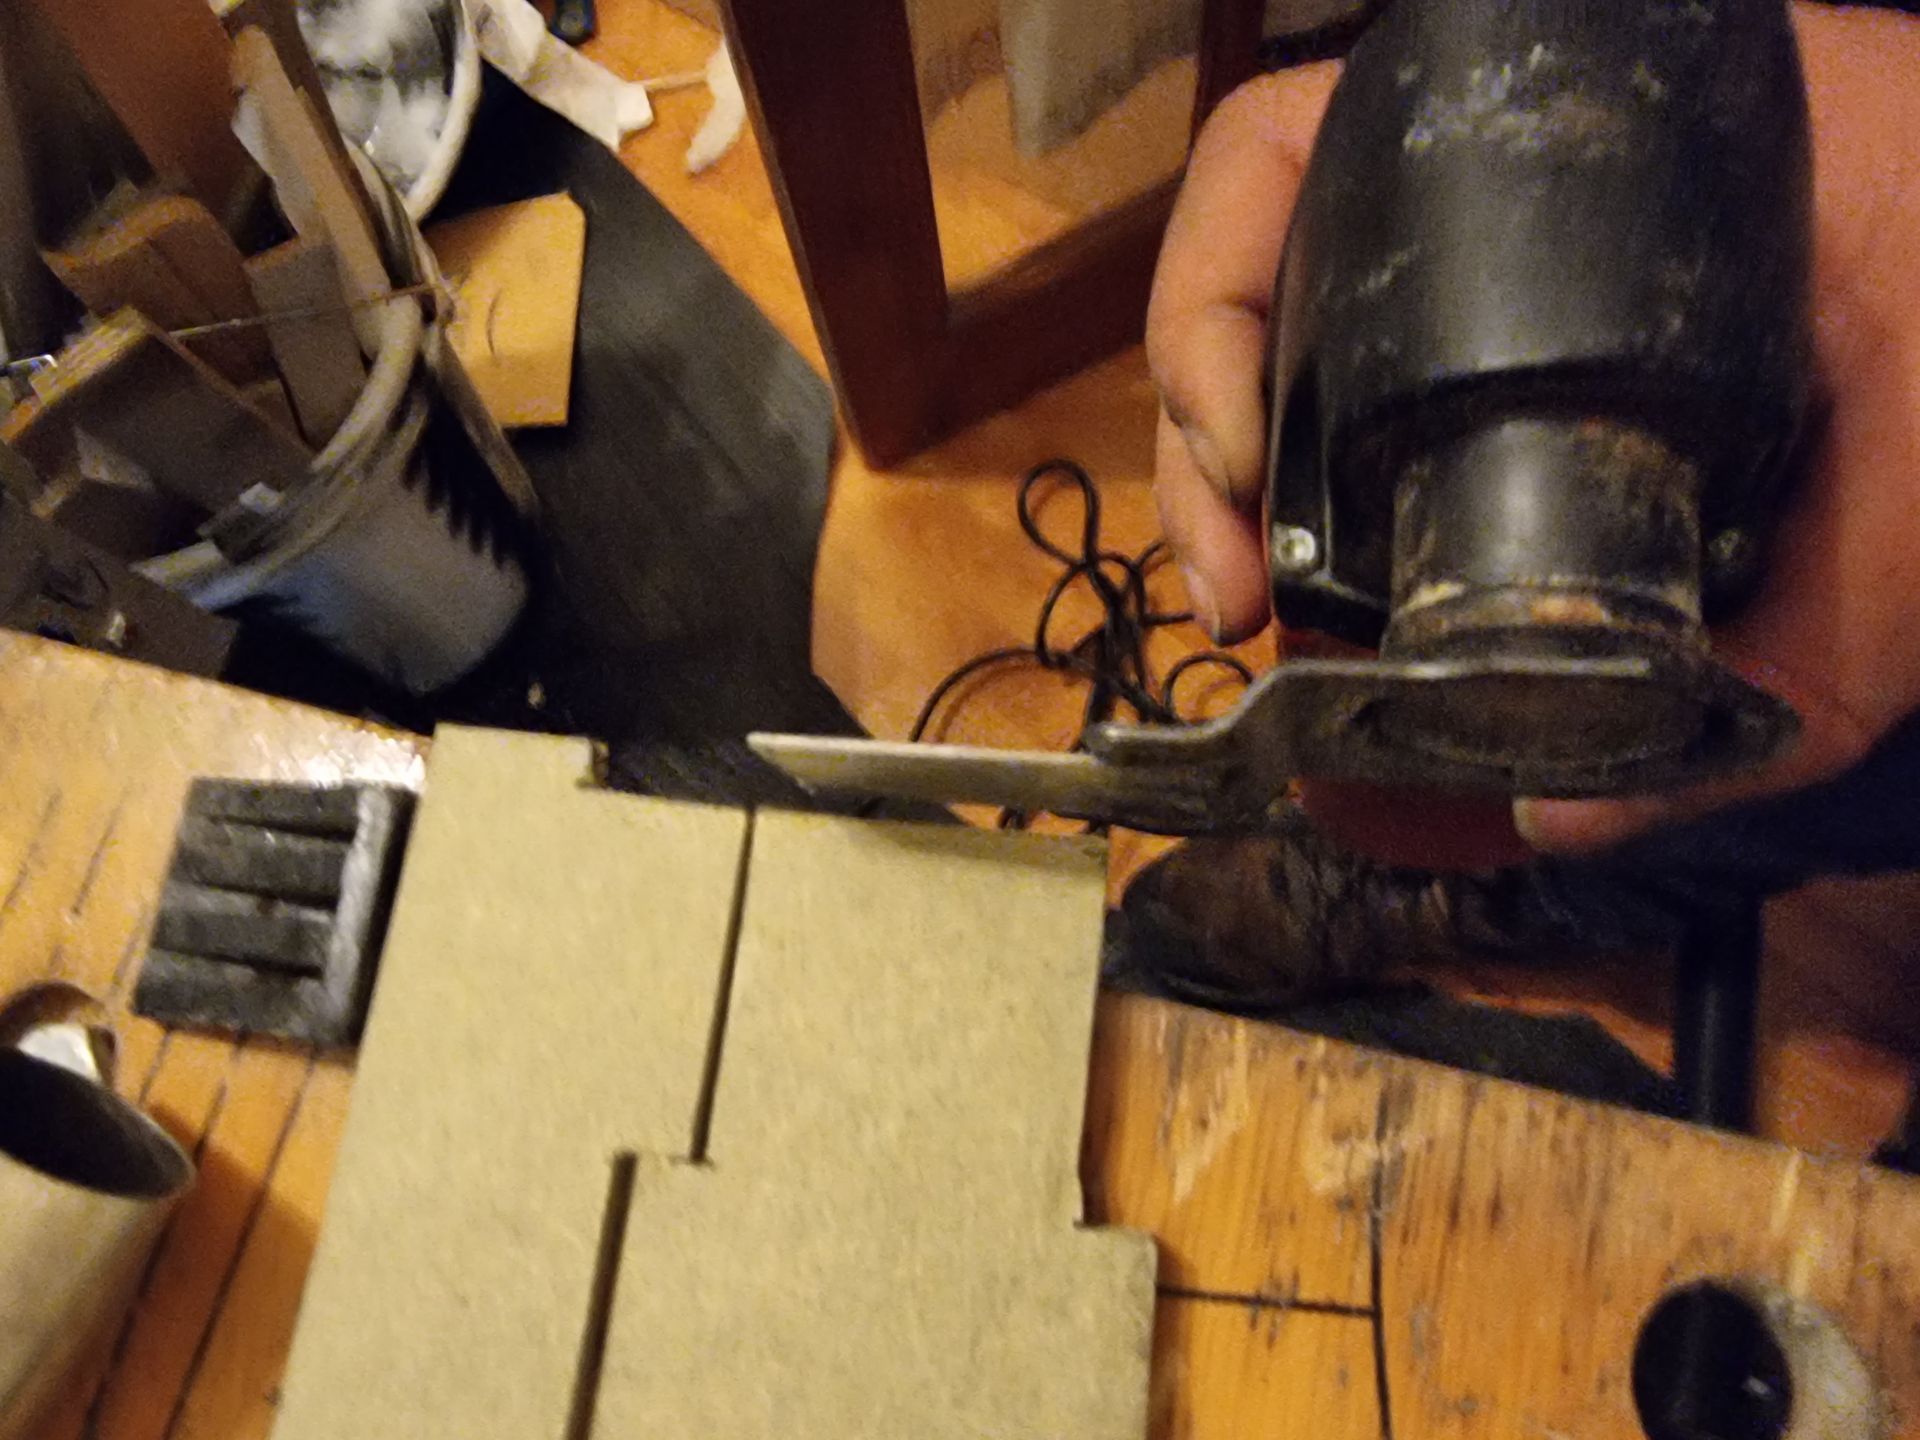
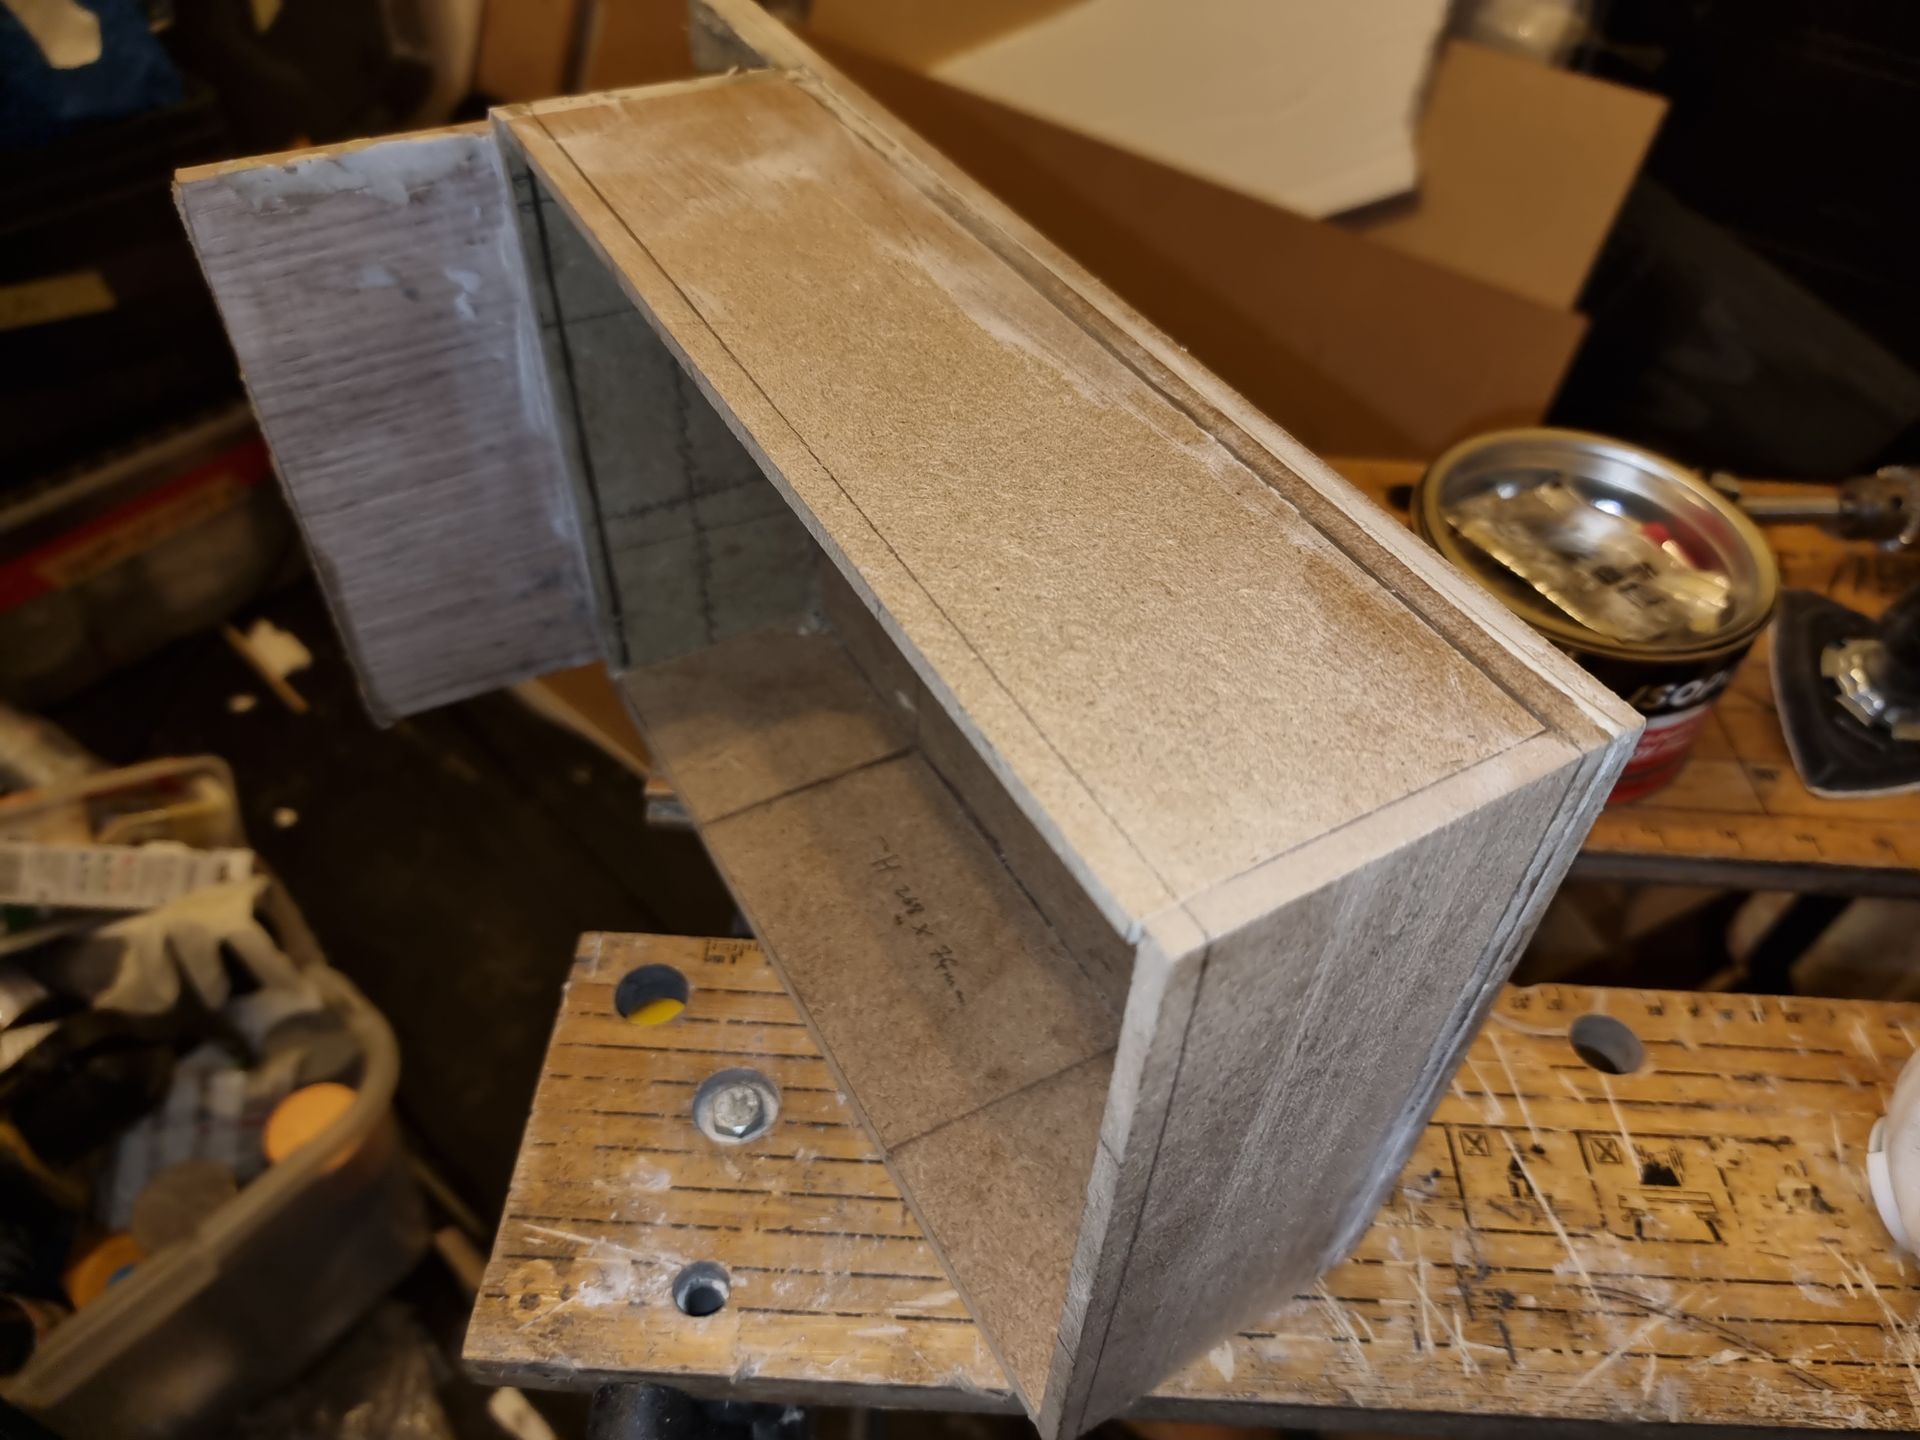
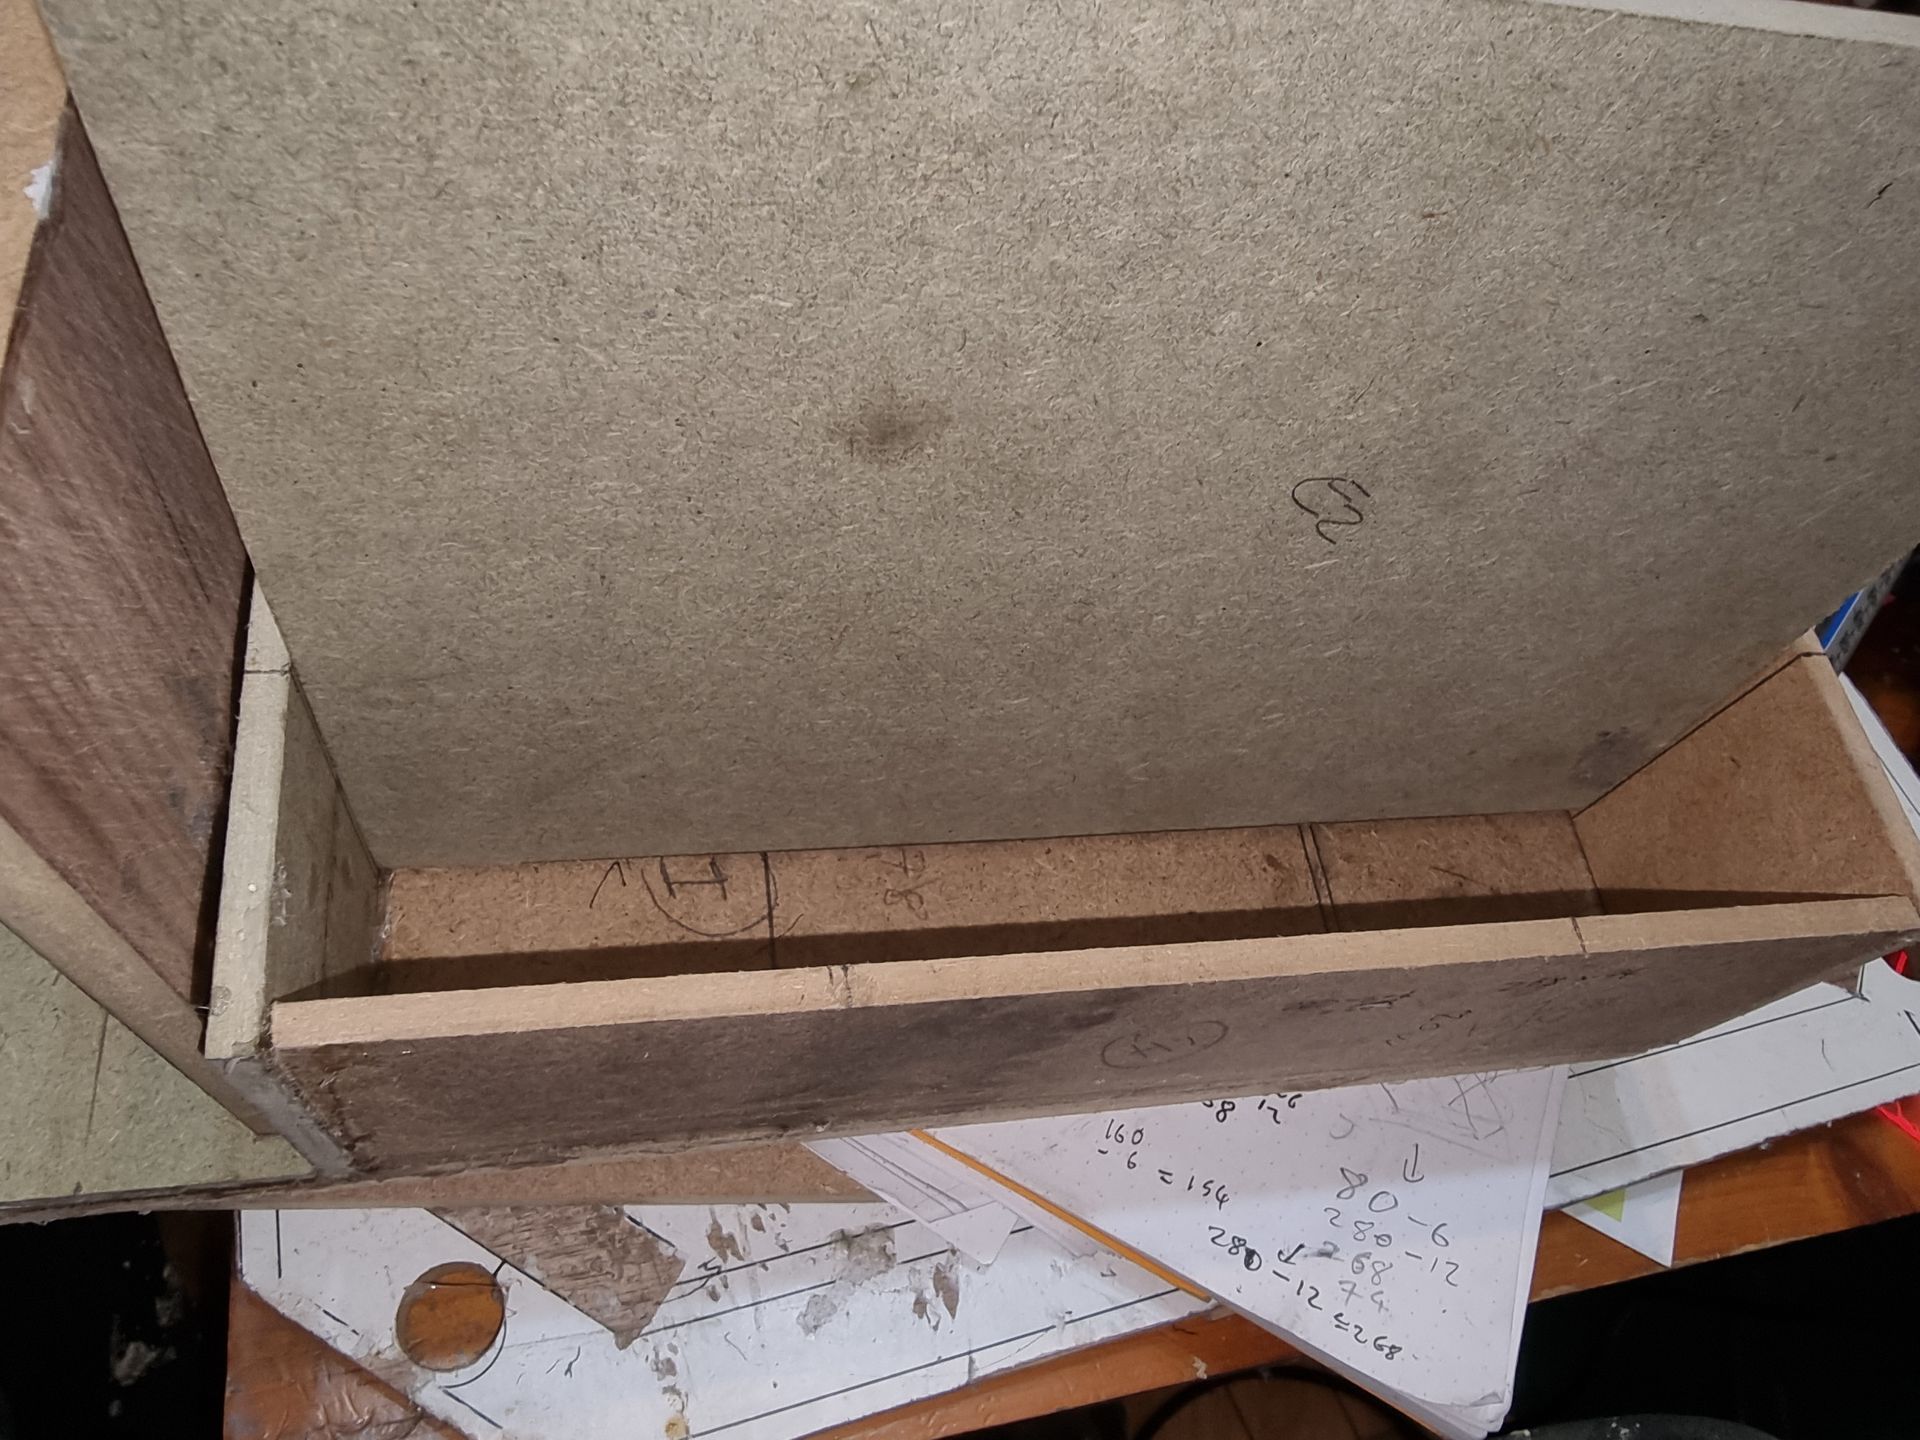
These I used to cut out the basic panels to start with the fit them together factoring in a cutting gap for the blades to be trimmed later to size with the disc belt sander.
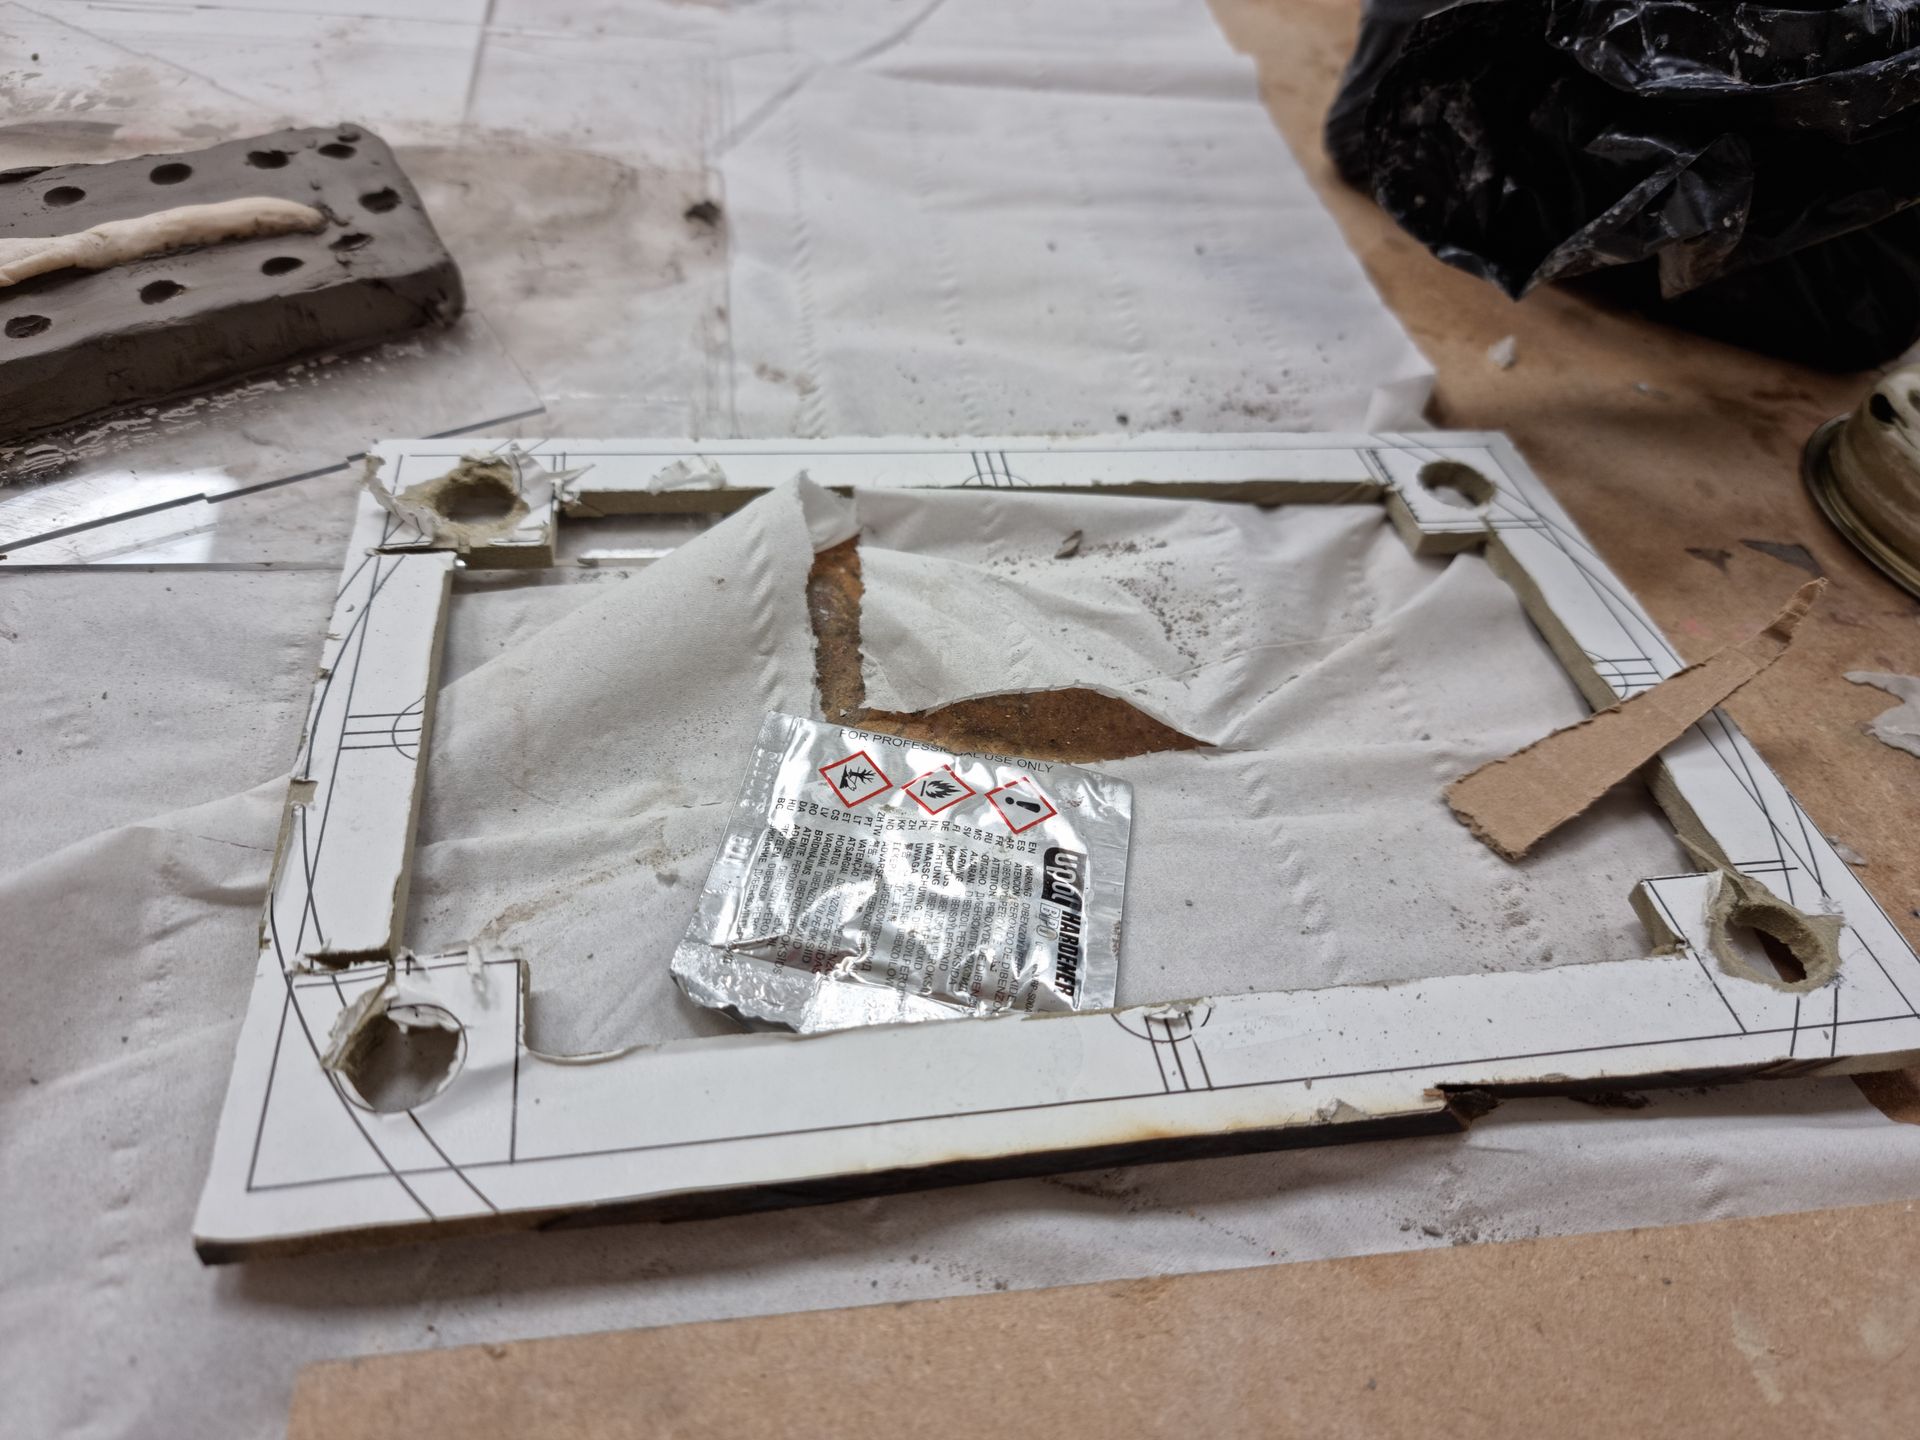
I experimented with brackets to fit the boxes together out of MDF but these was too messy.
Filler was used to fill gaps.
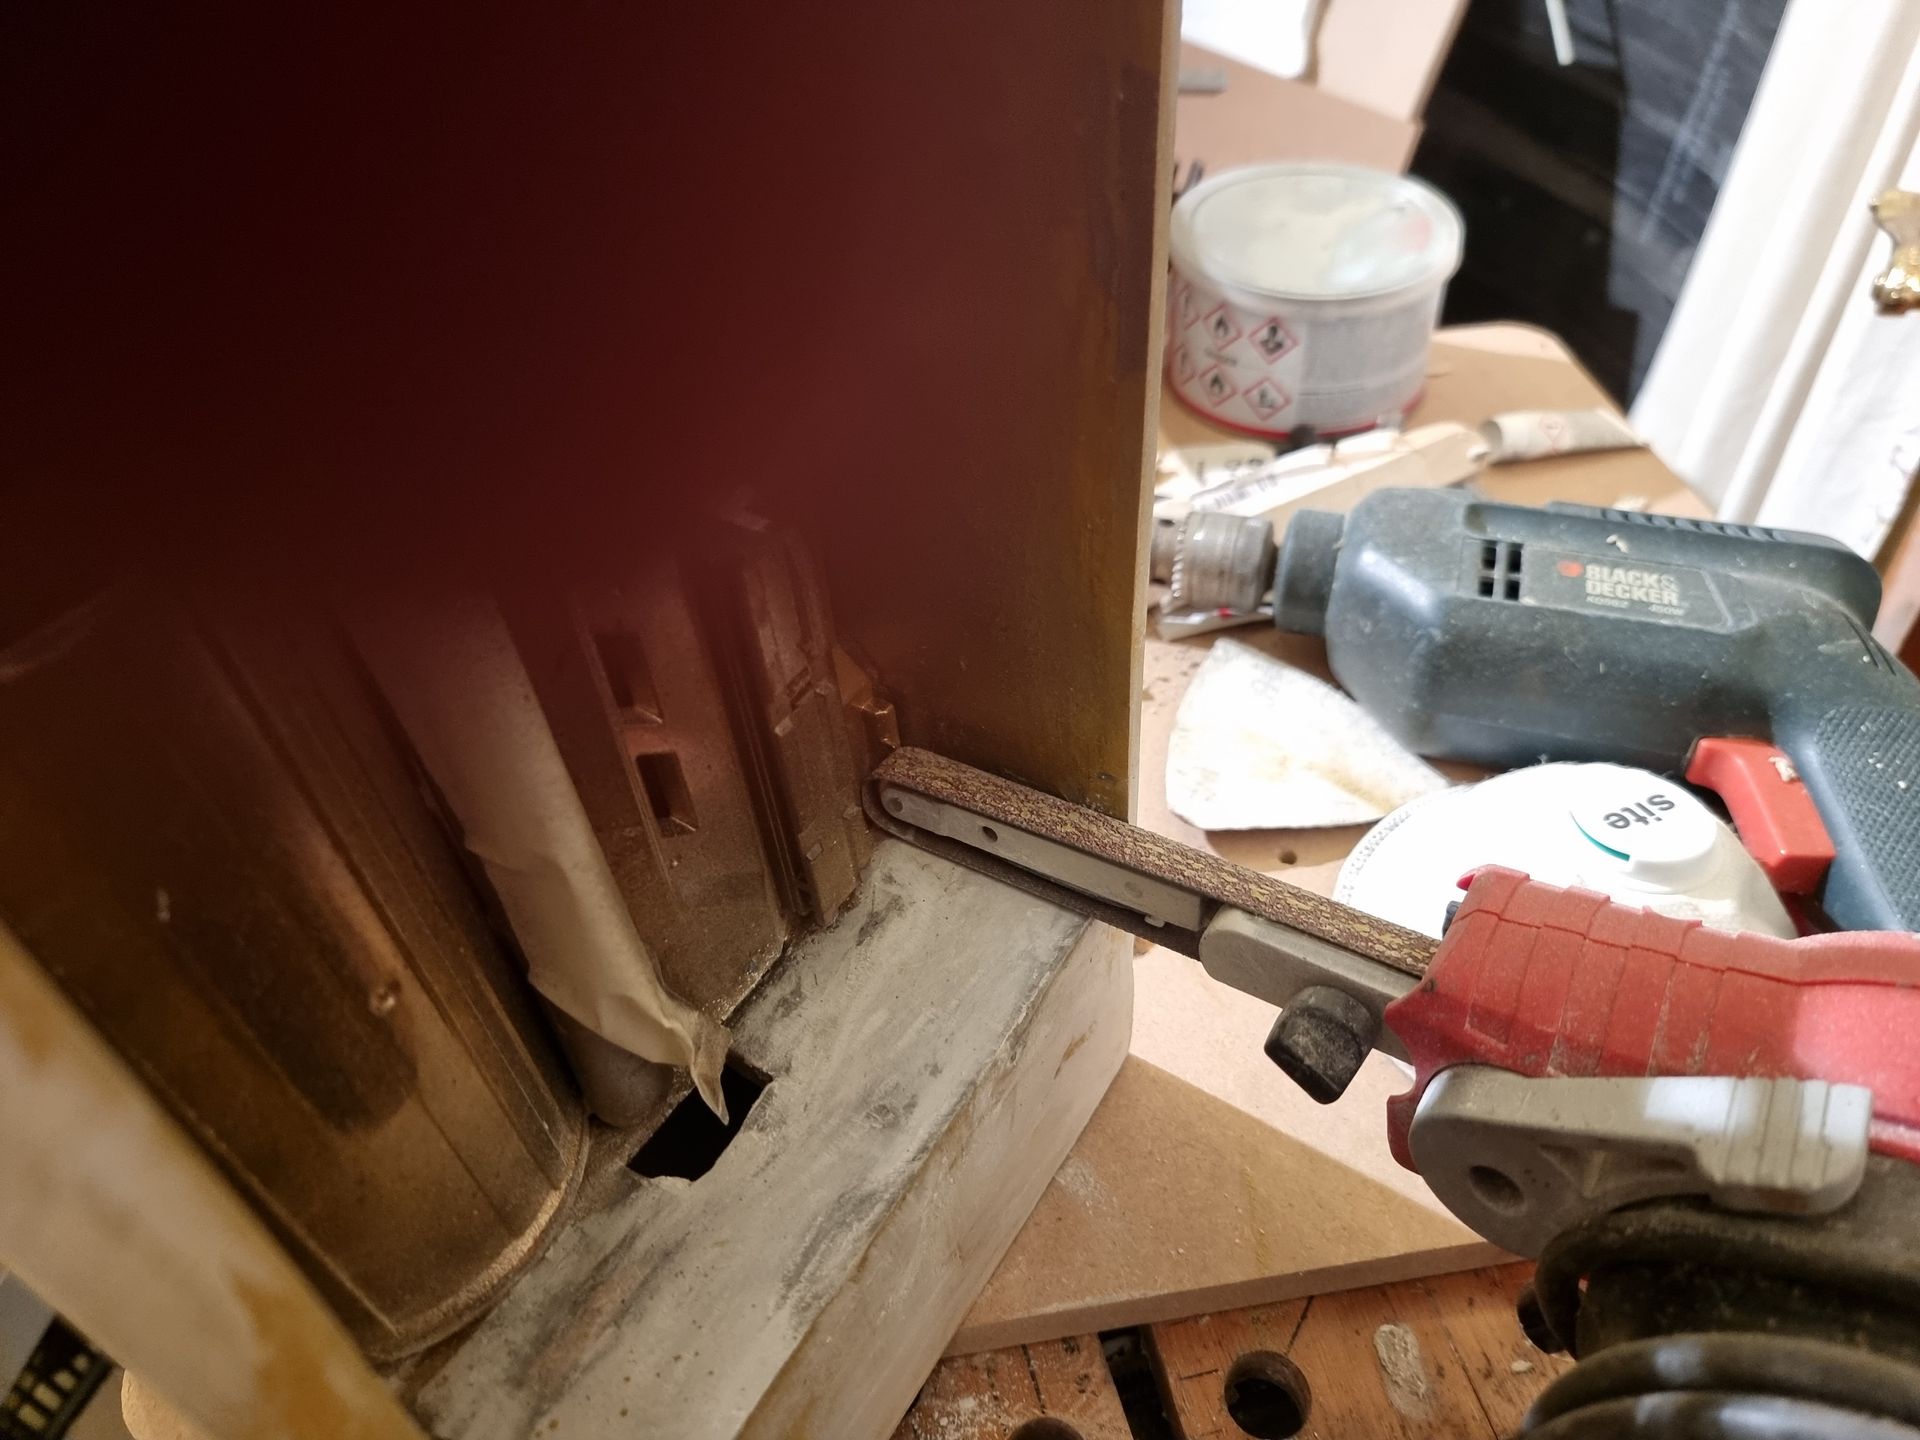
The disc belt sander was used to trim parts precisely and align and level parts out.
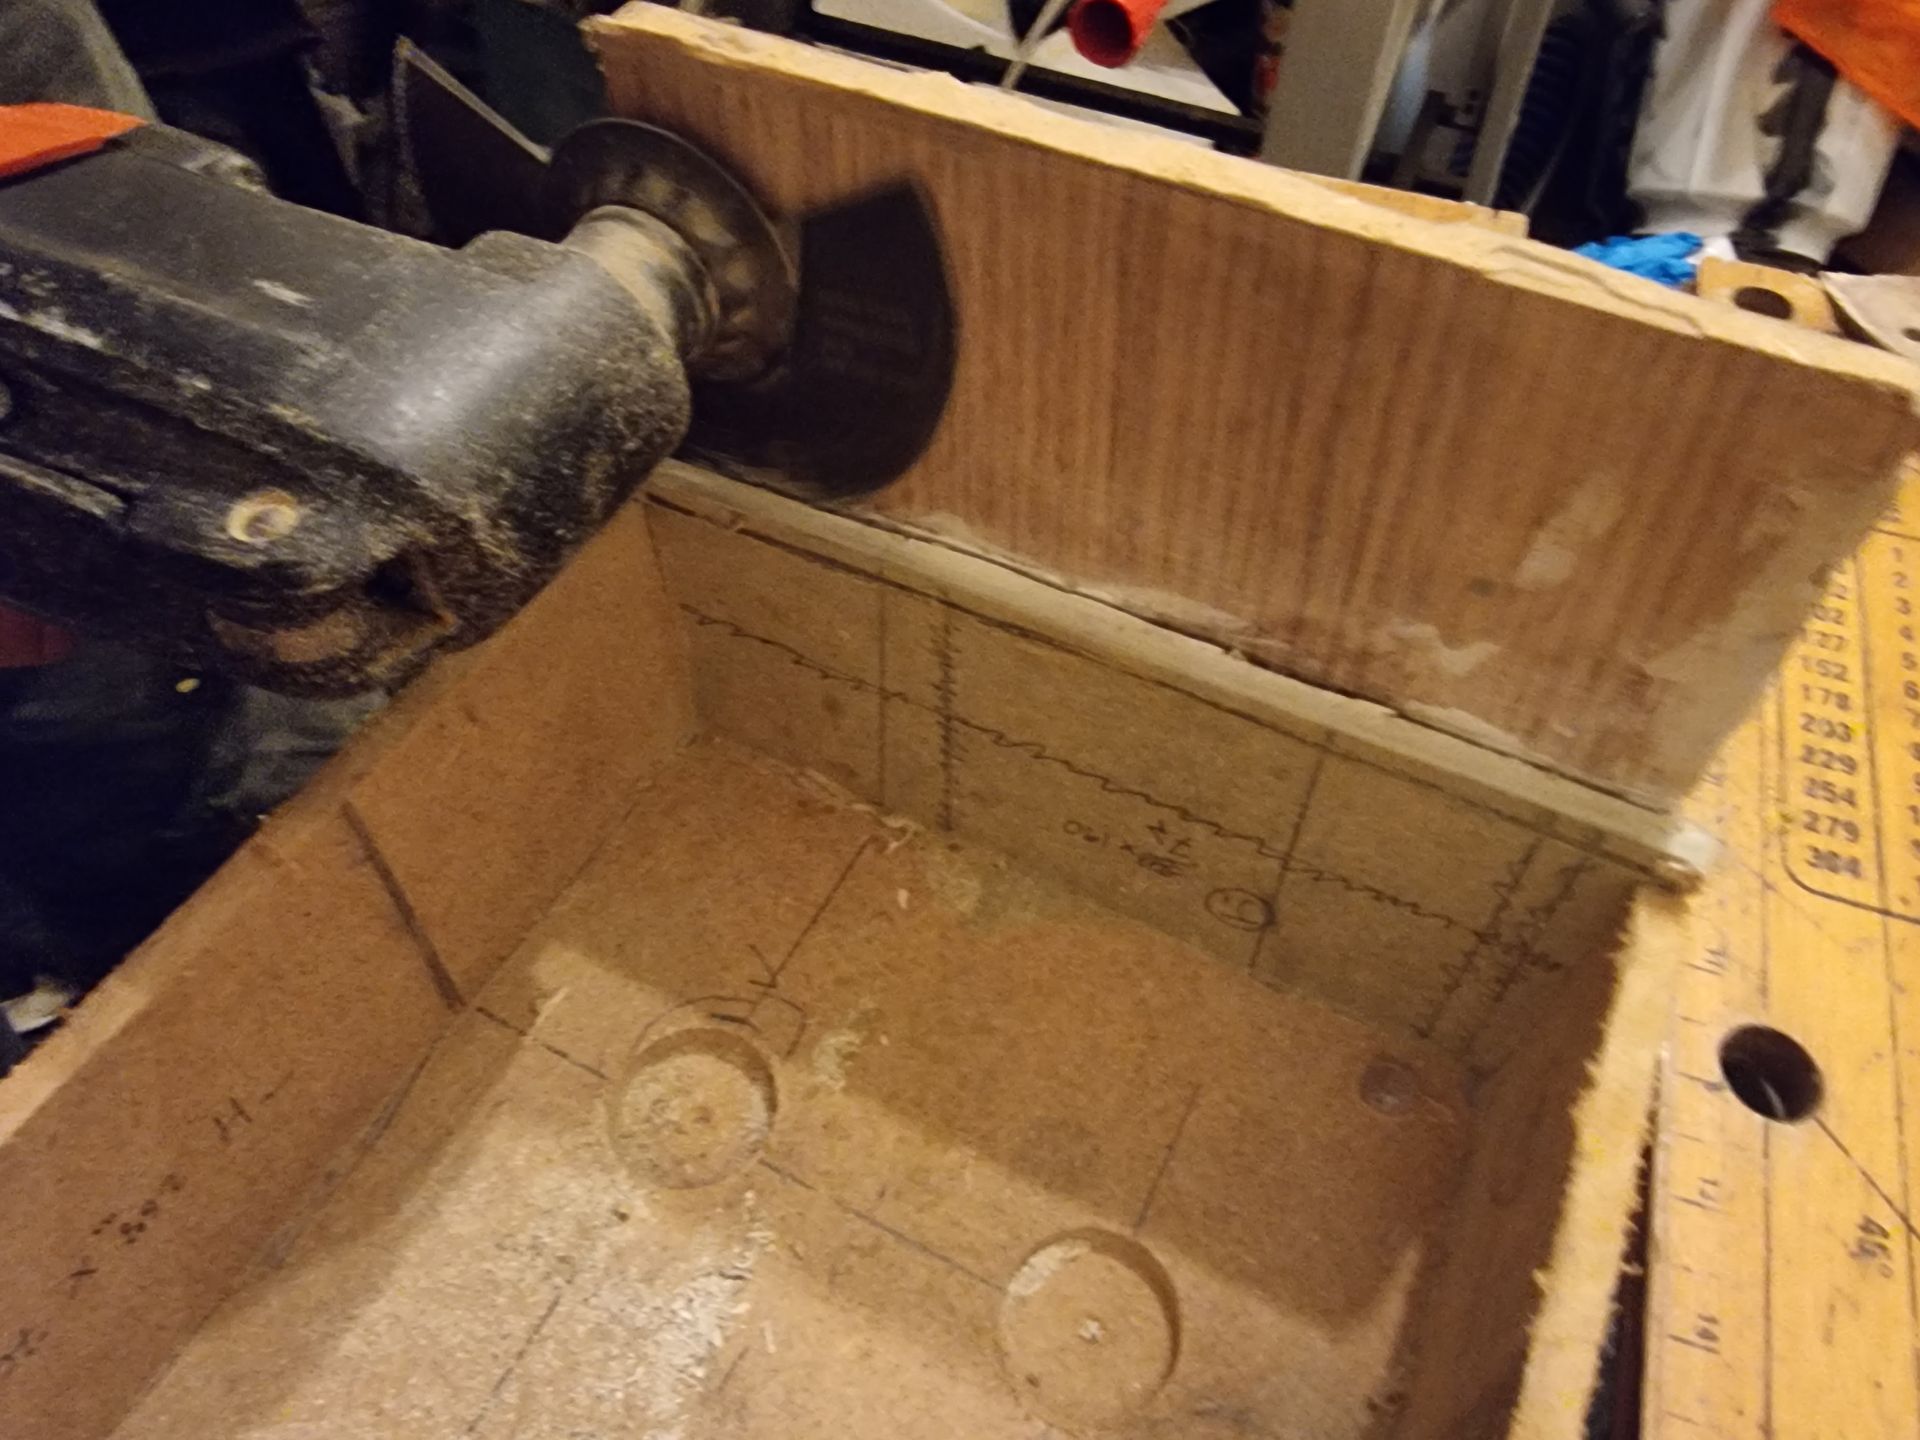
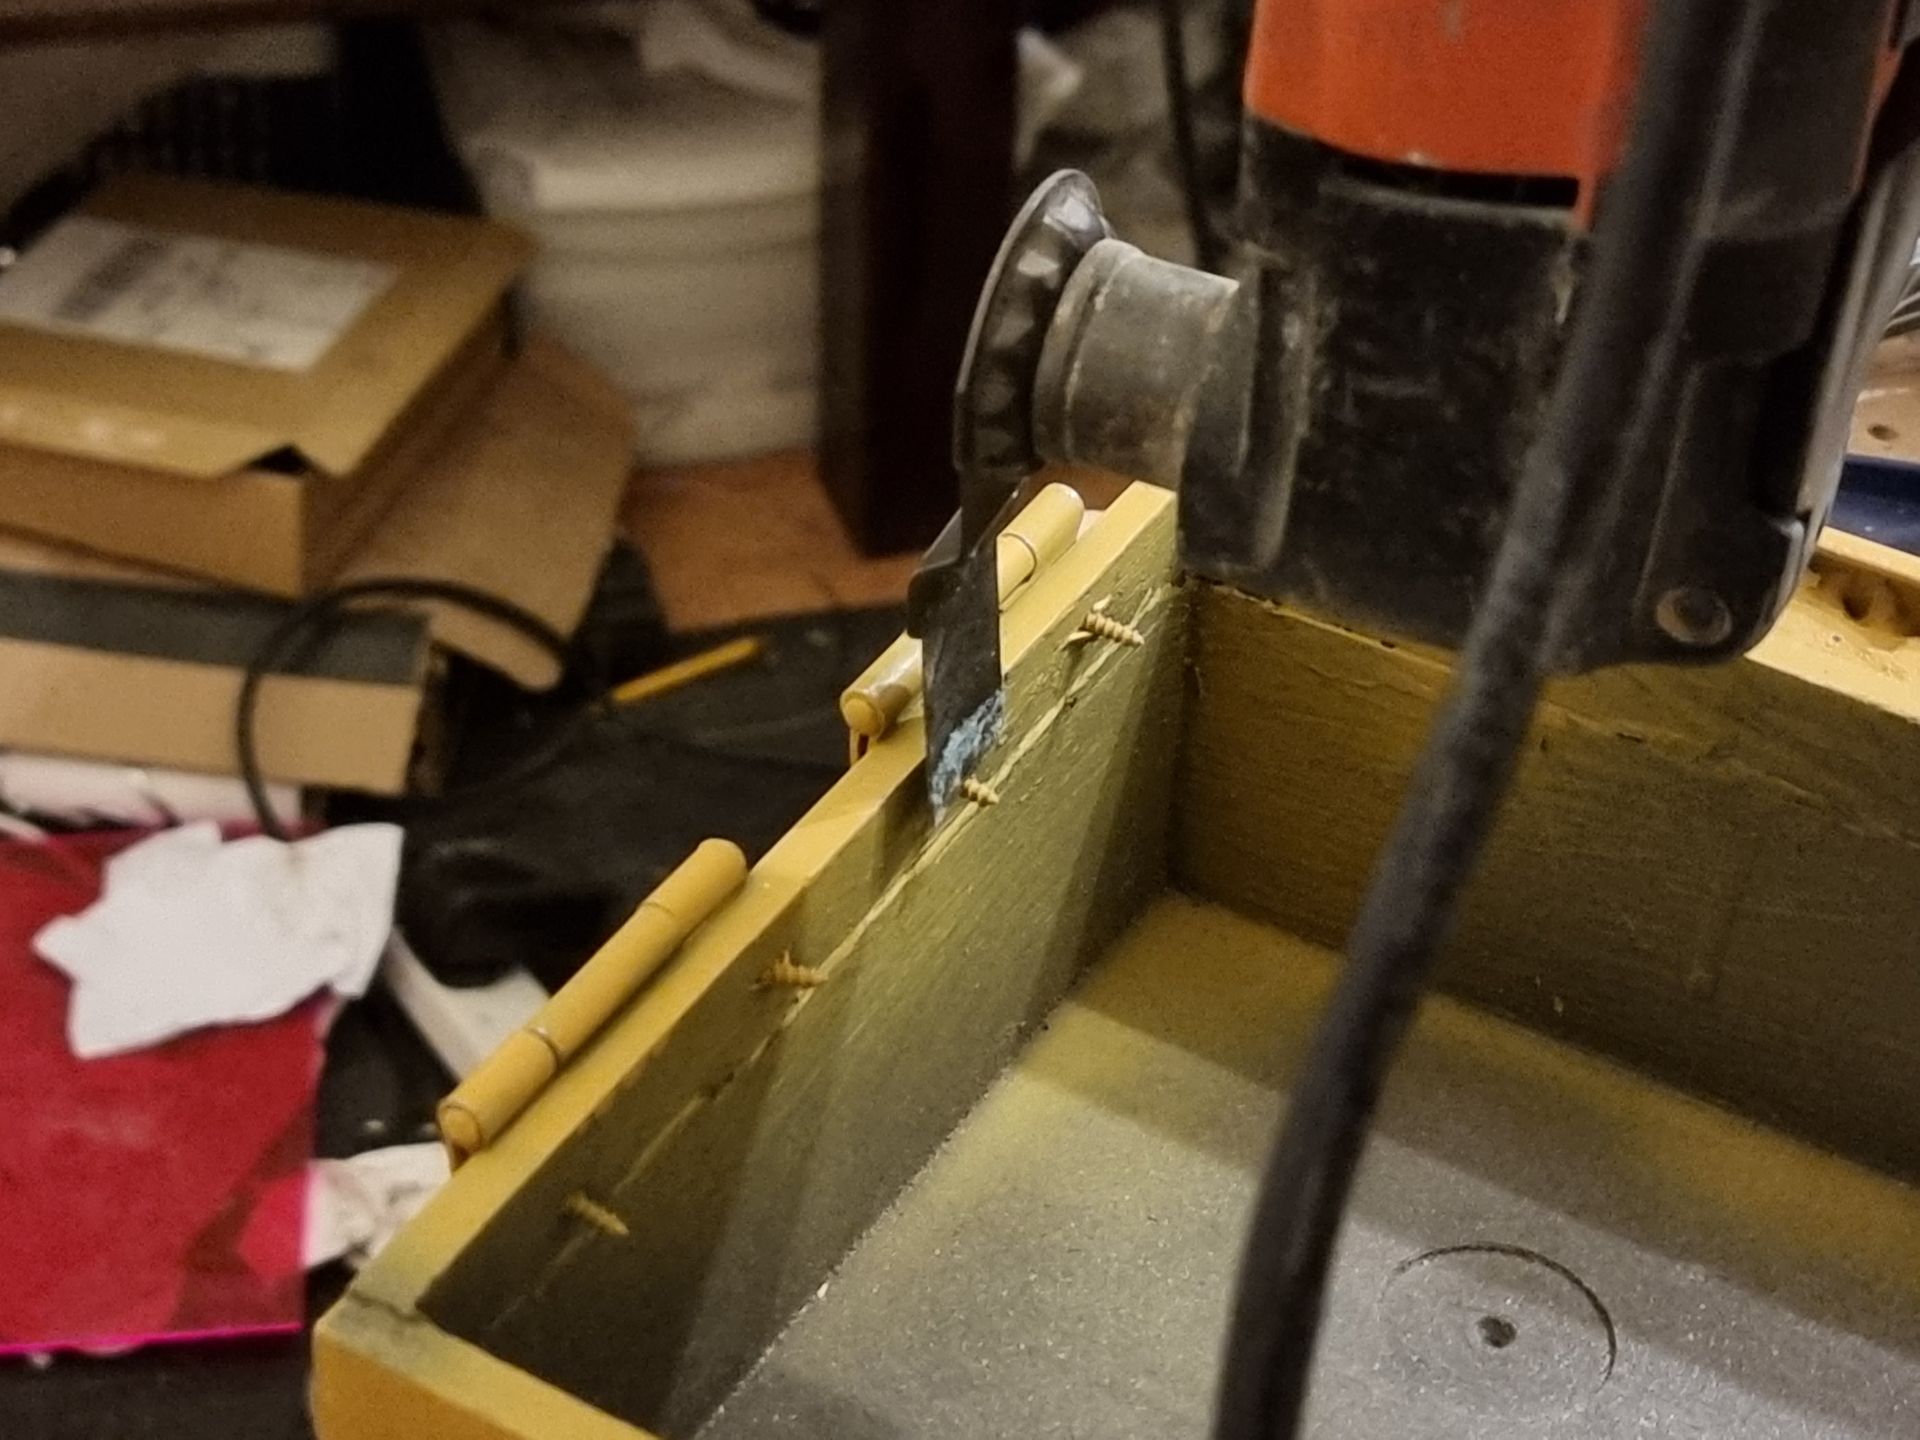
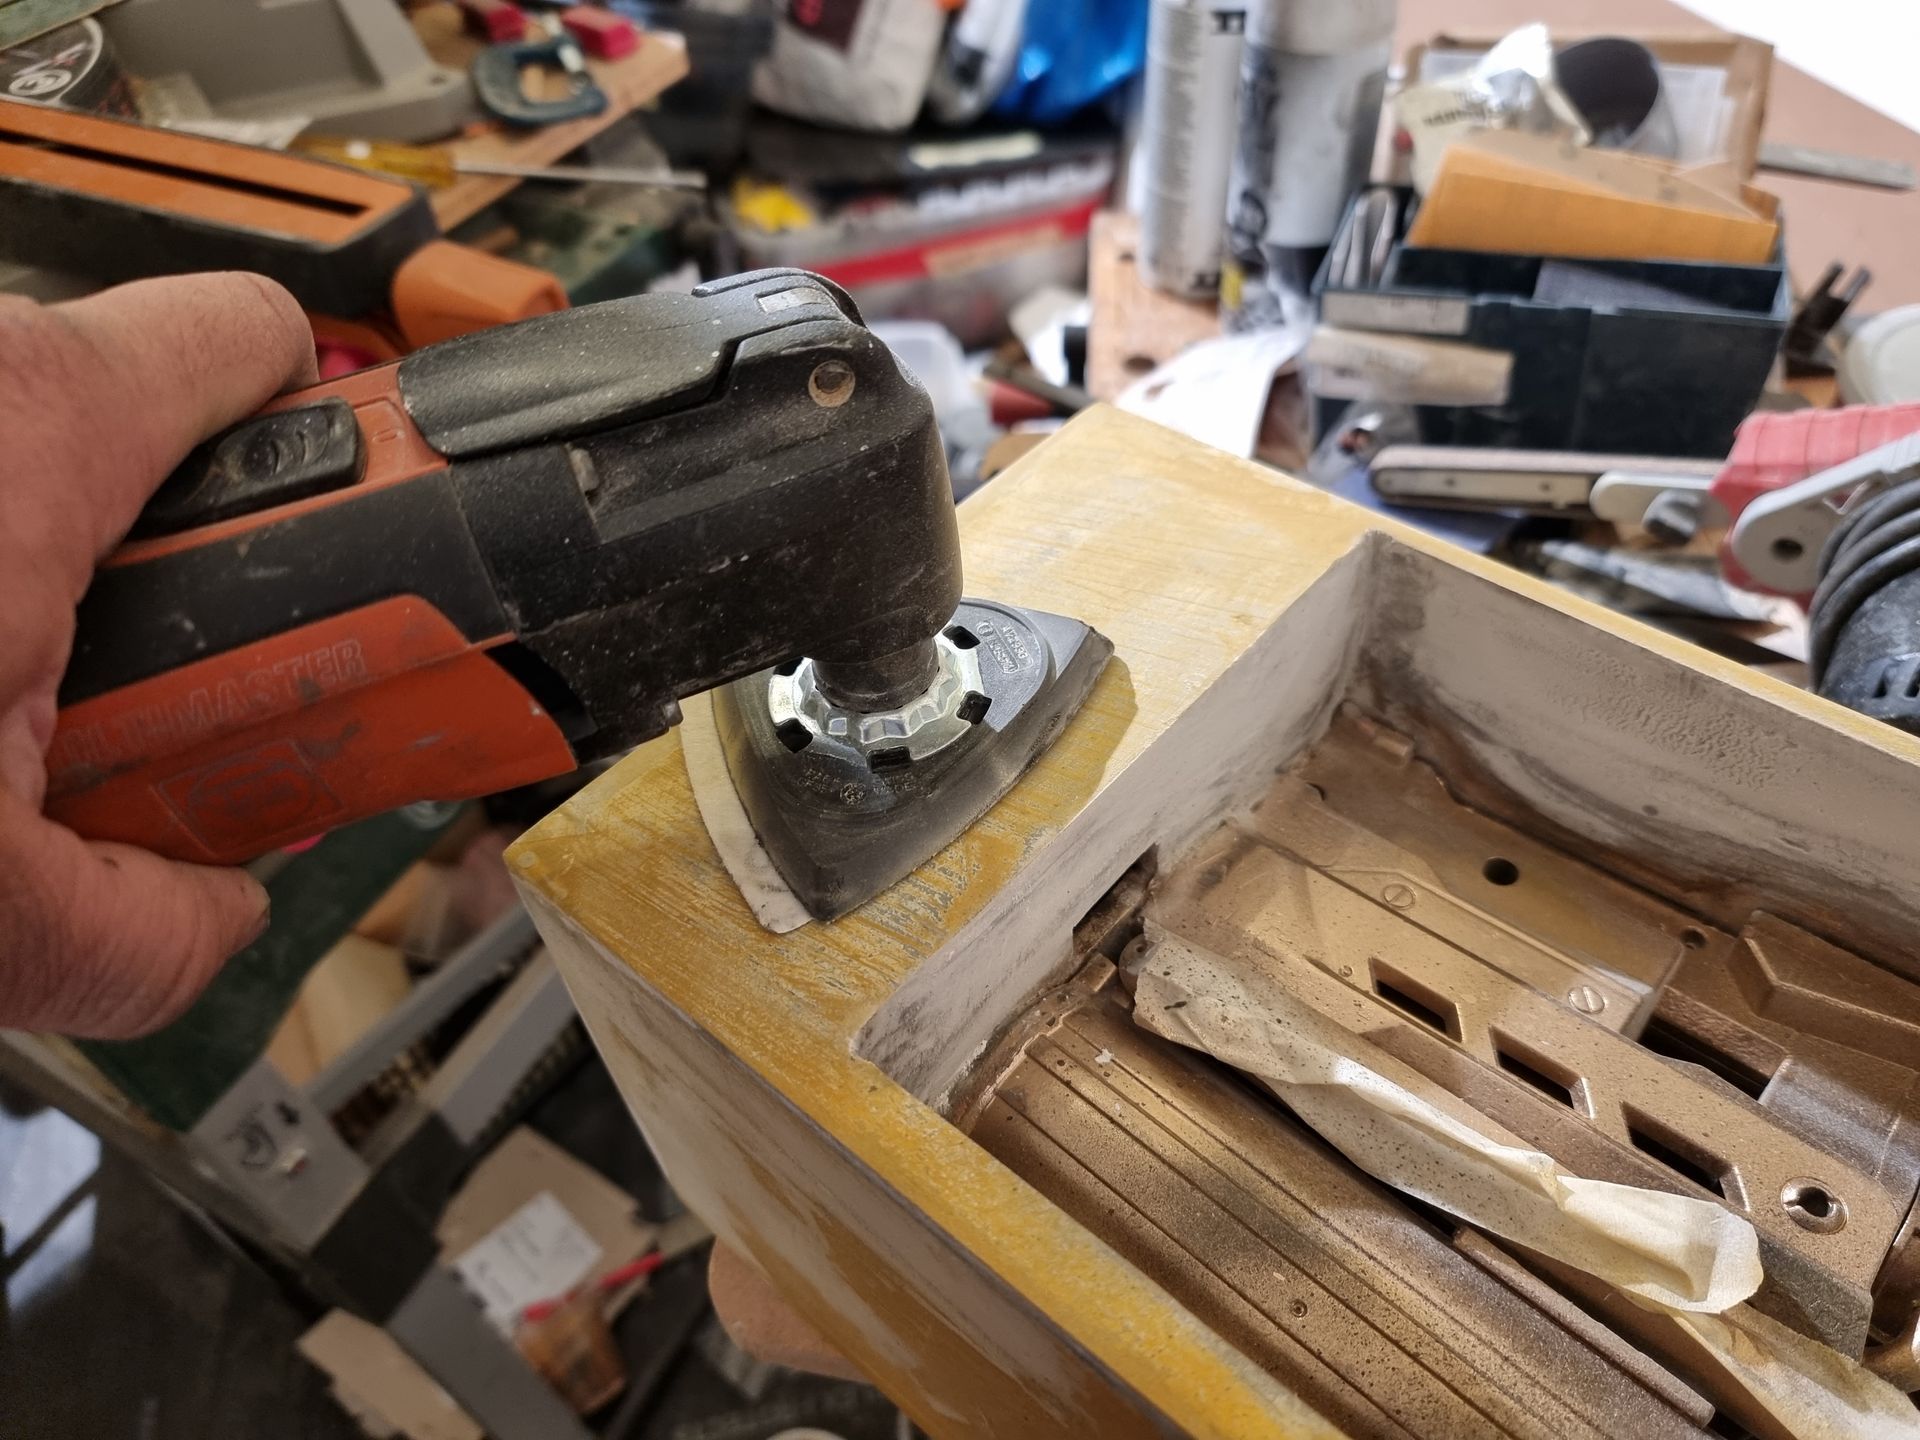
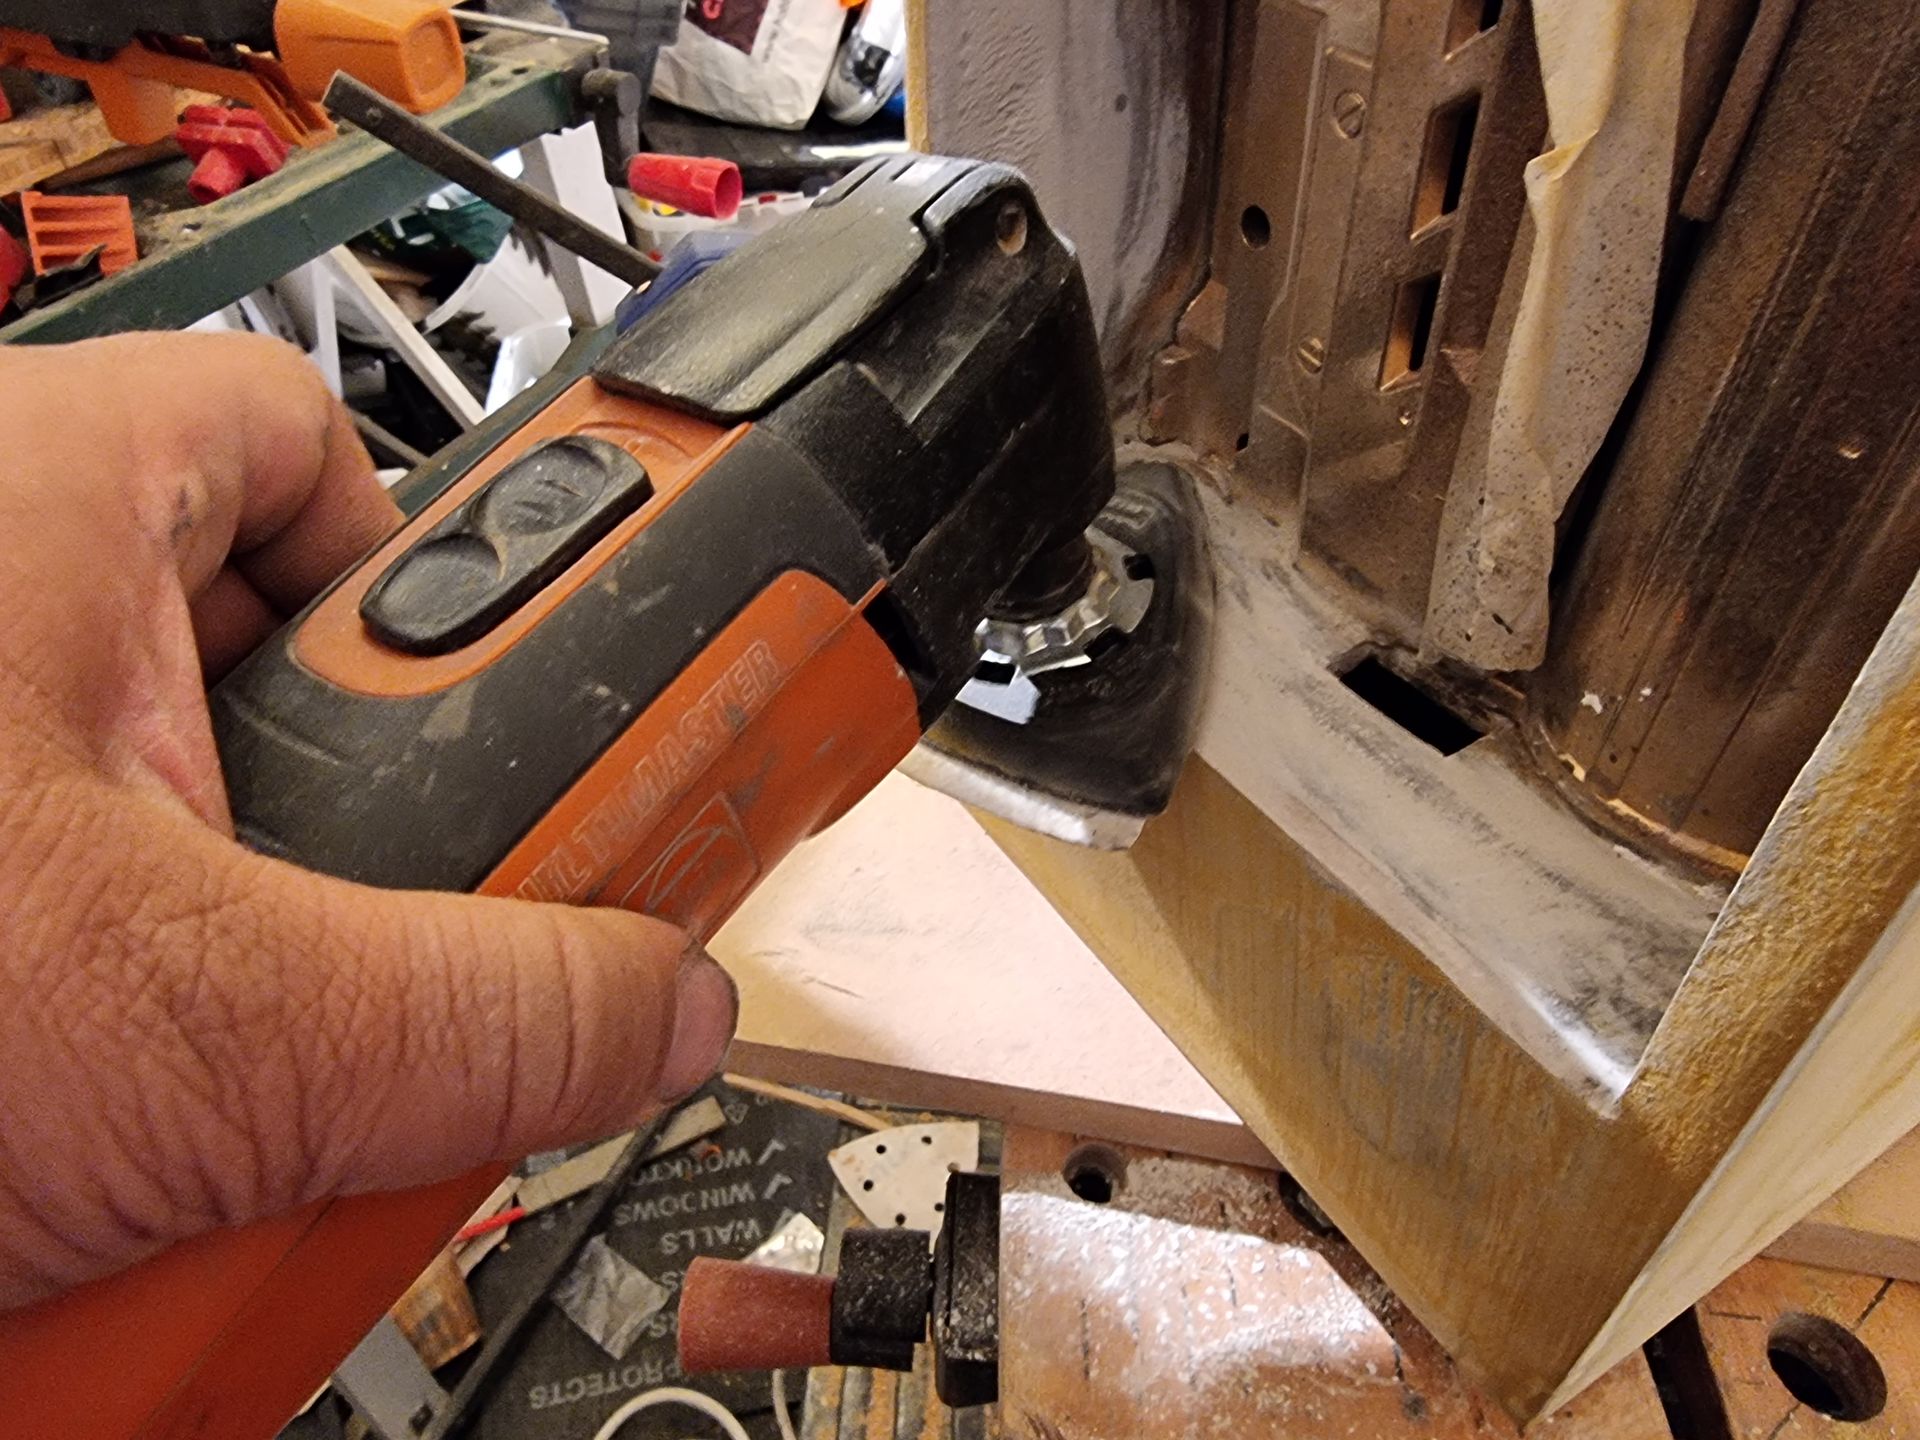
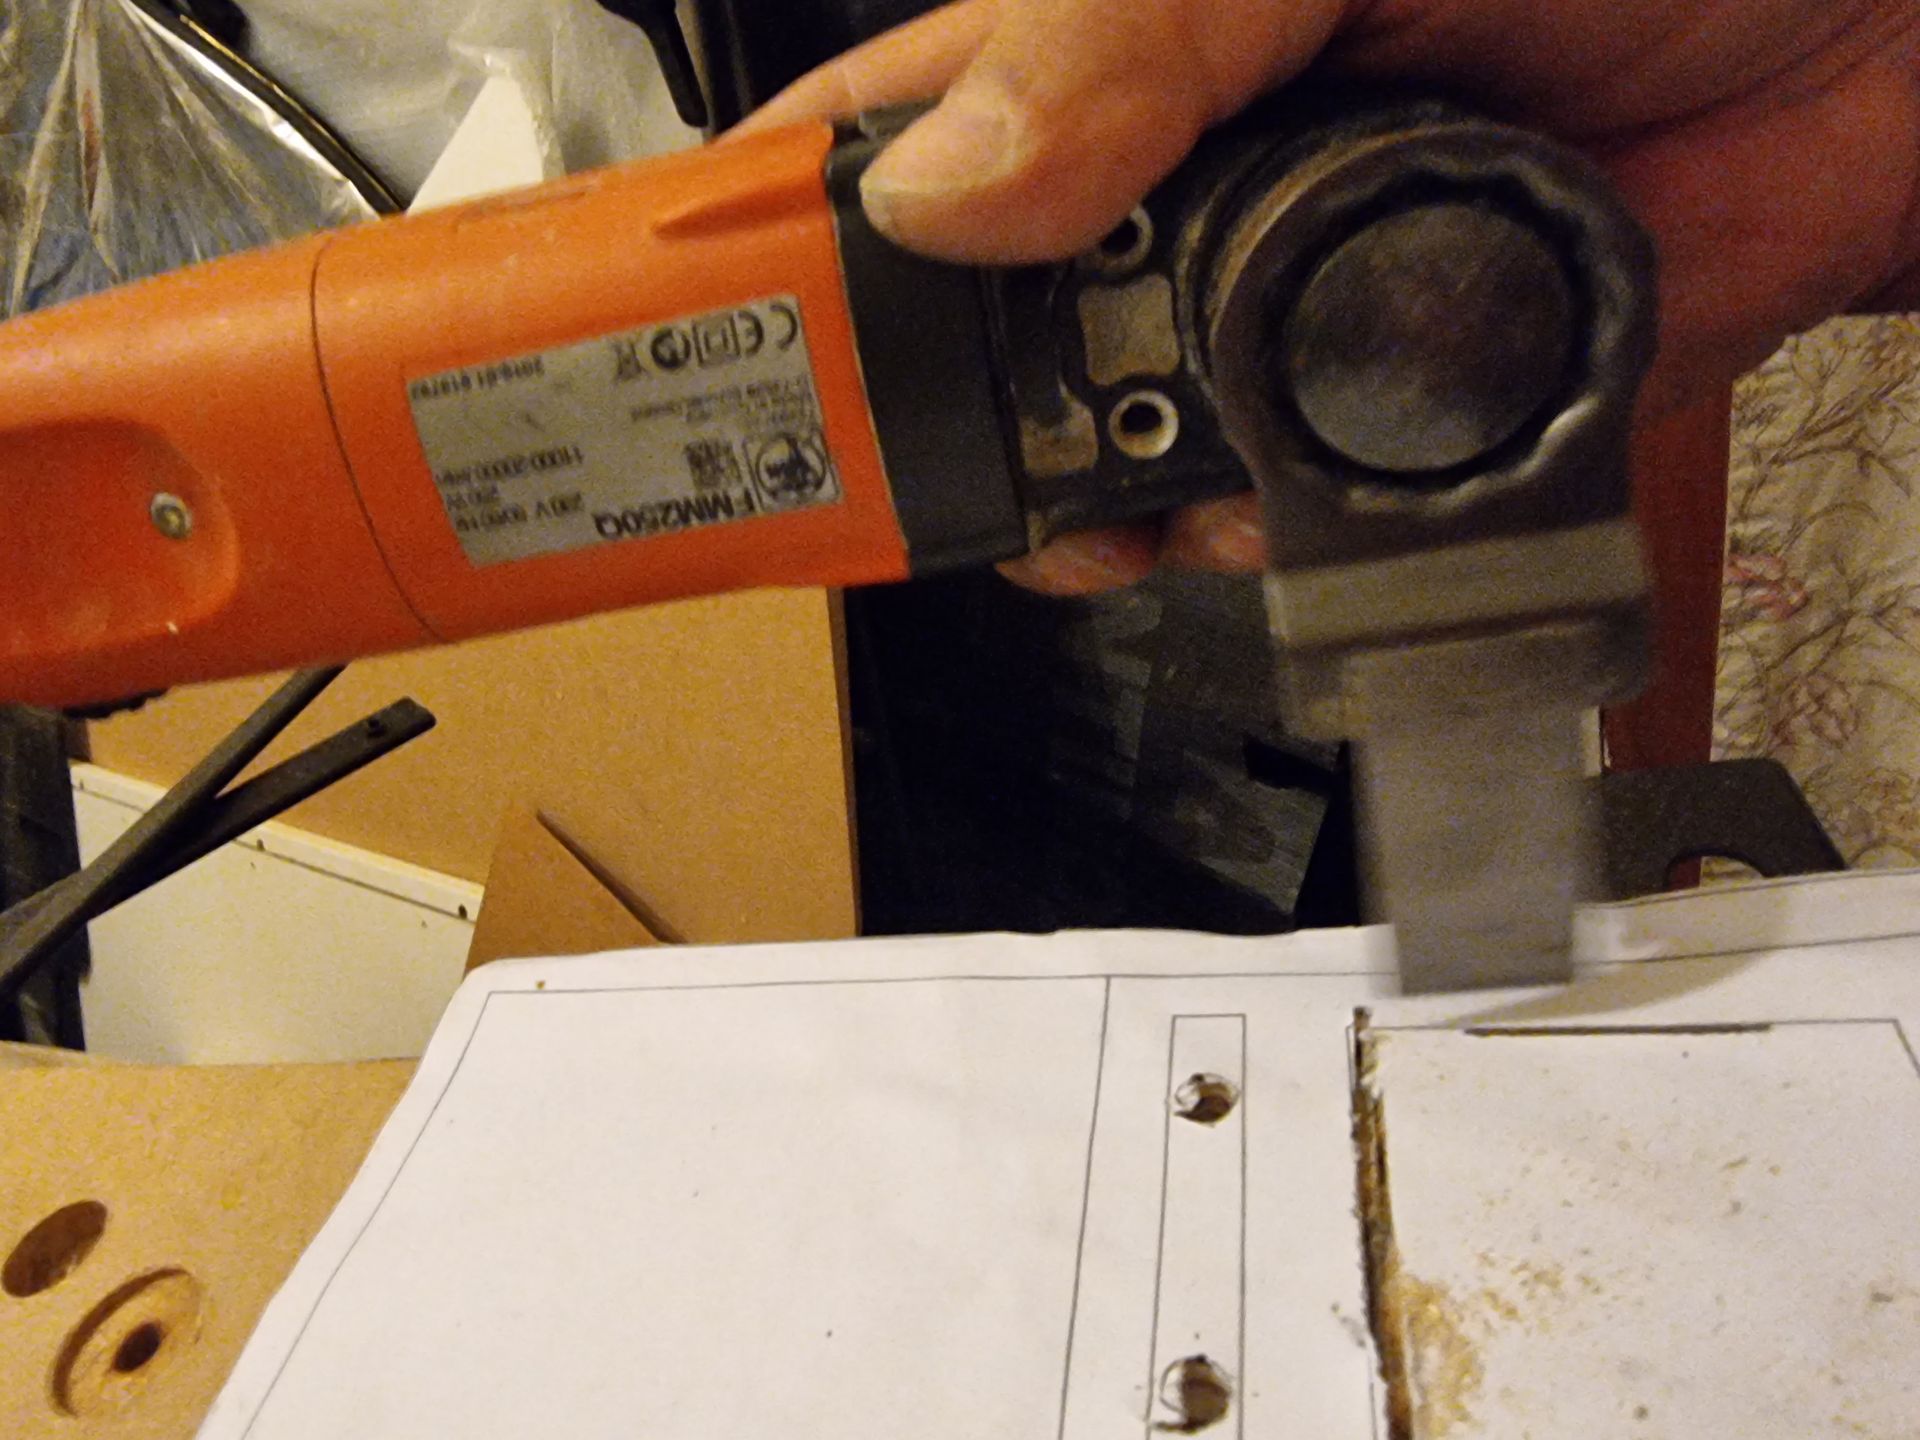
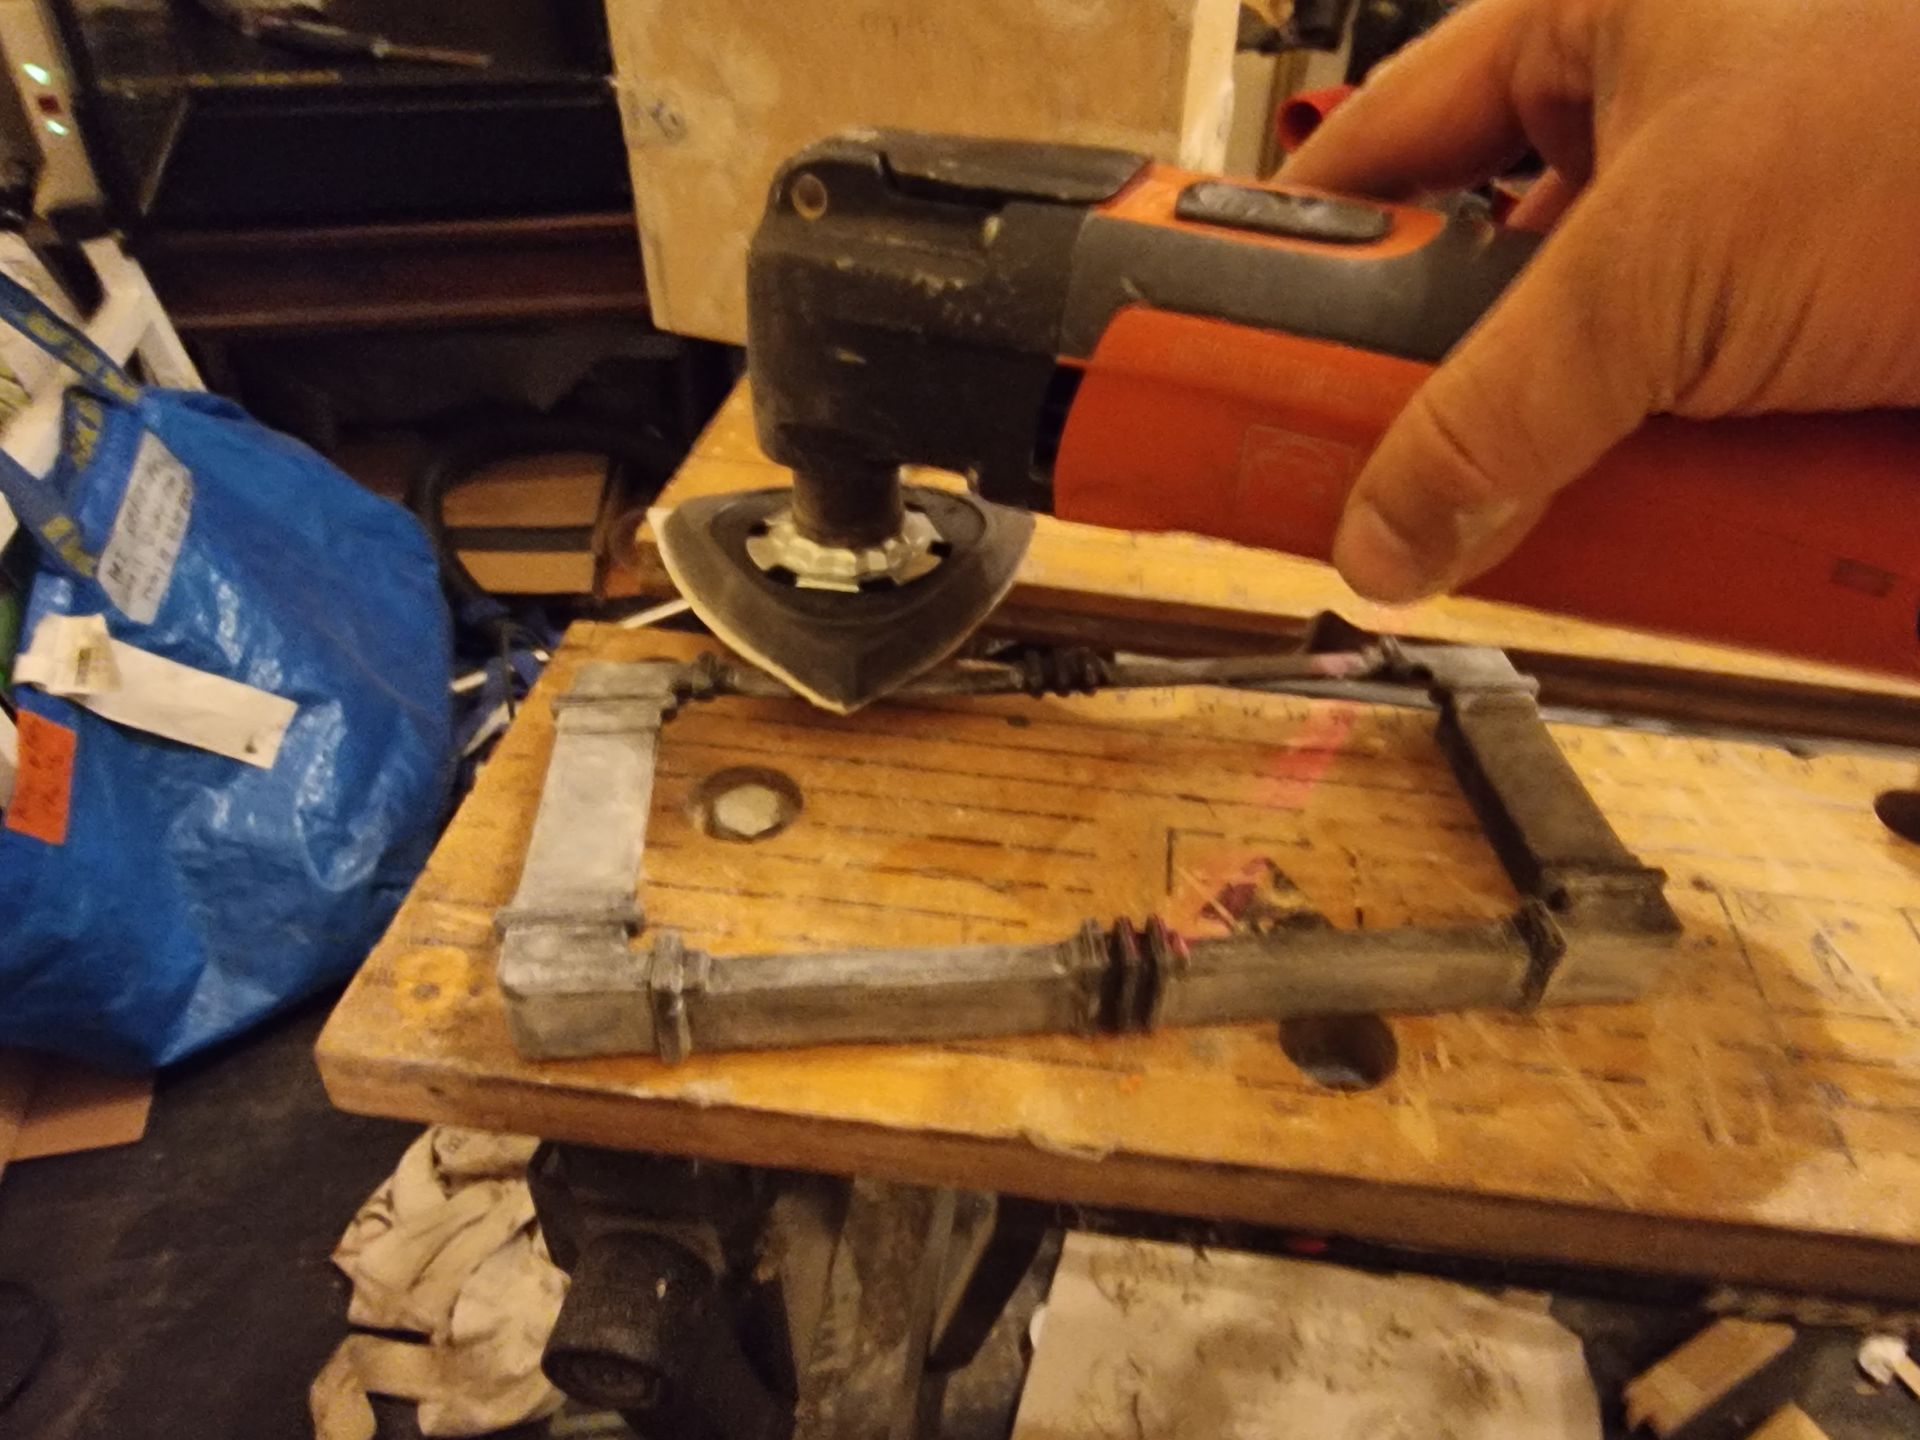
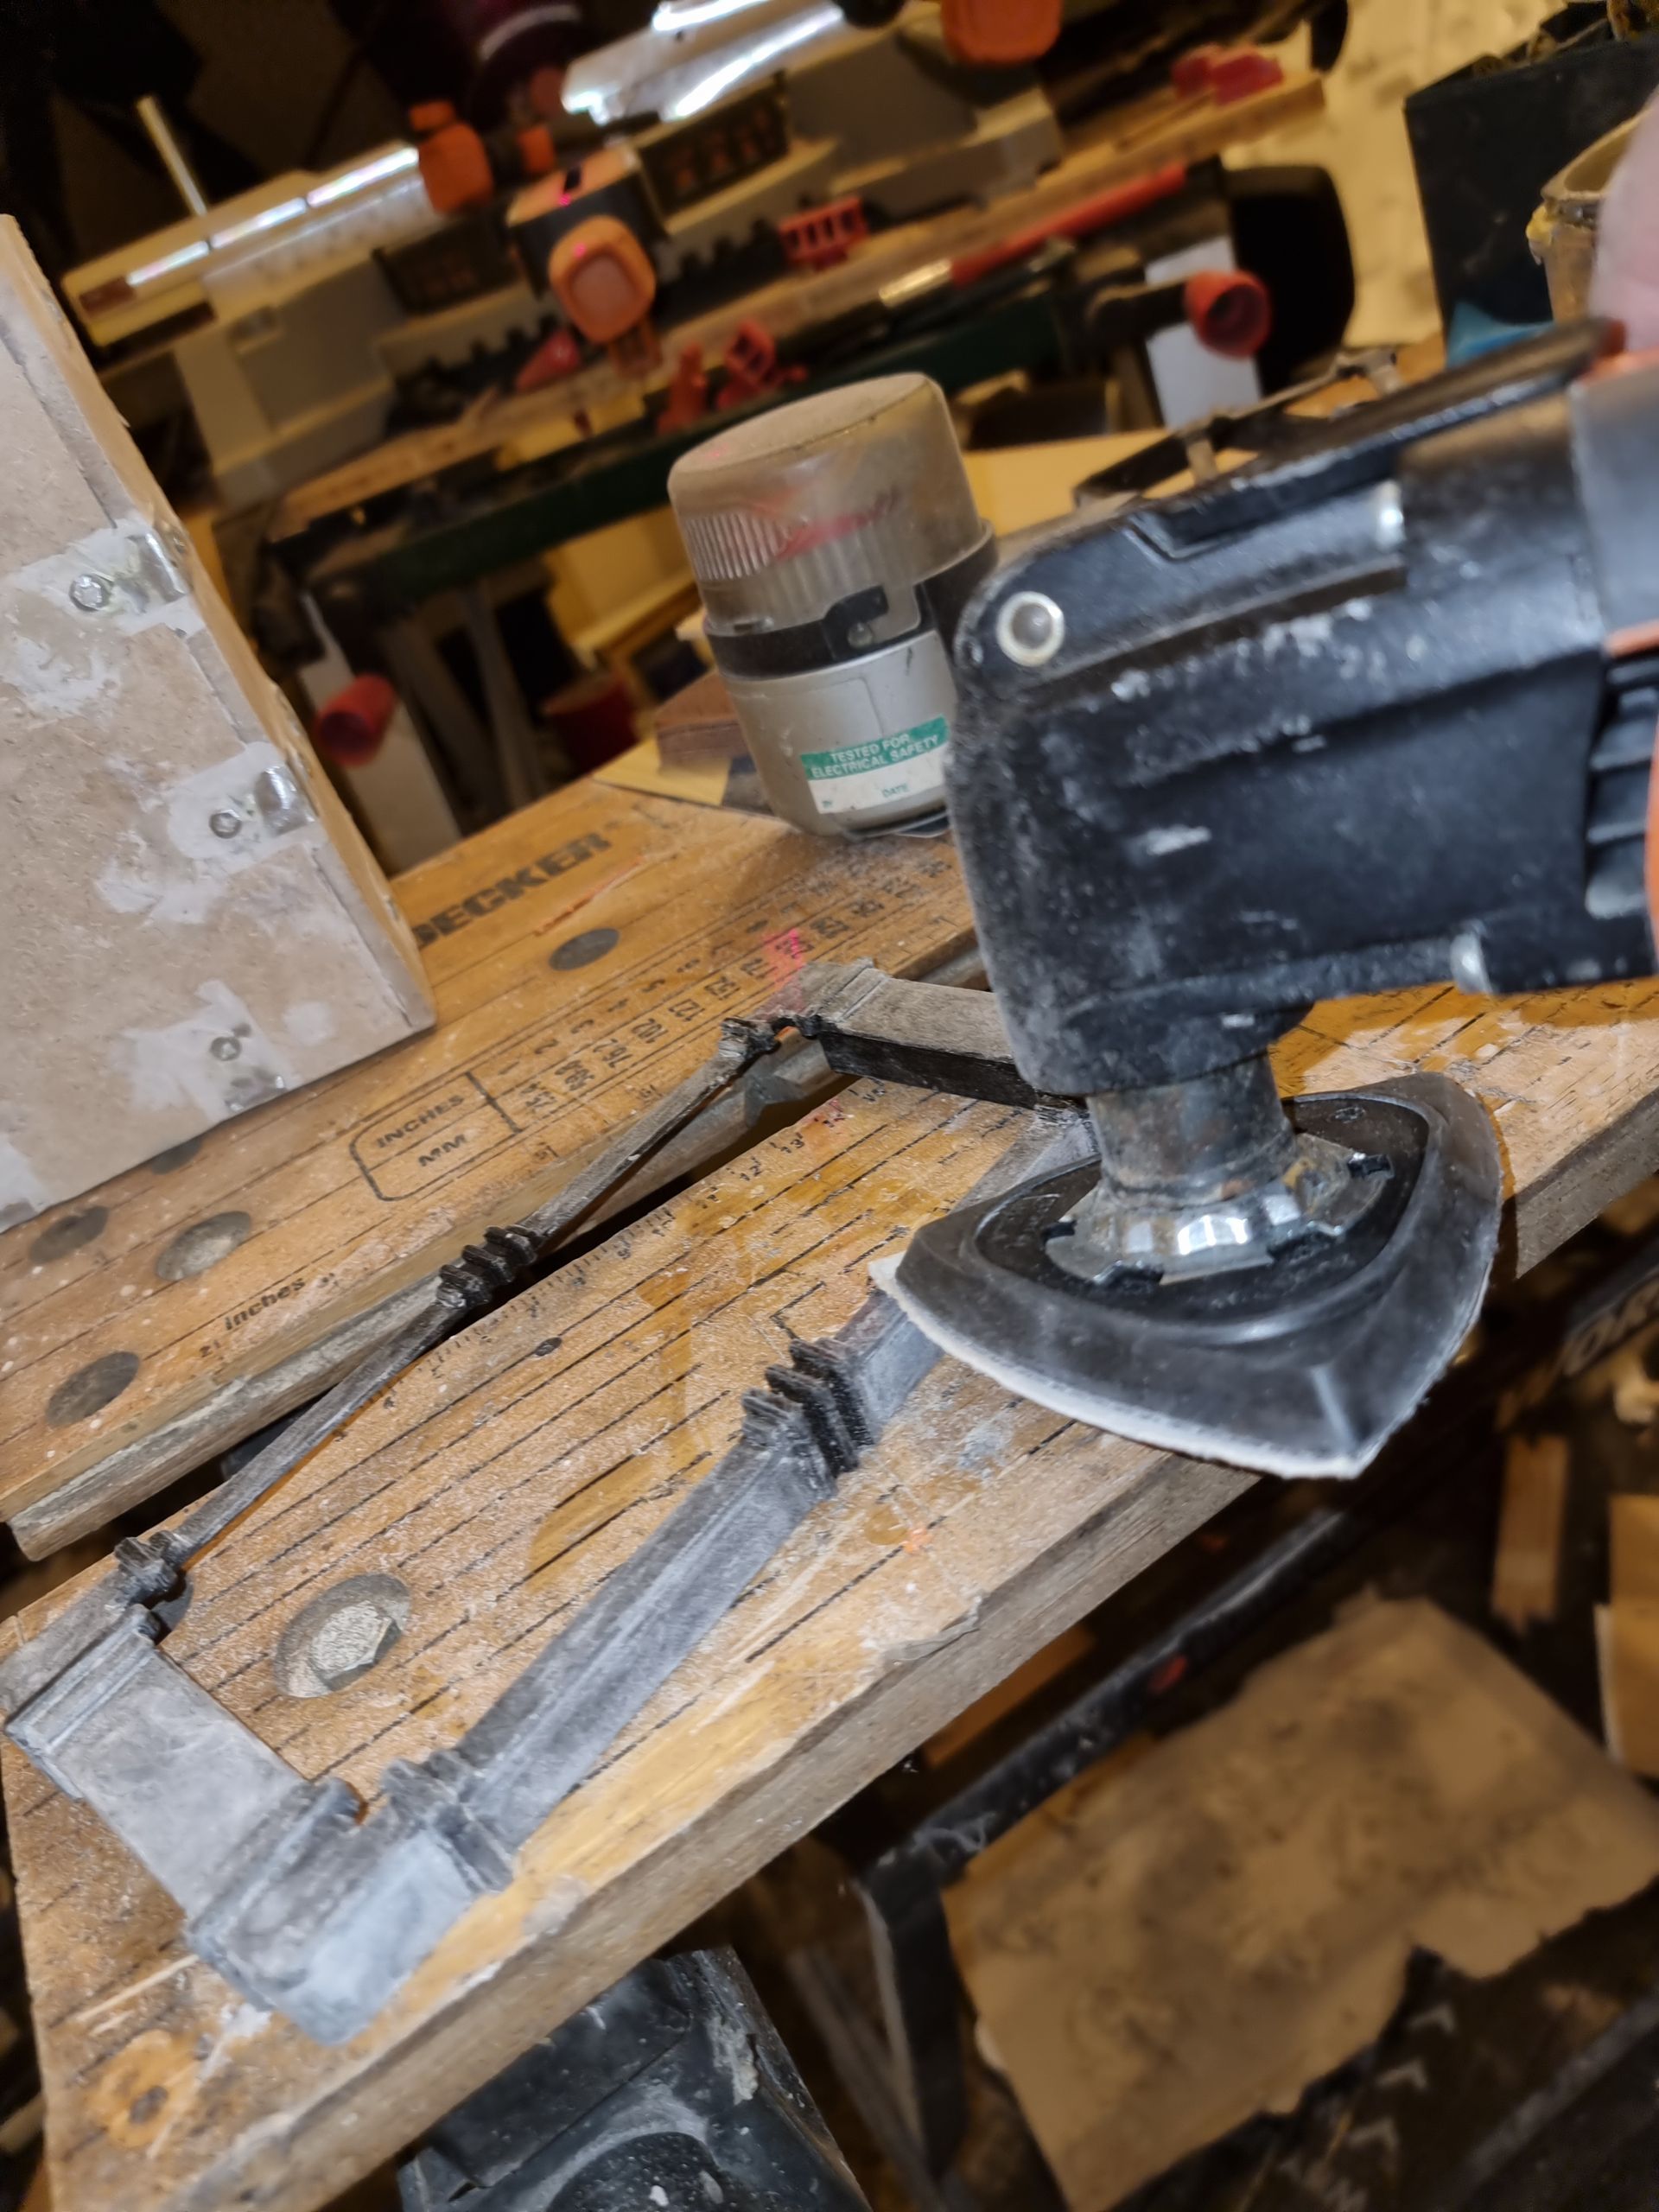
The multi-tool is super versatile doing with nothing else can both the sand down, trim and cut. Thus was used along side my power file depending on the nature or the work needed doing.
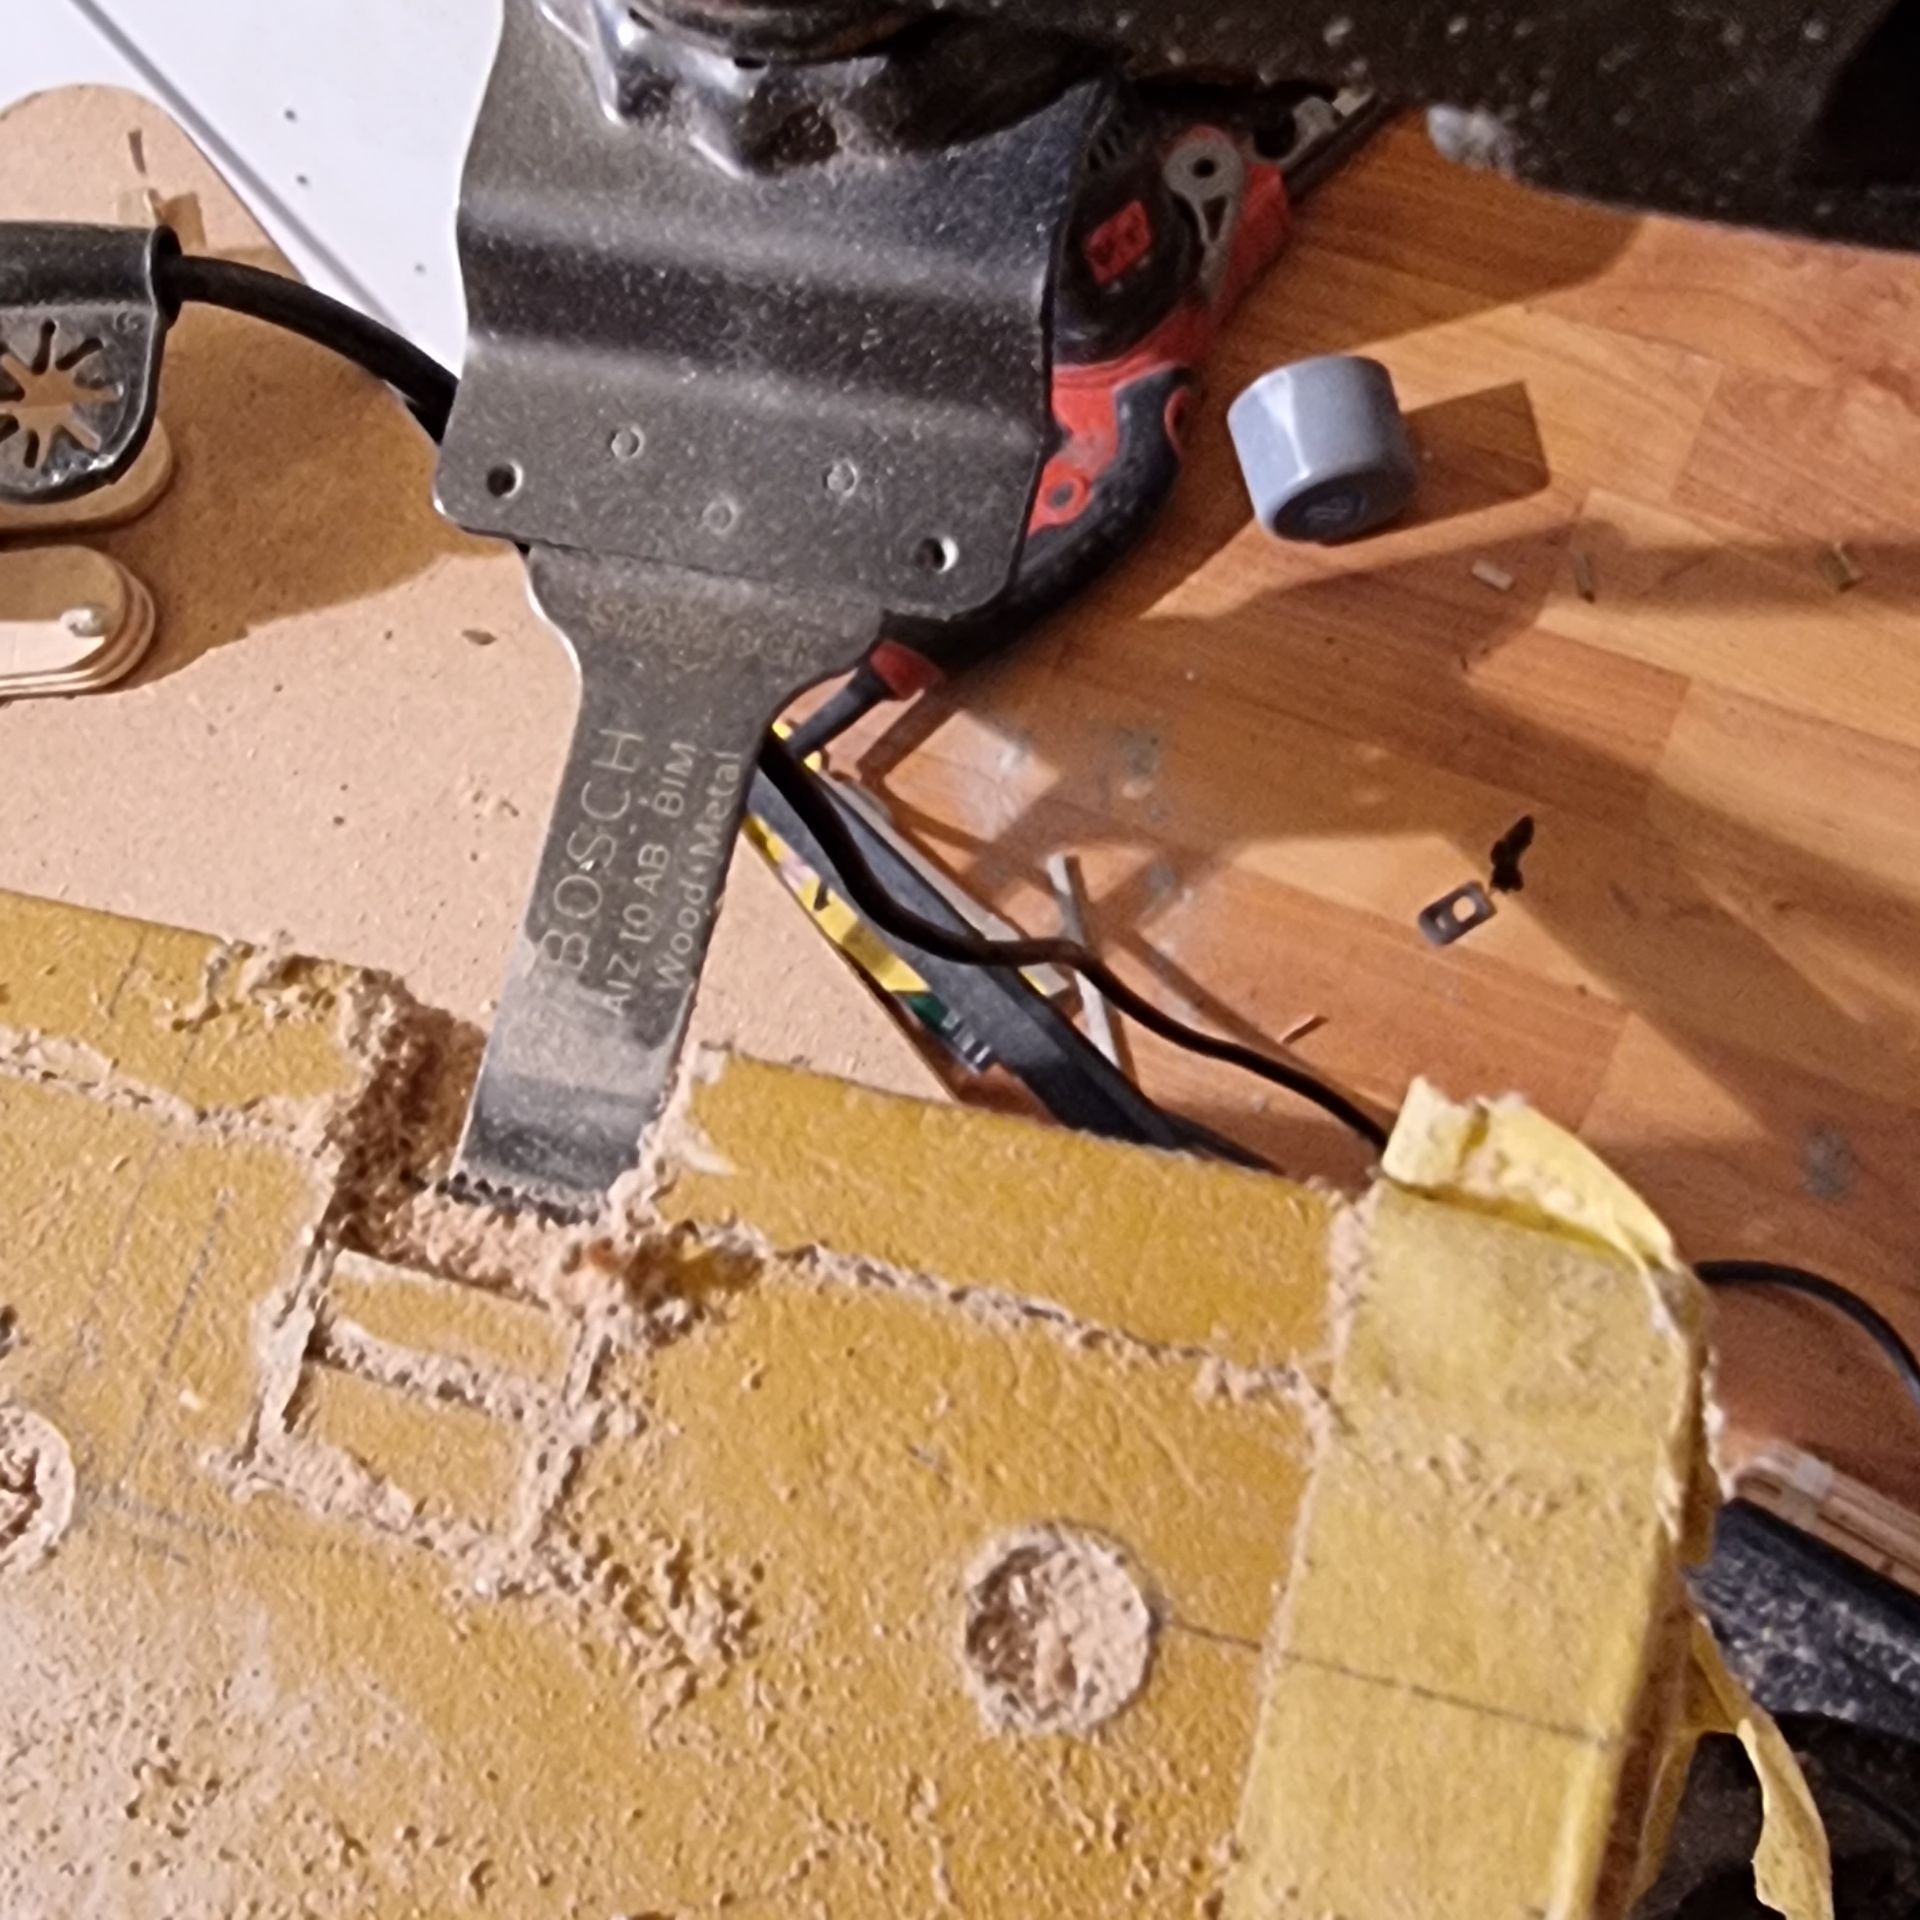
the Multimater was also exellent at cutting slot groves for the panels.
It also enables trimming in awkward places as well as far safer cutting when the use of the mitre saw was too risky.
PVC tubing was used to reiforce the box stucture on the inside.
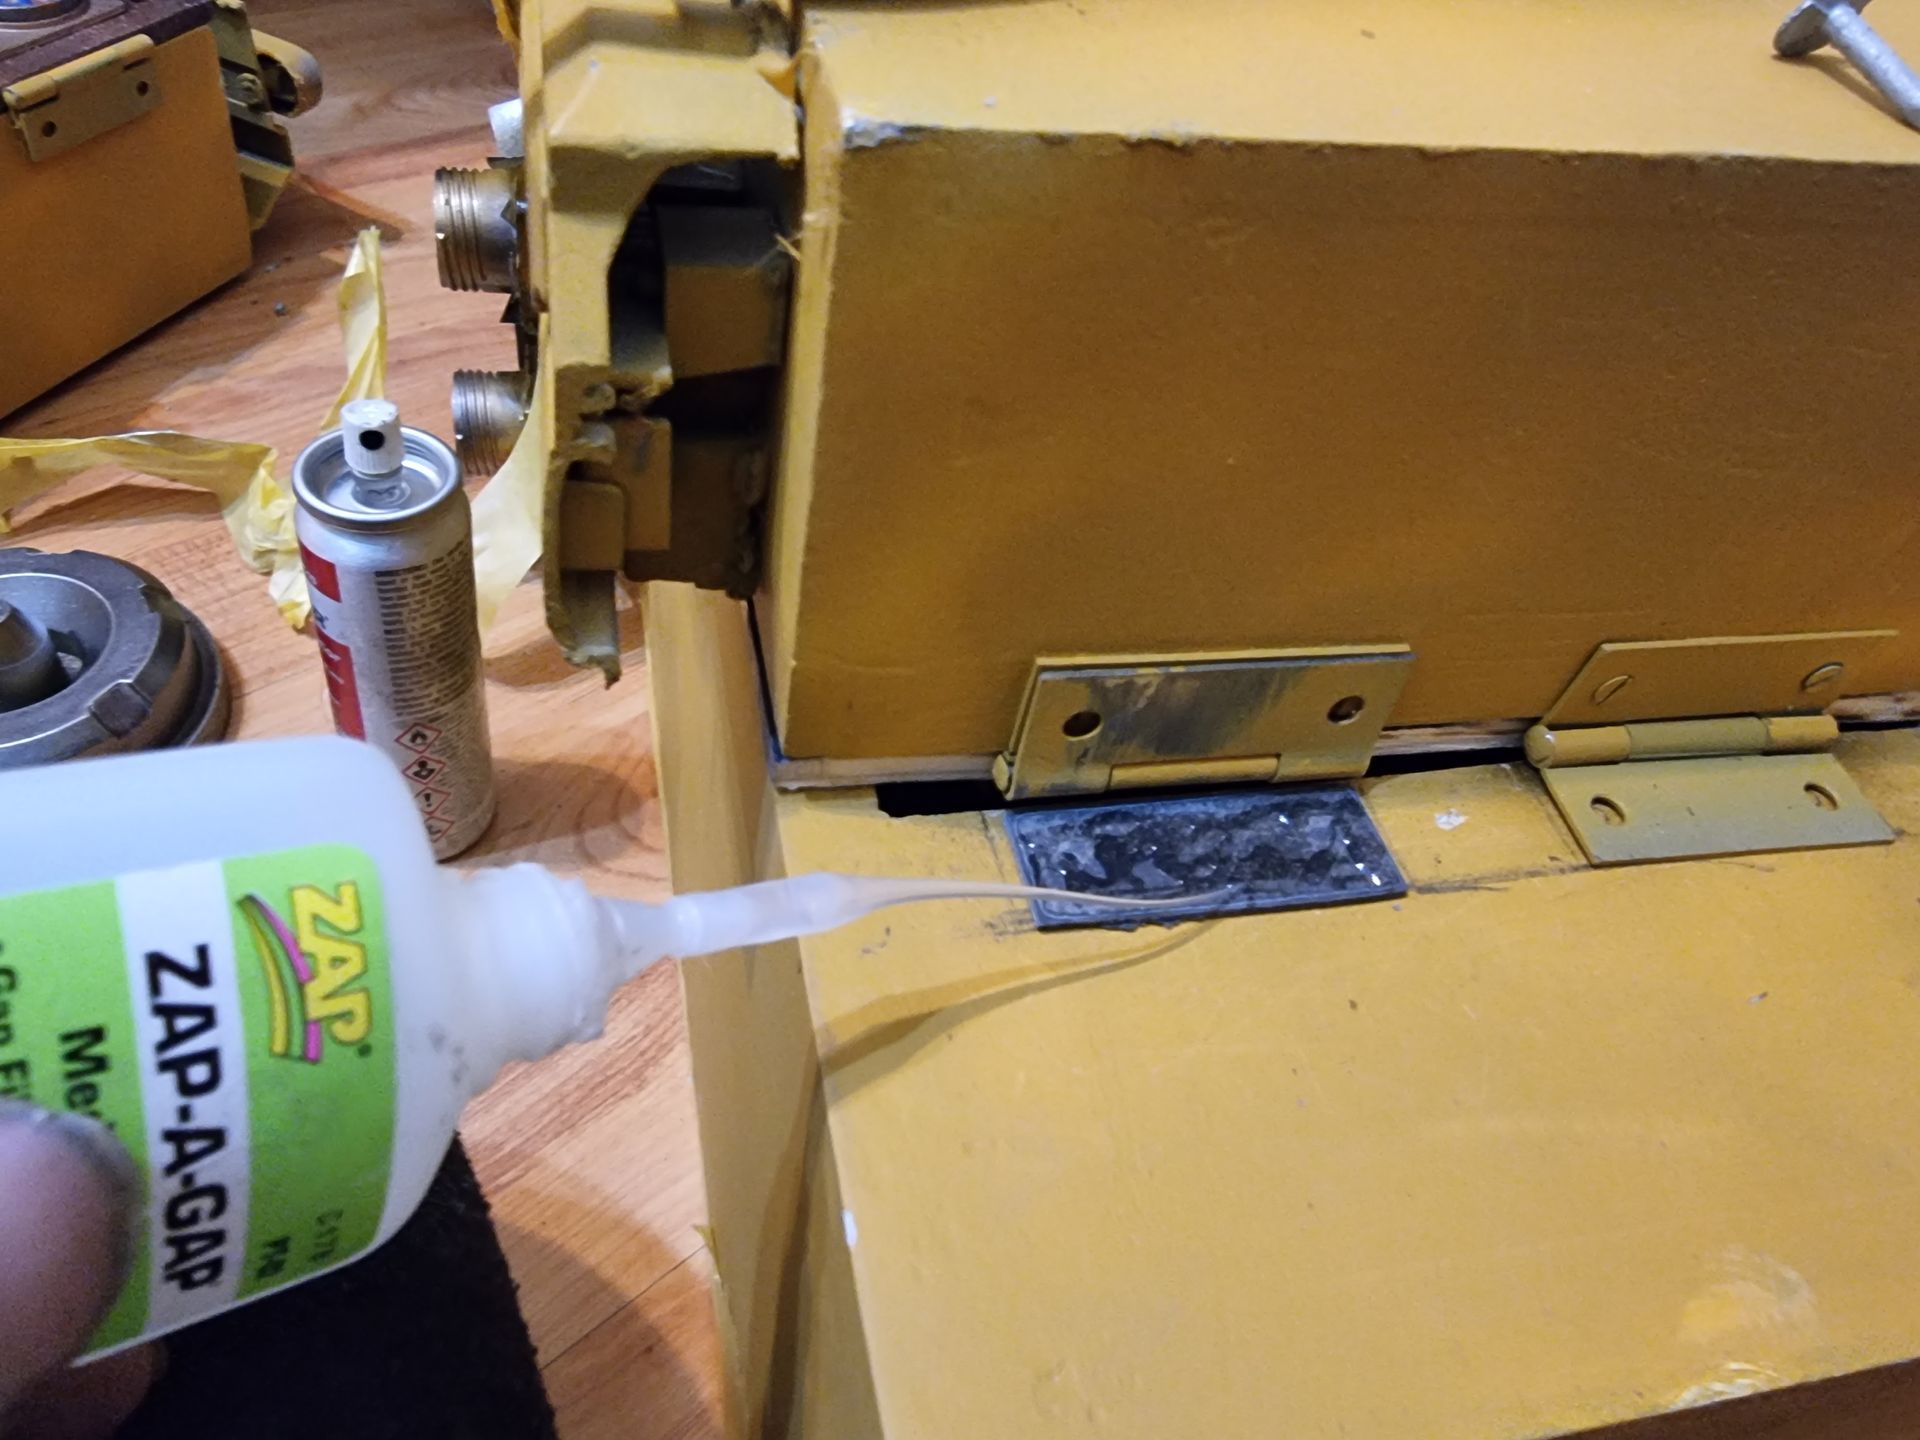
3D printed panels were also used to help position hinges, laid undernesth and superglued into place.
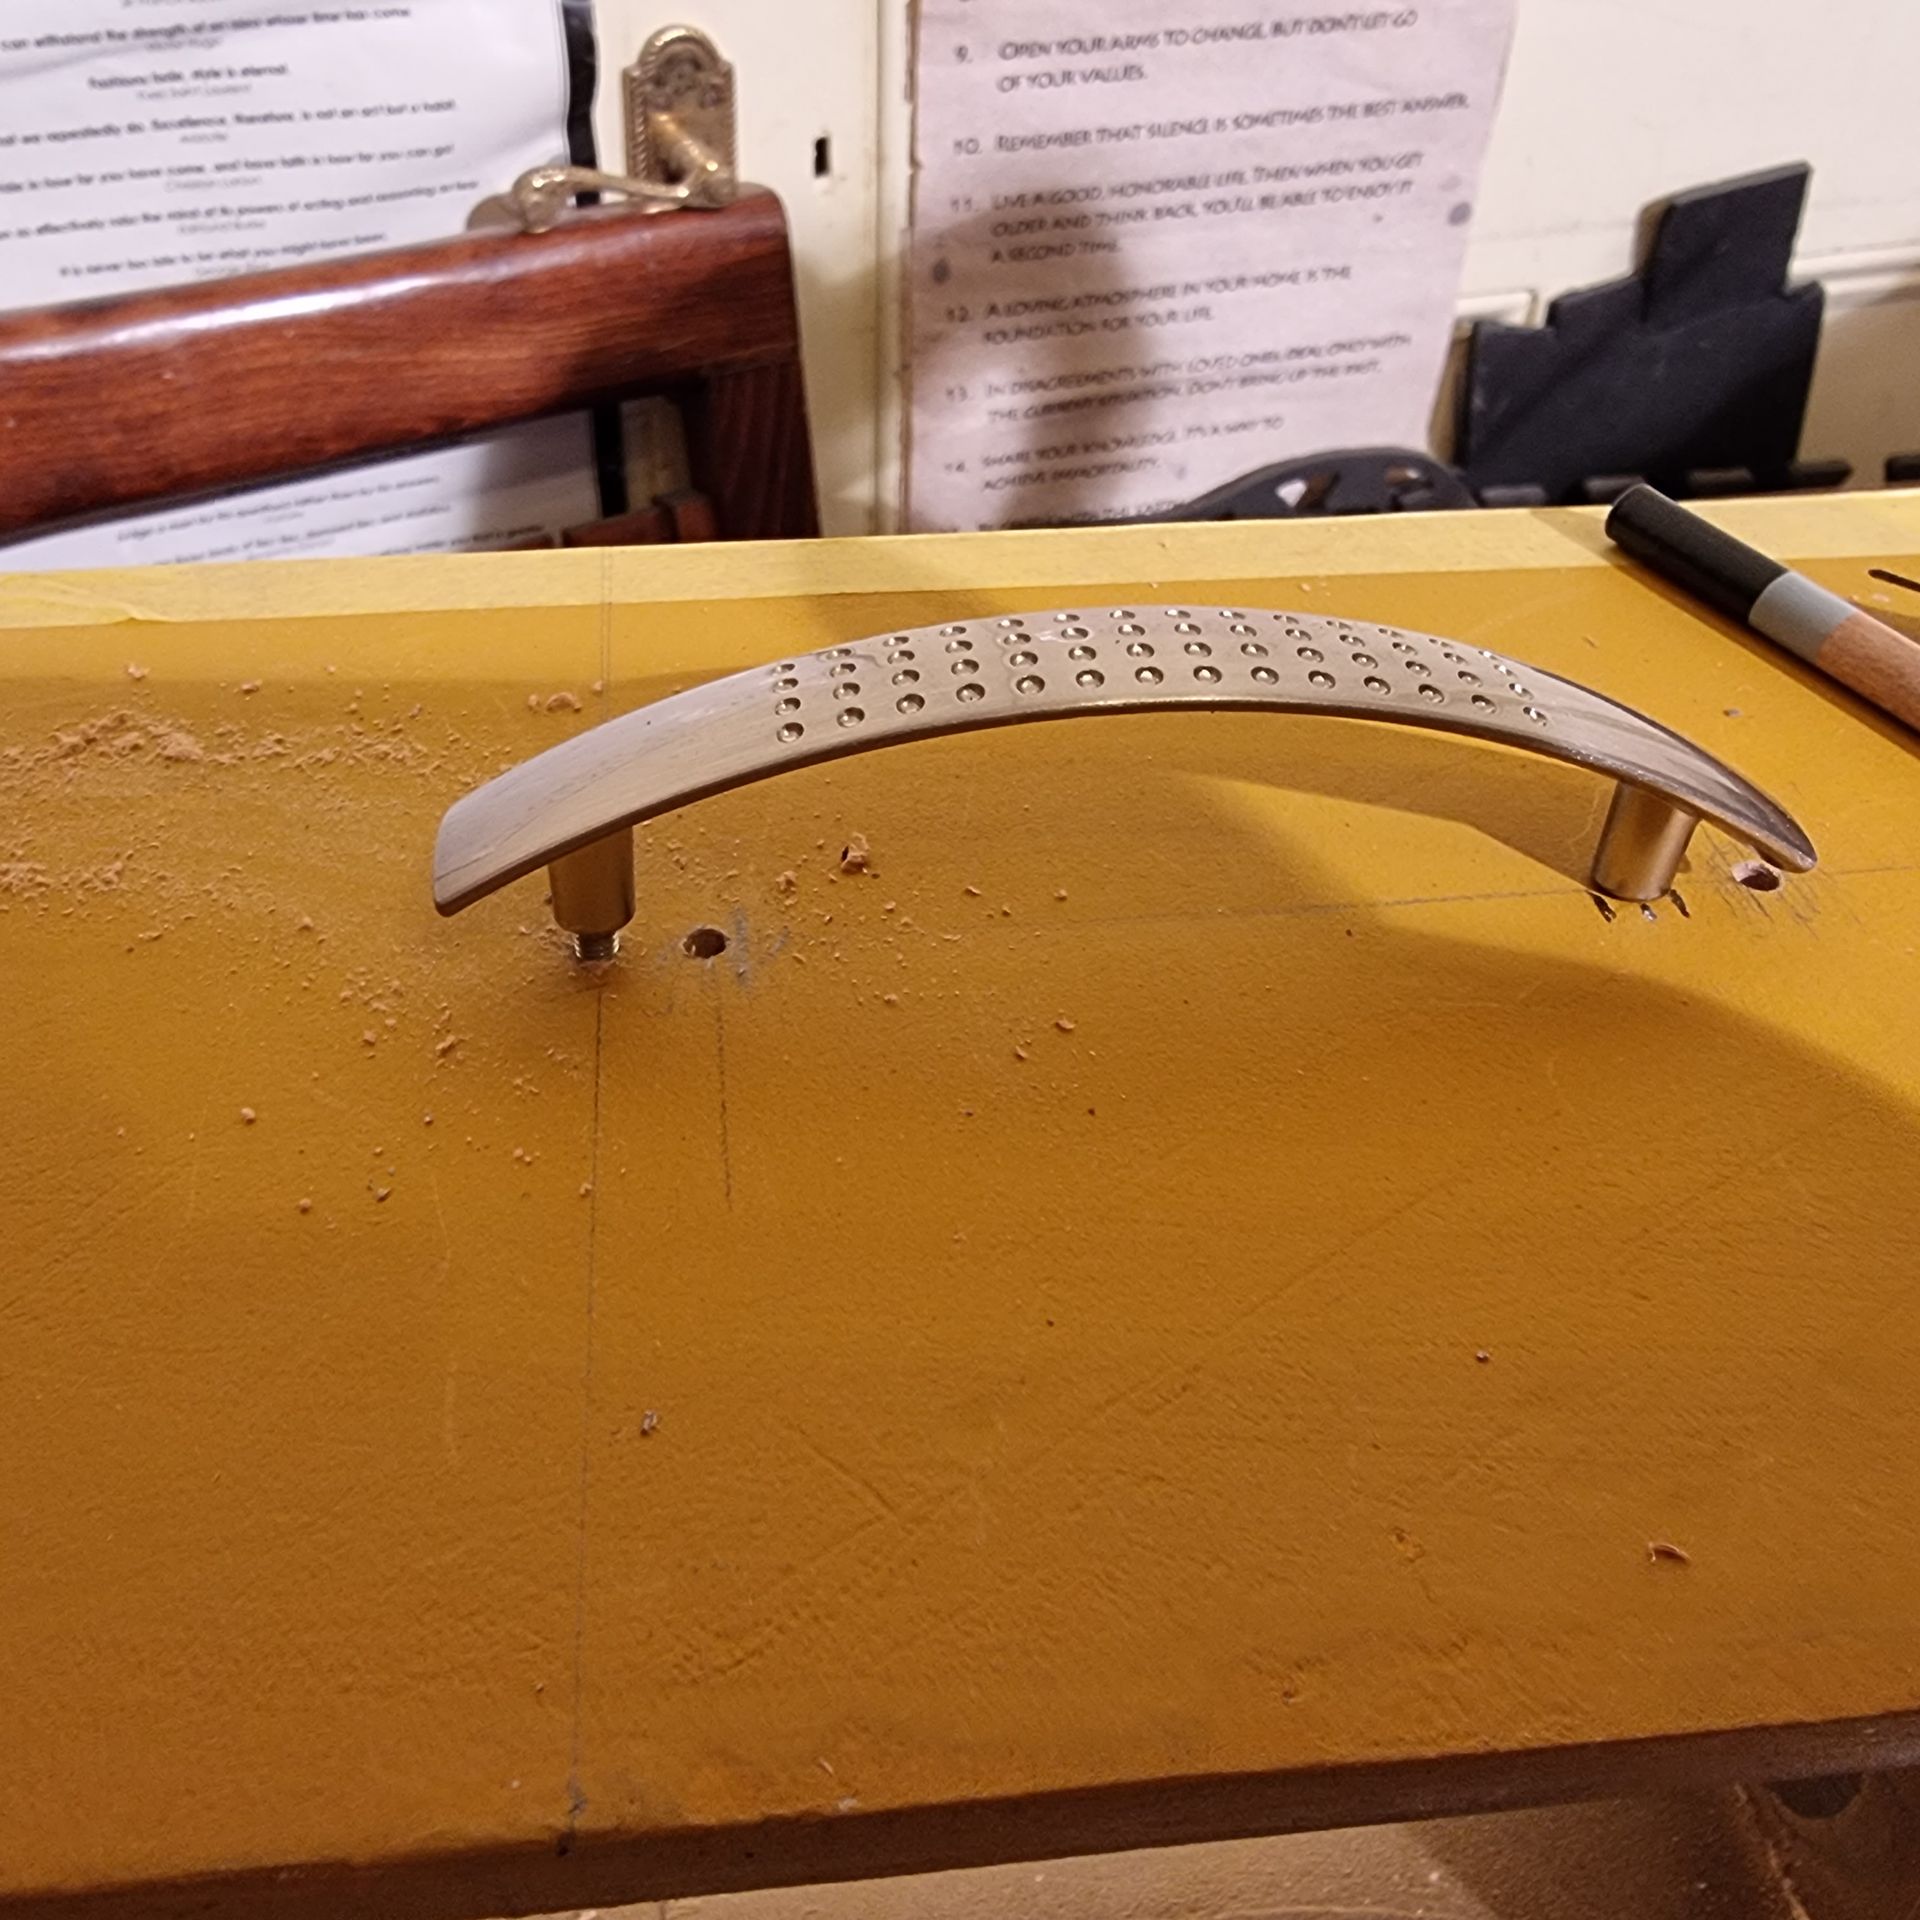
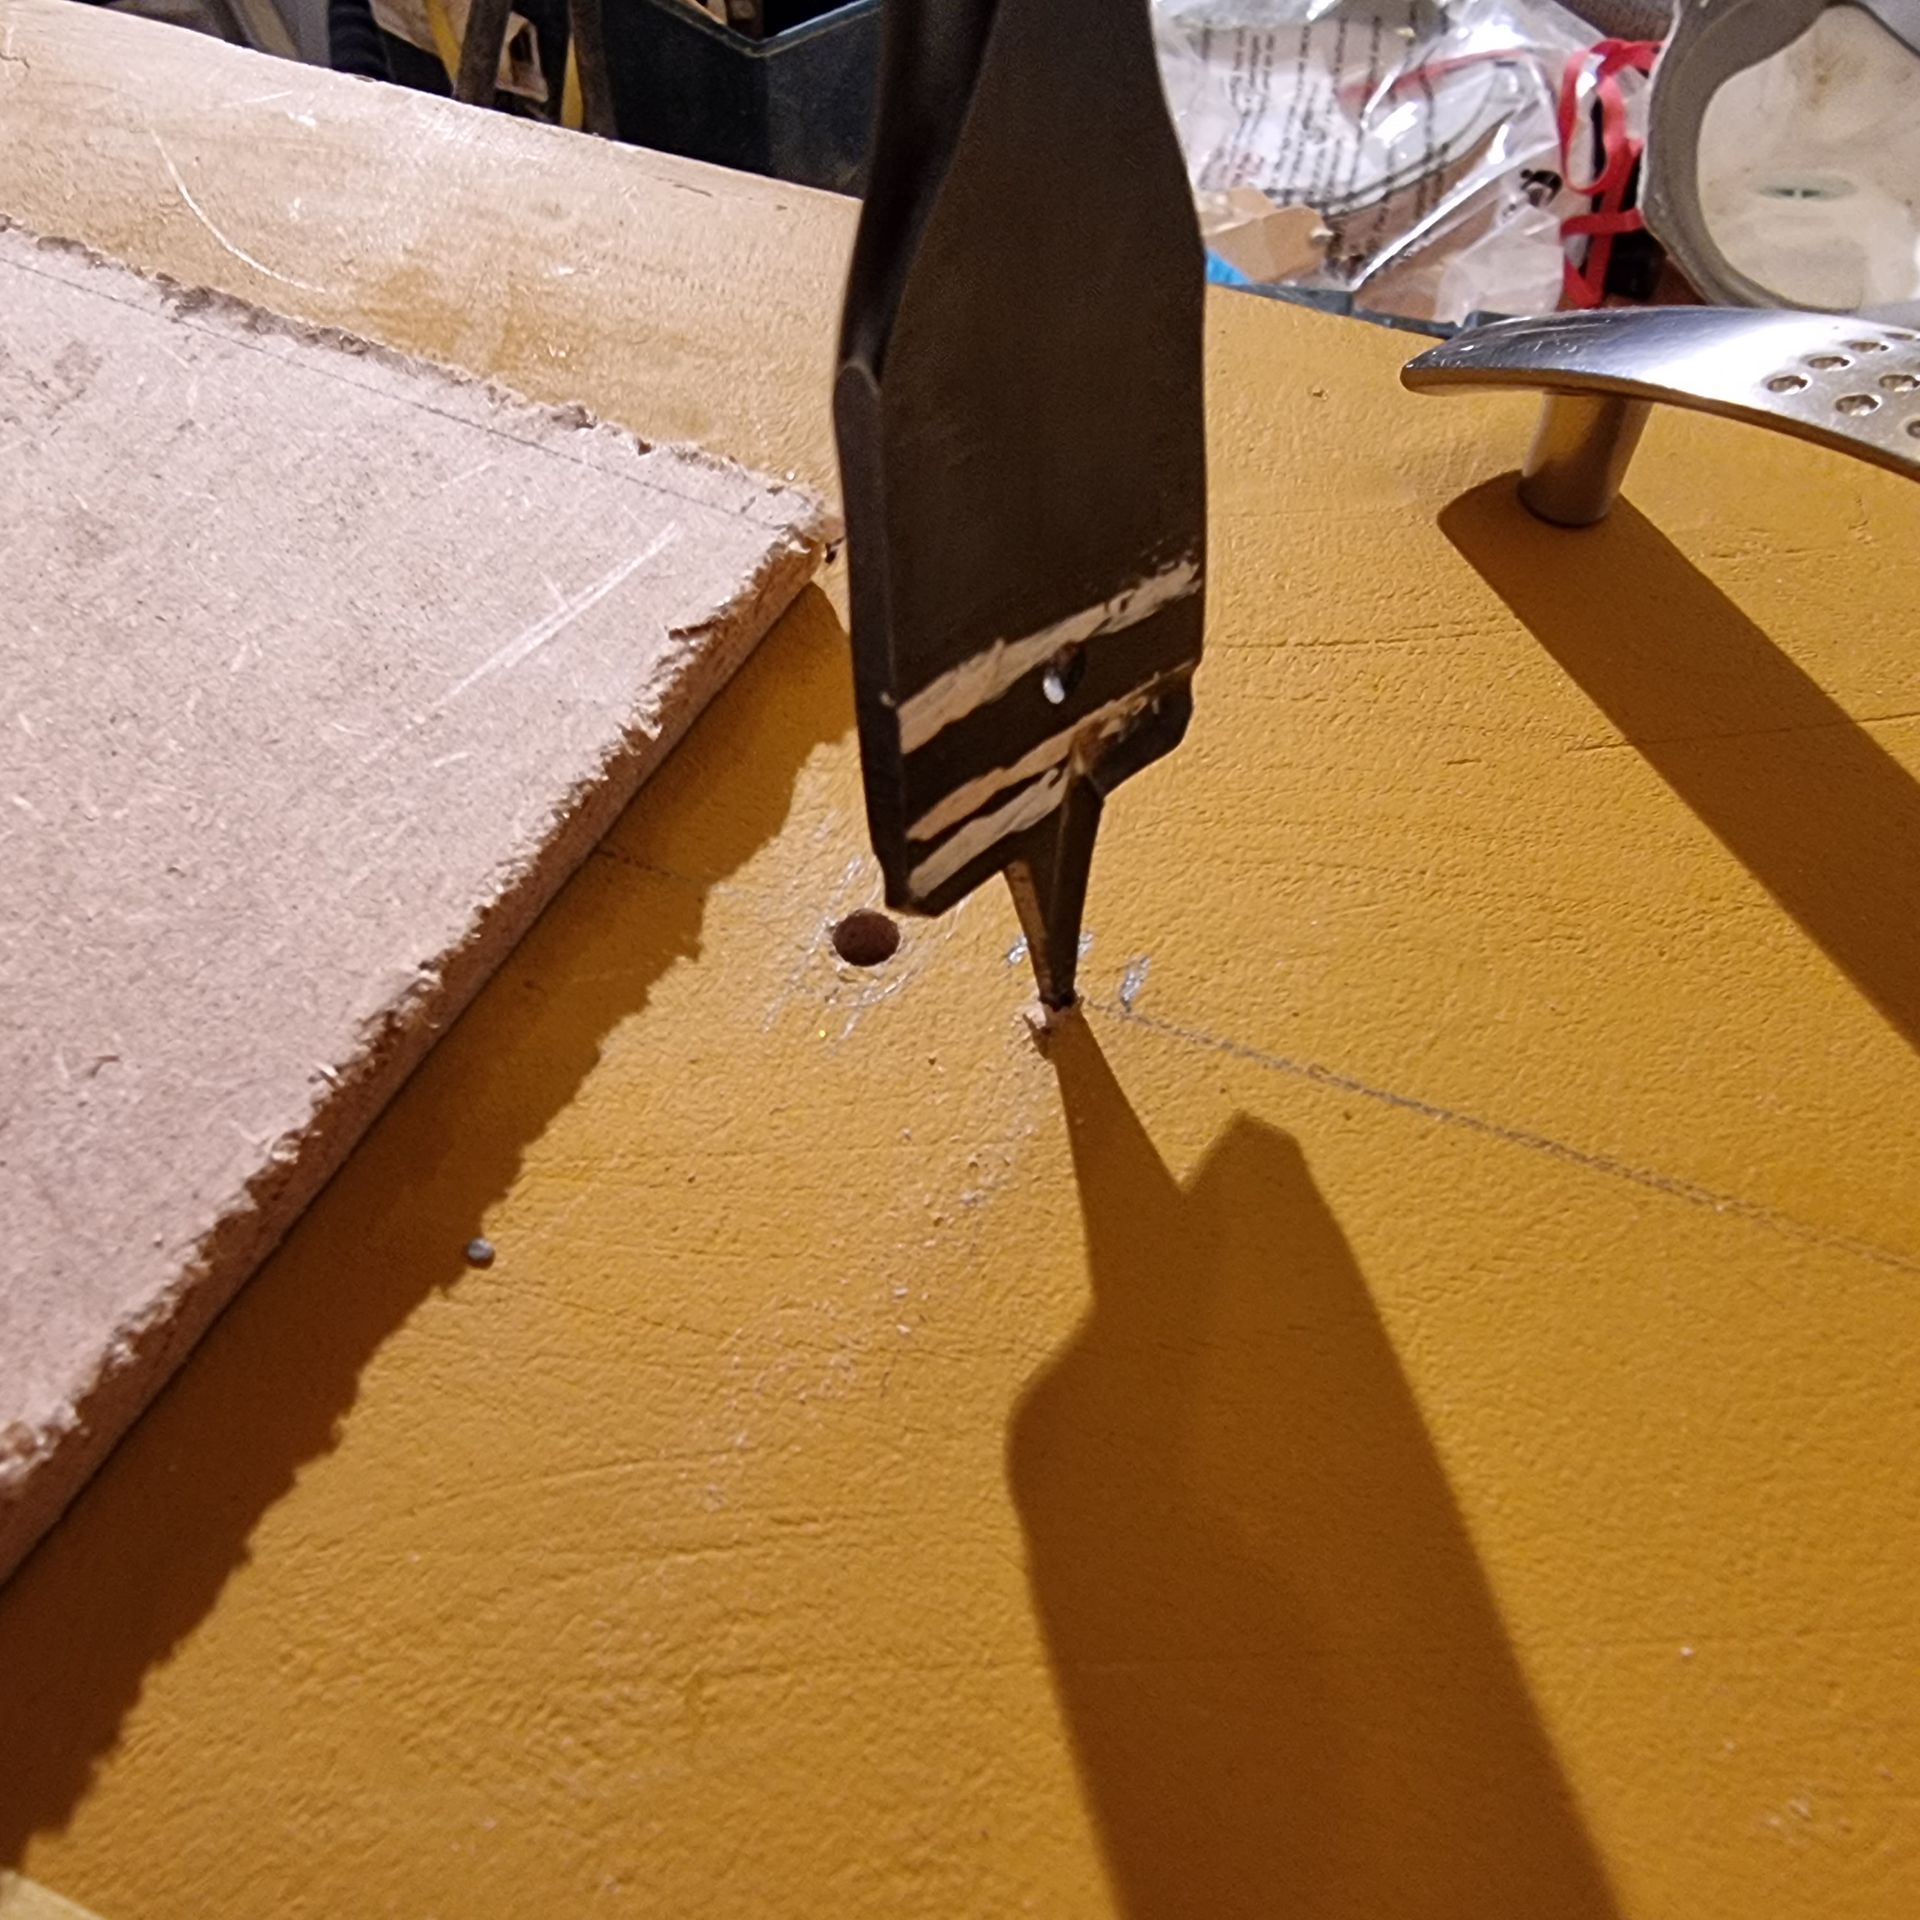
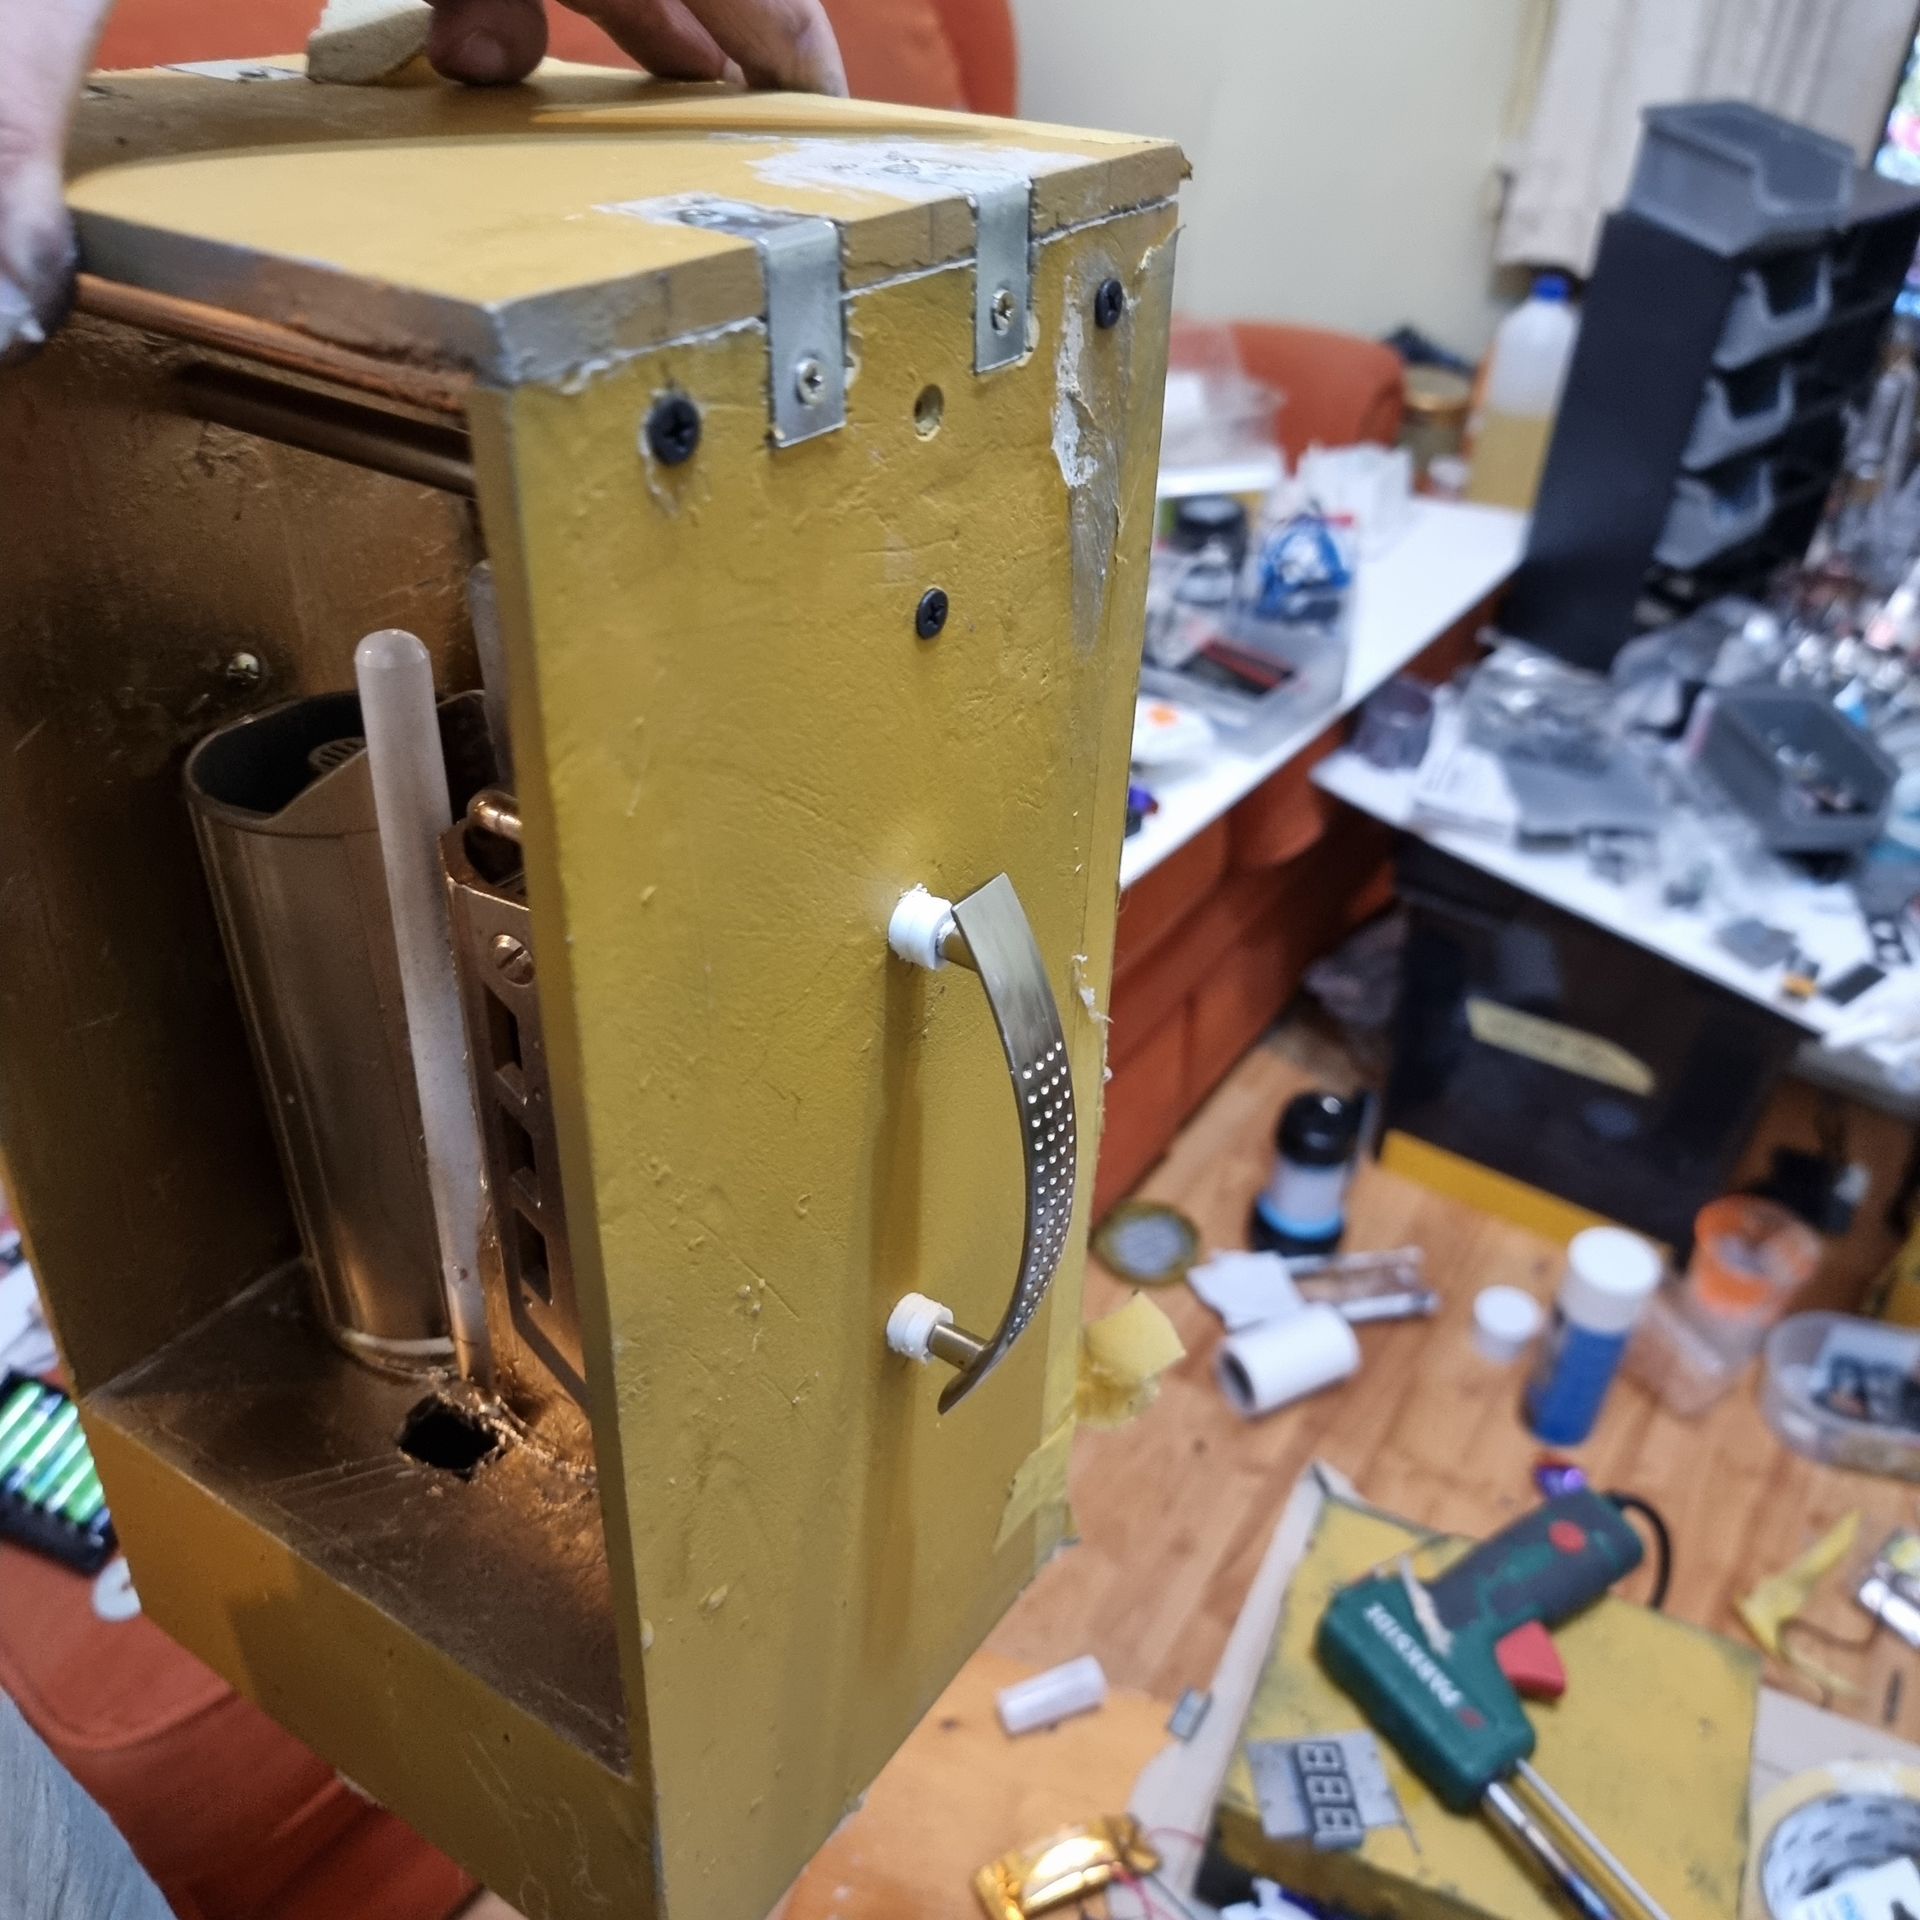
To get the holes correct for the handles I drilled one hole then loosely screwed one end of the handle in p;lace and used that to ger a precise position for the second hole.
Control Panels Cutting Guides
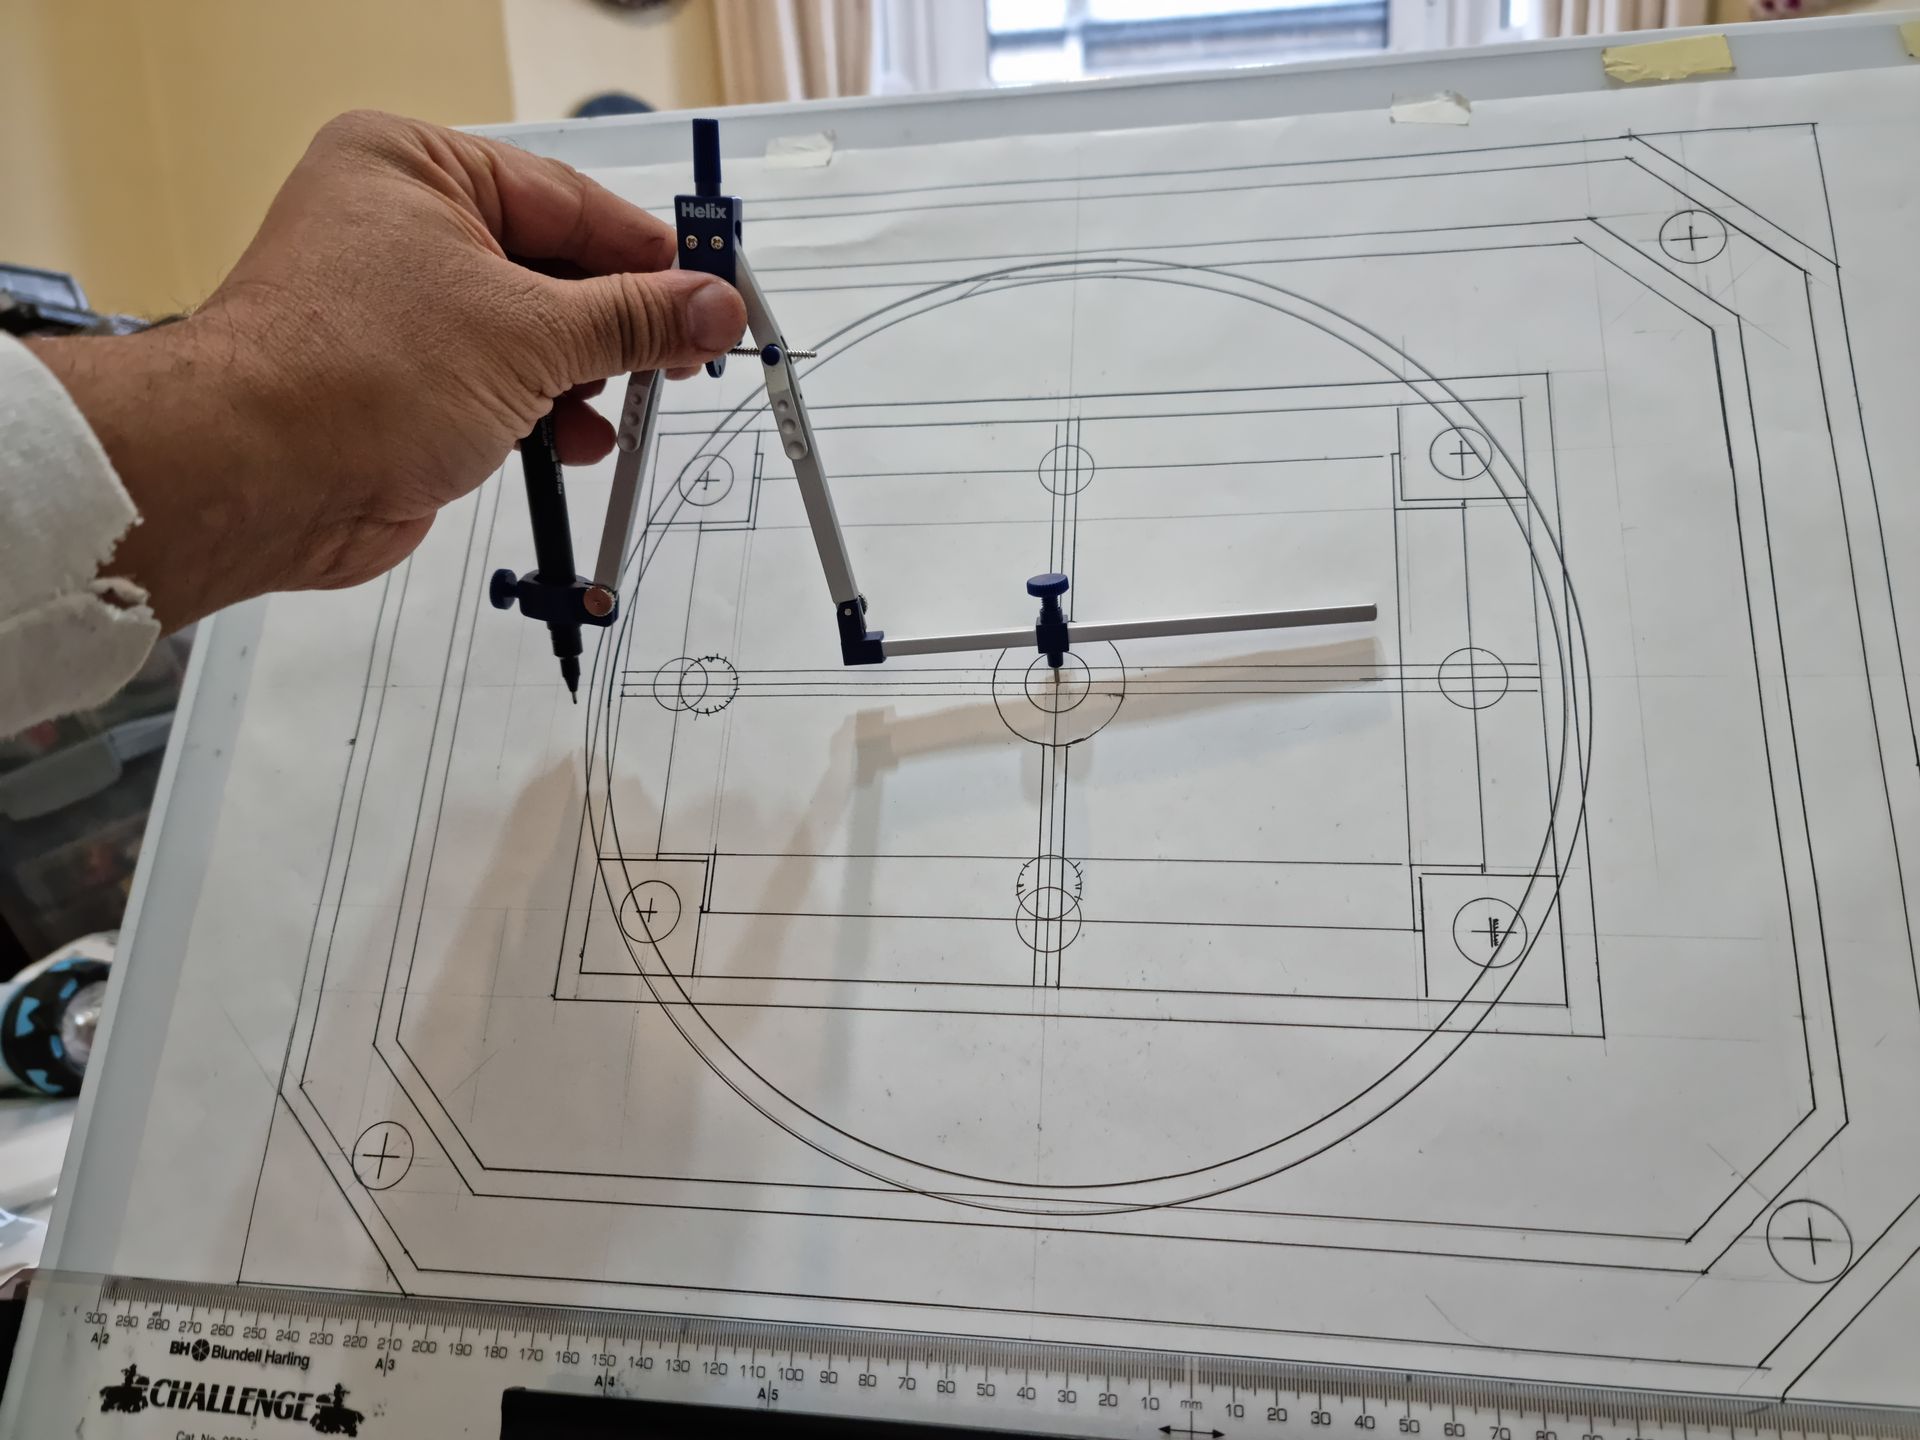
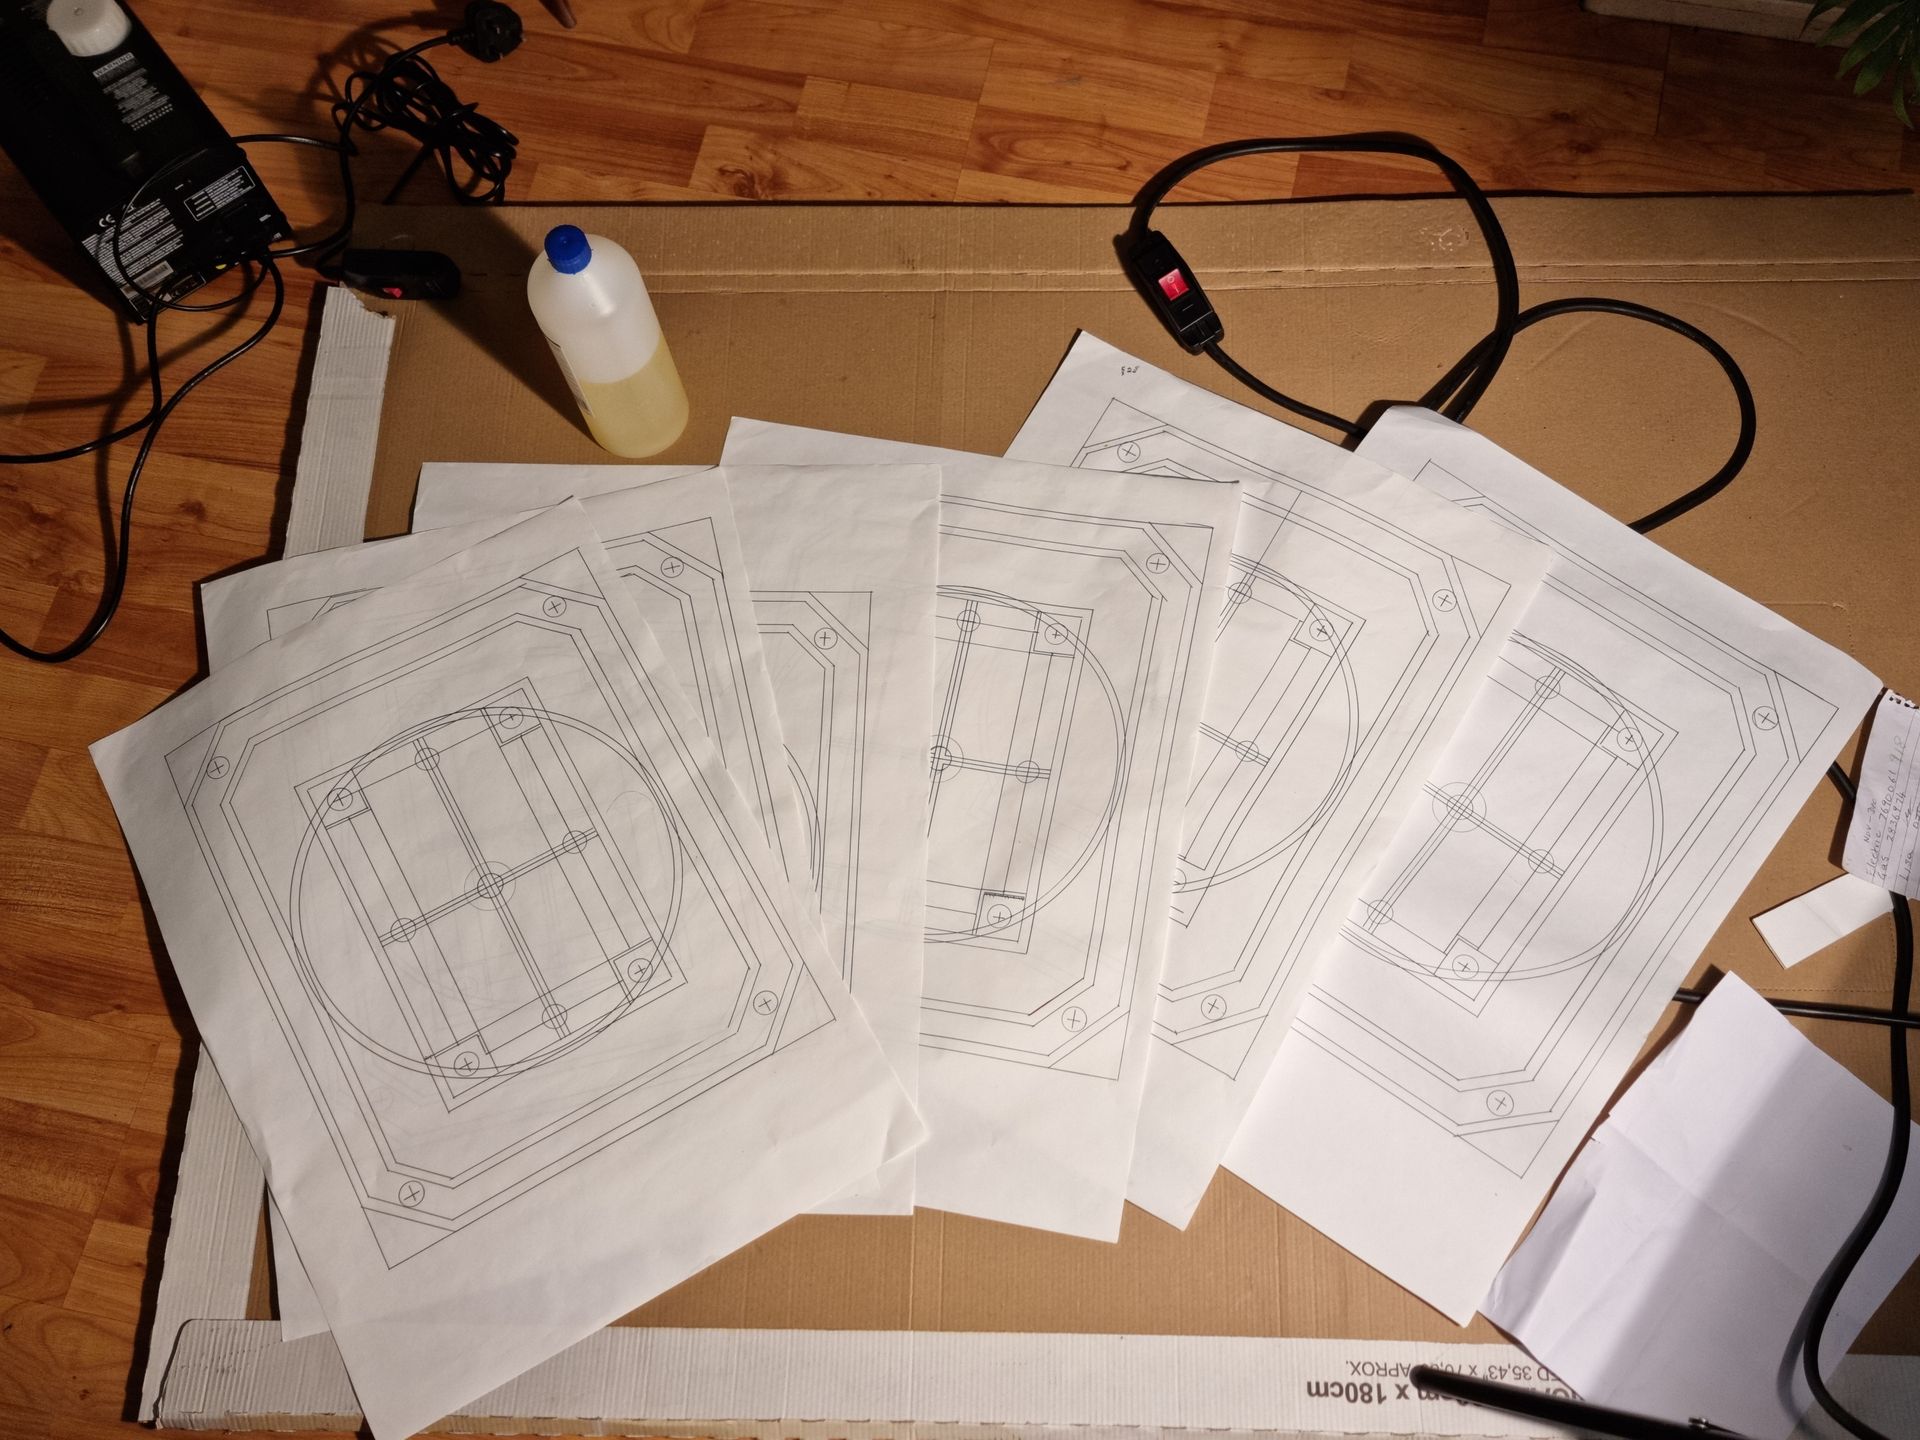
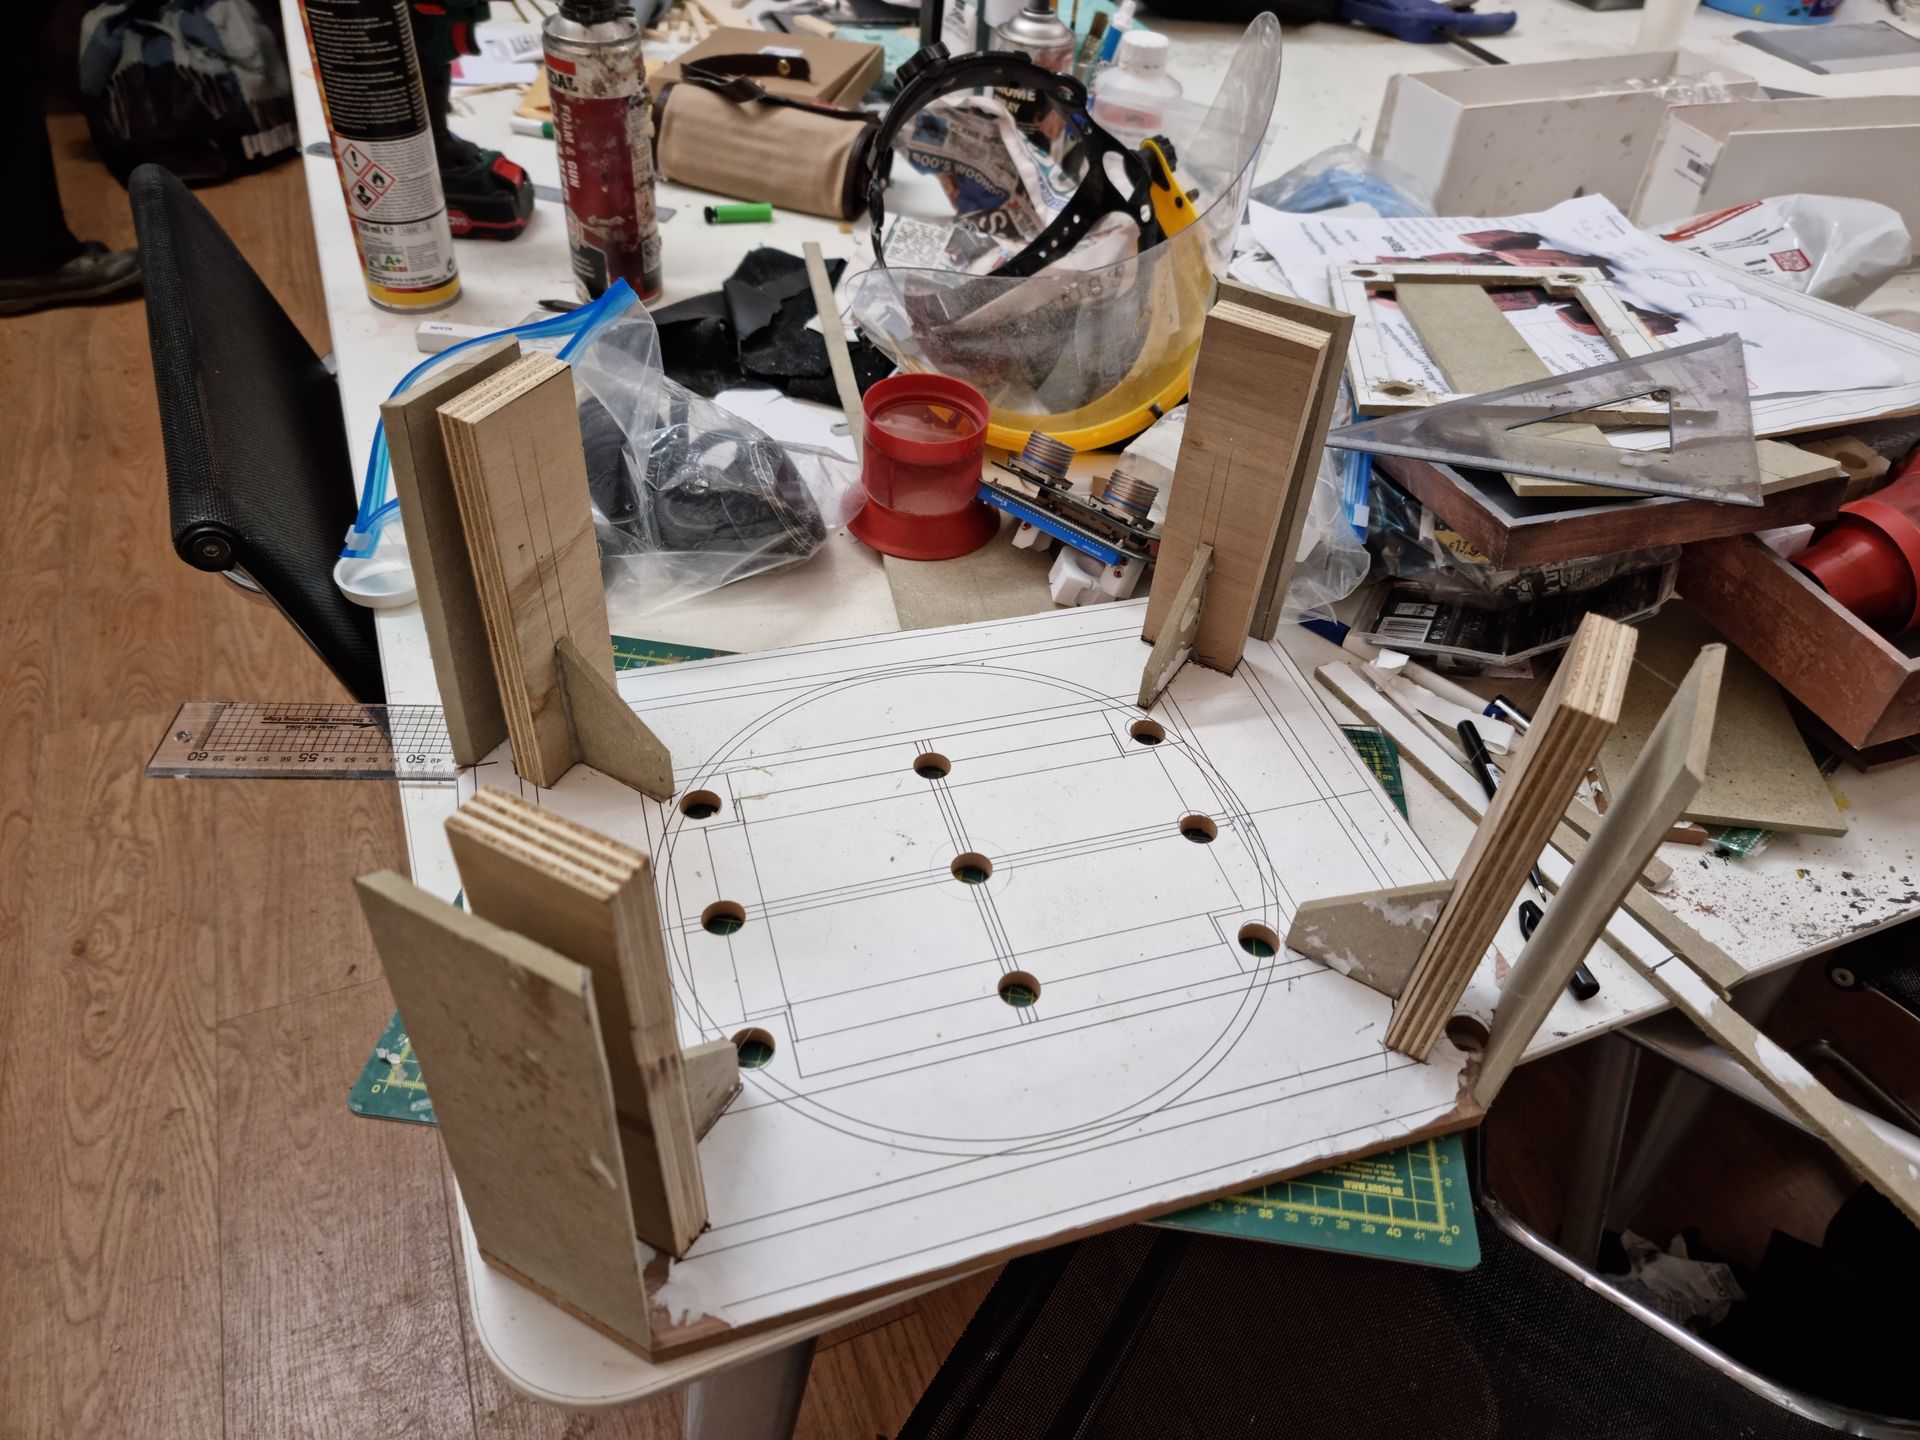
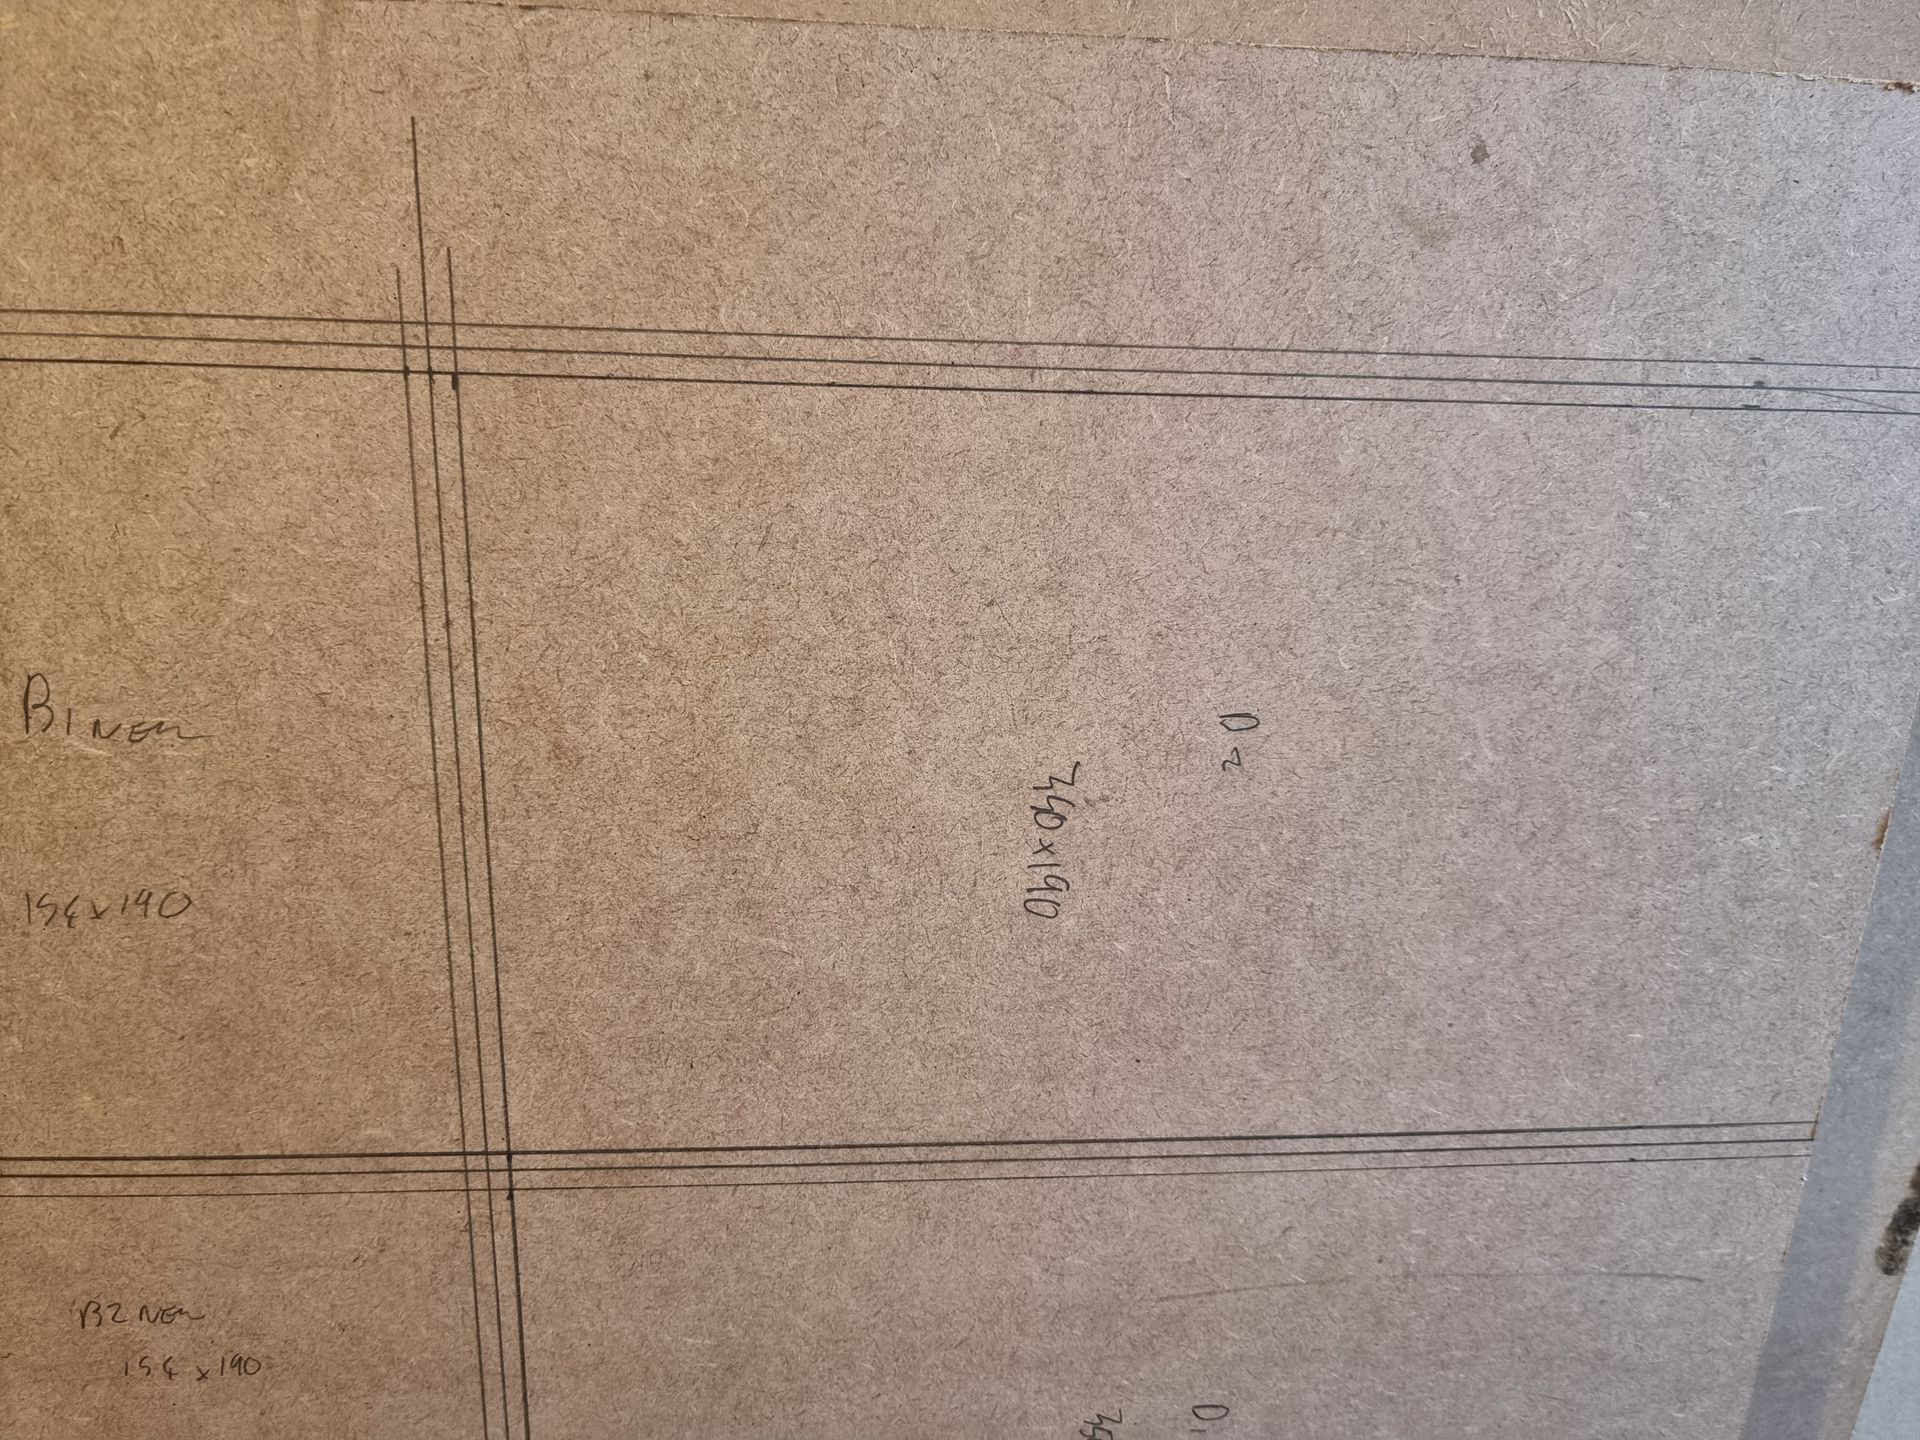
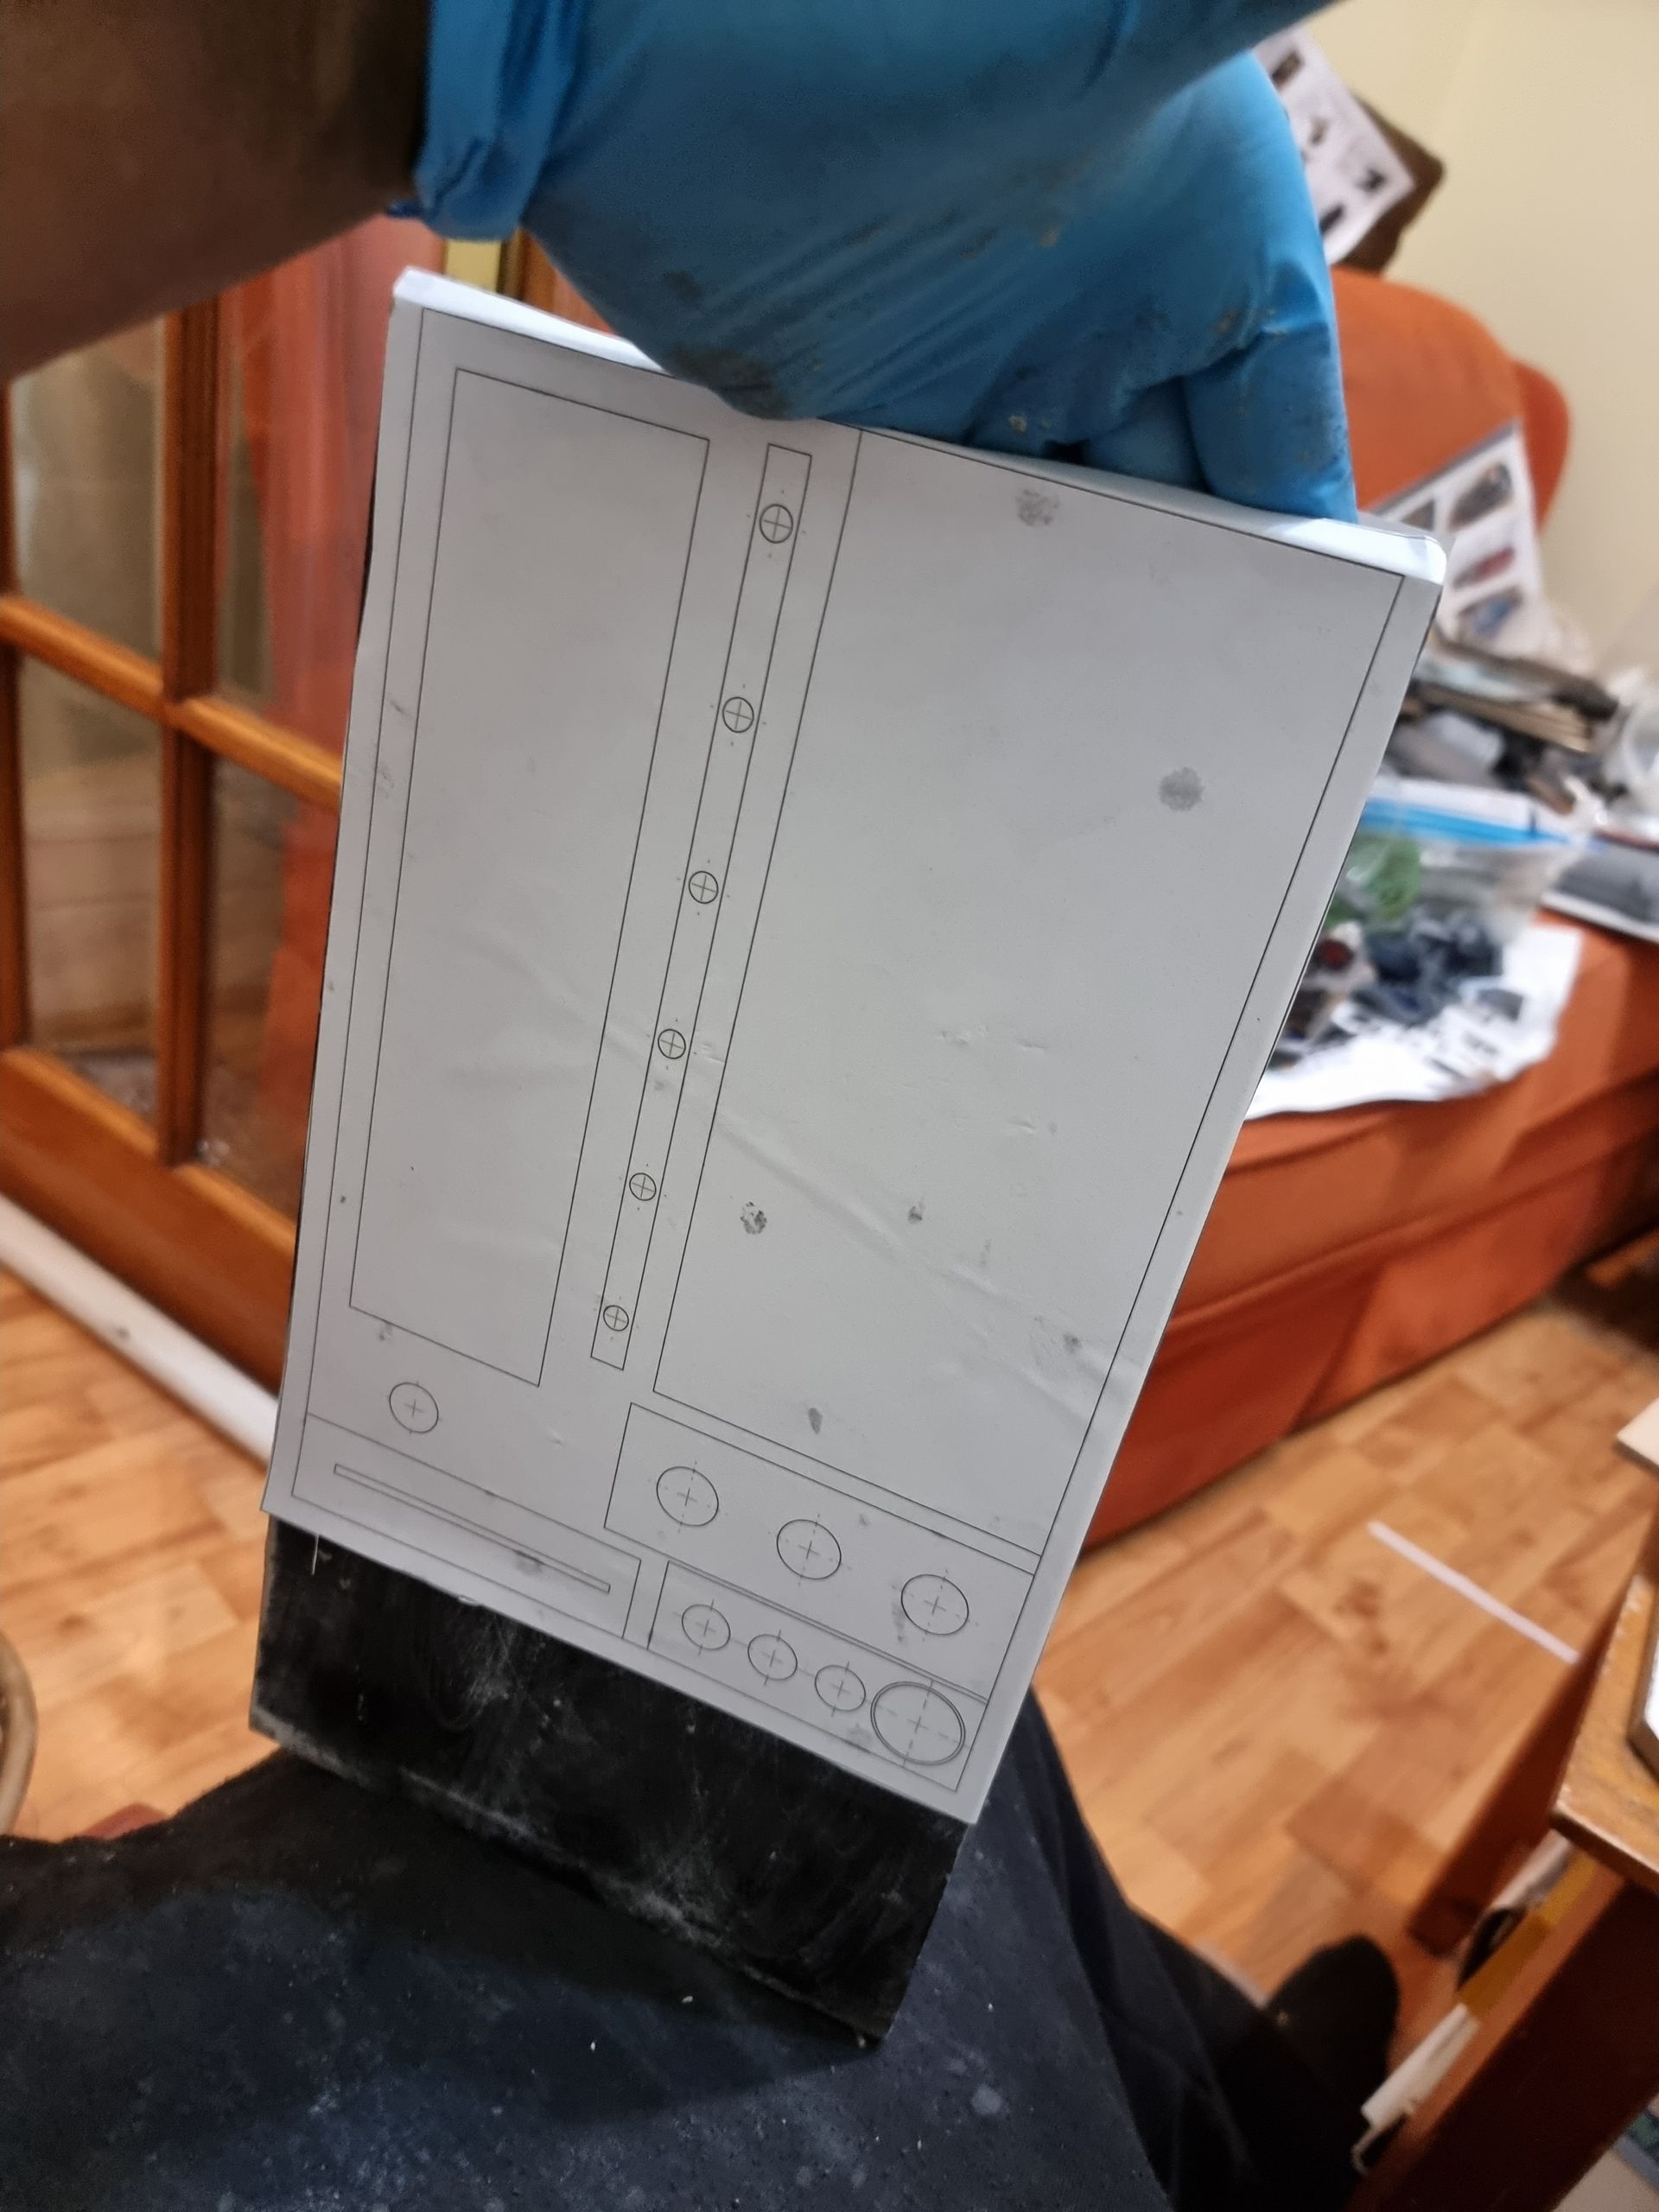
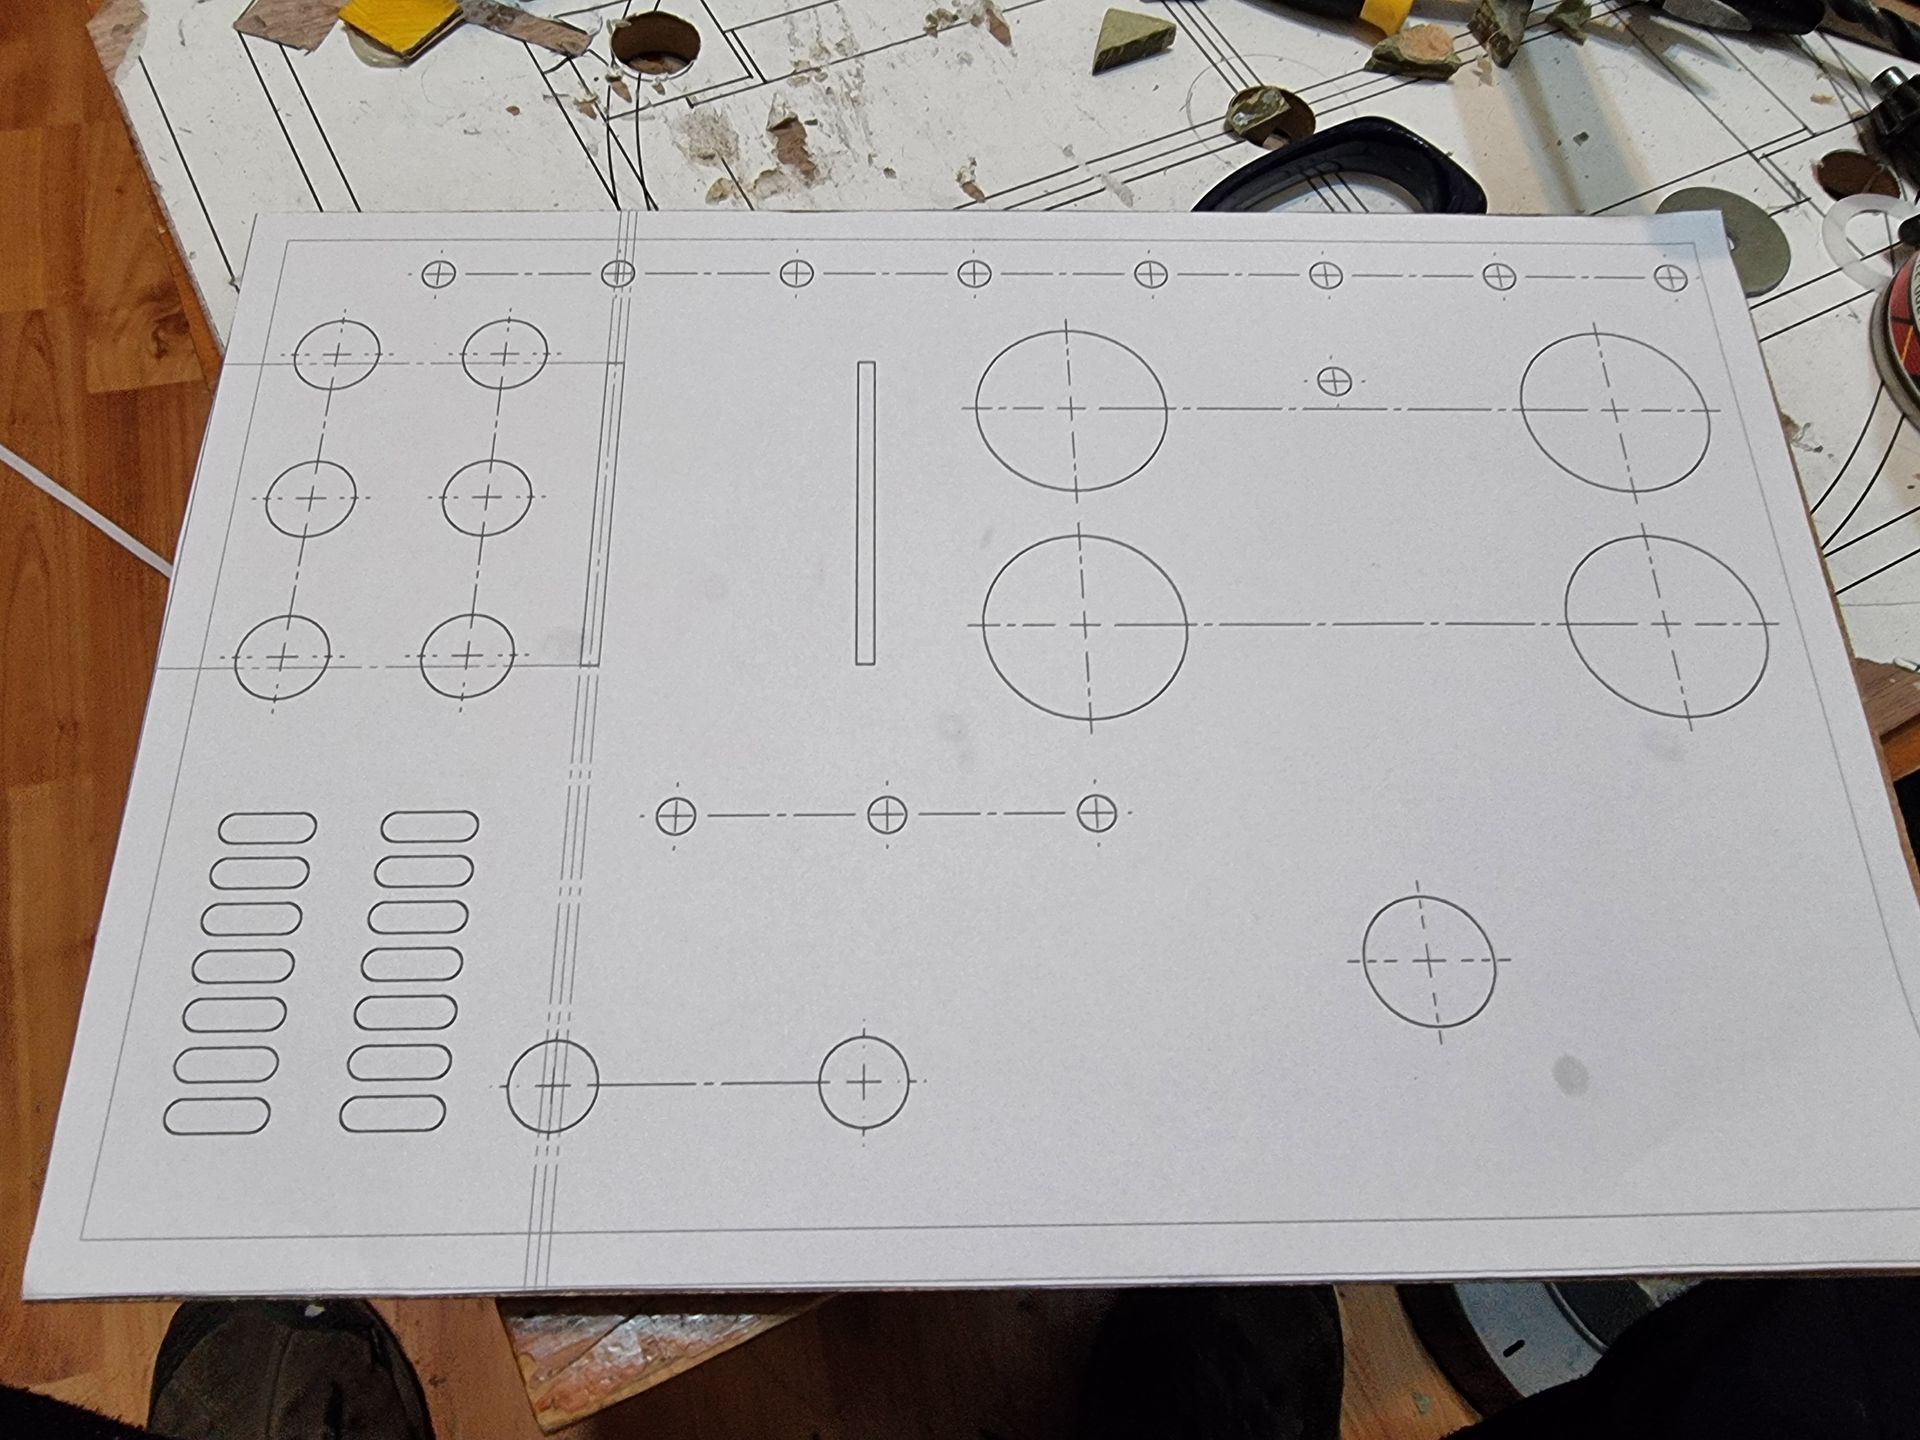
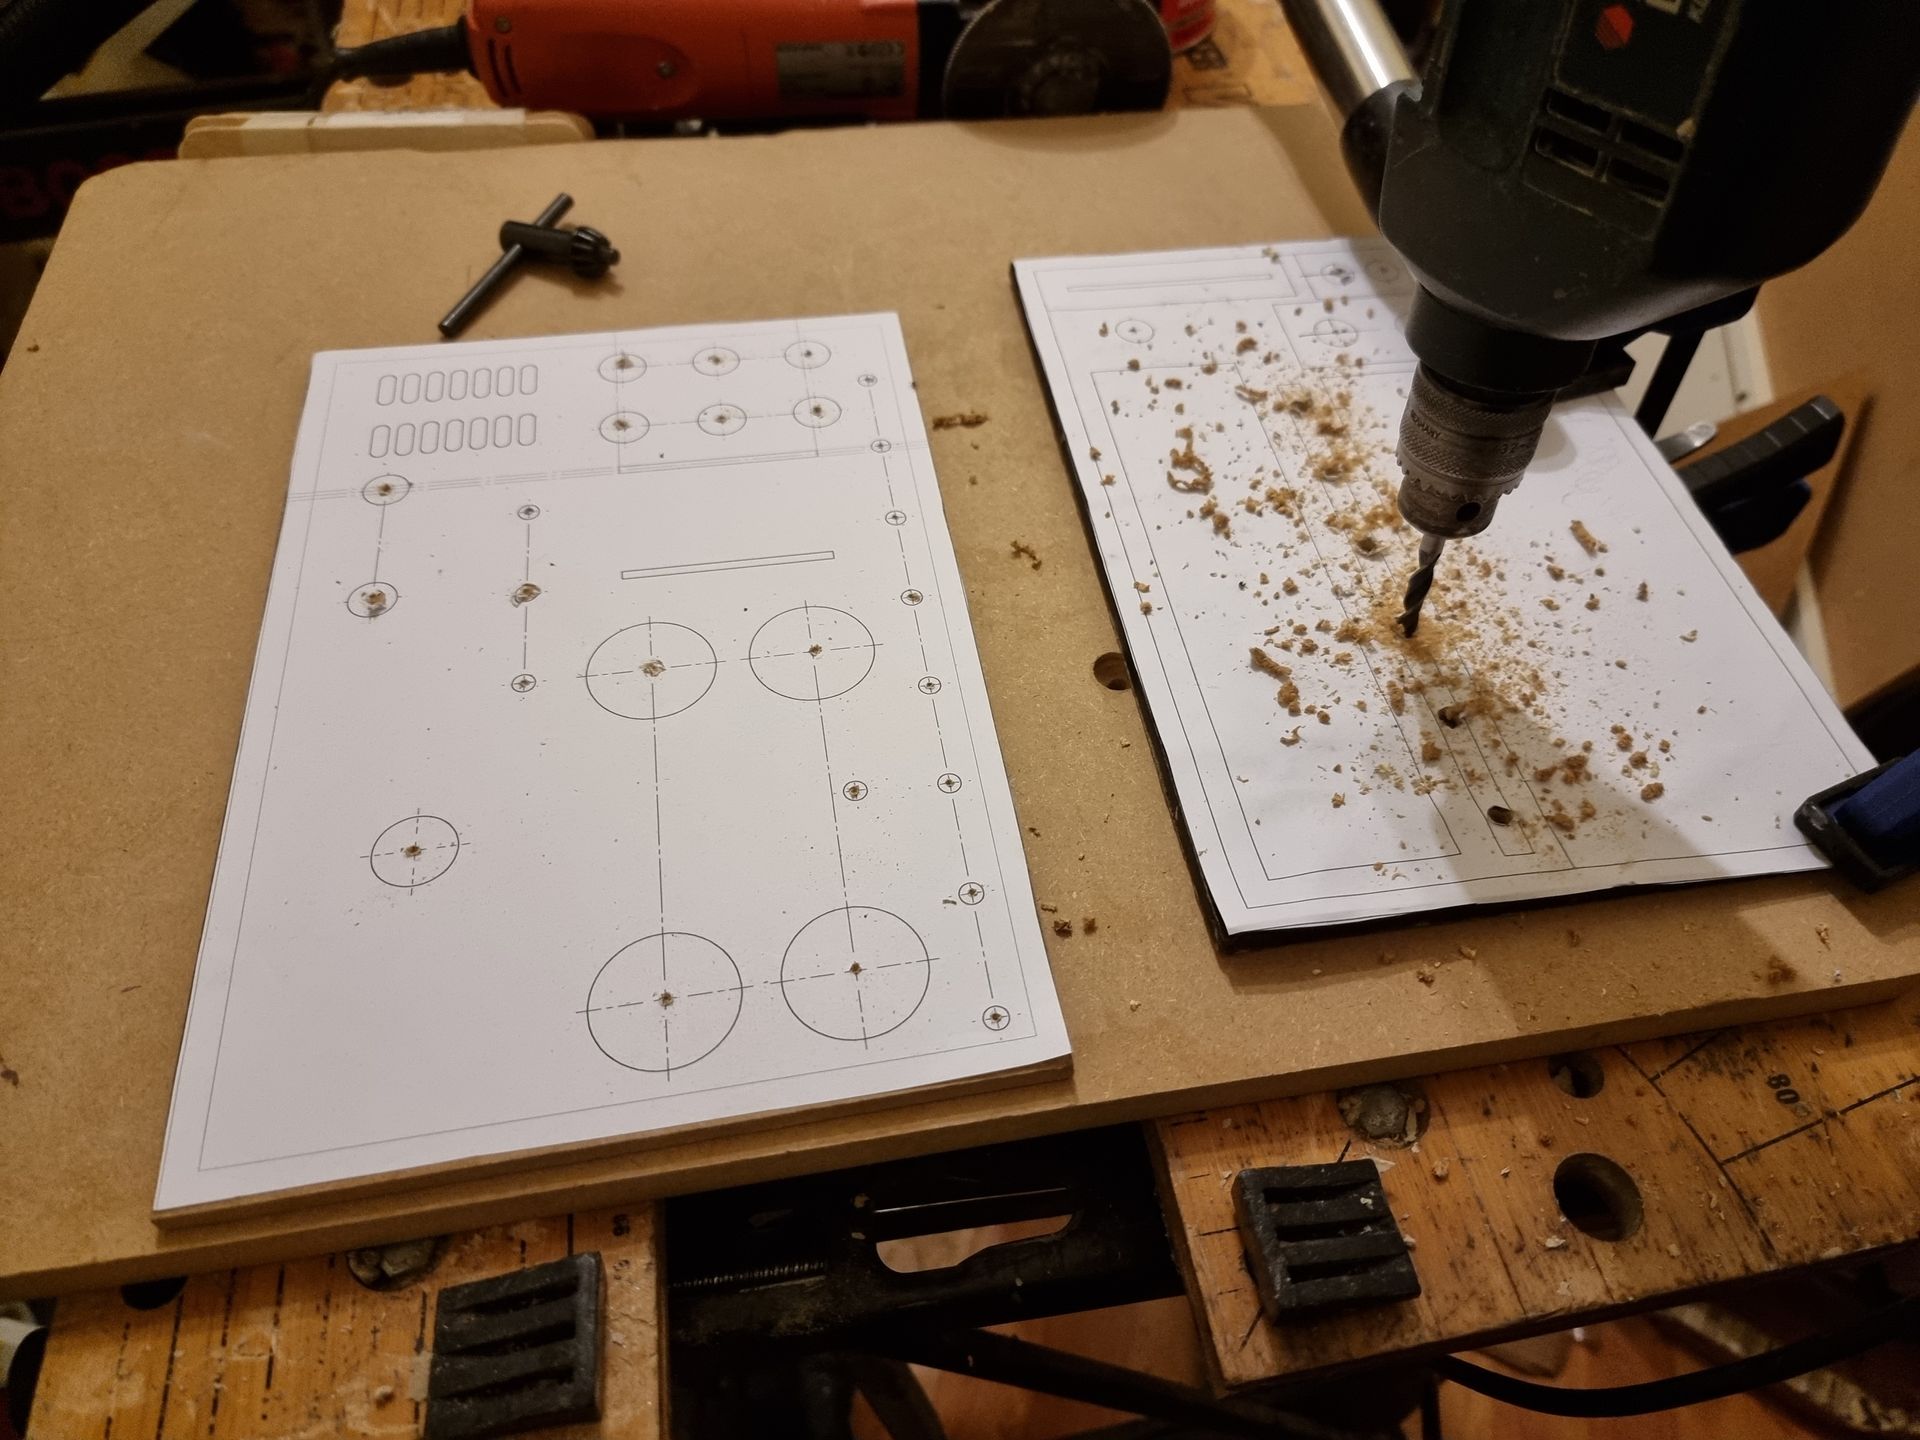
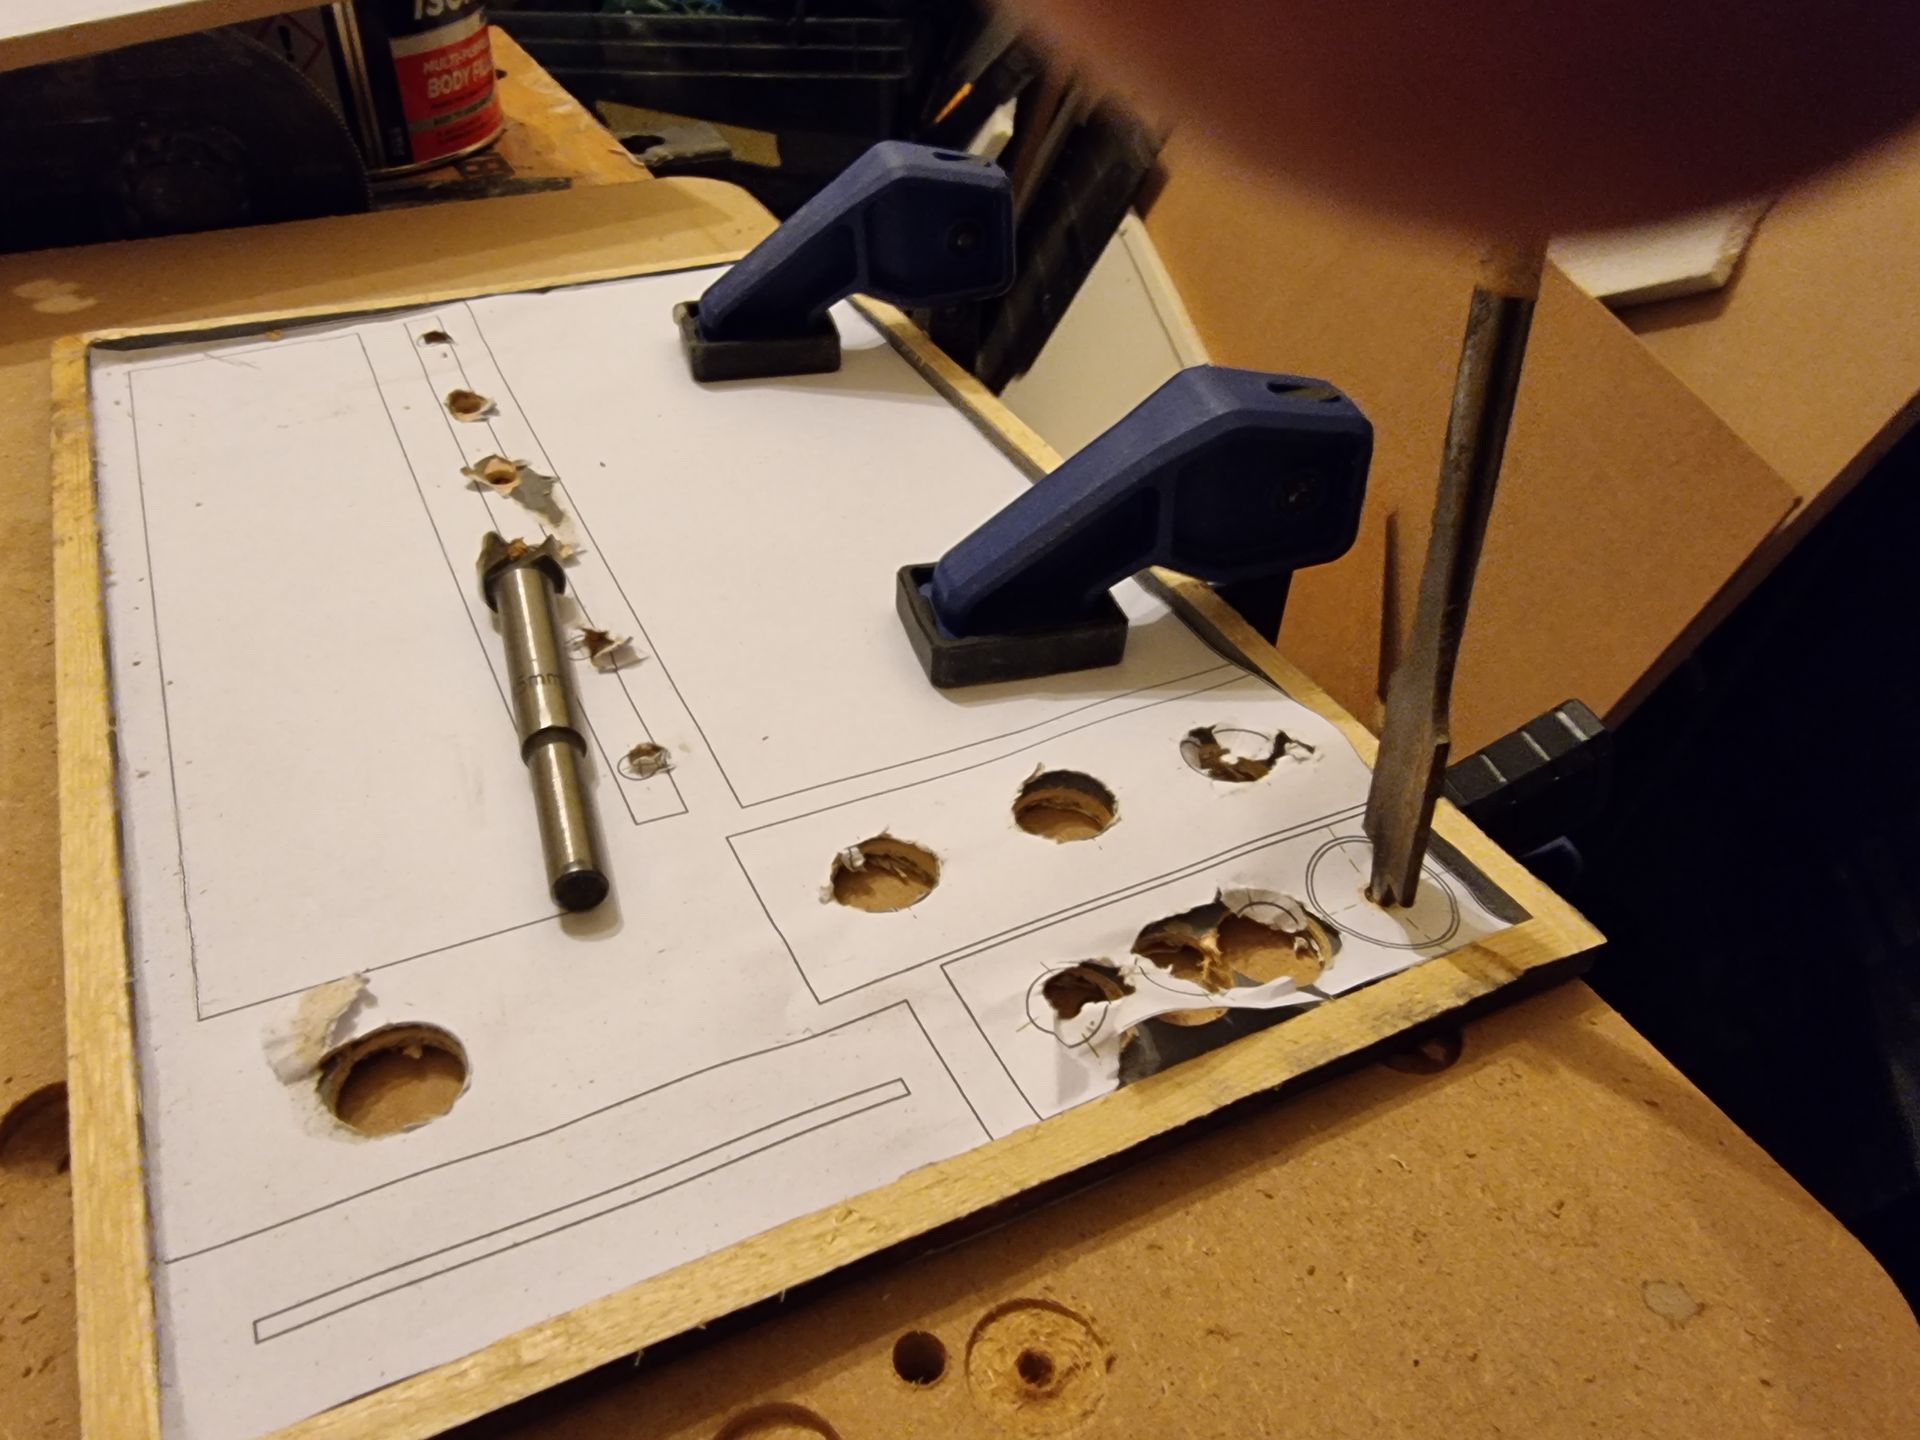
The control panels were started by using what I learned from the prototyping stage, the create in Illustrator cutting guide sheets which were stuck on the panels and used to guid drilling and slit cutting with the Finn Multi Master.
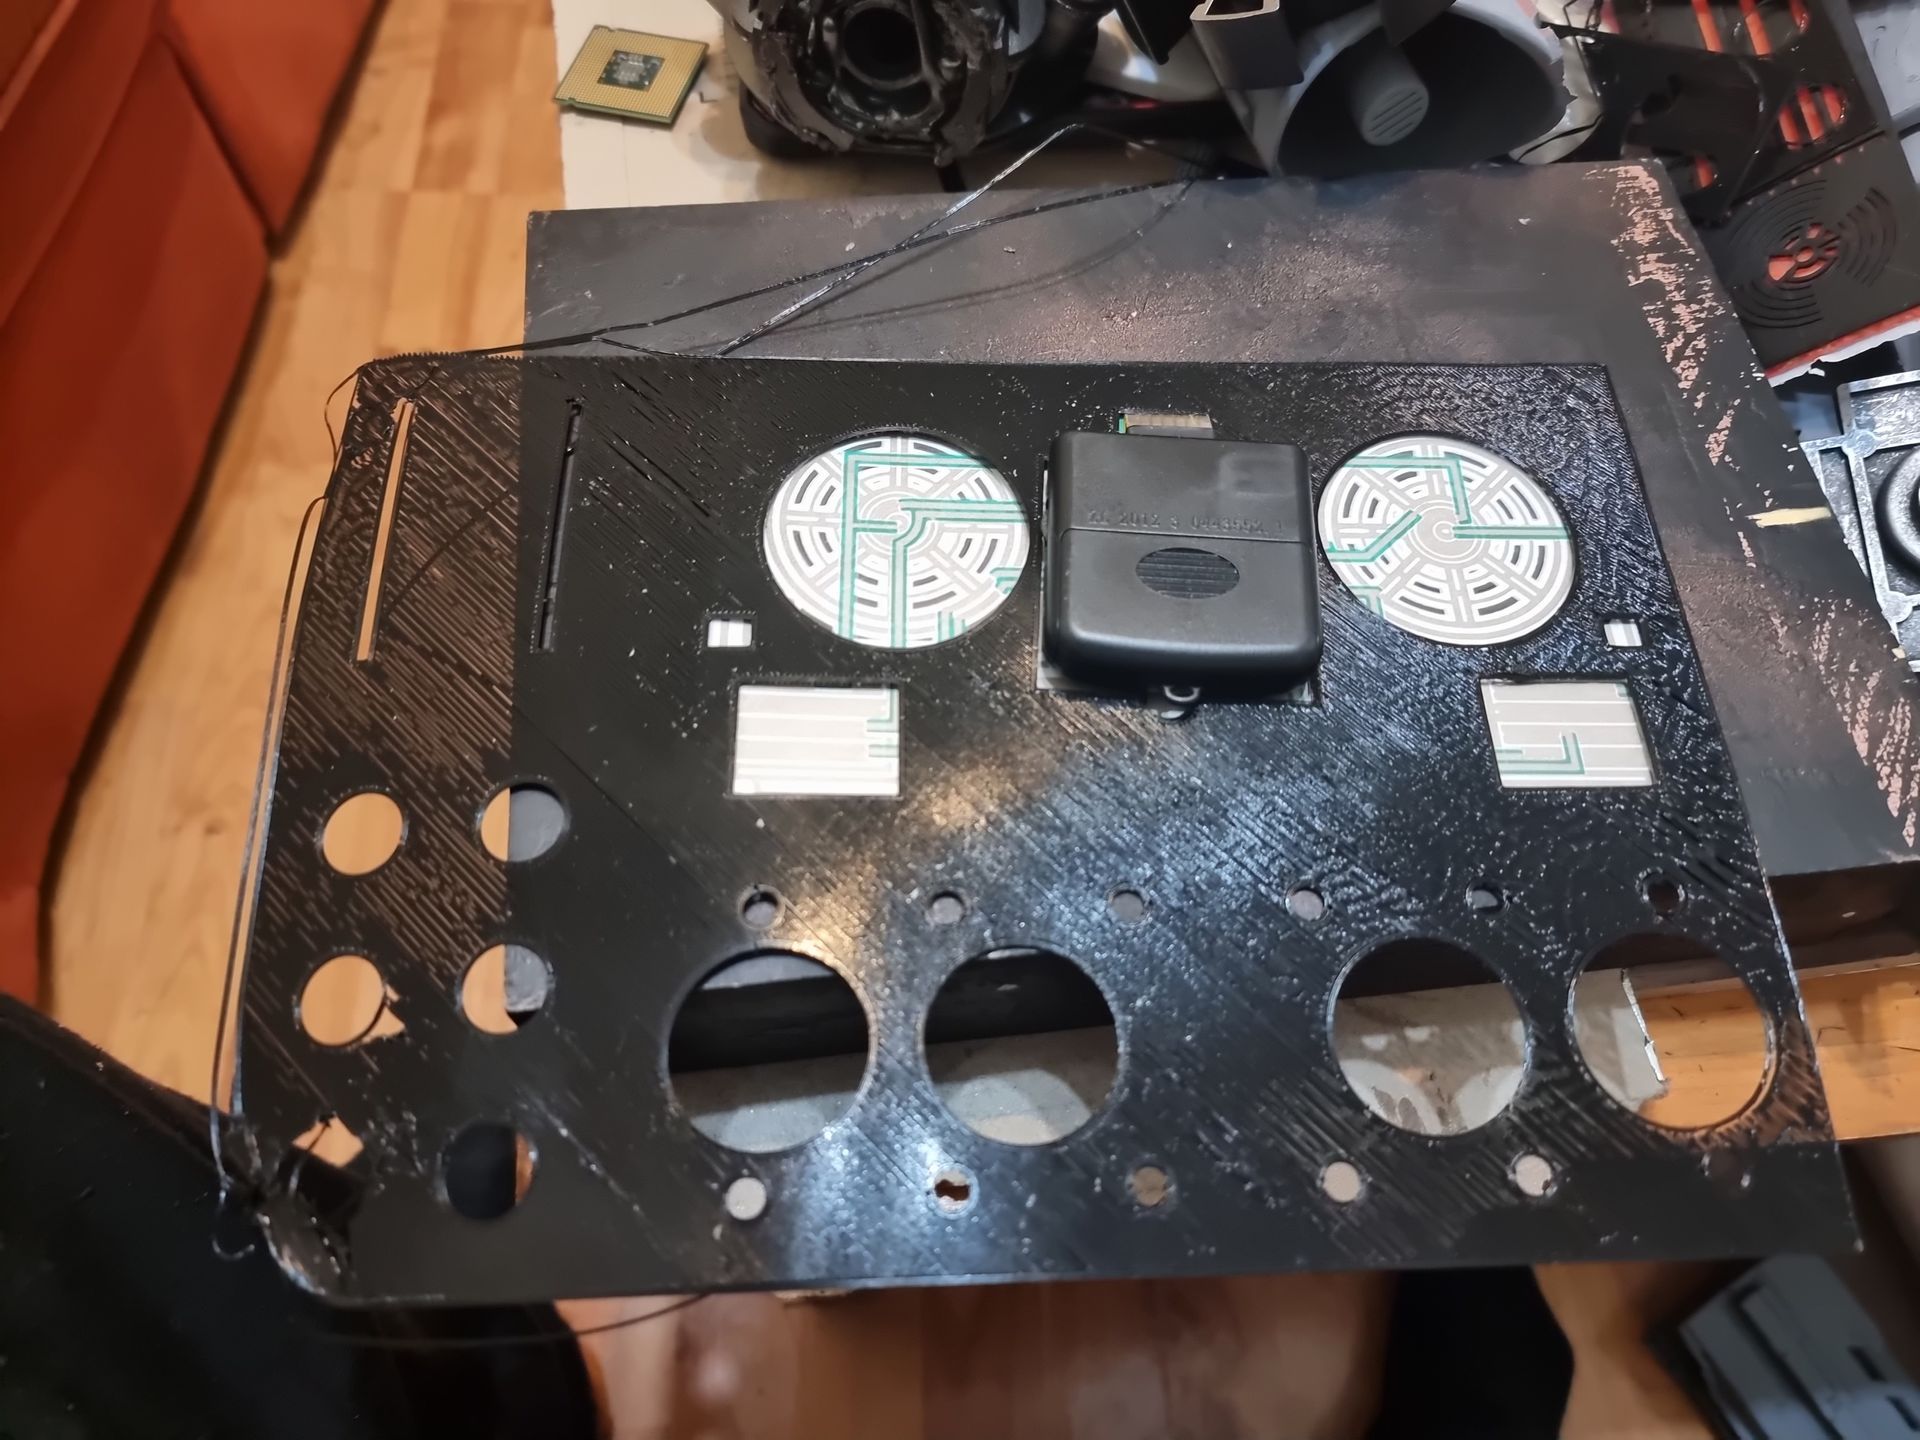
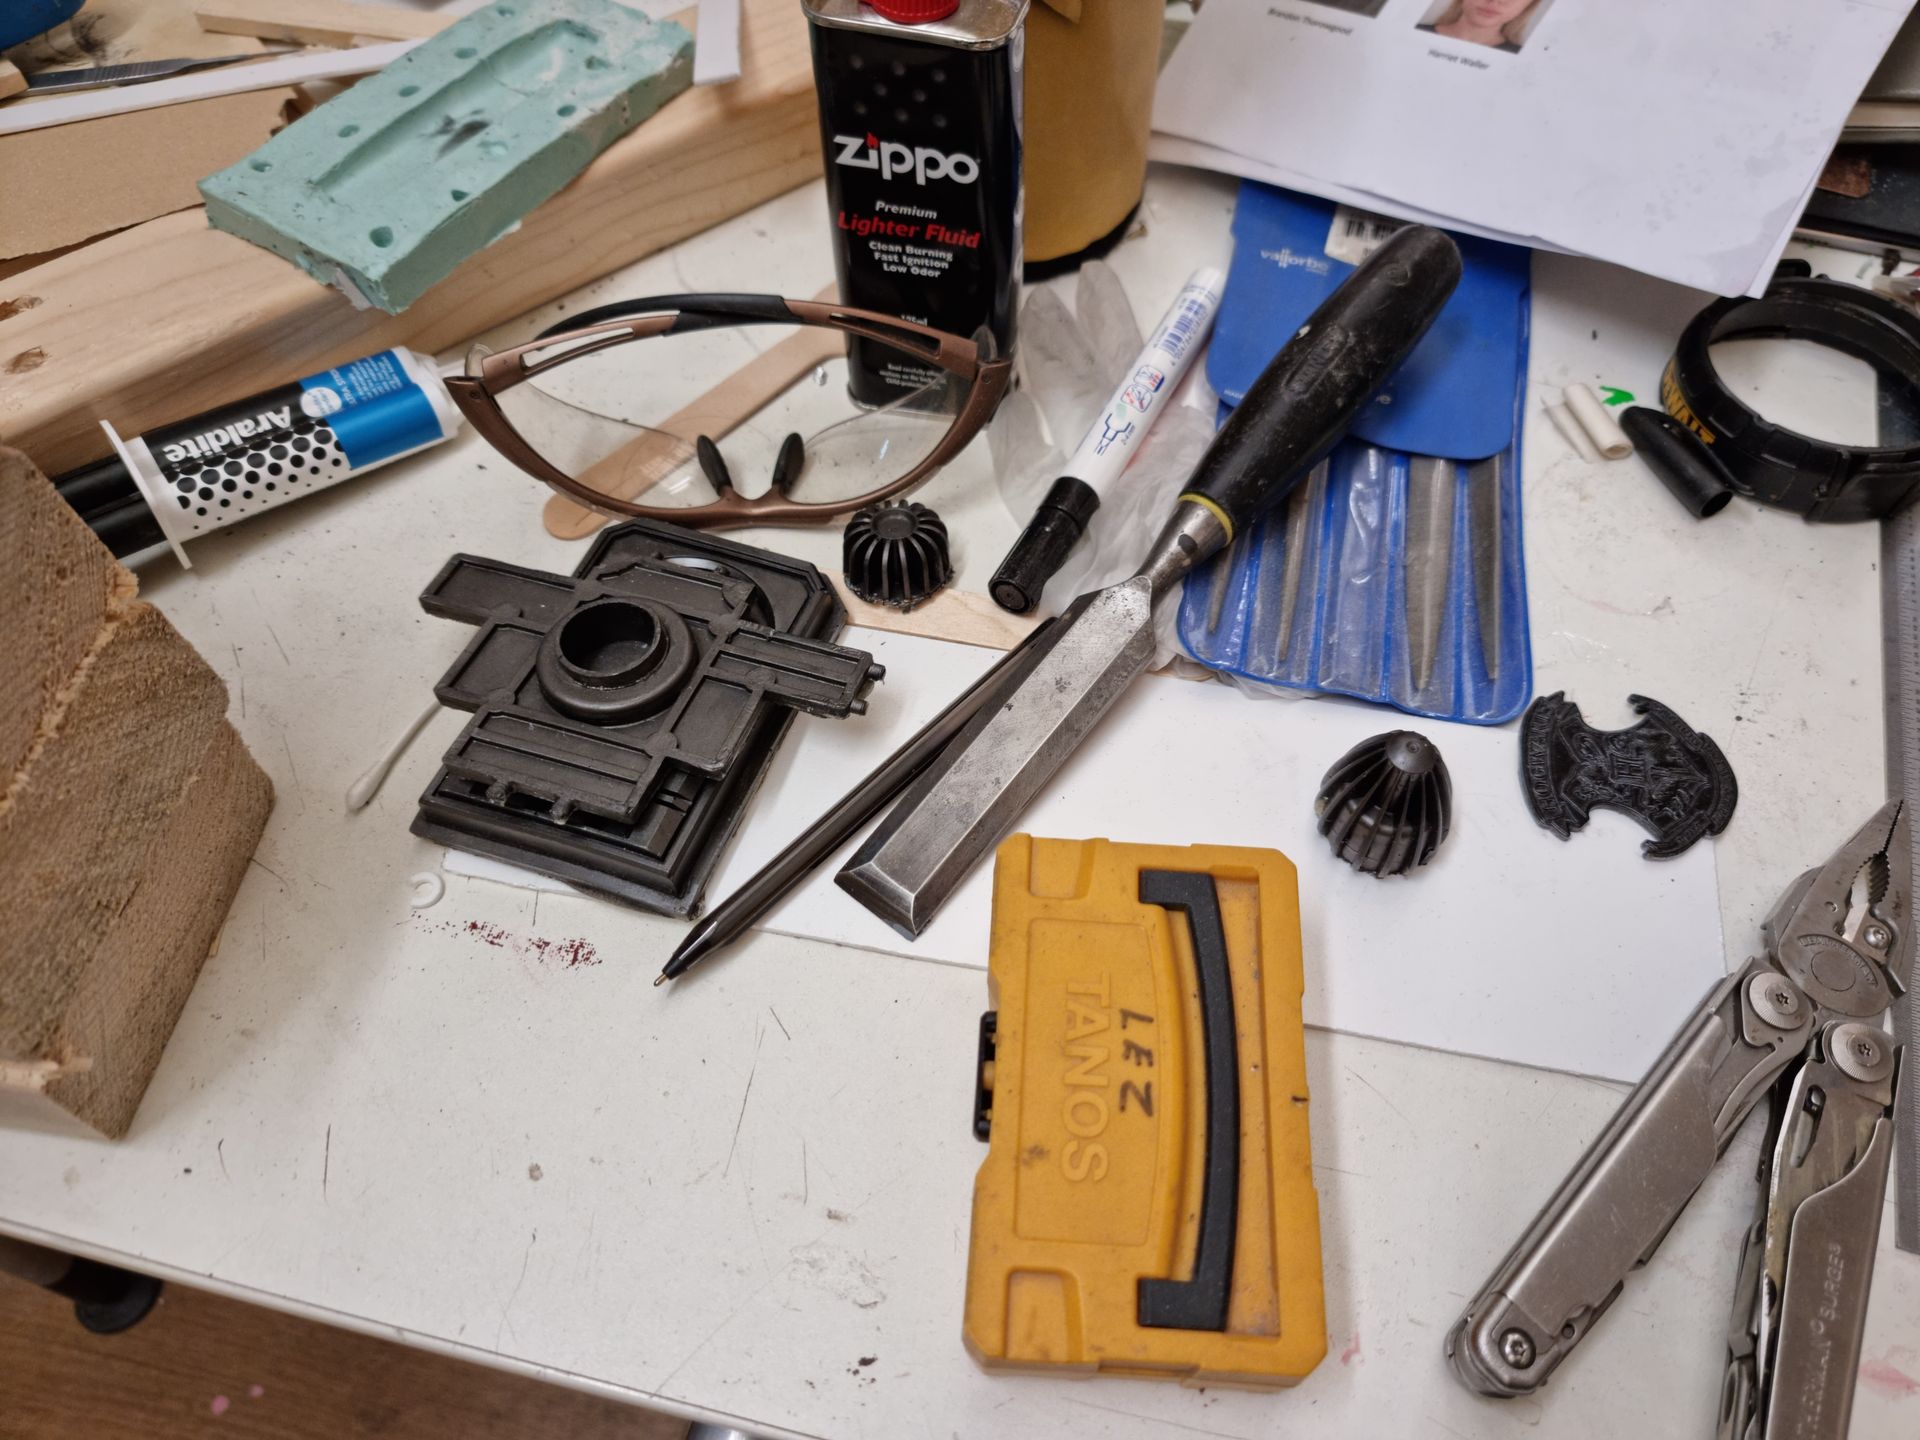
Once the holes were cut out of the MDF sheets I created top panels in Solidworks which were then 3D printed, then smoothed with filler and sanded to make mock metal panels to go under buttons and hide the less neat holes and slots.
Kit Bashing
Kitbashing Intro and Sourcing
Kit bashing comes from activity like taking apart lots of Airfix kits to use the parts as set decoration on larger props like the surface of models like Star Wars space craft with all the technology, equipment, vents, weapons etc. So take lots of bits and stick them on.
In the case of my Star Wars prop the key kit bashing parts were from:
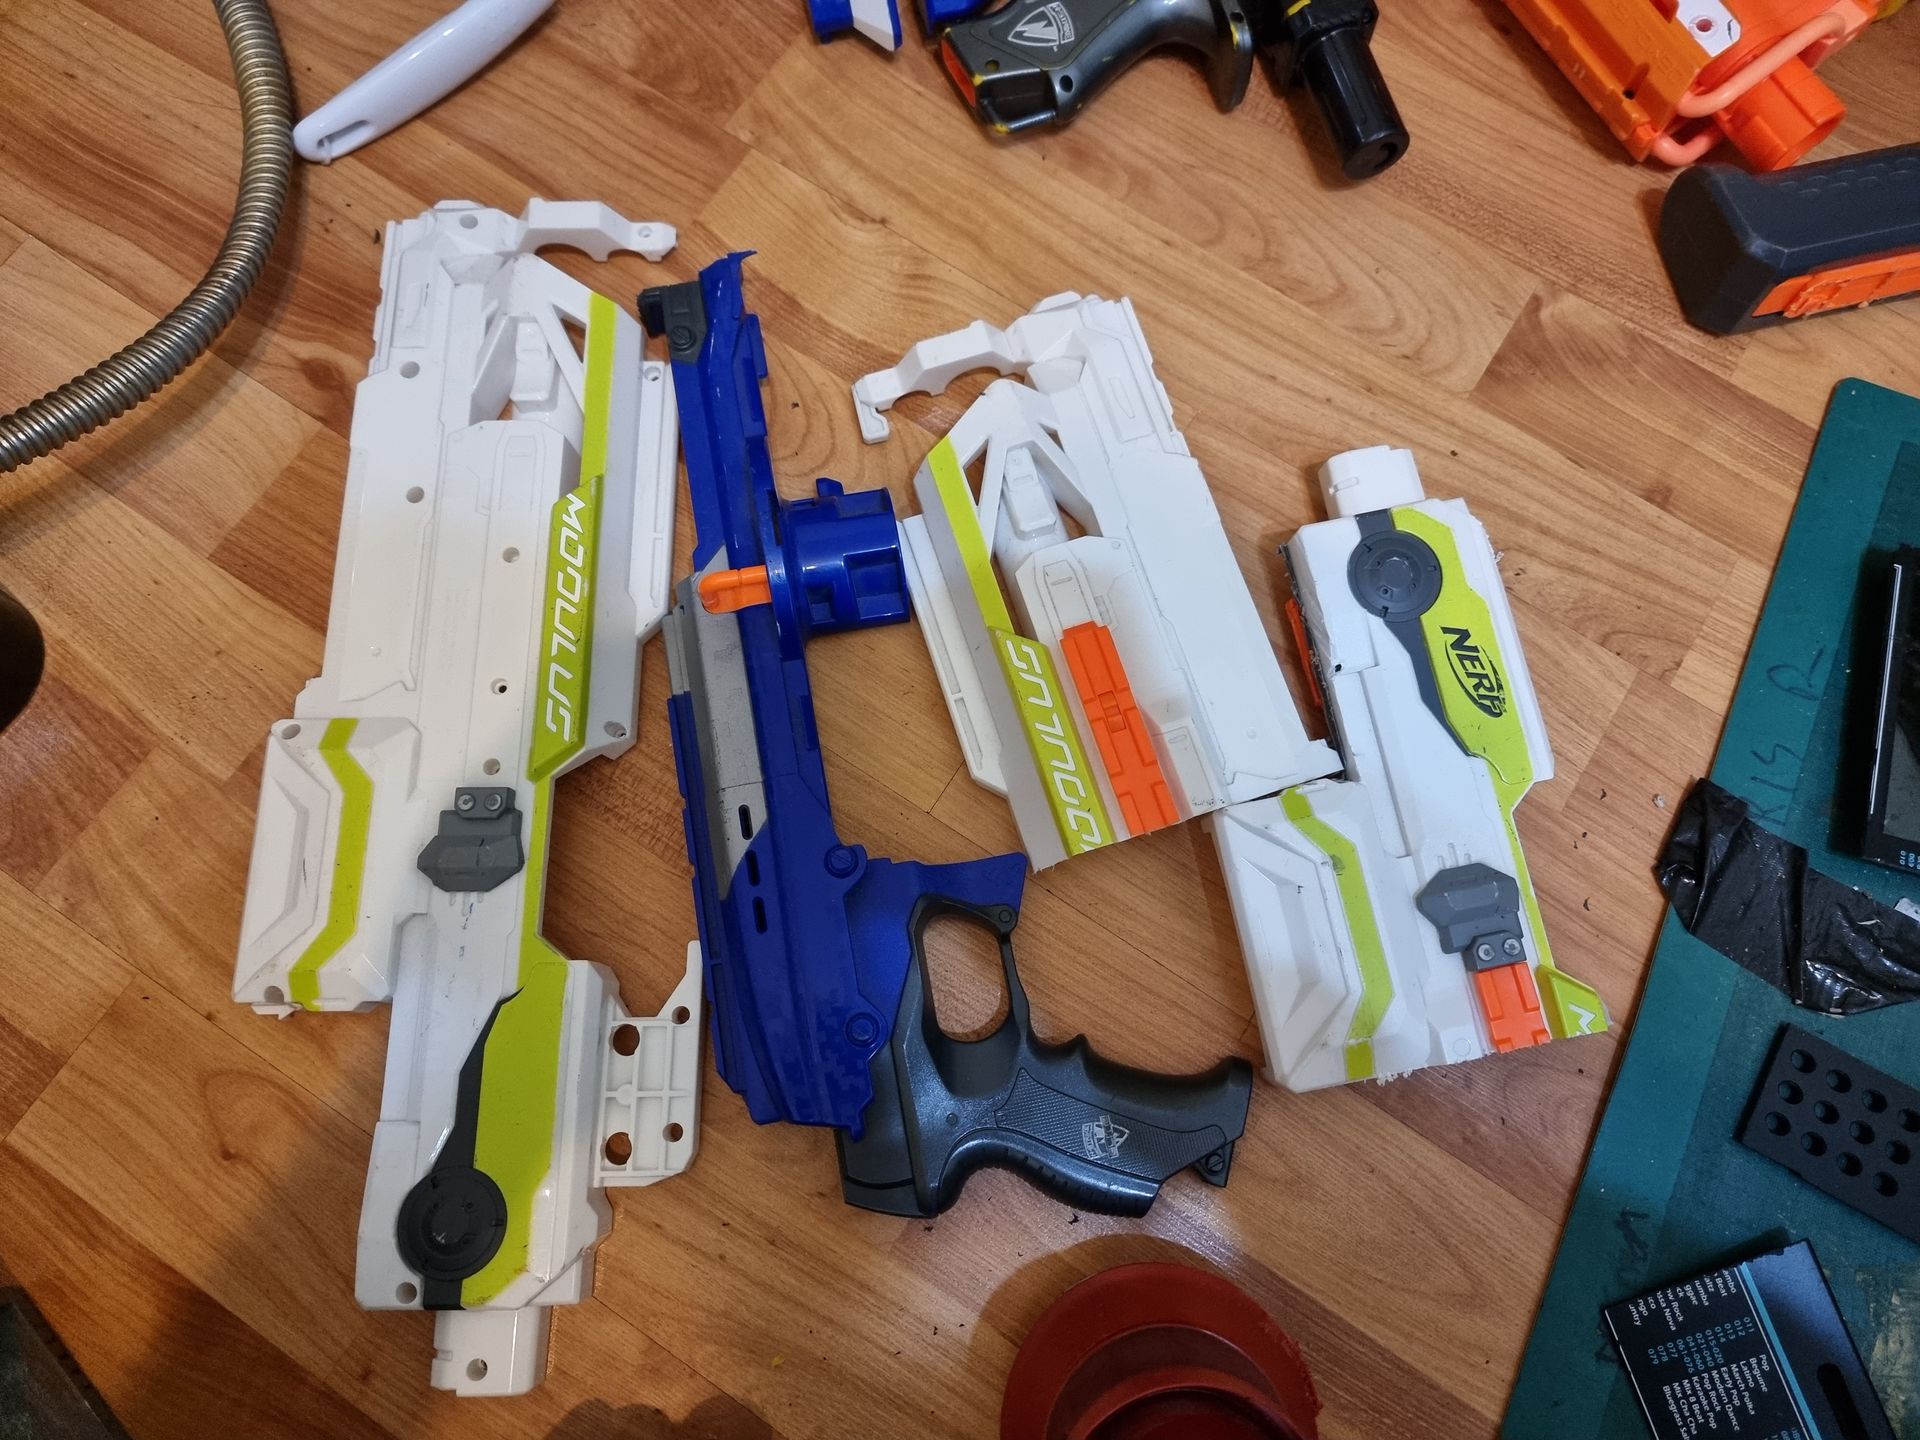
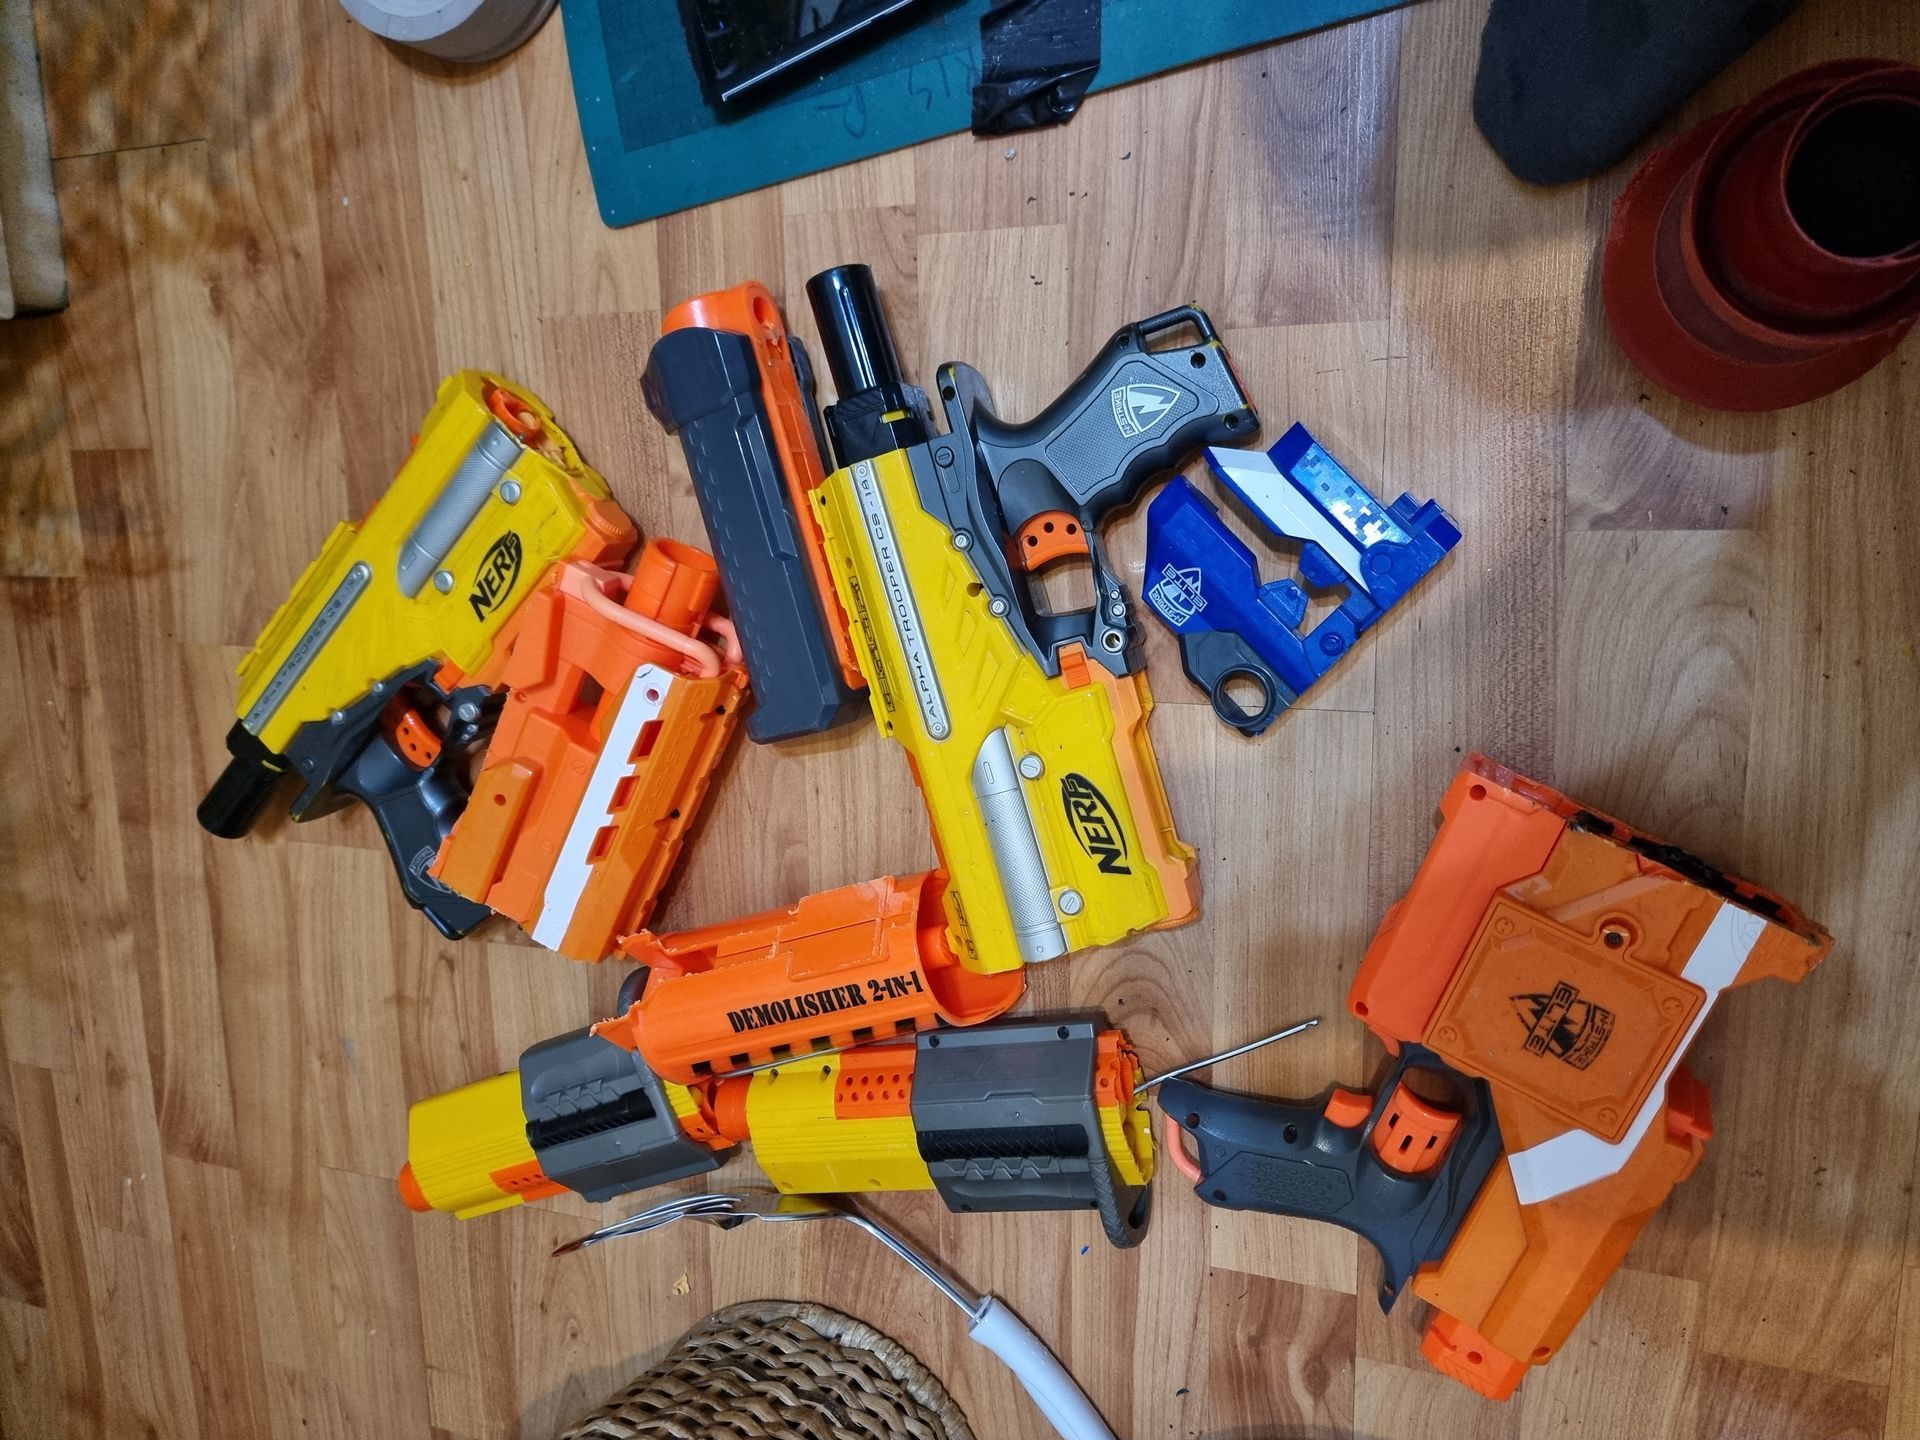
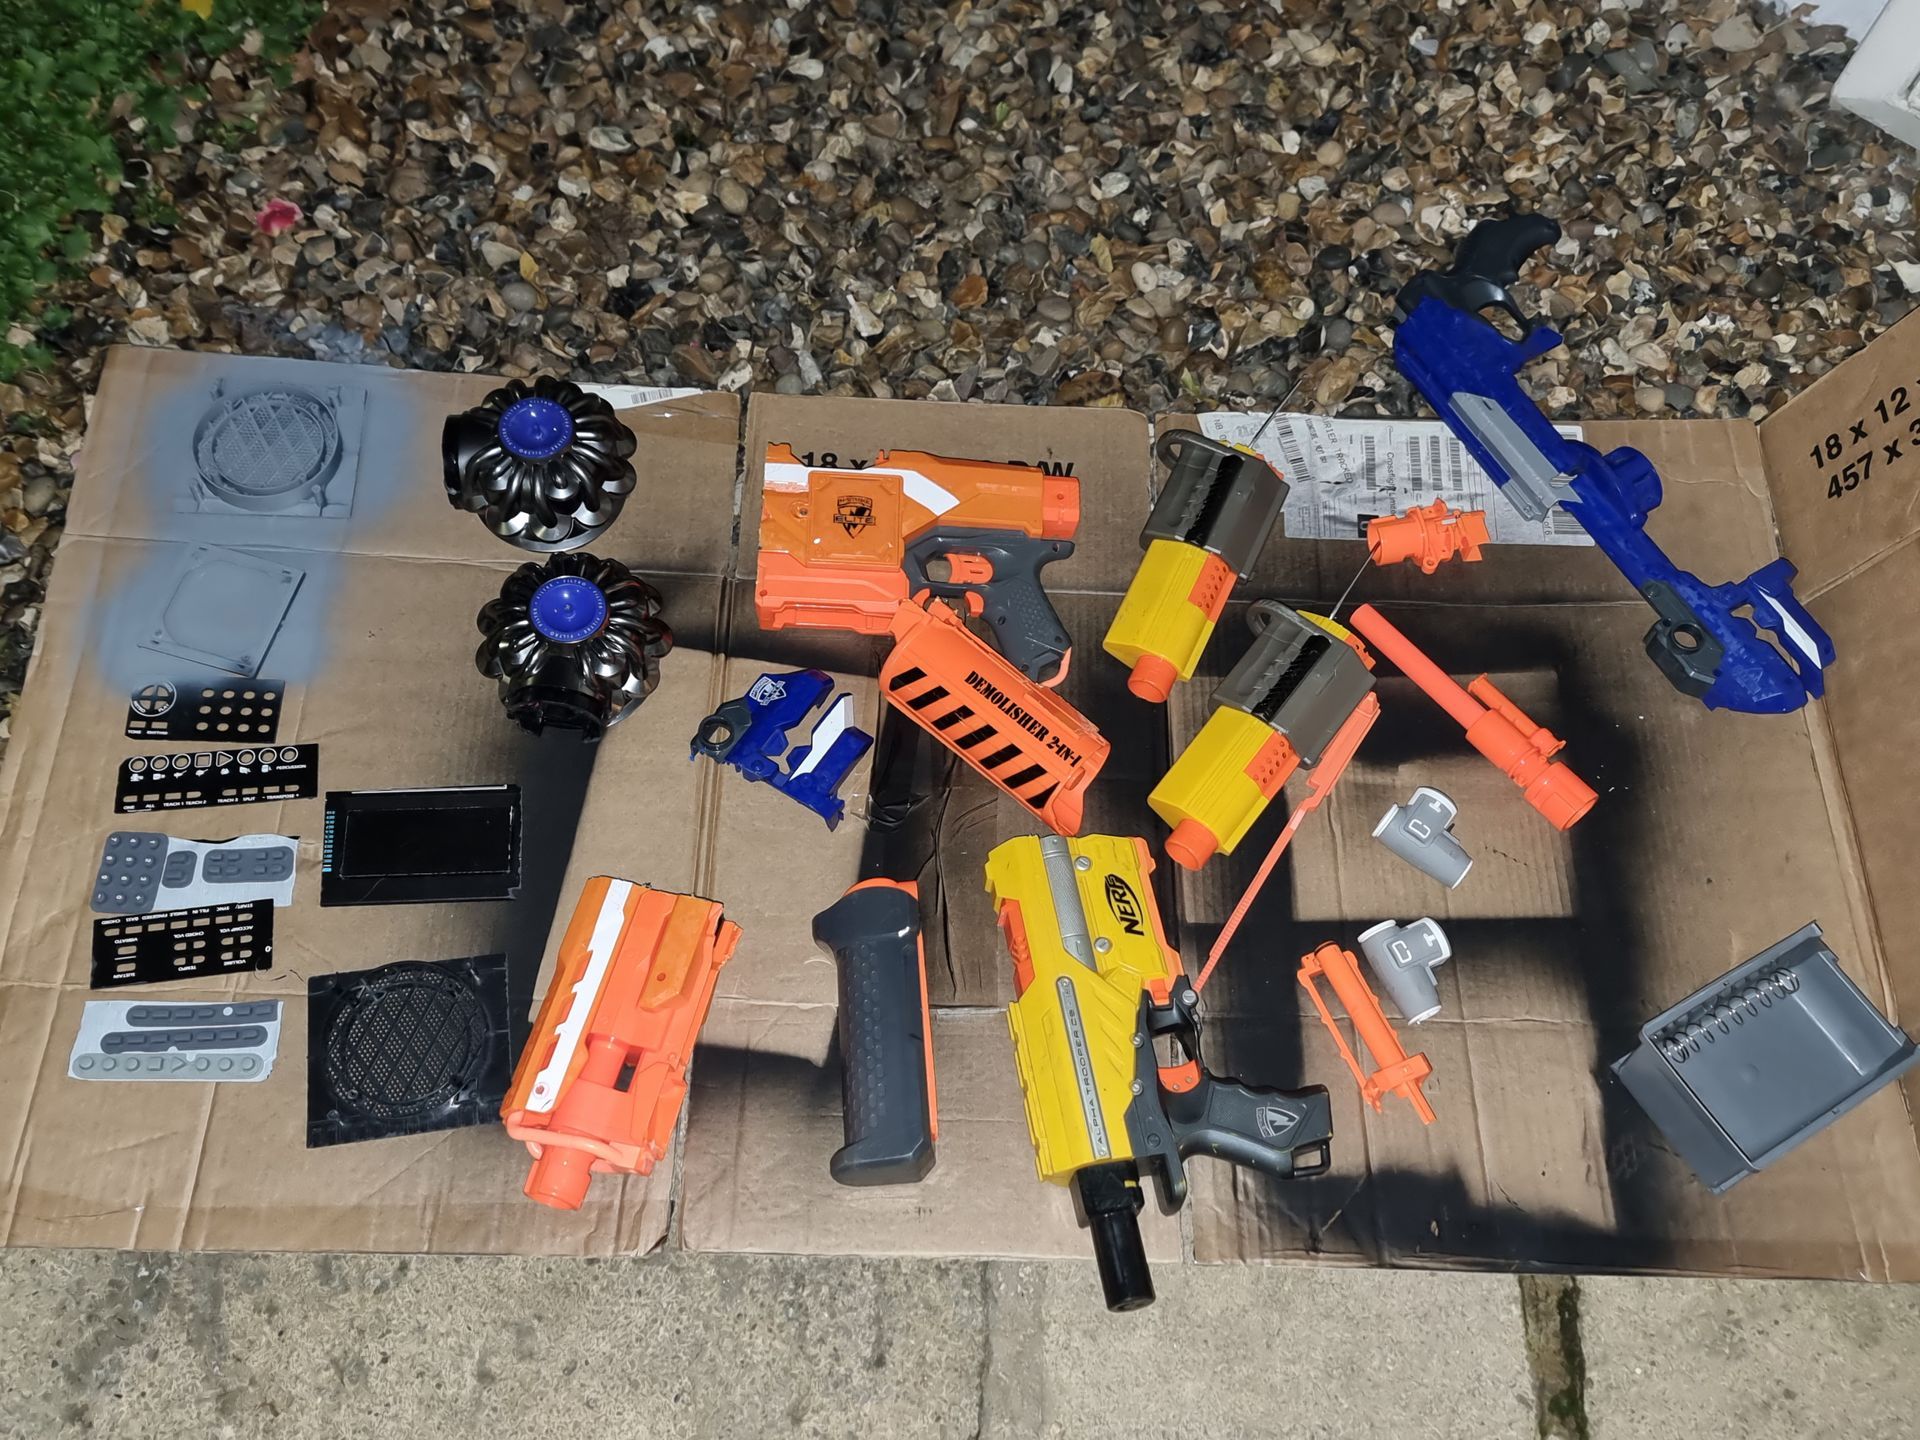
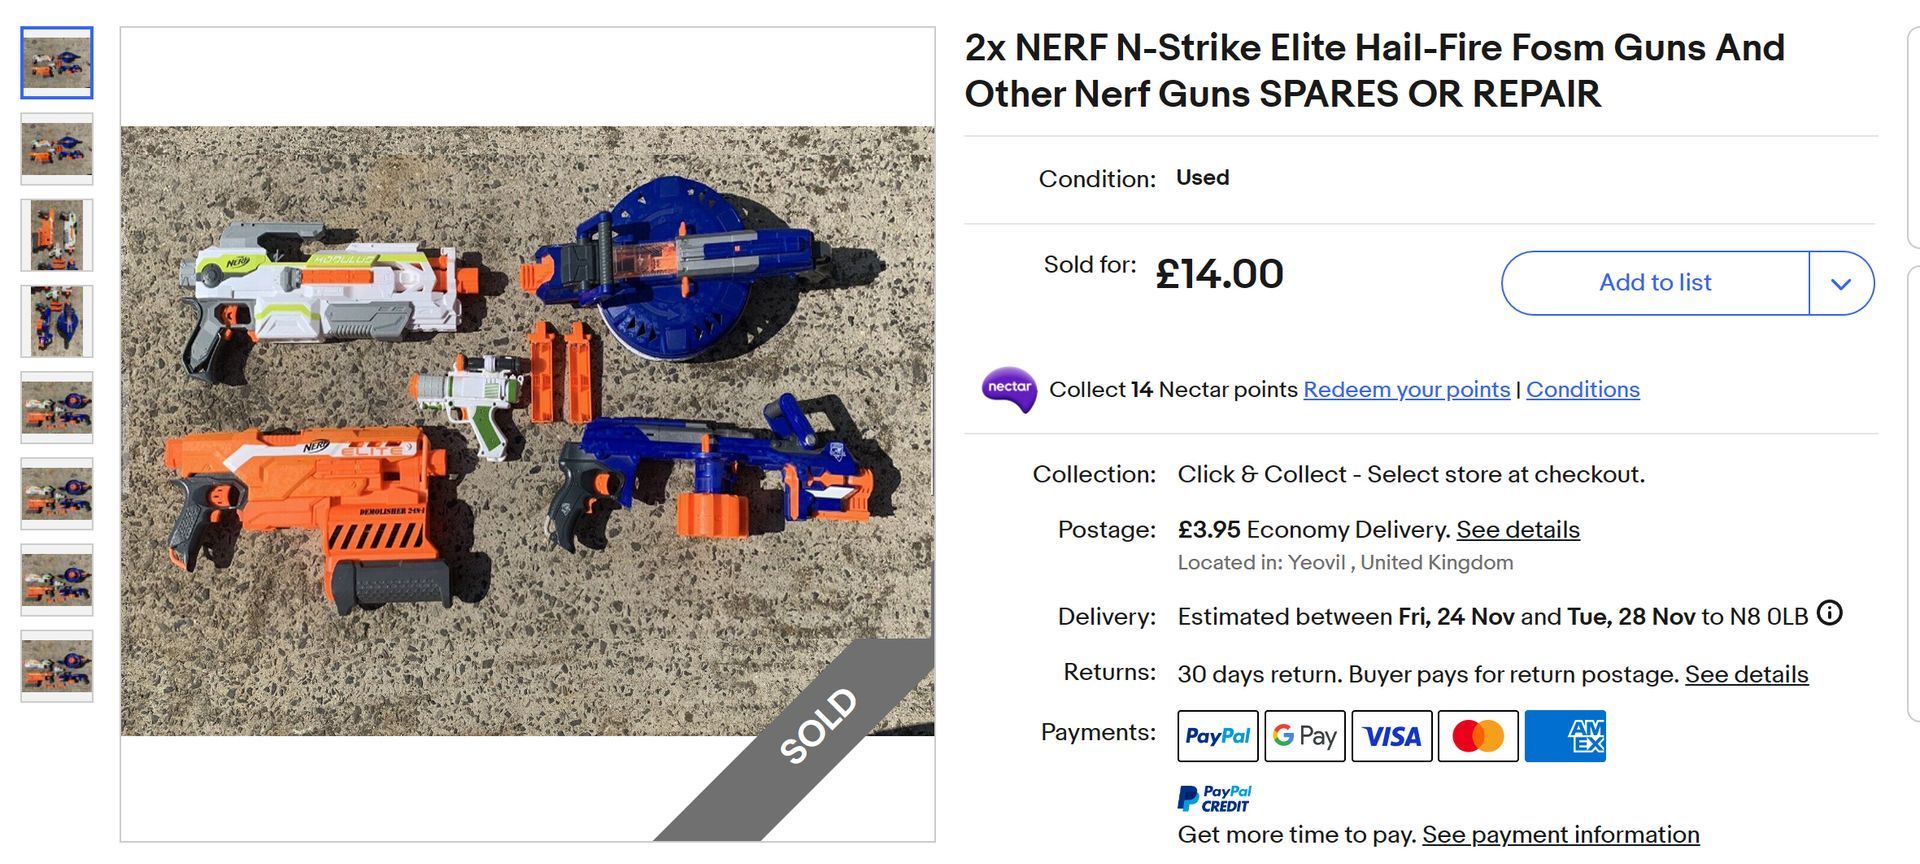
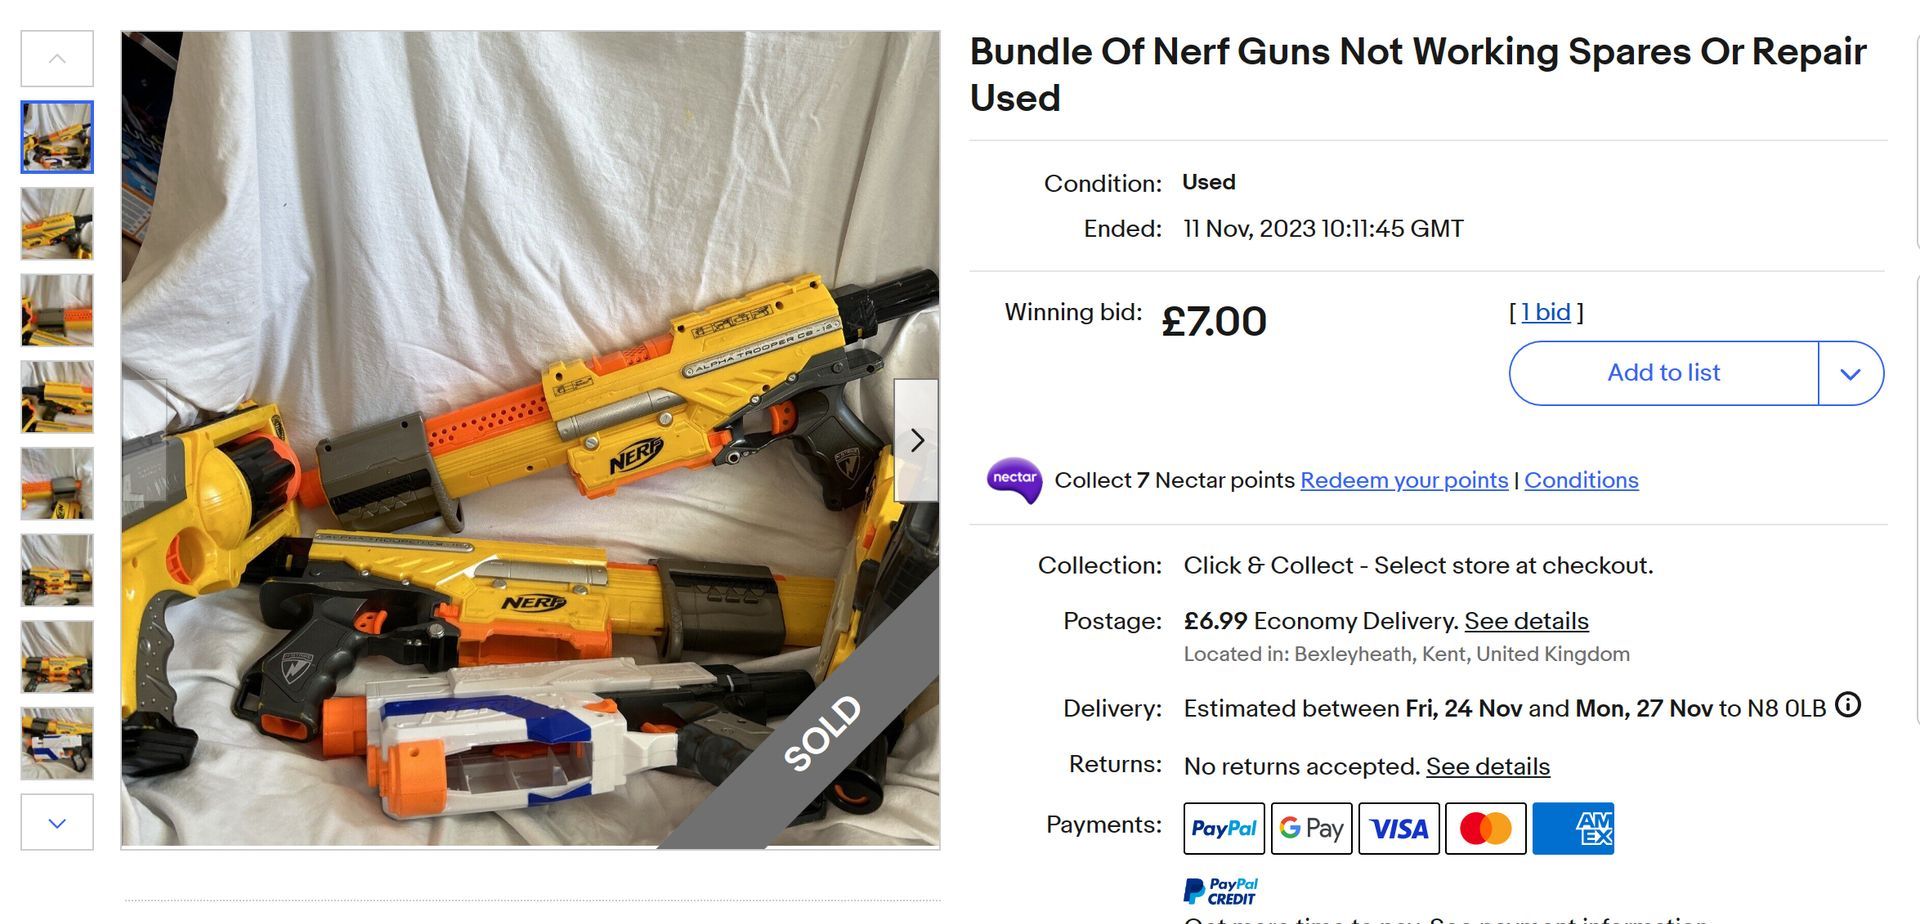
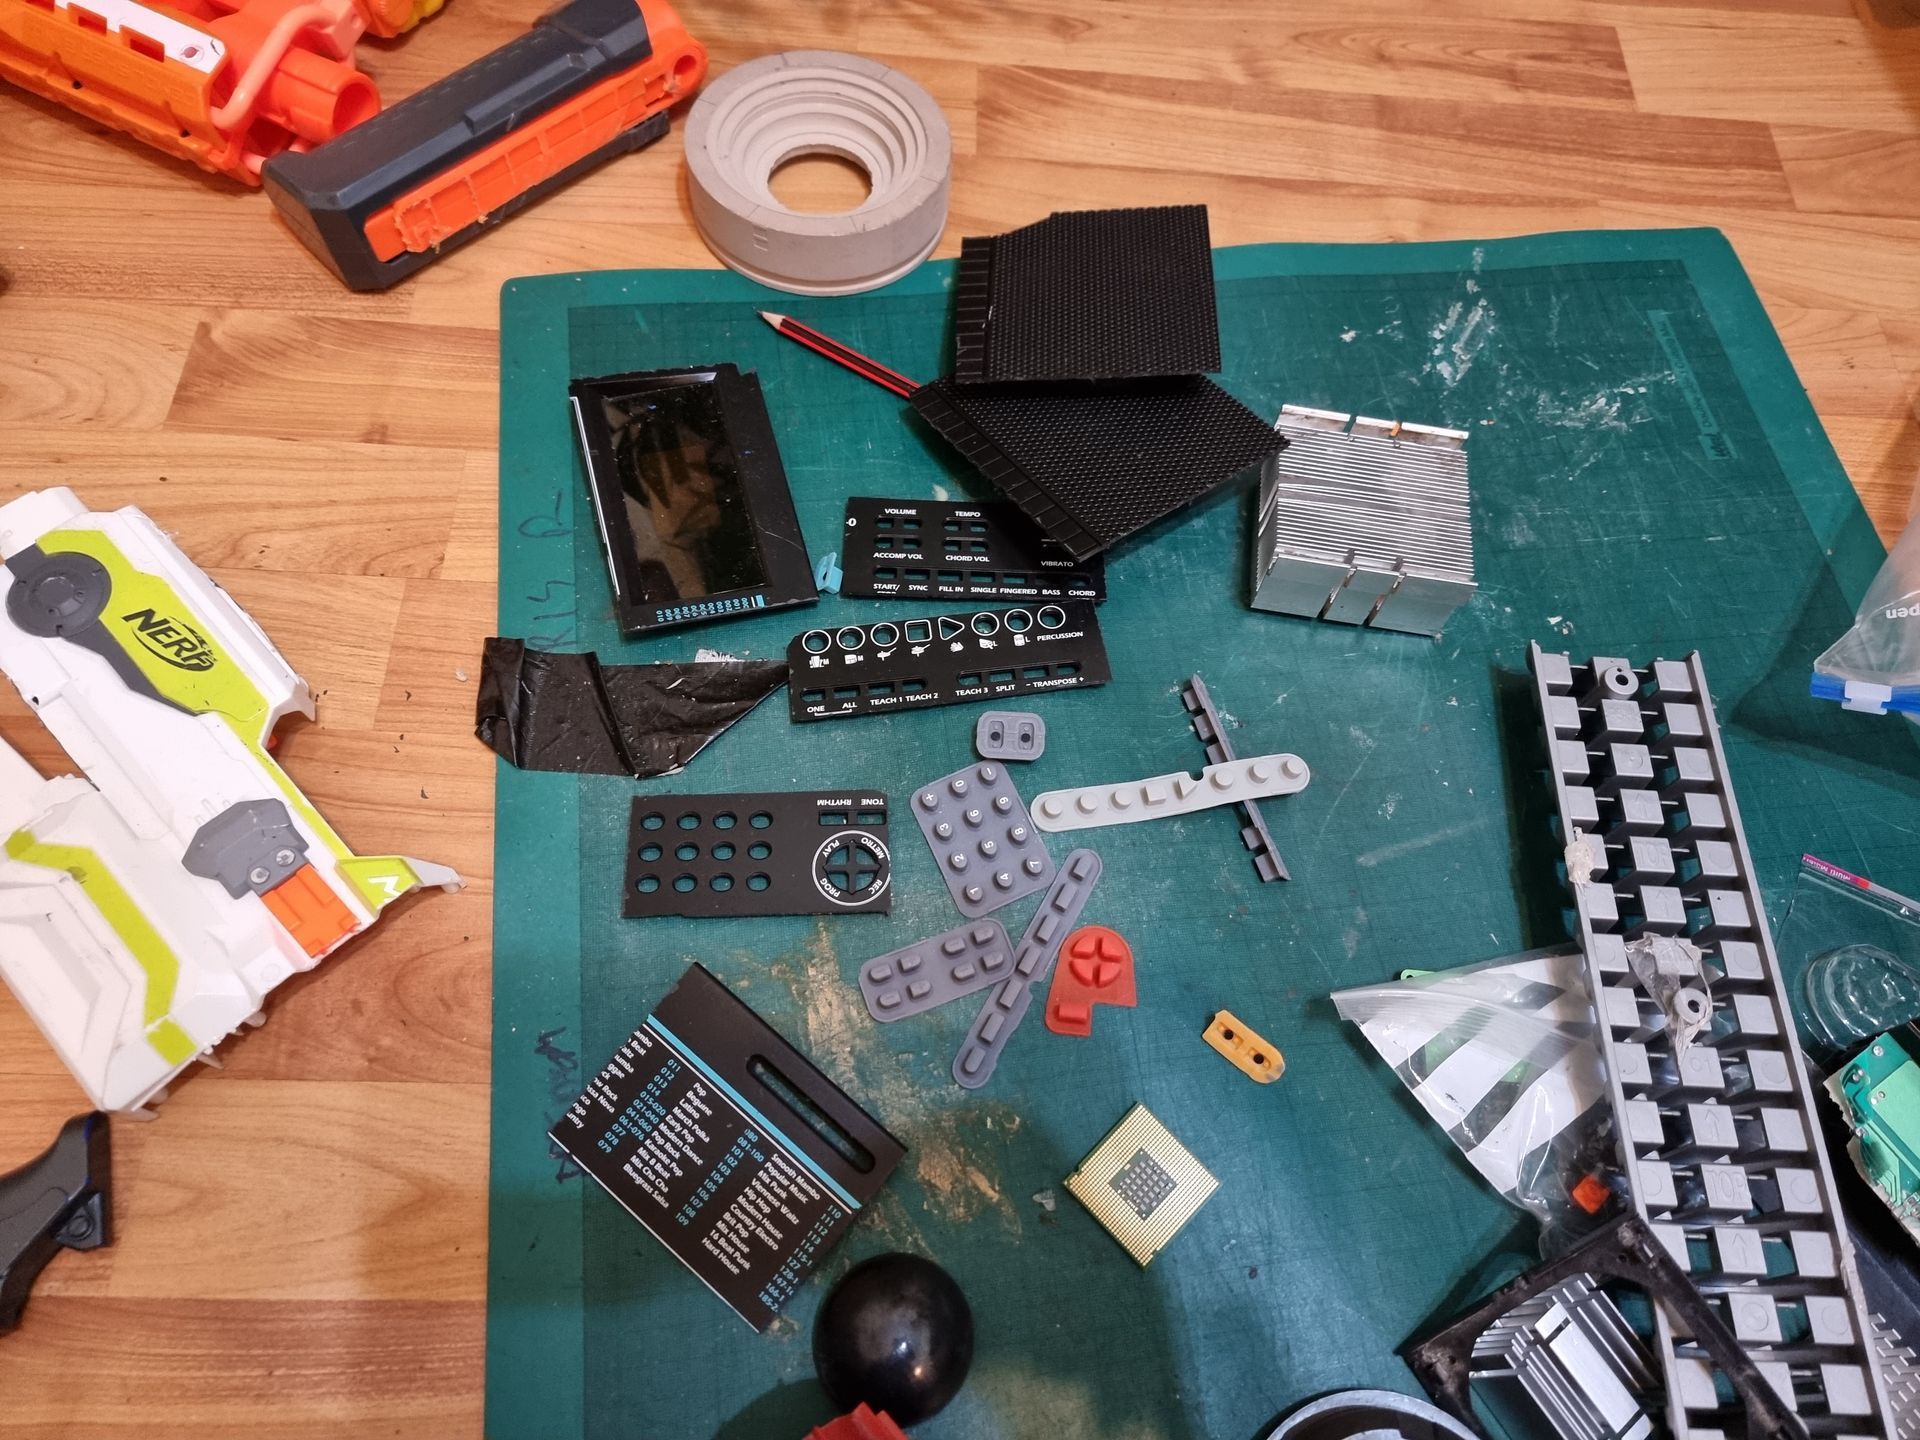
- Chopped up defective nerf guns.
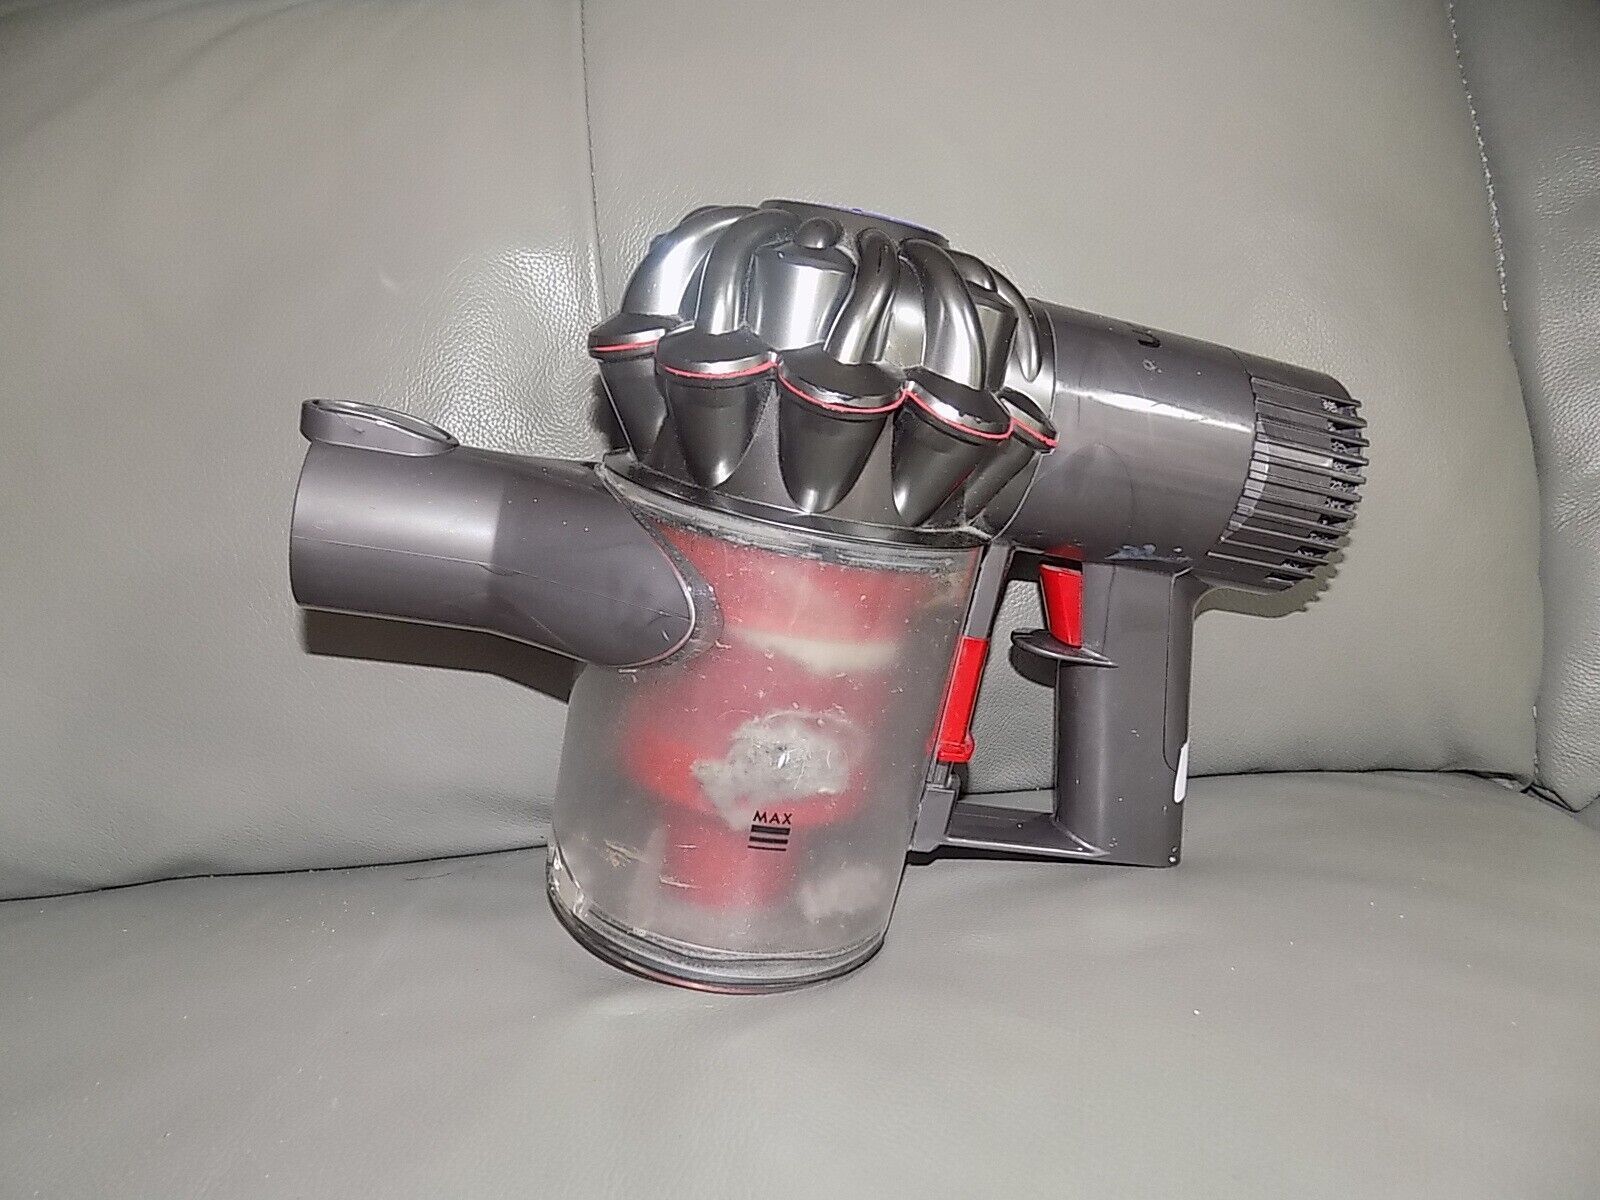
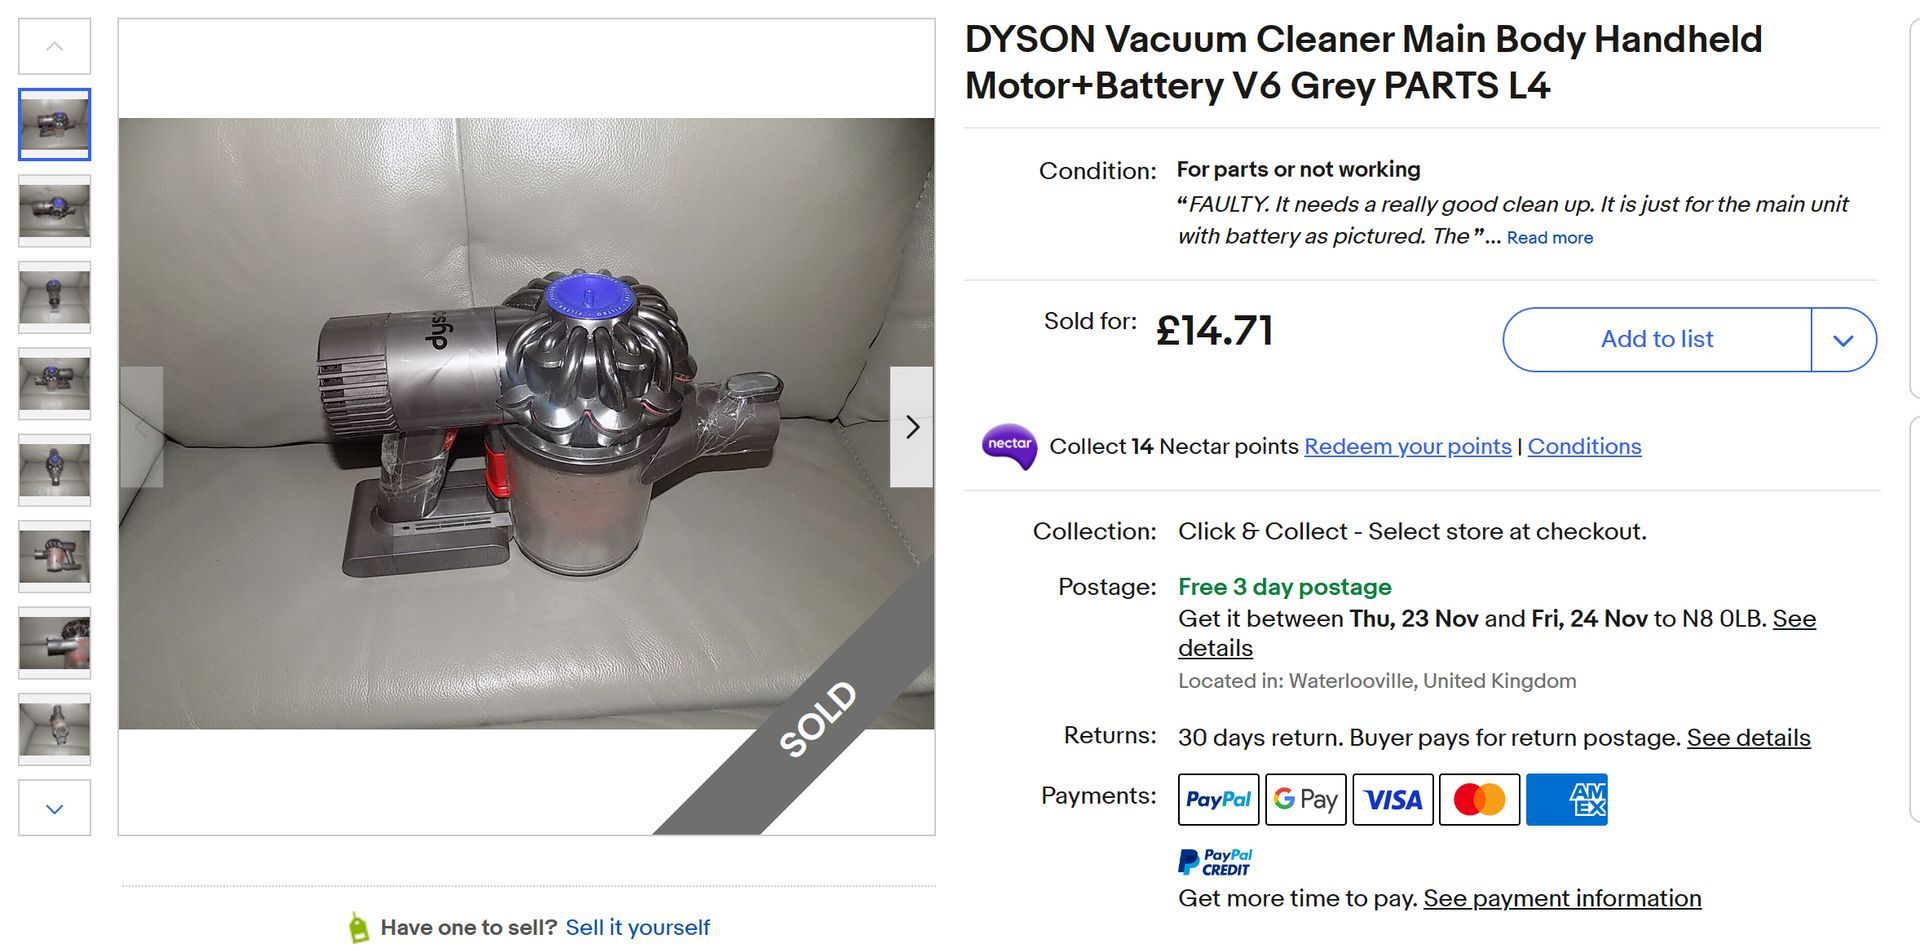
- Dyson Engines
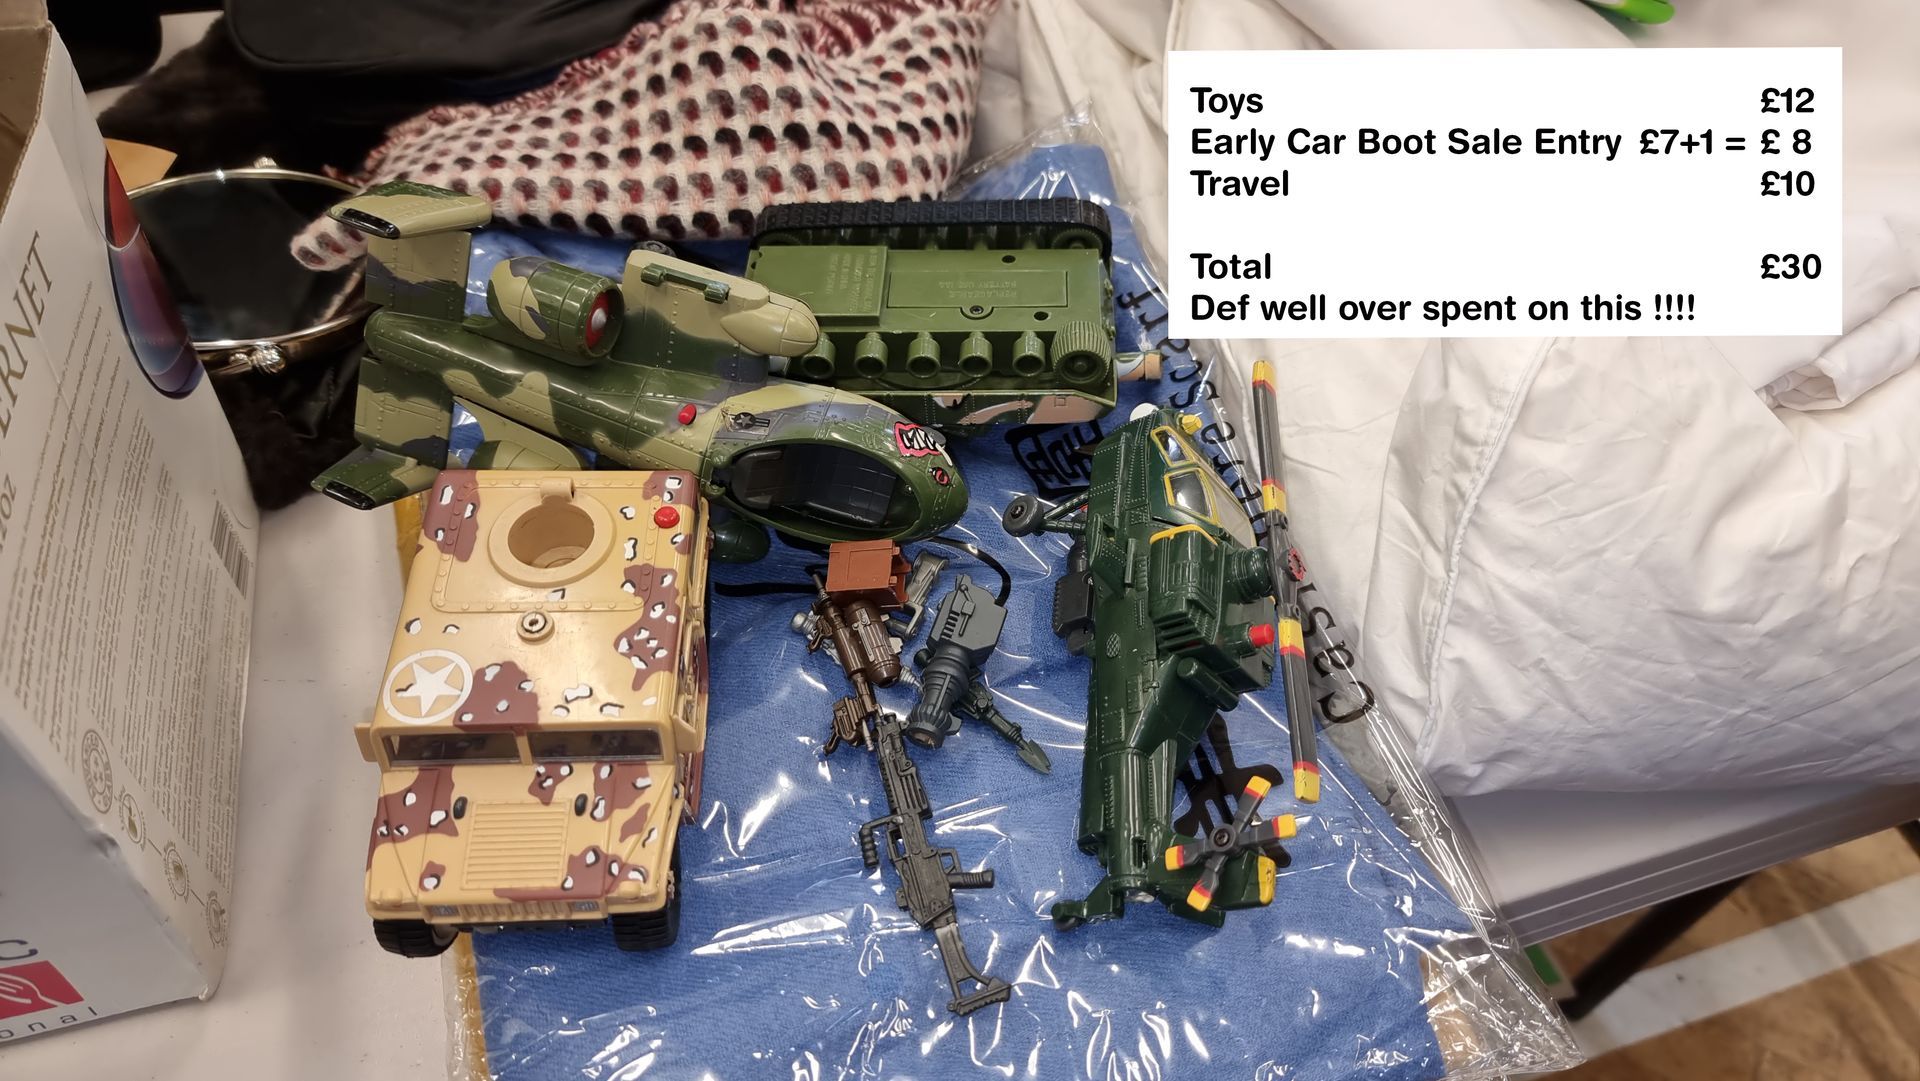
- War related toys like a tank and helicopter
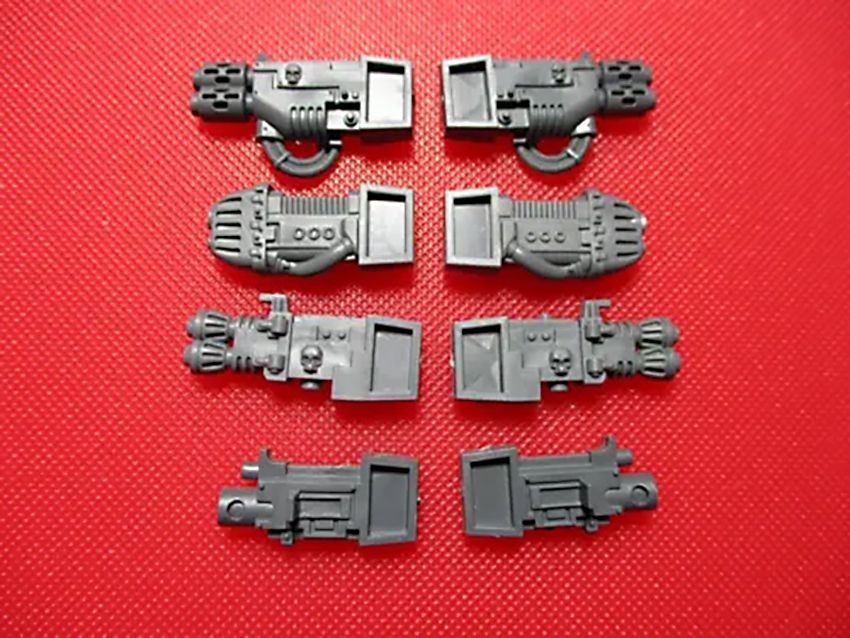
- Warhammer mechanised parts and weapons
- Circuit board components
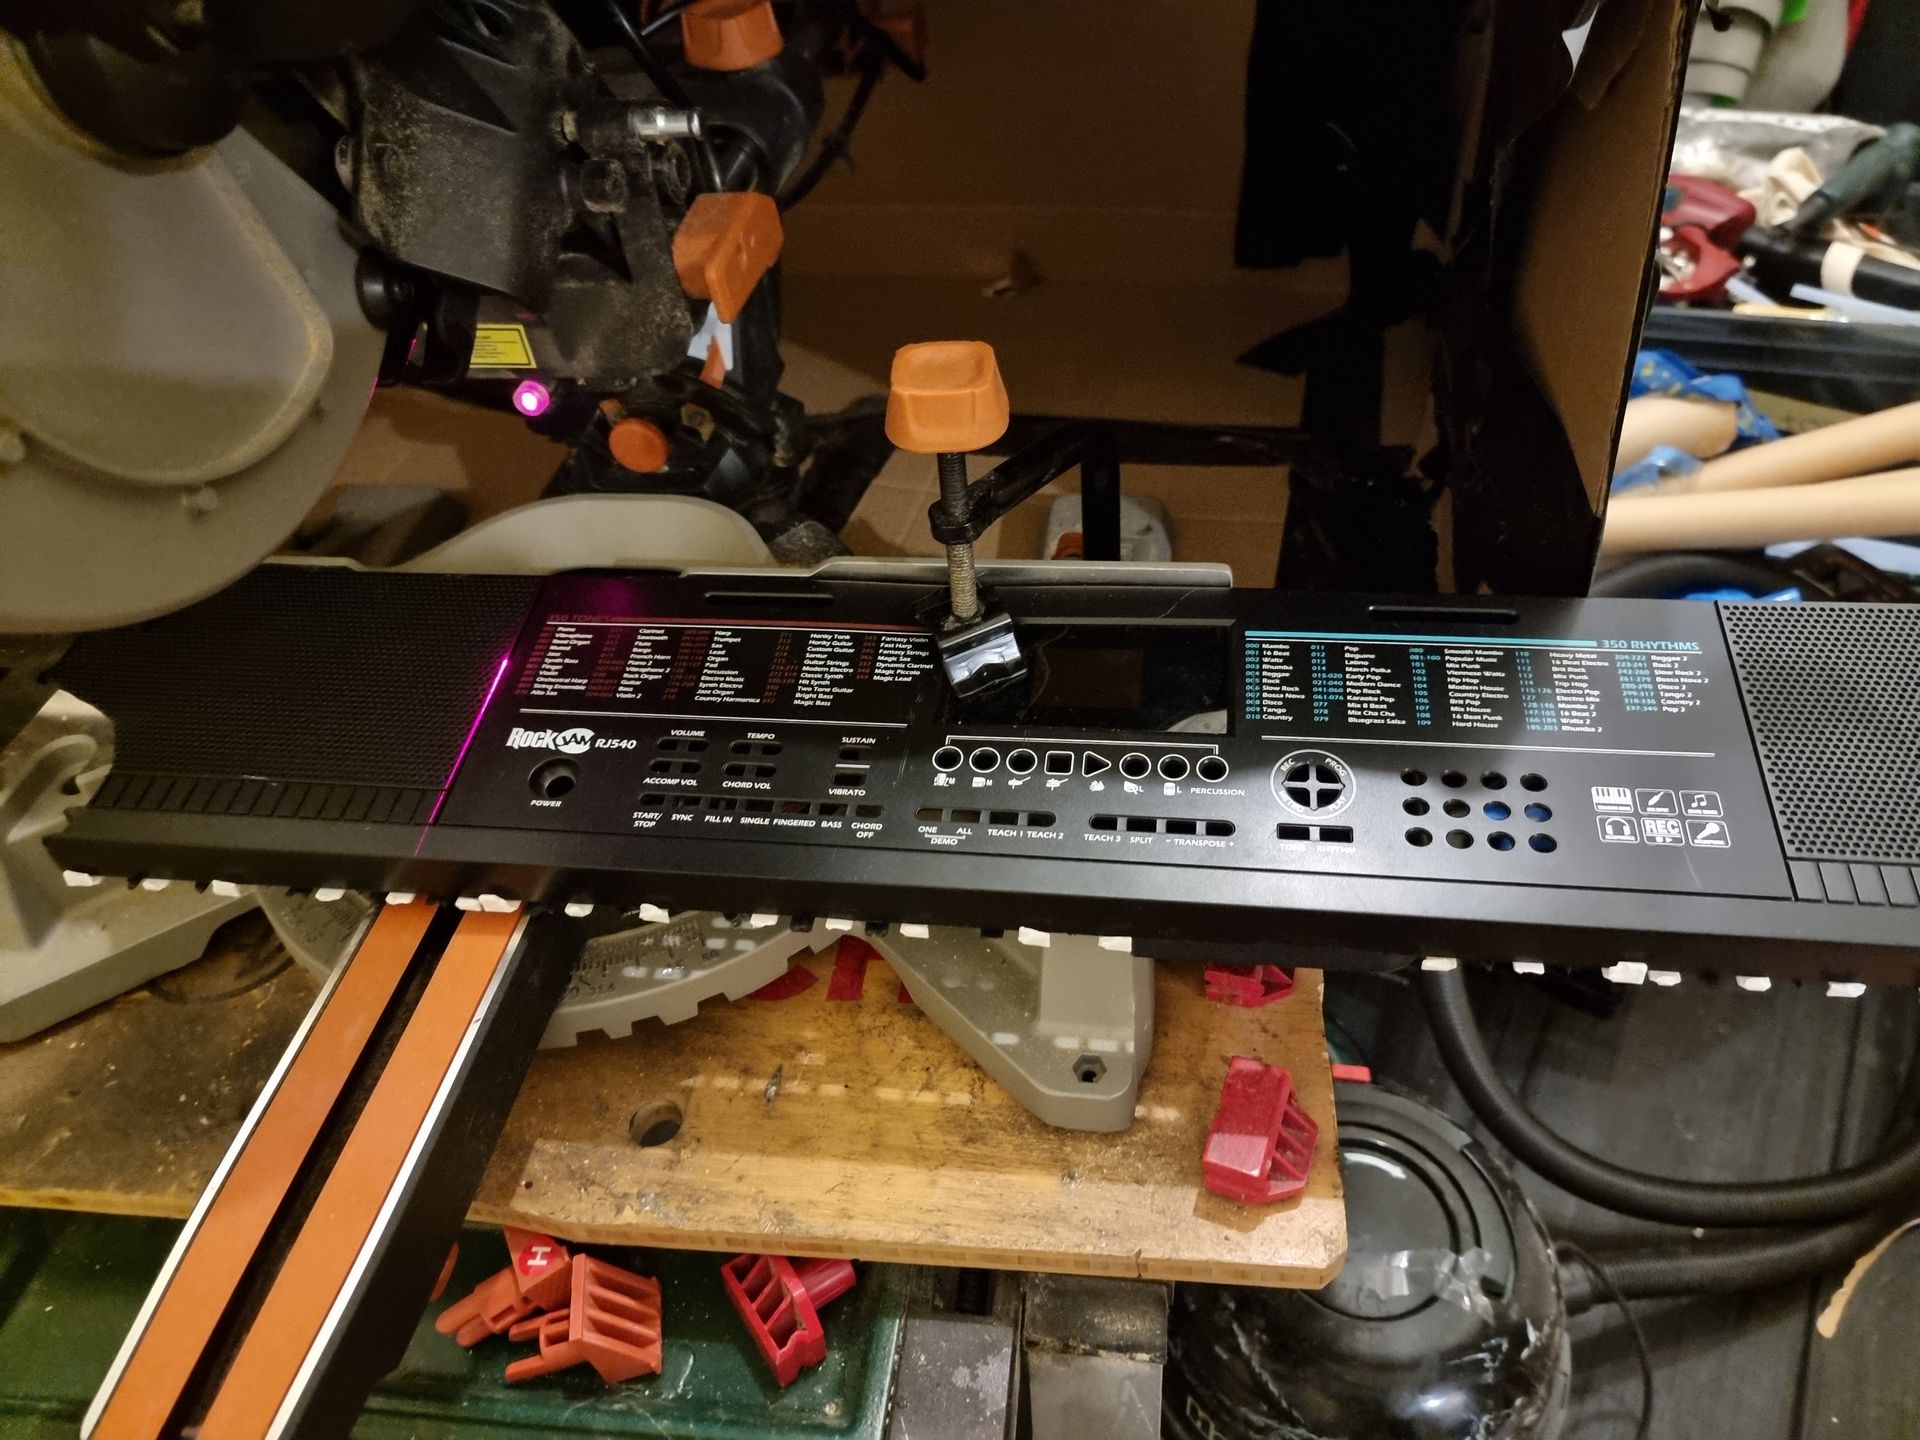
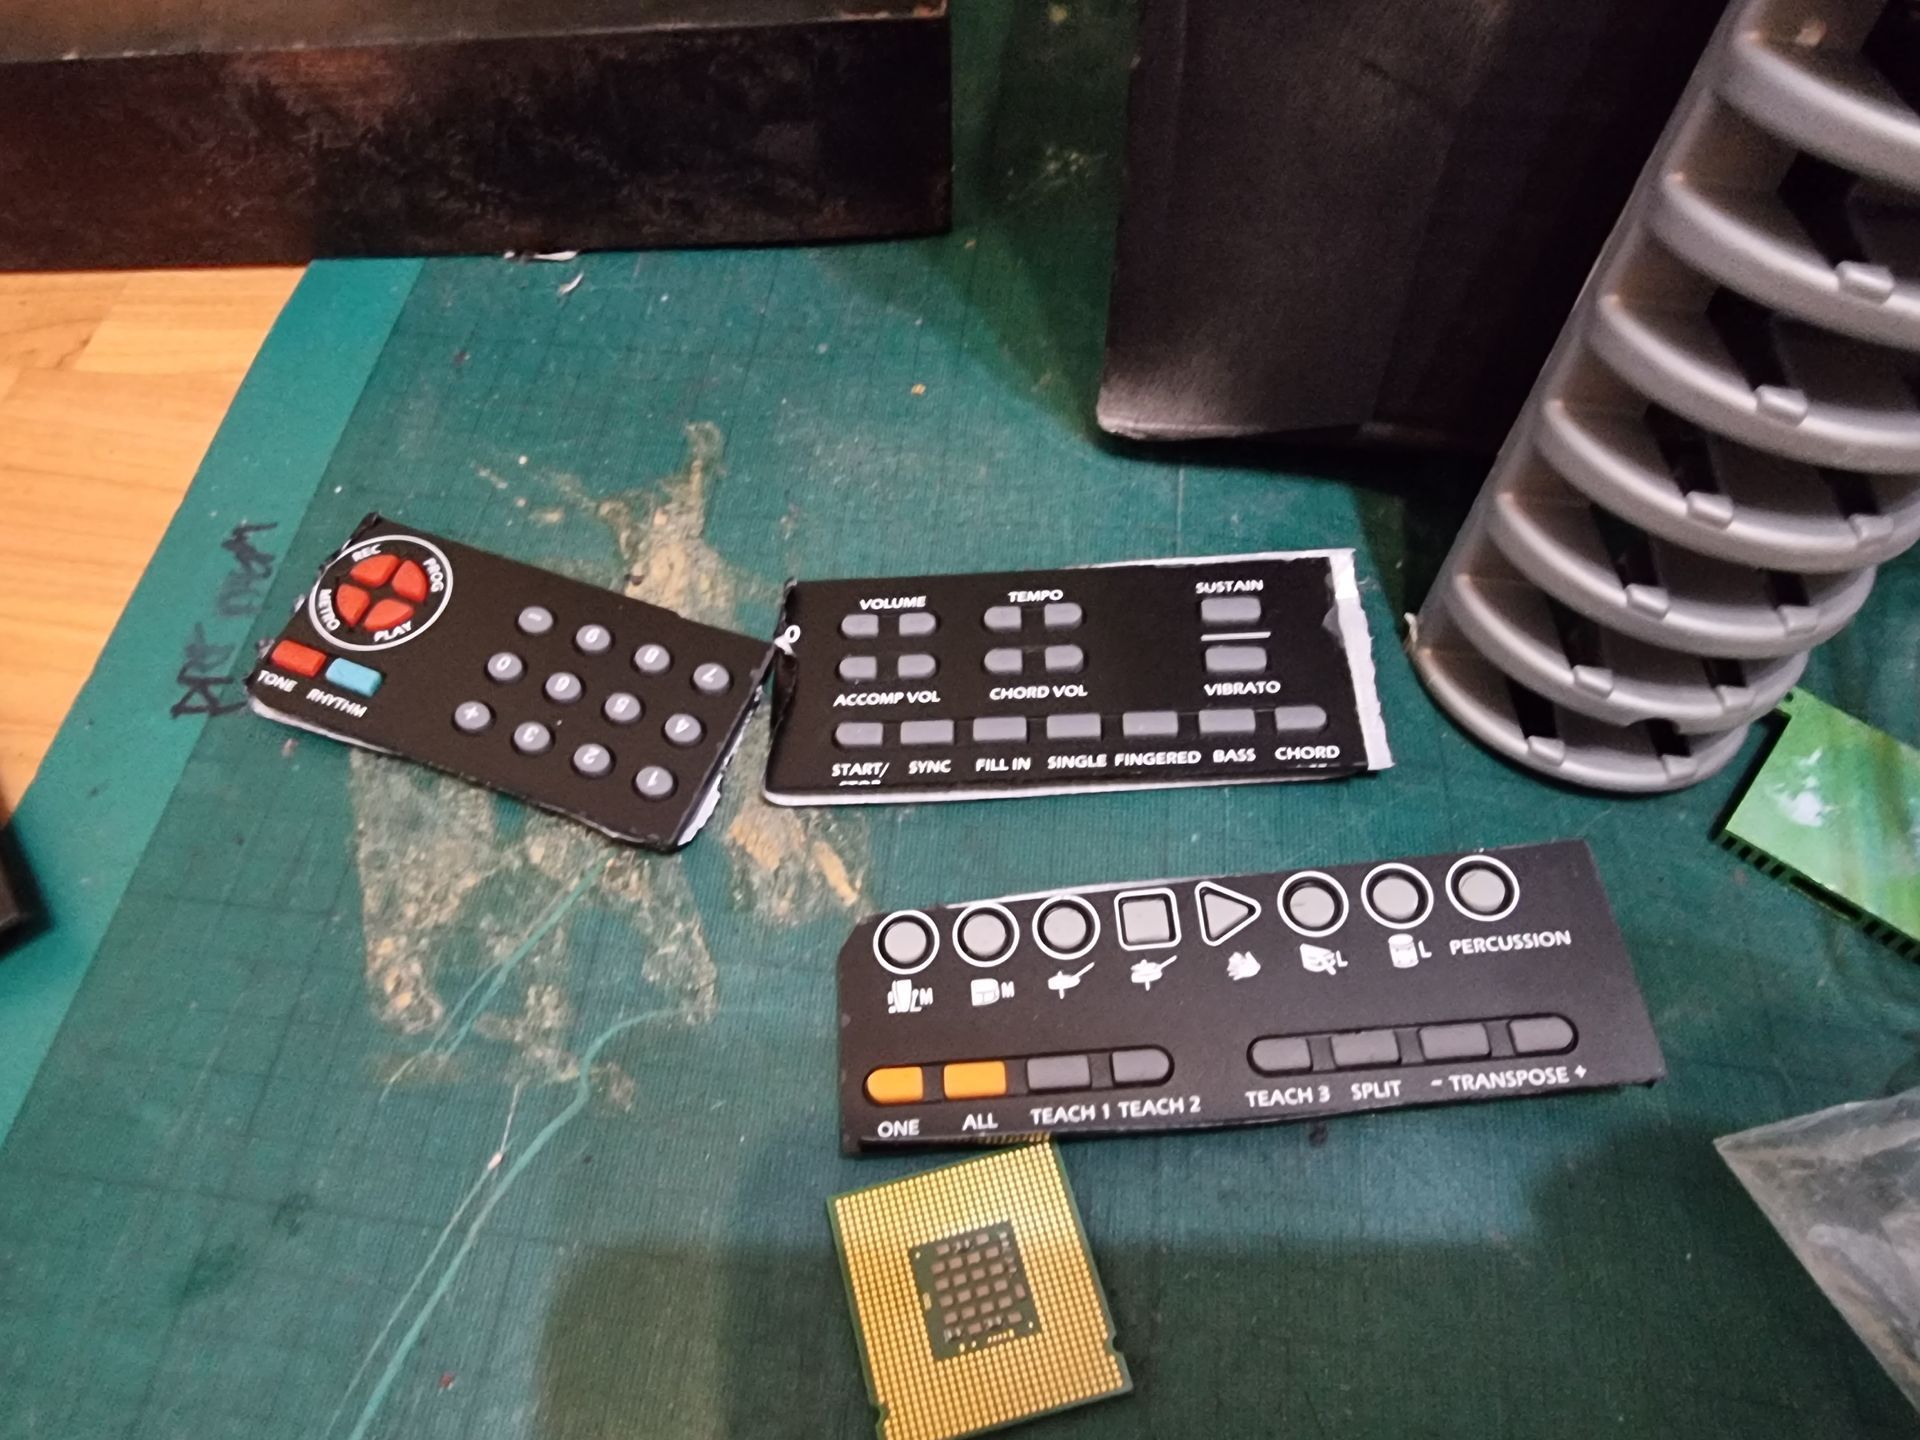
- A chopped up broken Yamaha keyboard
- CPAP Machine breathing tubes
- A broken hair dryer
- Lego Technic
- There was also a Silicon mould with lots of sci fi related parts like vents, knobs and other parts.
Part Duplication
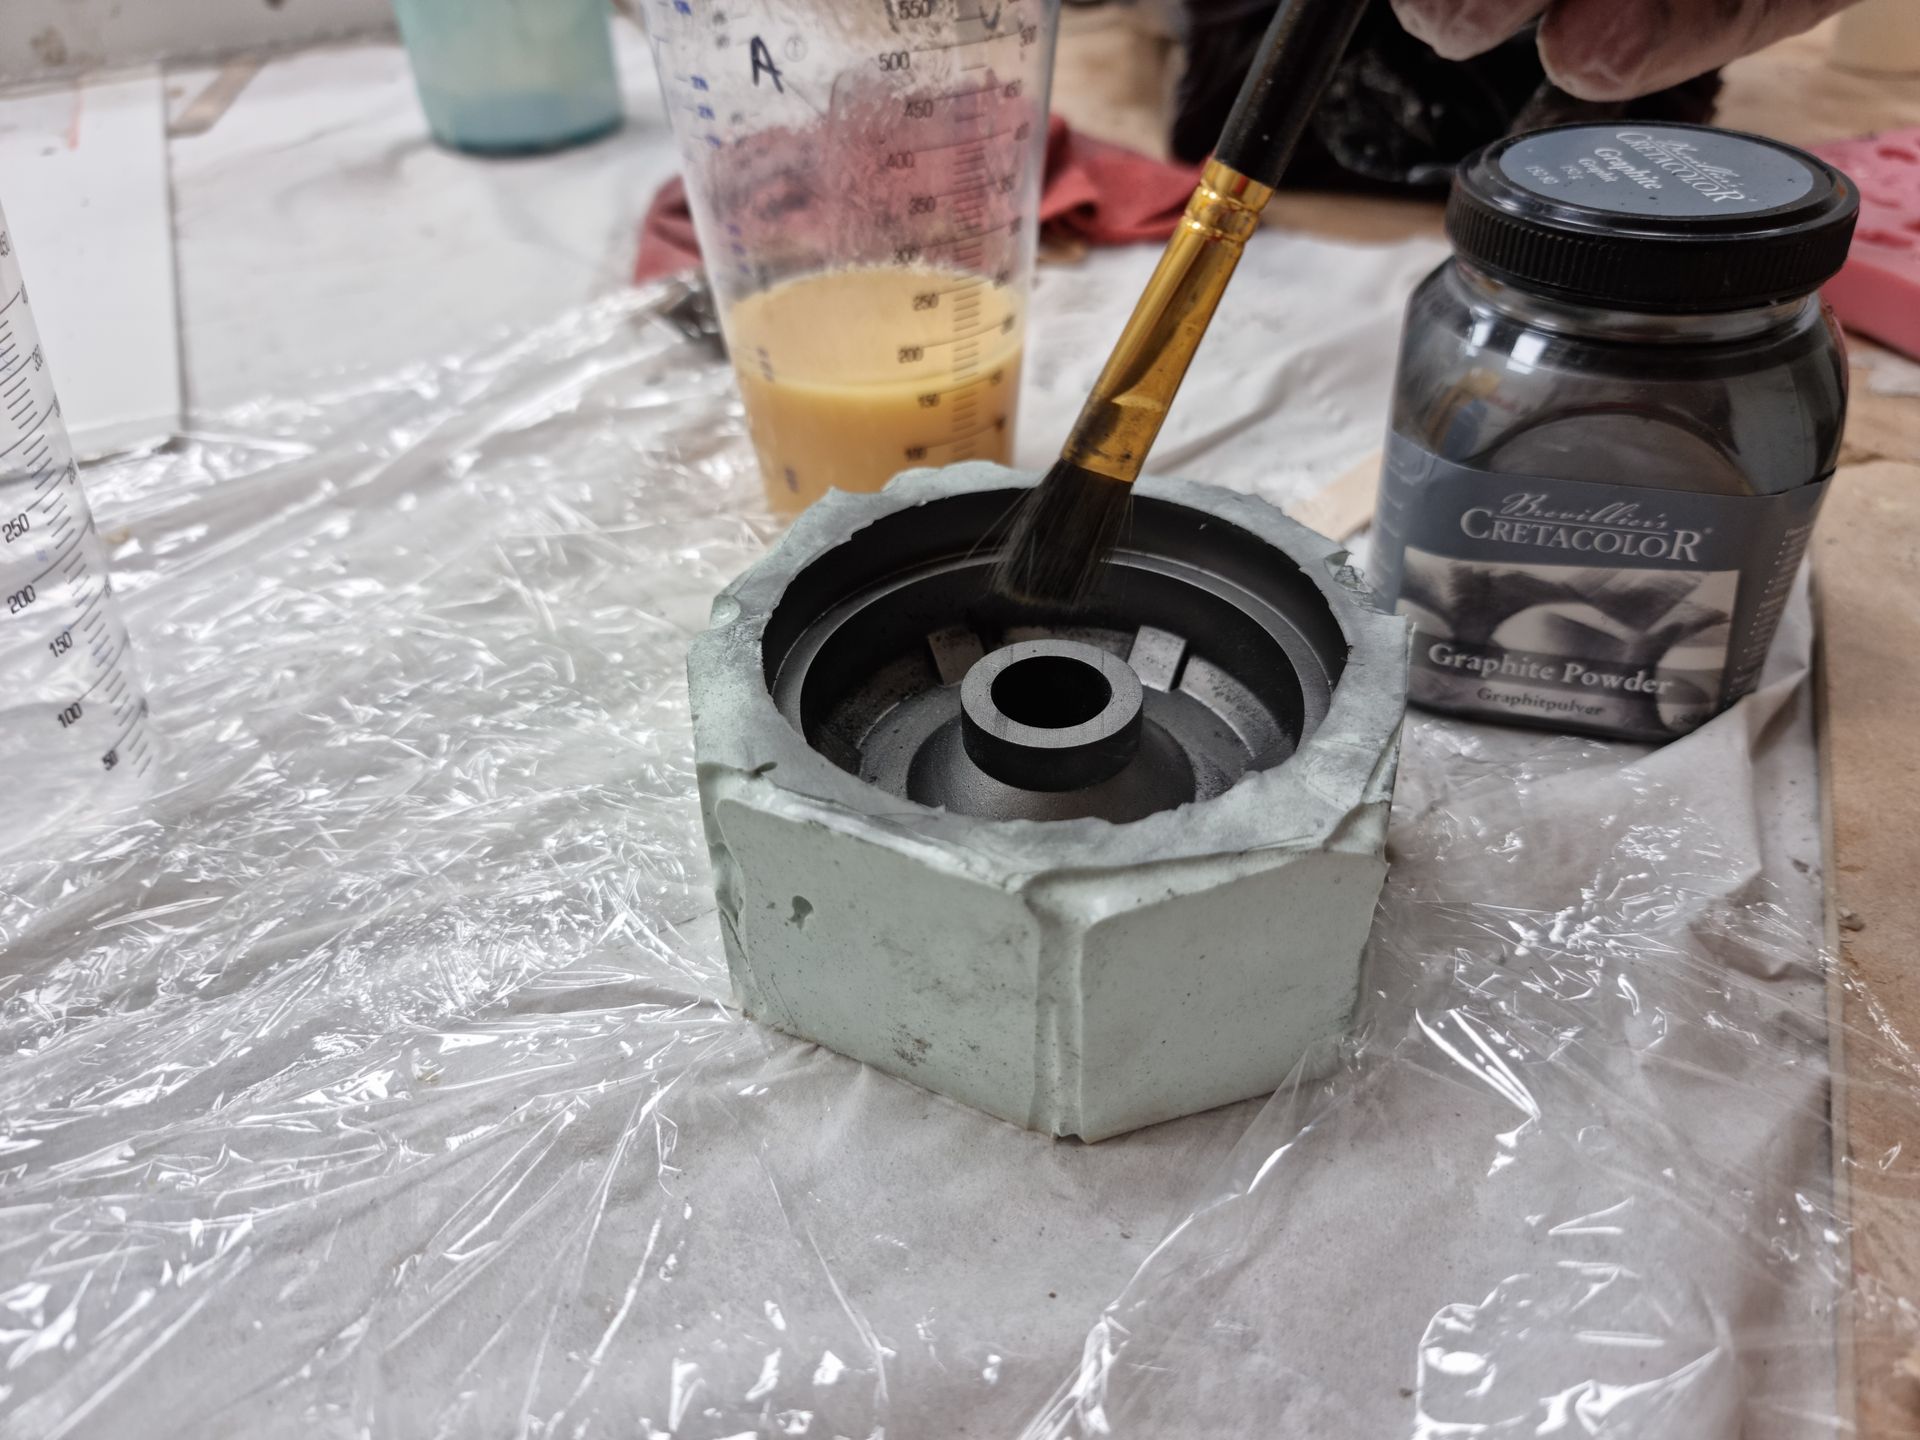
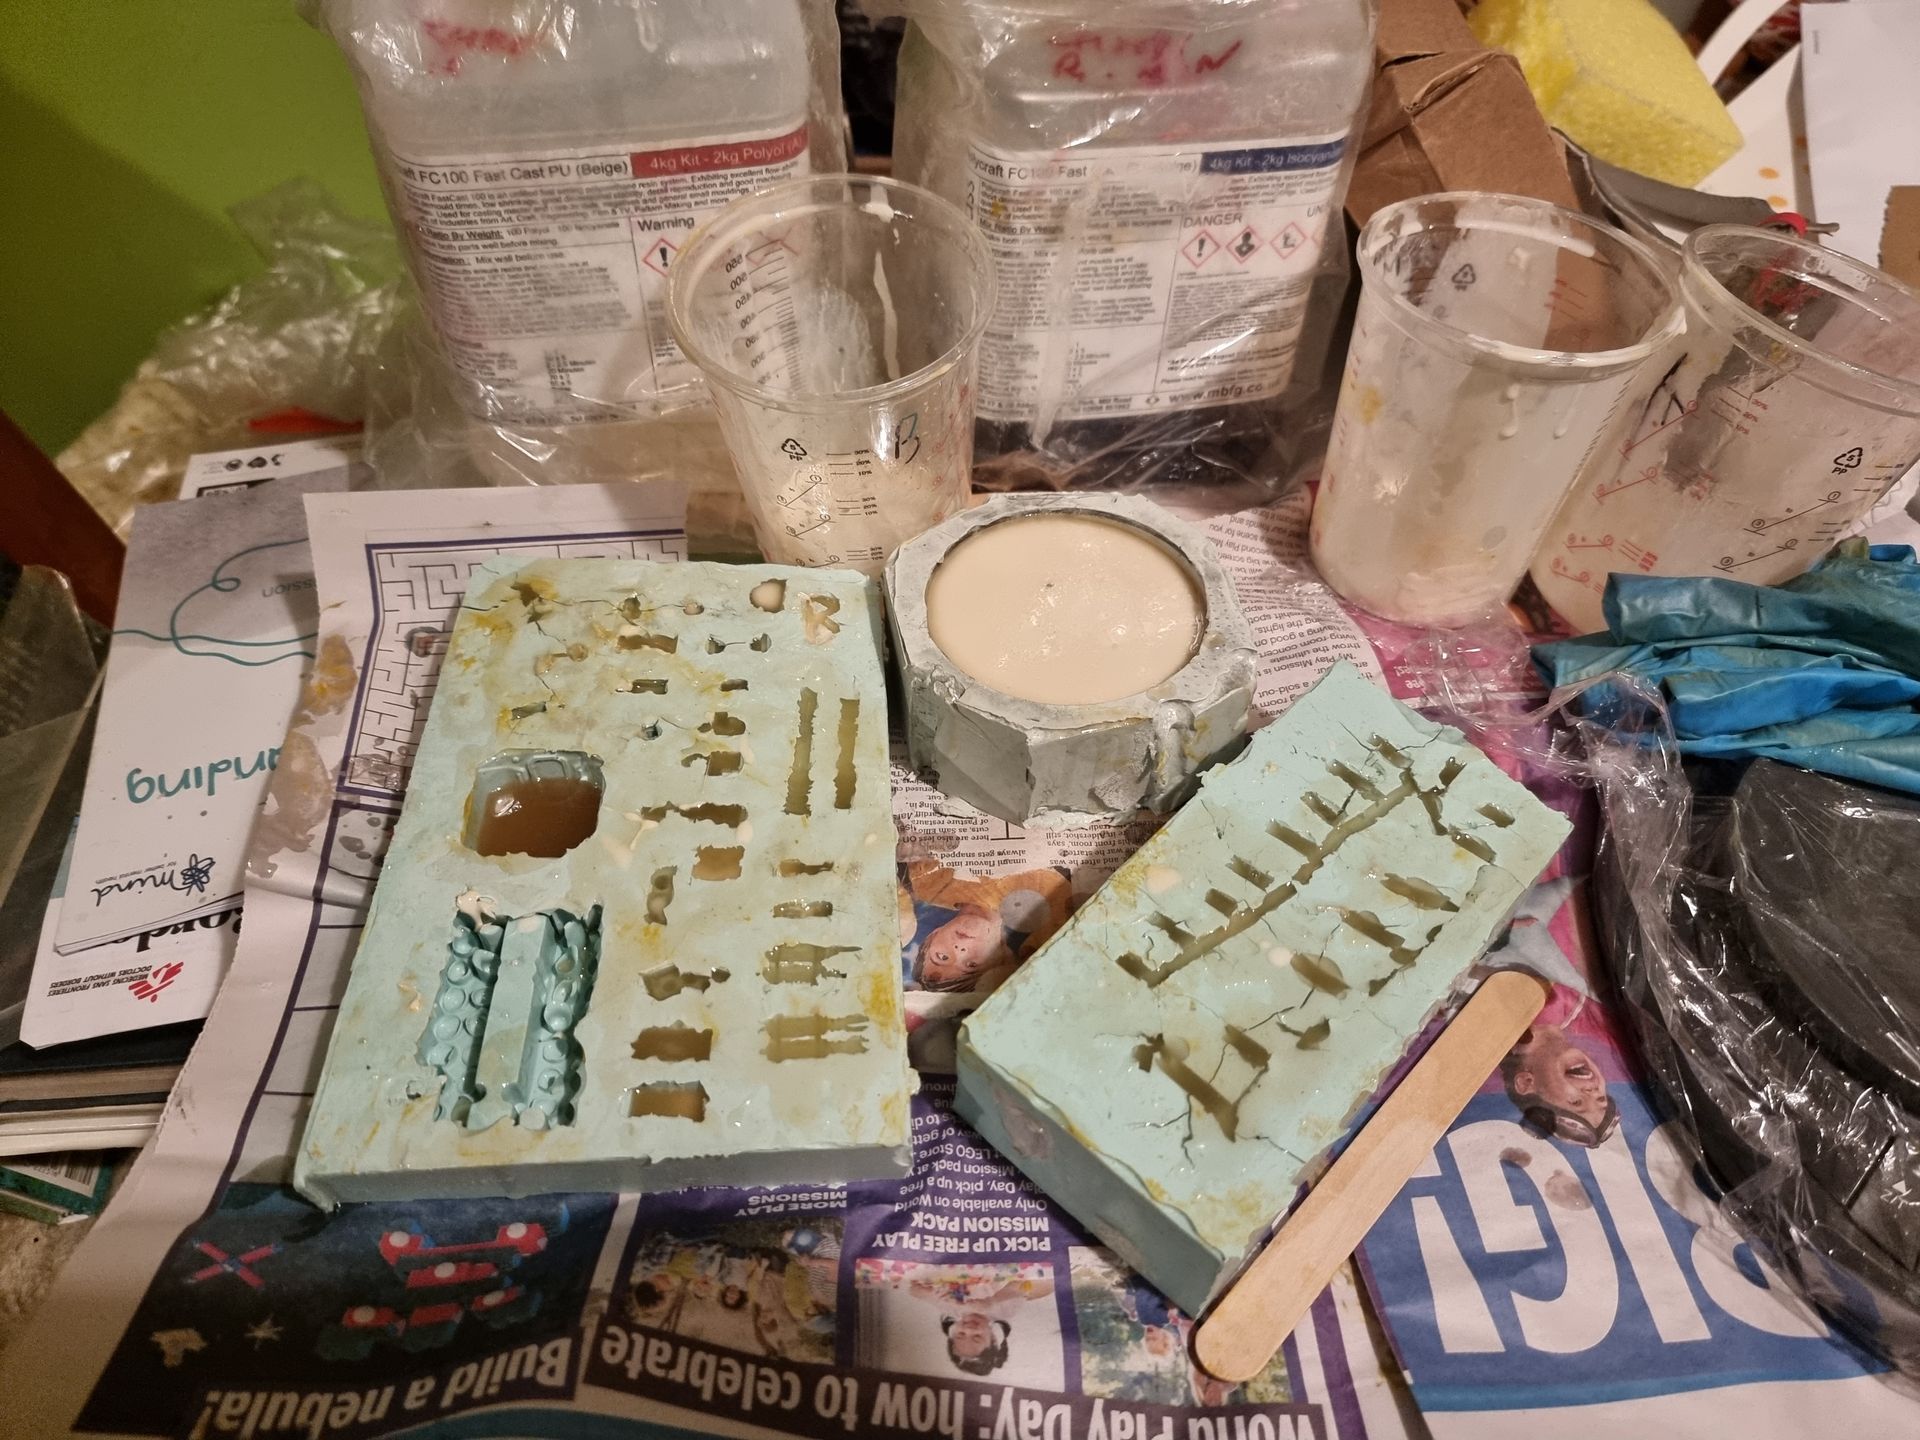
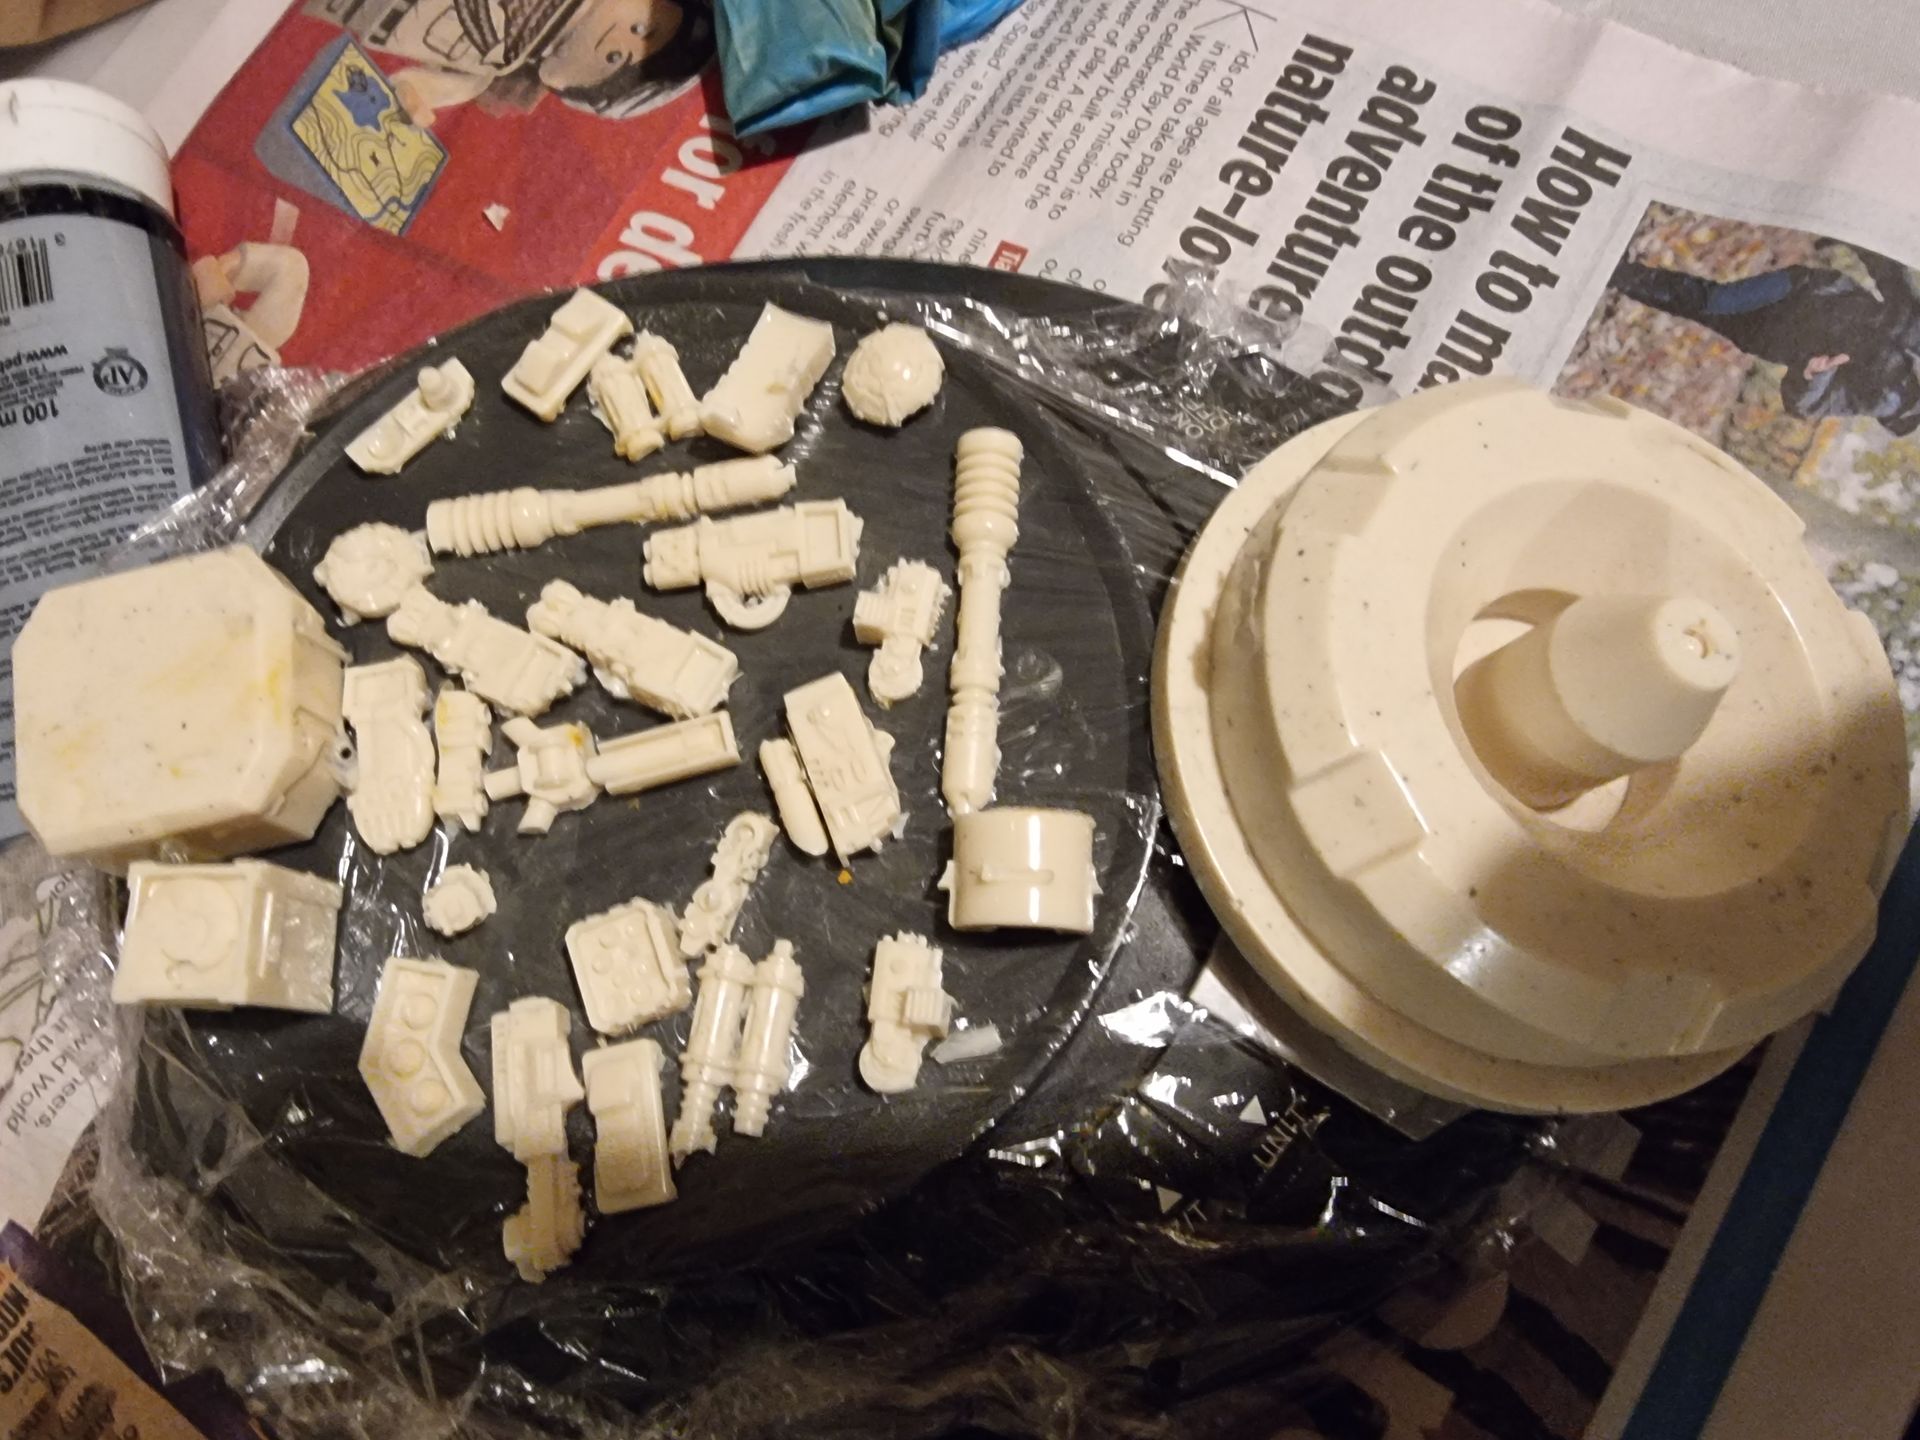
Smaller parts such as the Warhammer parts were needed in large numbers so I made a silicon box mould to cast the parts with fast cast resin many times.
There was also a large silicon flat block with a variety of useful mould holes at the college which I could use for parts.
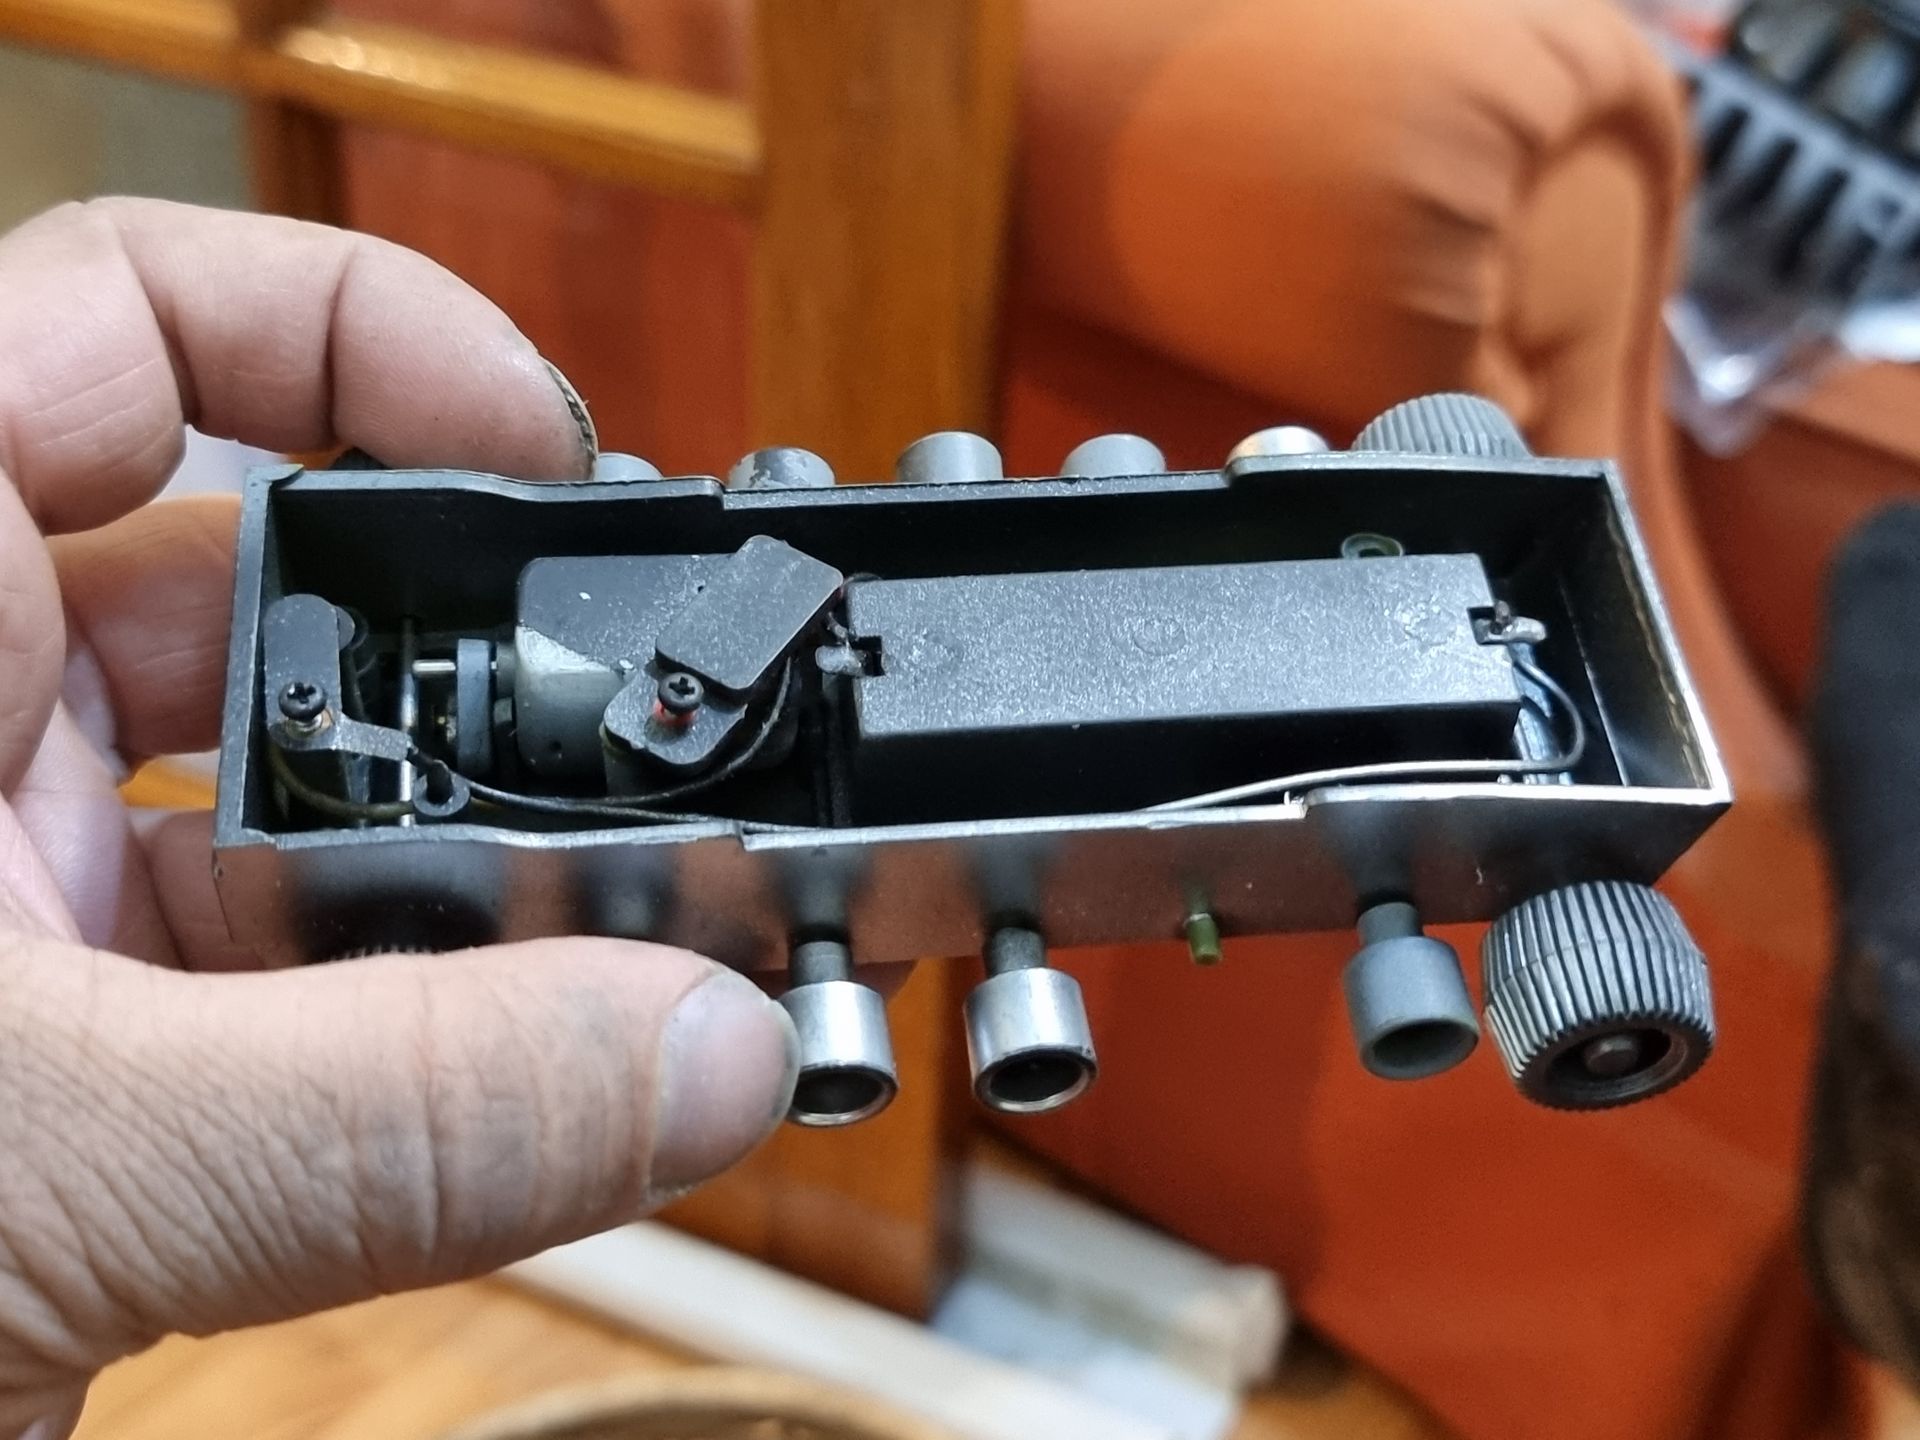
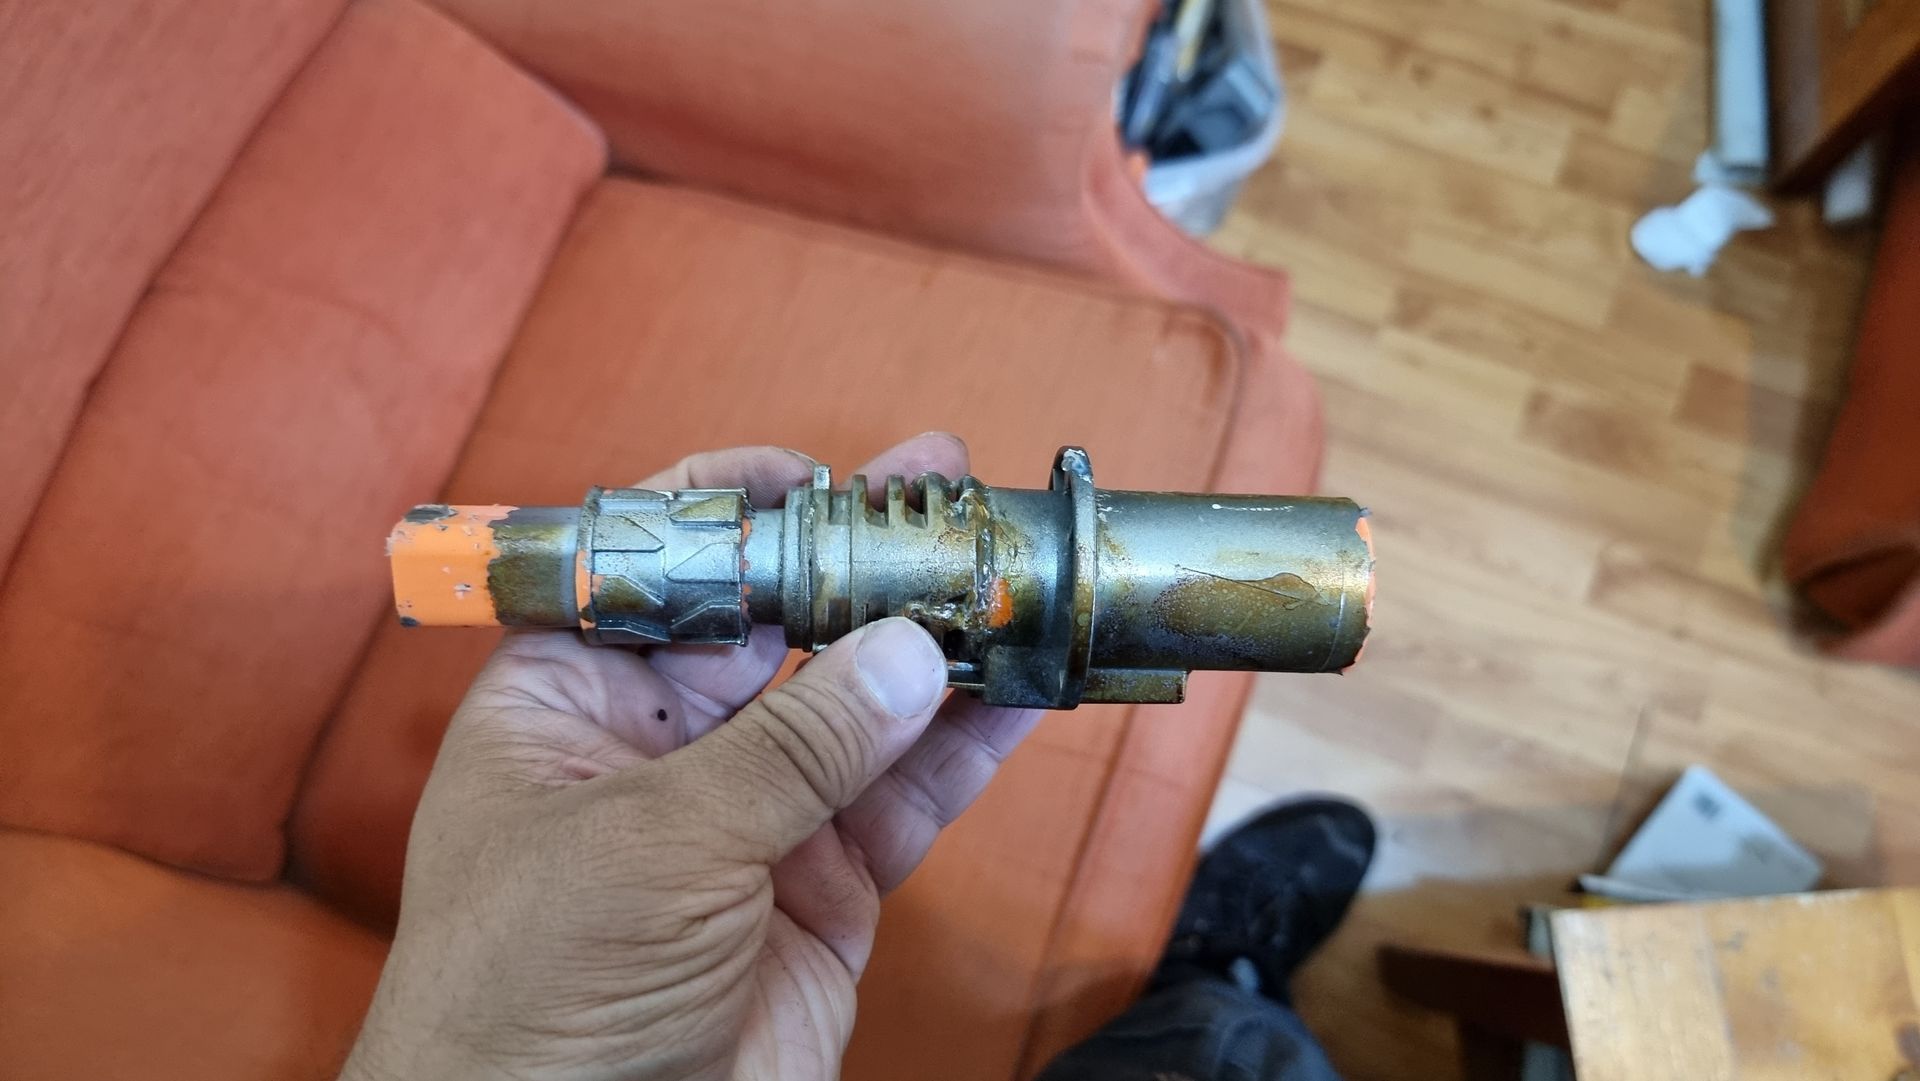
Other parts were trimmed like the Nerf Gun fly wheel bottom right after I separated them from the motors used as kit bashed parts elsewhere.
The resin is mixed 50/50 parts A and B by weight ans sets in around 5 minutes.
Chopping Up Kitbash Parts
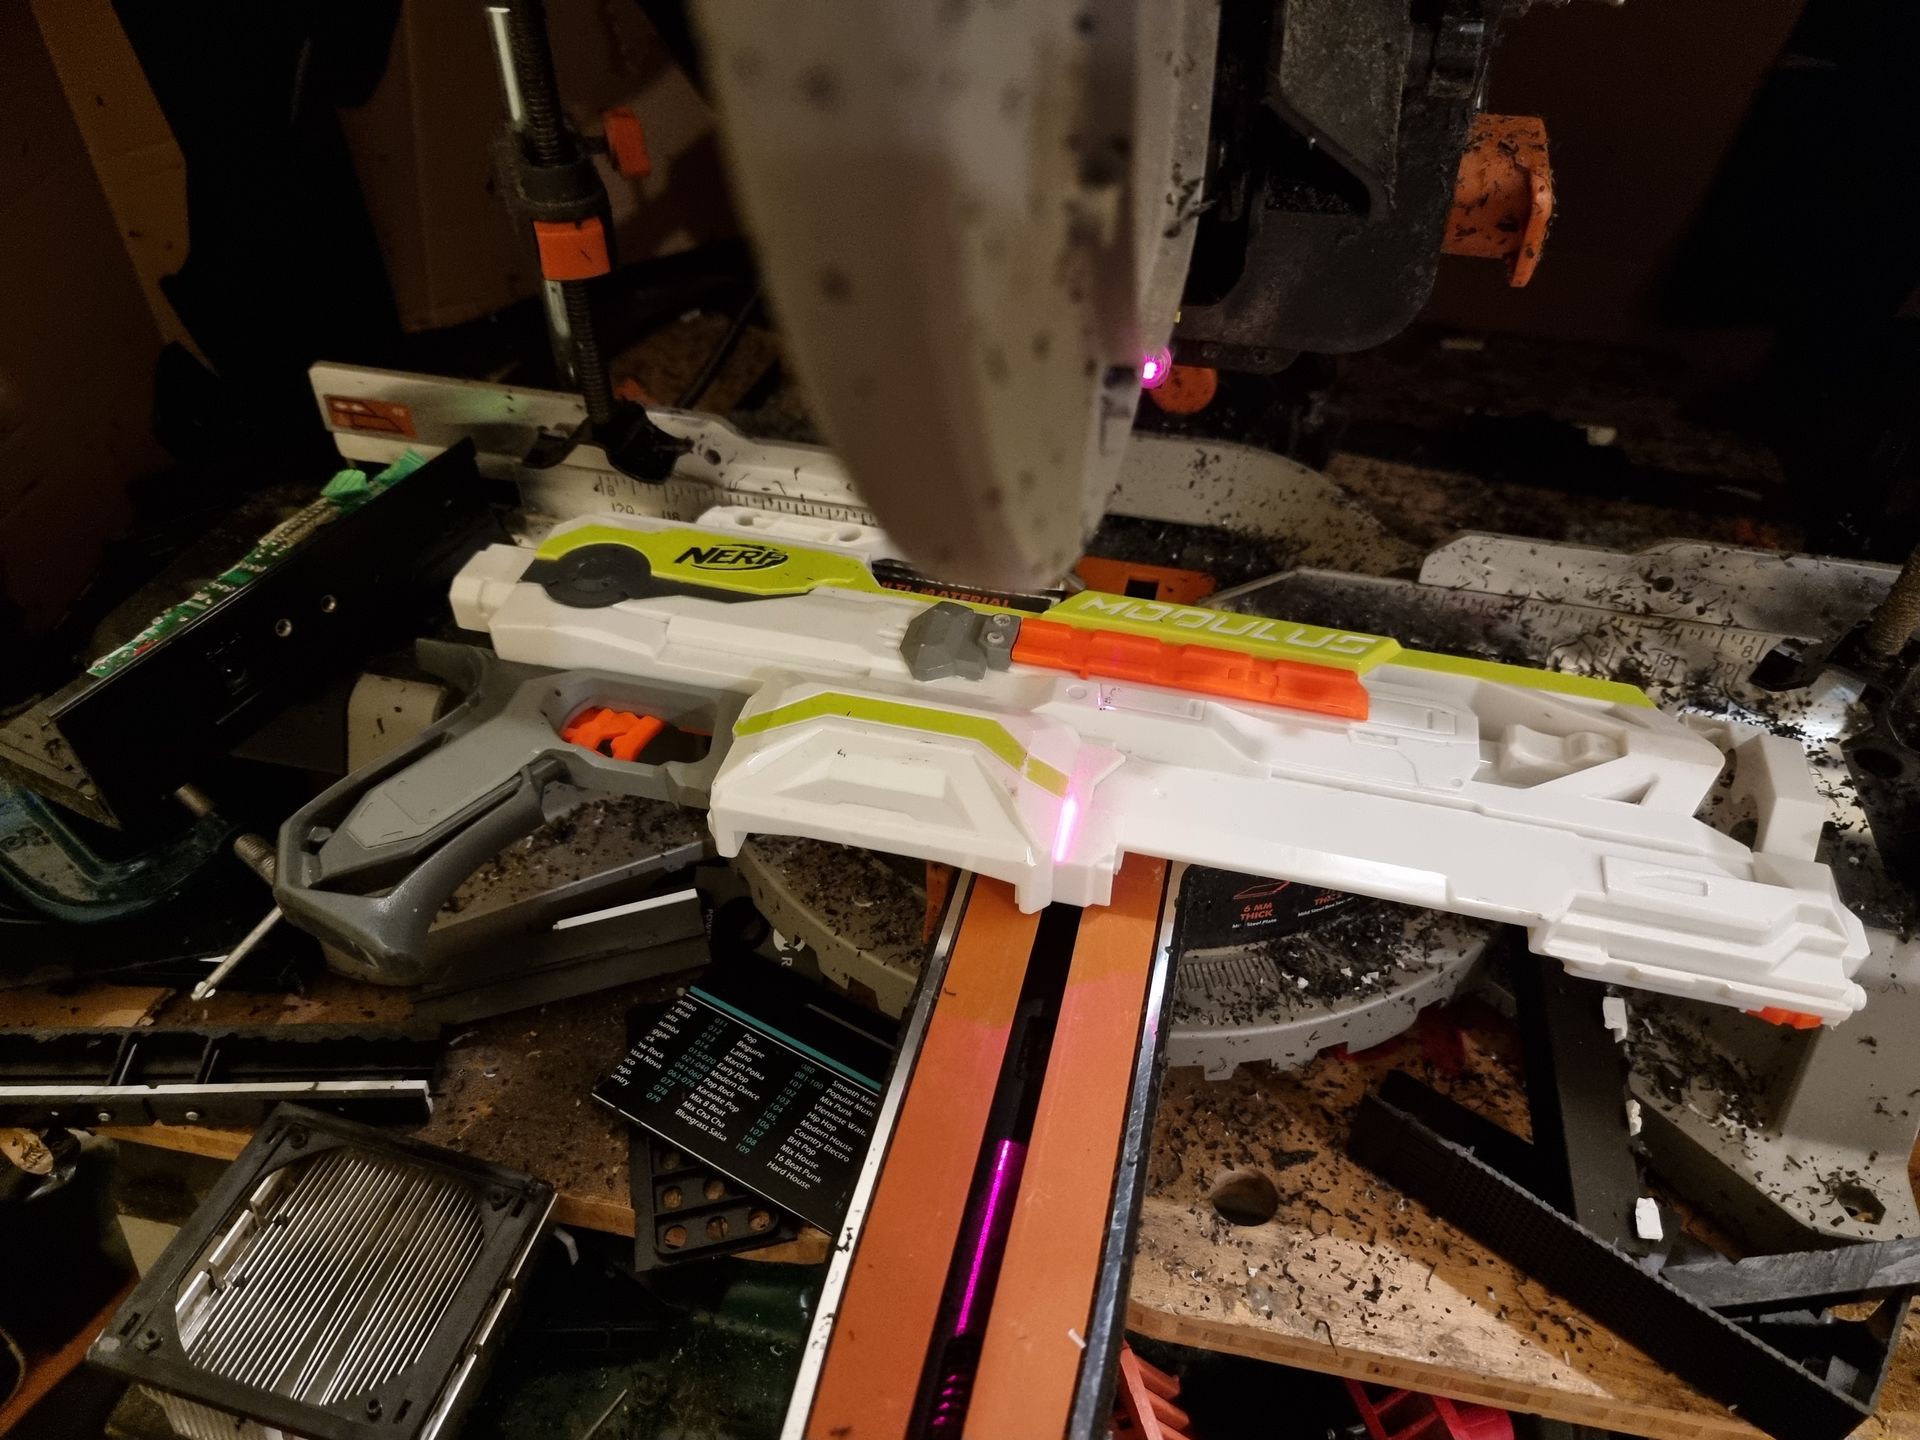
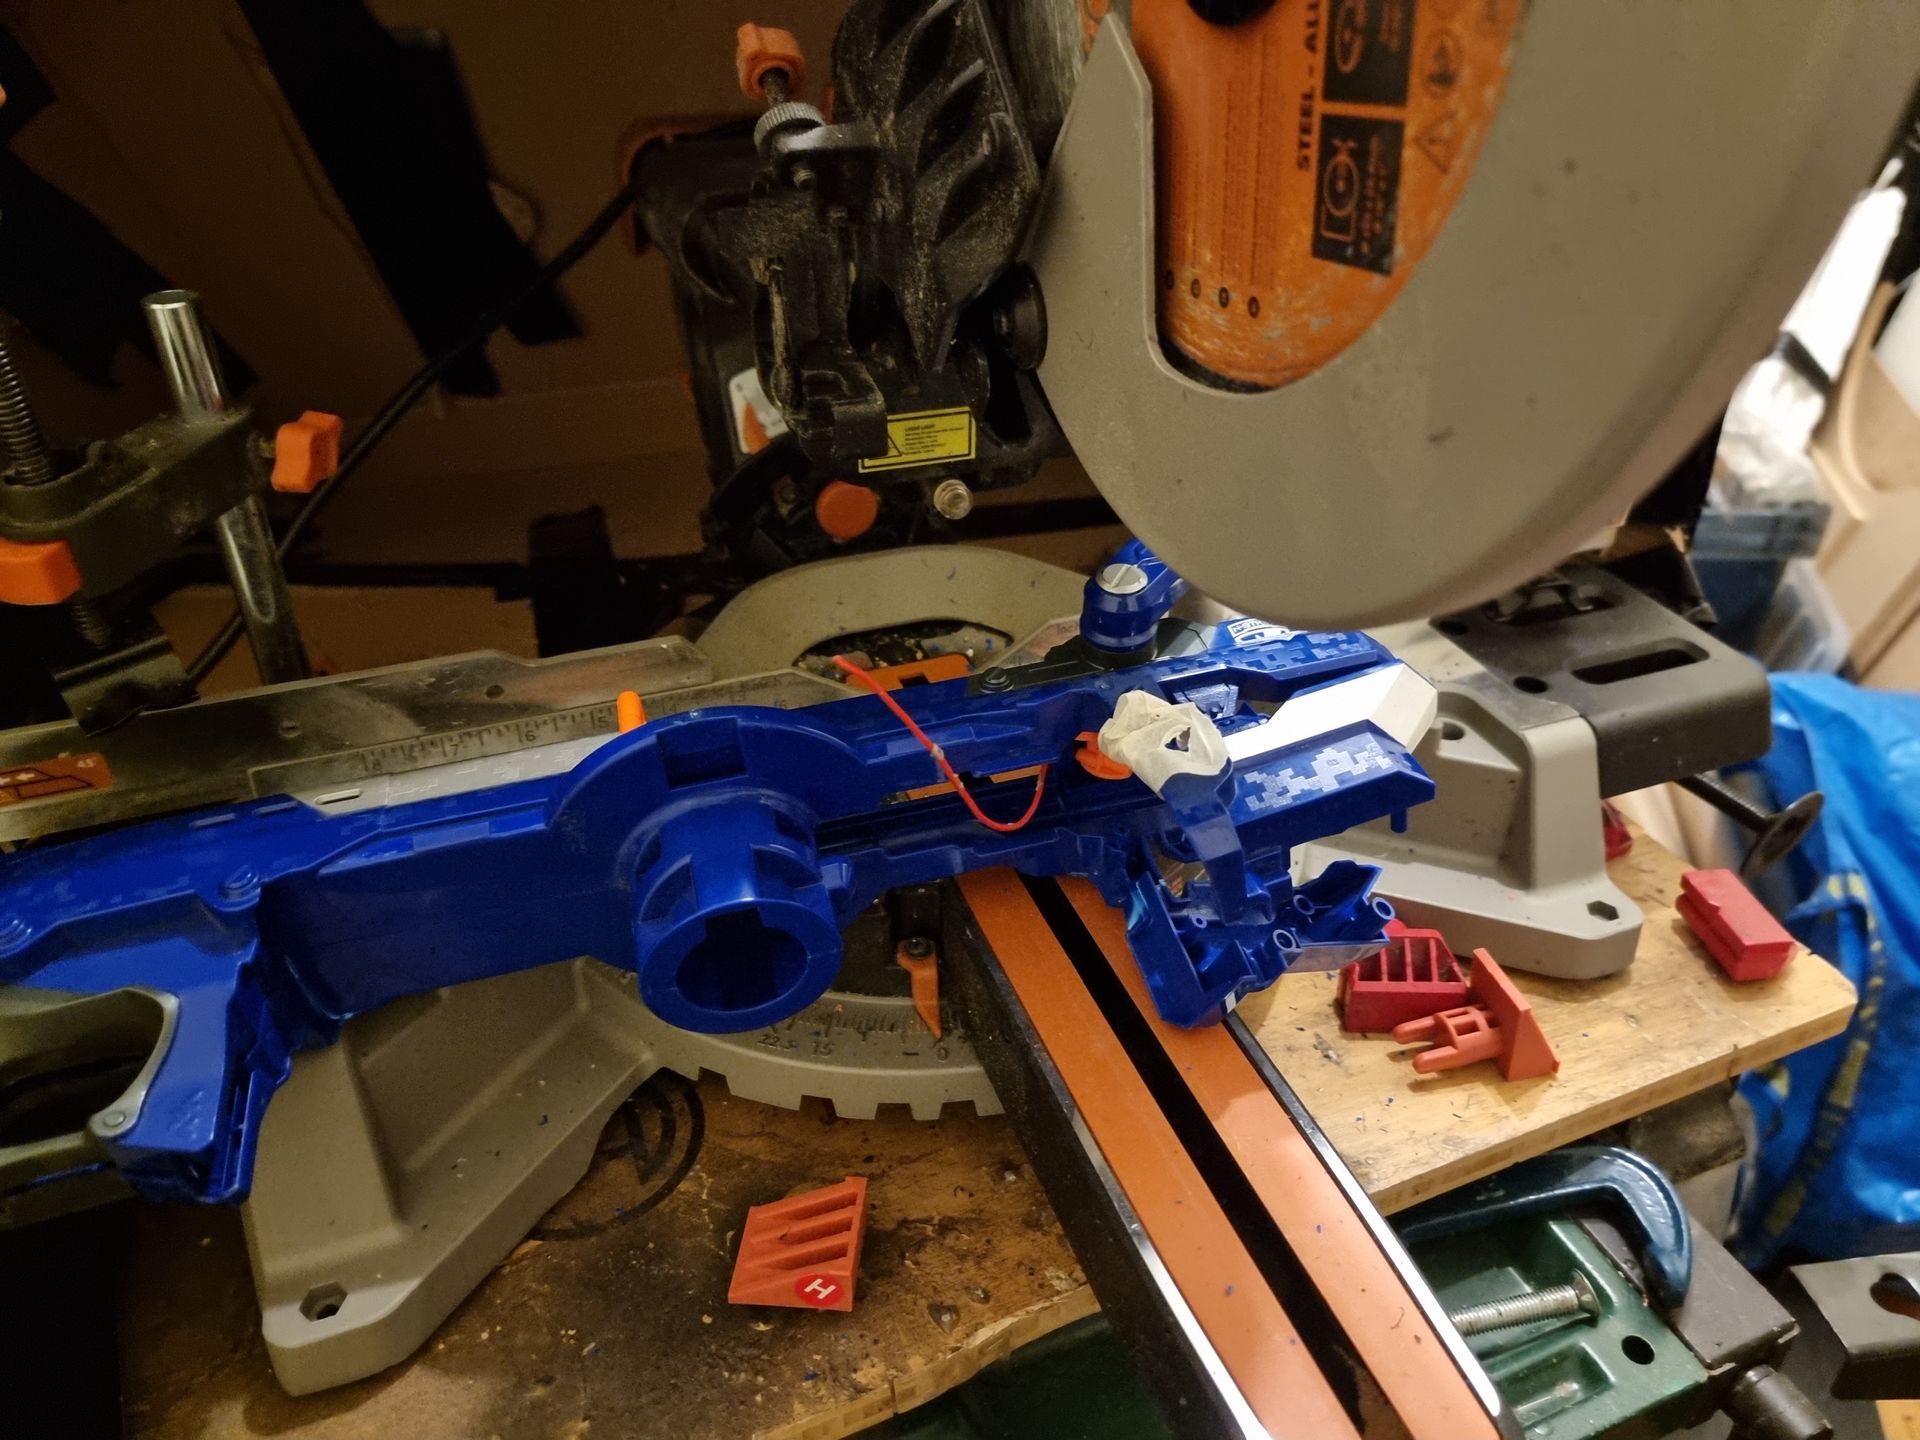
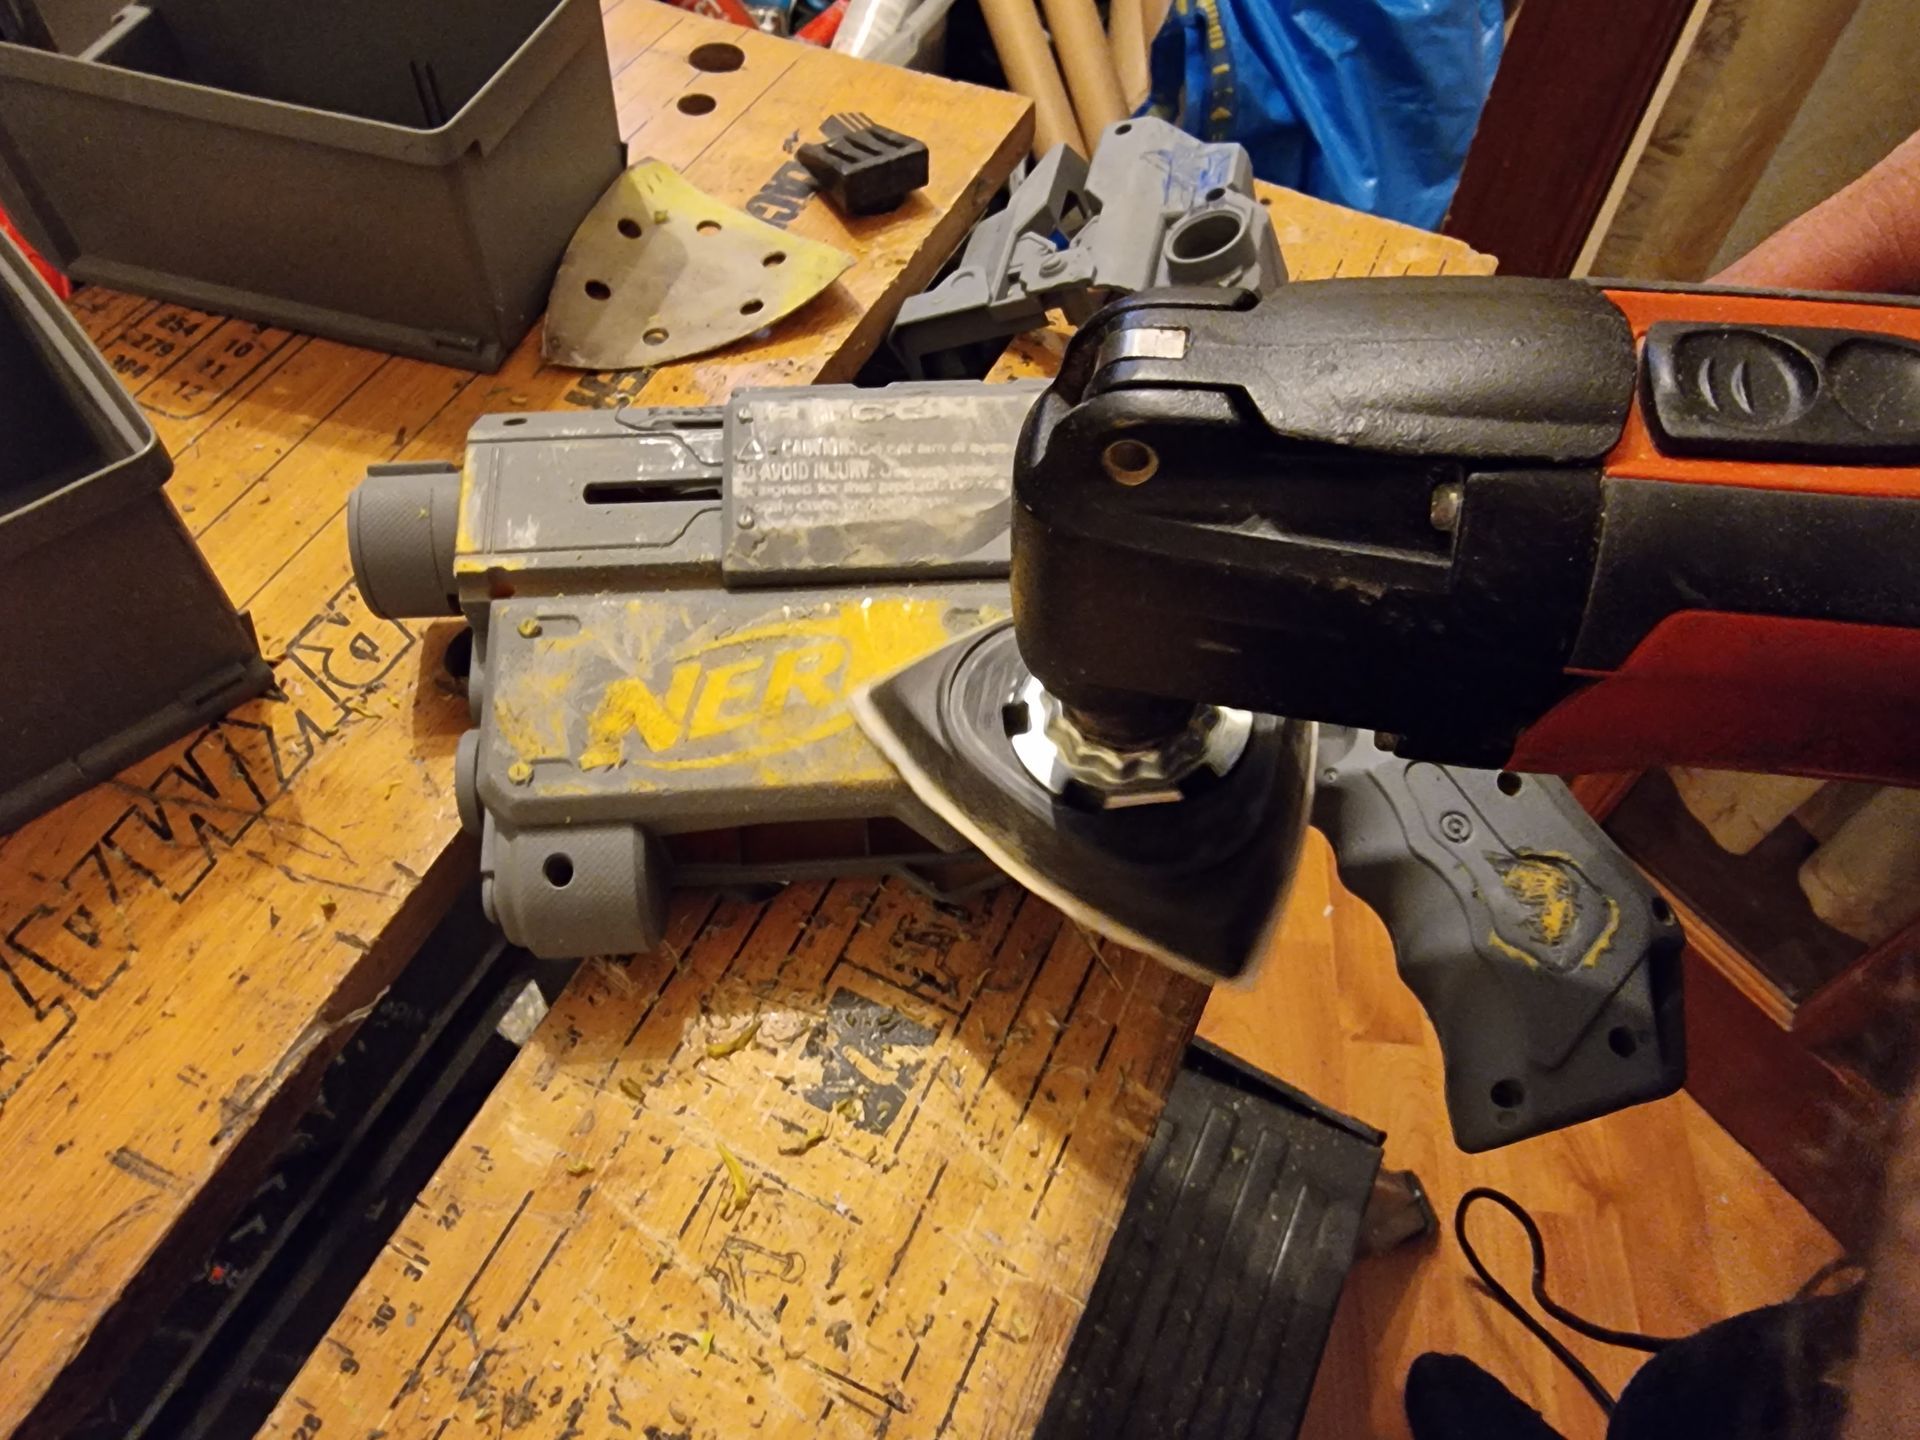
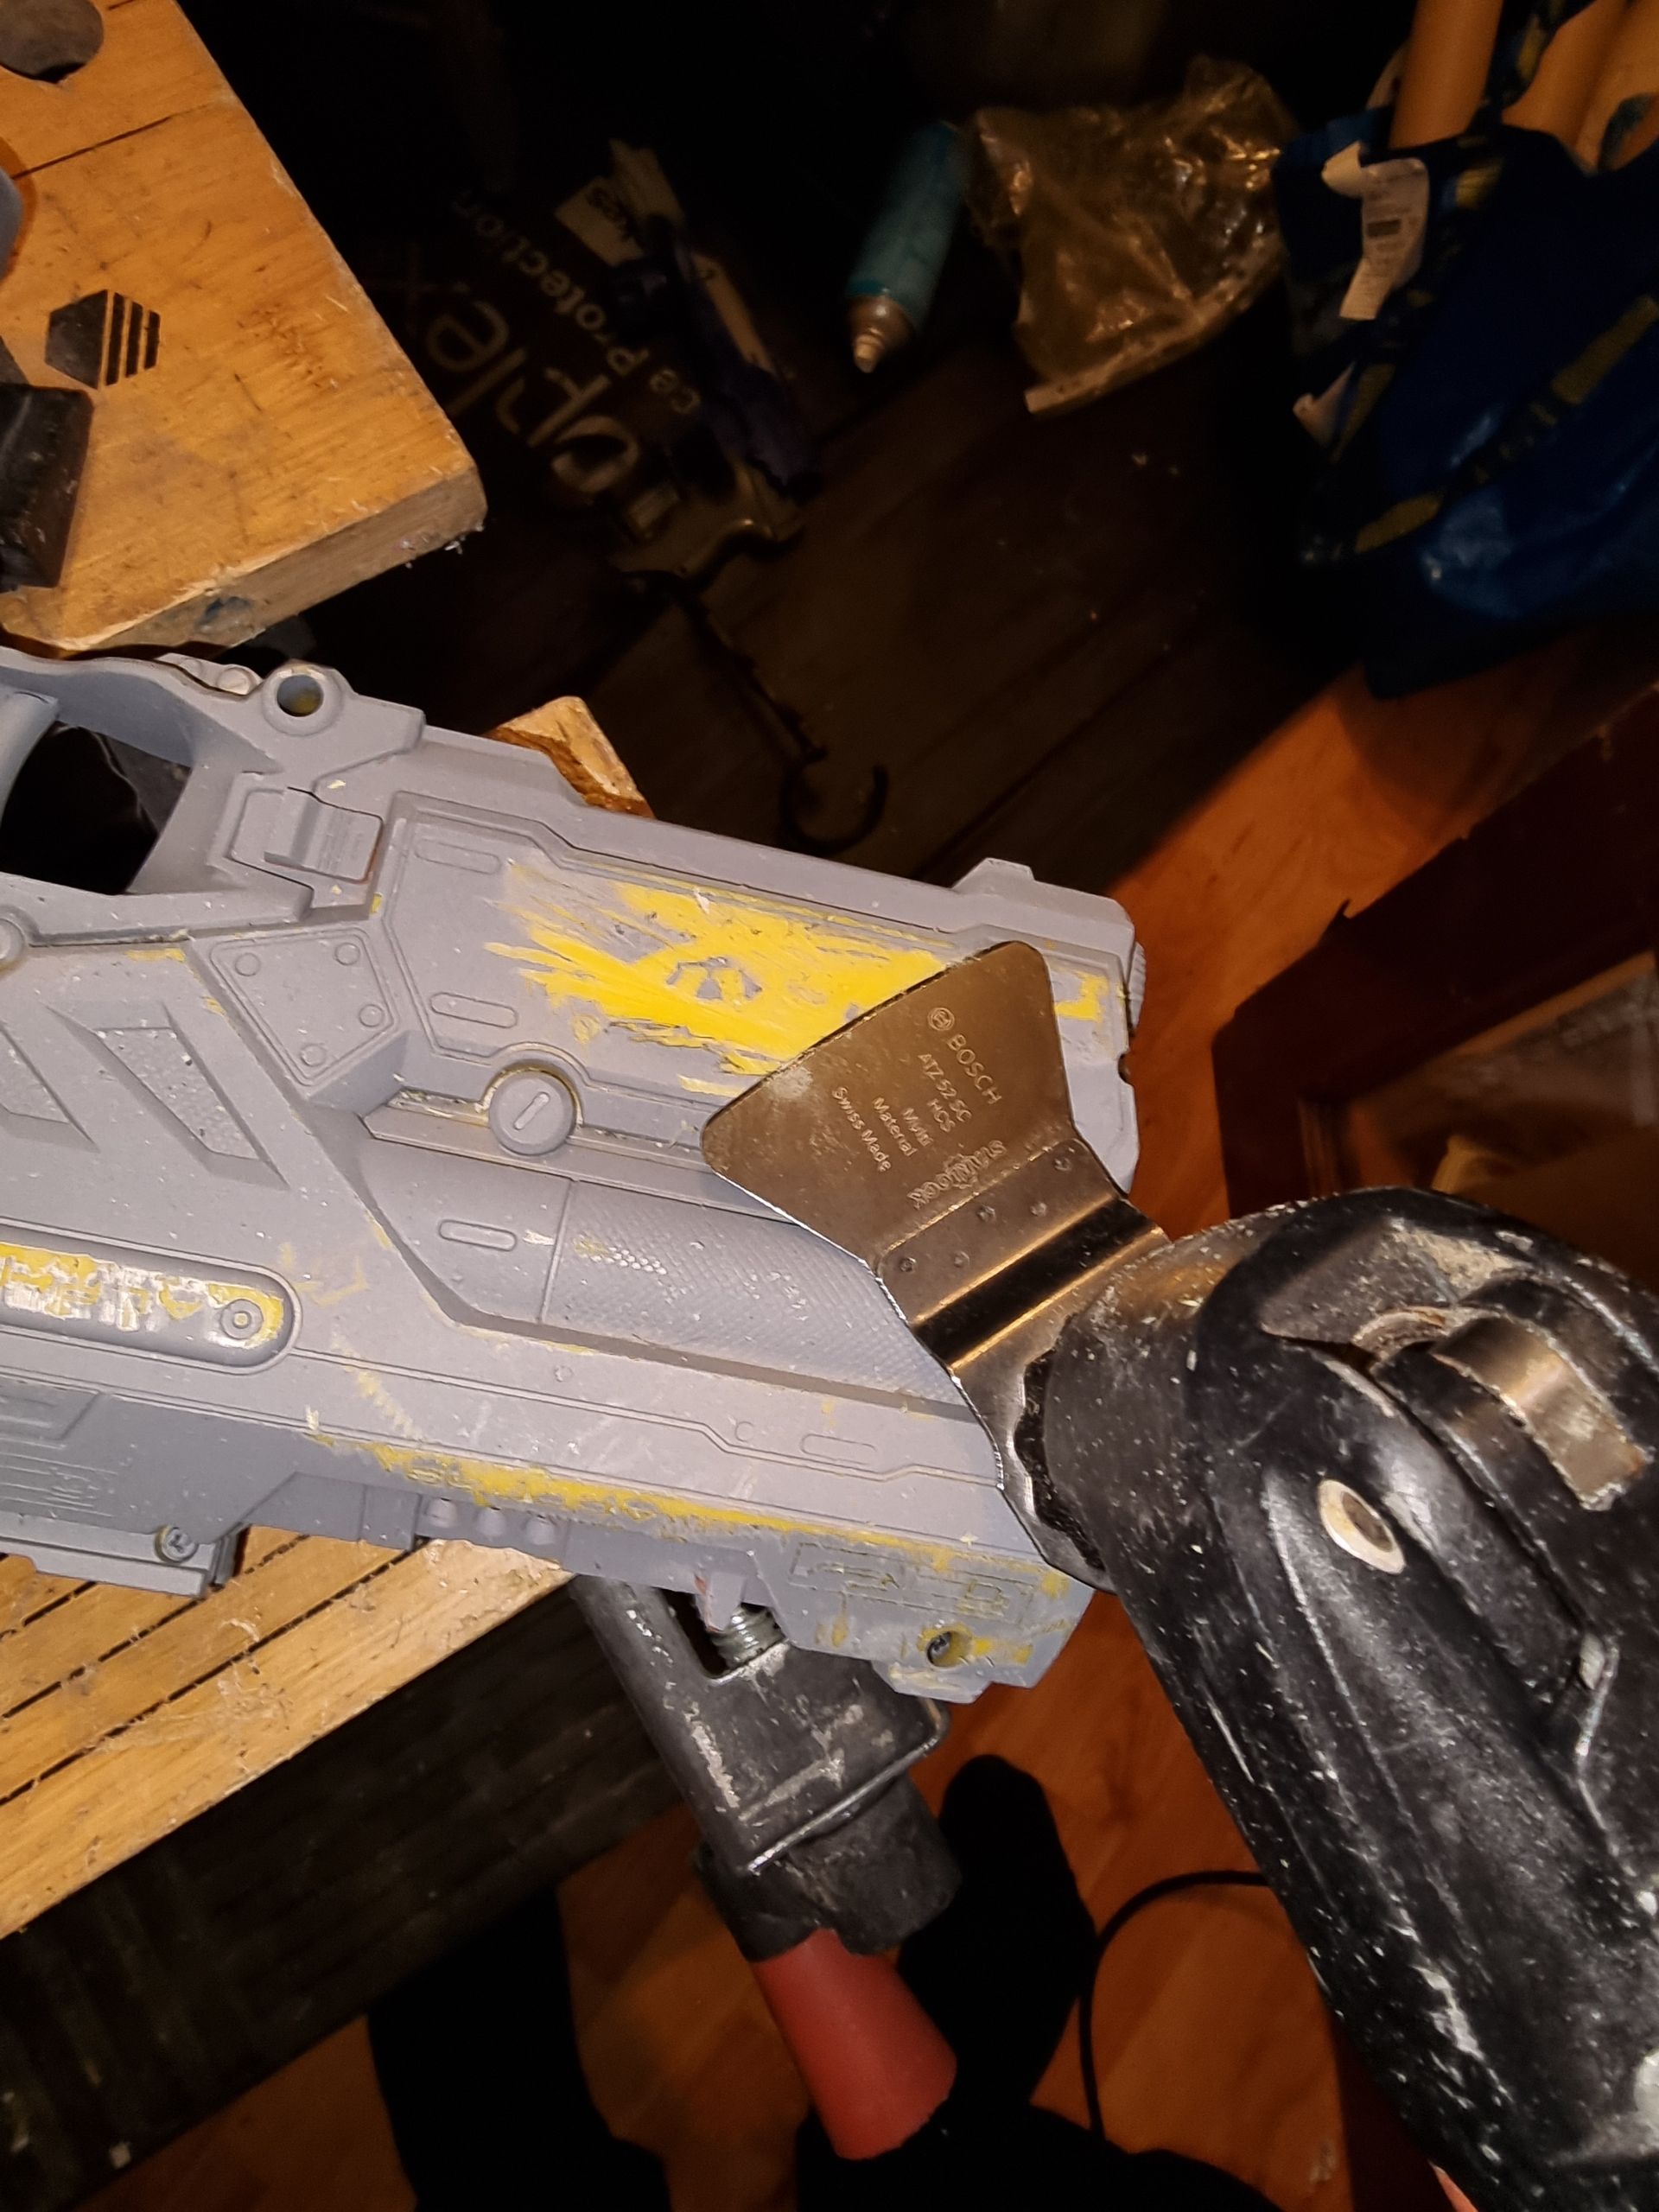
Larger parts such as the Nerf Gund and Yamaha Keyboard control were cut apart with the Mitre saw where safe to do so and the Finn Multi Master where they were not.
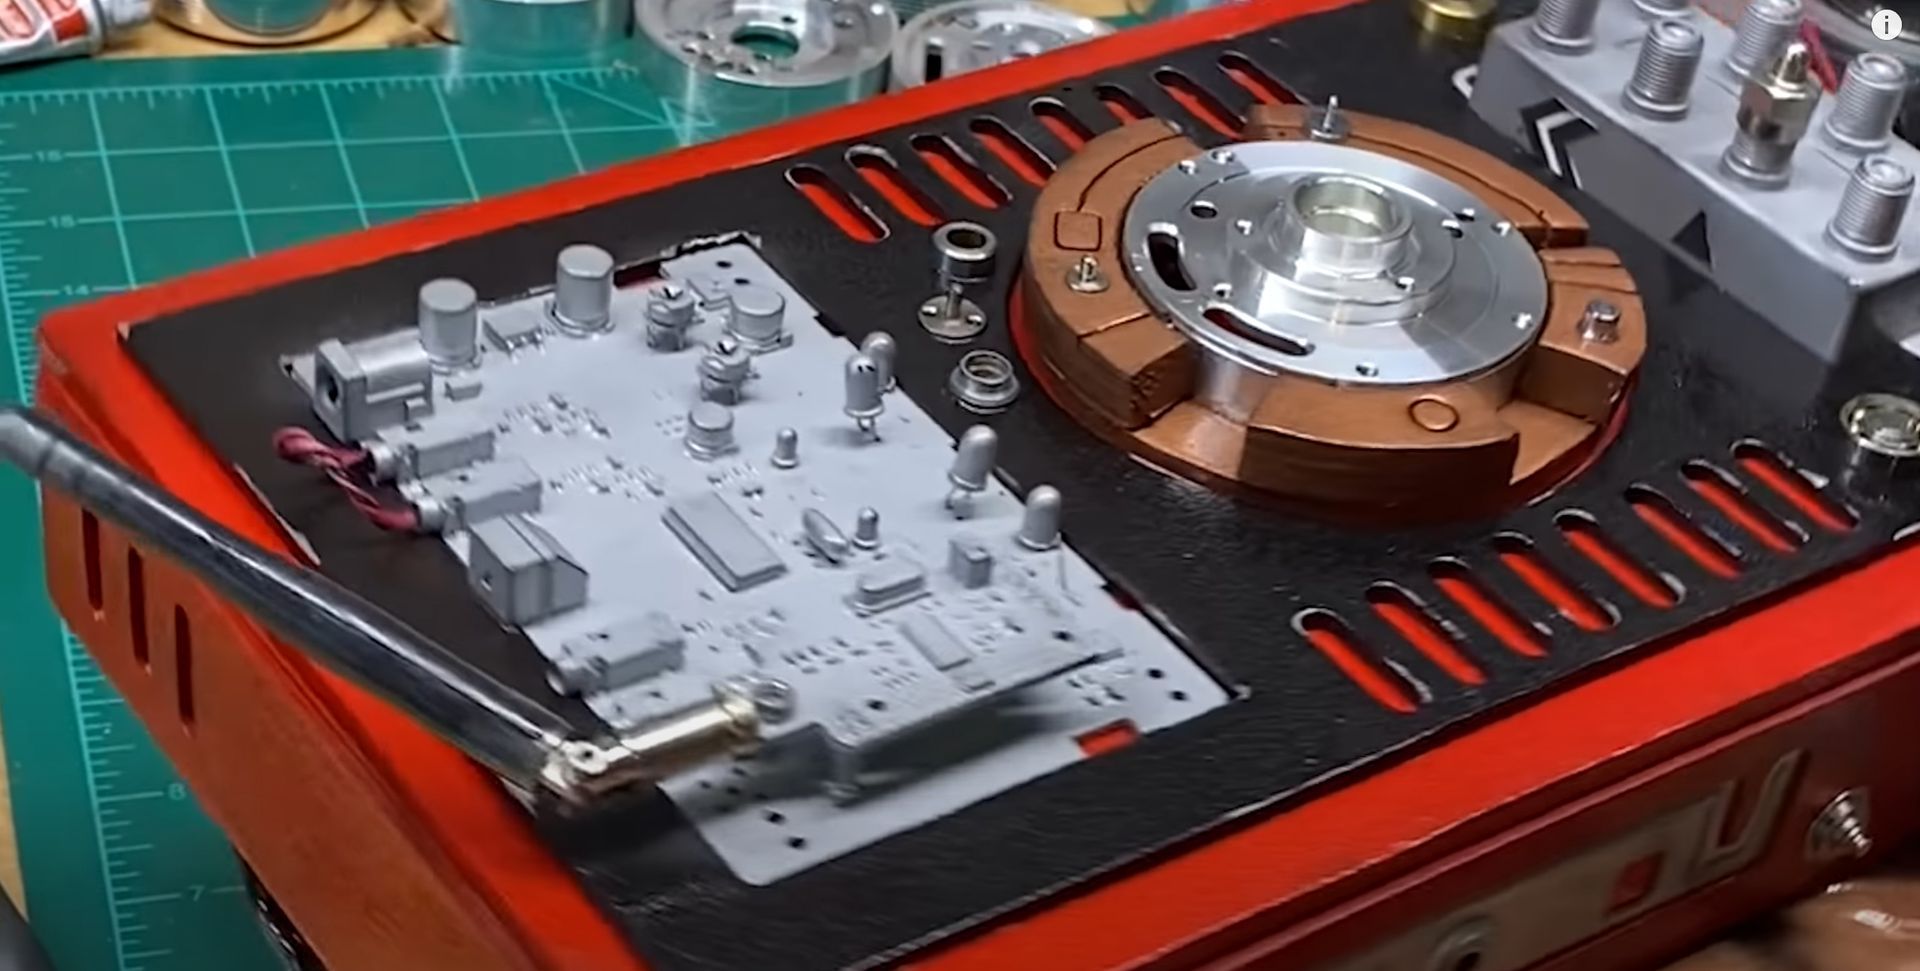
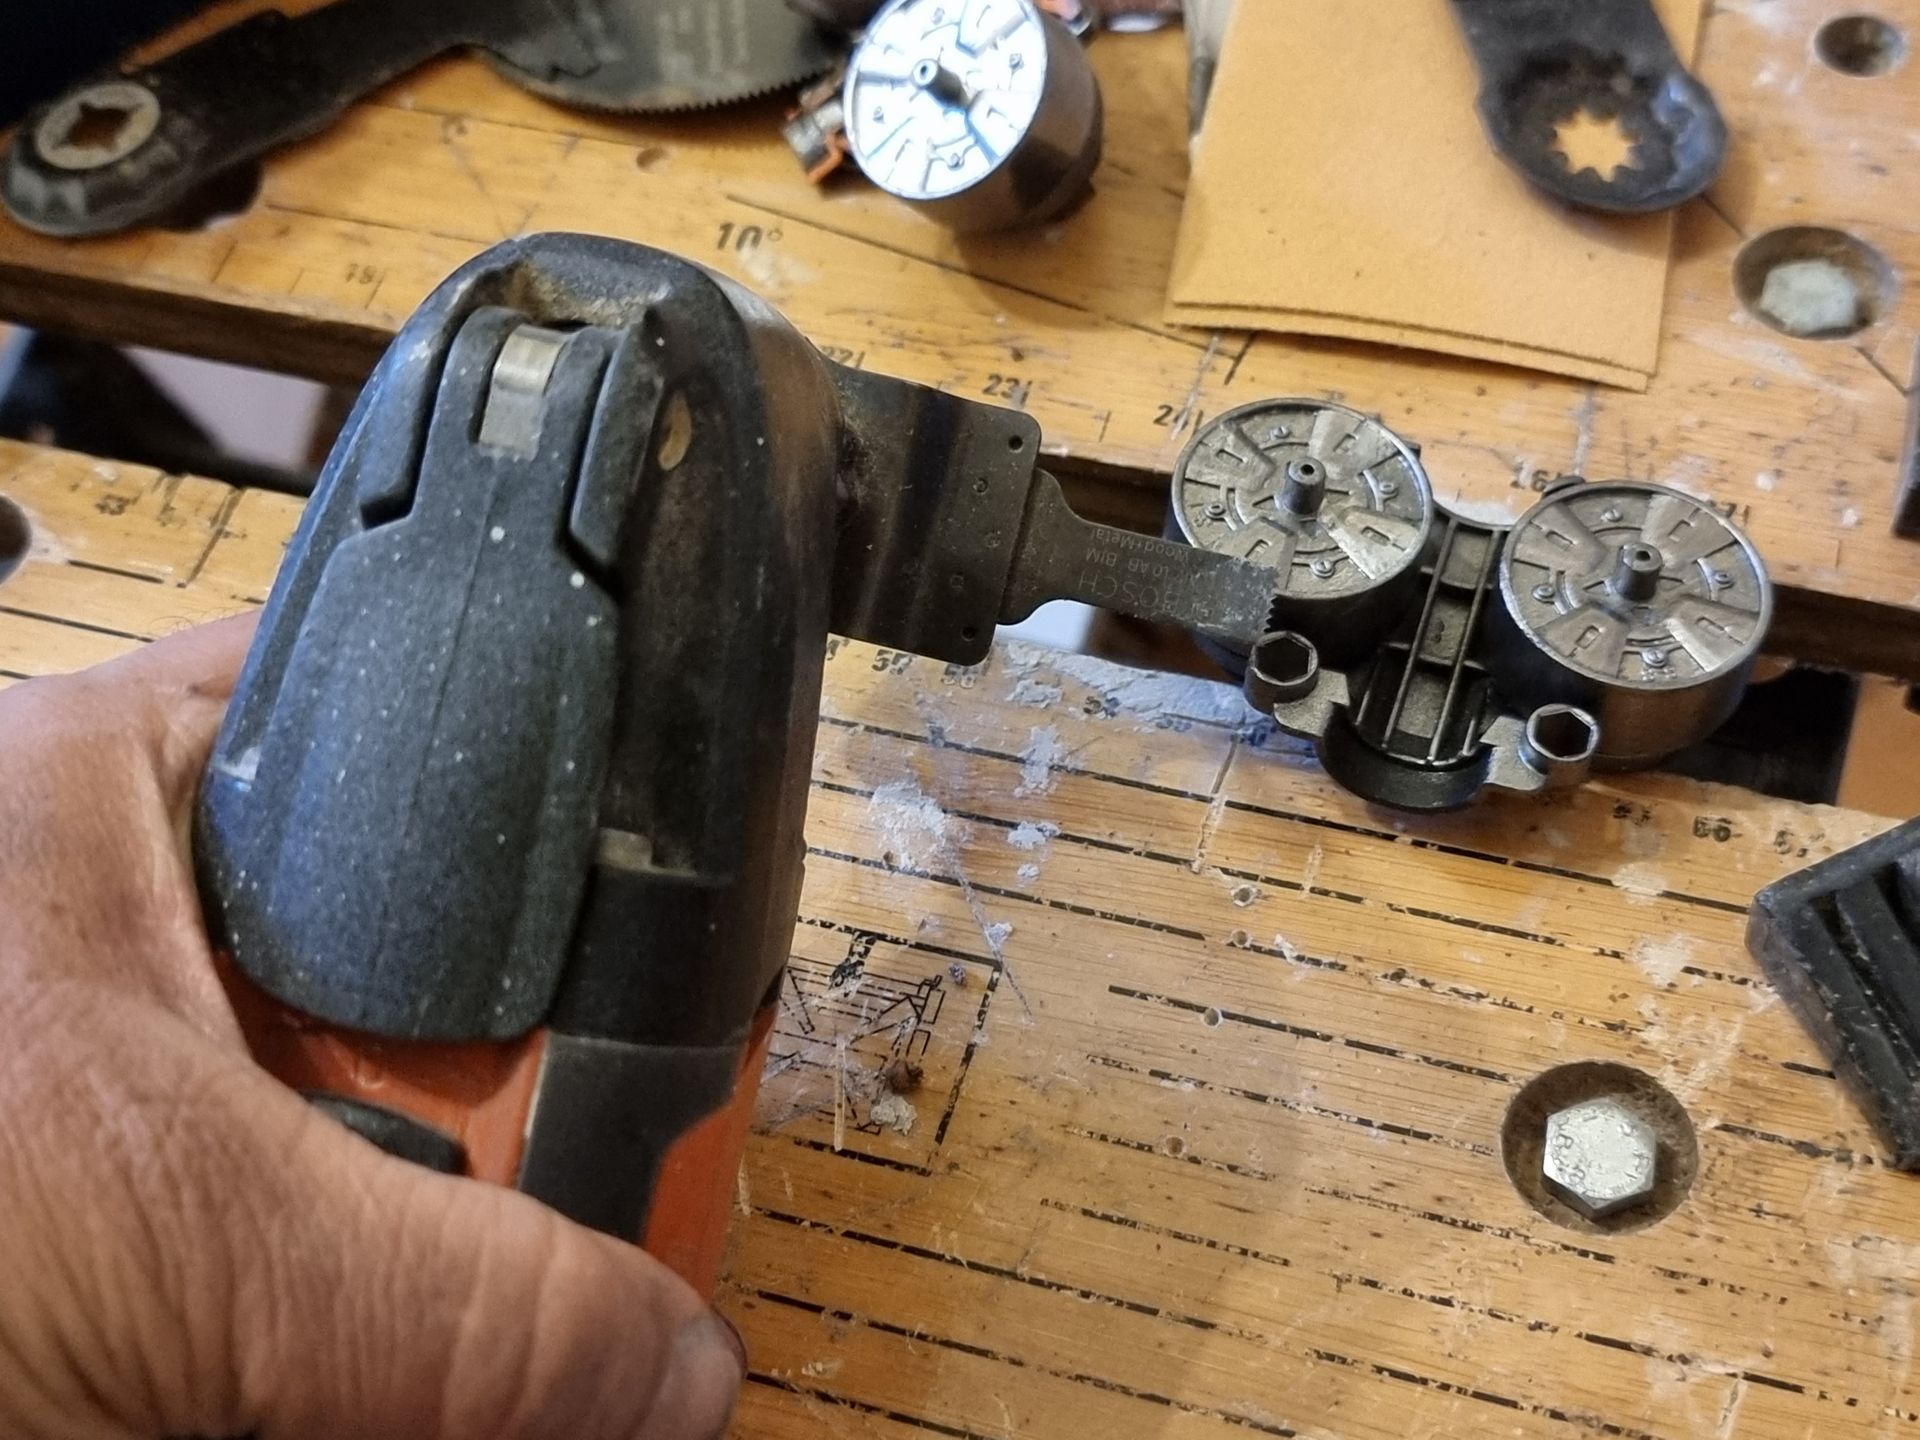
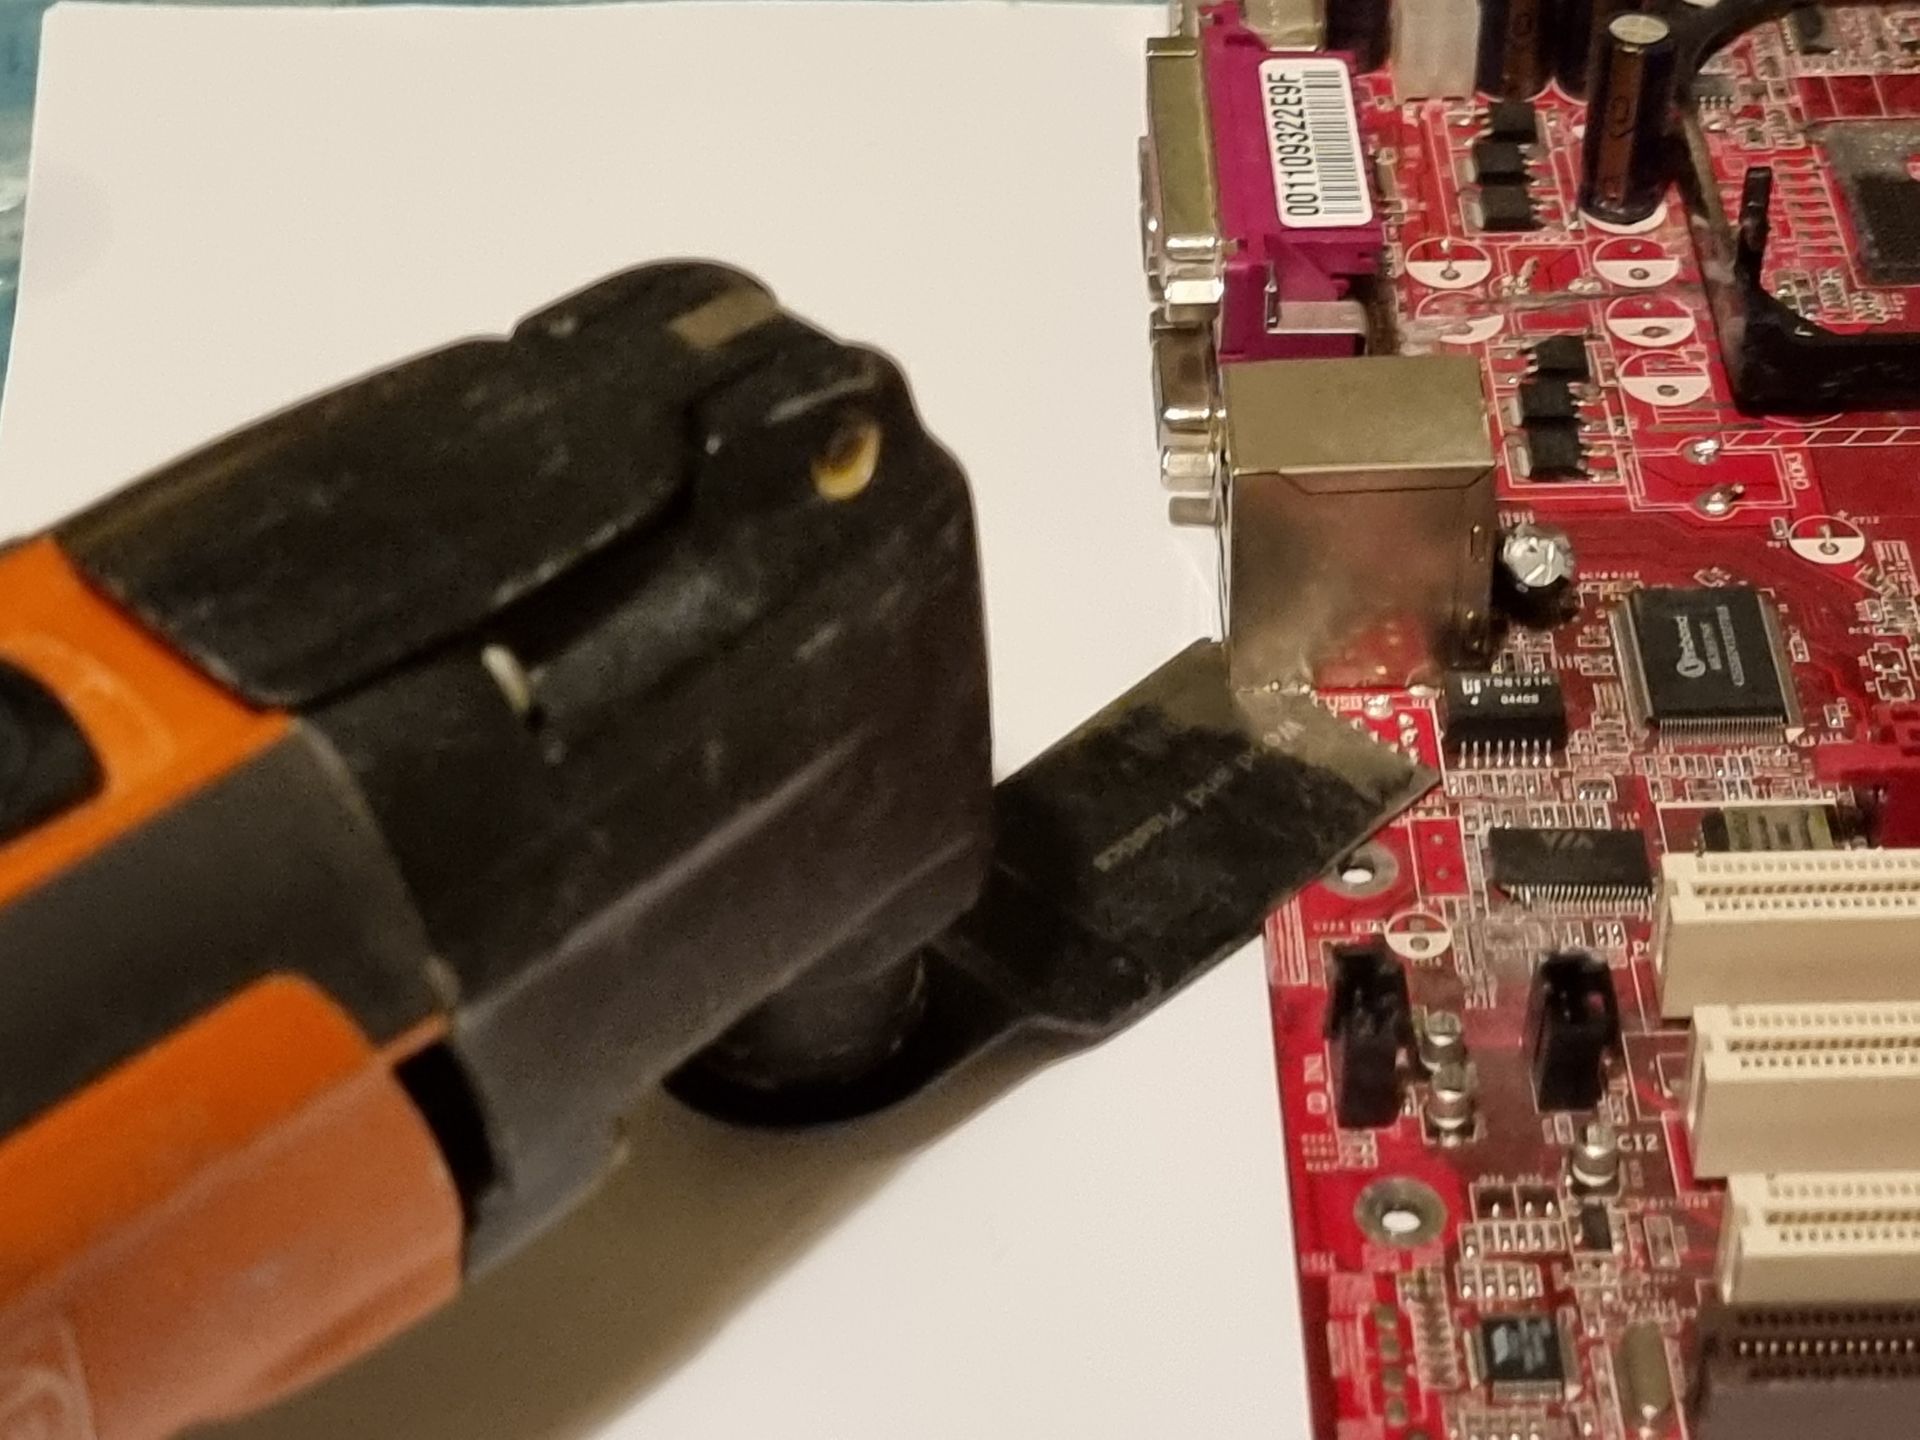
The Finn Multi master was excellent at removing the components off the circuit board precision plunge sawing under with the smallest blade.
It also proved useful at scaping and sanding off logos.
My Powerfile could also be used for tripping extremities like this toy jet engine.
Preparing the Dyson Motors and Cyclone Generators
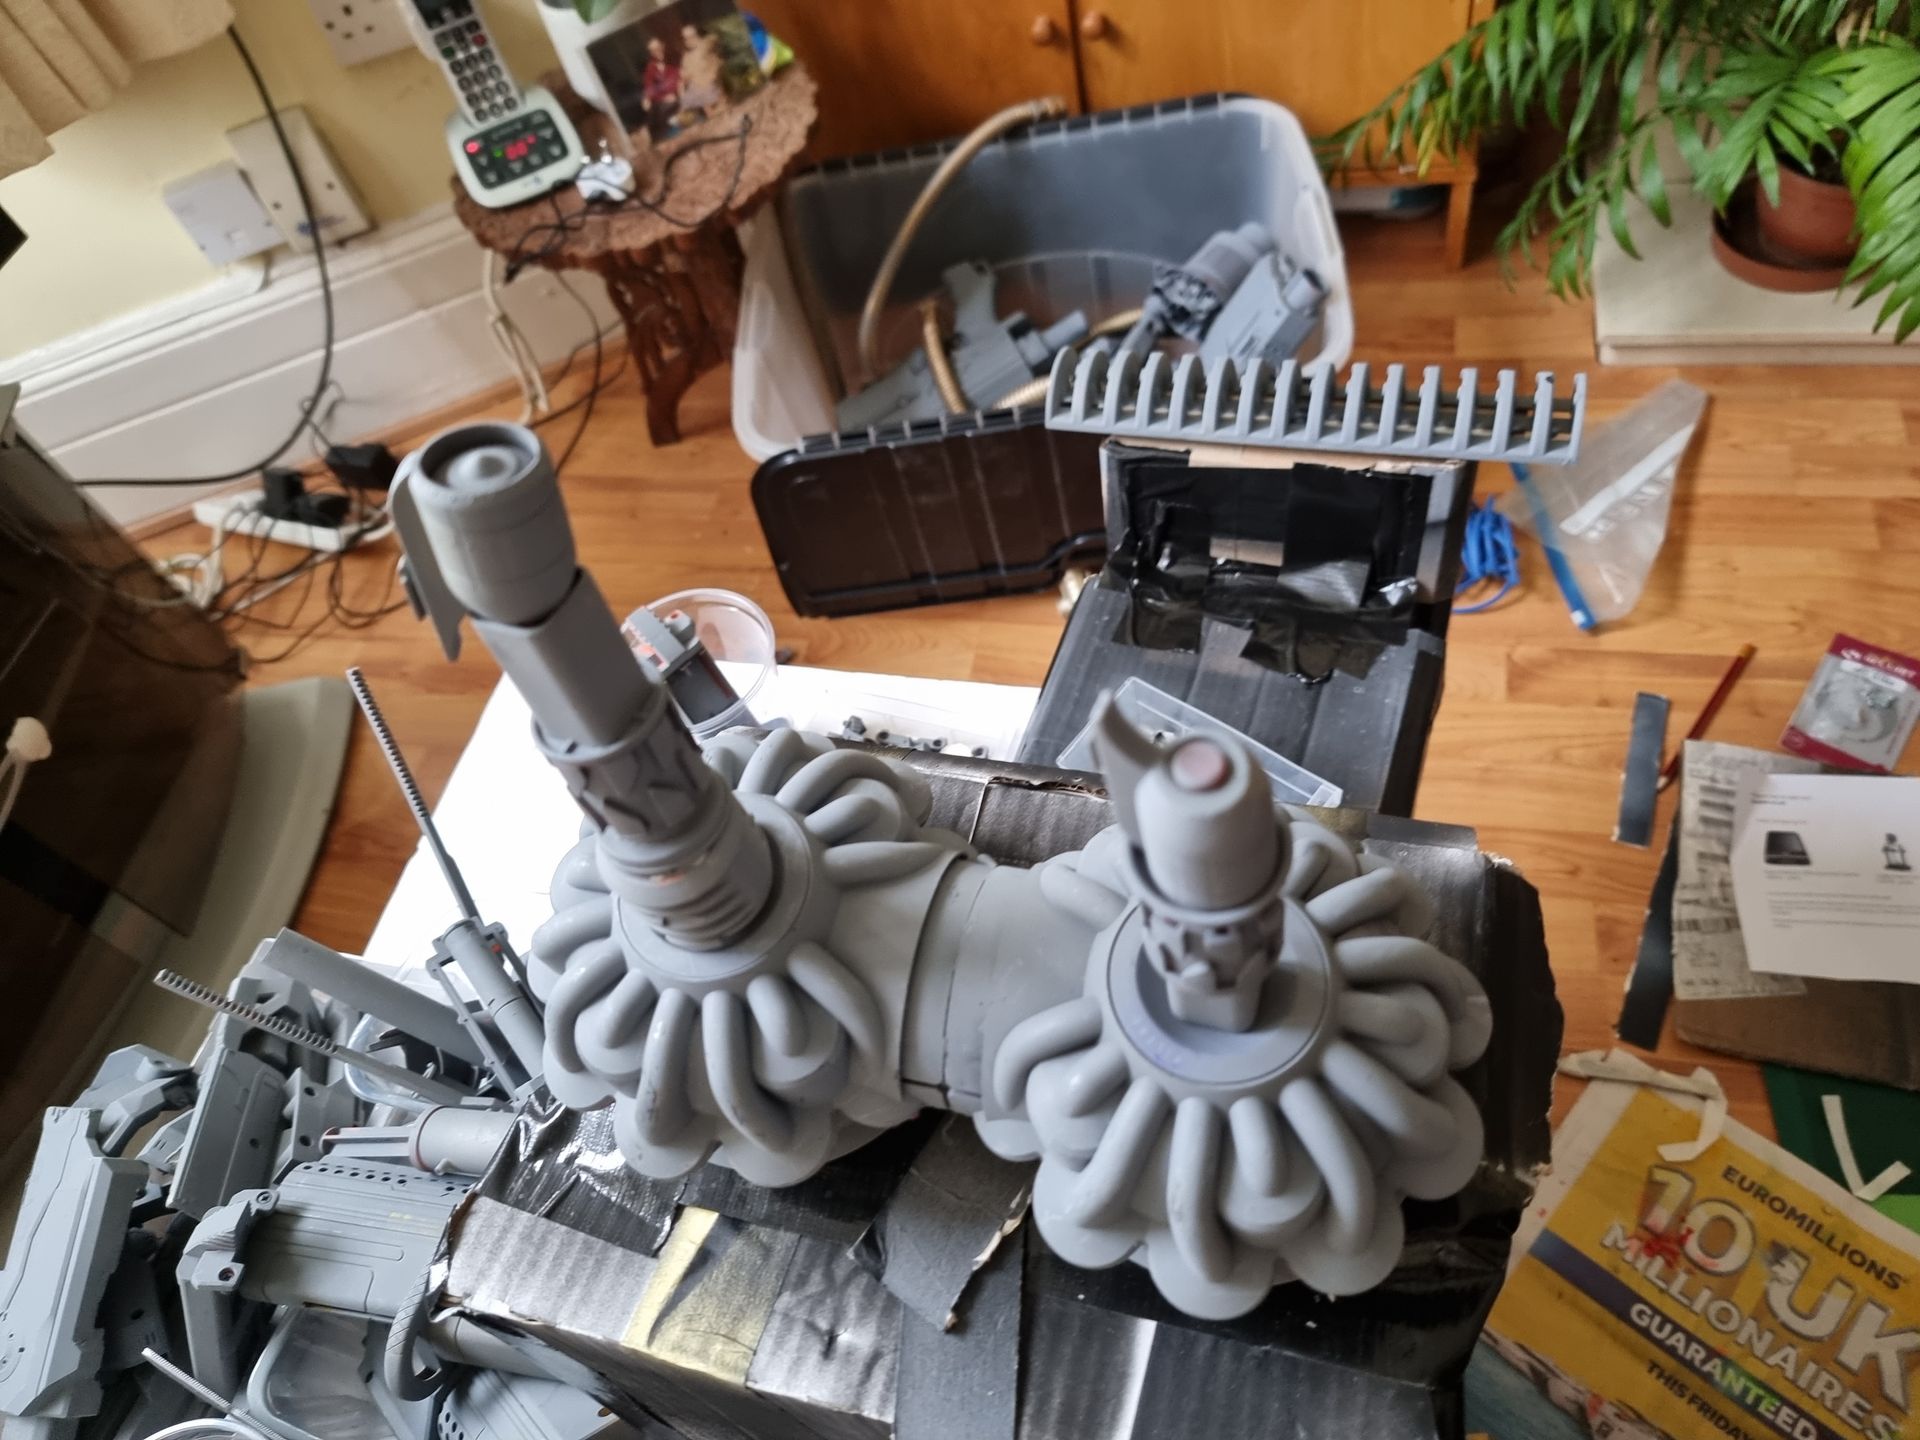
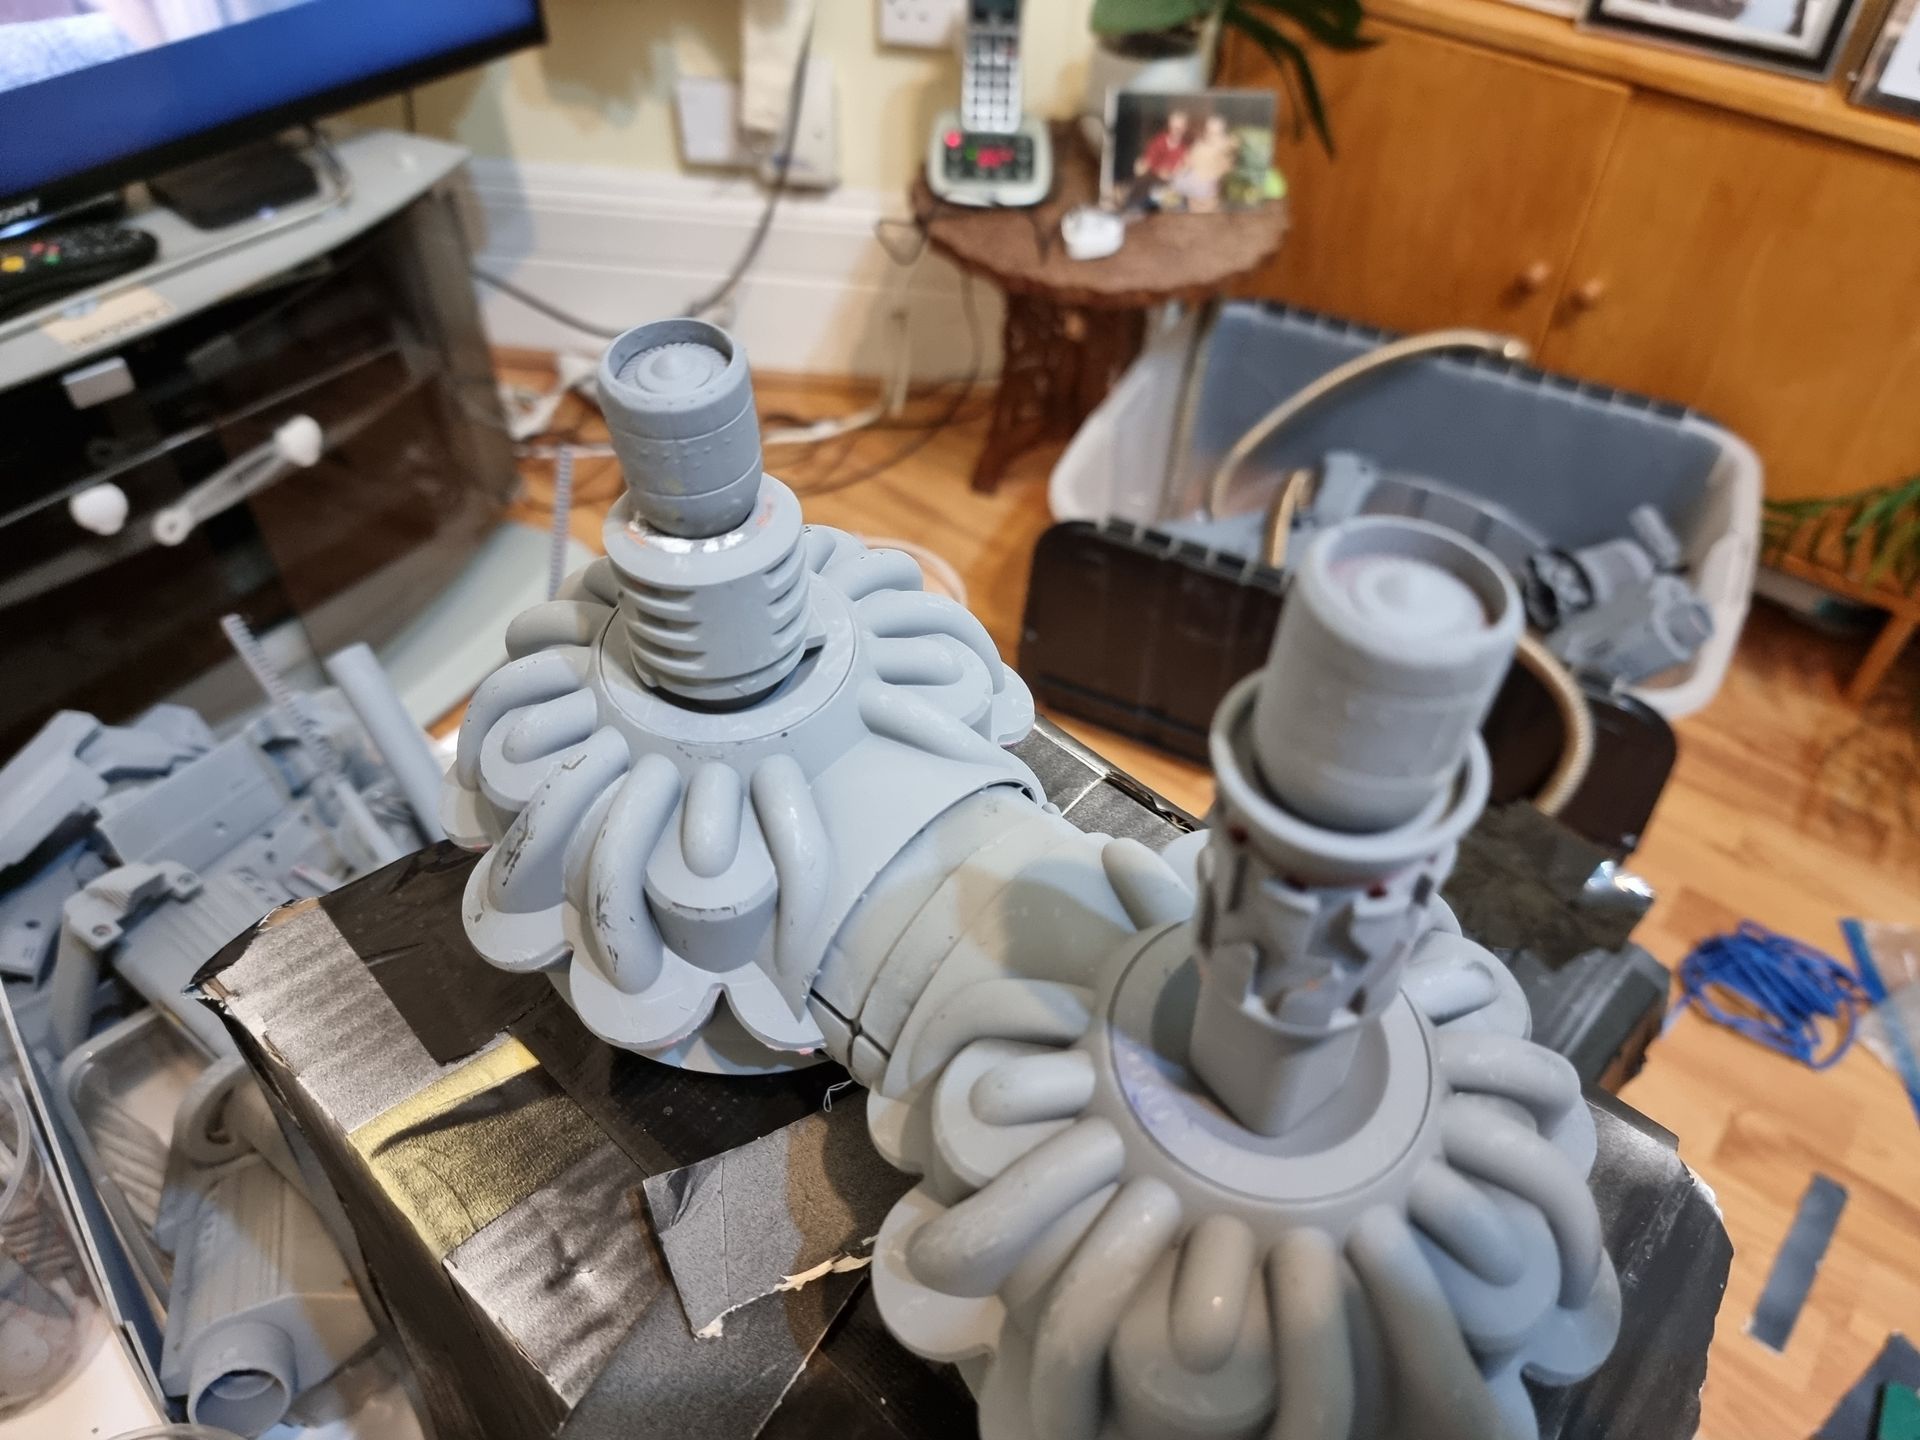
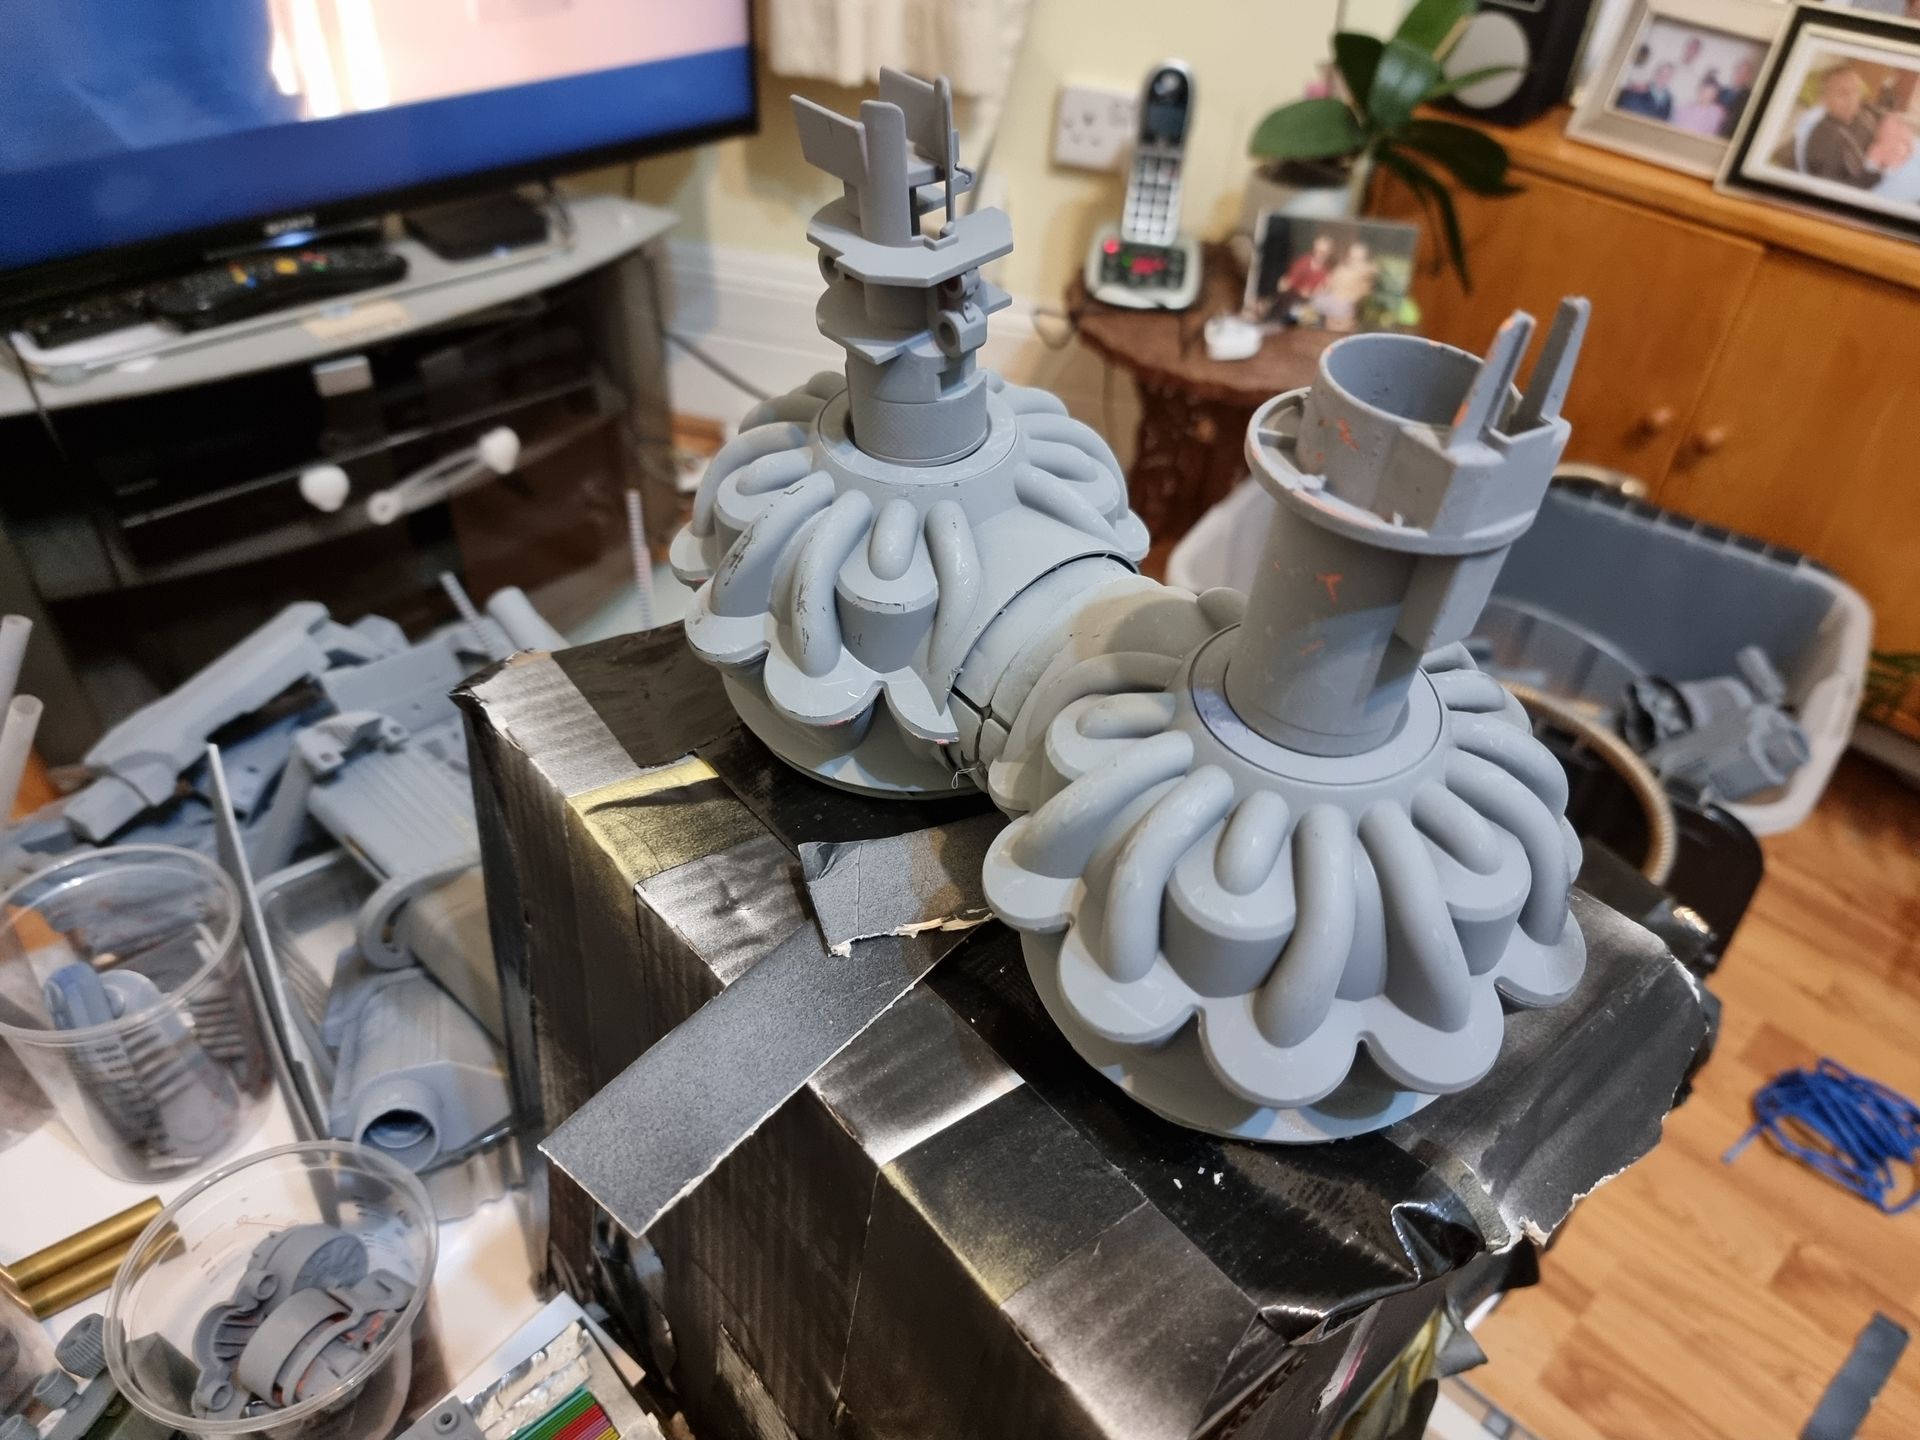
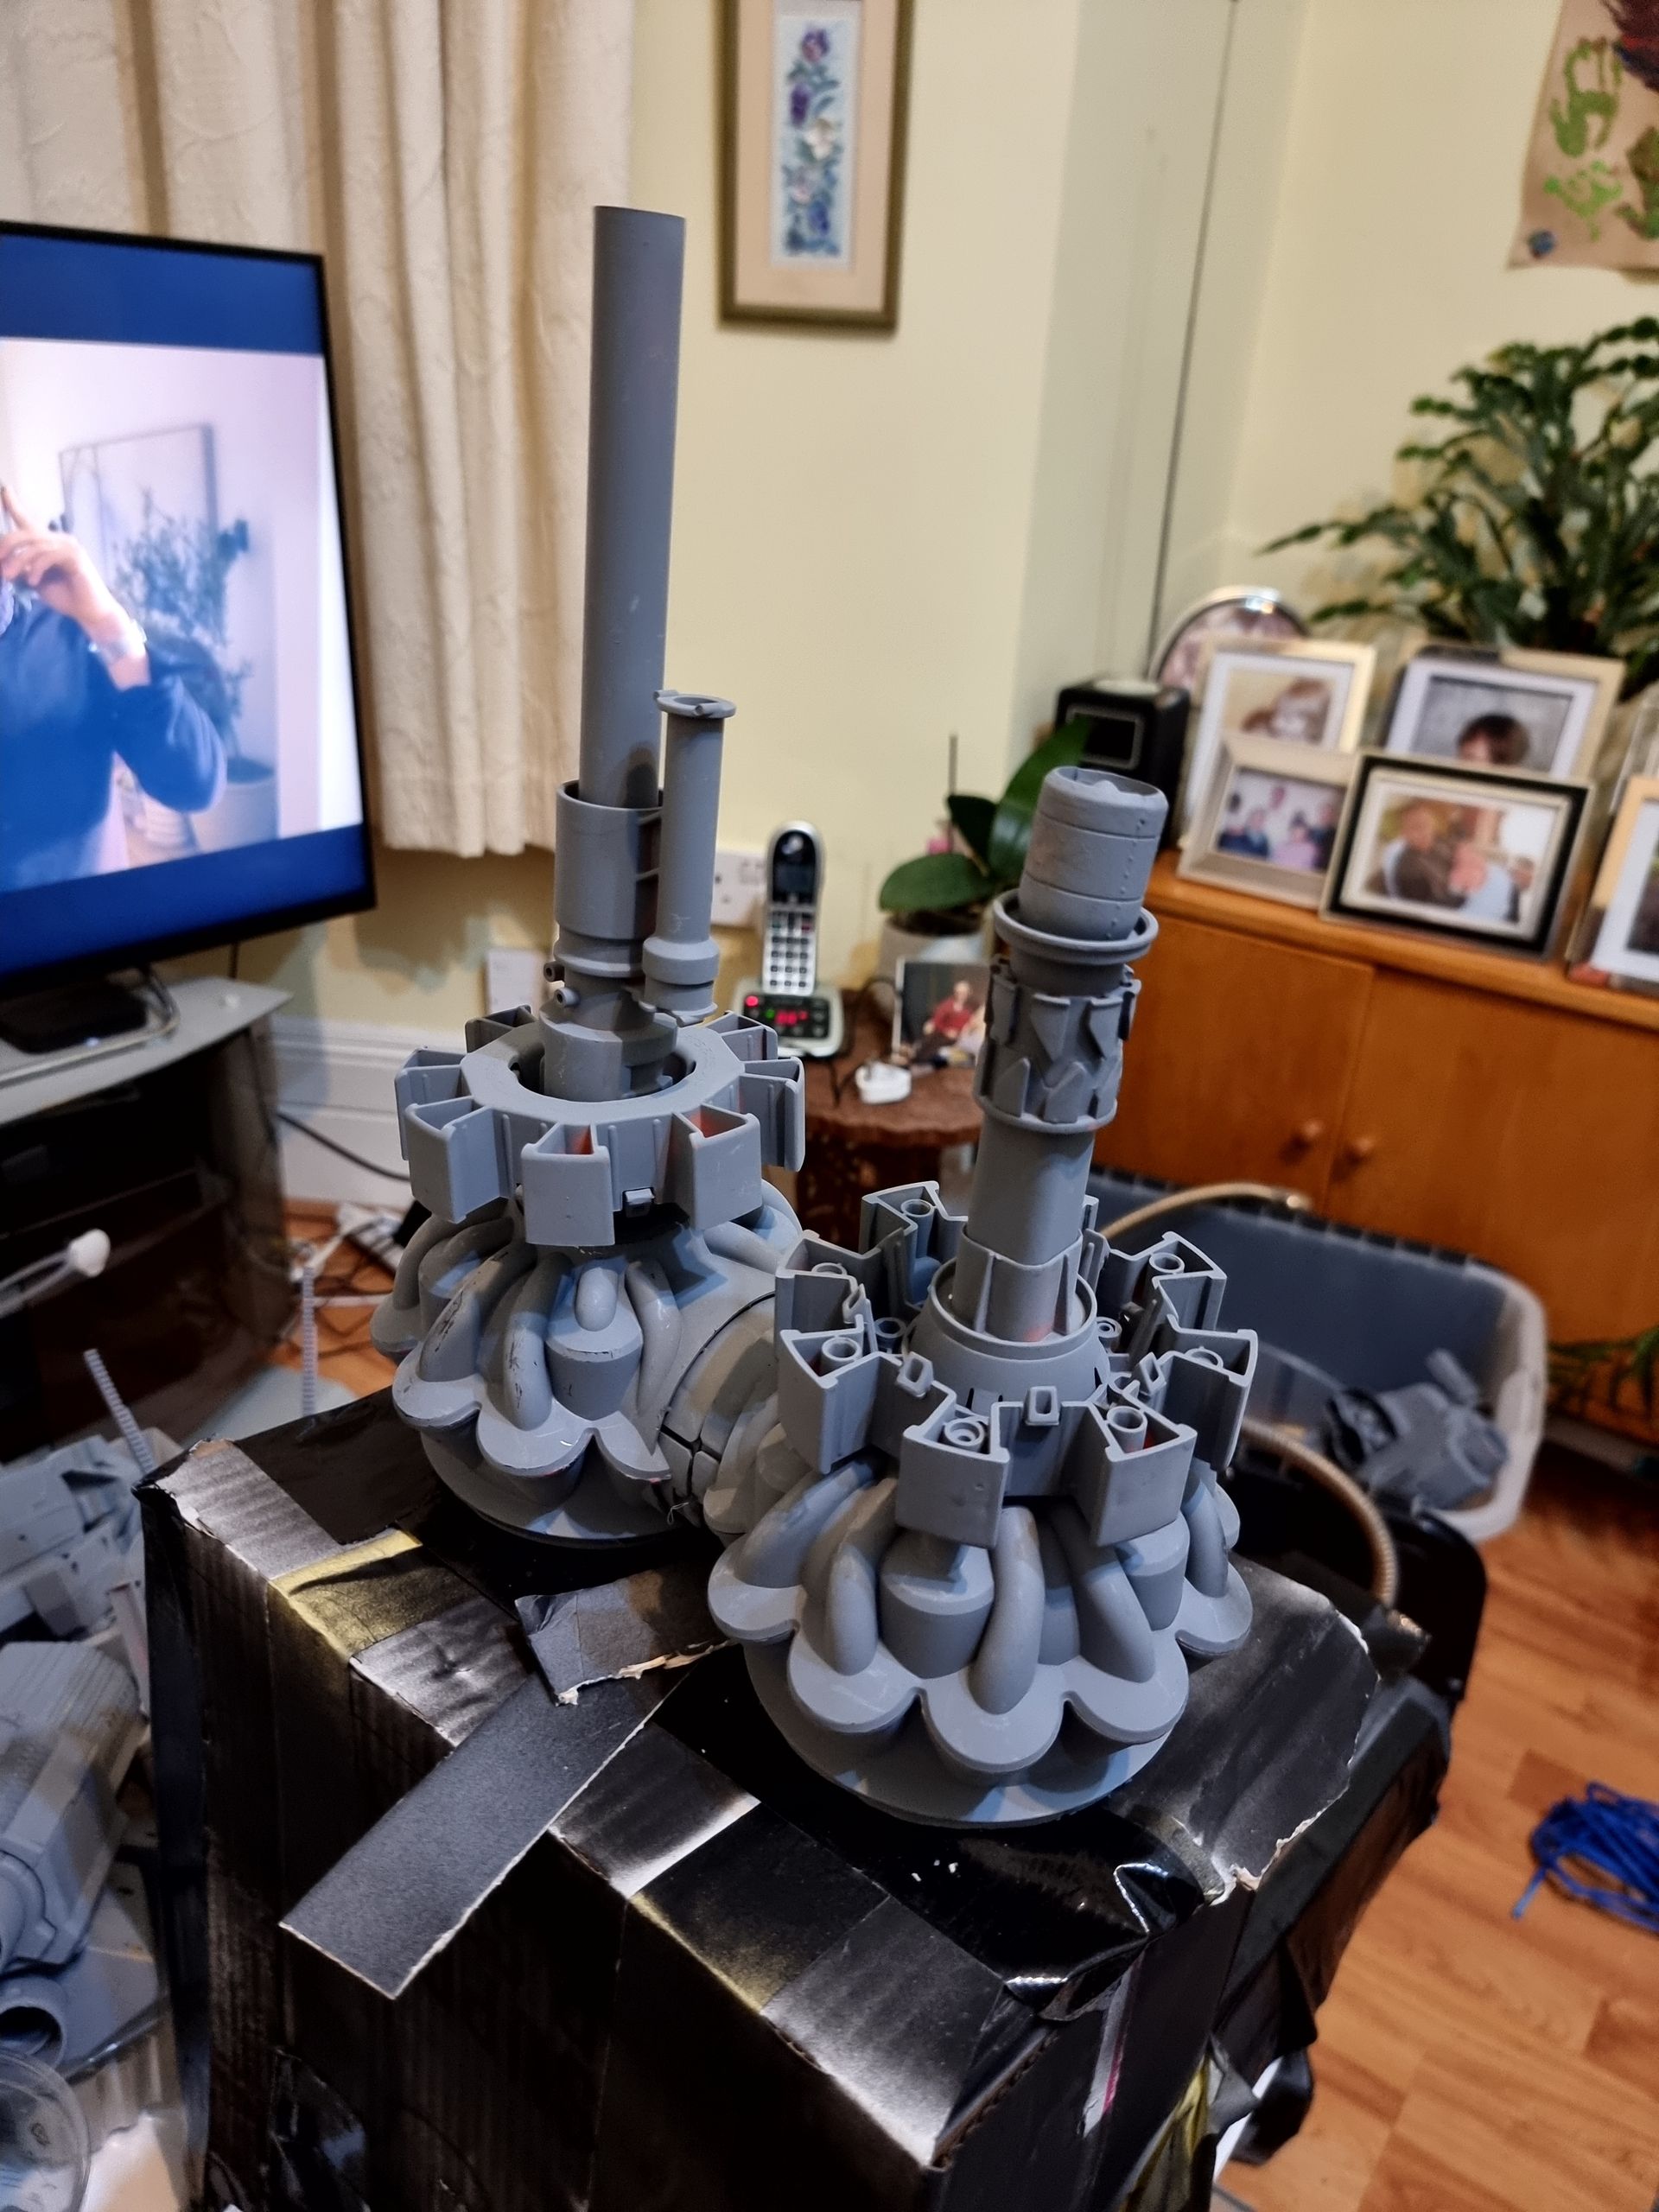
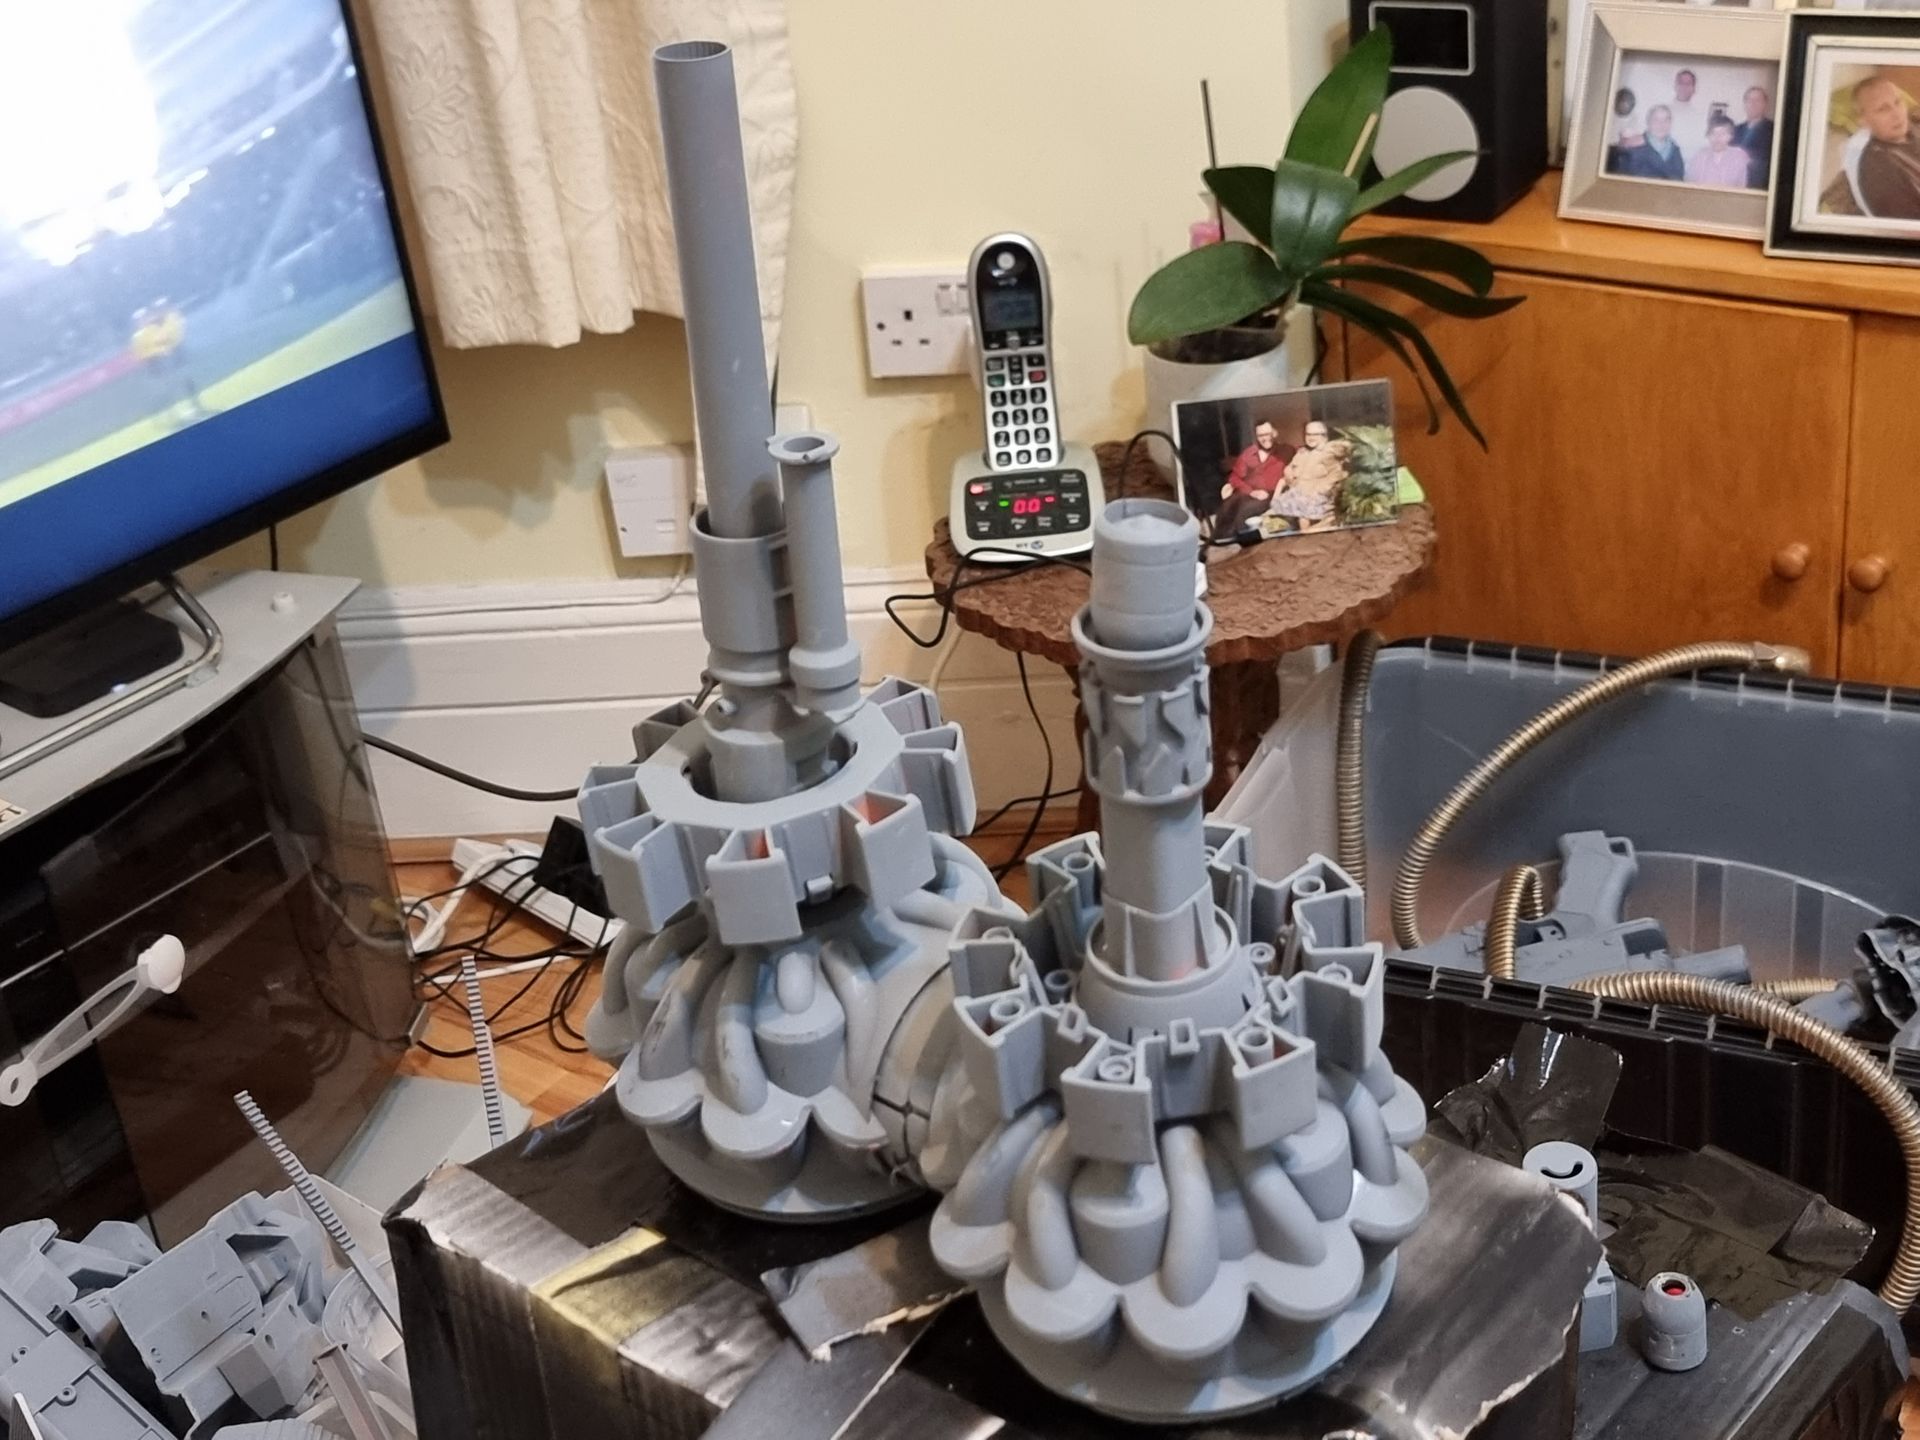
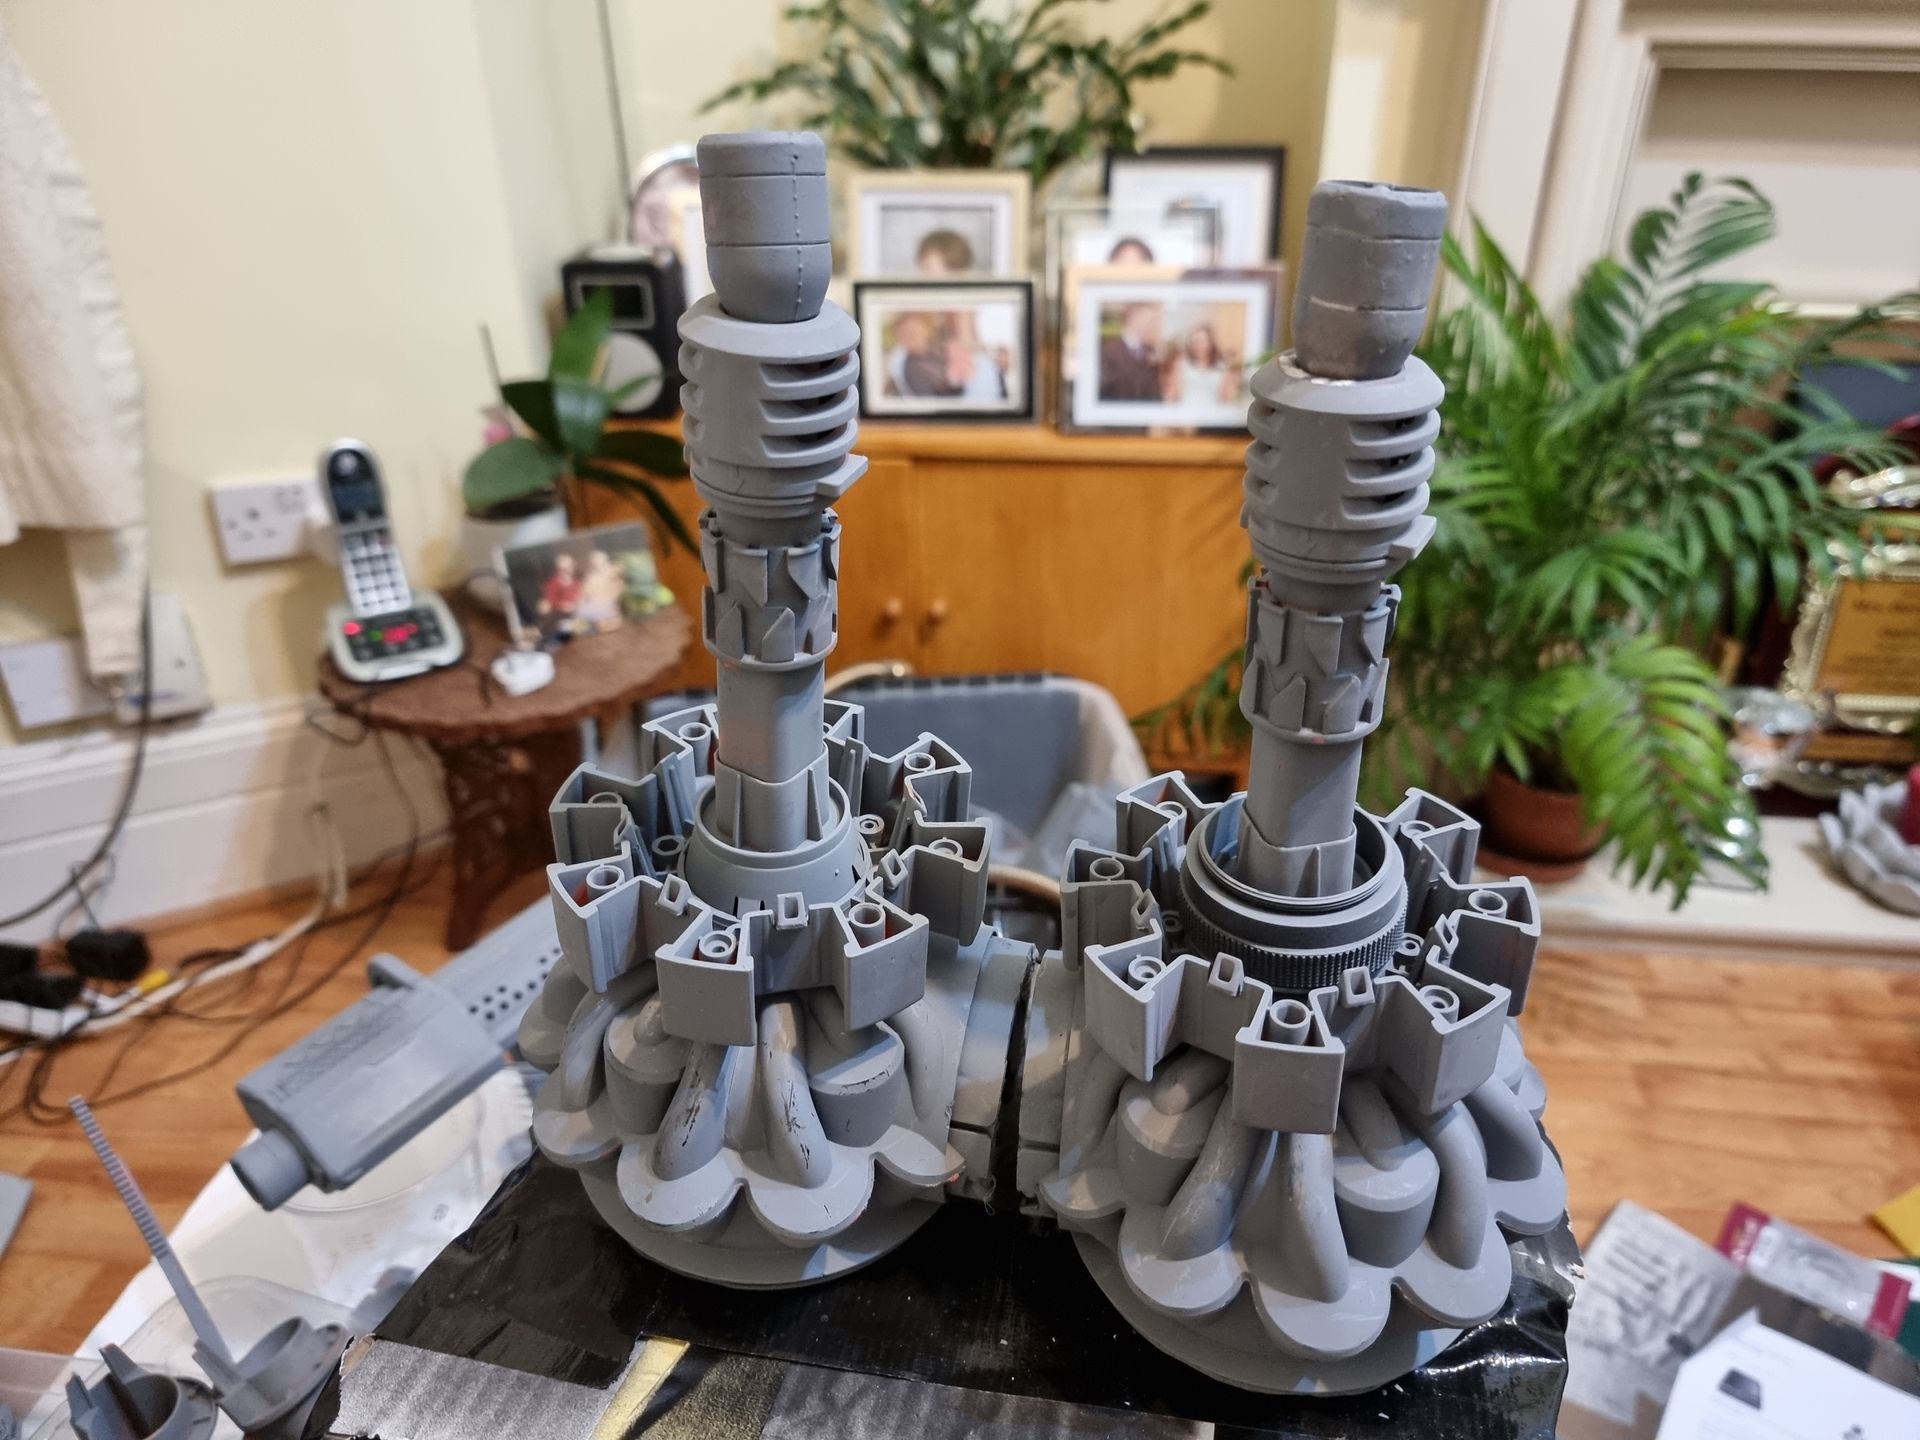
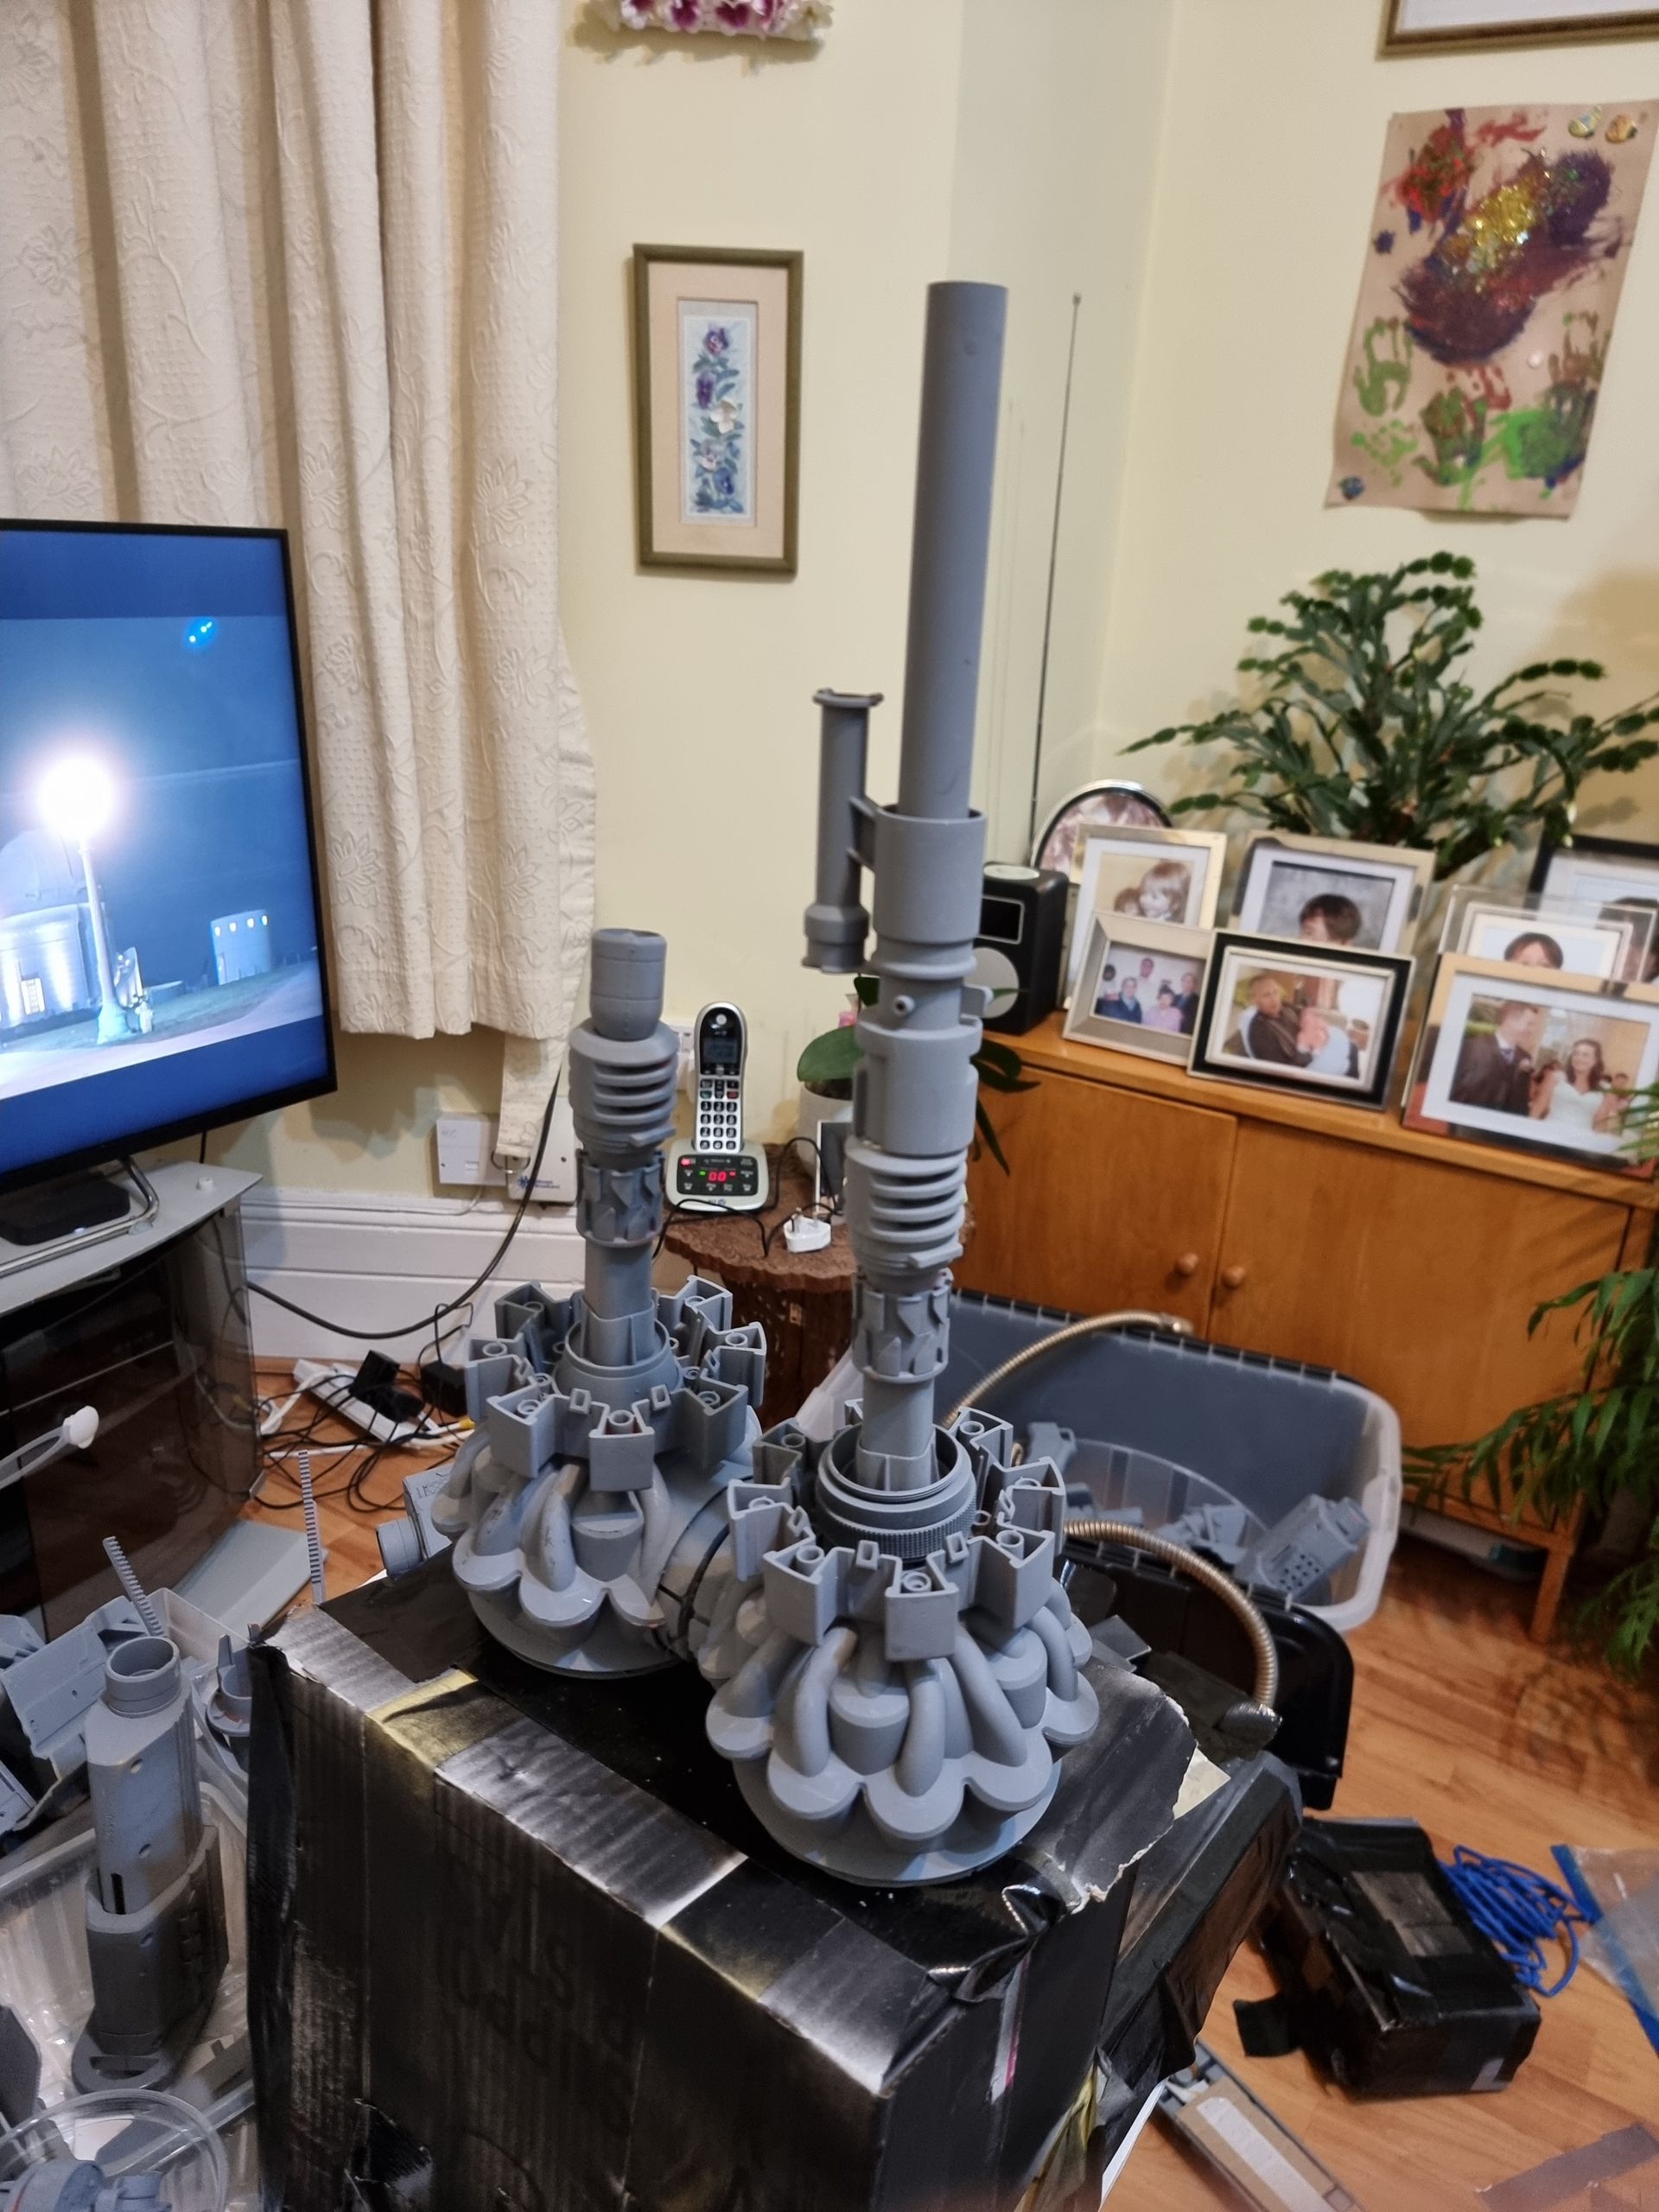
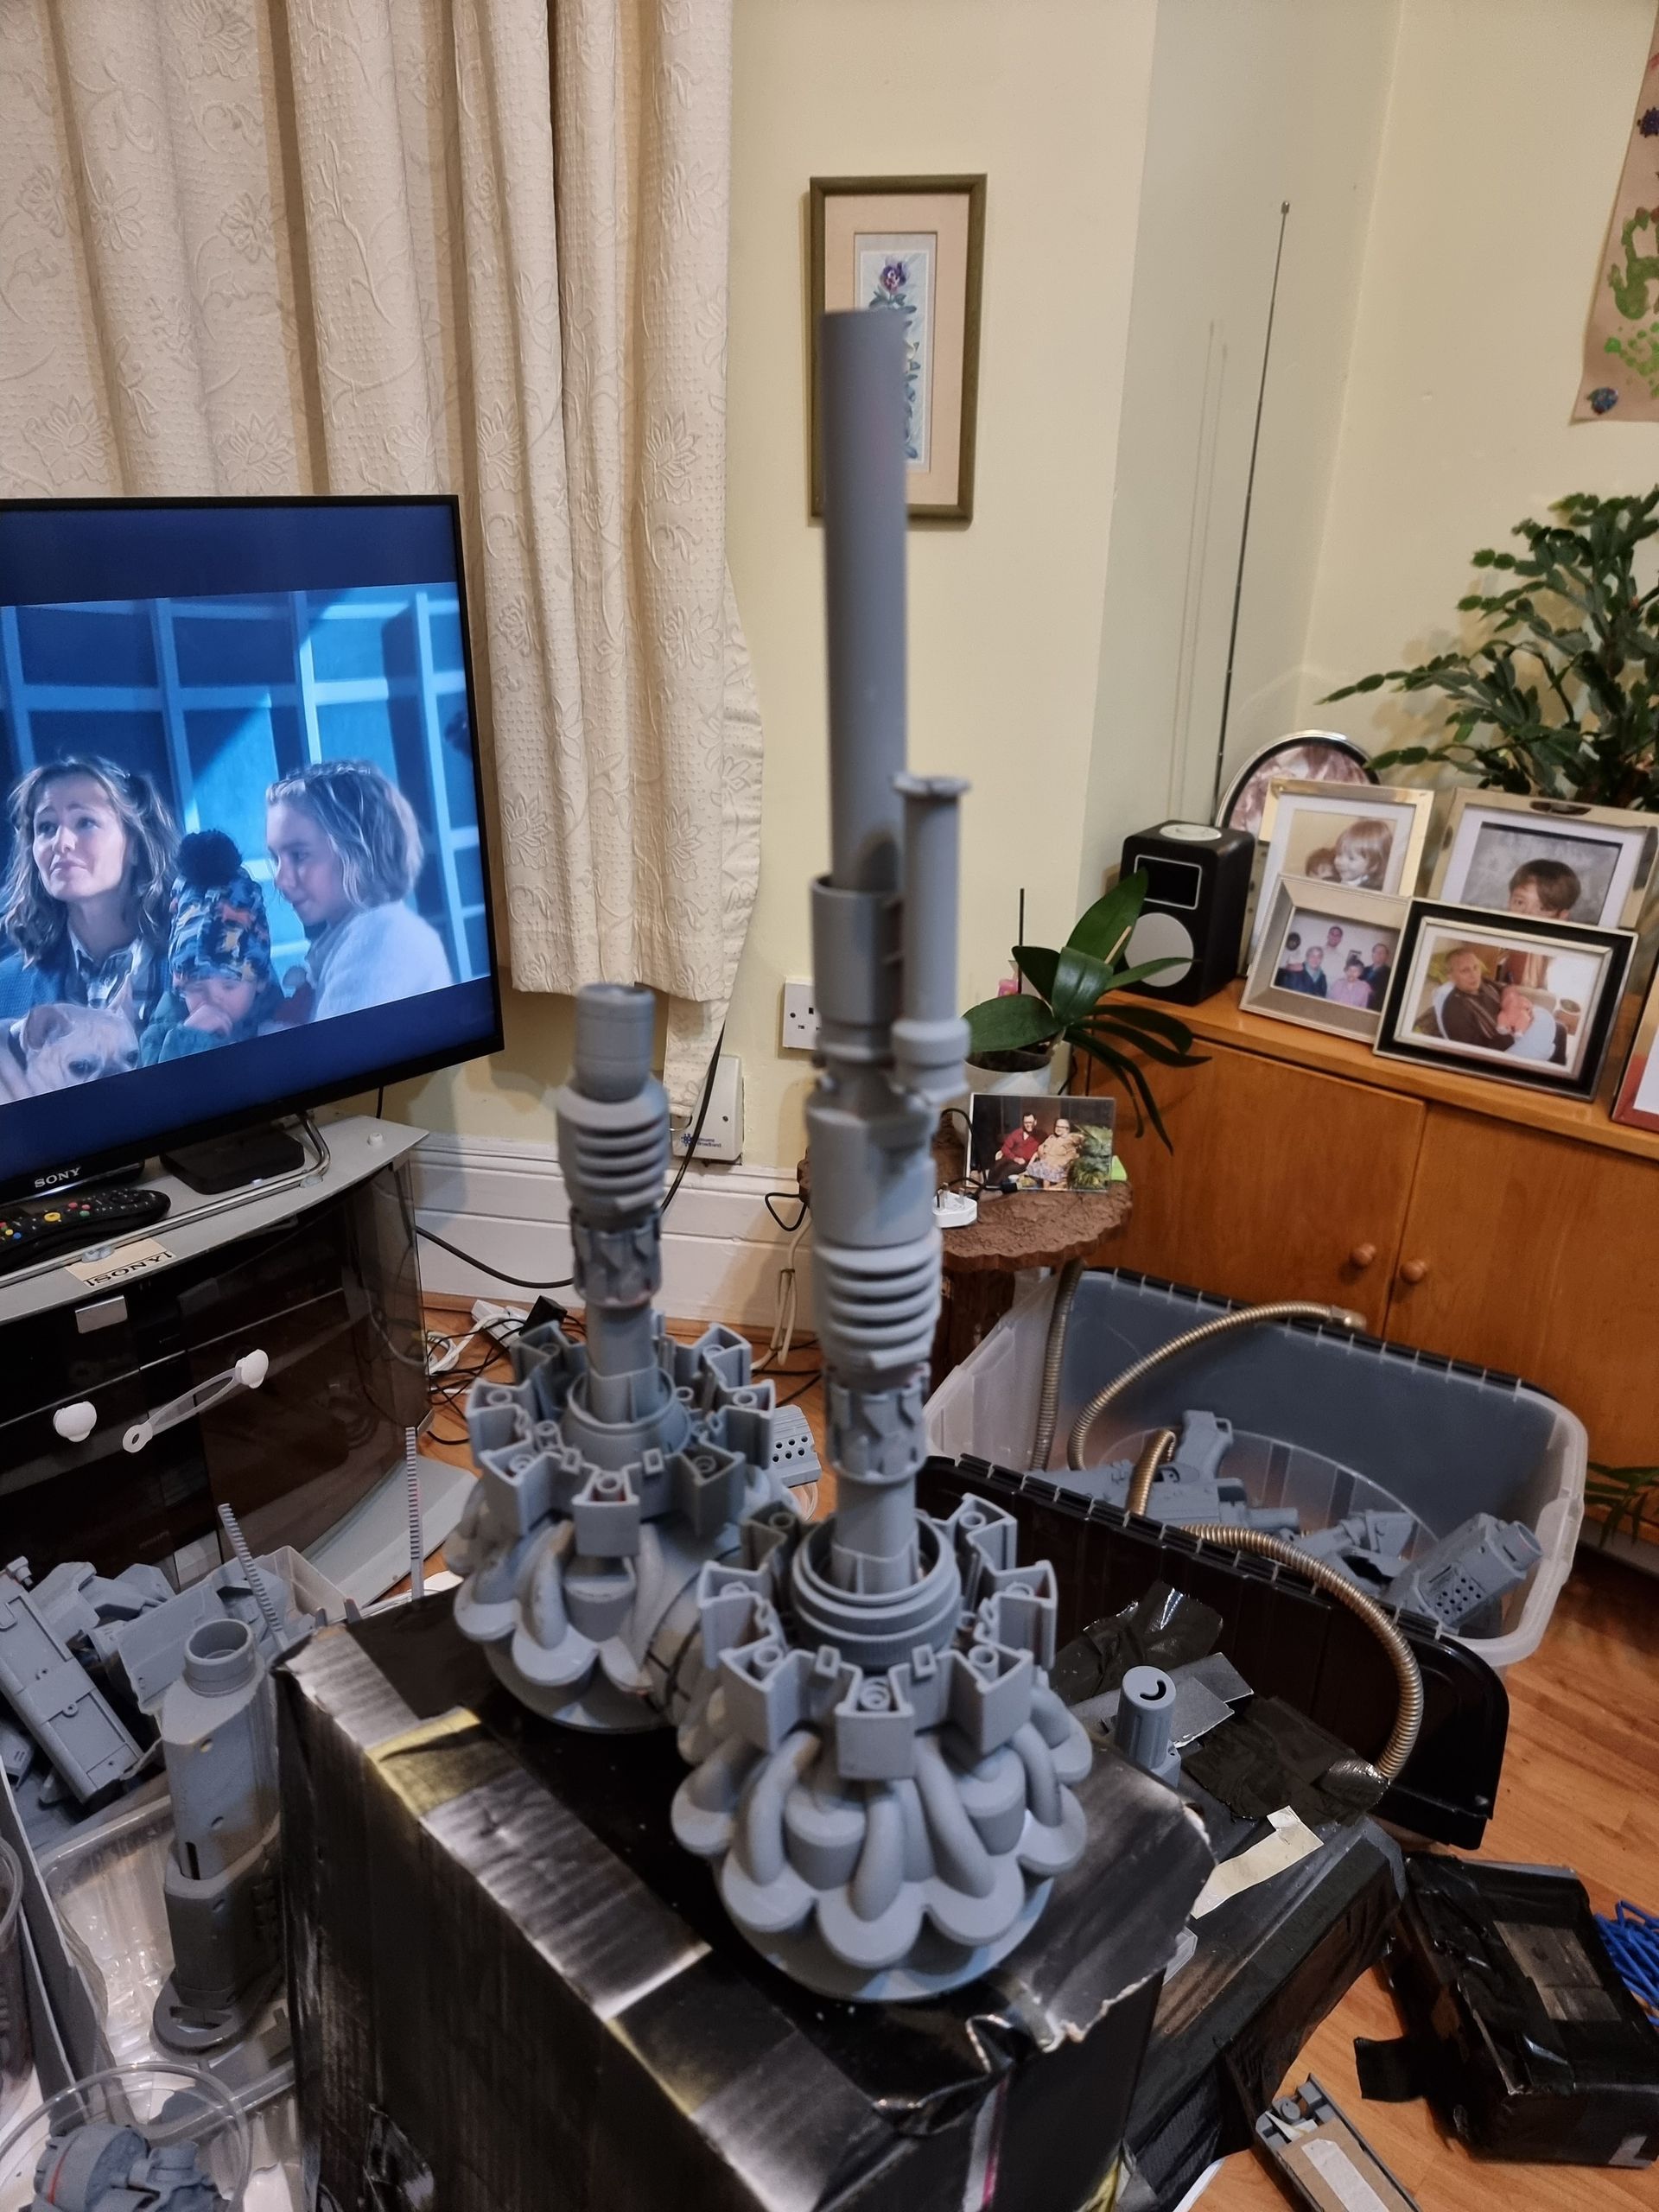
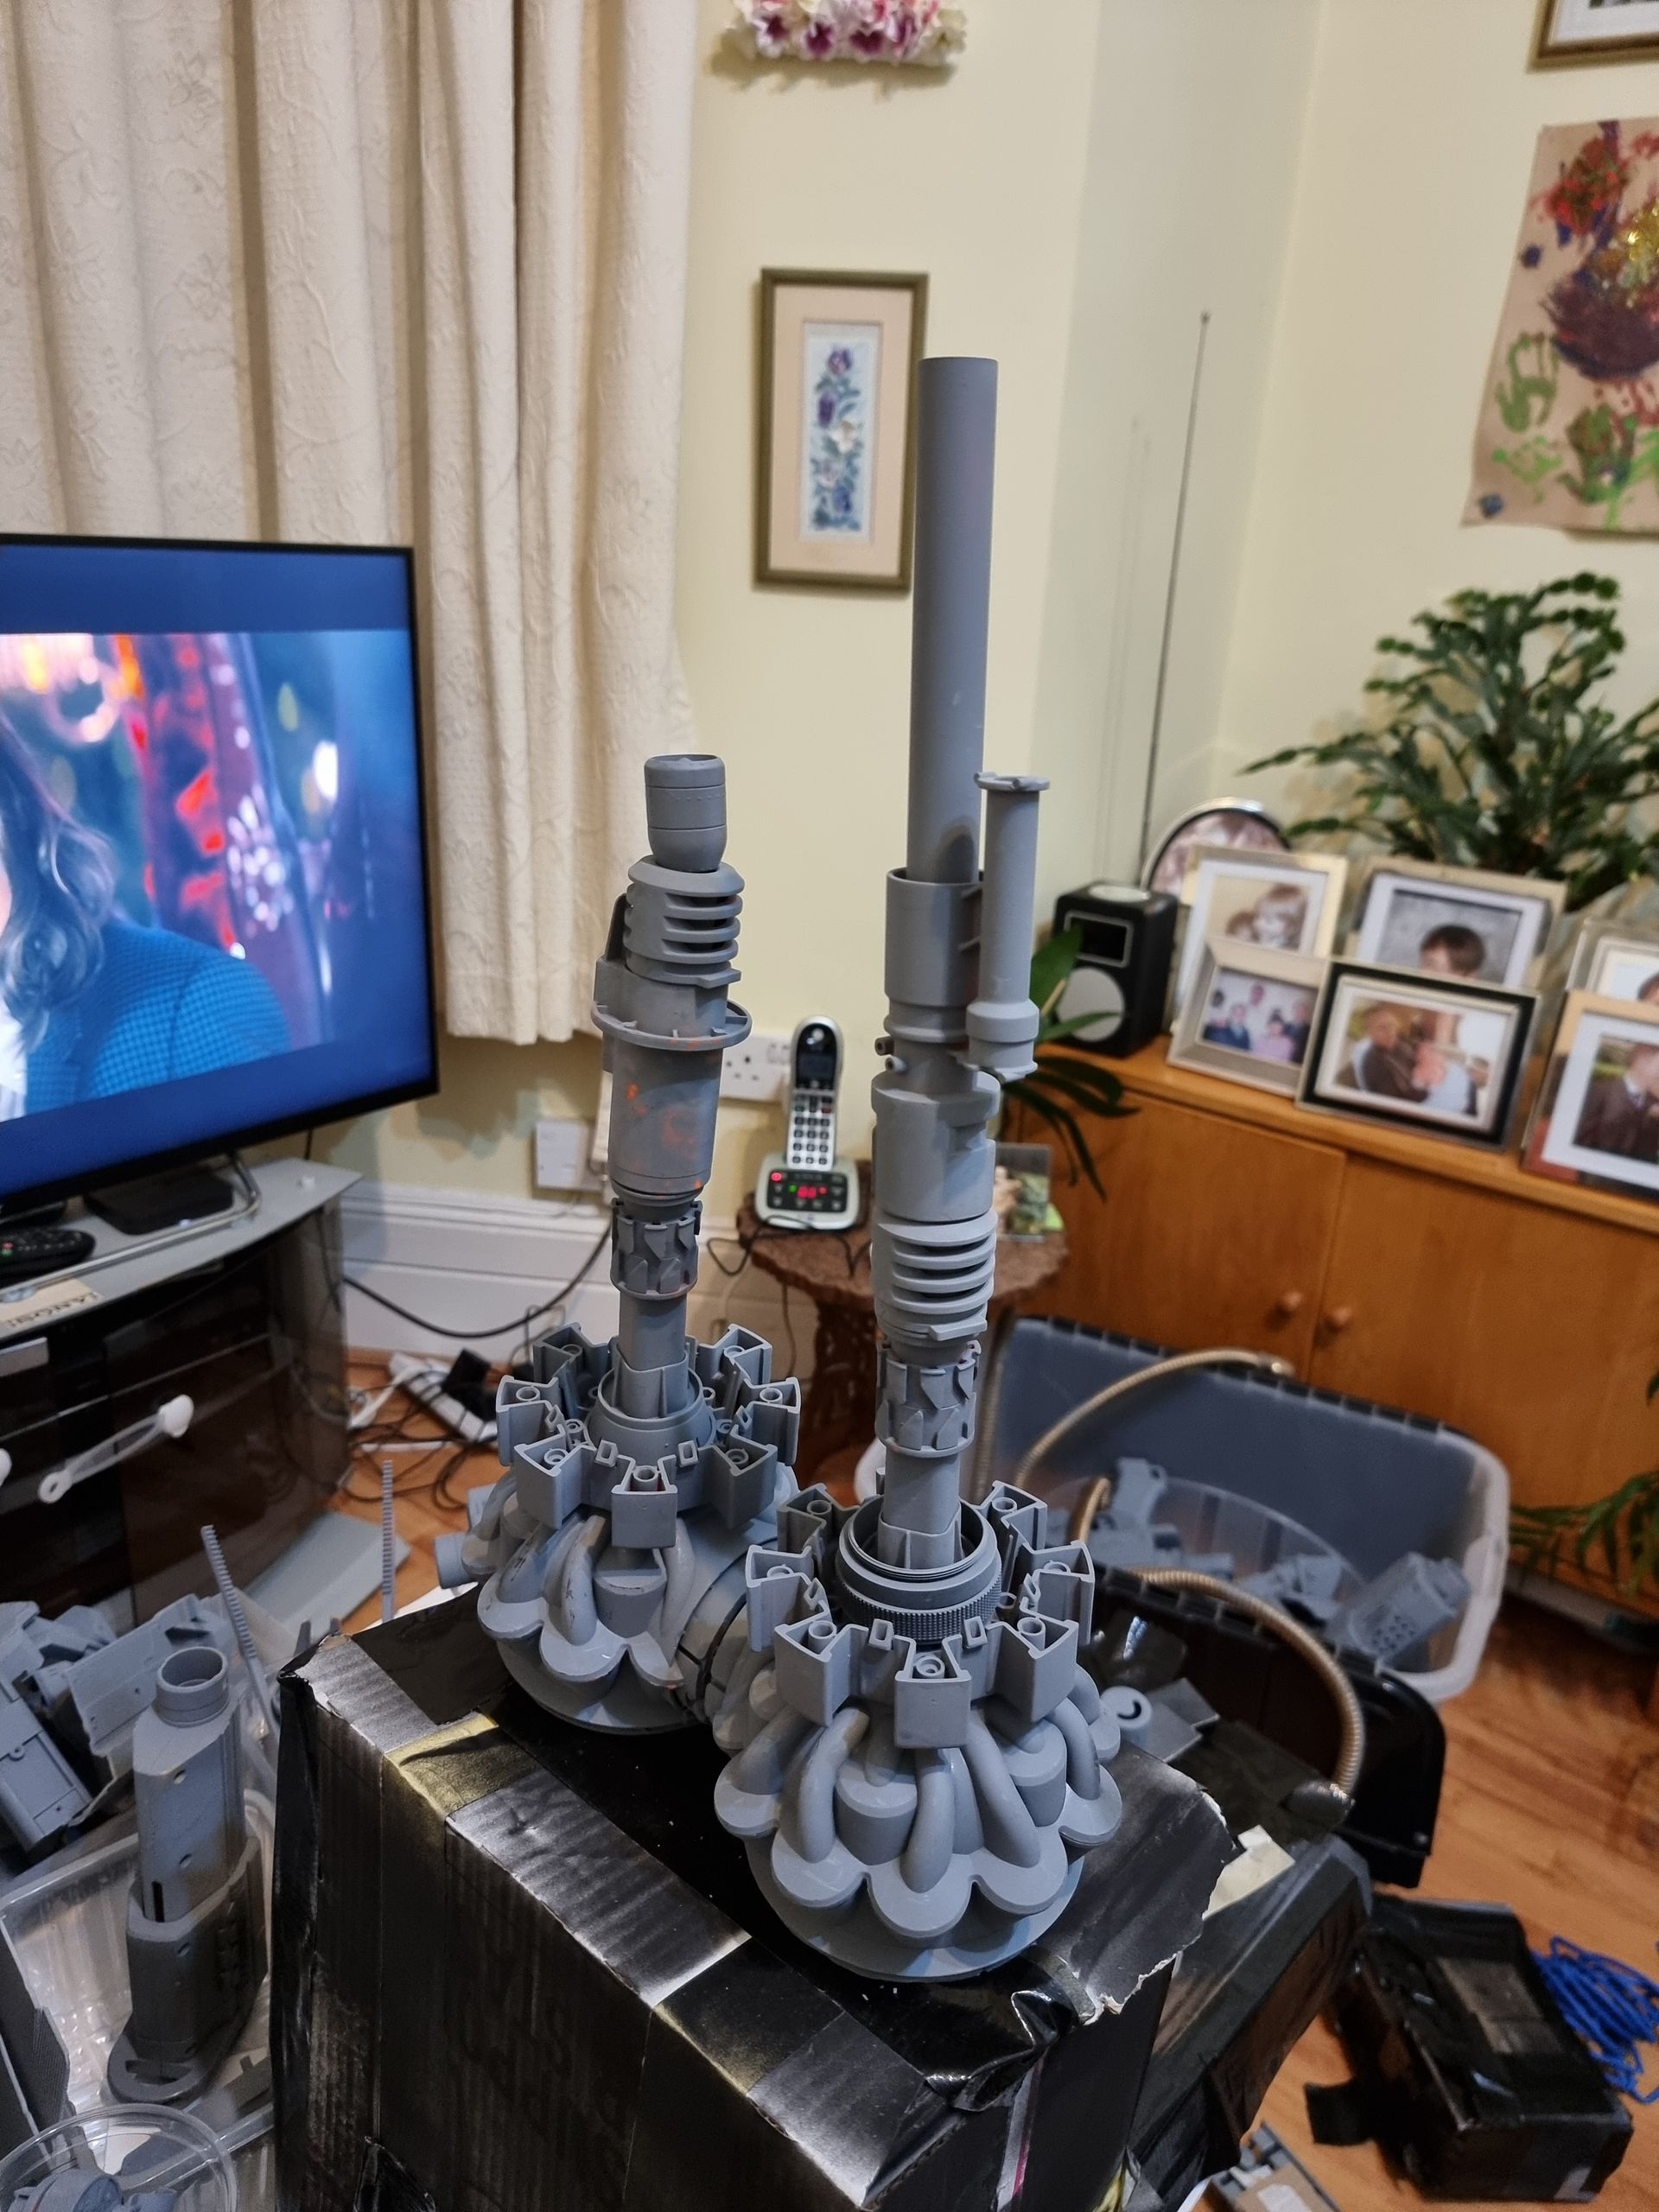
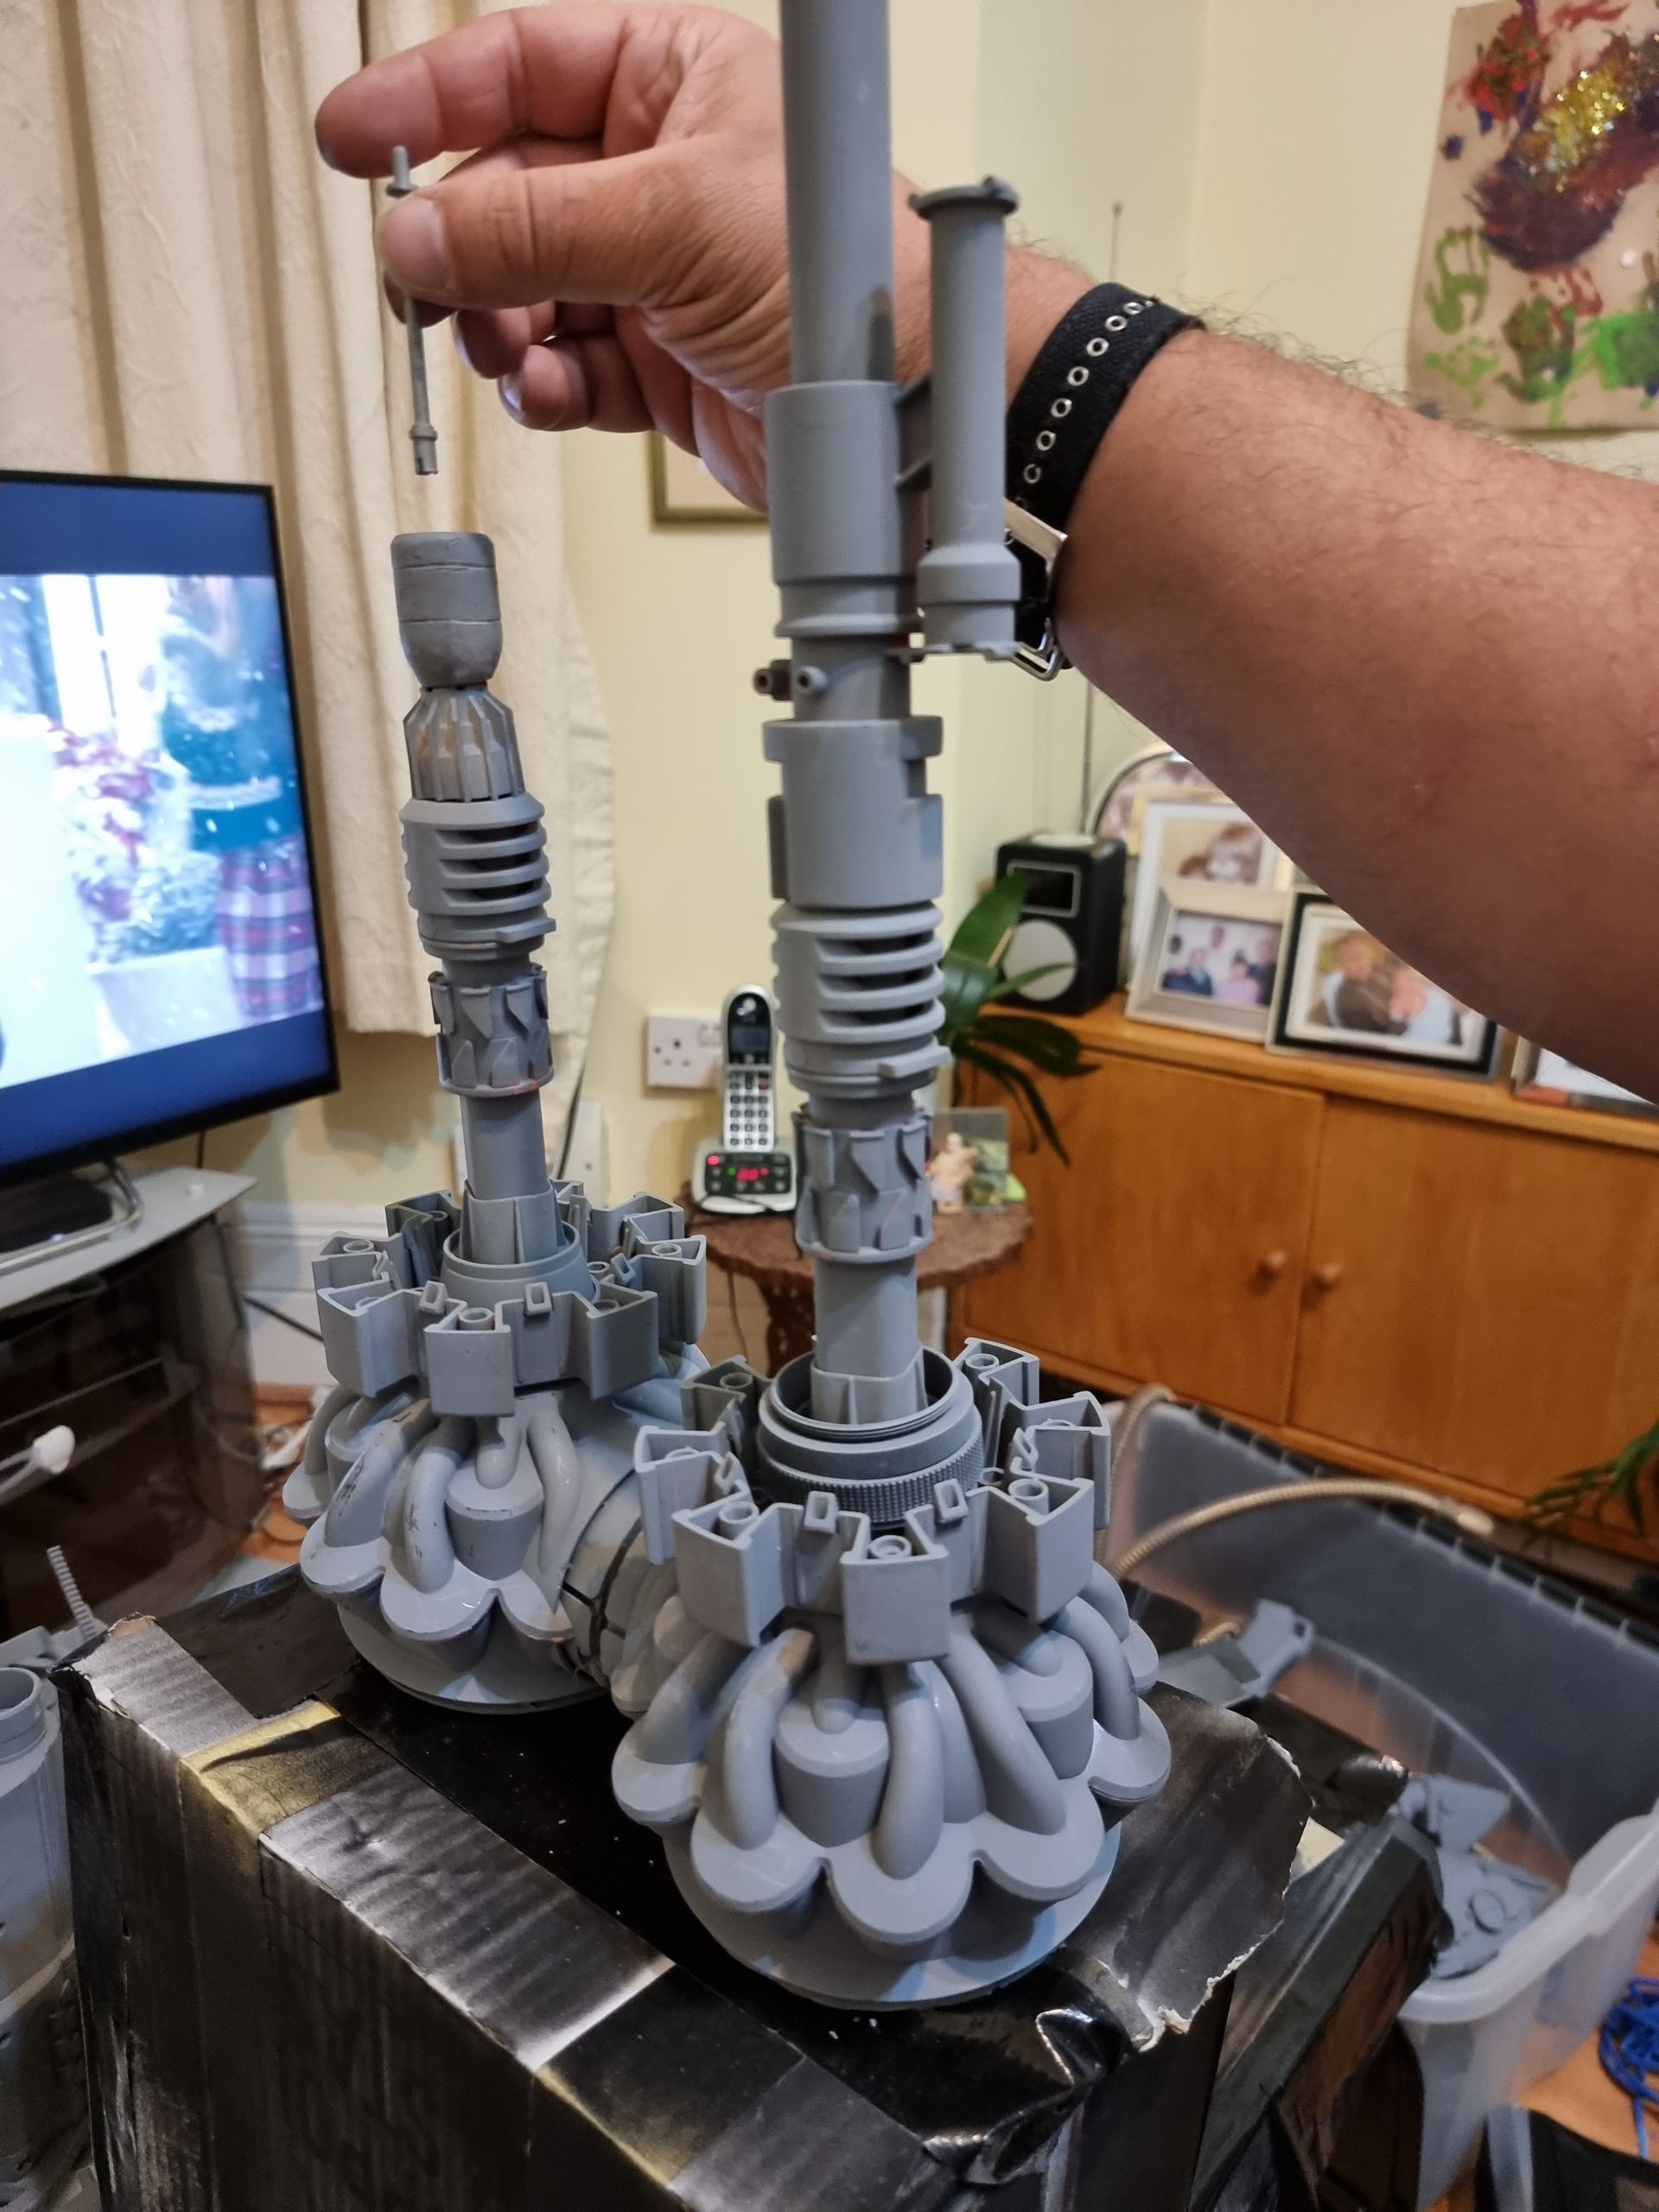
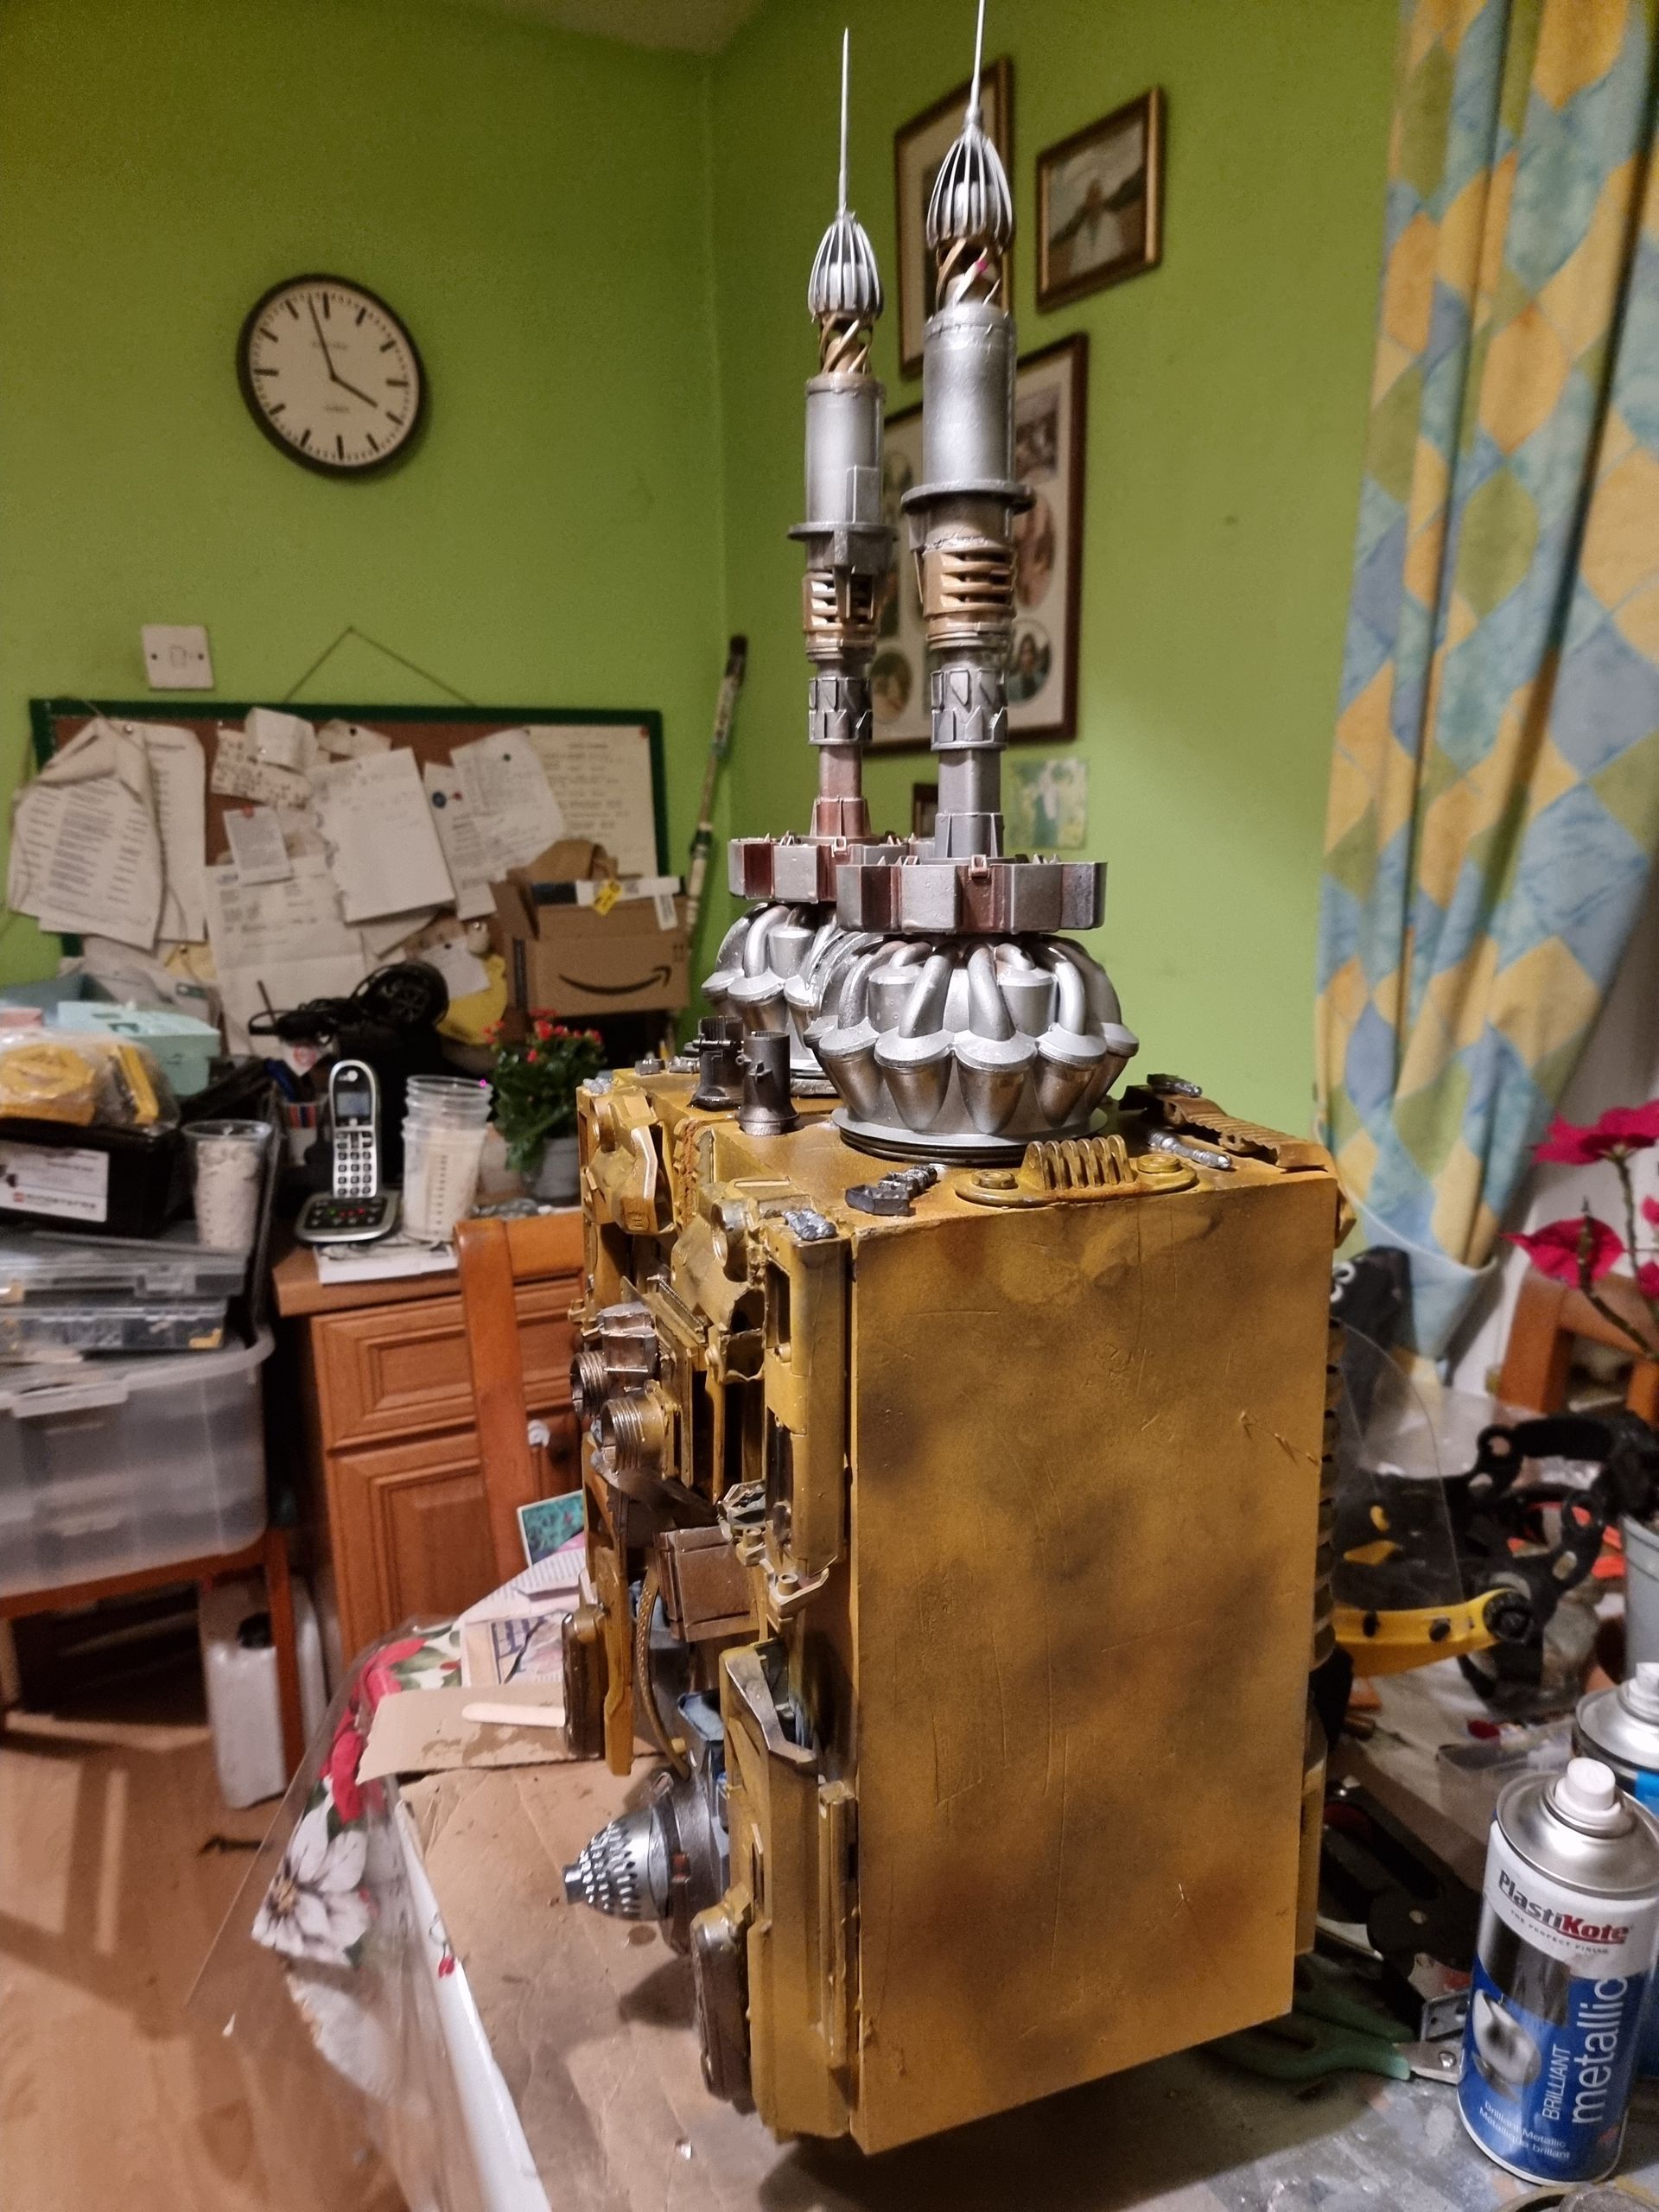
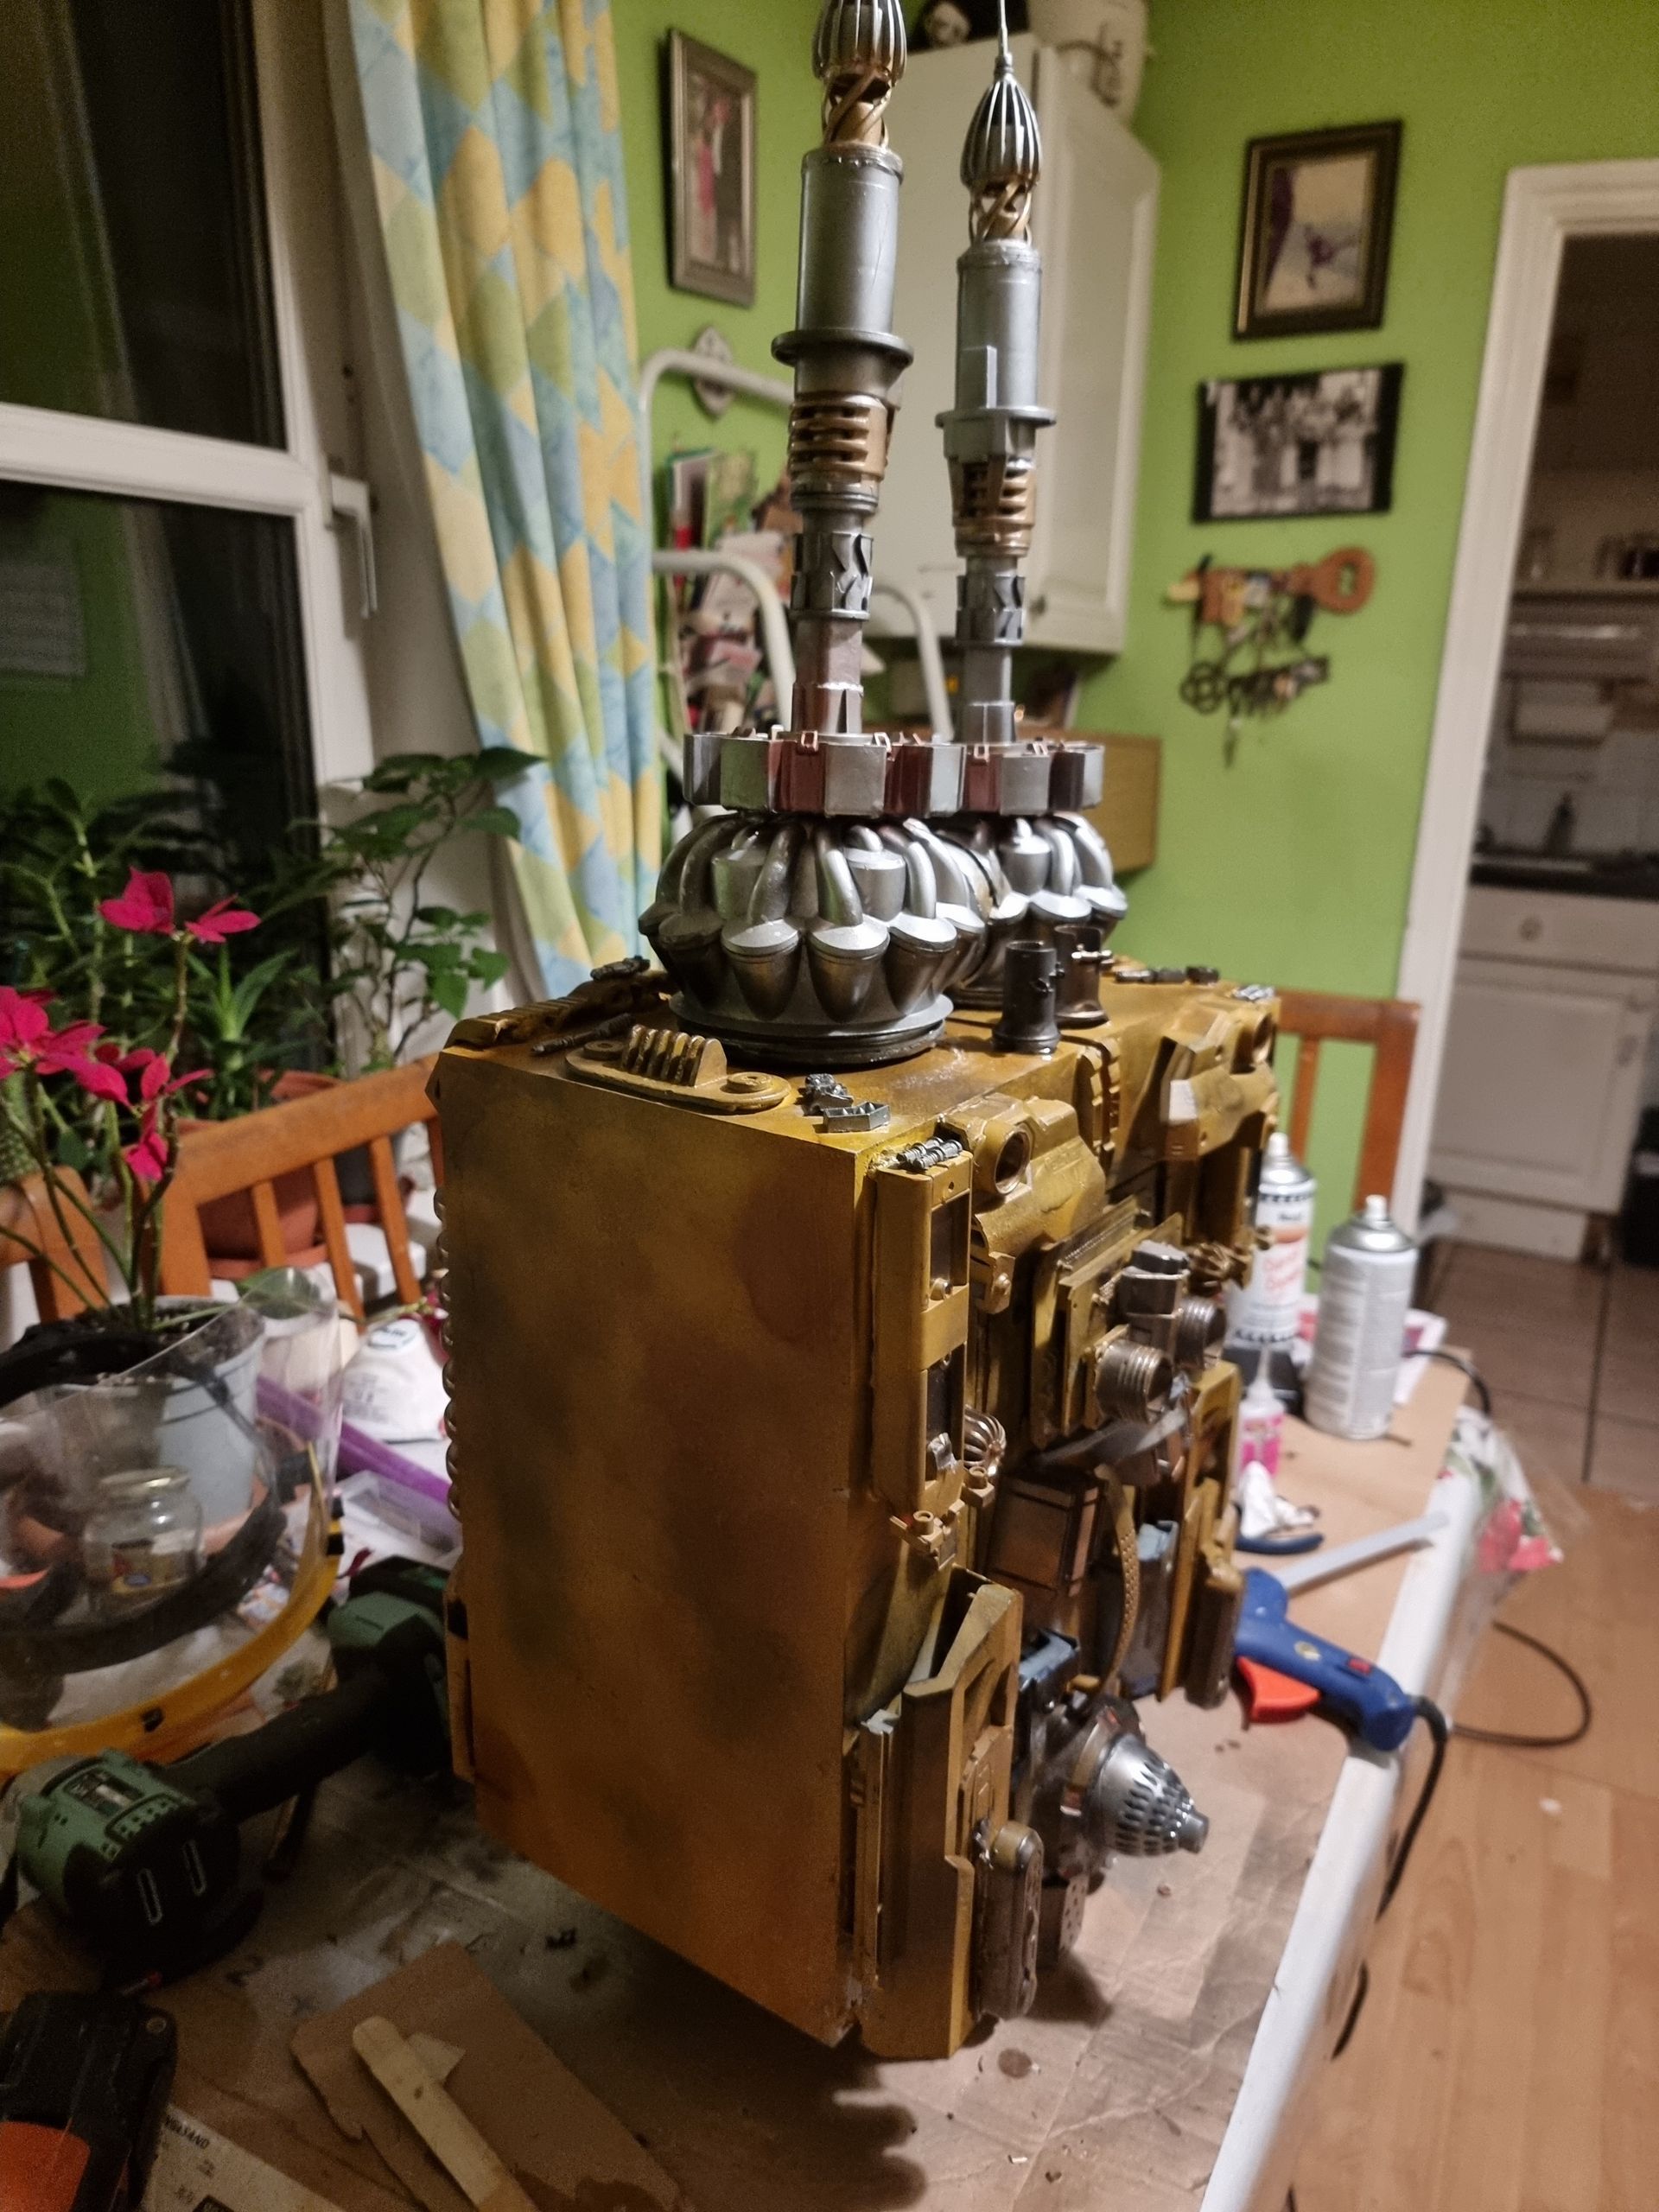
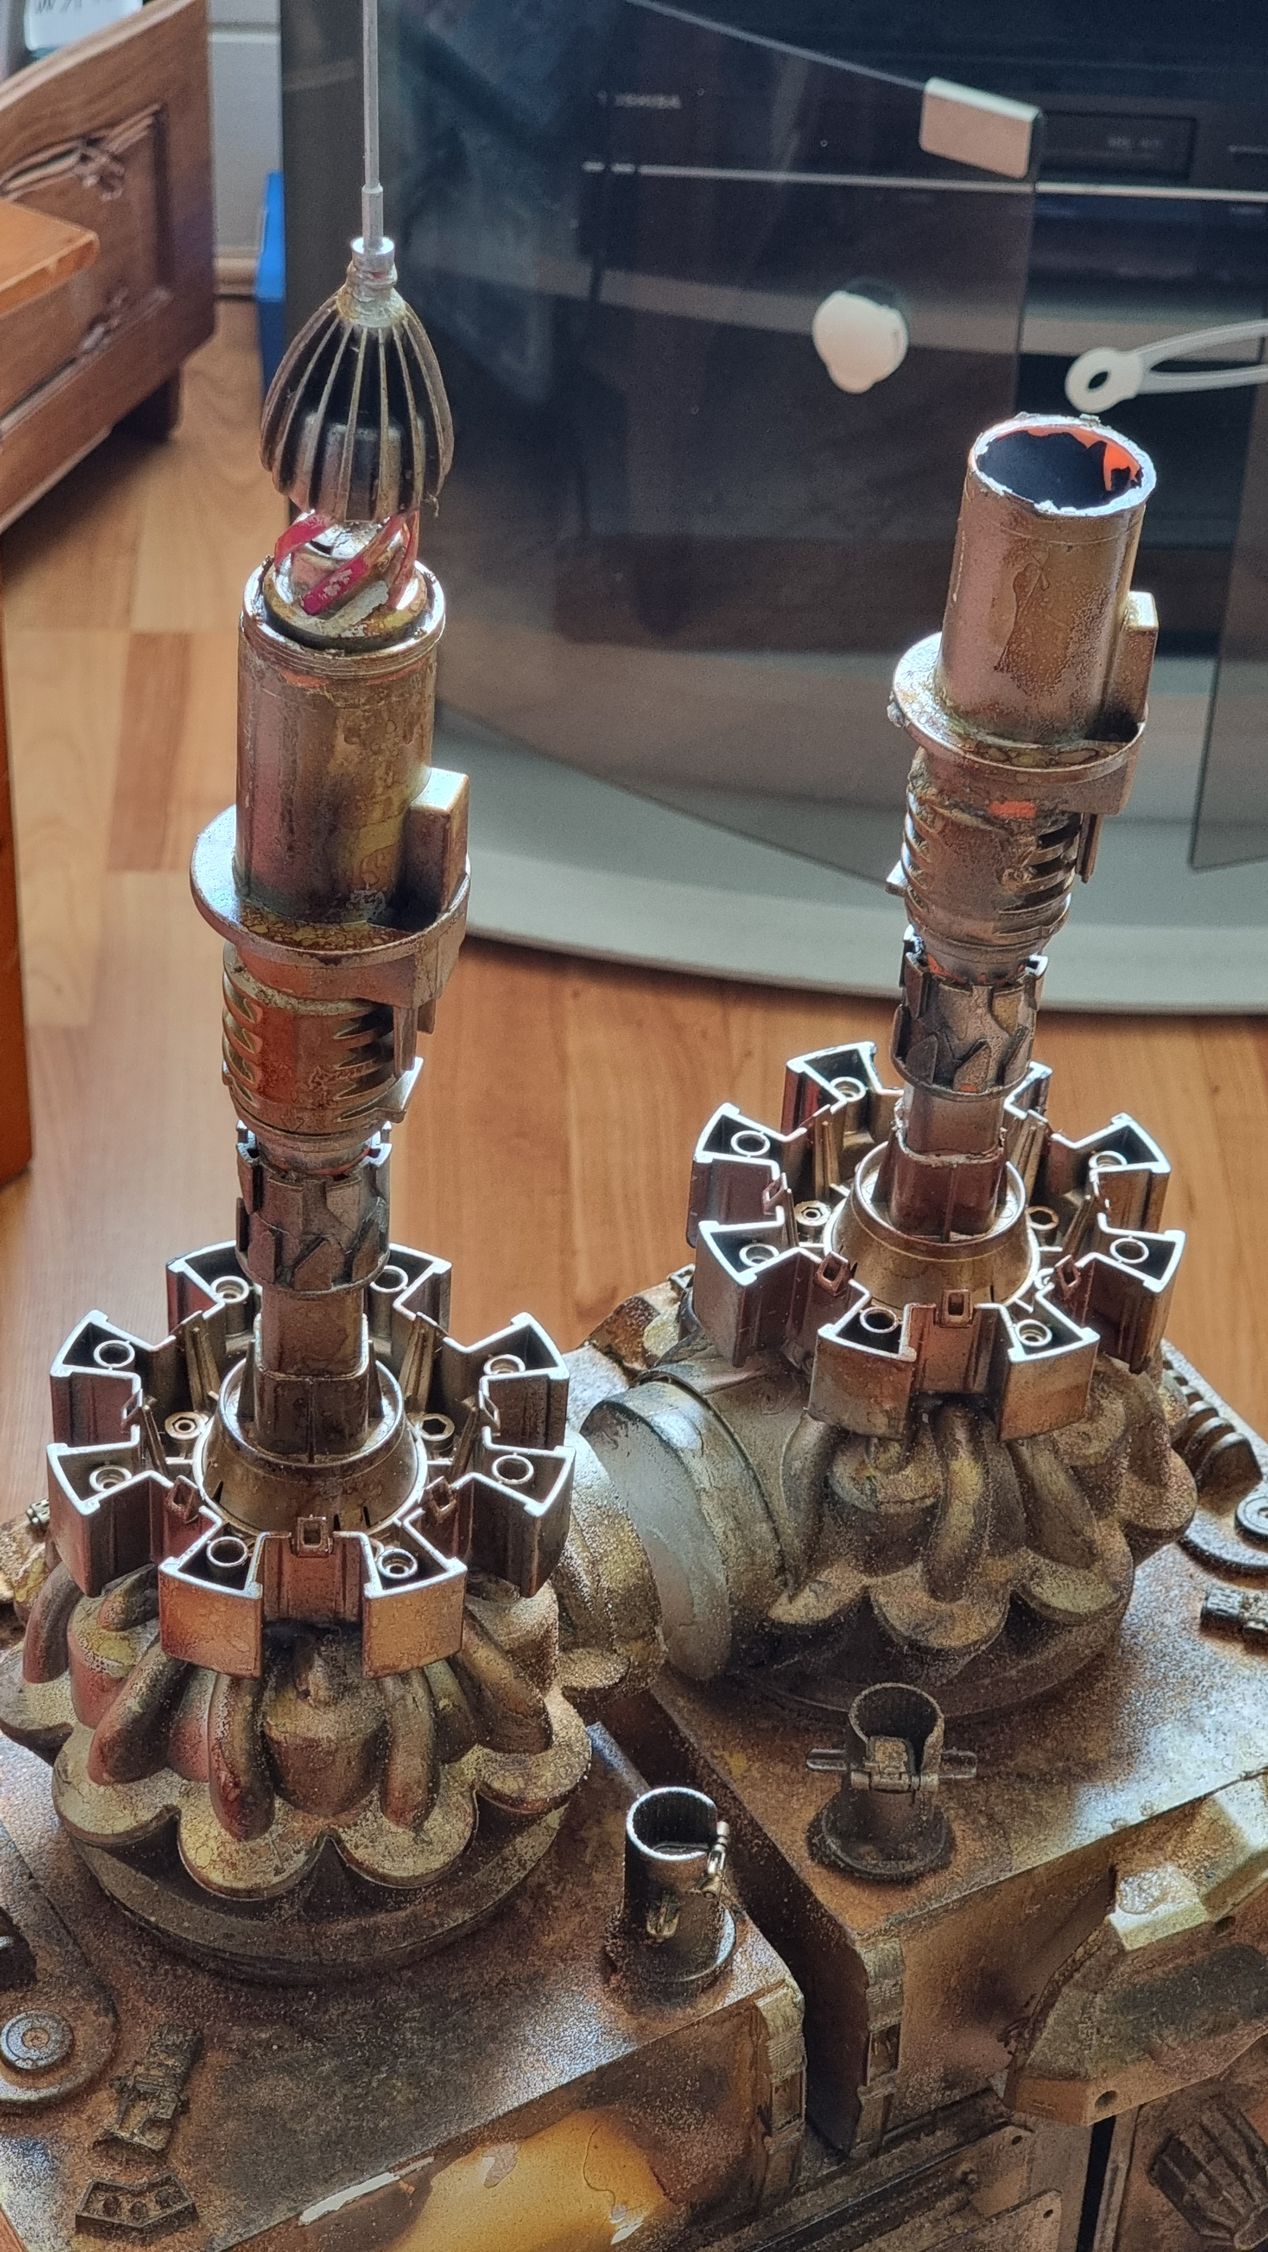
The transmitter towers were all kit bashed.
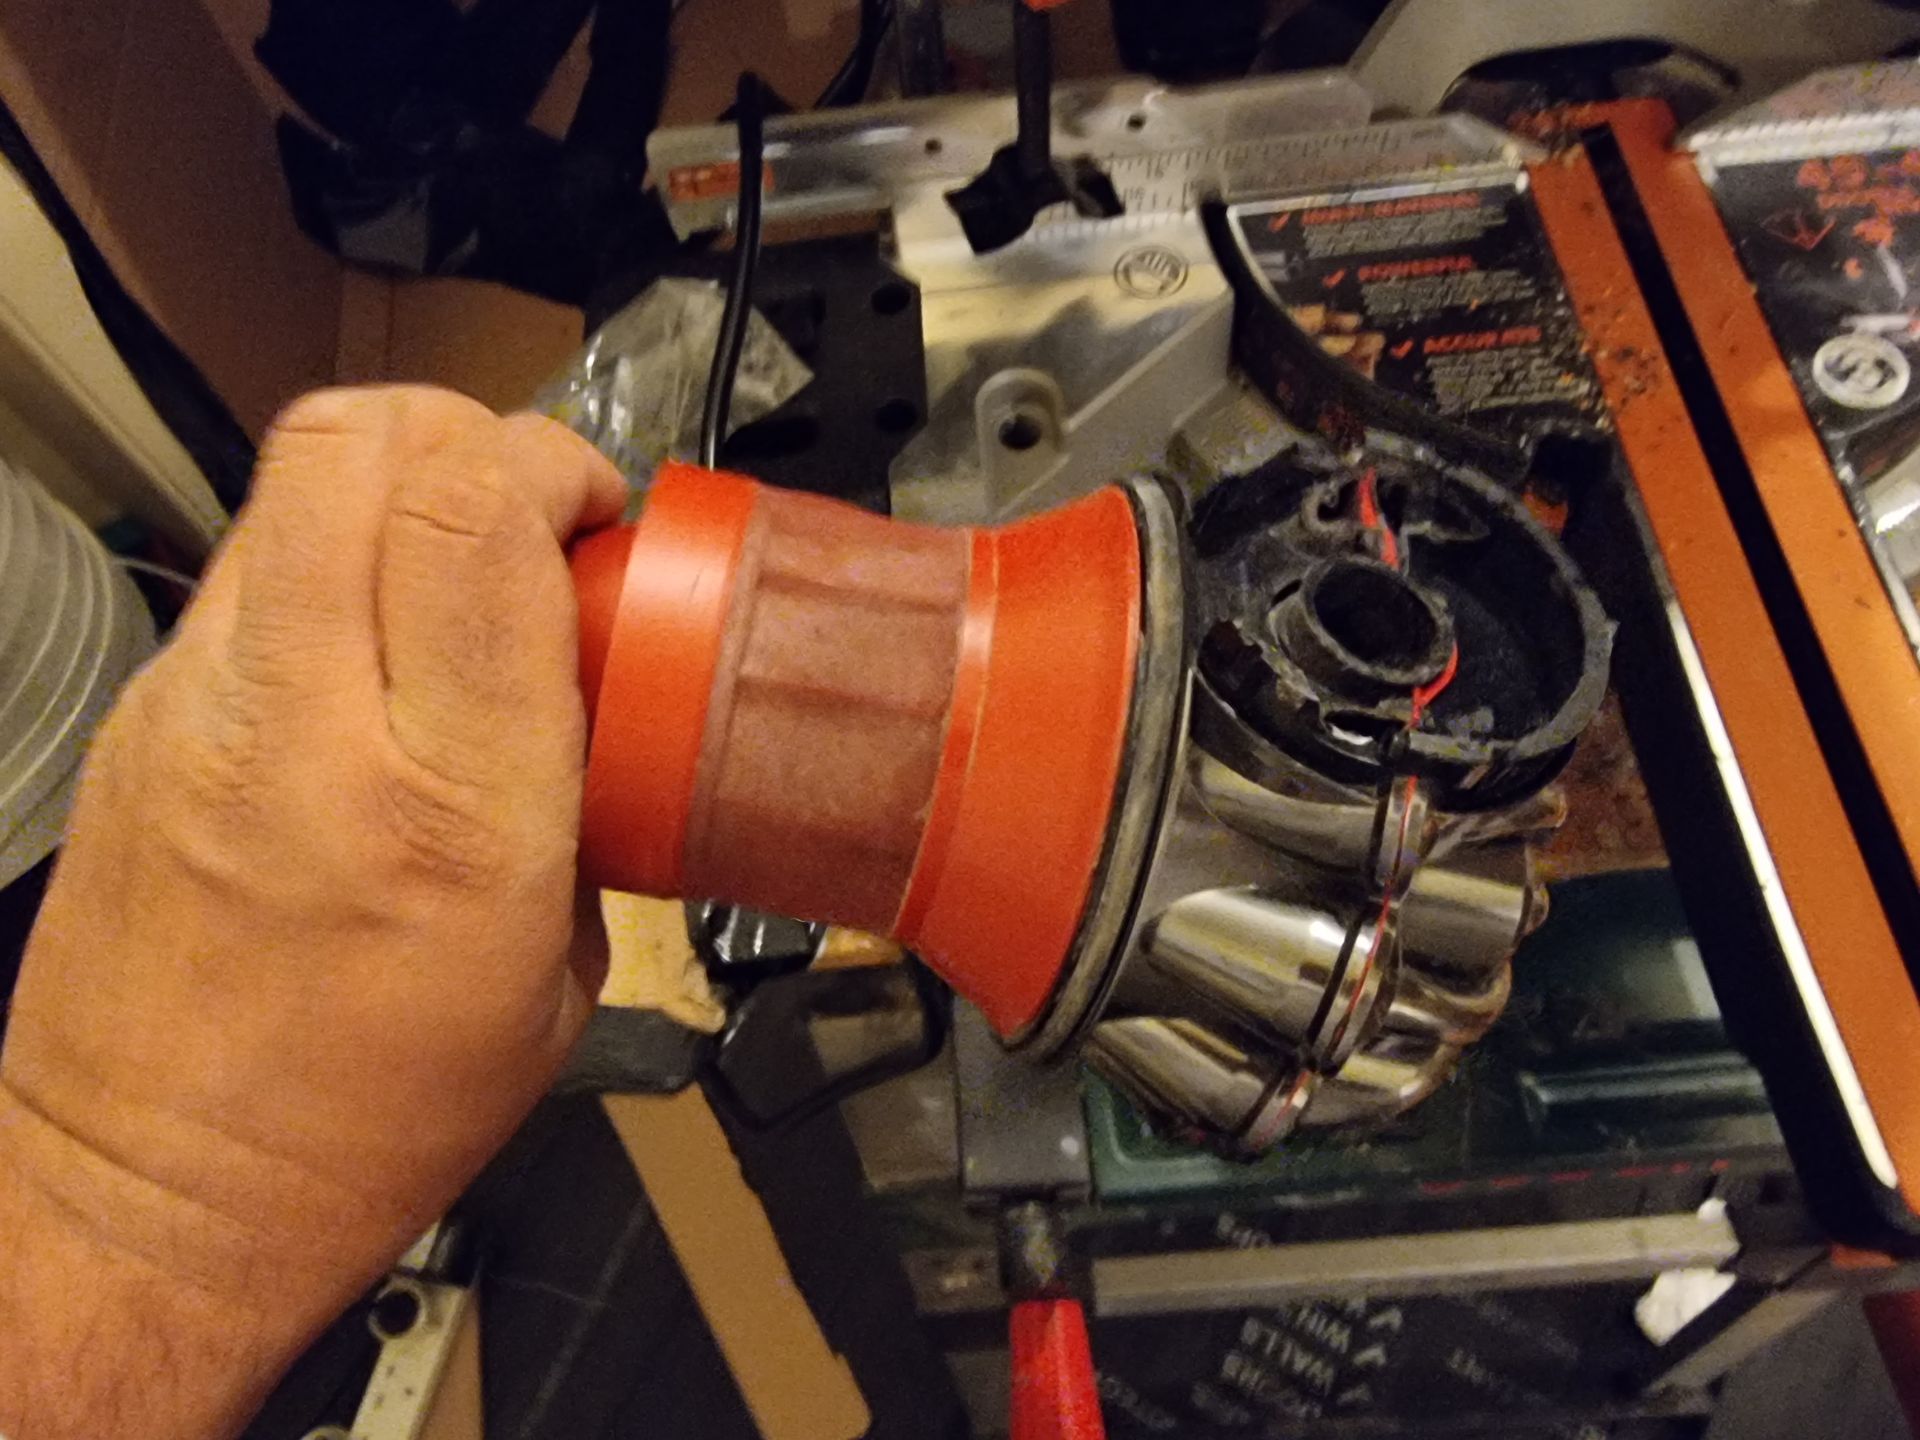
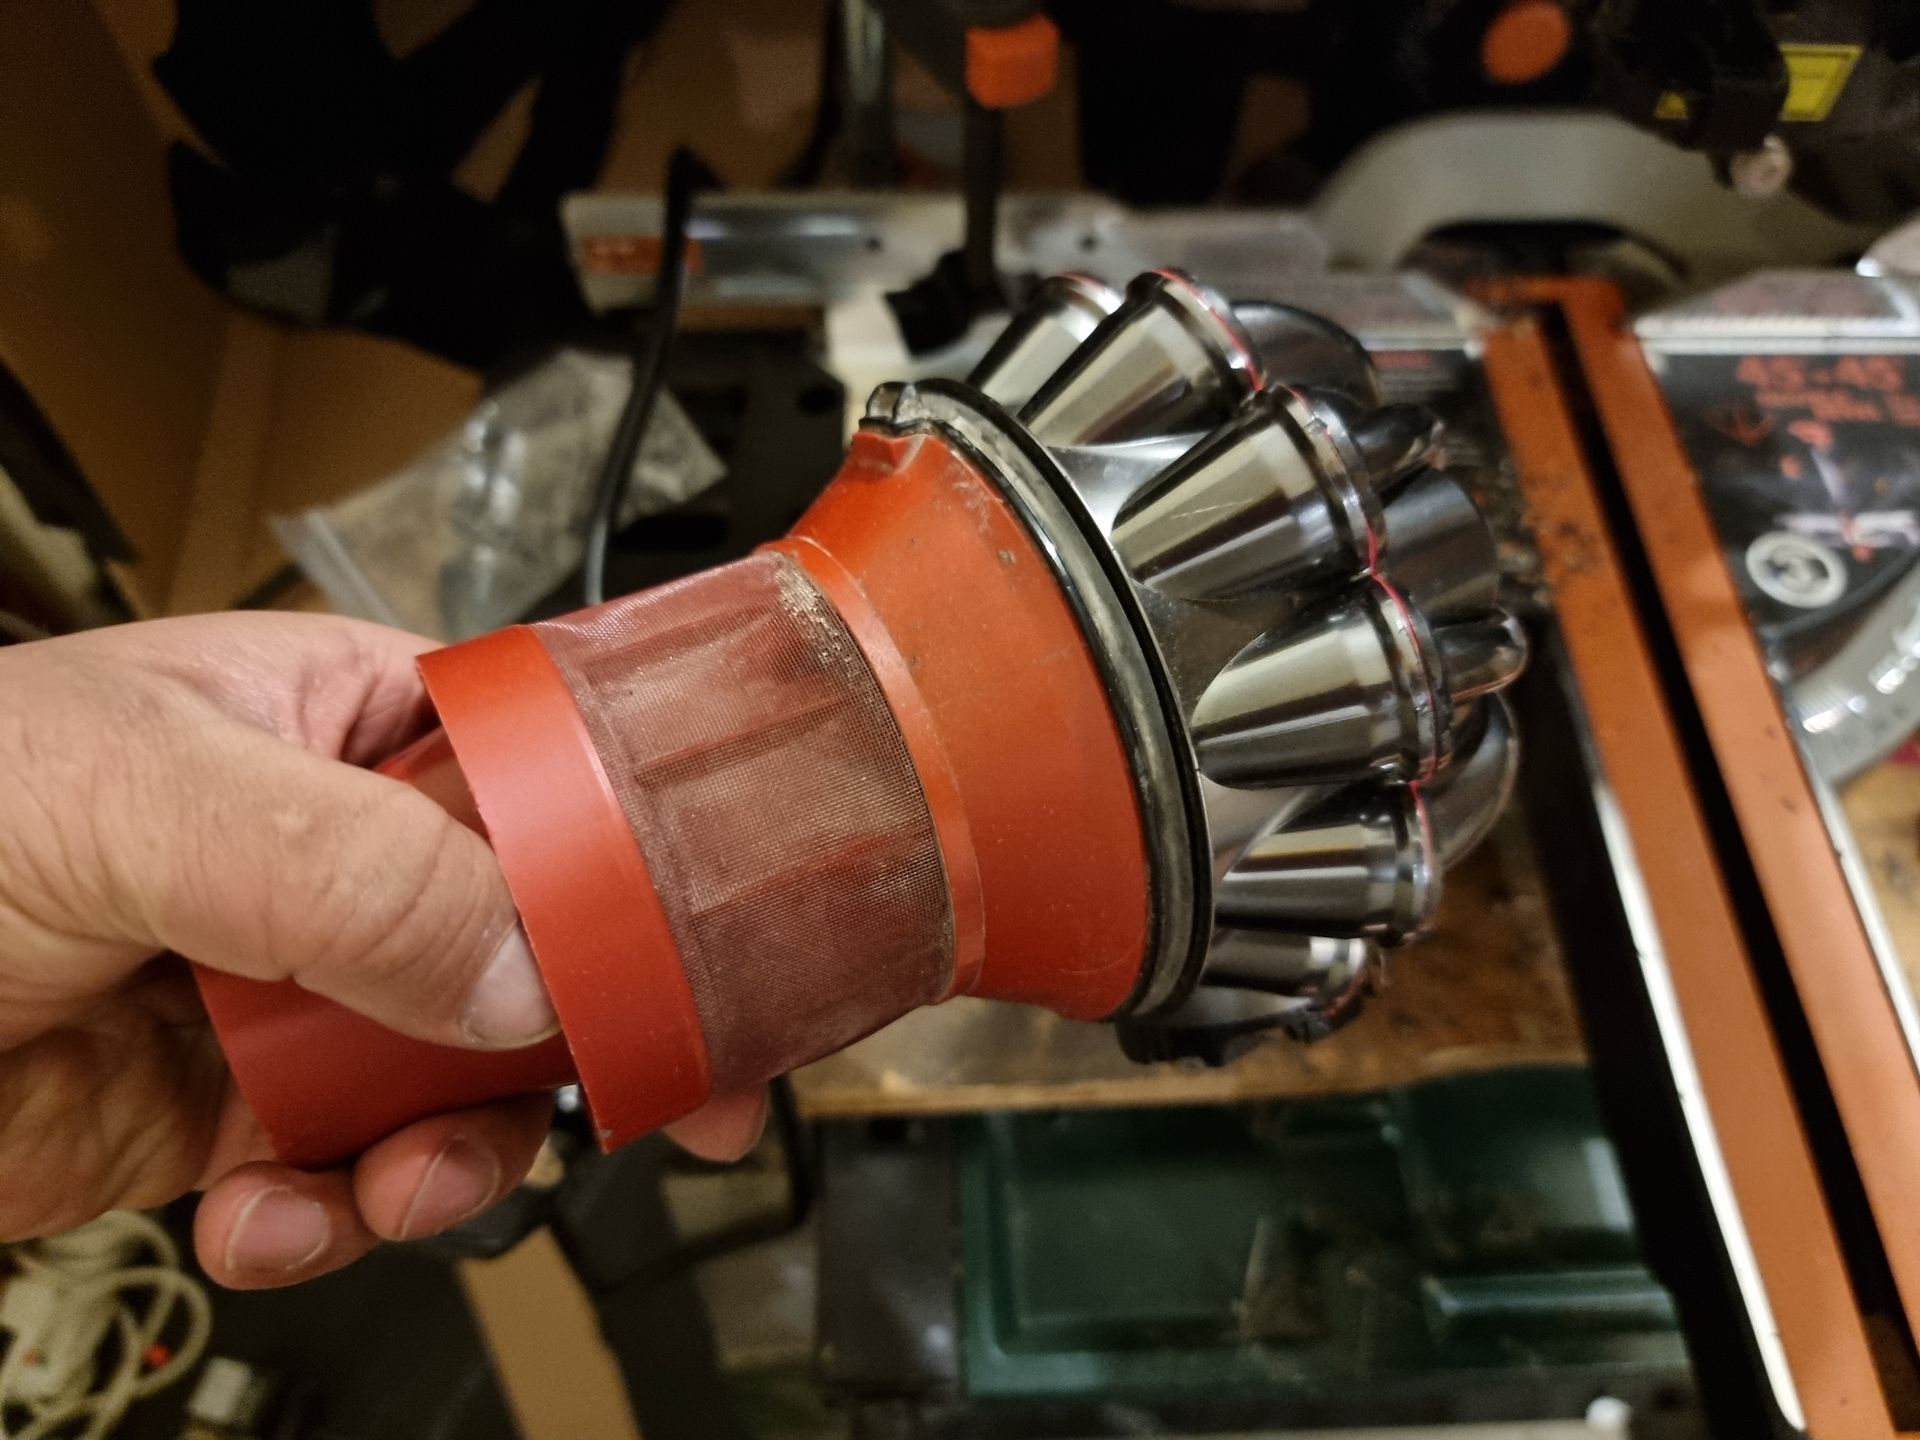
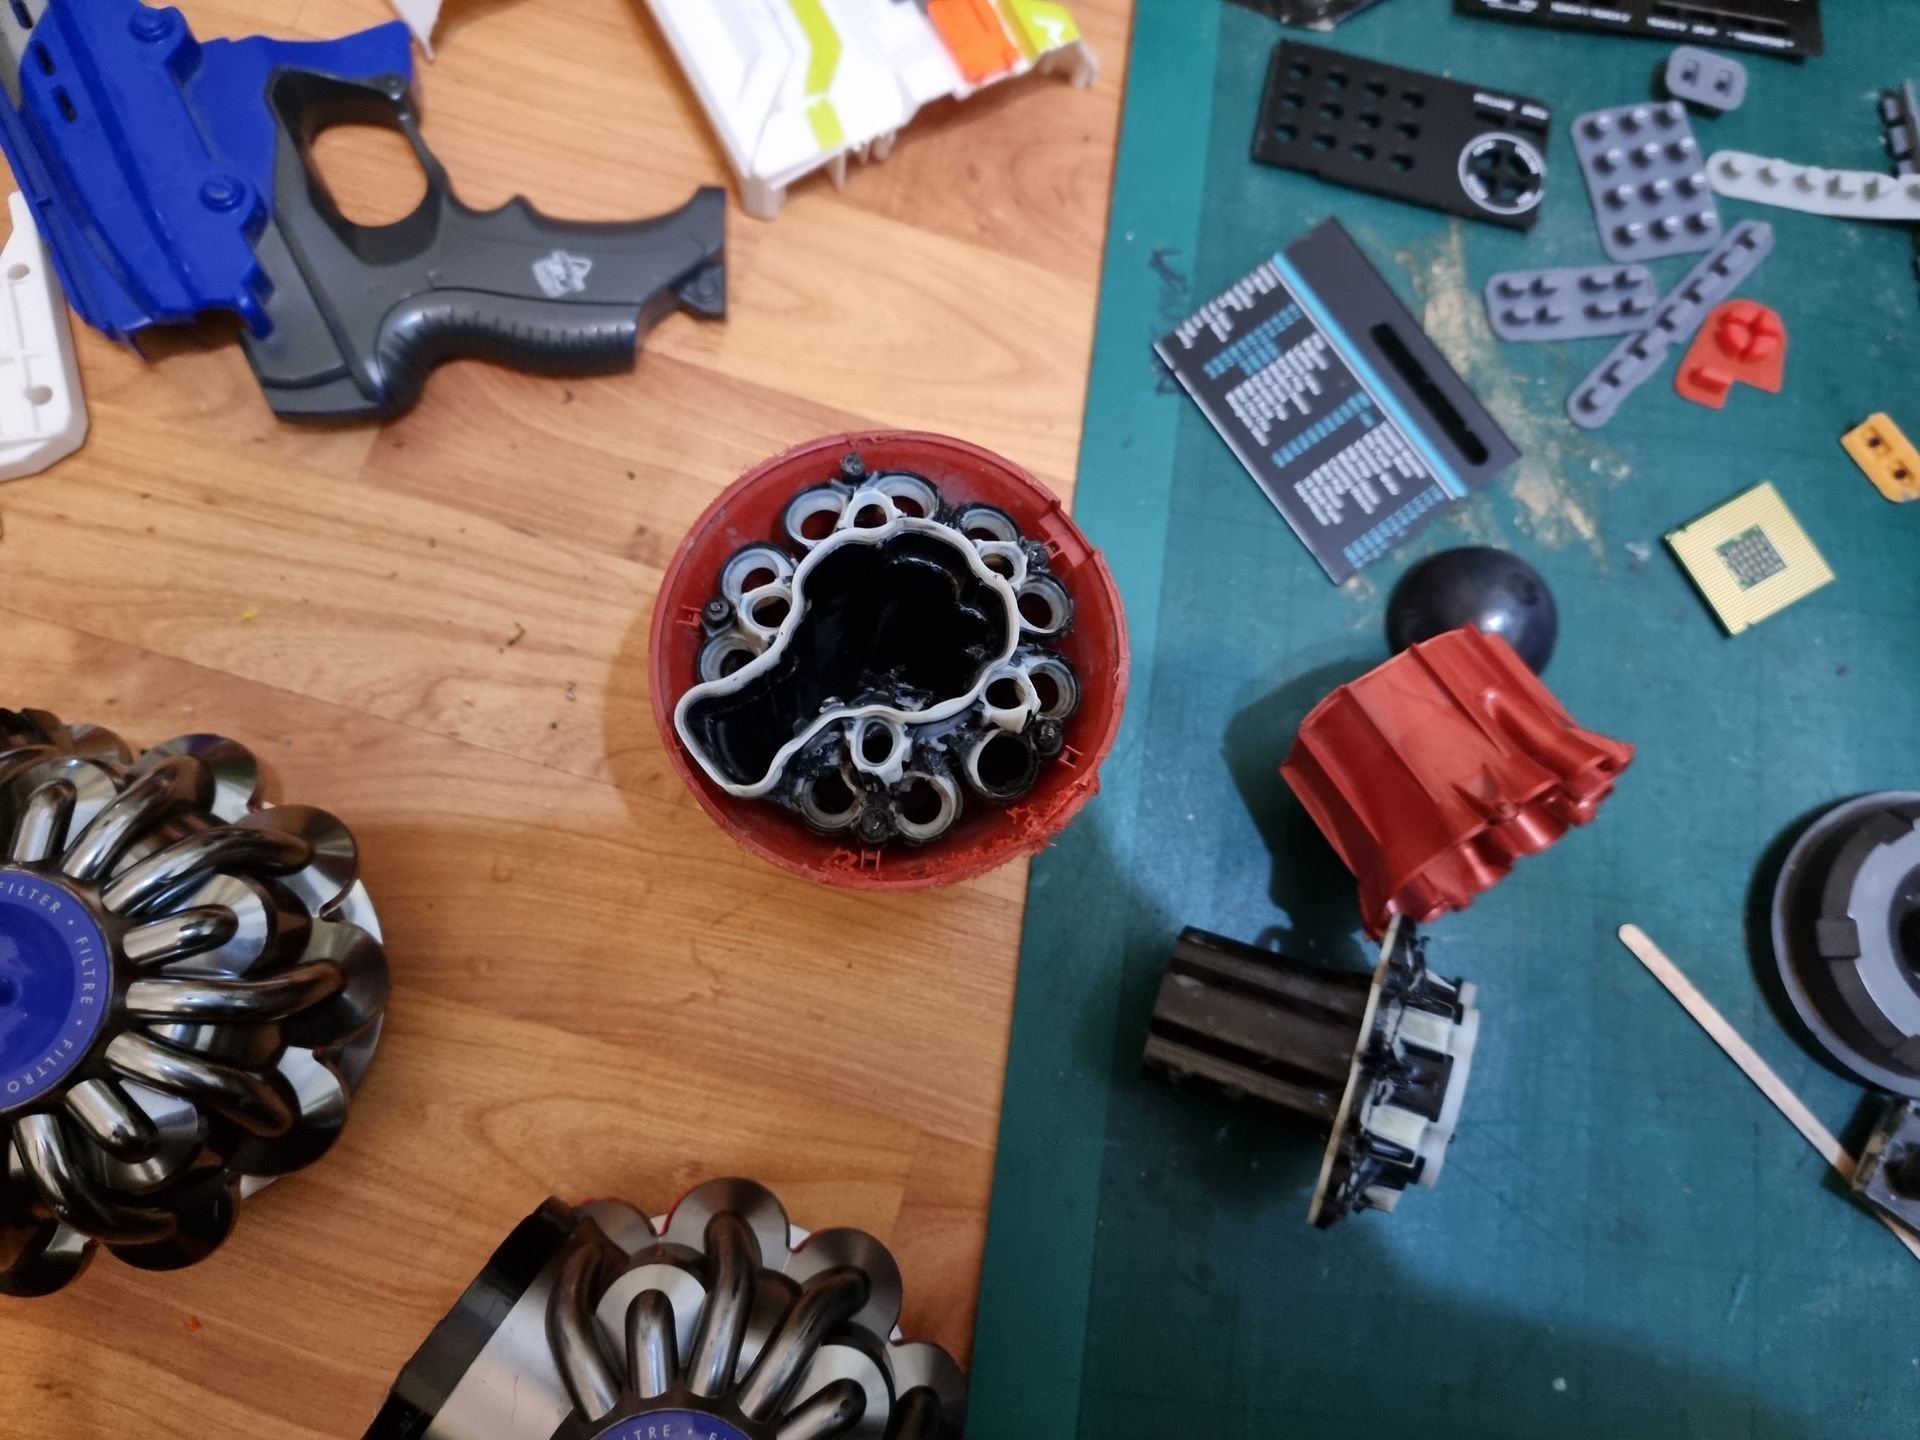
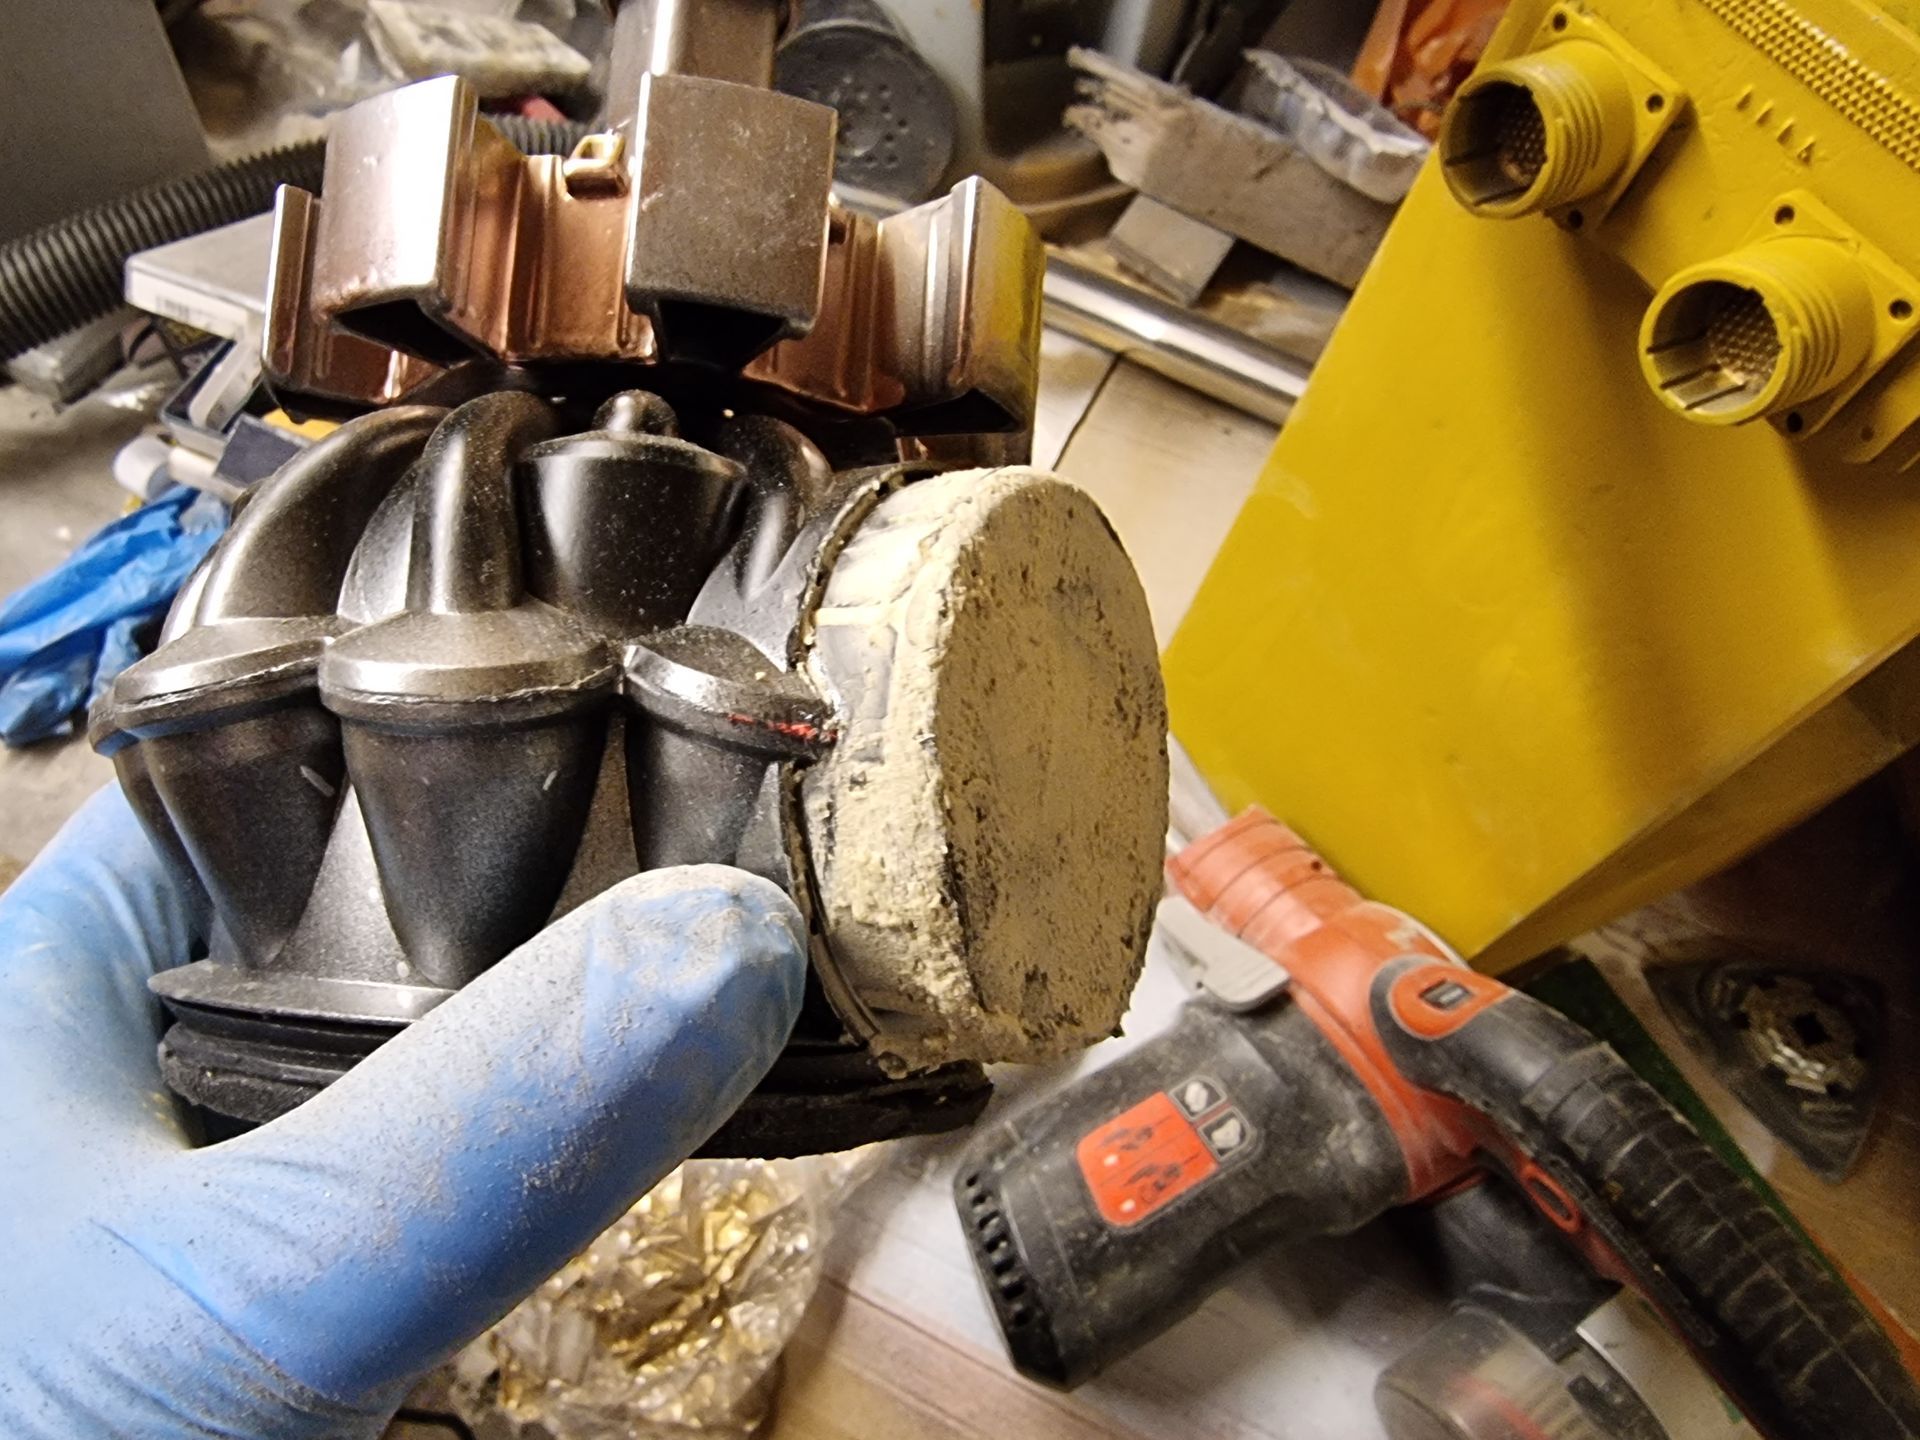
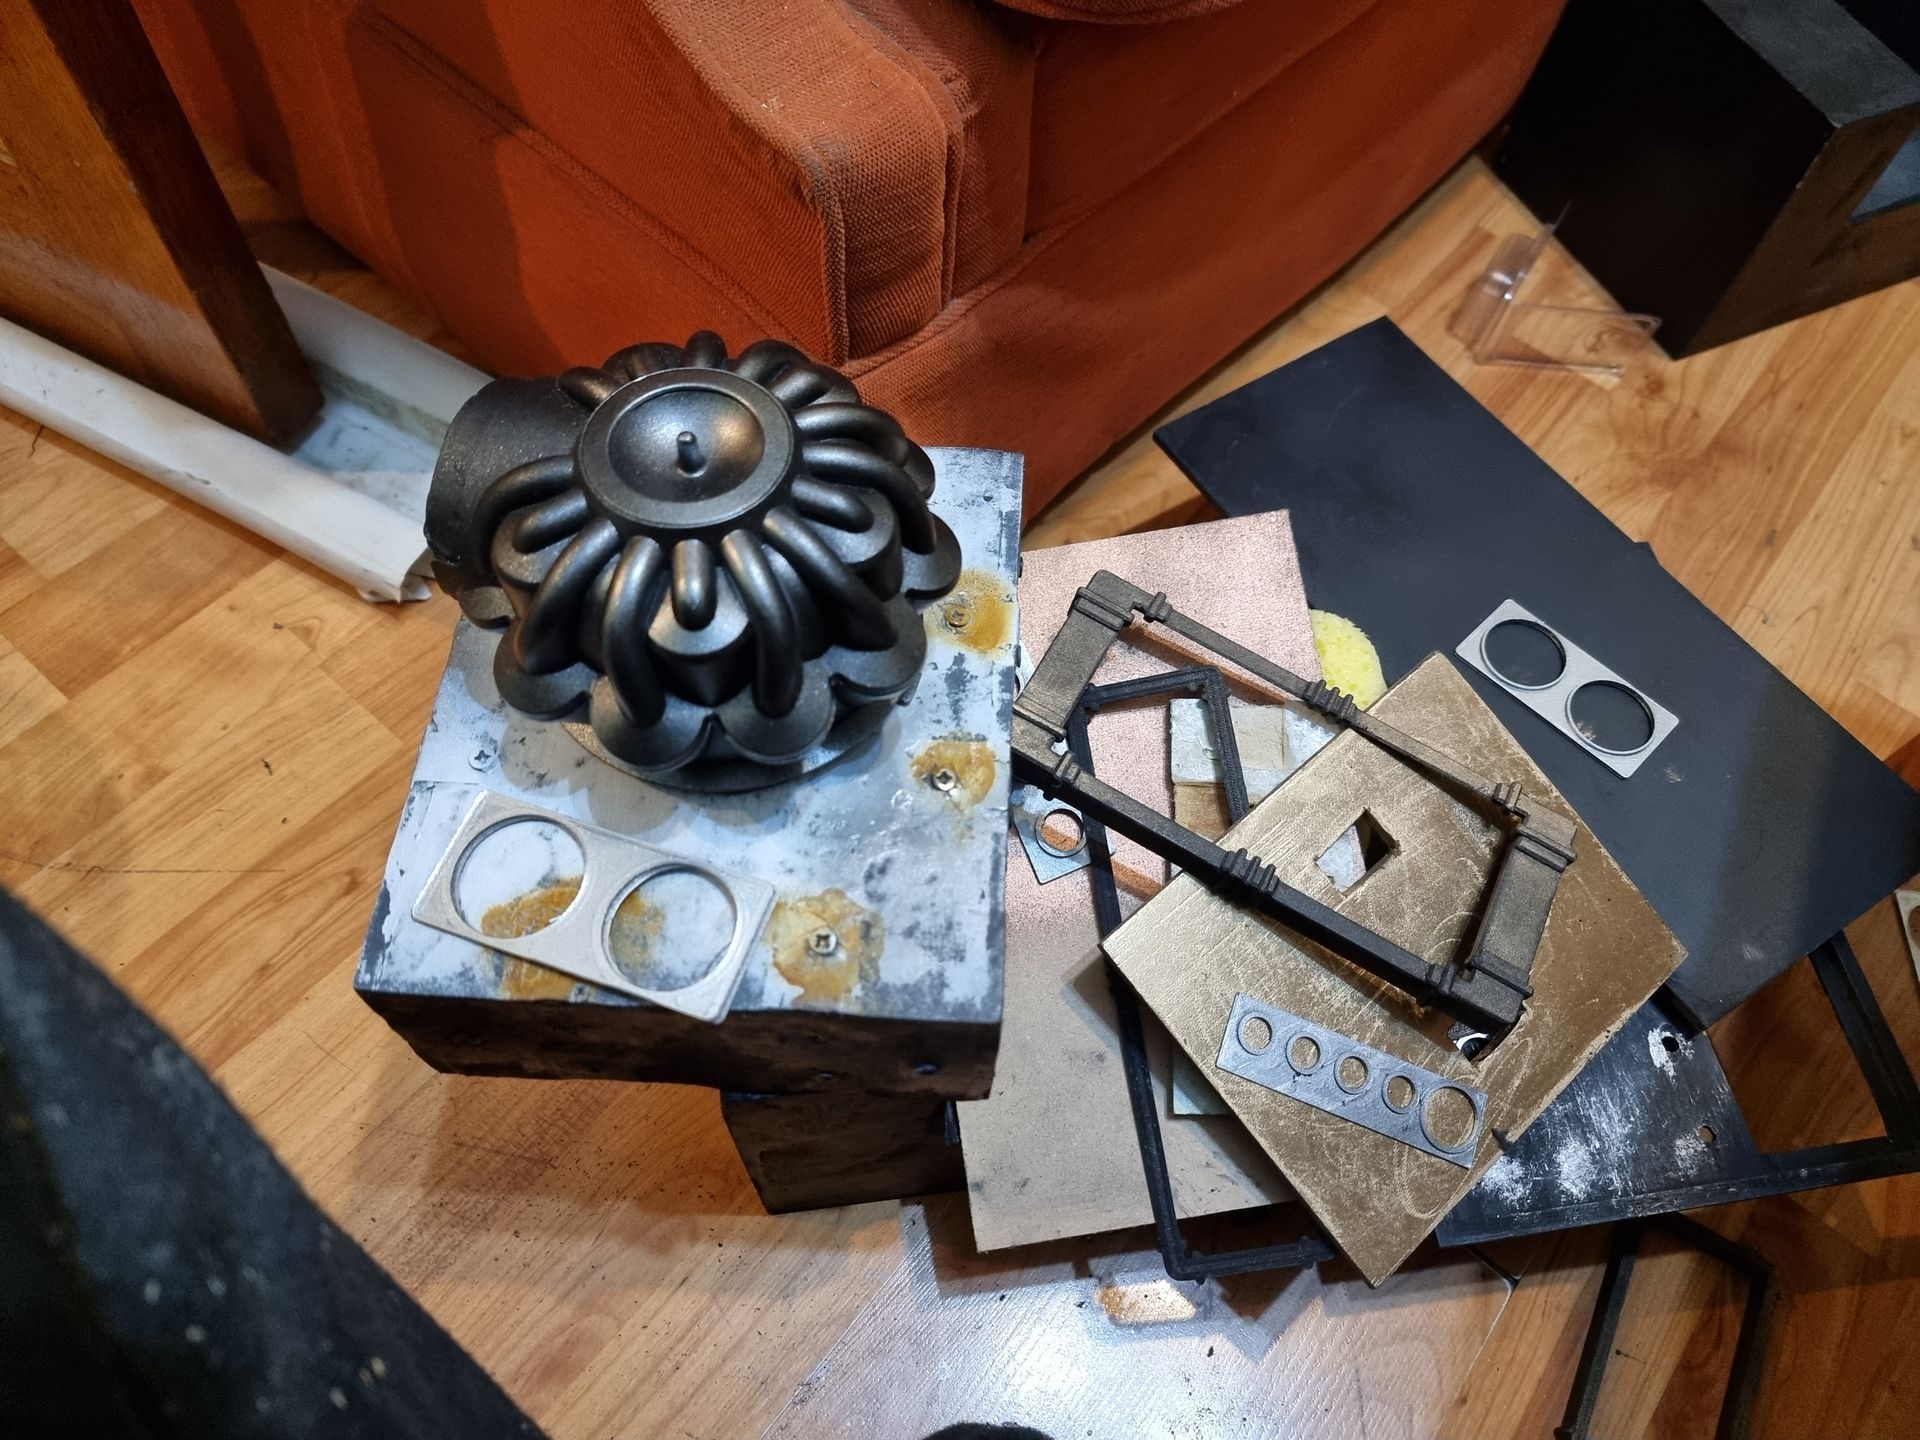
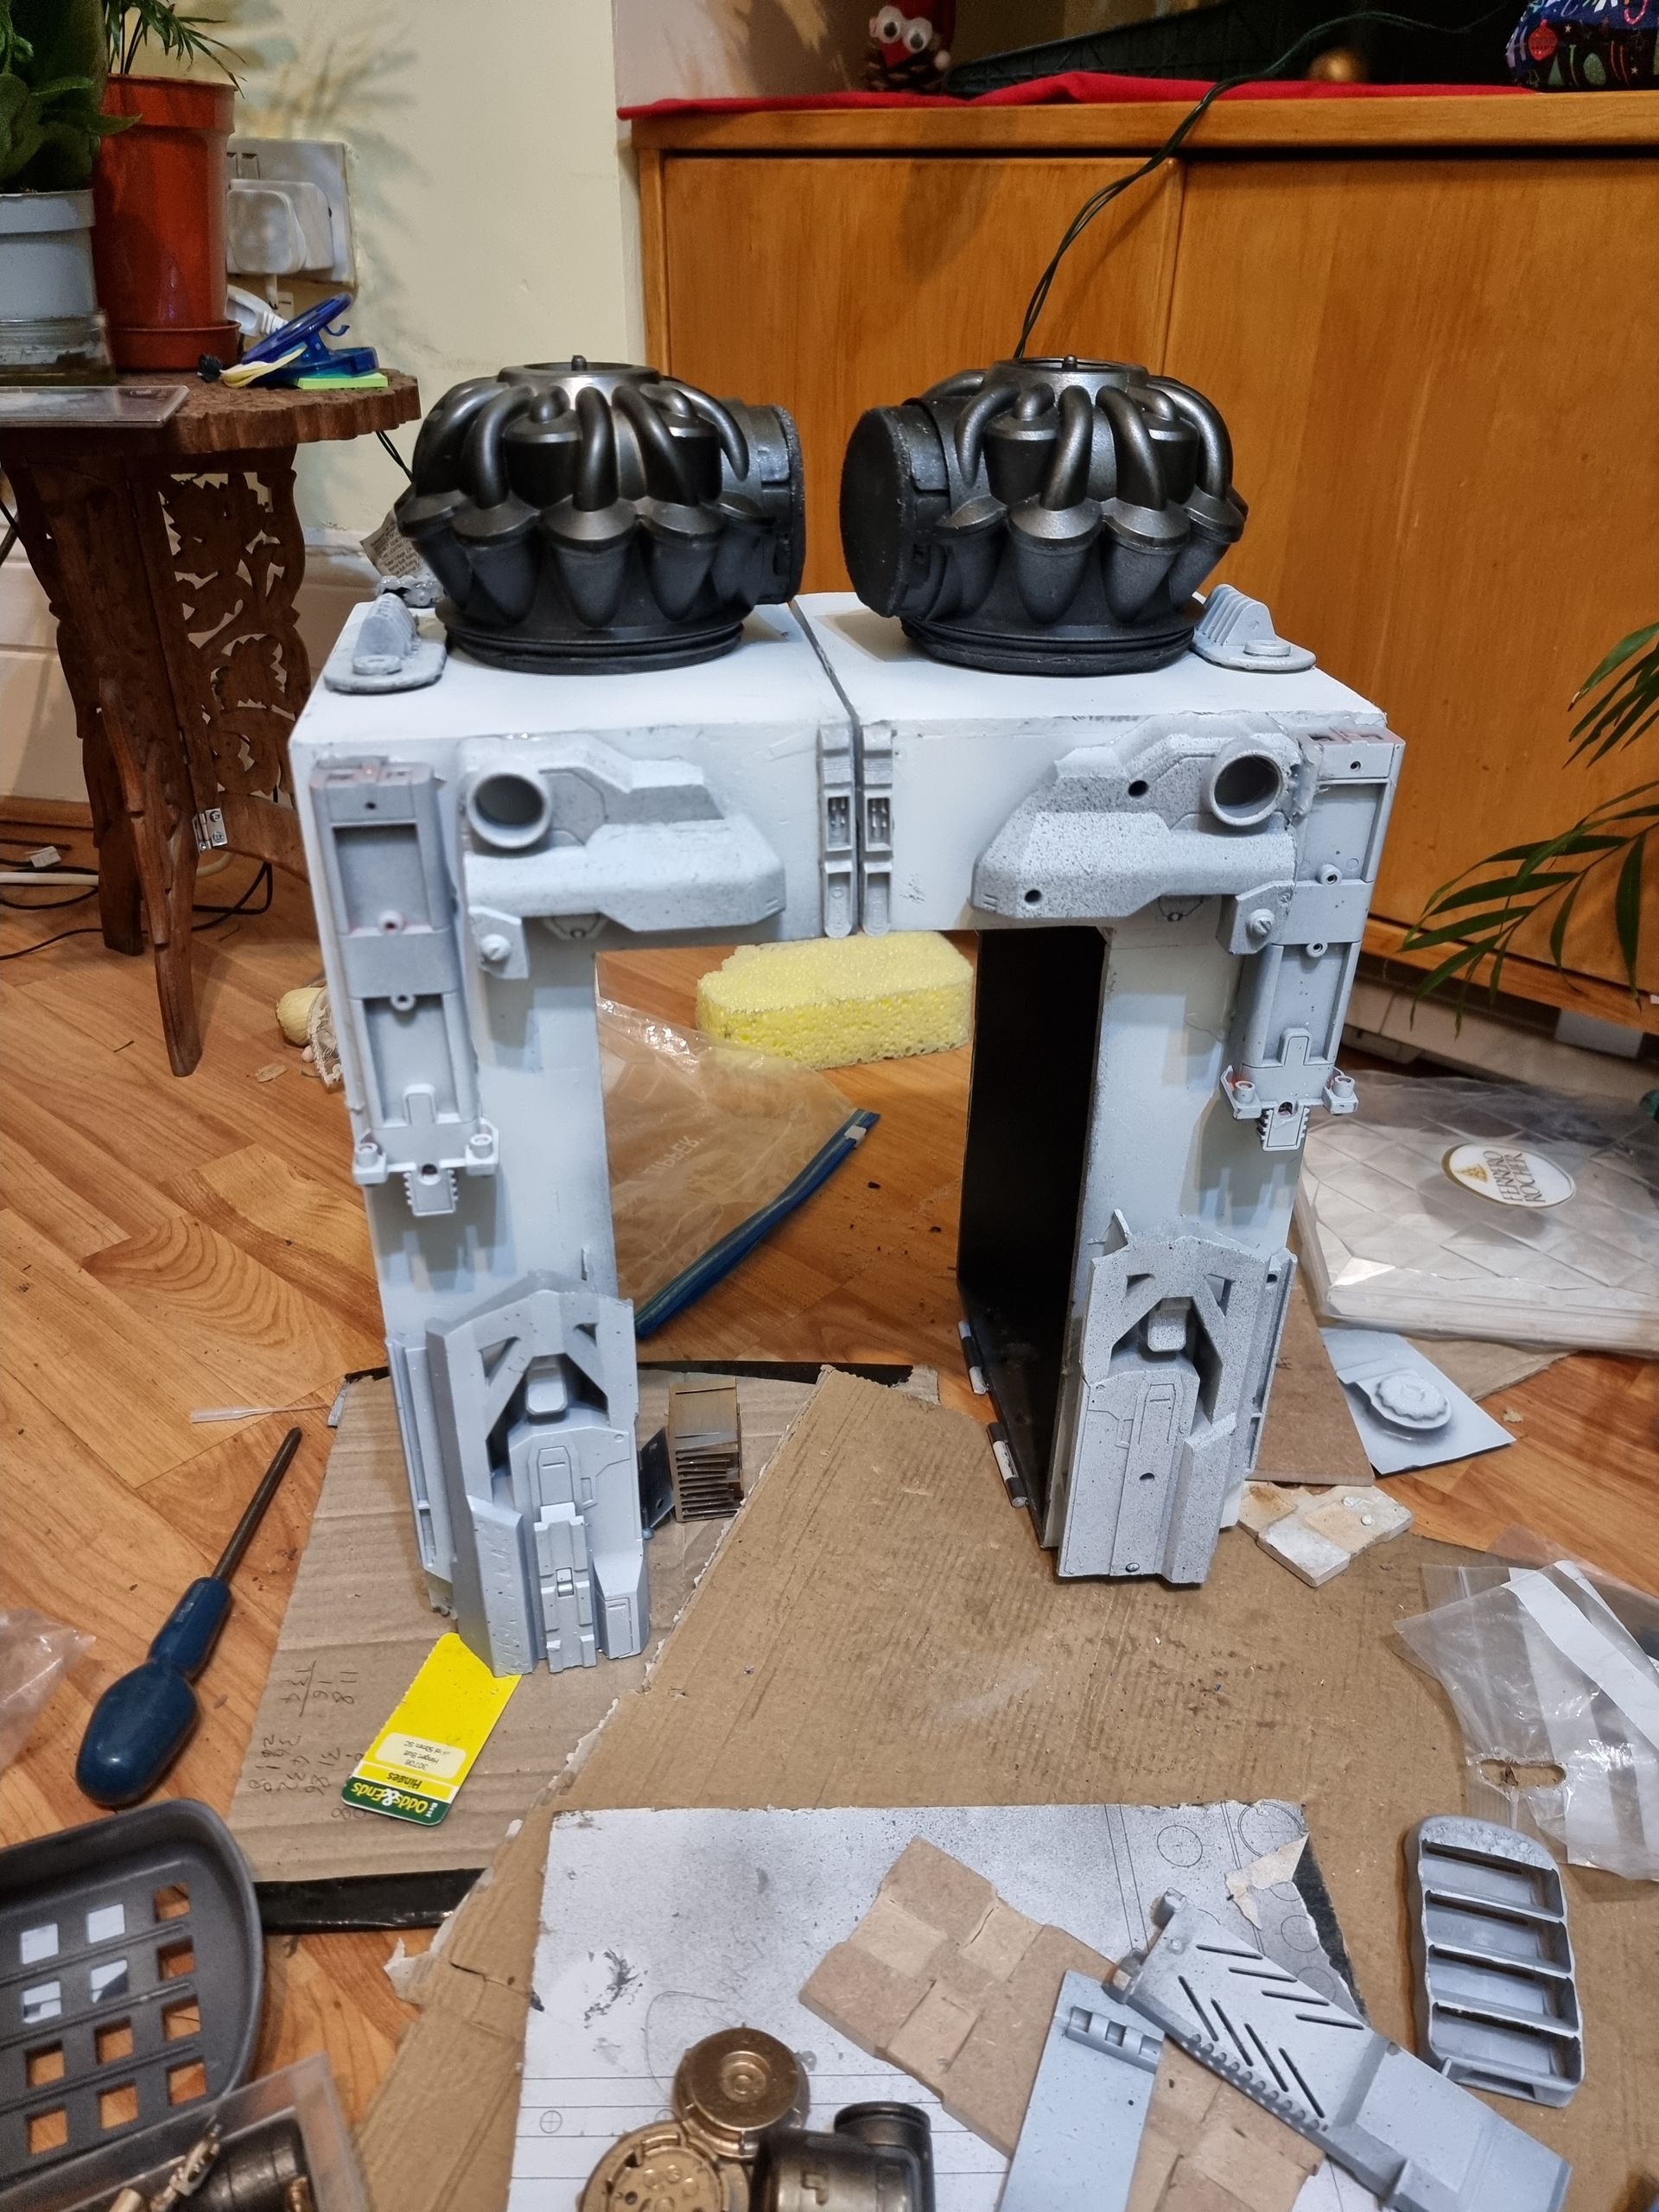
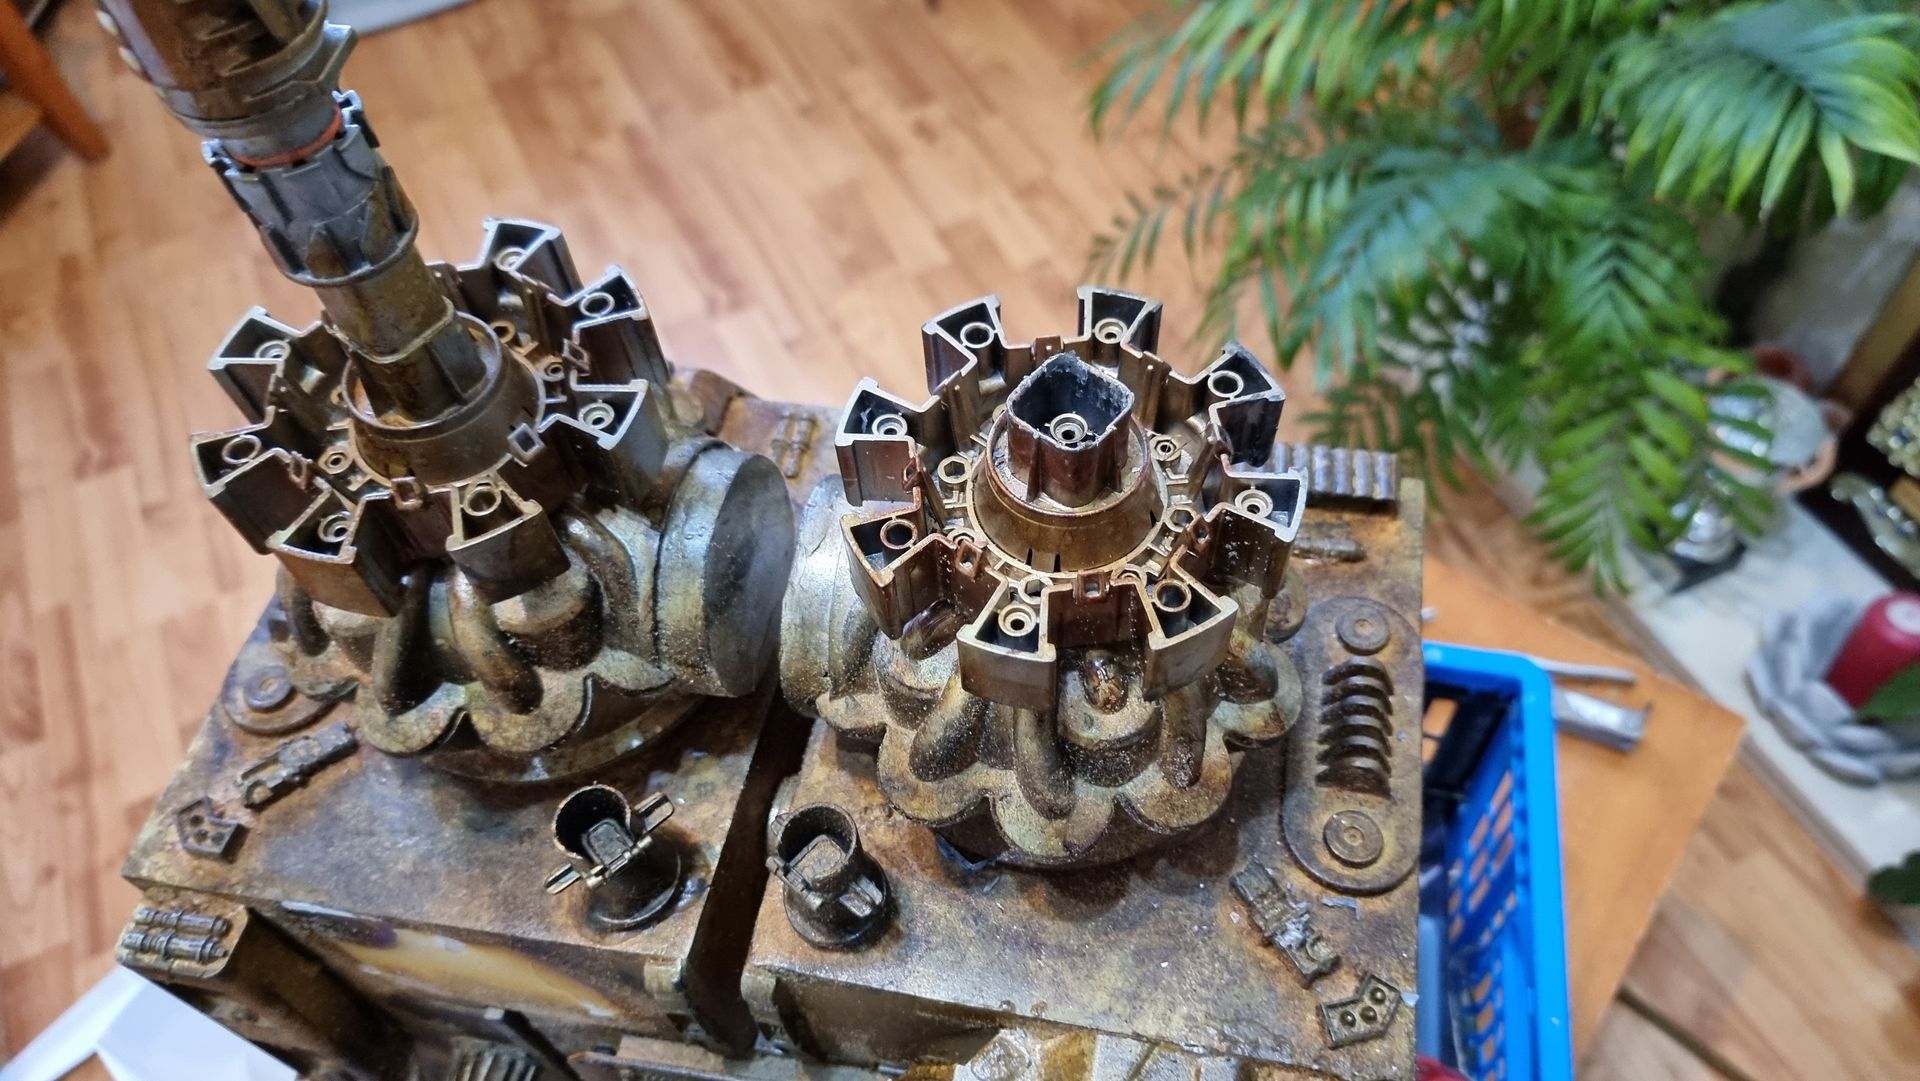
The base was a pair of defective Dyson vacuum cyclone generators from hand vacuums, purchased from Ebay as ‘Spares or Repairs ‘ like the Nerf Gun Job Lots.
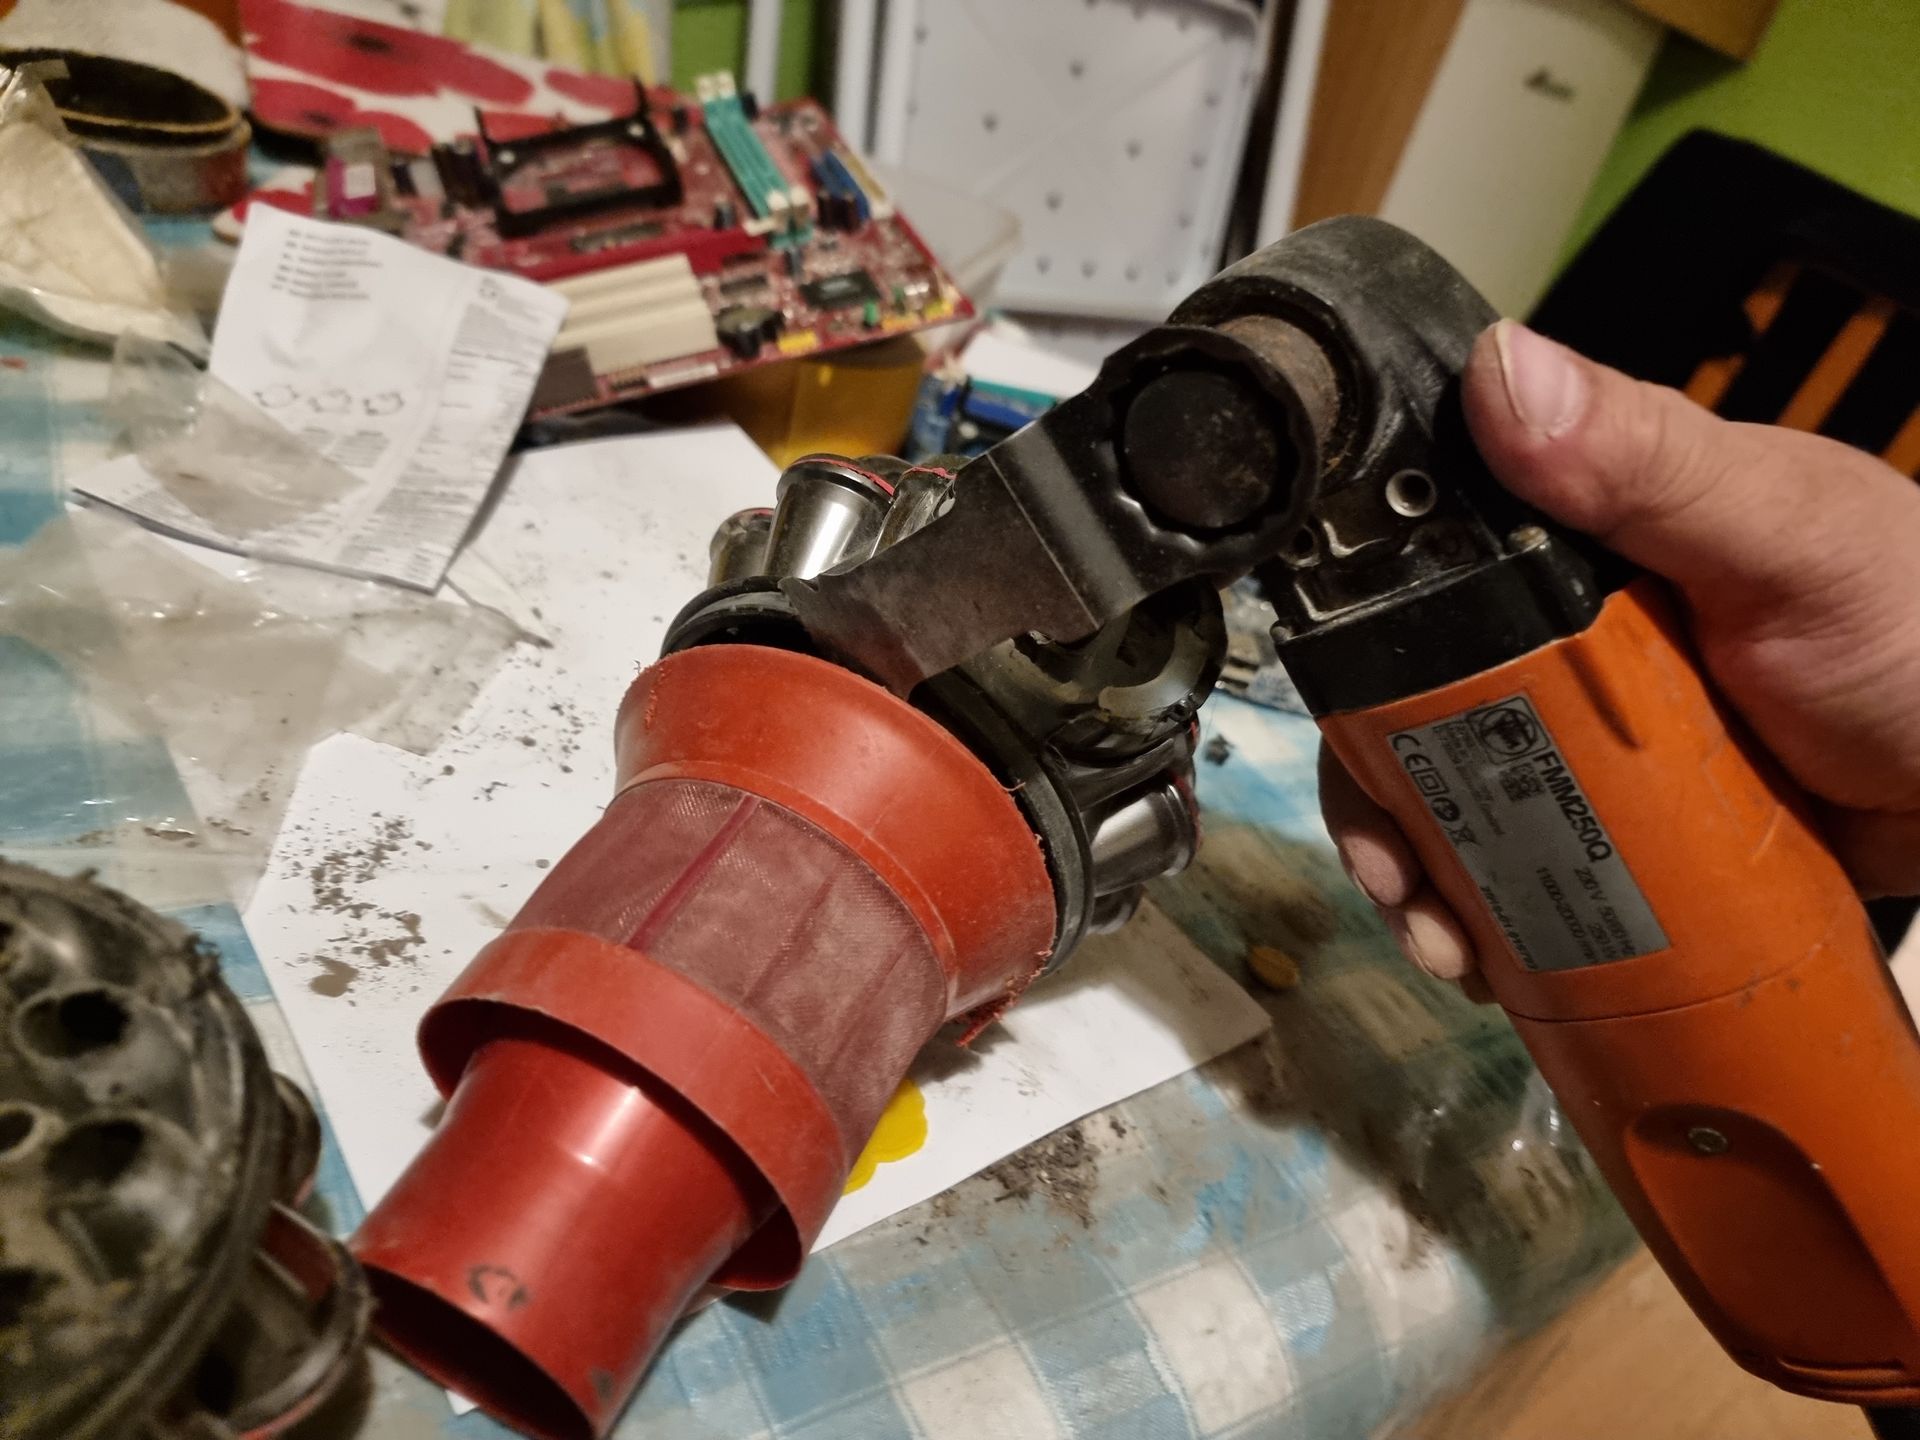
The were pulled from the engines and also, I used the Finn Multi-master as a plunge saw.
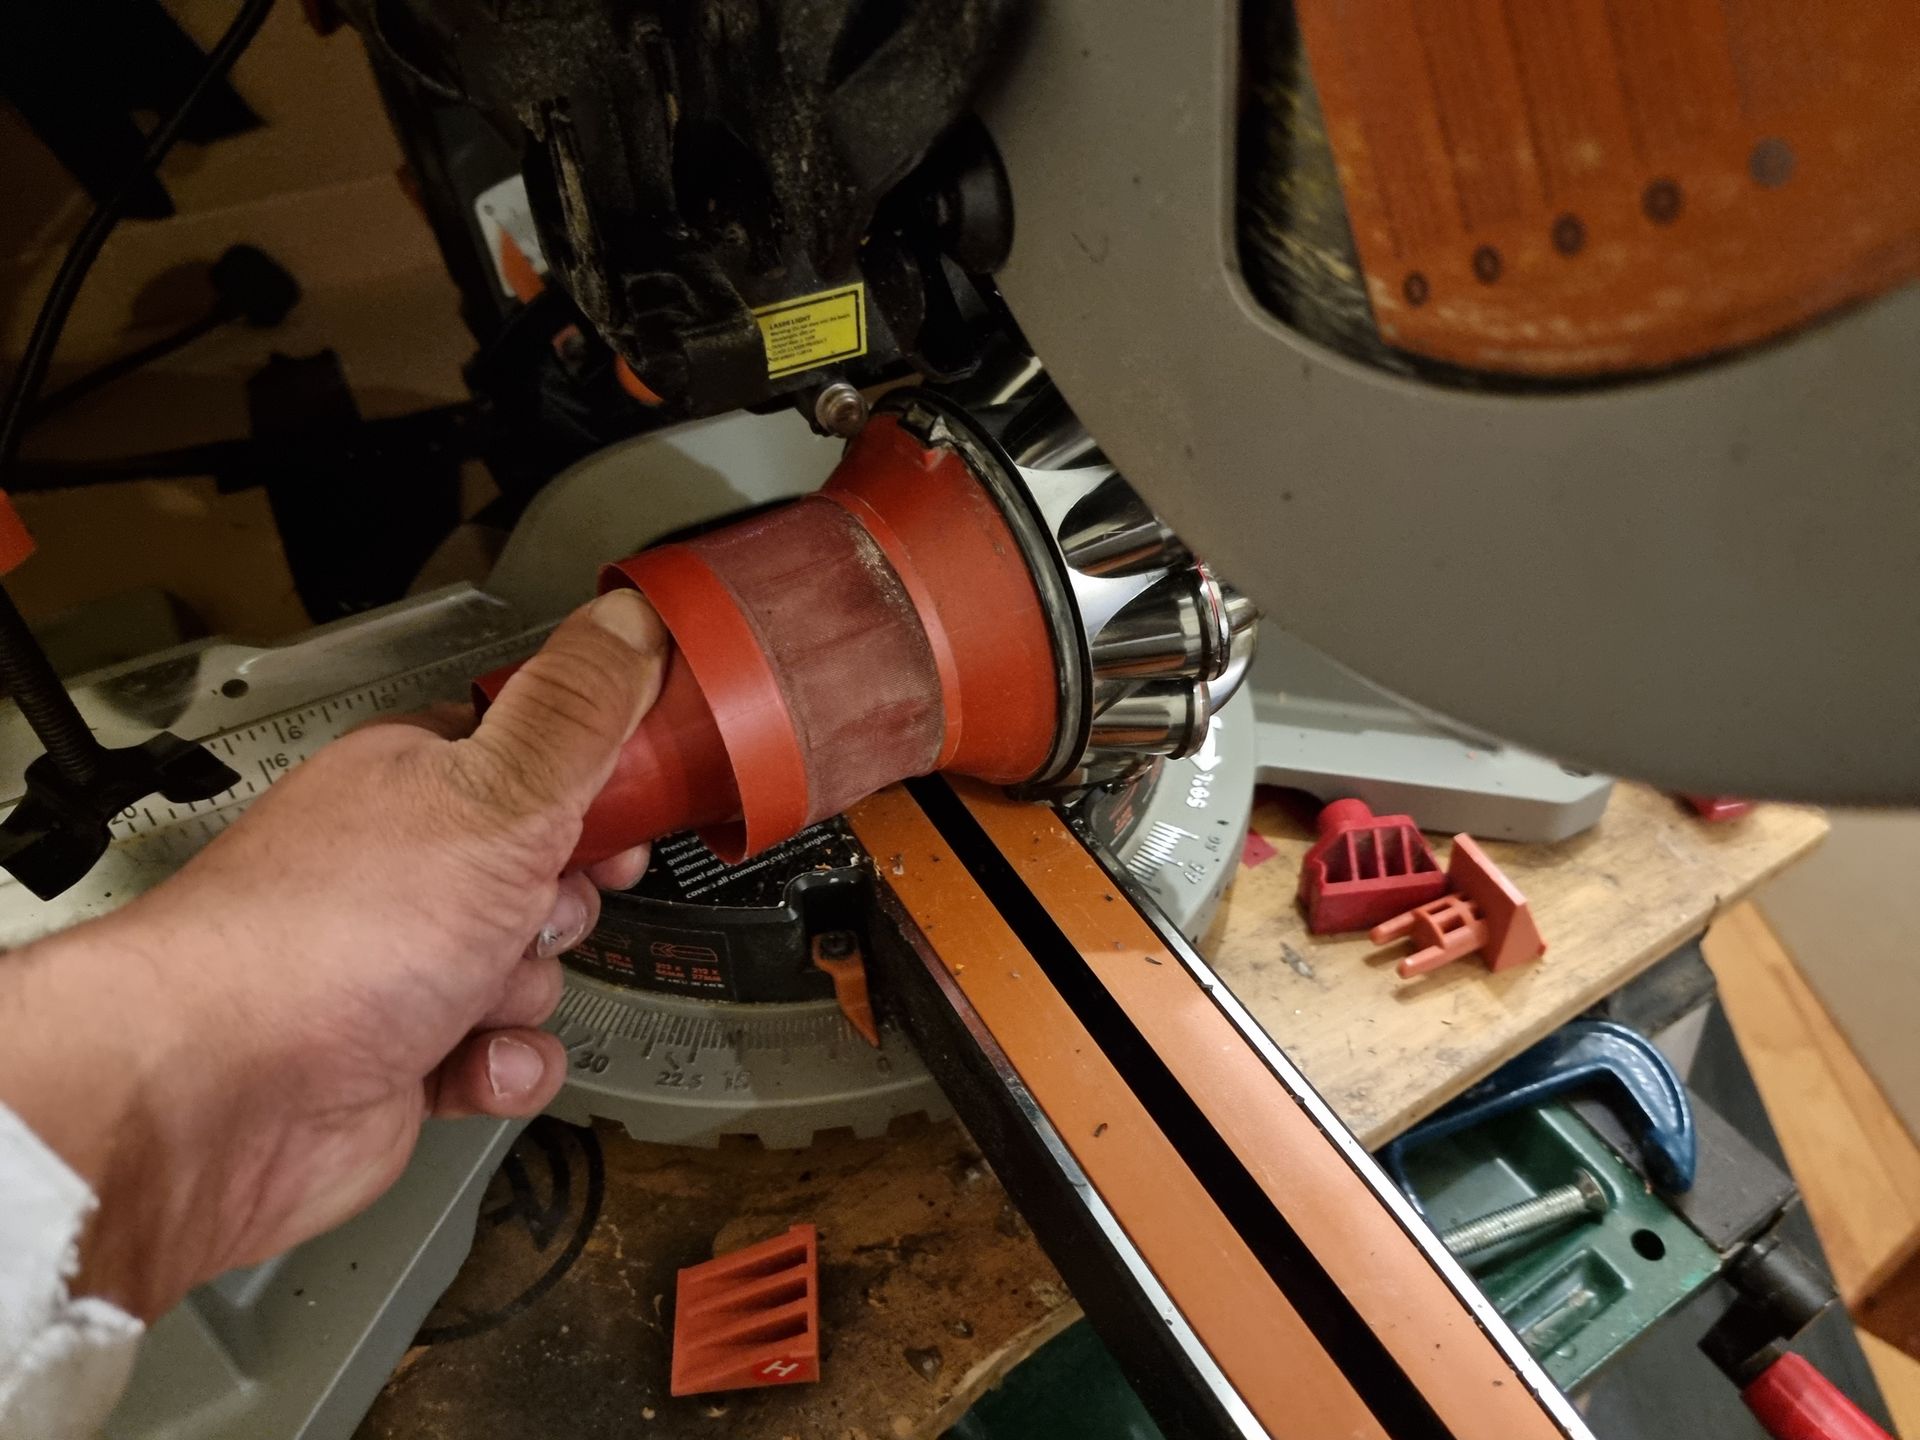
Once separated I started to try and cut the cyclone tops with my mitre saw, but there was no safe and practical way to hold them whilst cutting.
My hand was too close to the blade so it was too risky.
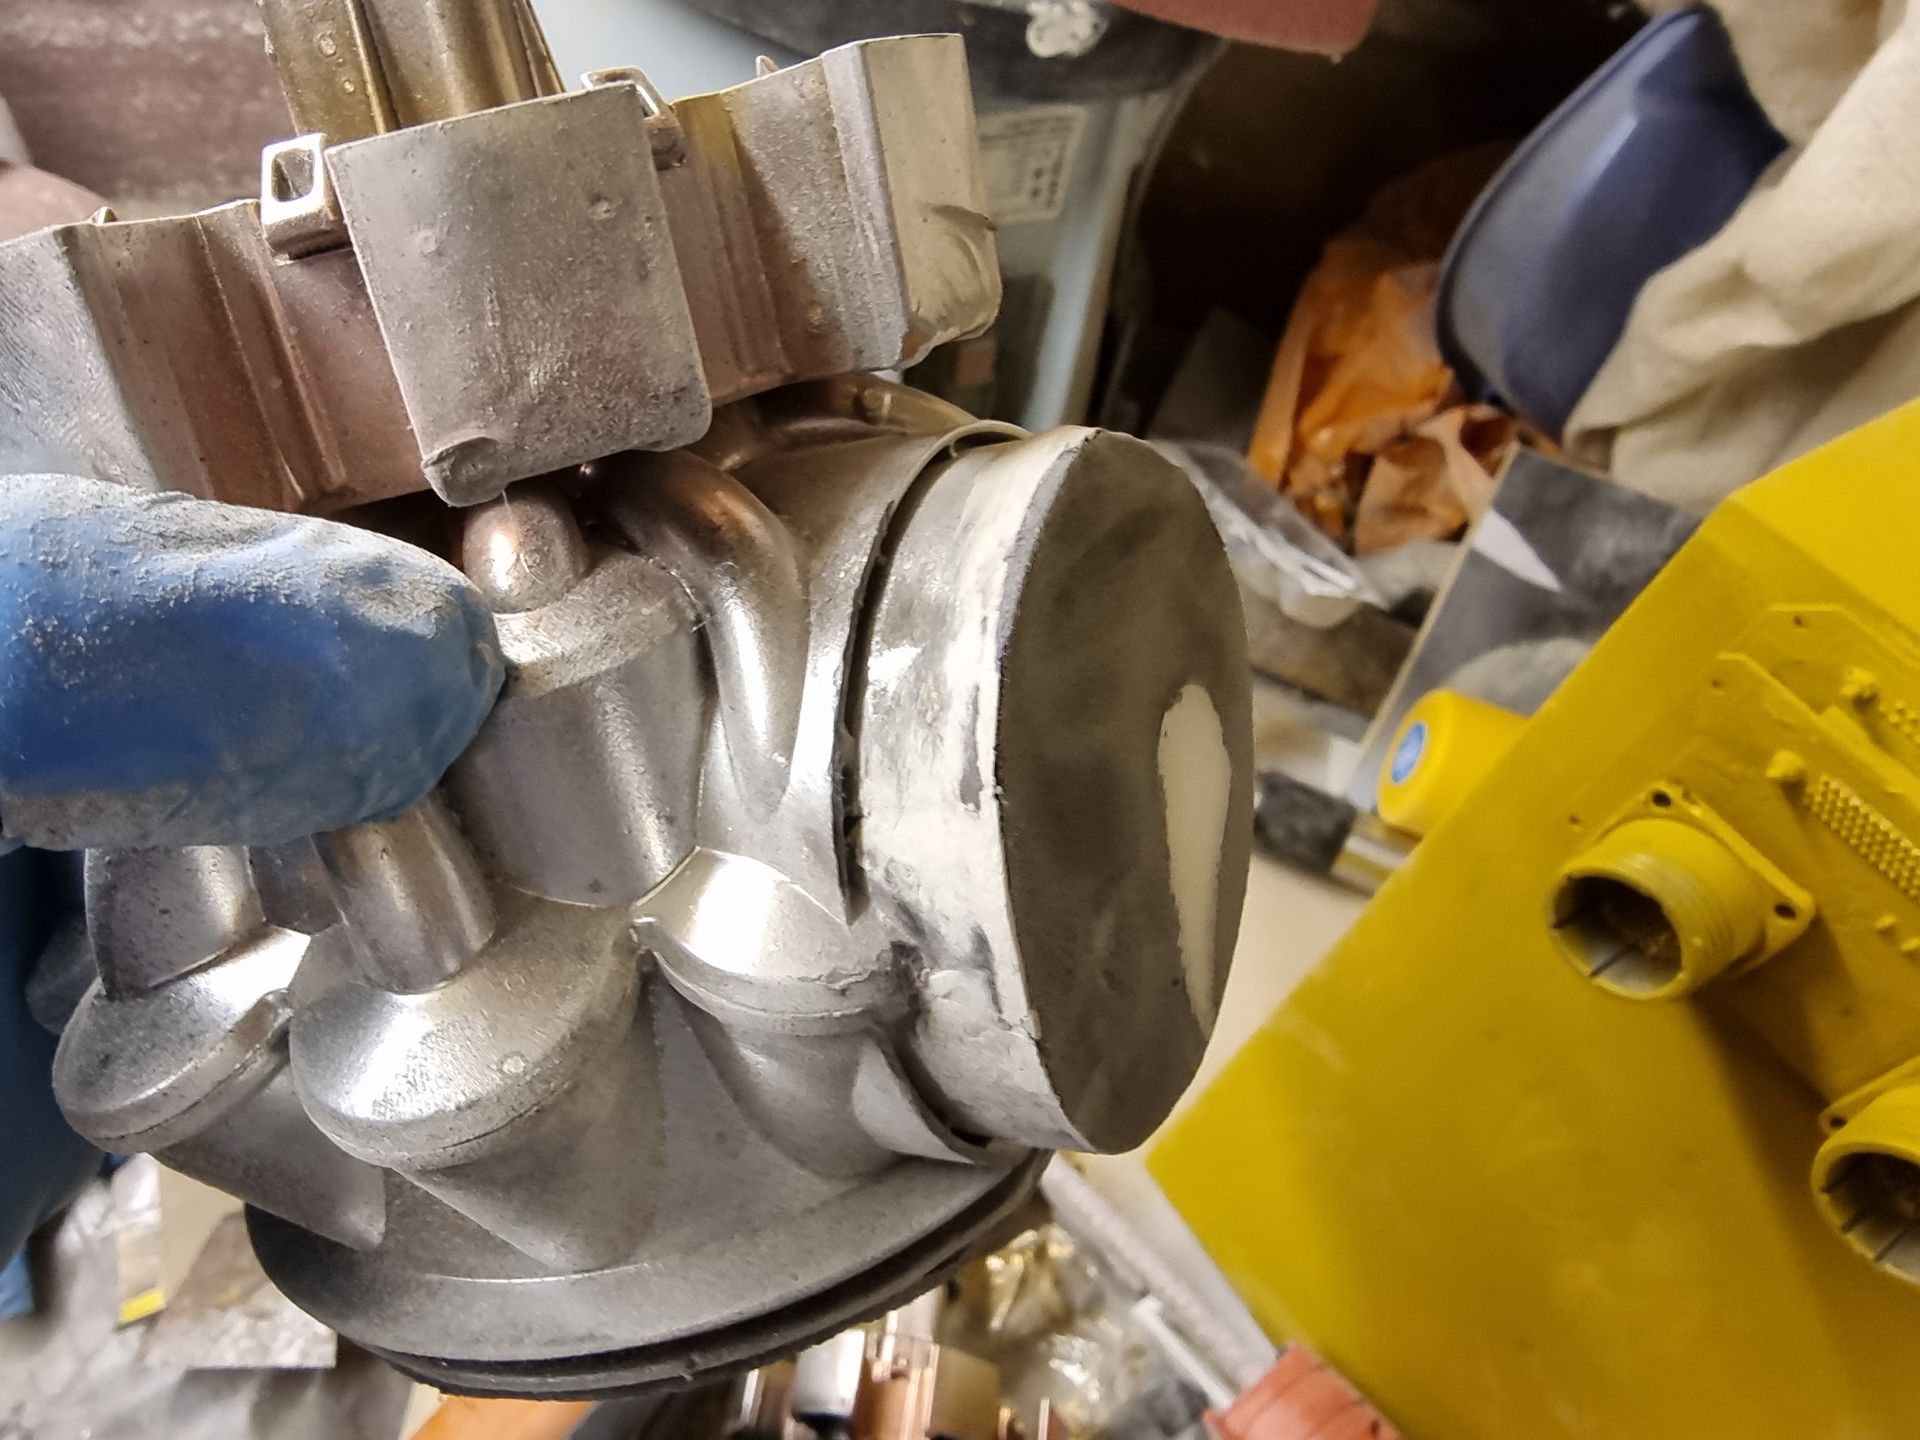
Thus I switched to using the Finn Multi-master plunge blades a section at a time and the circular blade to cut the silver top cyclone generators free.
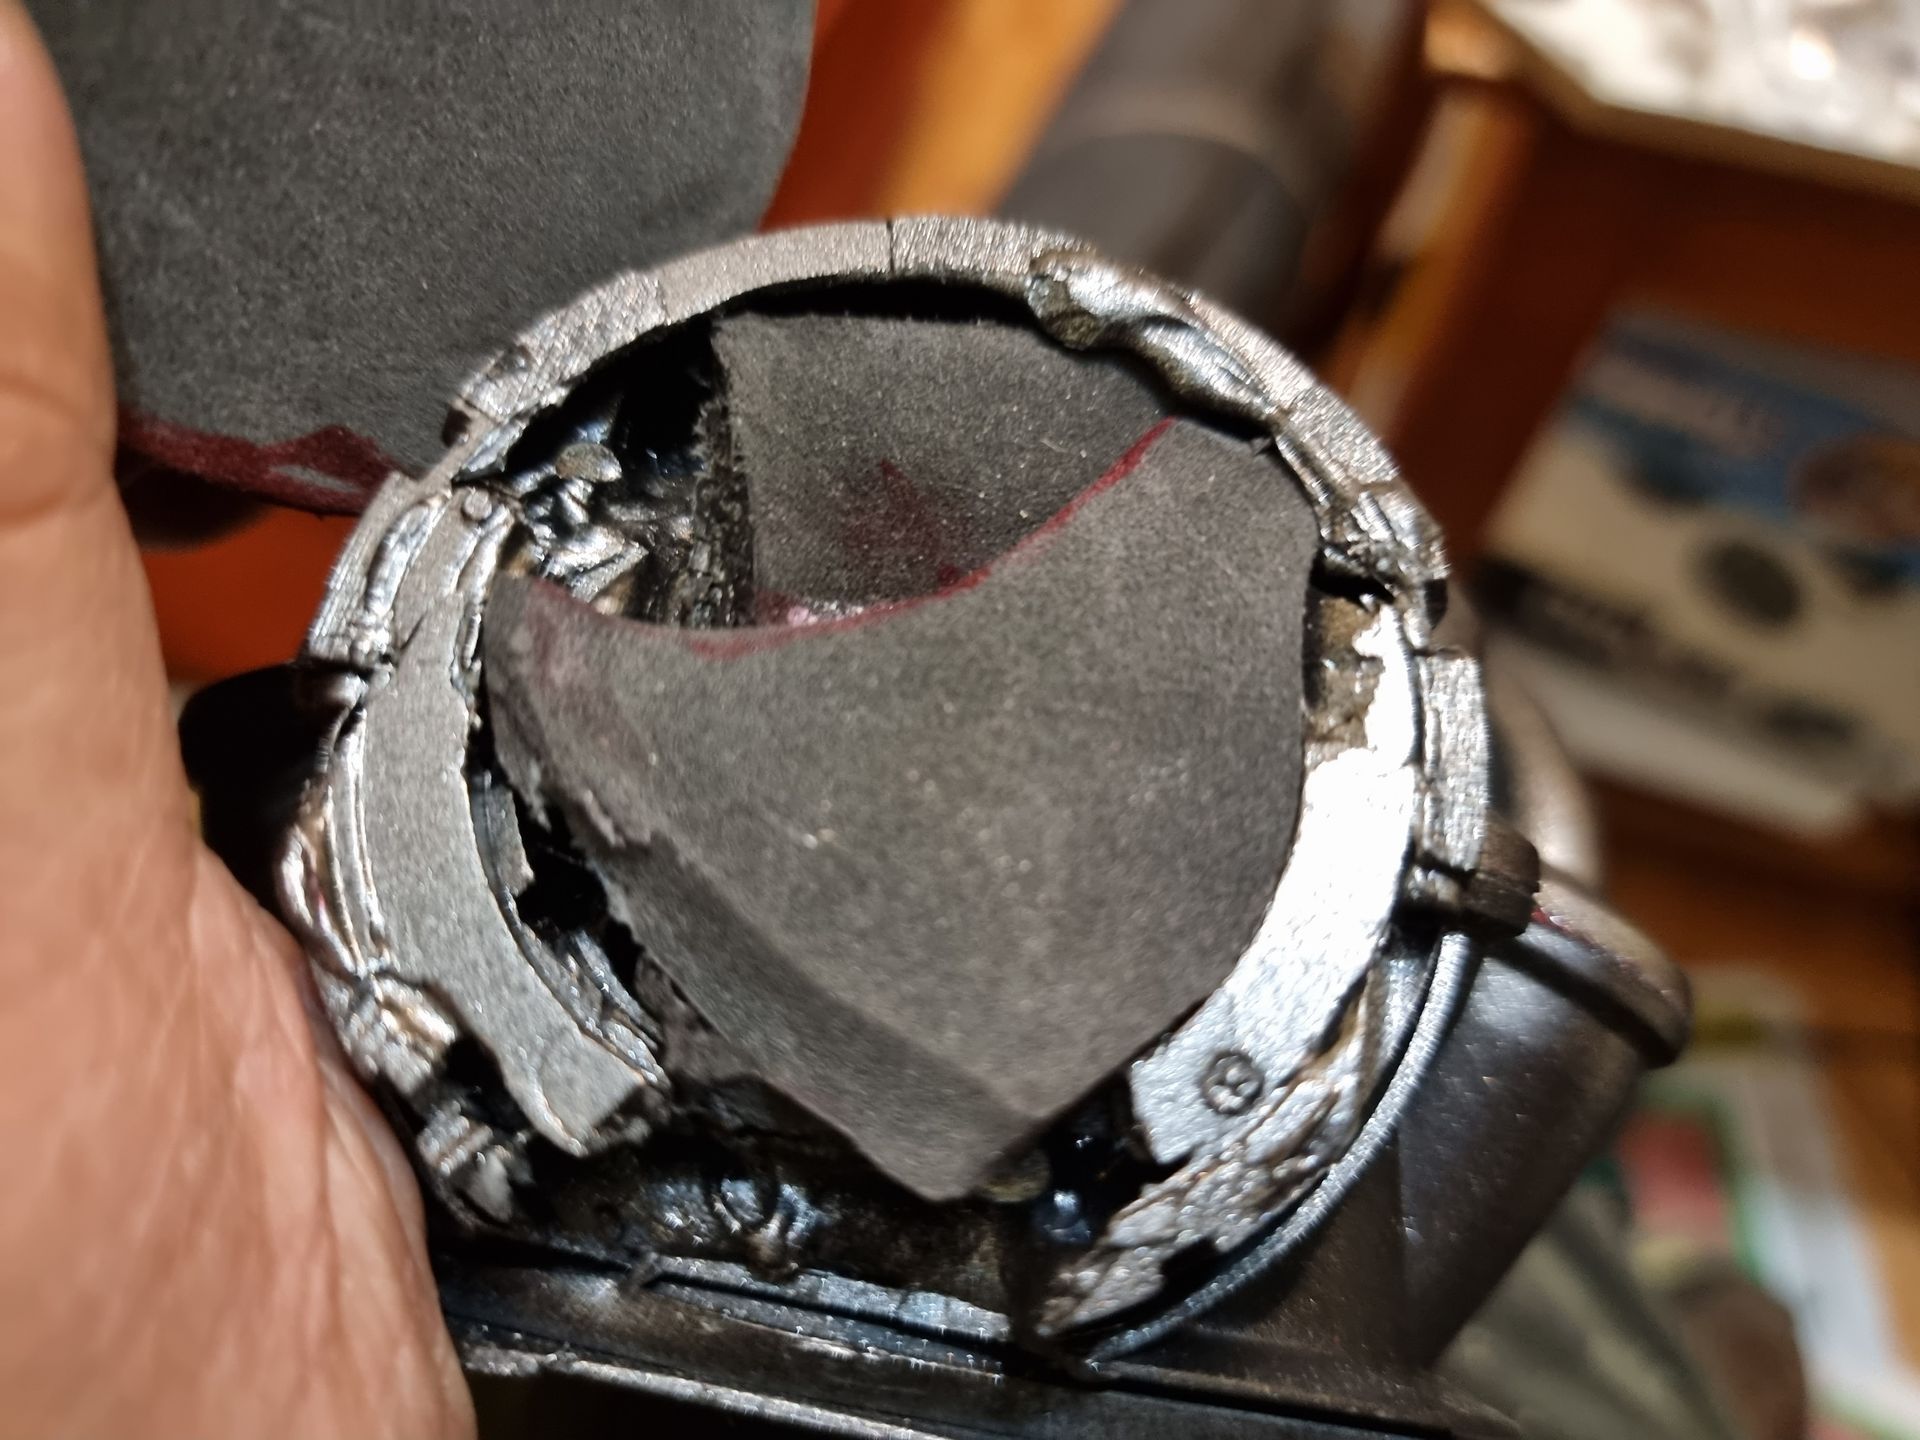
The open ends of Dyson cyclone generator needed filling which I did with plastzote foam and filler.
Constructing the Transmitter Towers from Kit Bash
Transmitter Tower Development and Kit Bash Construction
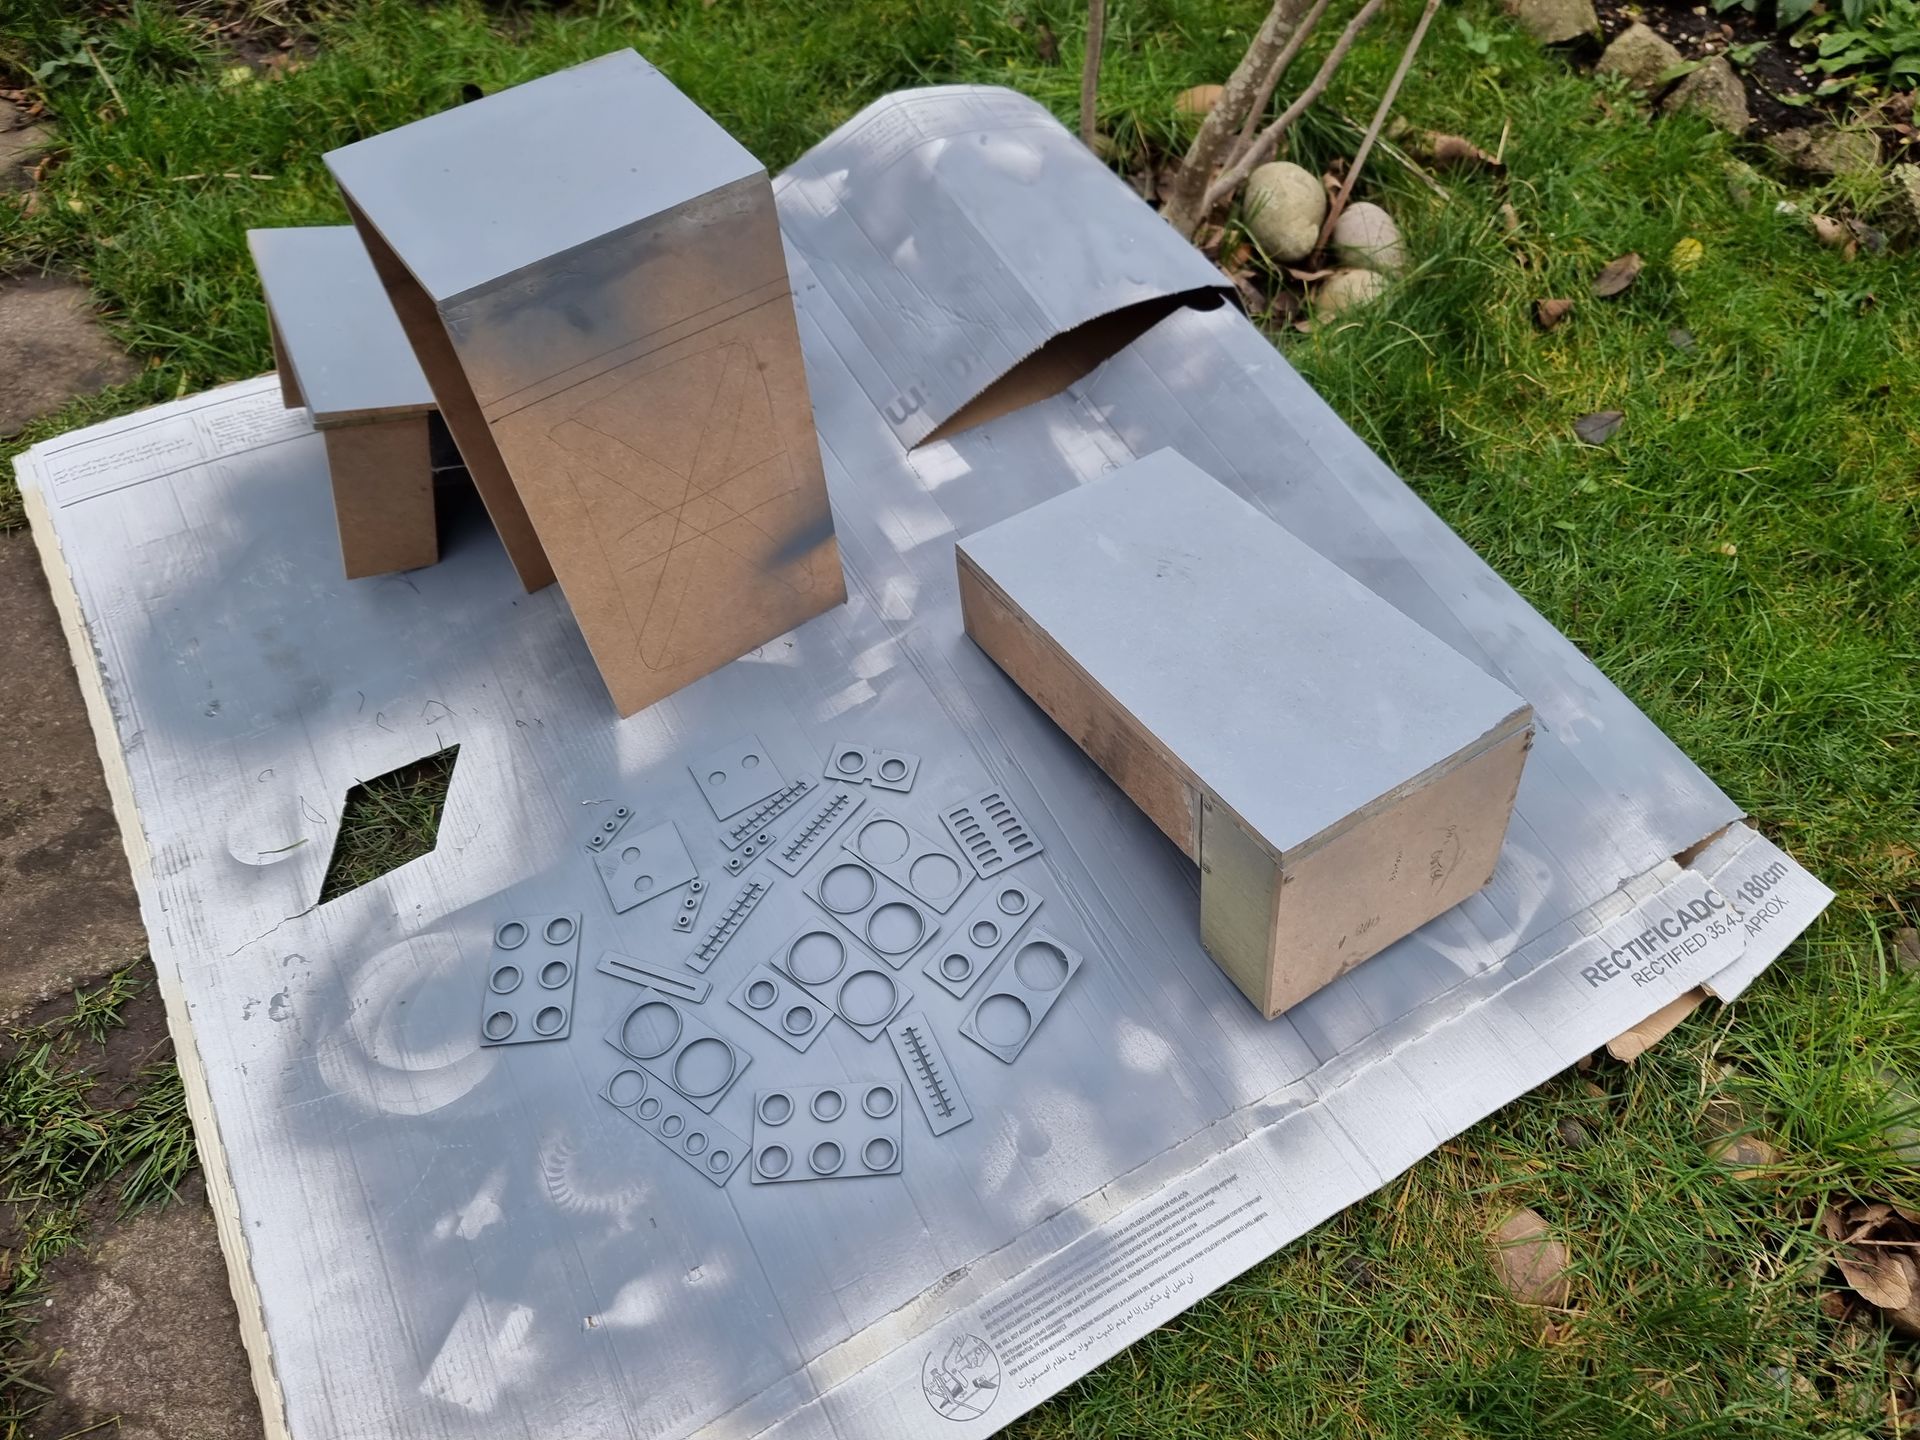
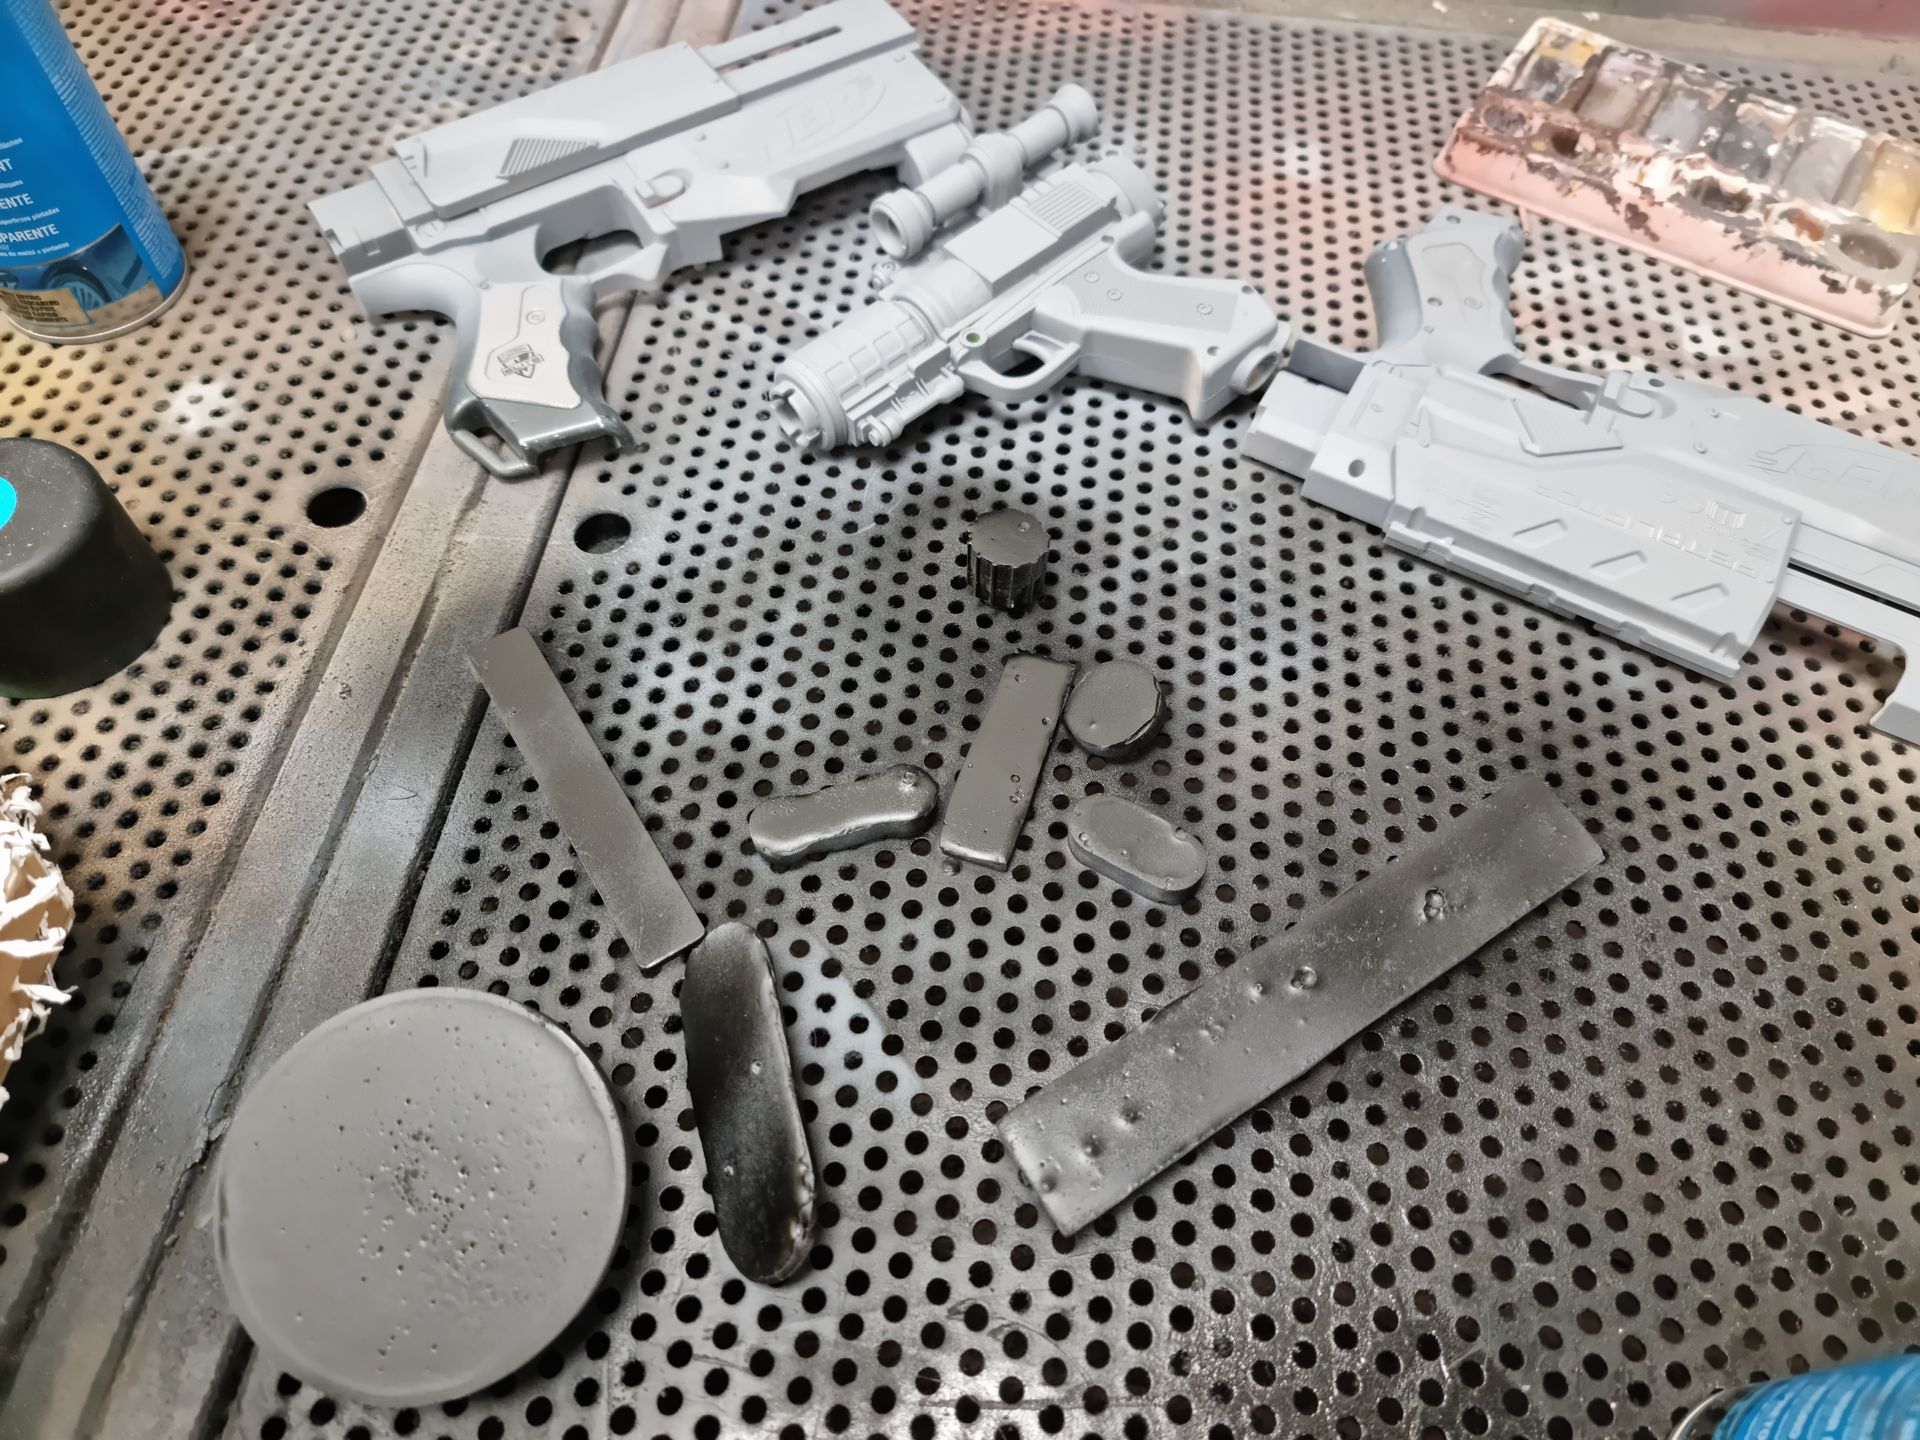
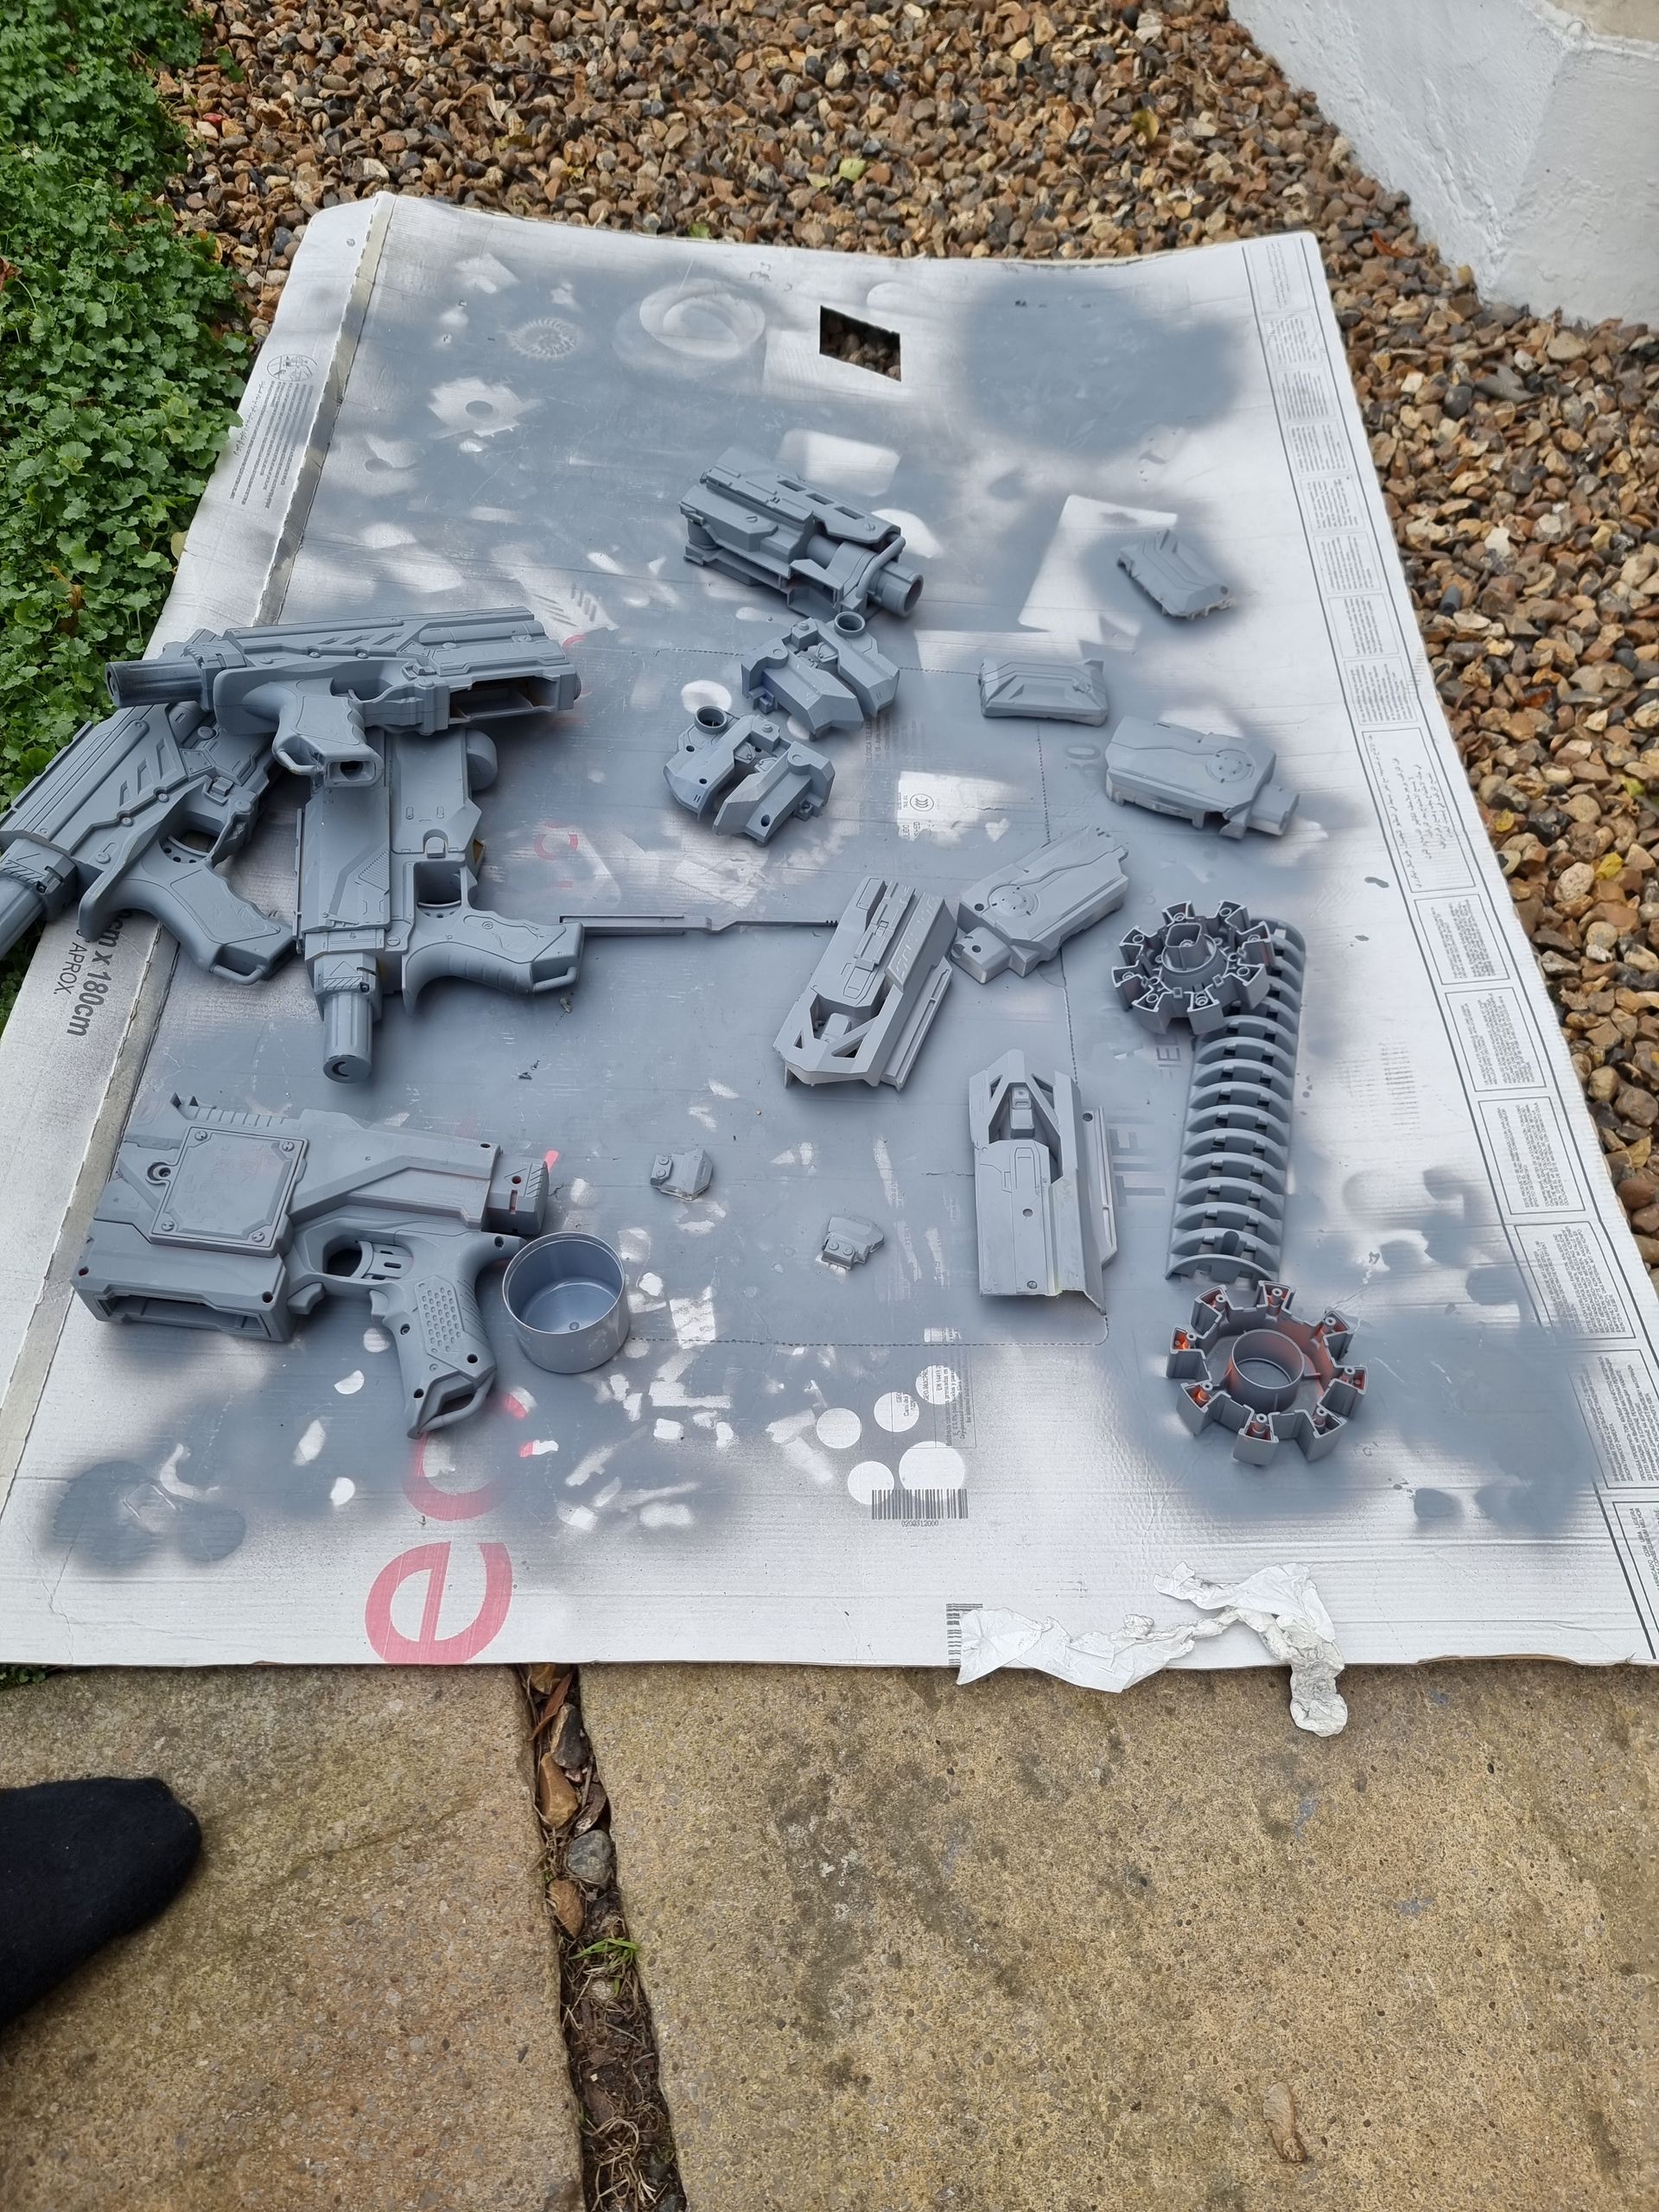
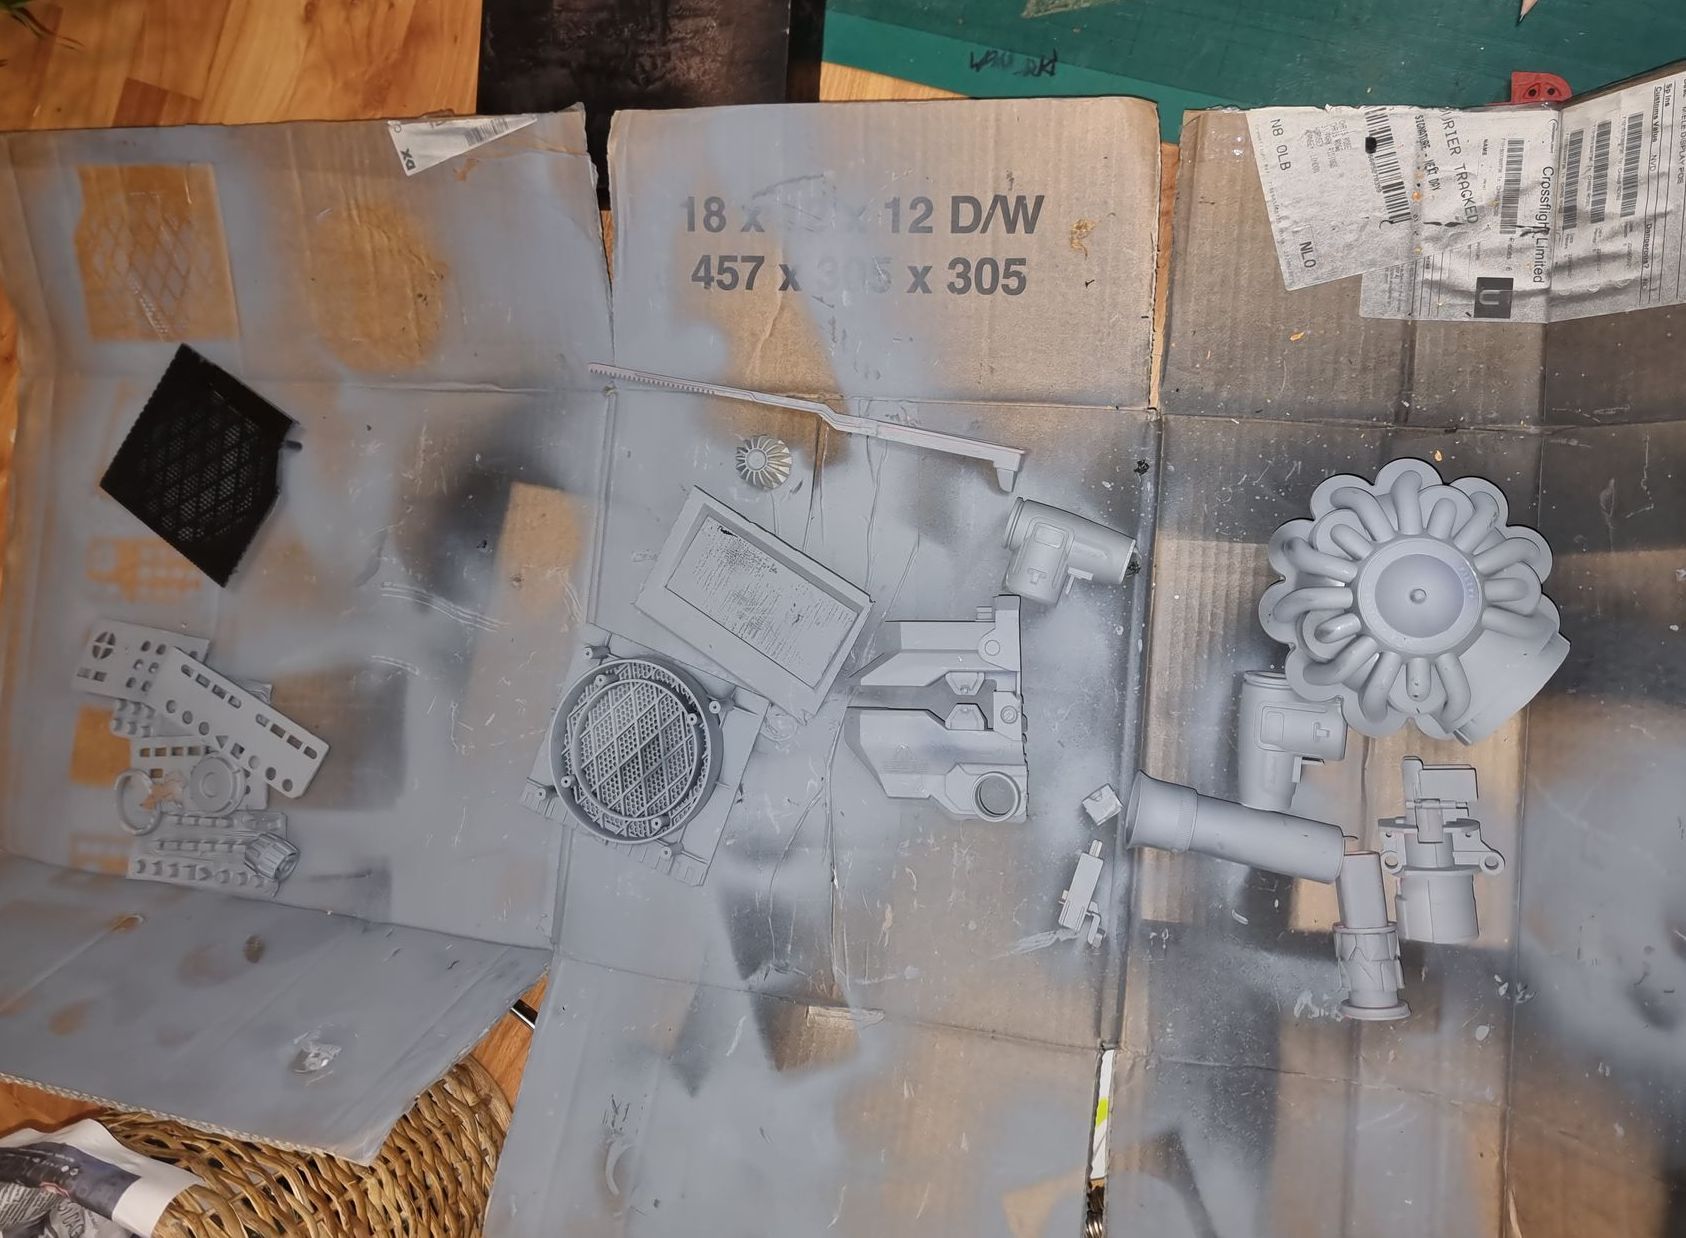
The next stage was to primer spray paint coat all the chopped-up parts, losing the individual colours so they would look like the same machinery as well as prep for later colours.
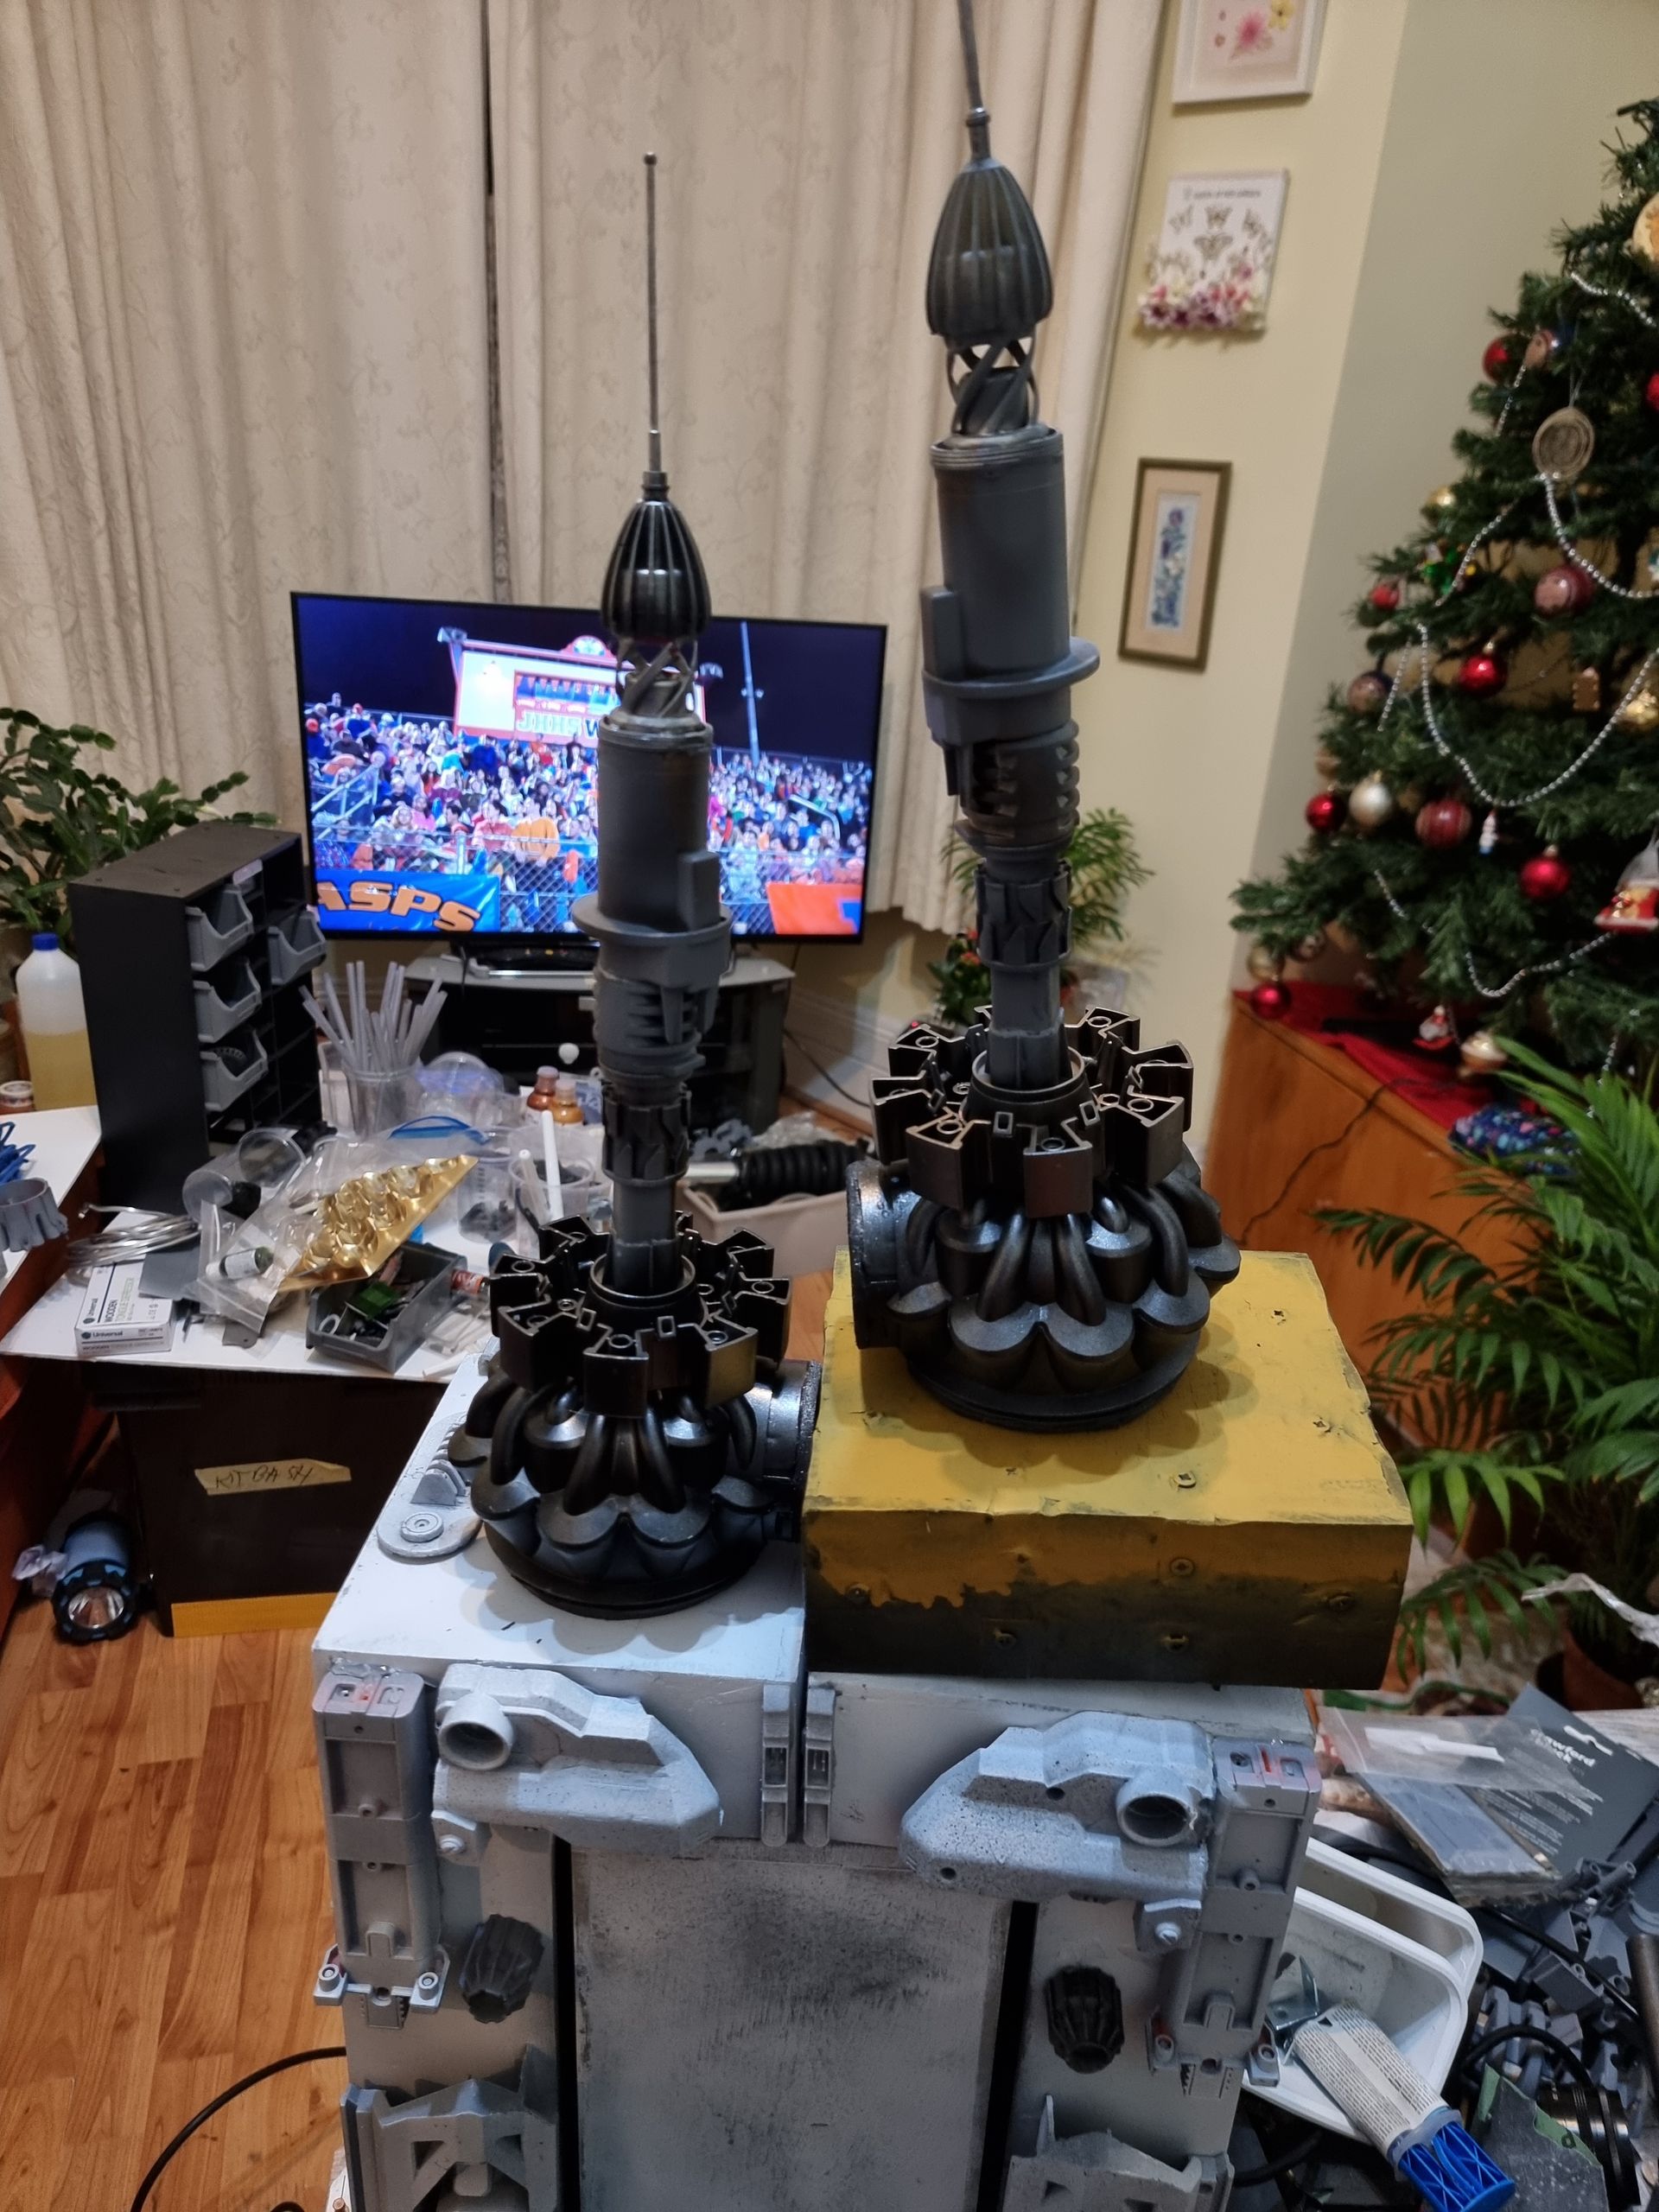
I then started to experiment with different part combinations, mostly of internal Nerf gun components to form the transmitter towers above the Dyson Cyclone bases.
Electronics
Electronics Intro
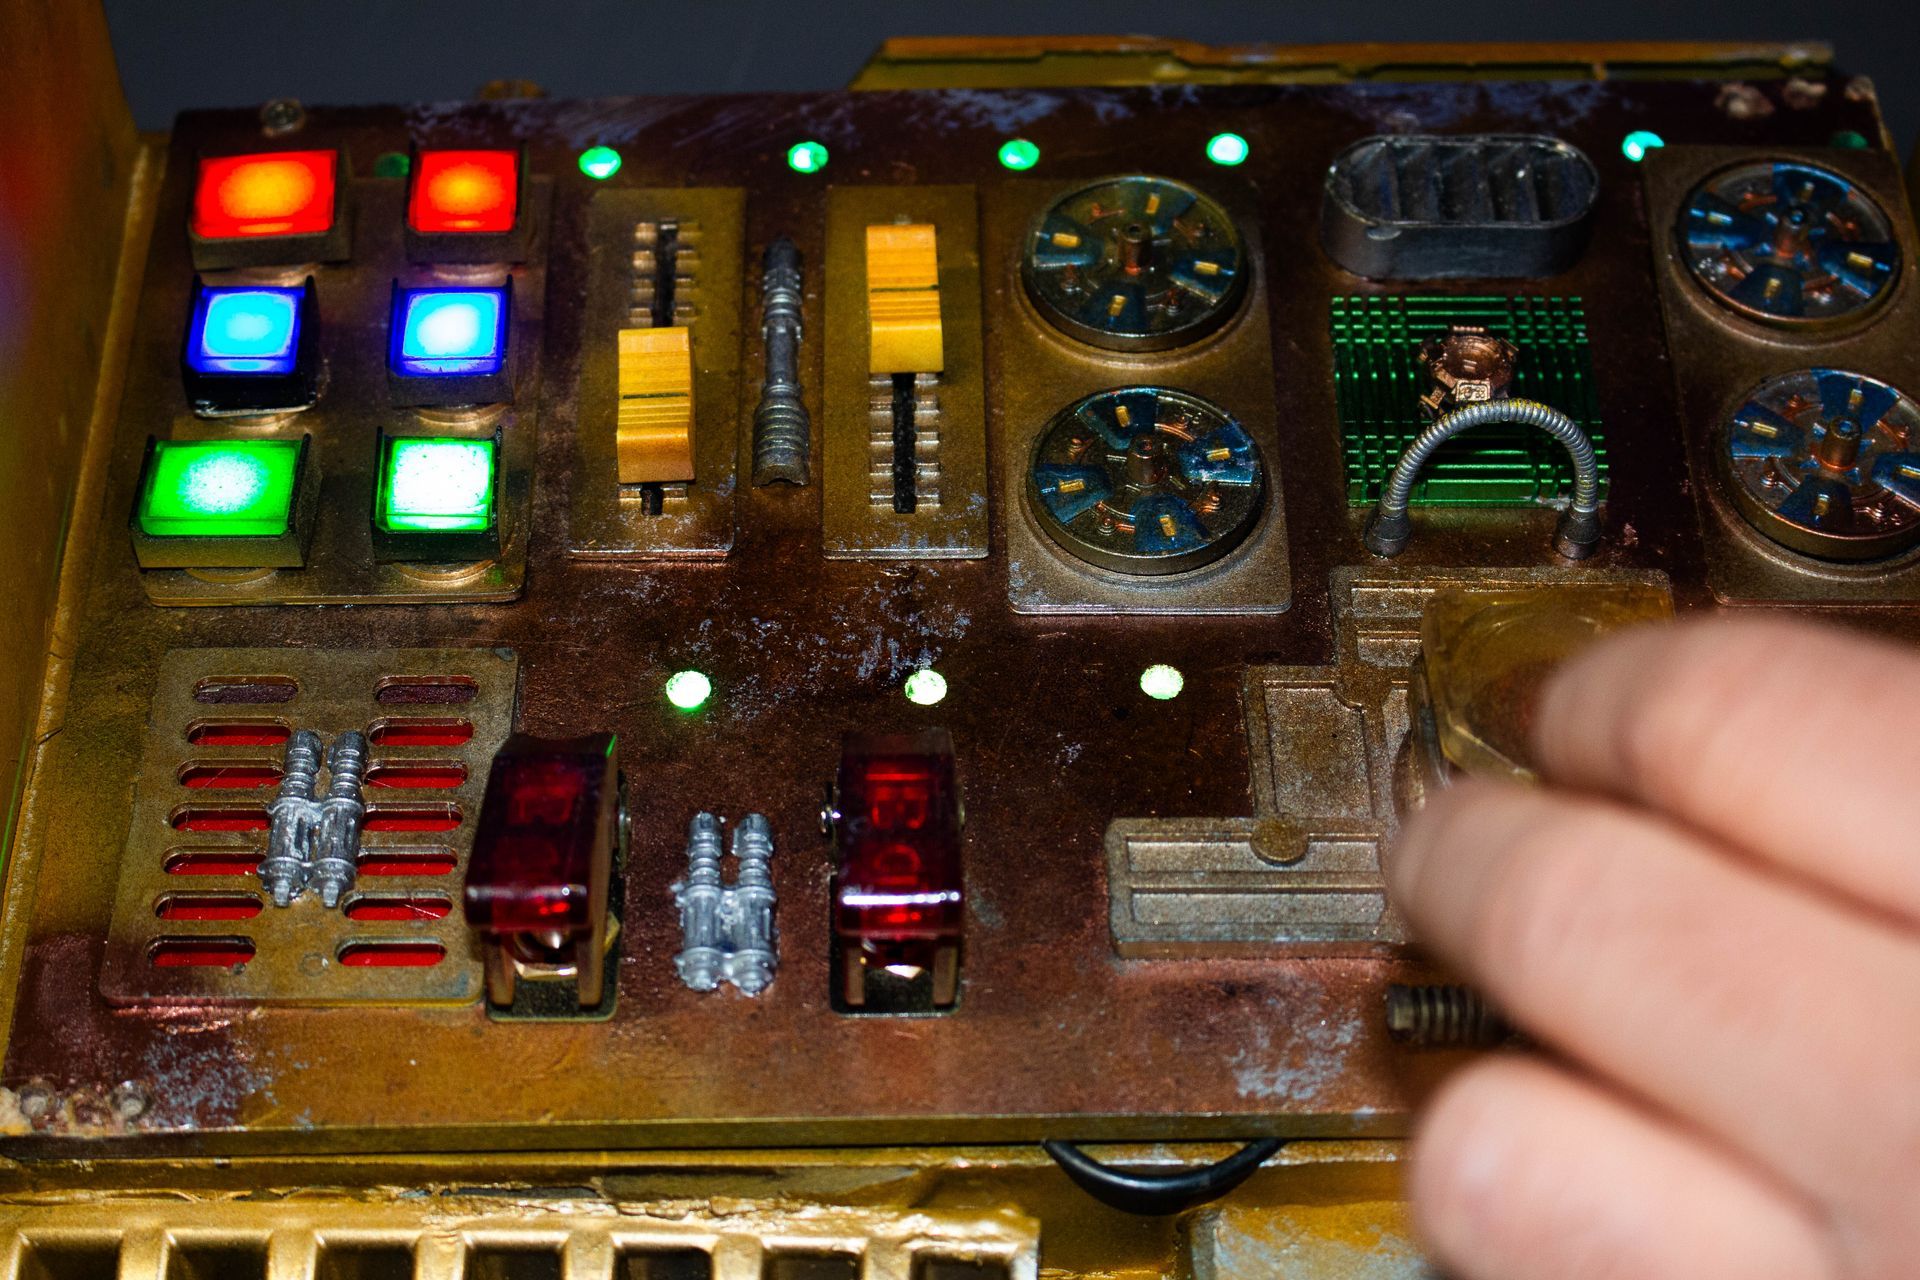
The prop needed to be interactive and the way to do this was to have a variety of controls.:
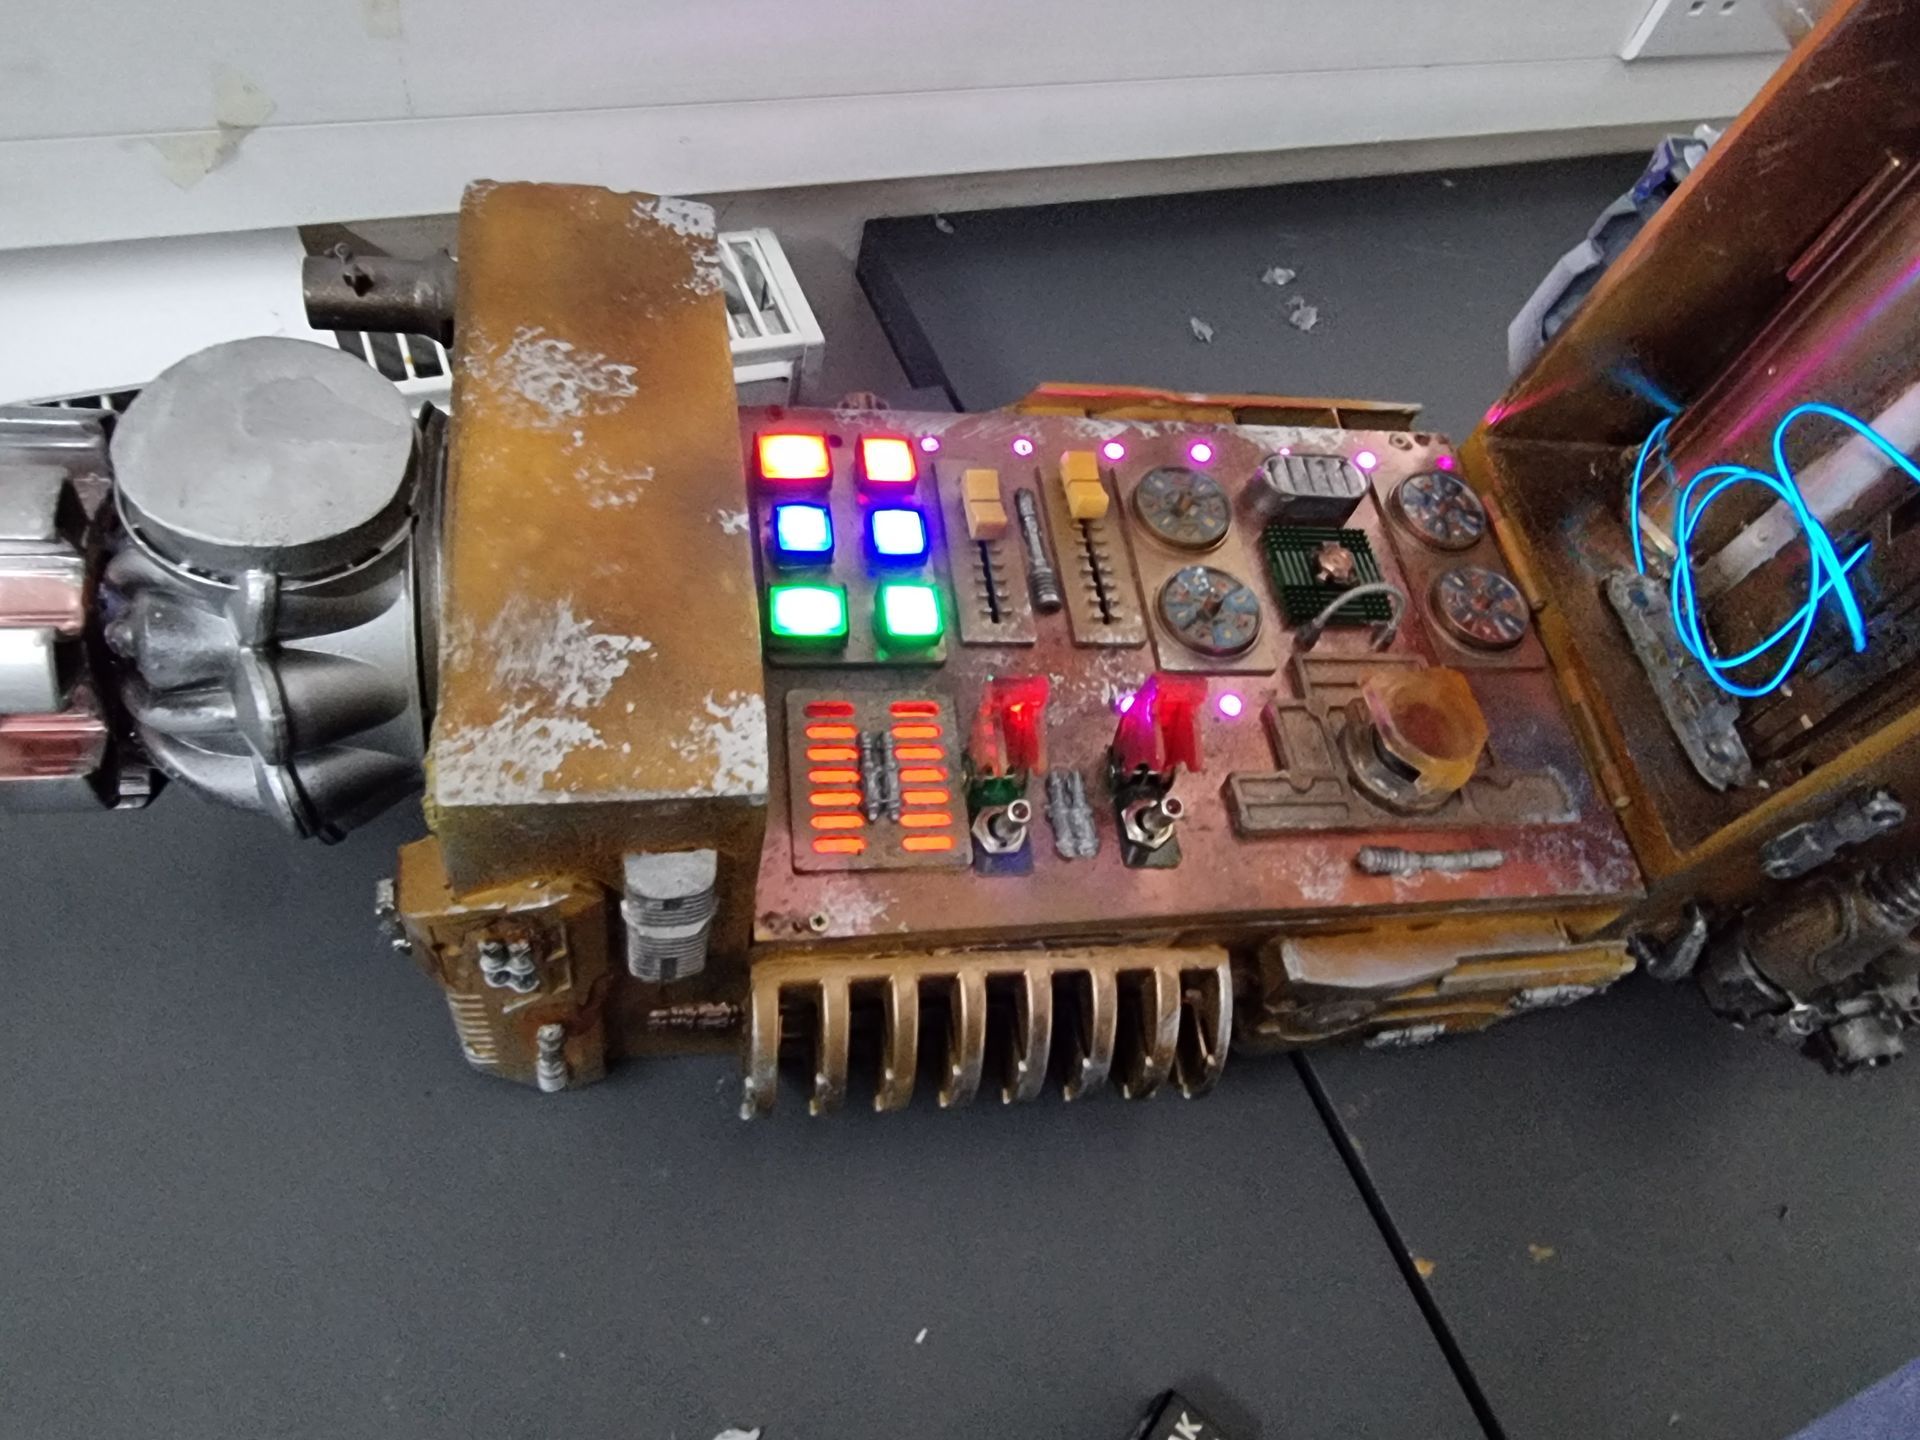
- Buttons
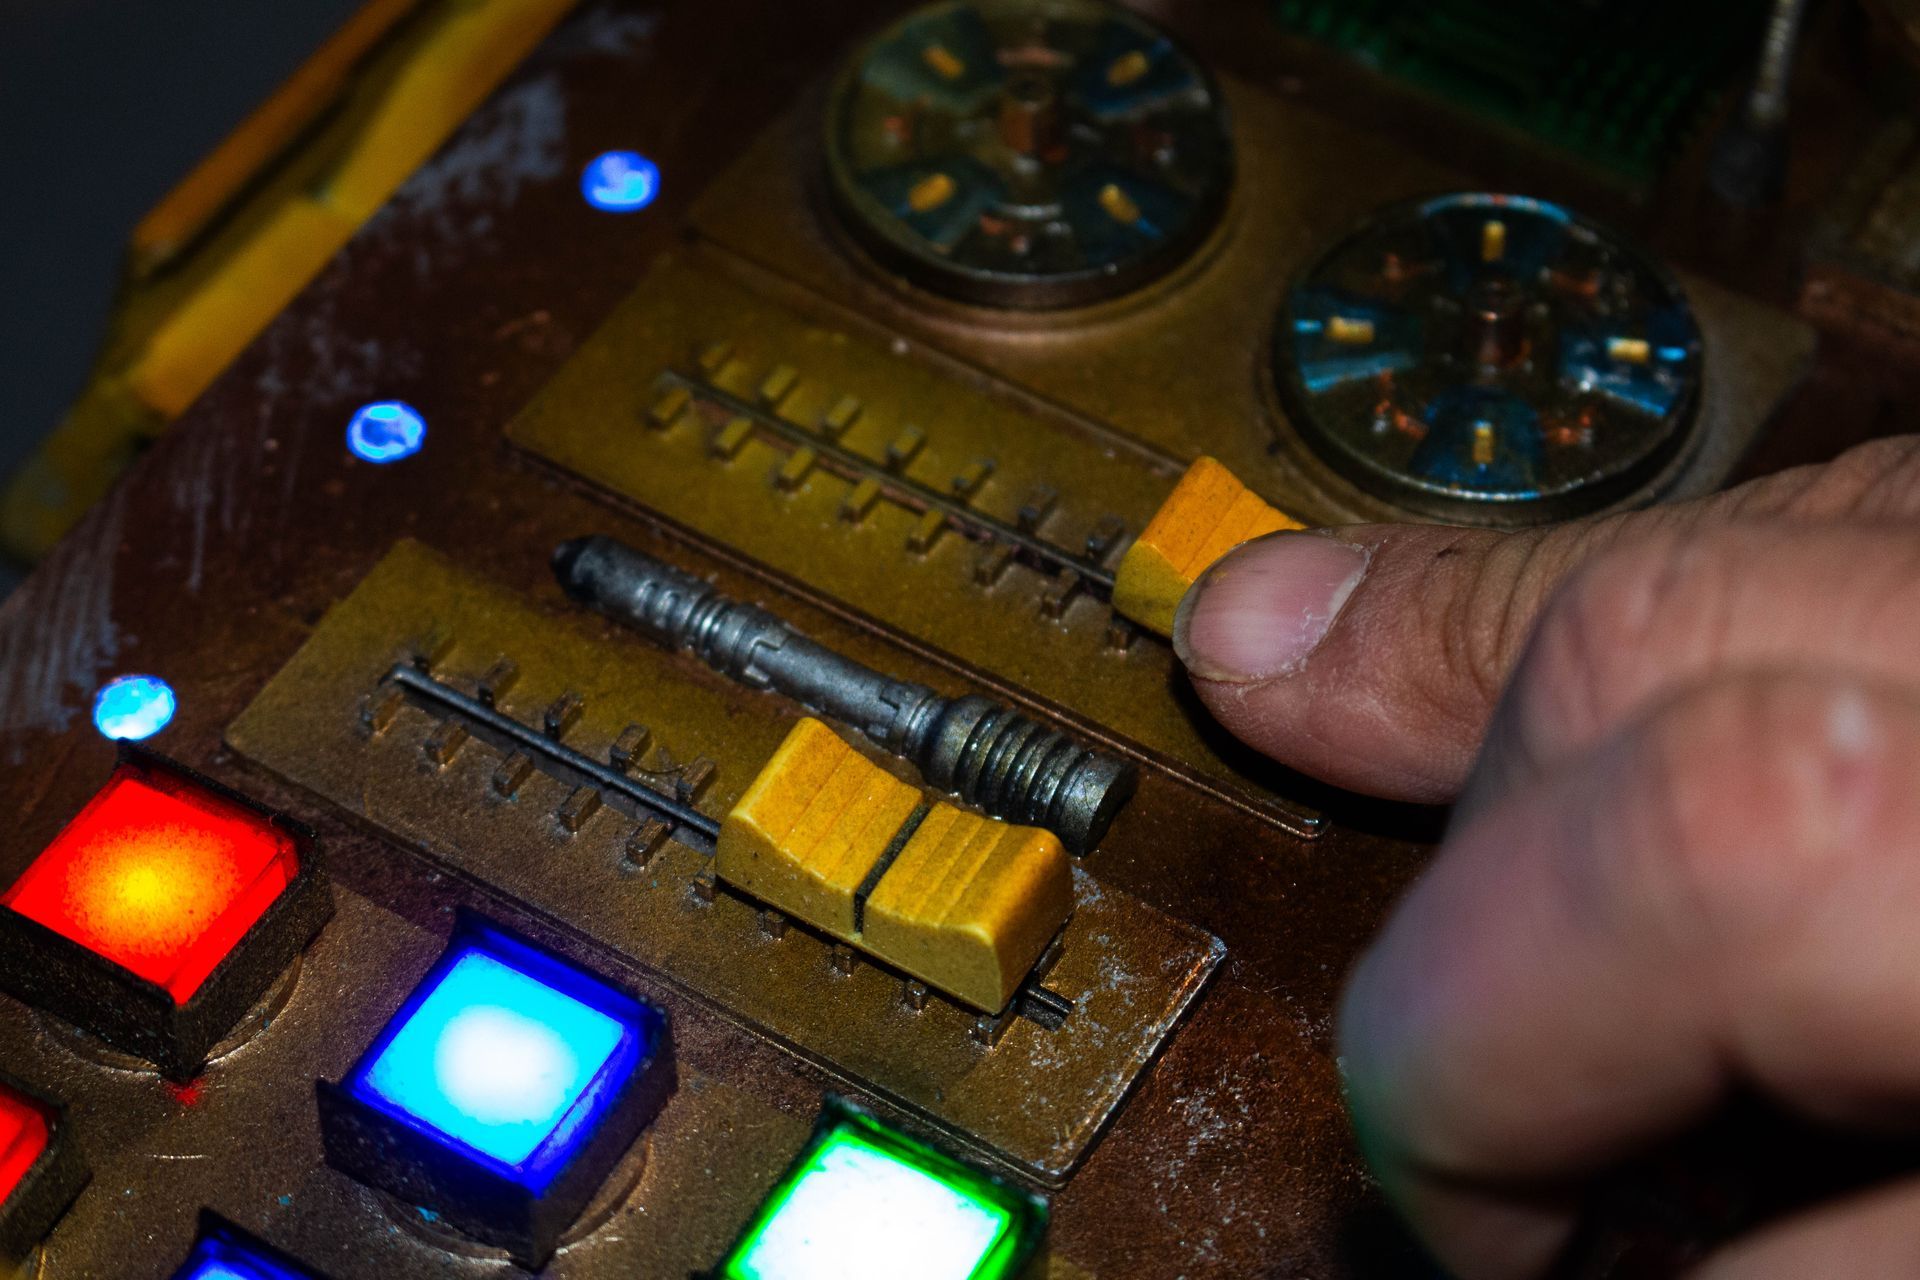
- Sliders
- Knobs
- Switches
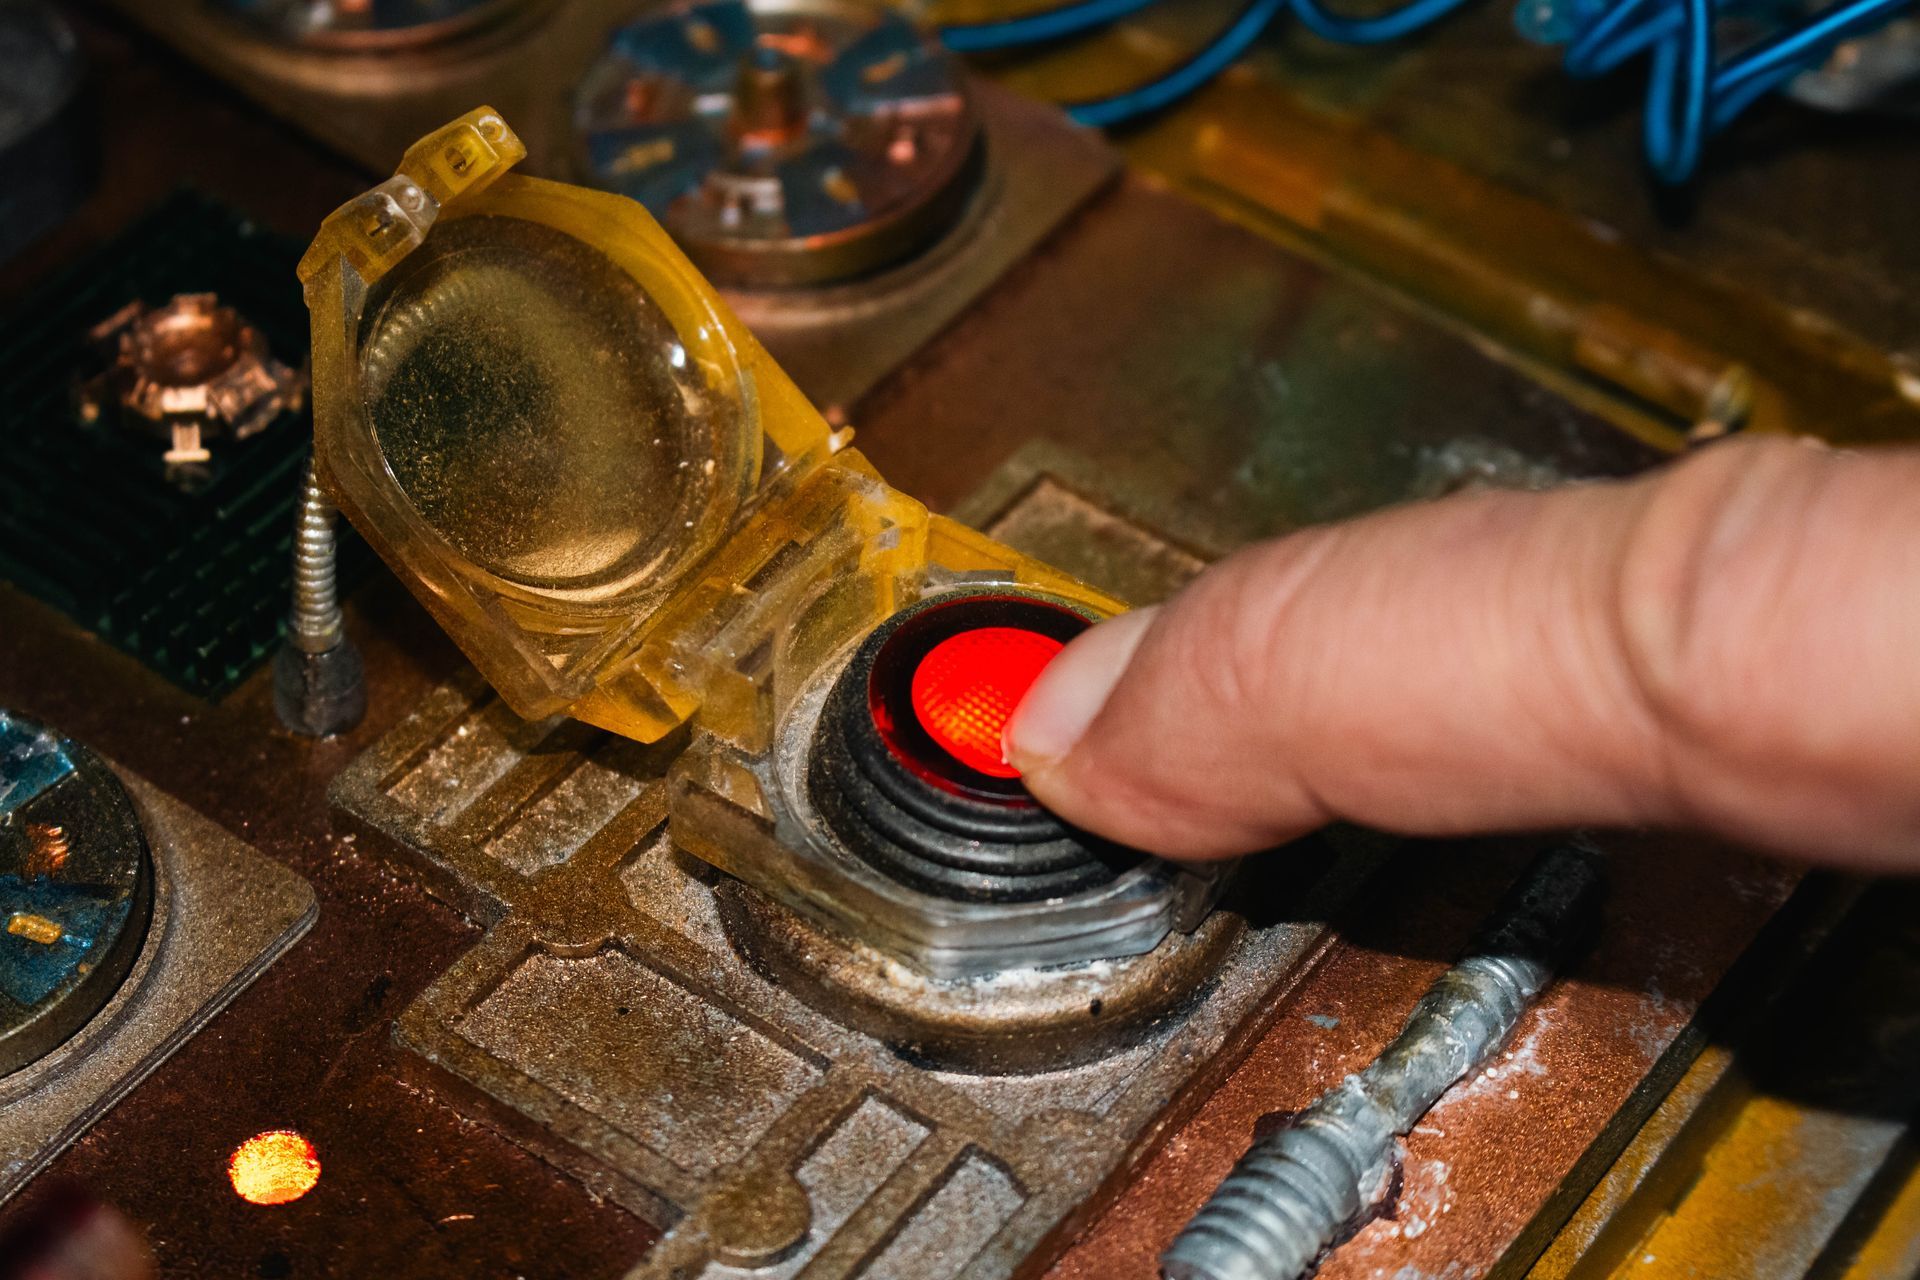
- Arming switches with covers on buttons and switches like seen in the military
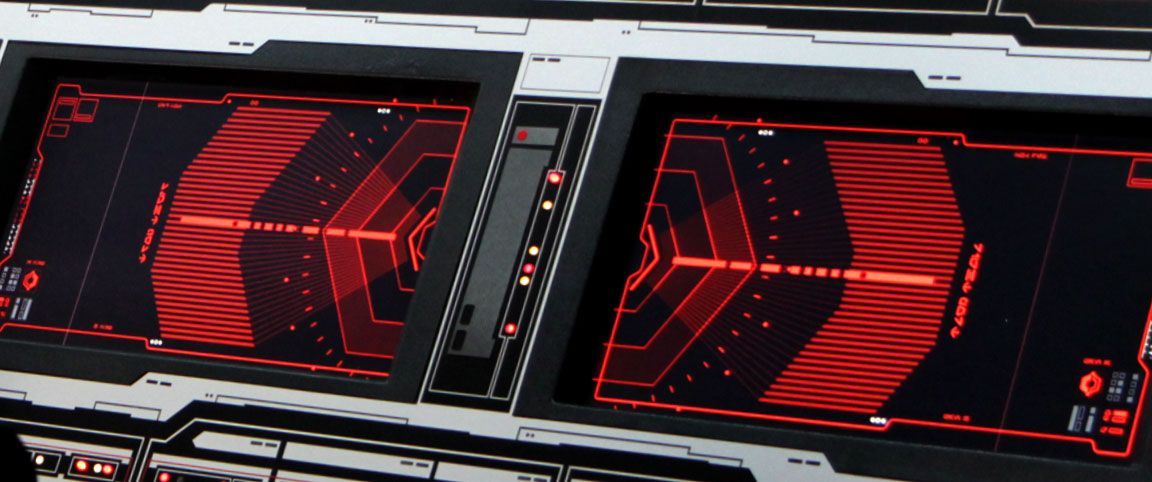
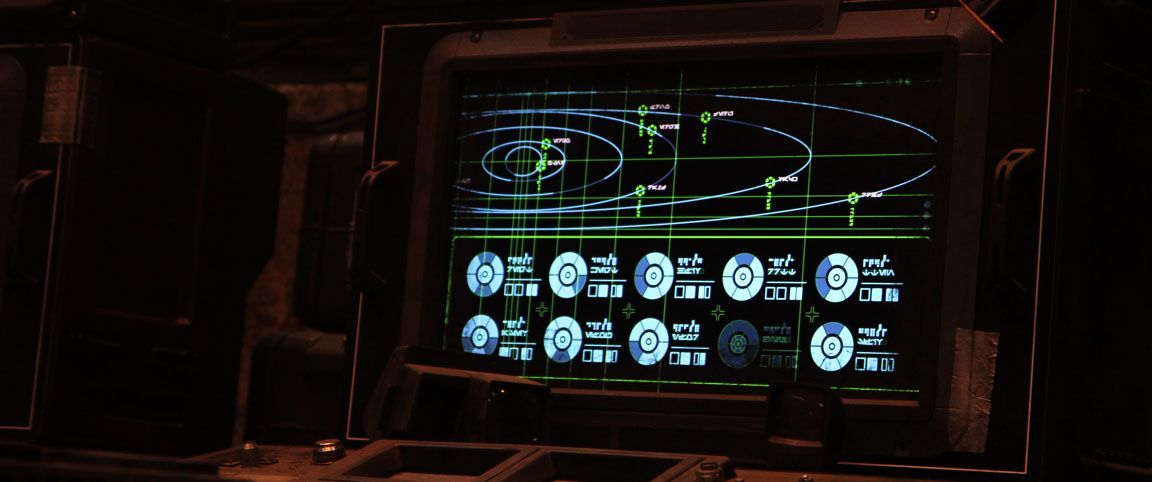
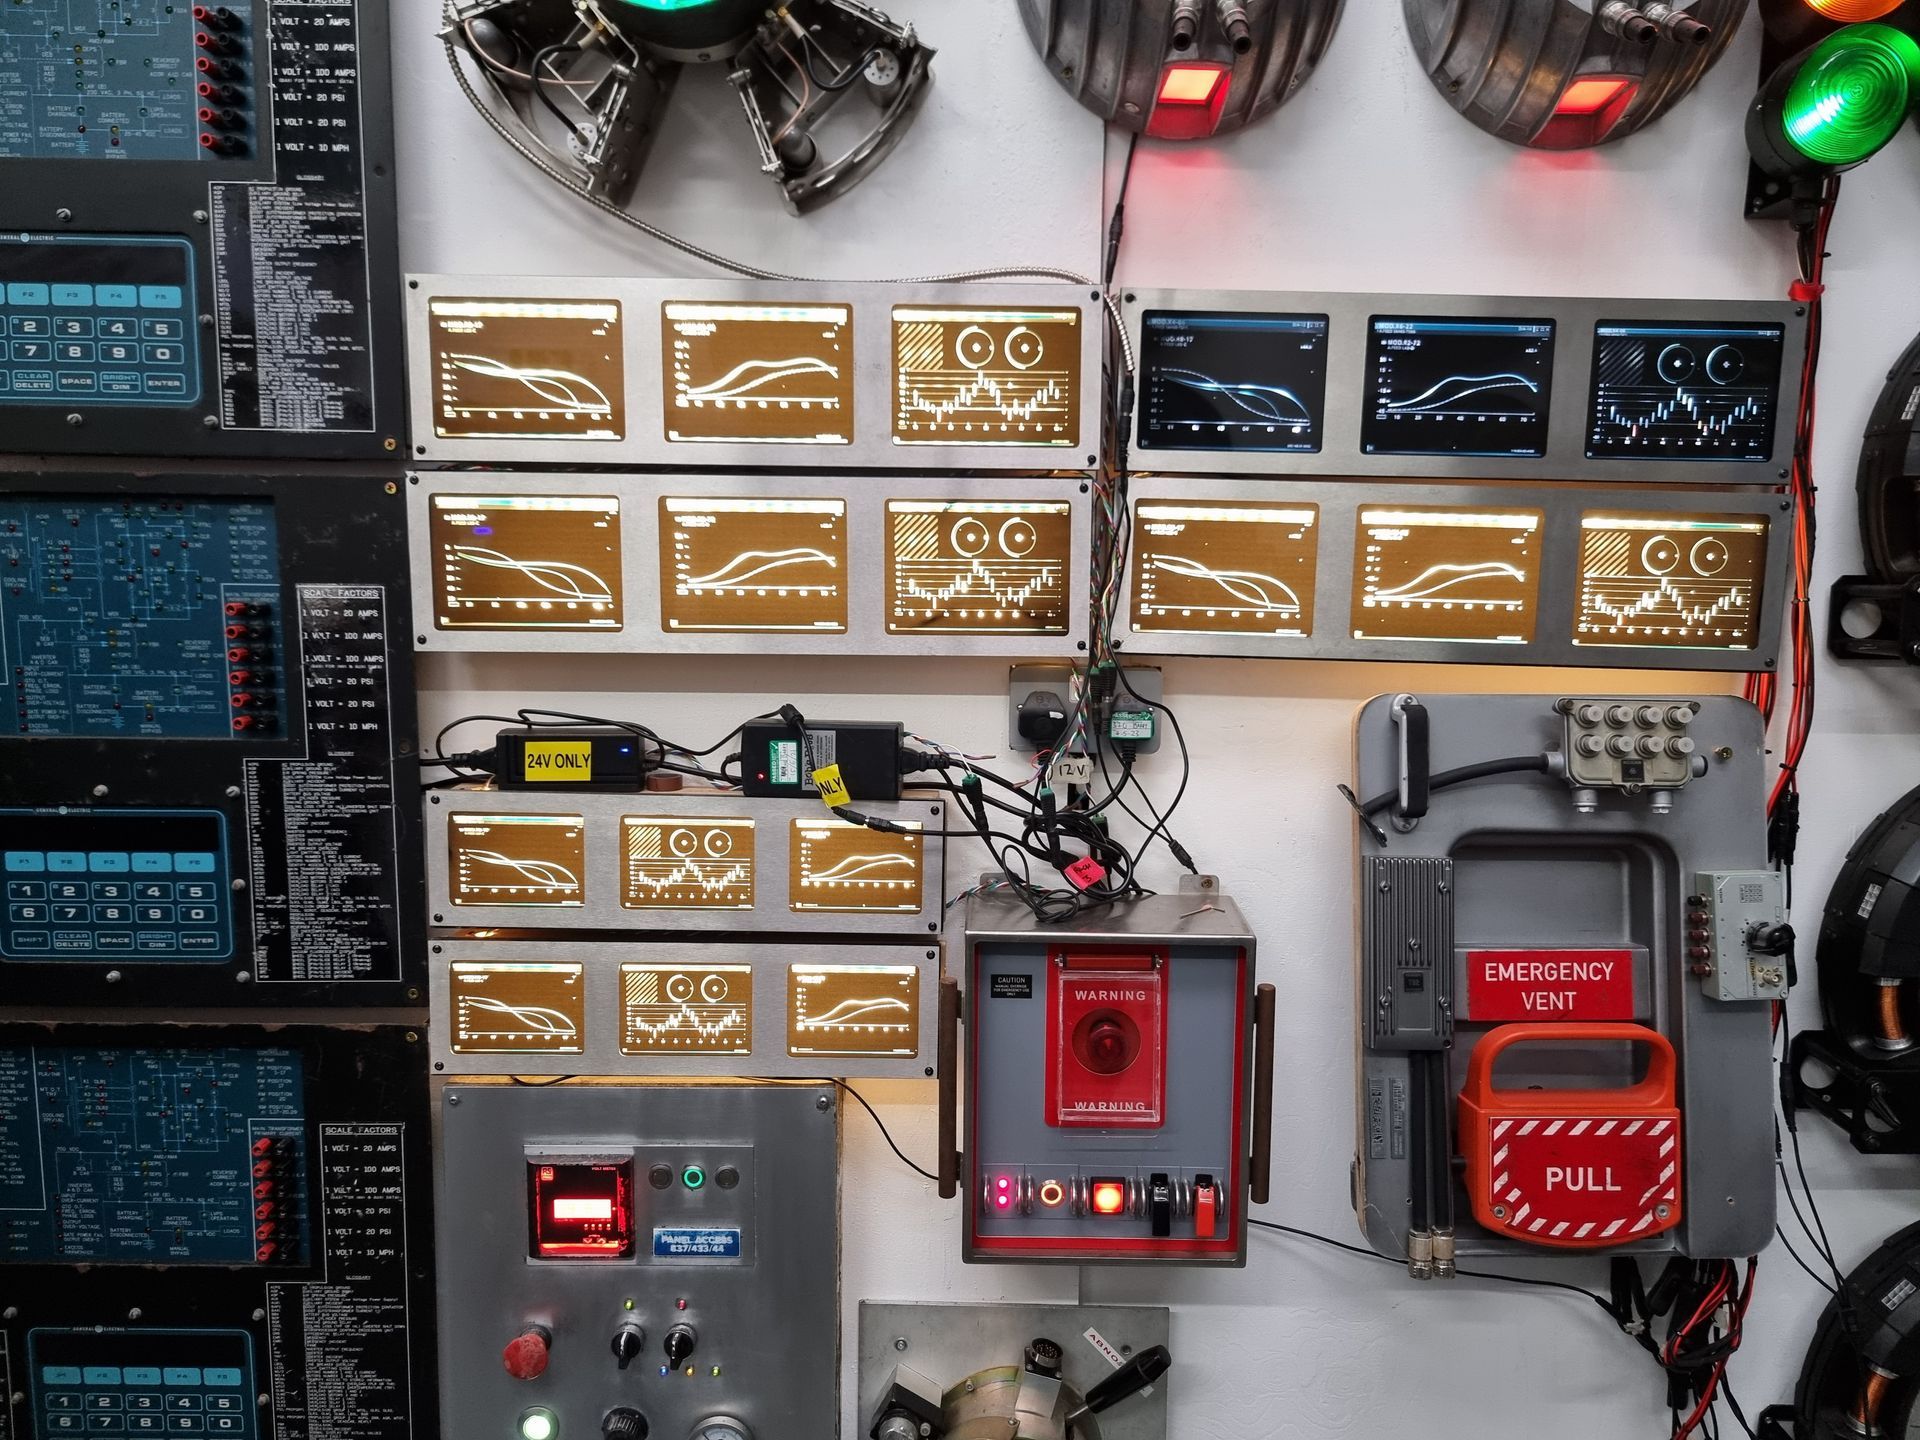
There was also the intension to have light up and animated tactical displays and dials.
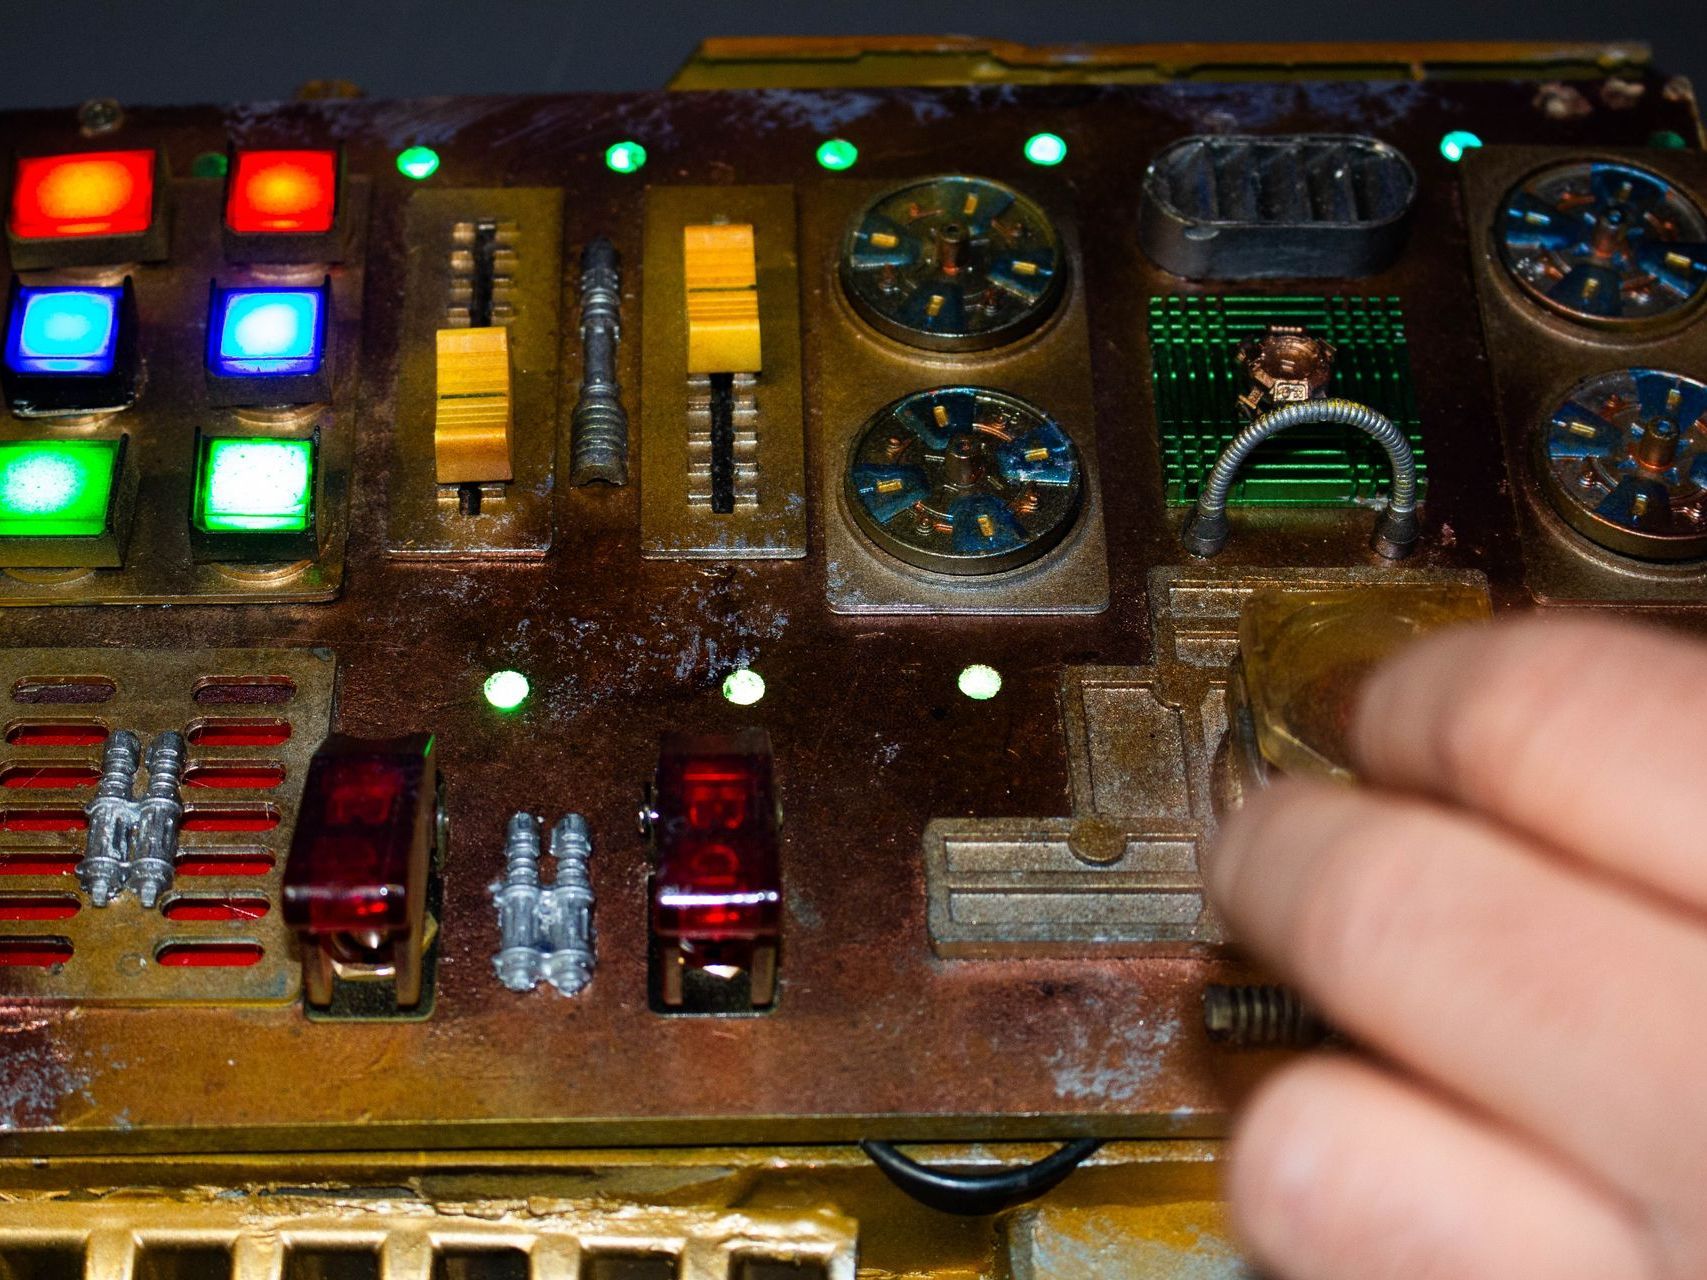
The control services started as prototypes to work out layout pattern and colour patterns, pallets and controls.
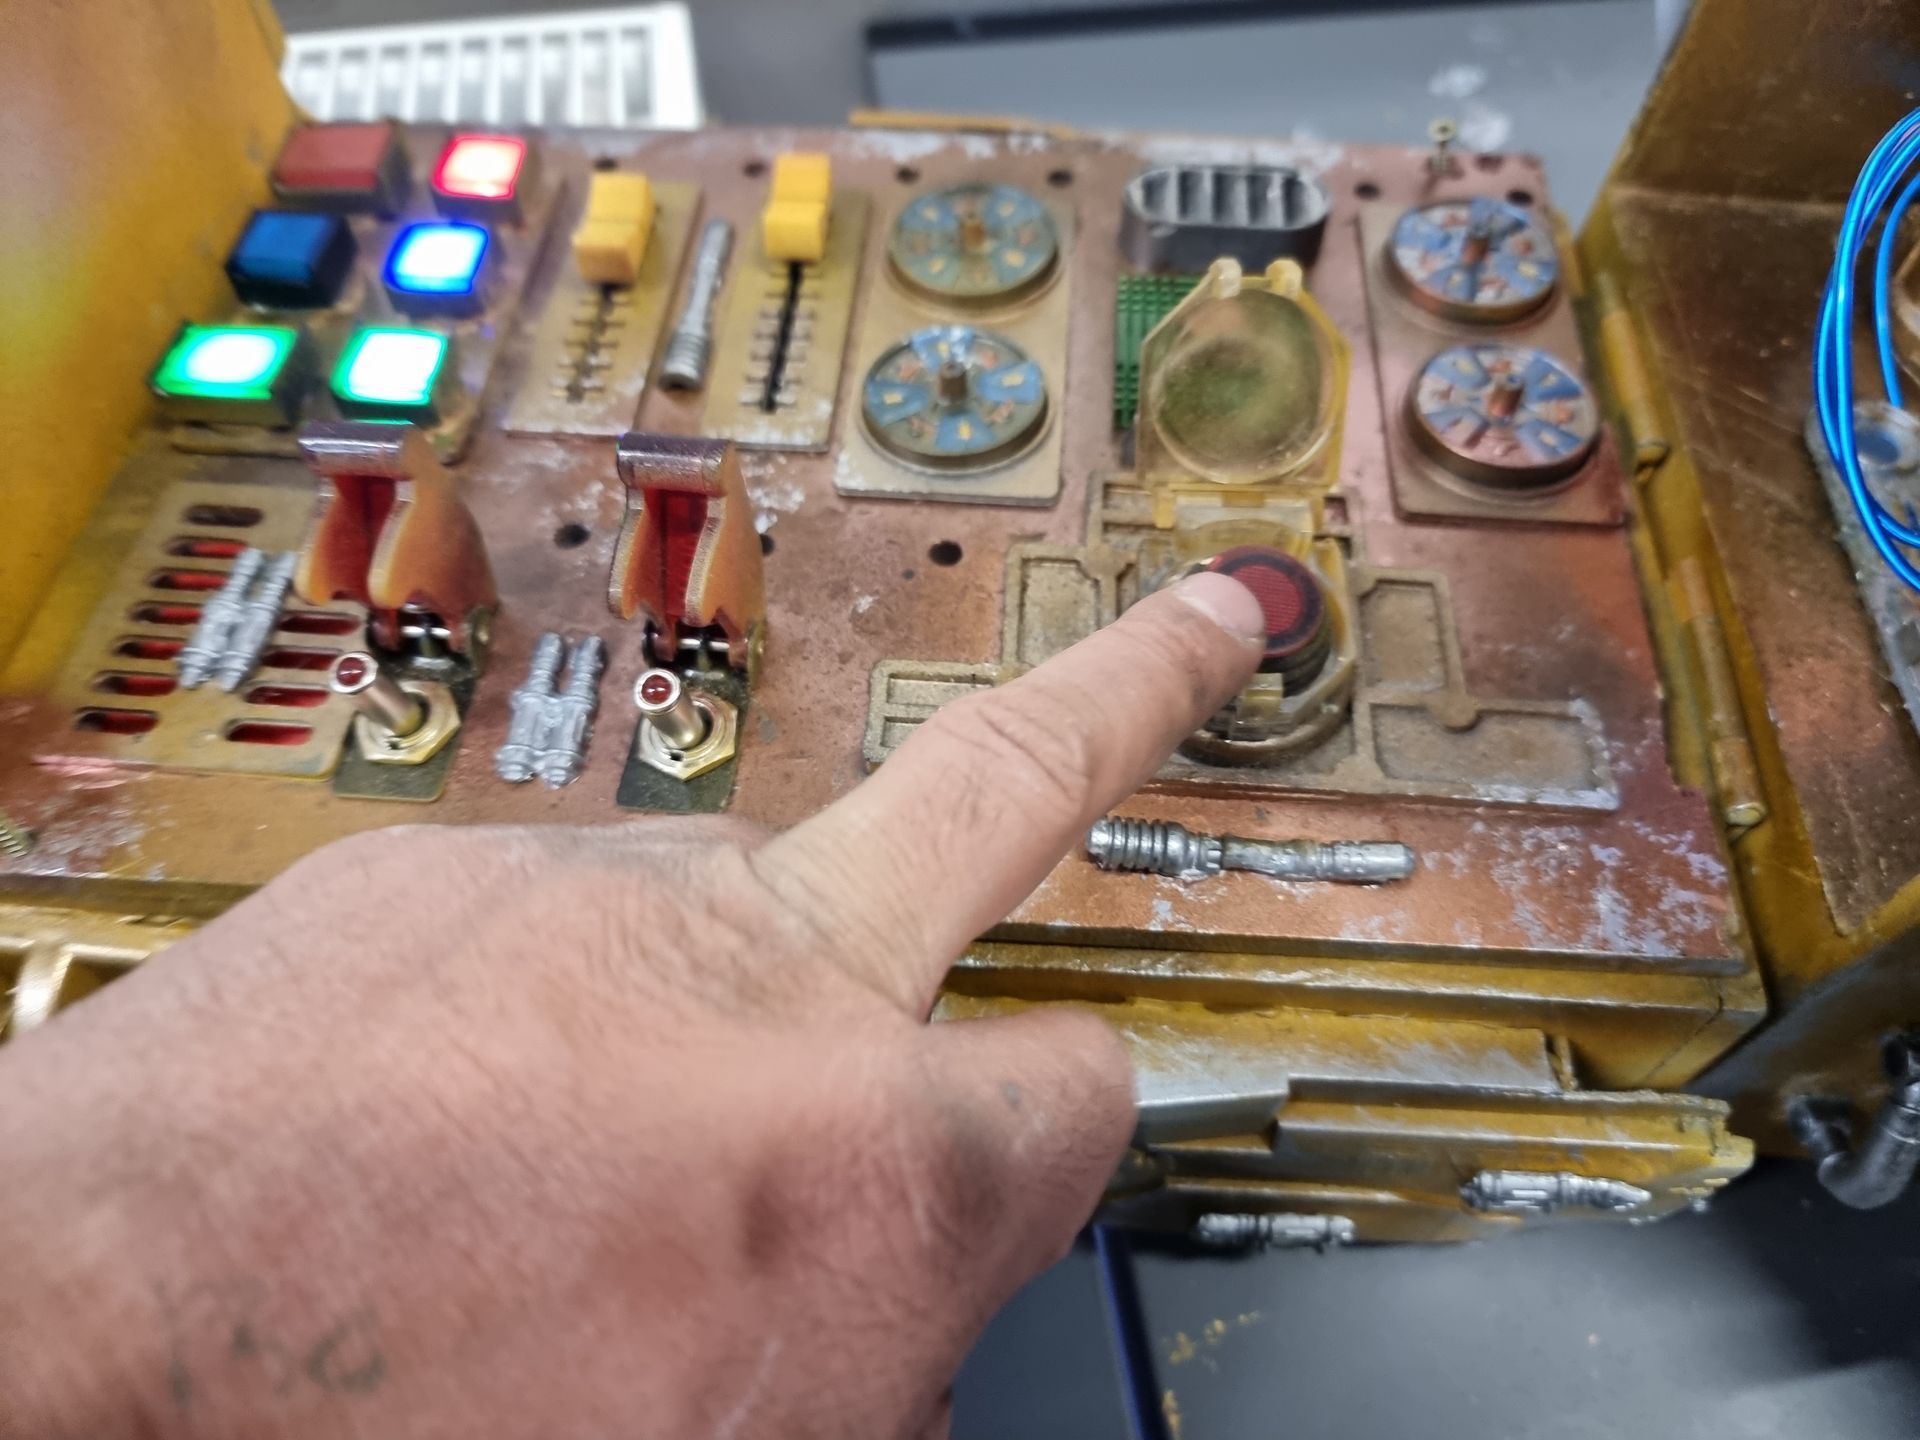
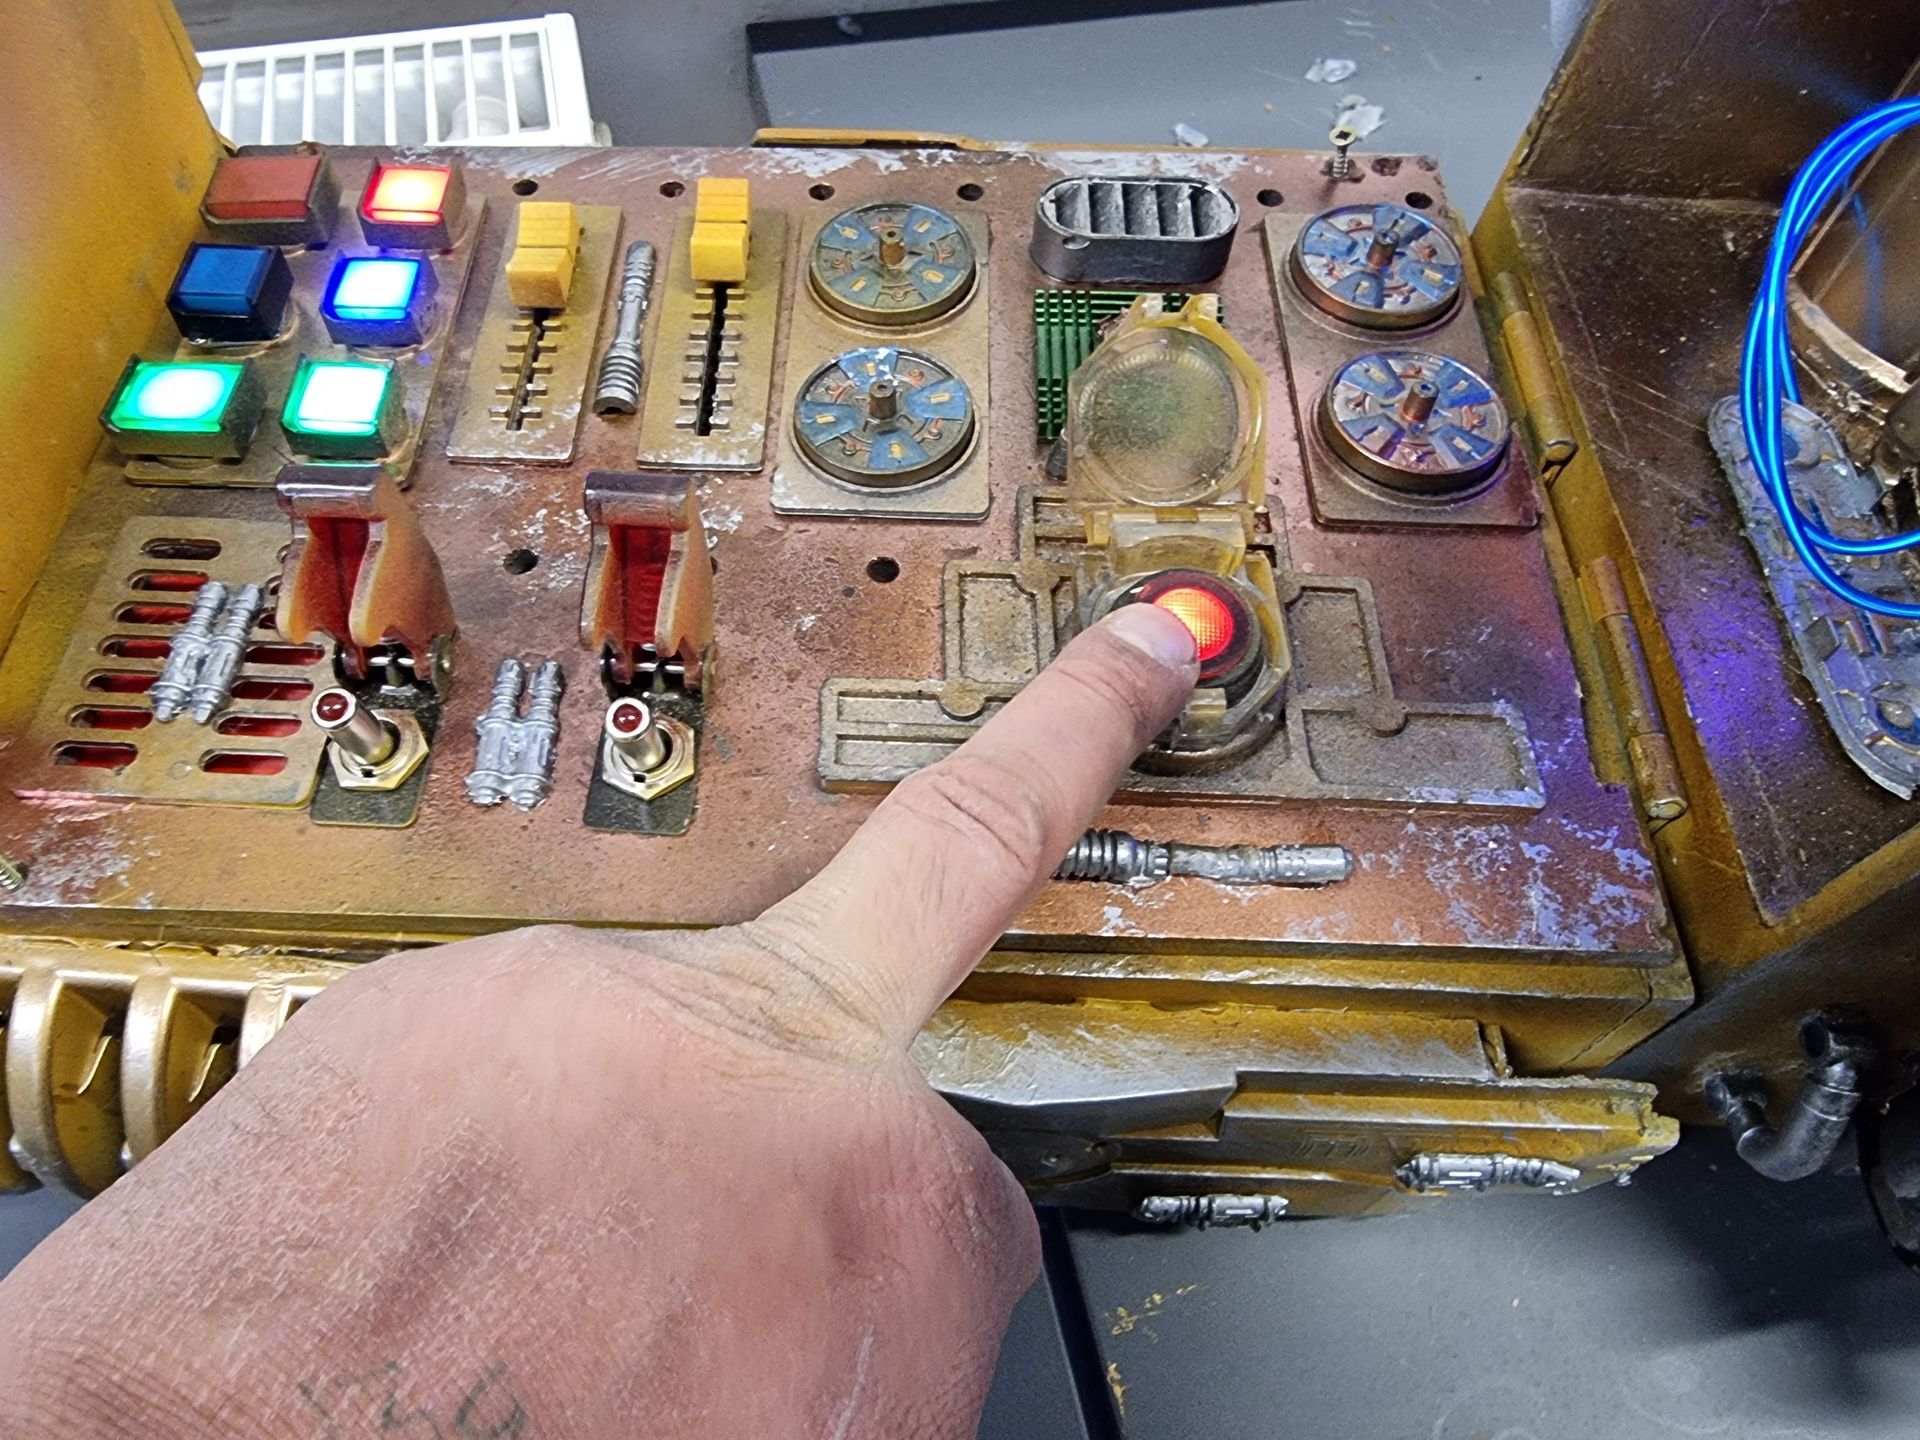
The intention was to have light up buttons, buttons that latch to stay on when pressed.
The idea being able to press a sequence of buttons to light up like powering up a vehicle like a helicopter or launch system.
To have a launch button with a safety cover.
Indications something is powered inside.
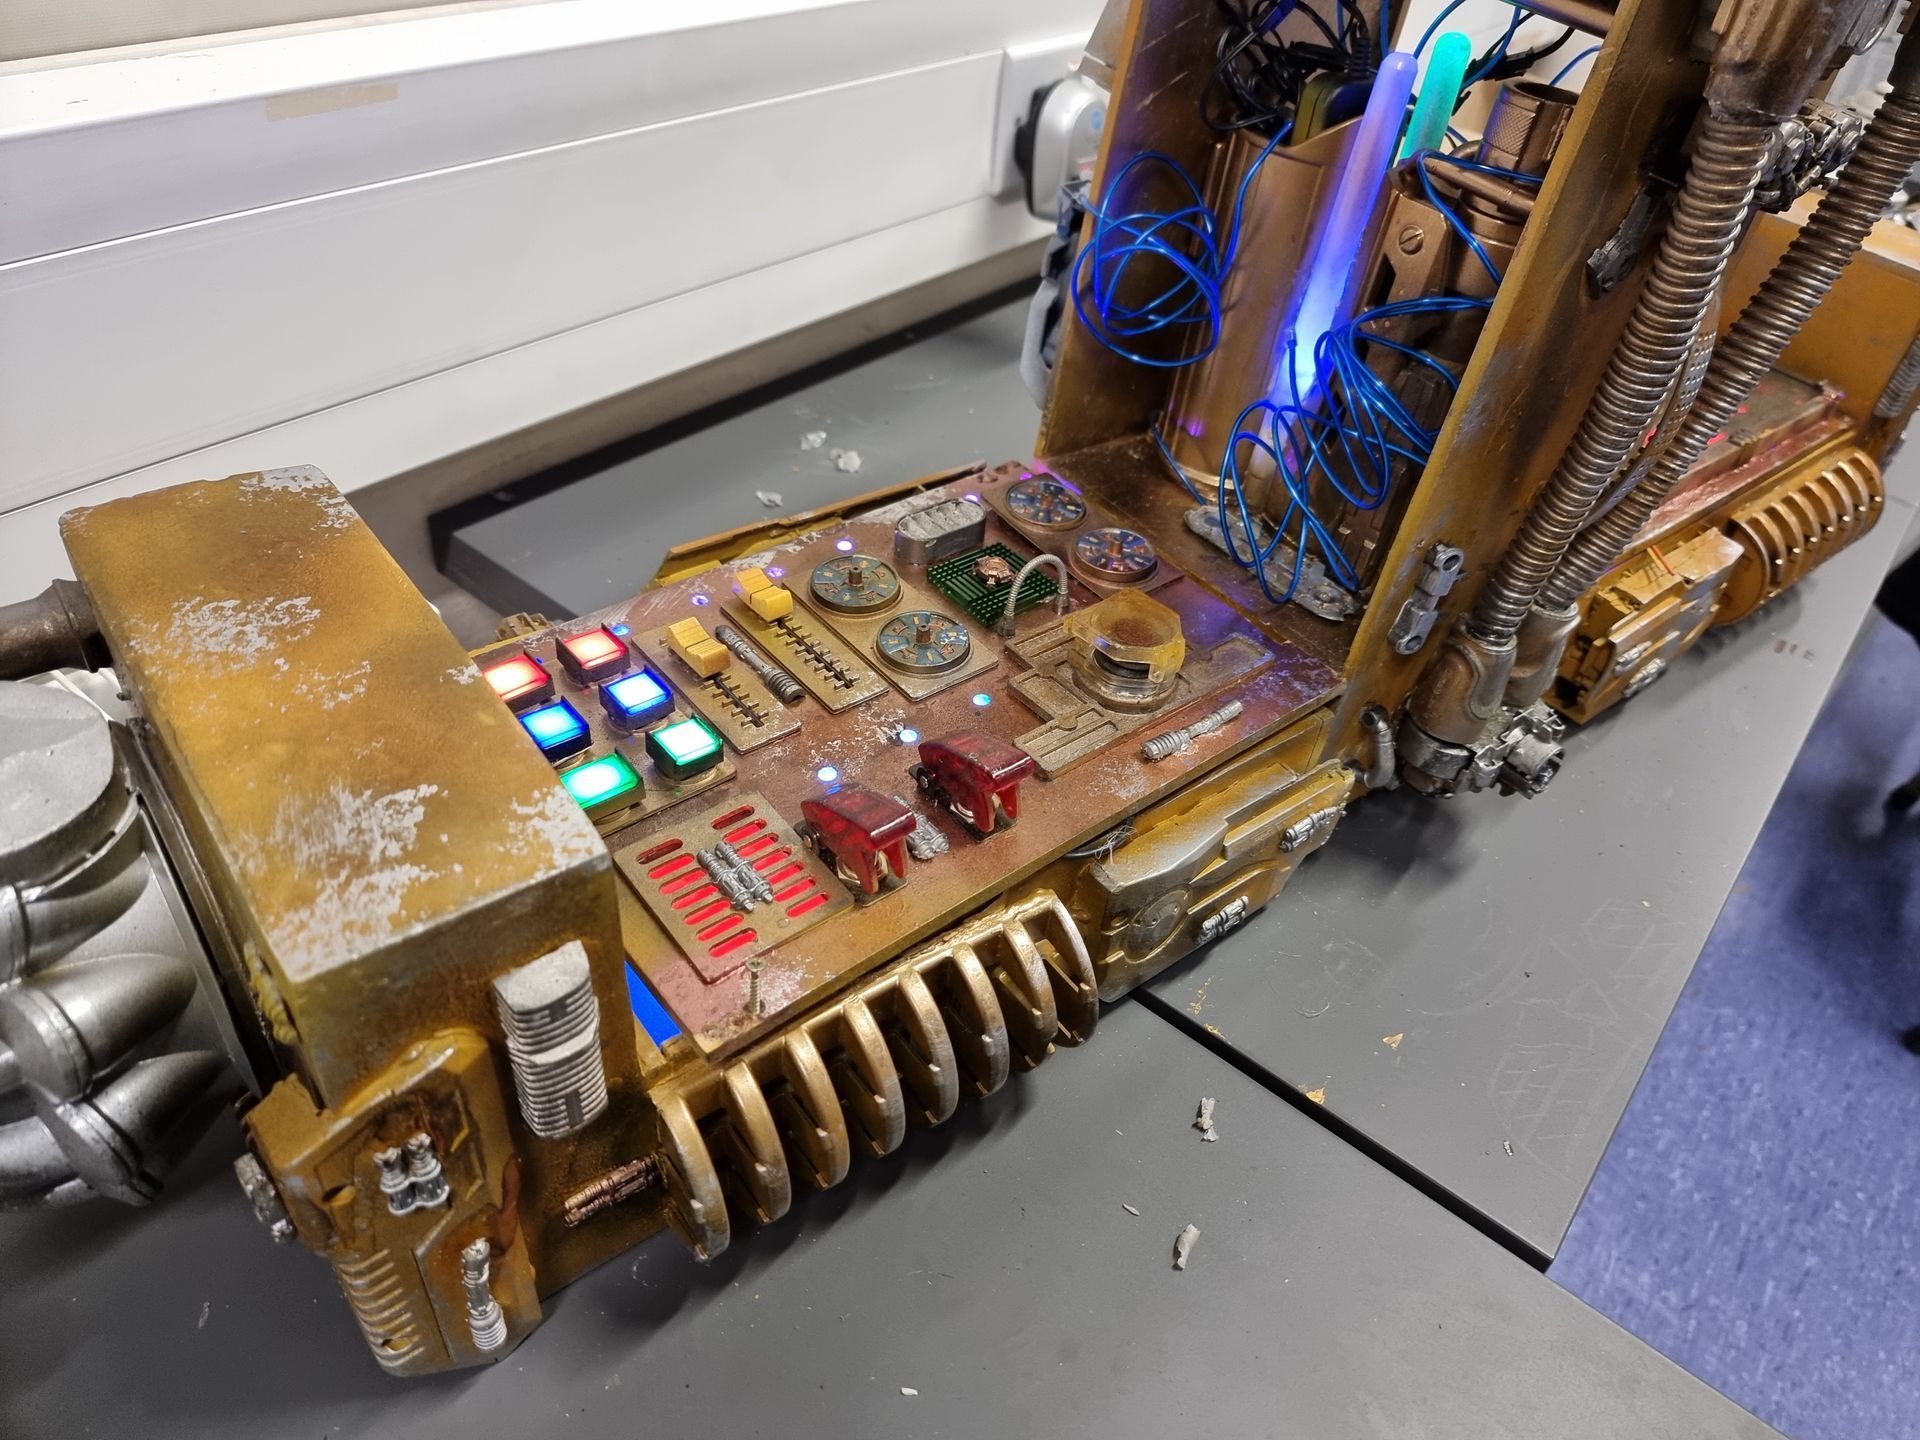
Blue, red and white square buttons have been popular in the Sar Wars Universe in particular in Imperial bases, capital star ships and smaller vehicles so that was adopted.
The central tower was to look like it had the power core, processing and technology so that was made to light up too and have wiring and piping etc.
All was to be distressed.
Layout Prototyping
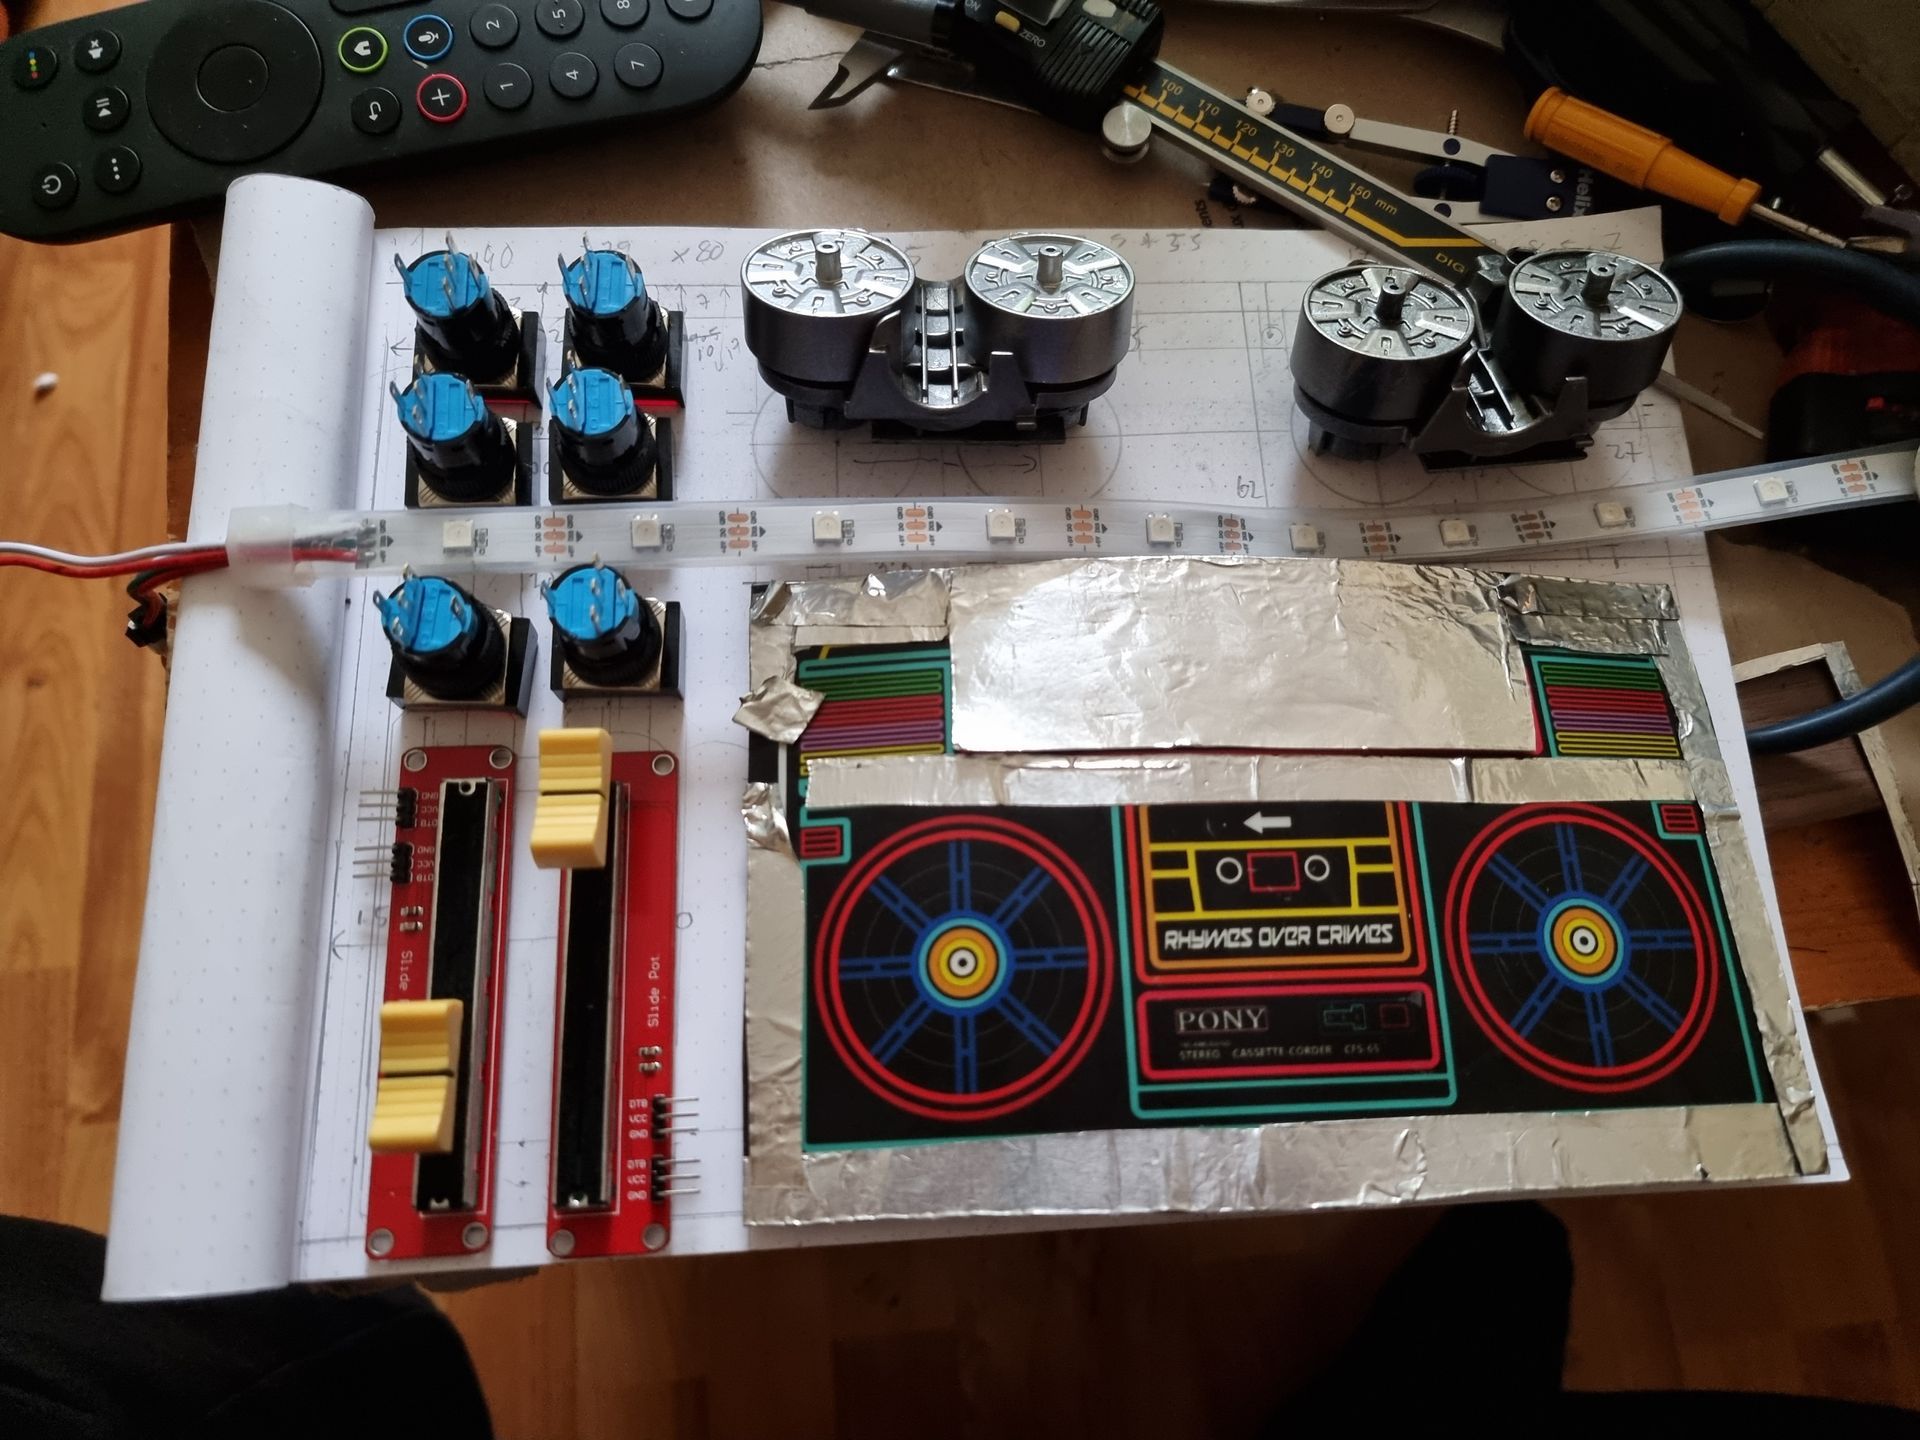
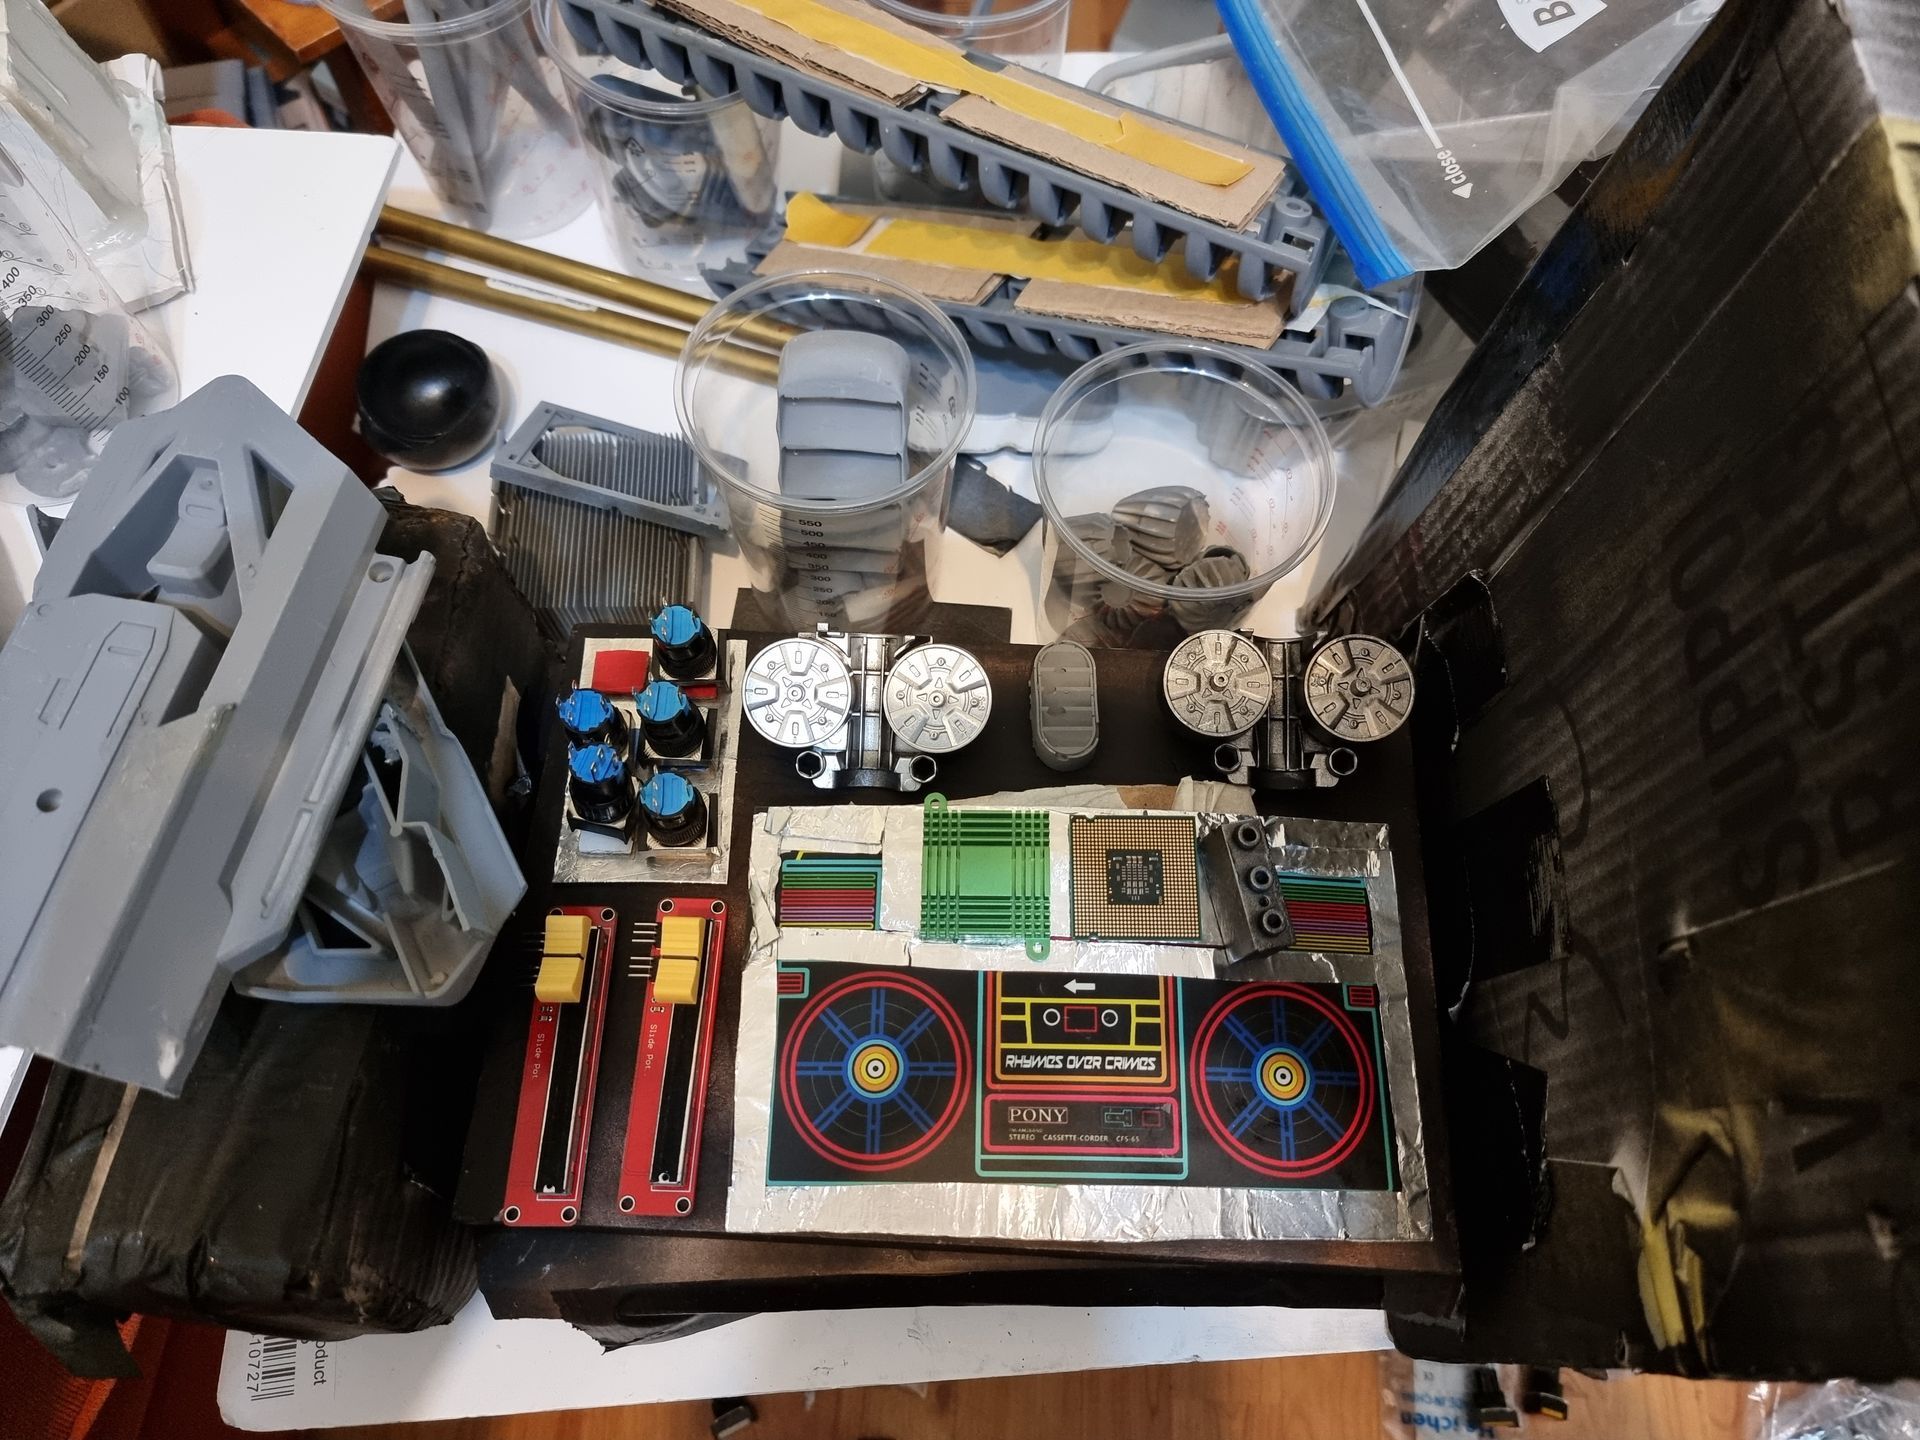
The prototyping was to work both the technology to get it working. the aesthetics, the size and fit of the buttons.
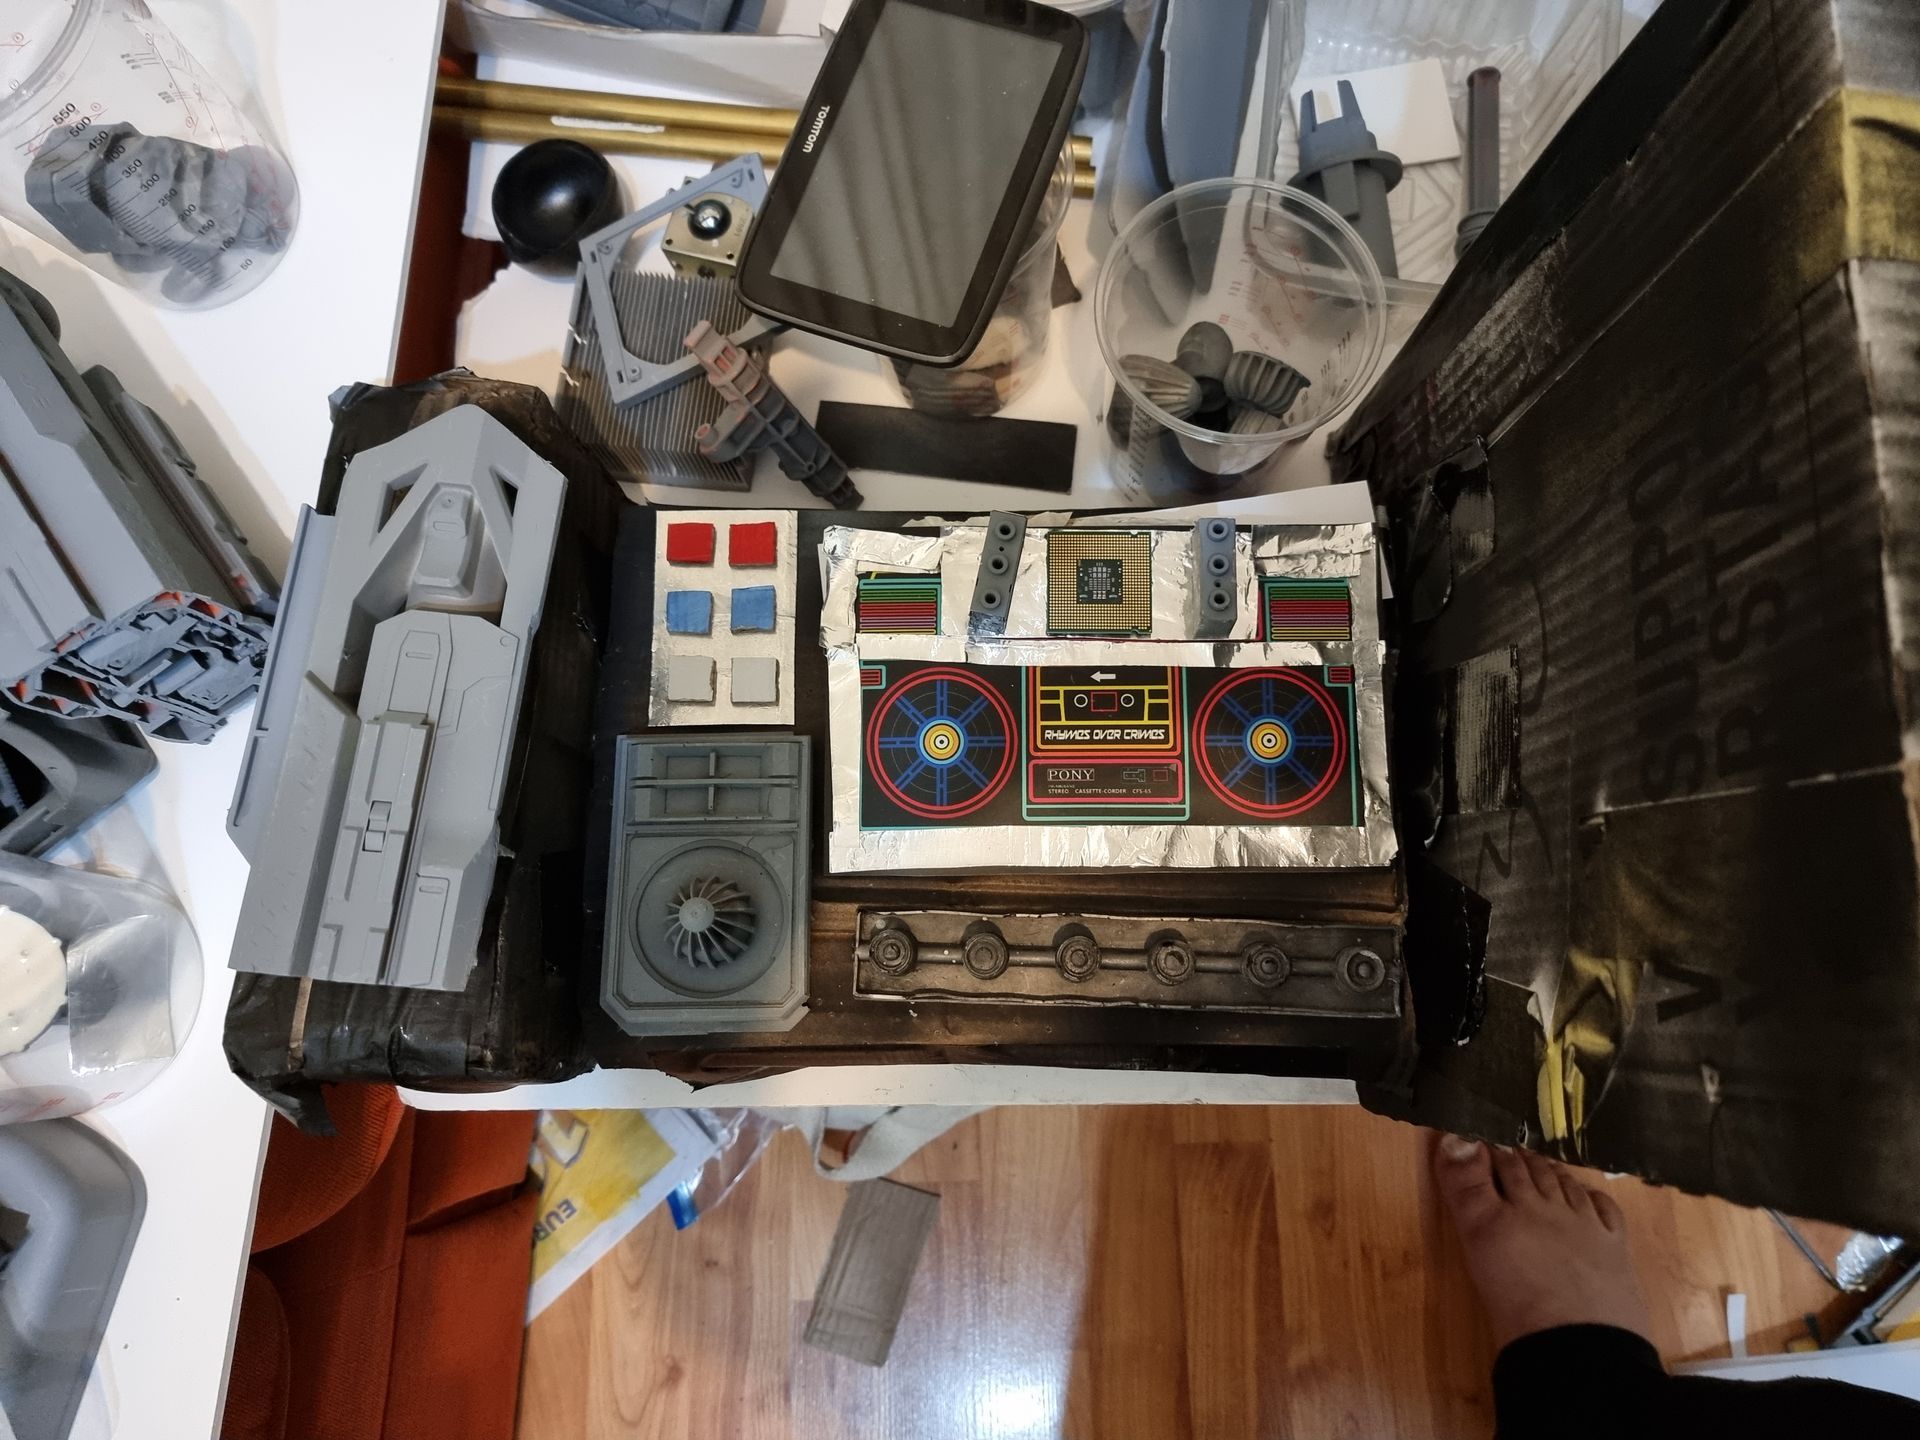
I started with silver foil coated card for the under controls and button panels.
Control knobs included Nerf fly wheel pairs (Bottom left first photo)
Bottom right first photos the strip of knobs was the wheels from a toy tank.
Light Up T shirt Panel
Originally intended for eyes for my droid attempt I did try and incorporate an electroluminescent light up to music T shirt panel (Twin red circles) as part of the controls. This could have looked great but was meant to respond to loud music so was a struggle to get working so was abandoned. As it was wonky it was also hard to position holes for the light up panels as they had to be very precisely positioned.
Electrical and Electronic Prototyping
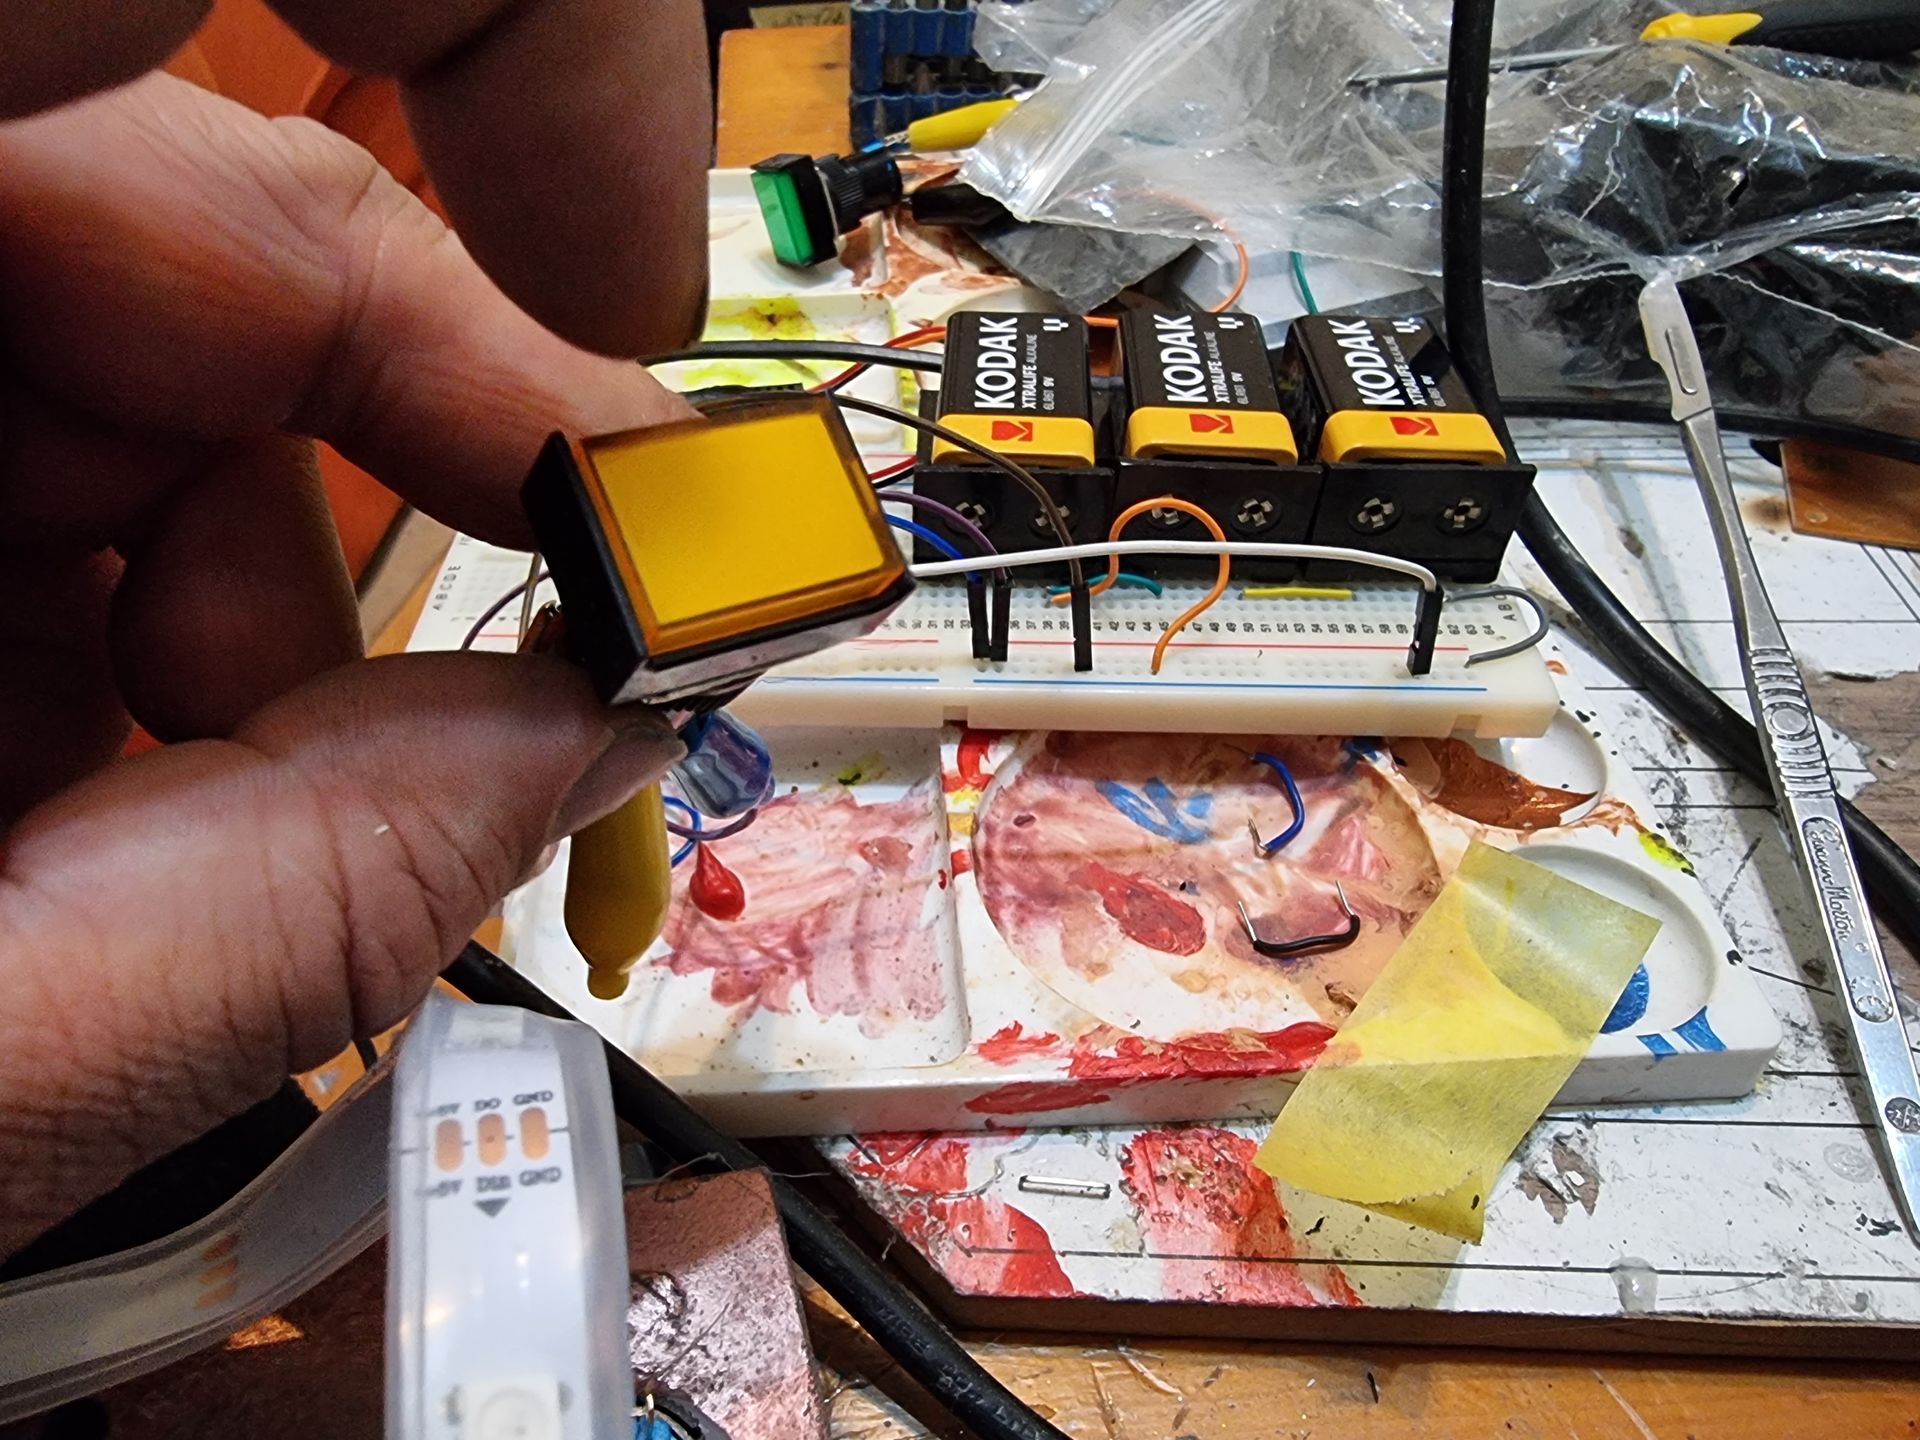
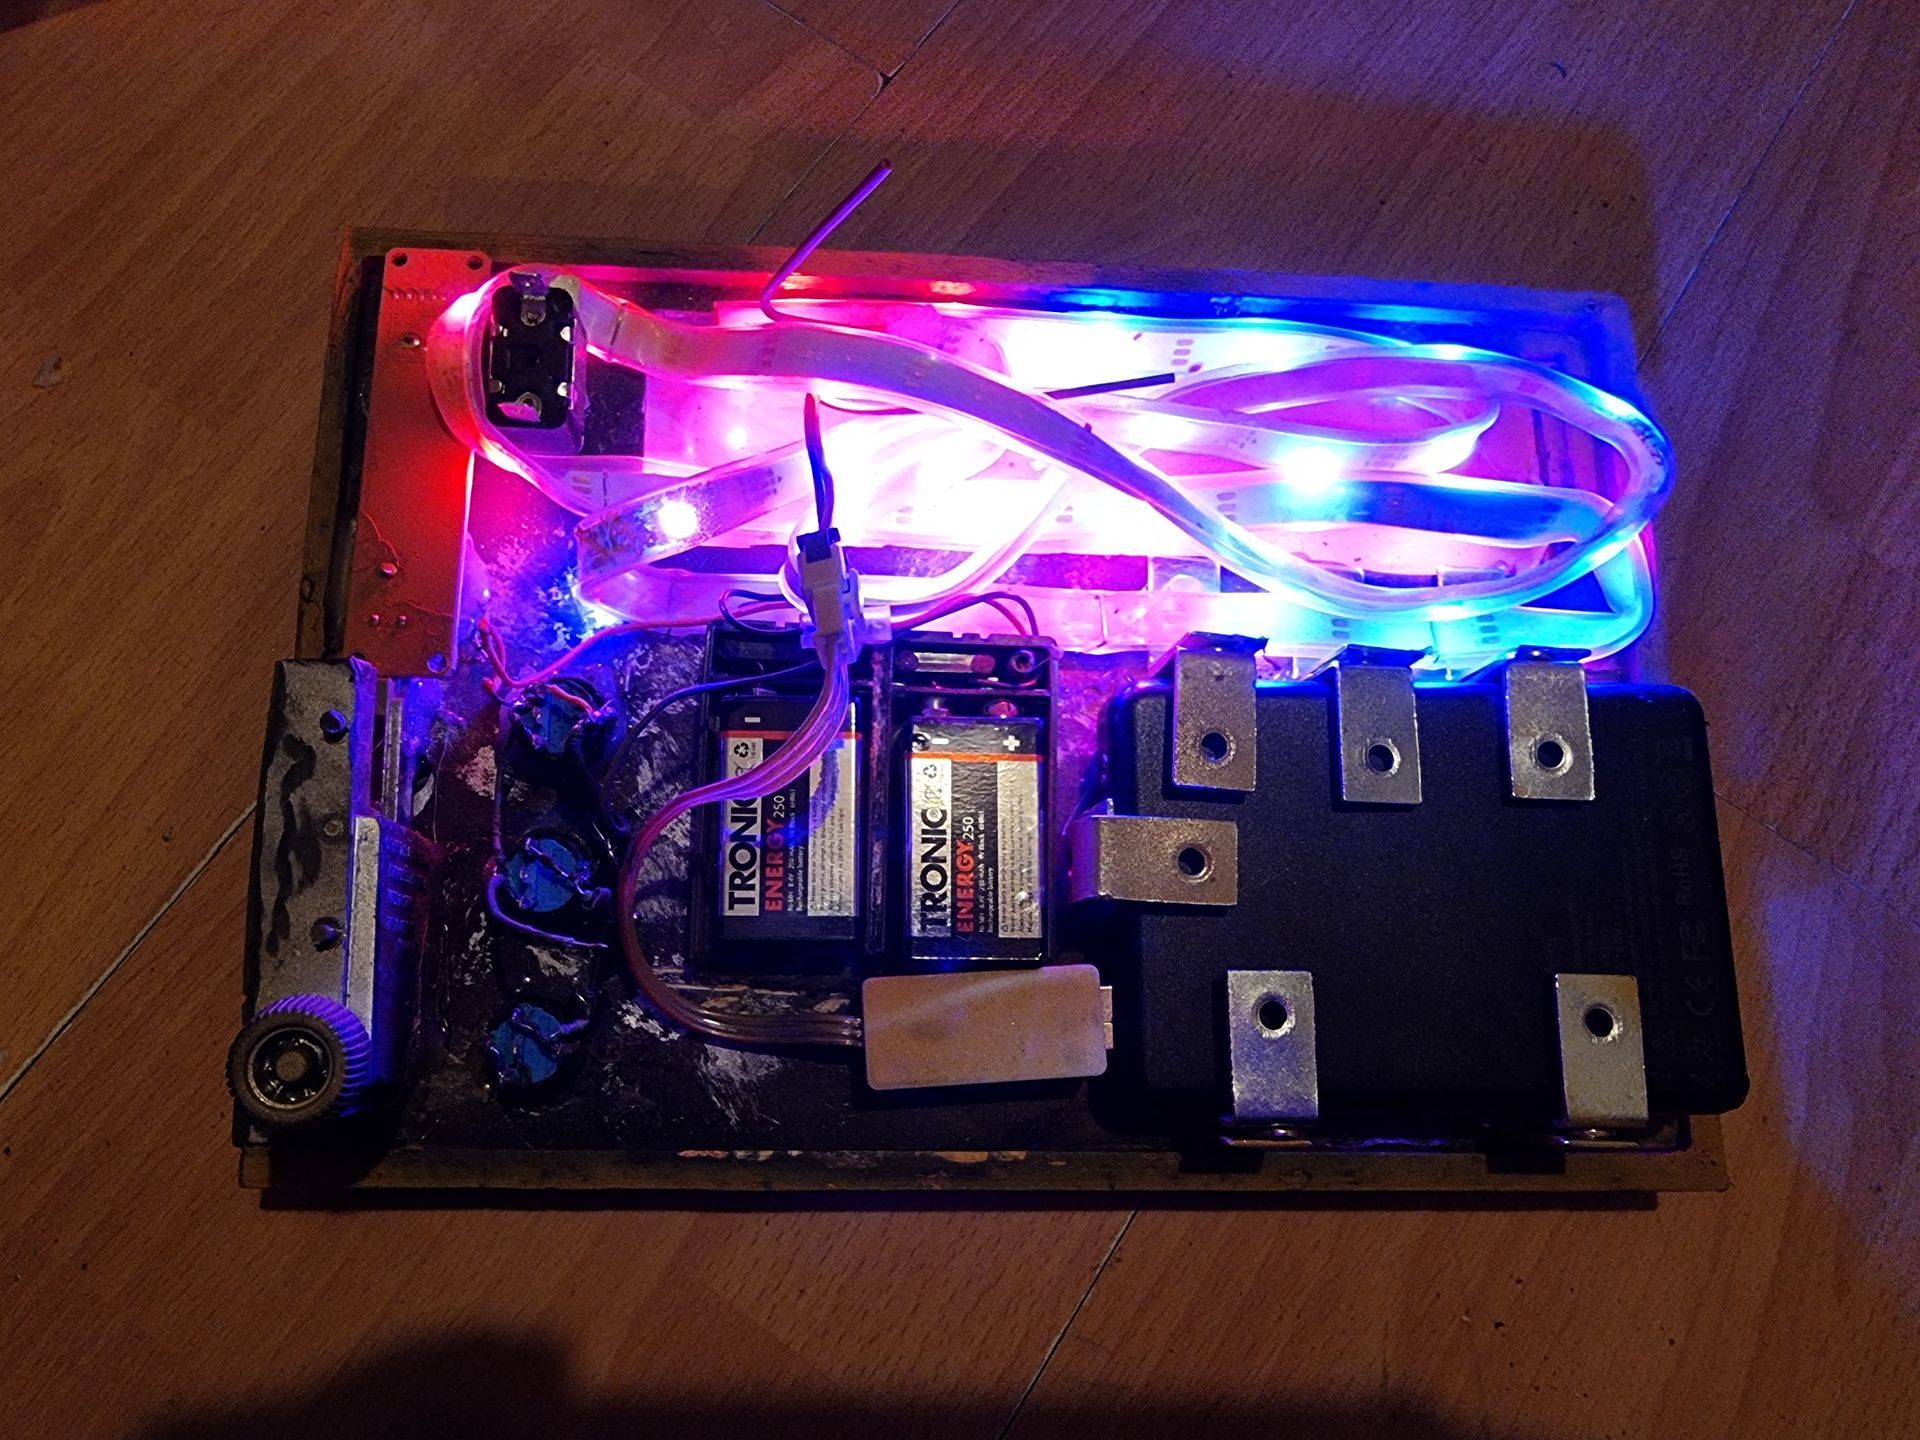
Electronic prototyping was next, using a white breadboard which has copper grip slots under a panel or wire holes.
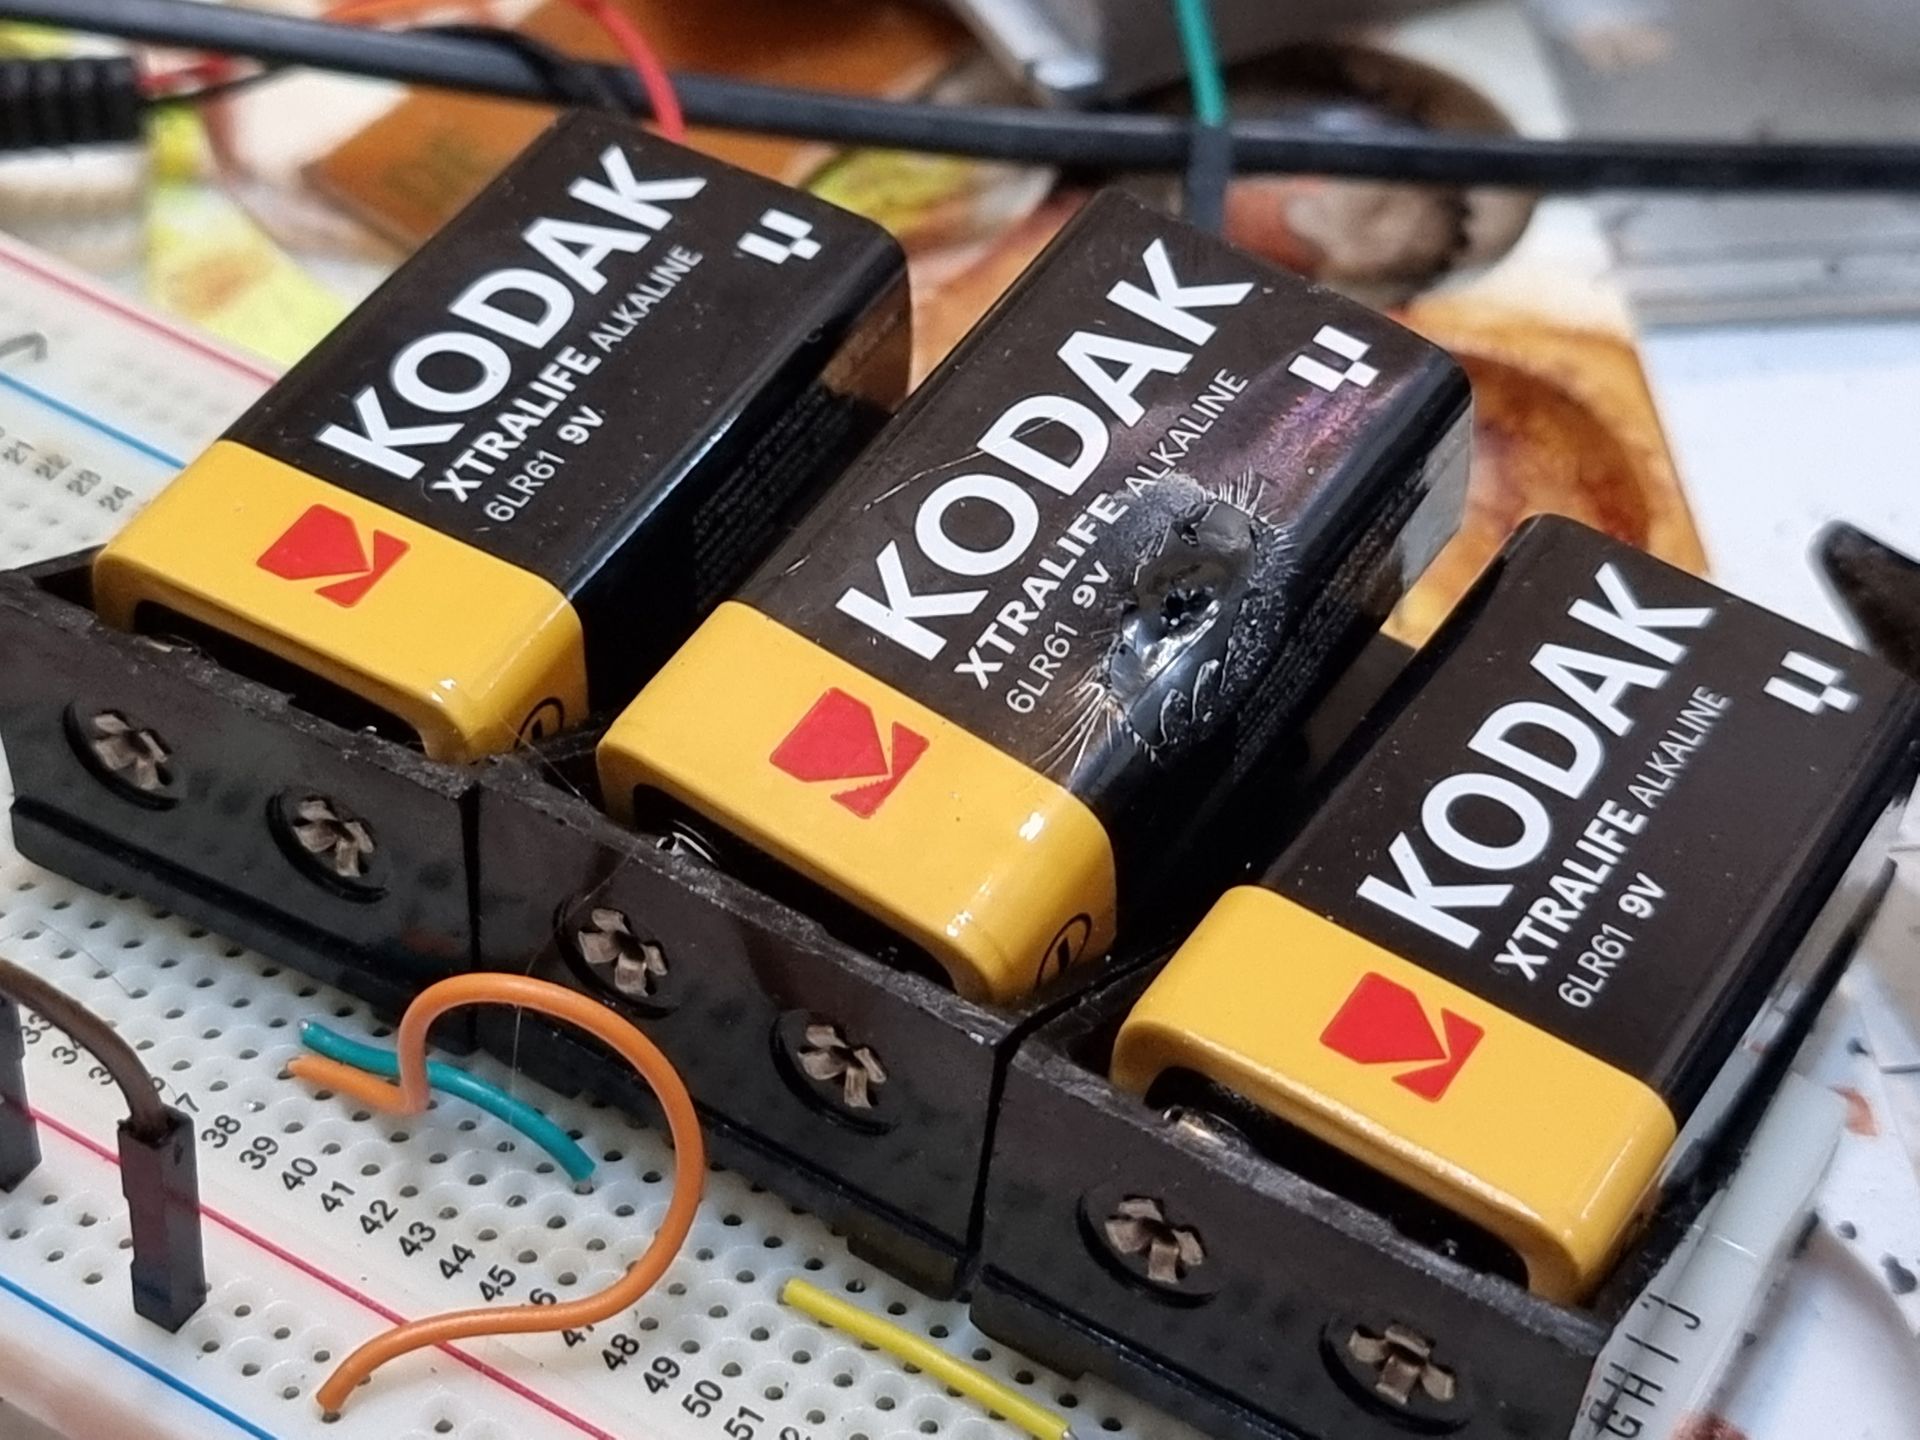
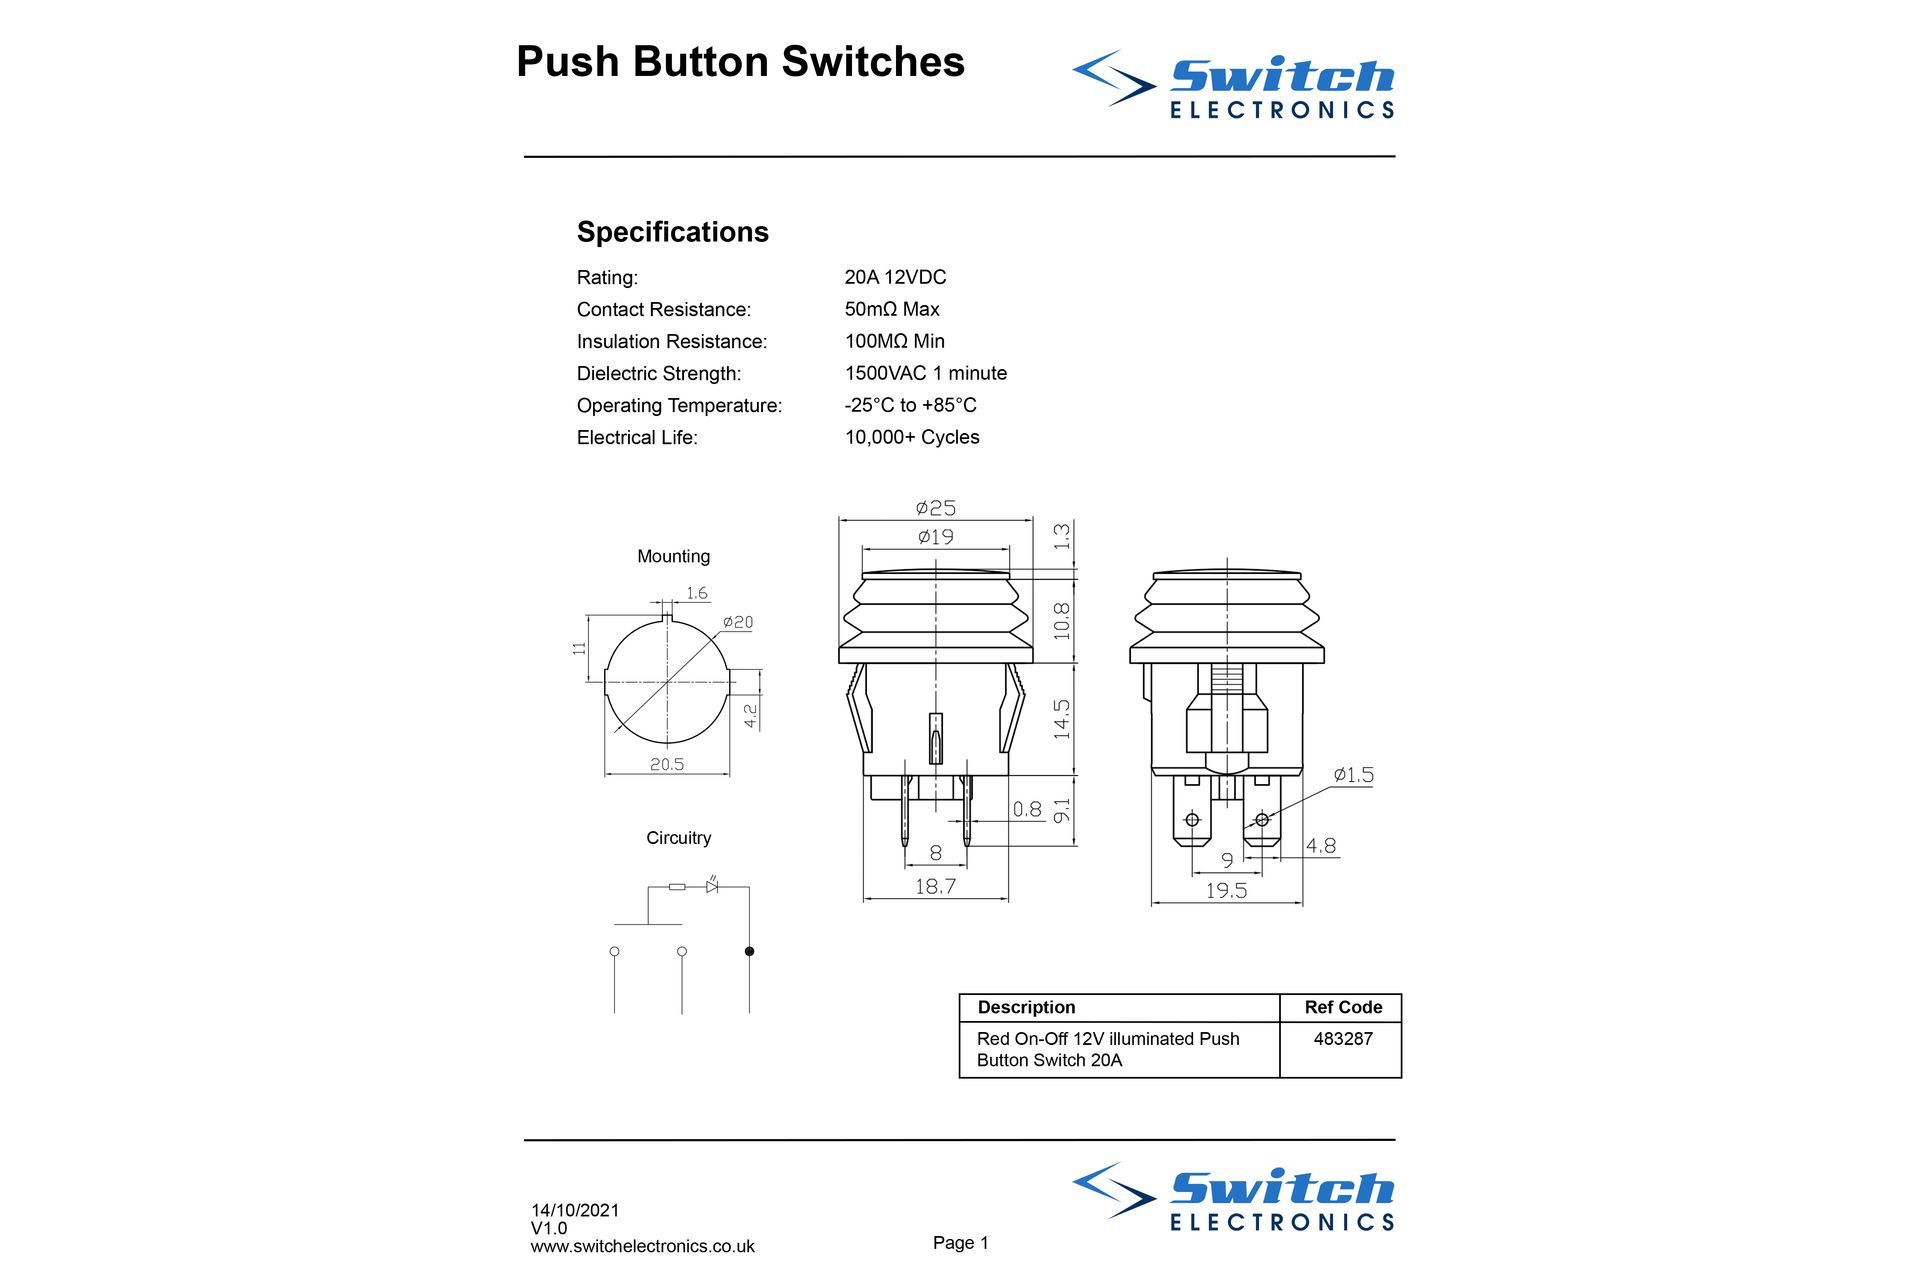
The light up switches were rated at 12v or 18v so that meant I needed to use PP3 Batteries in series.
These had a number of pins.
- Ground
- LED +
- LED -
- Normally Open
- Normally Closed
- Common
It took several attempts to work out the wiring I needed to do to get the result I wanted.
I also did not realise I needed a resister on the power input which resulted in a few batteries having holed blown out of them when they over heated. This was fixed when I added a 2 k ohm resister on the LED + line.


LED Strips
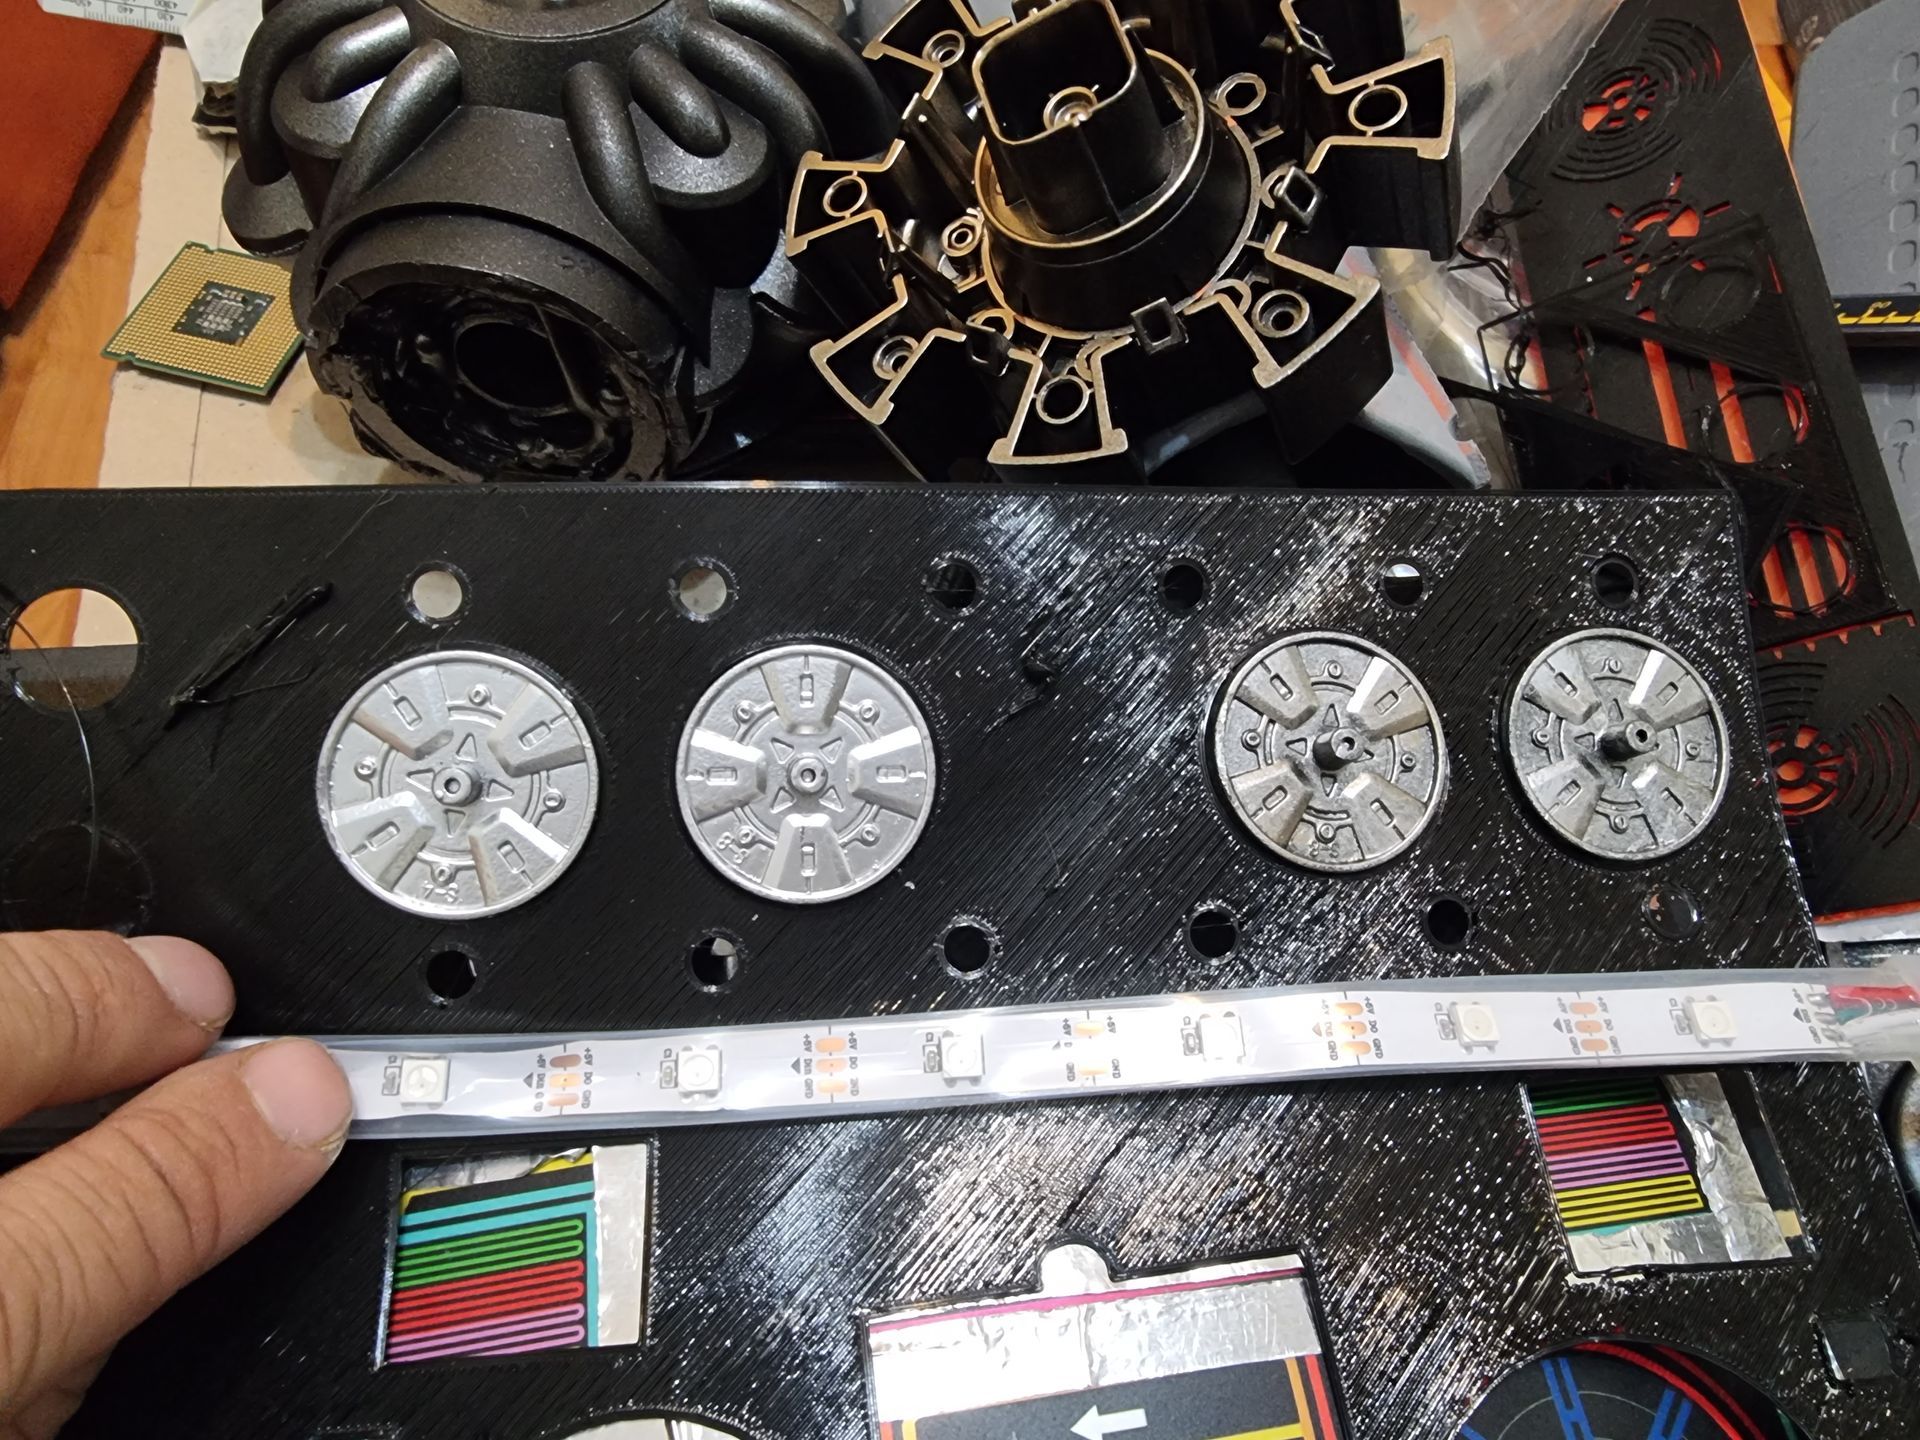
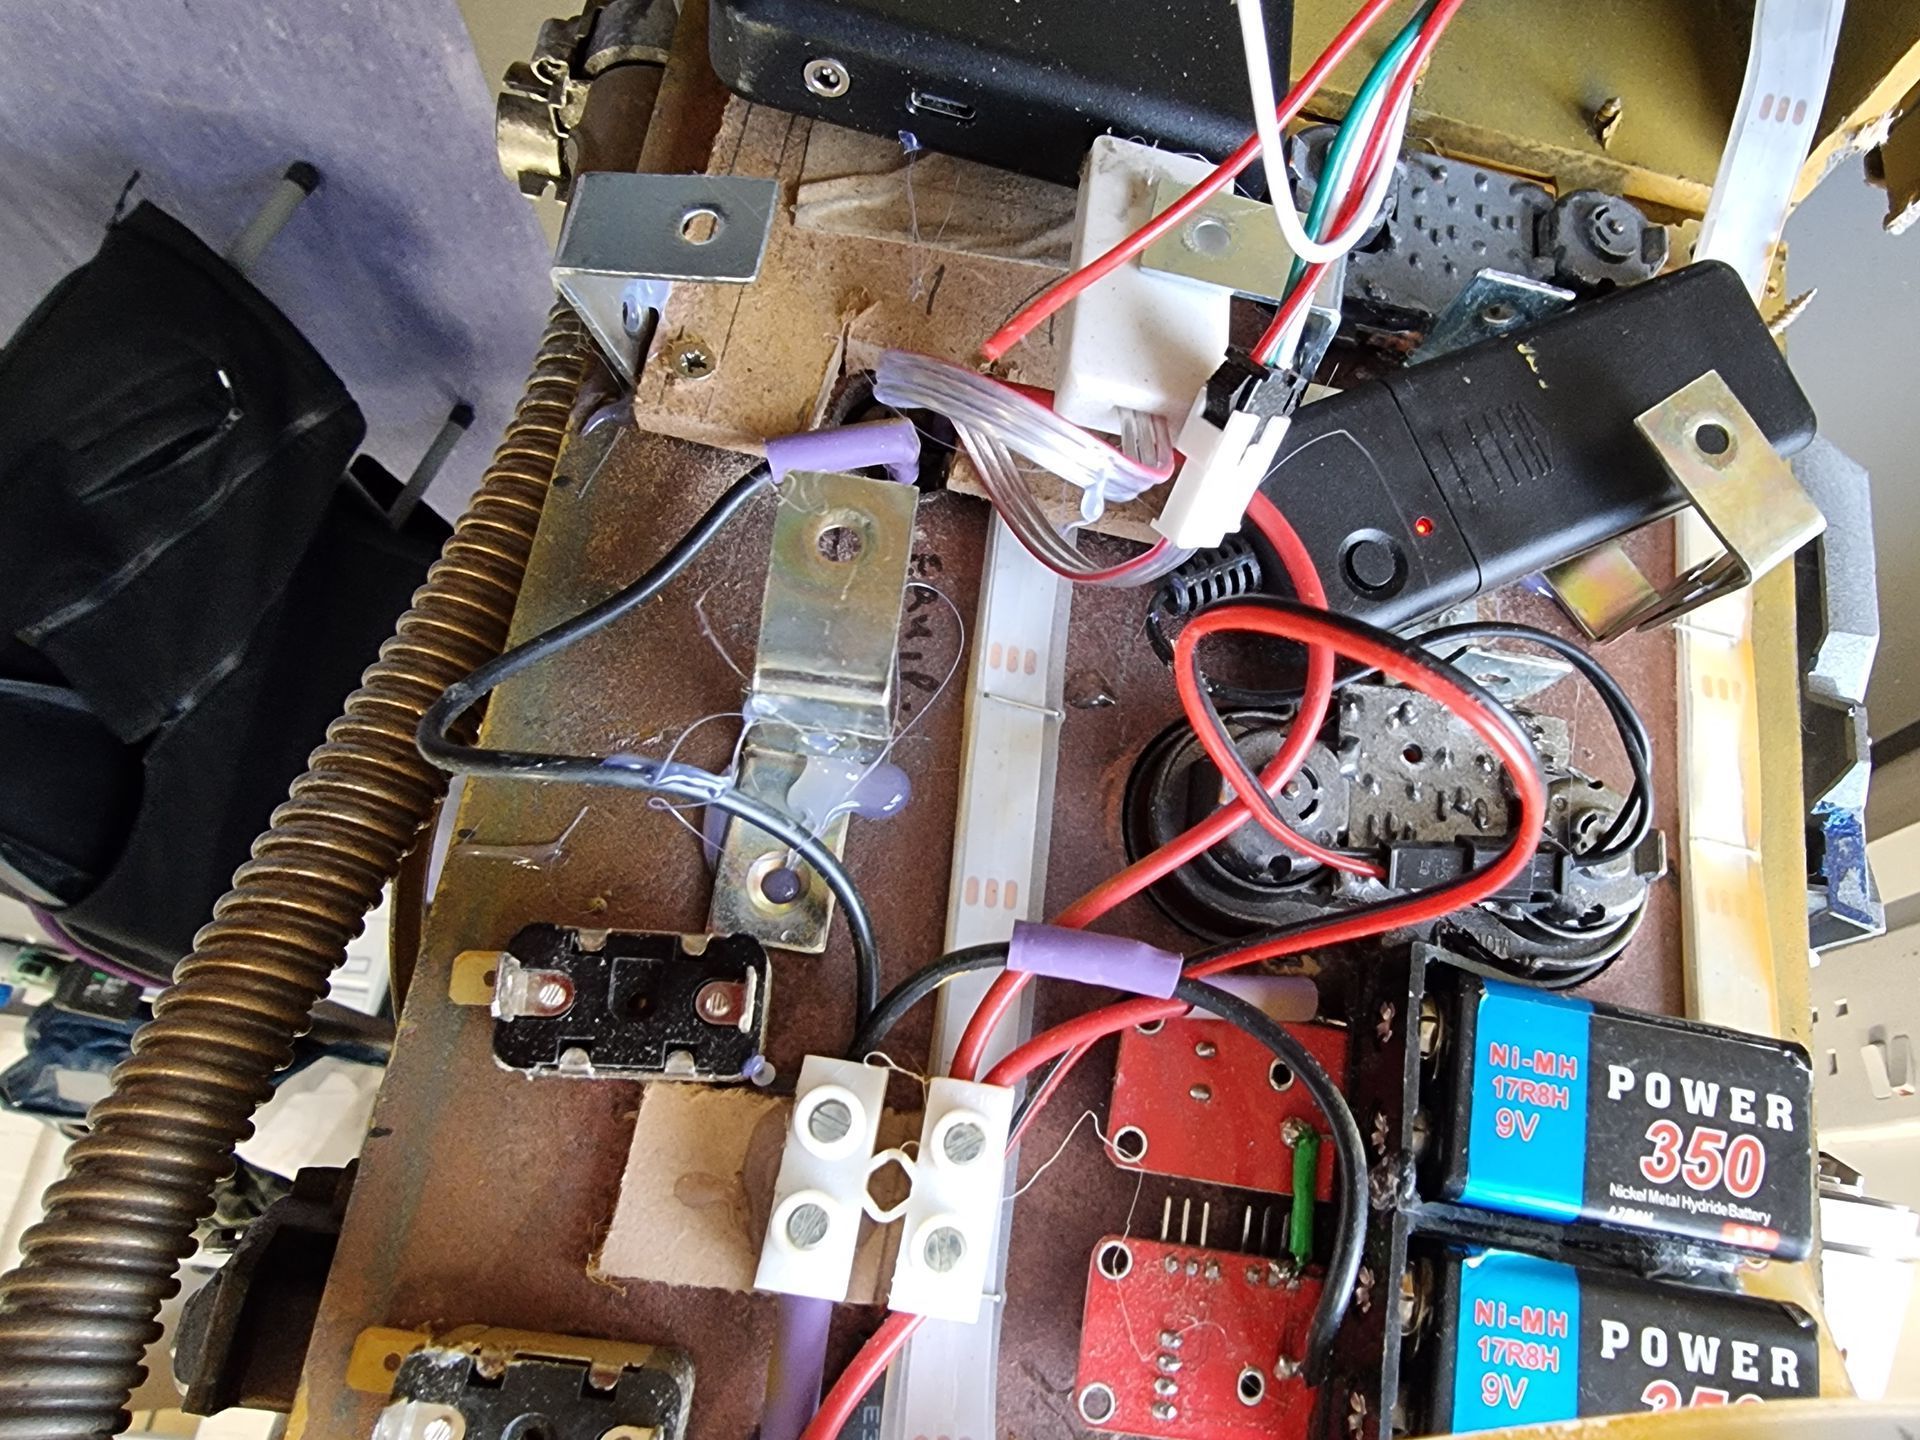
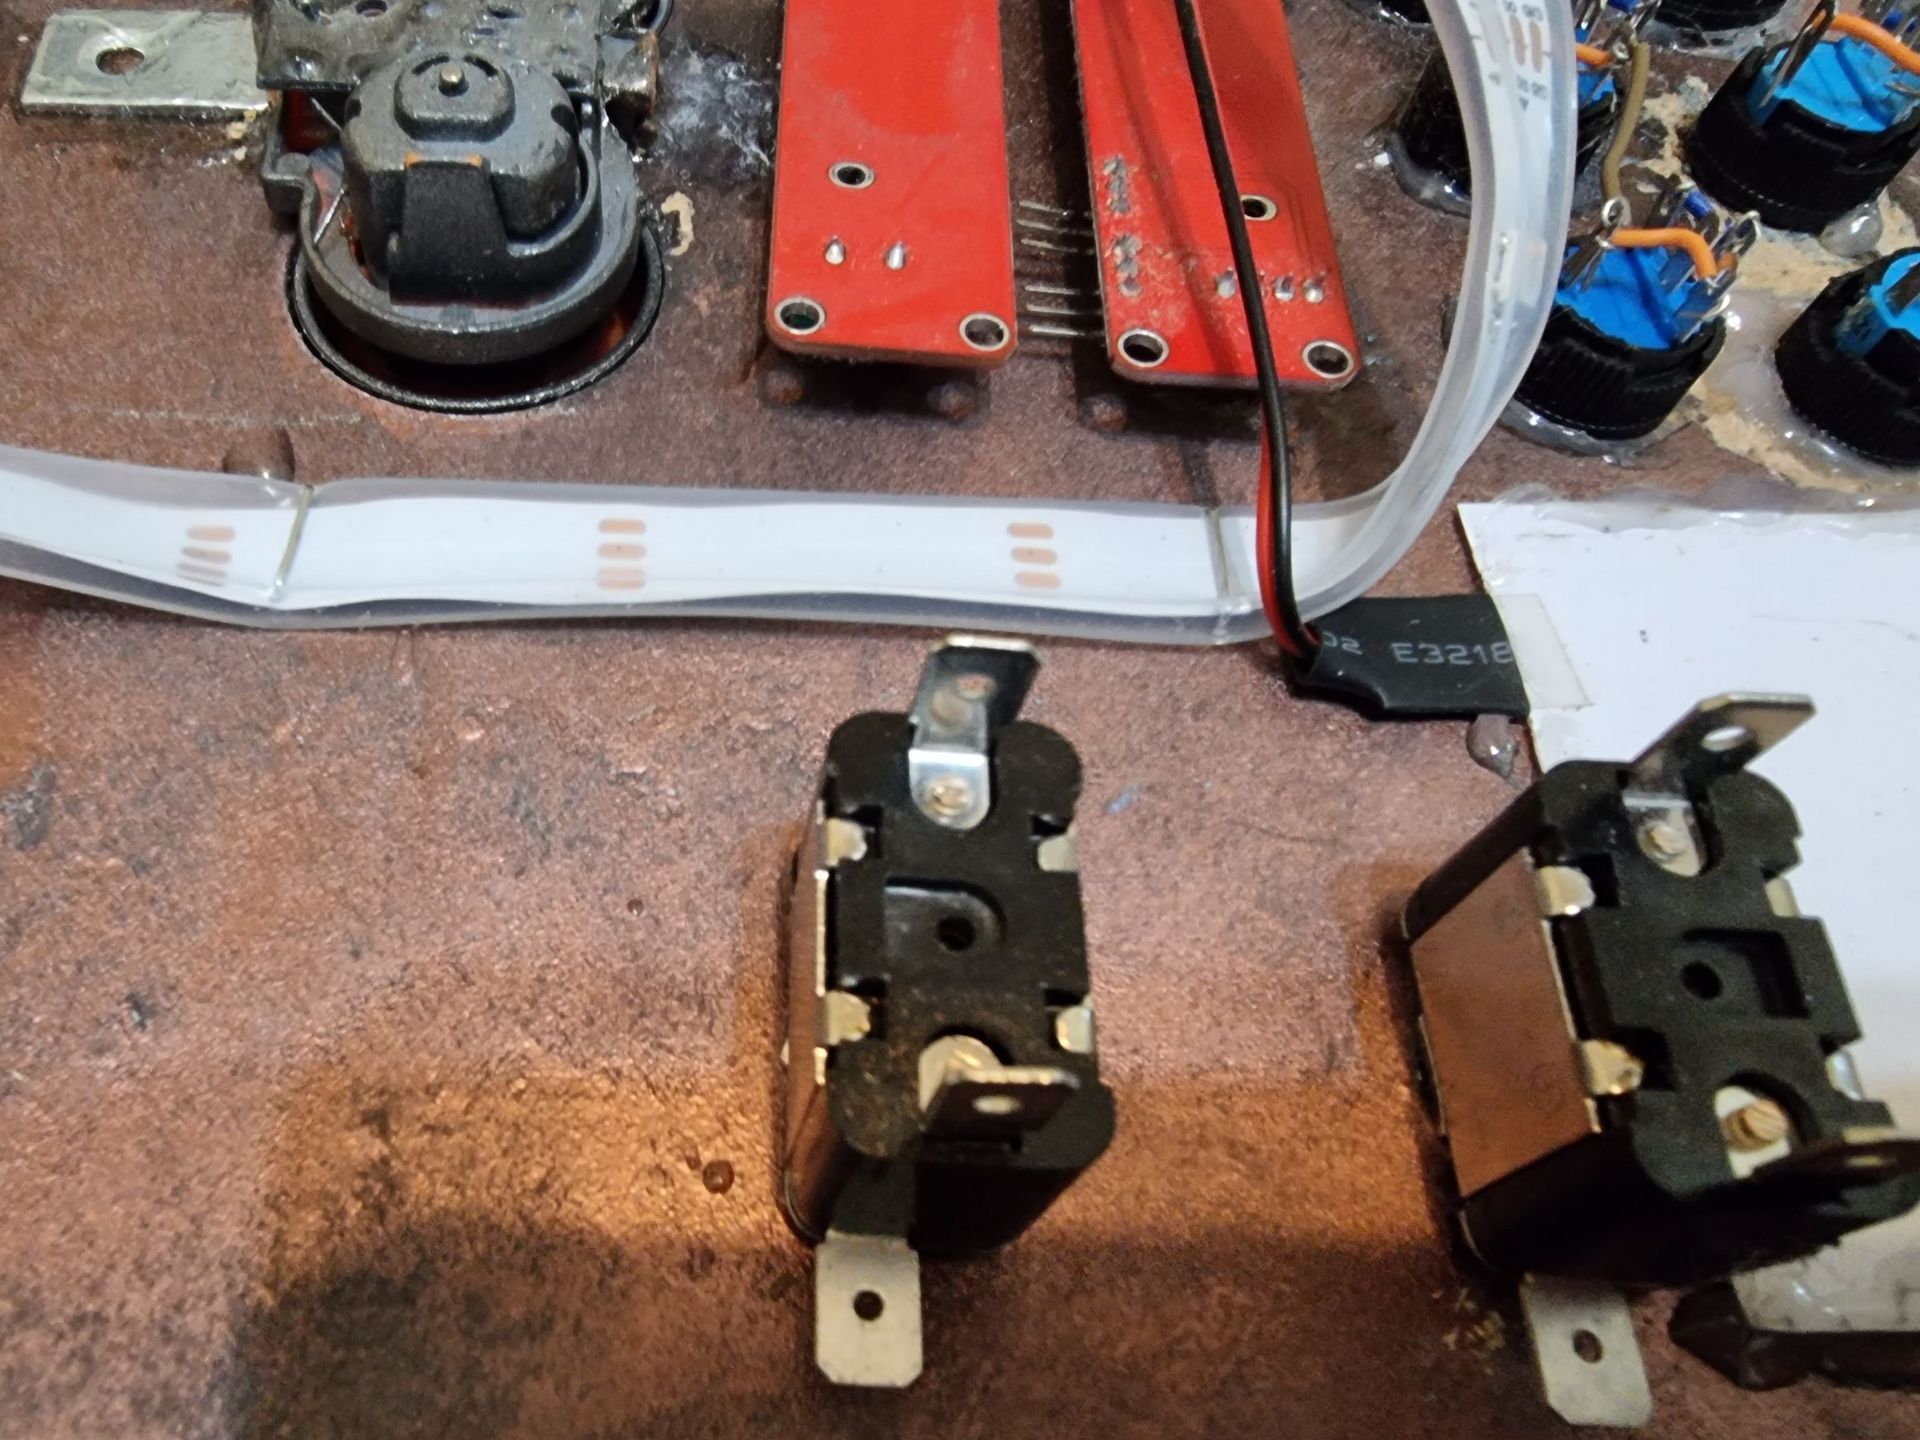
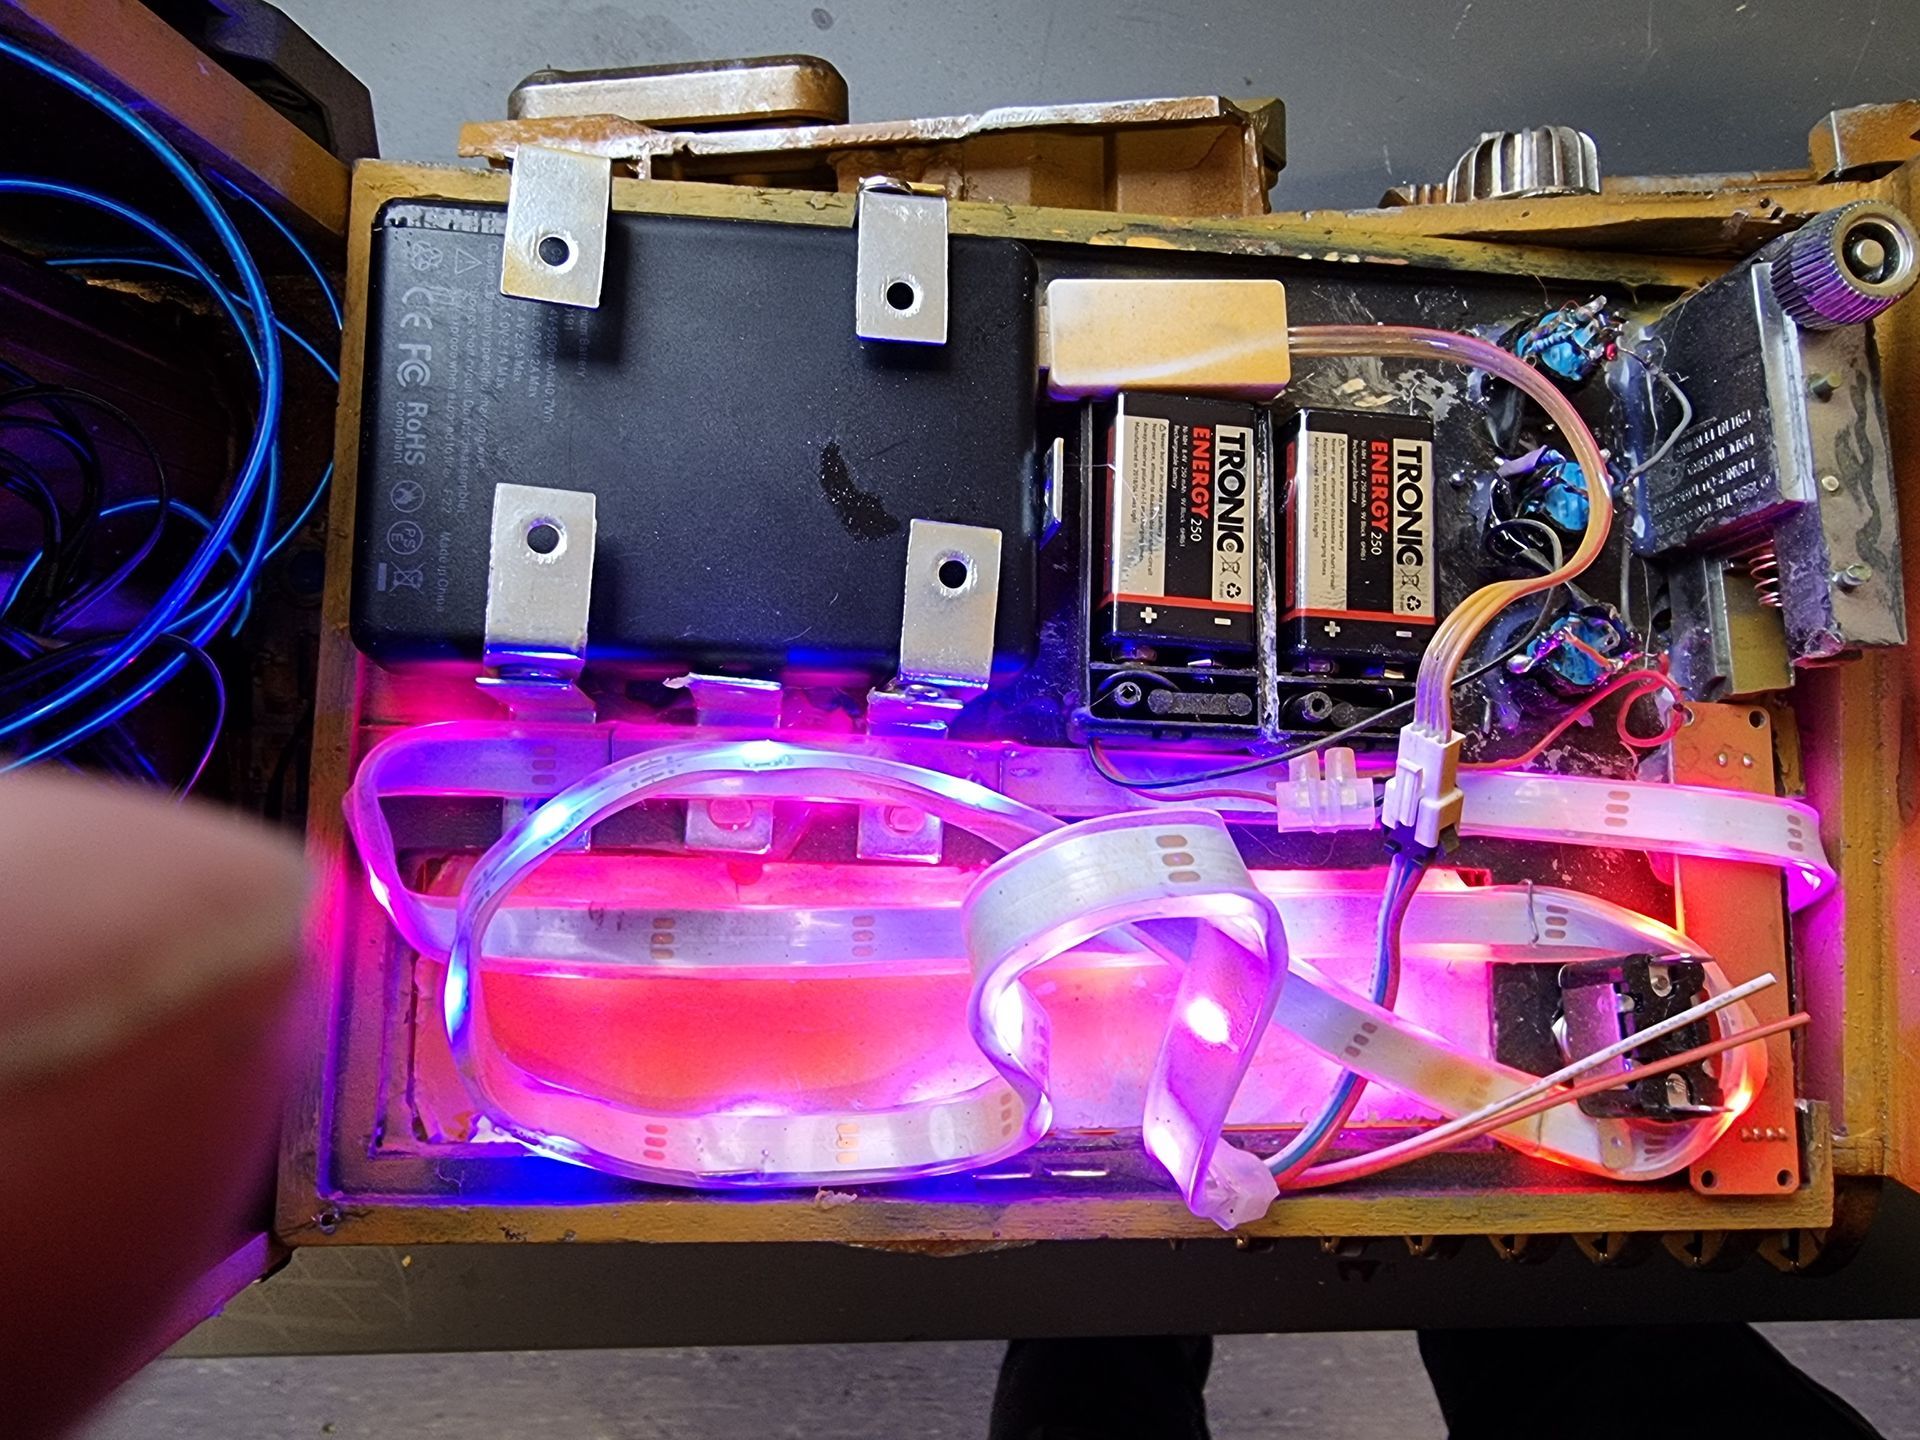
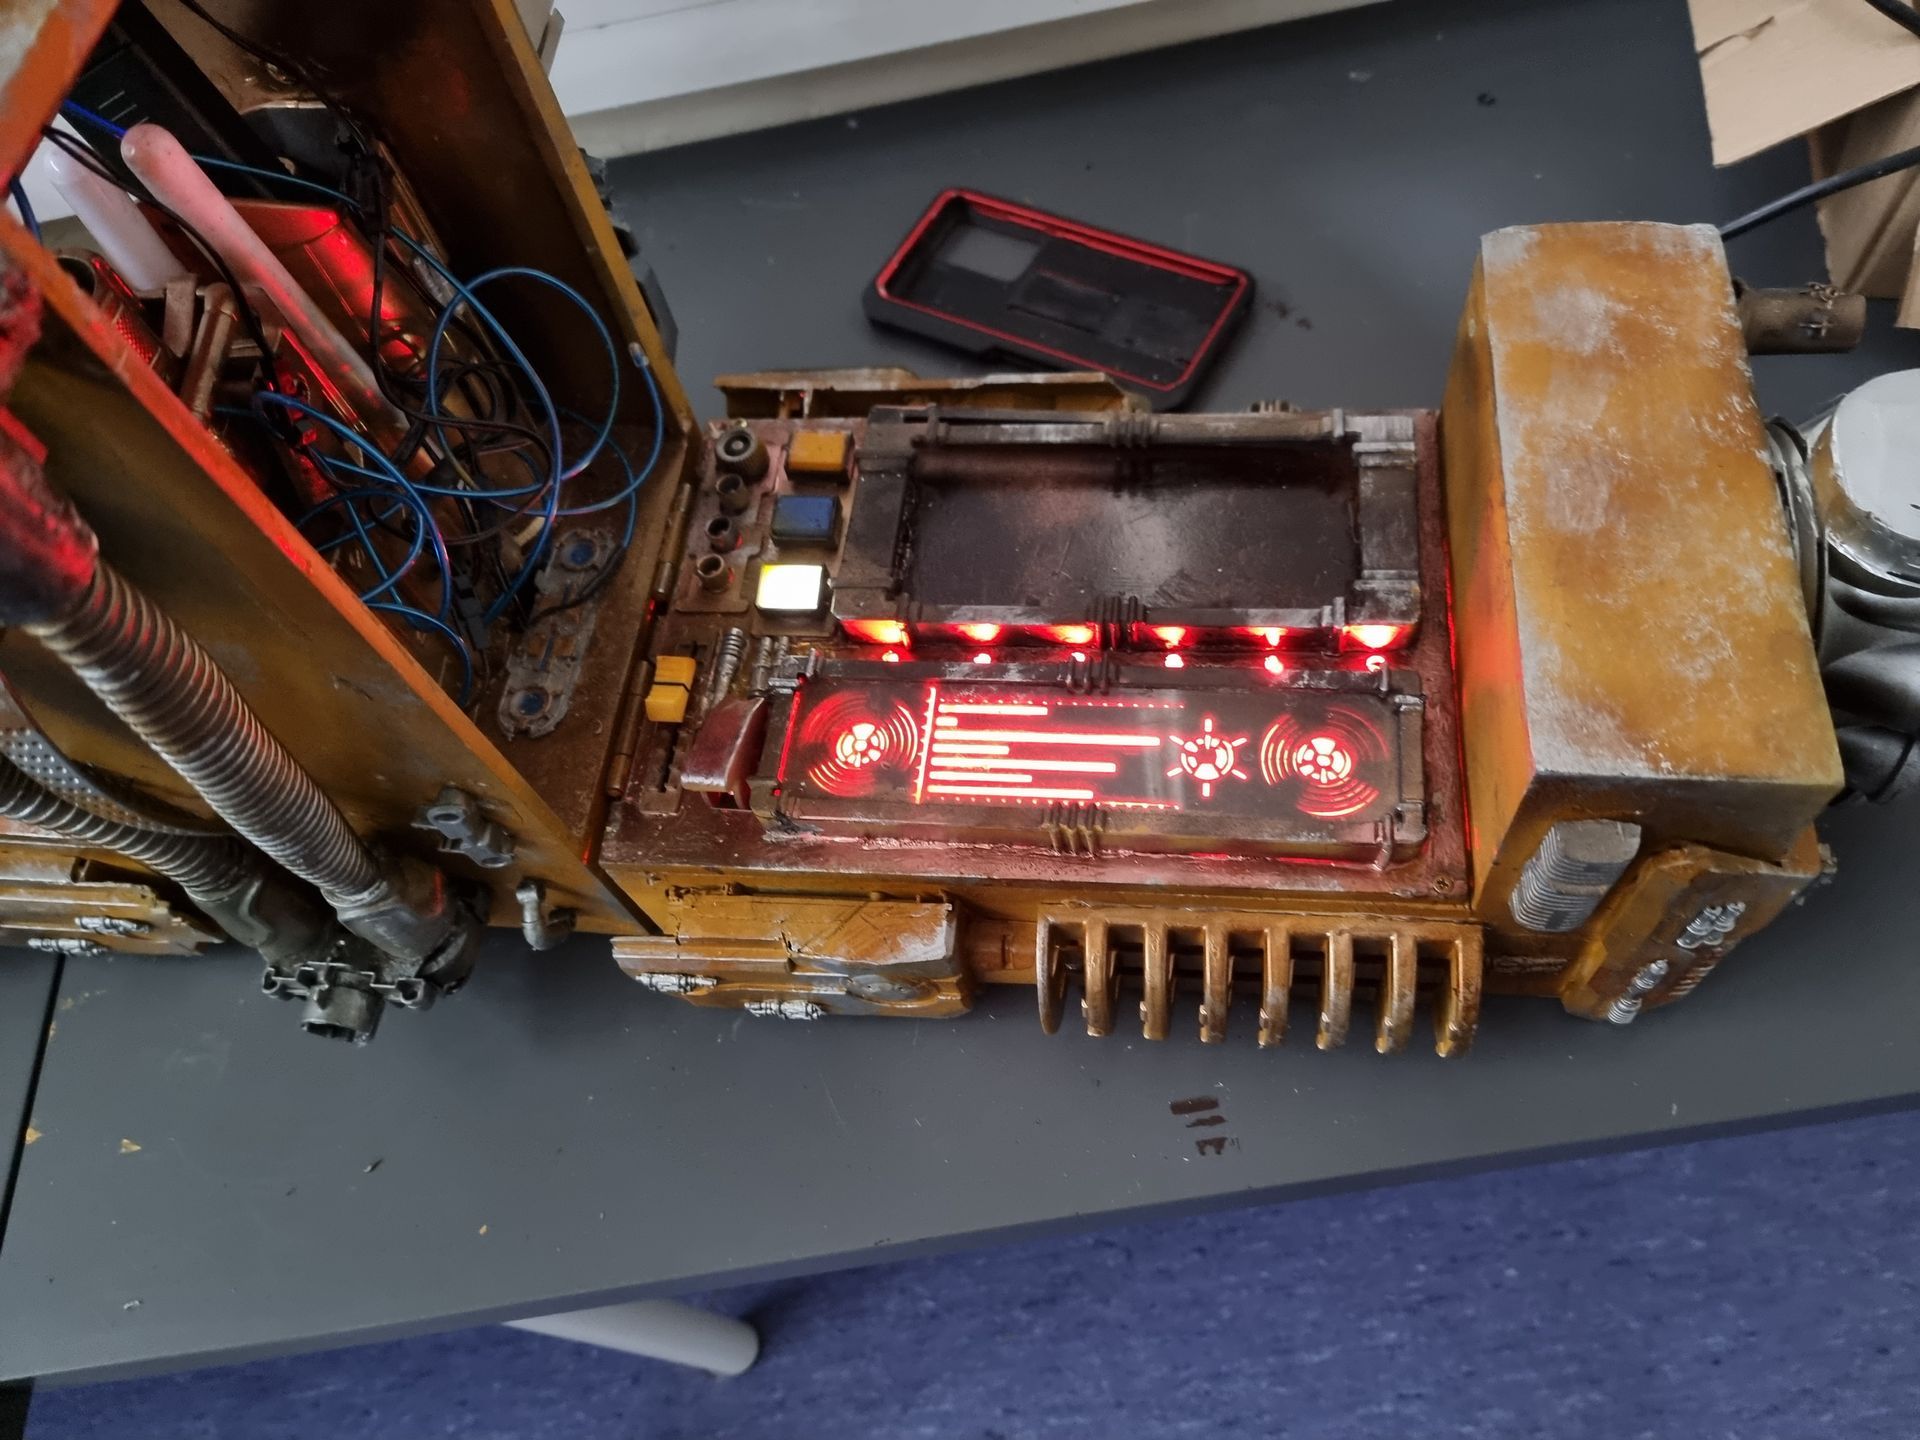
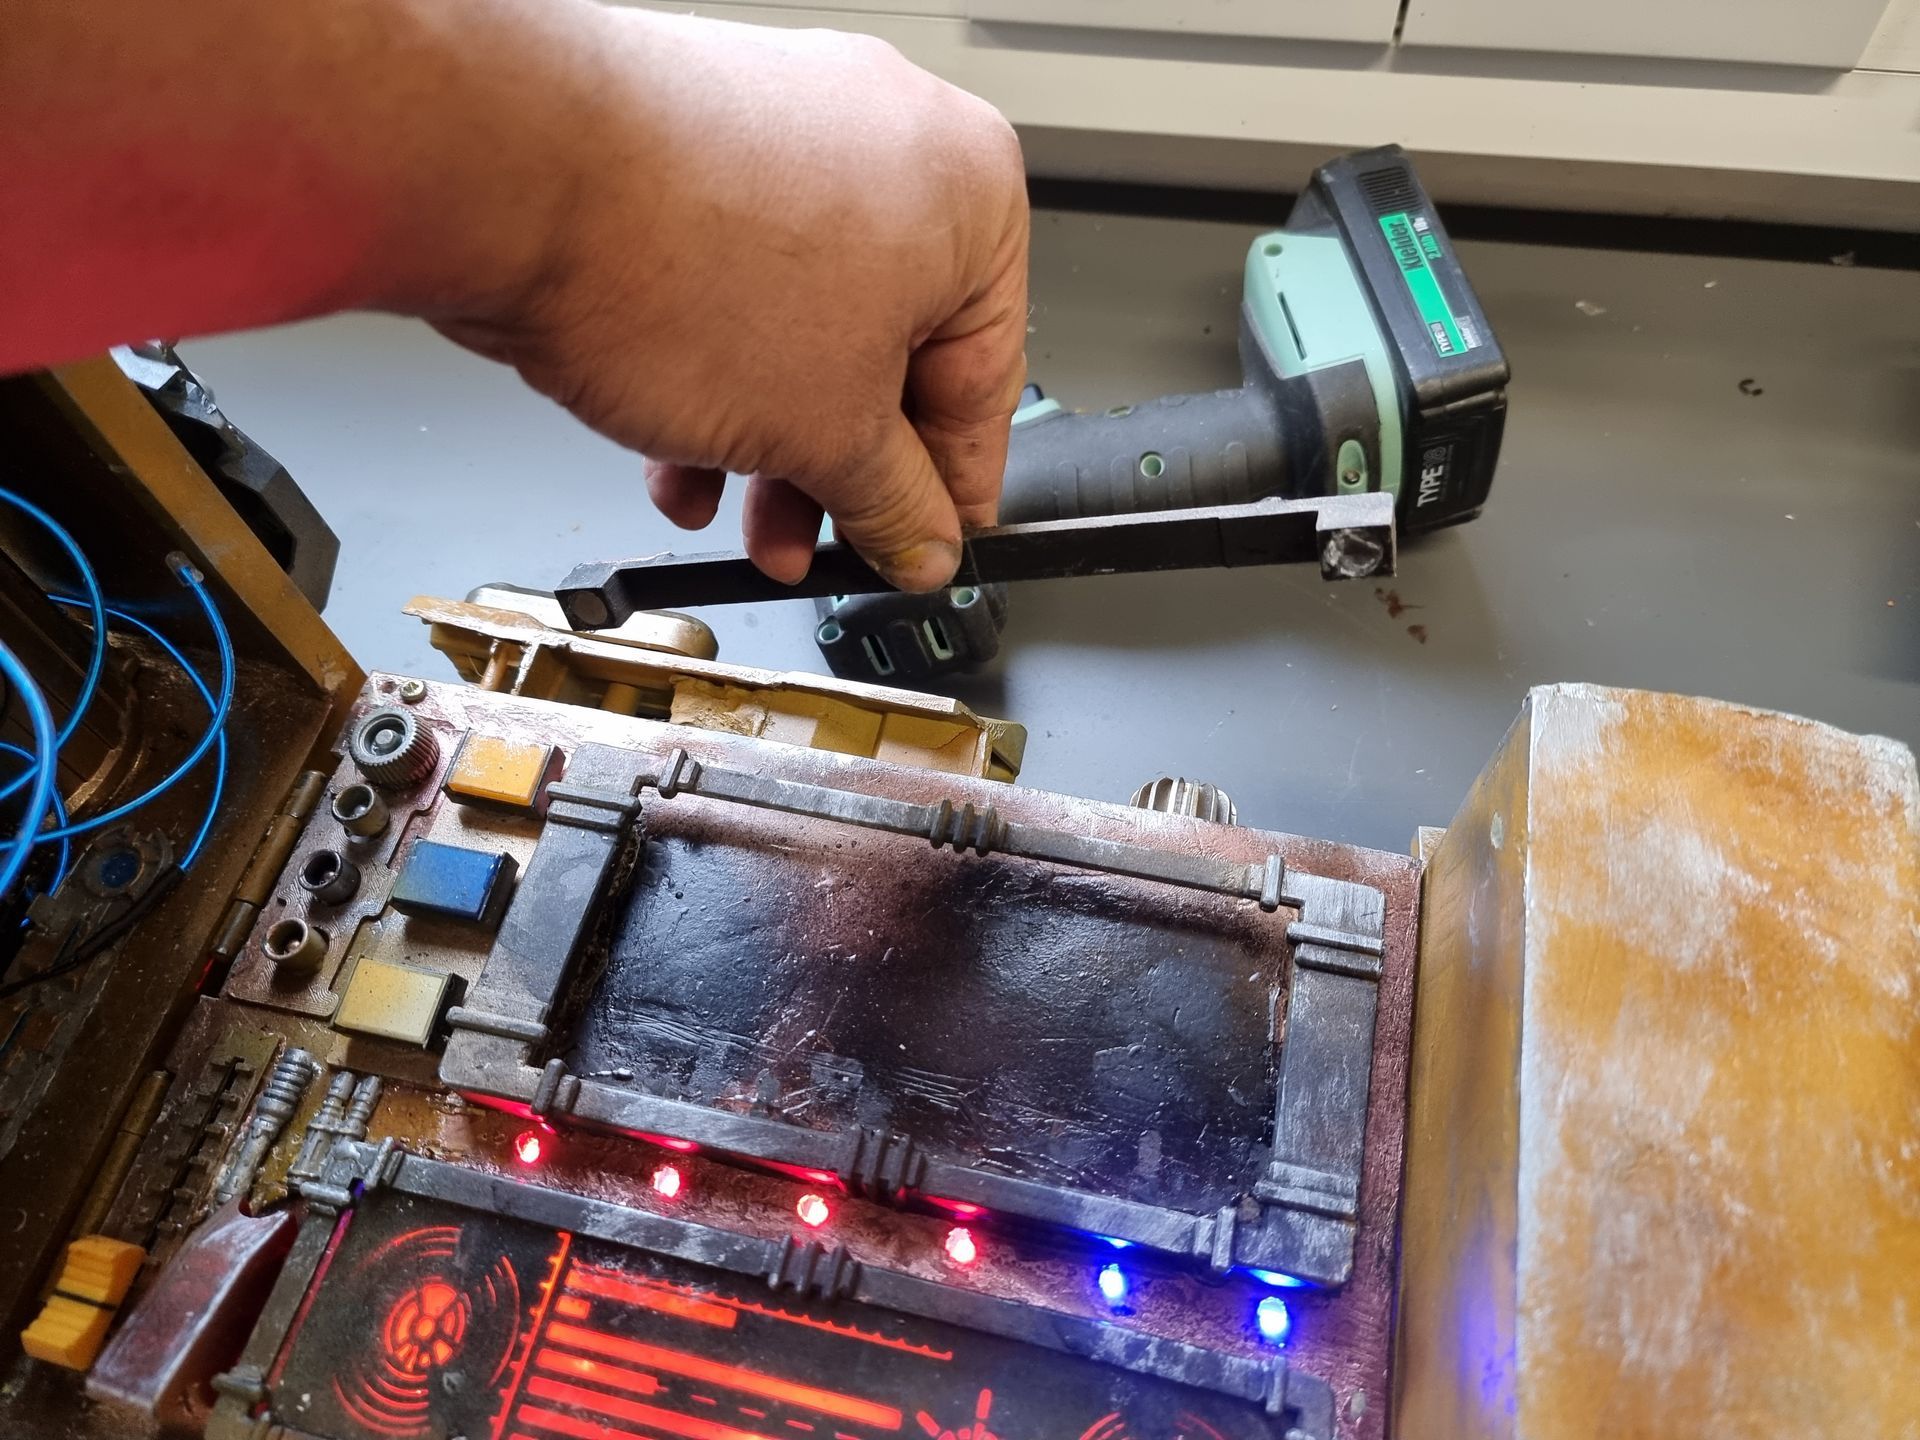
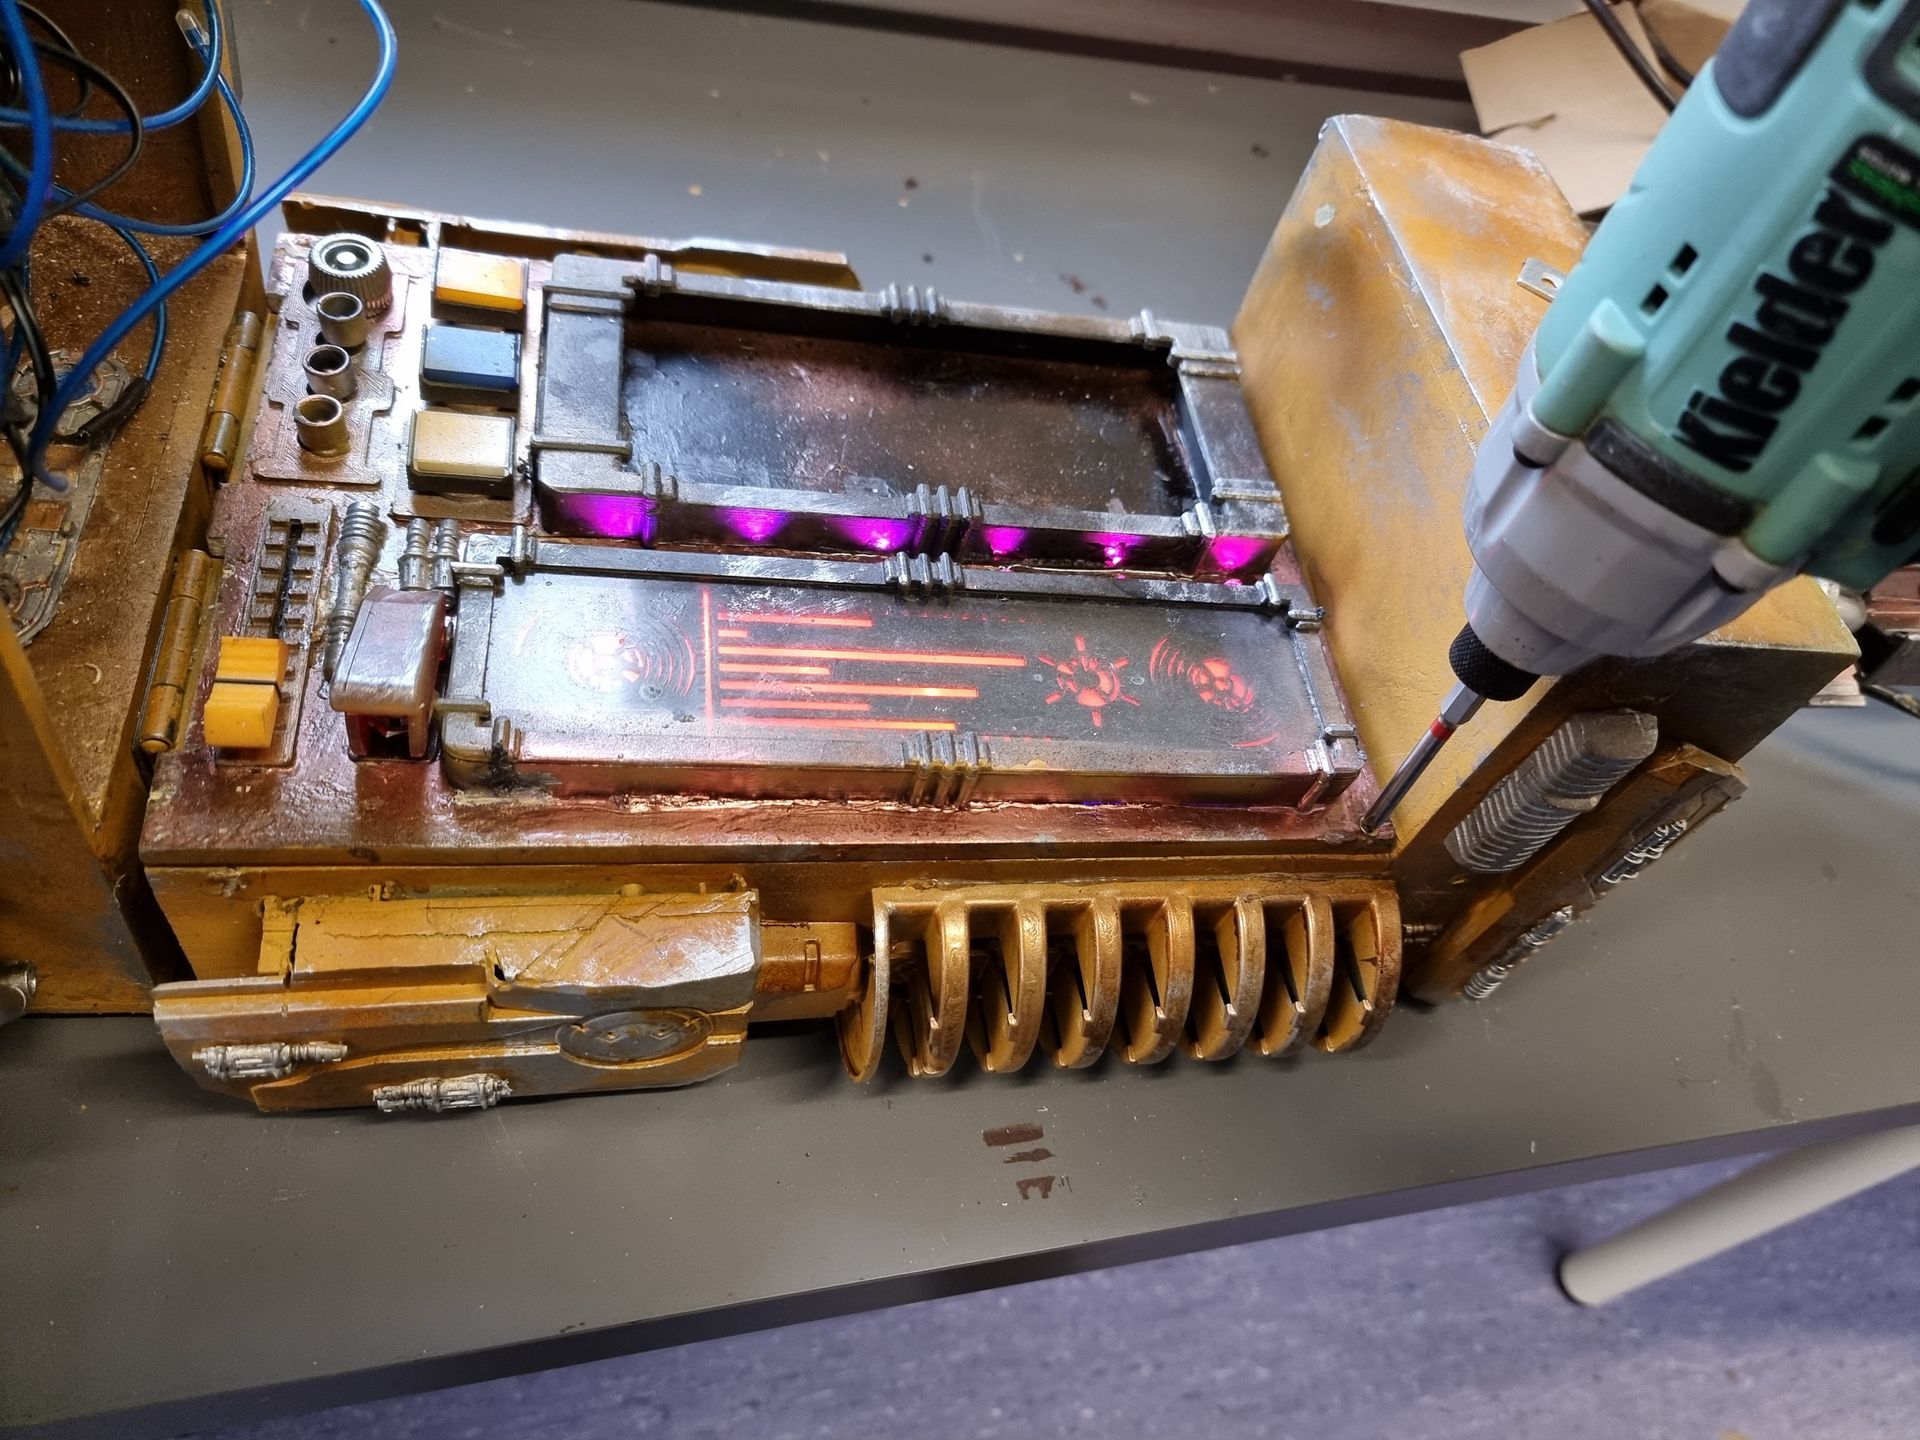
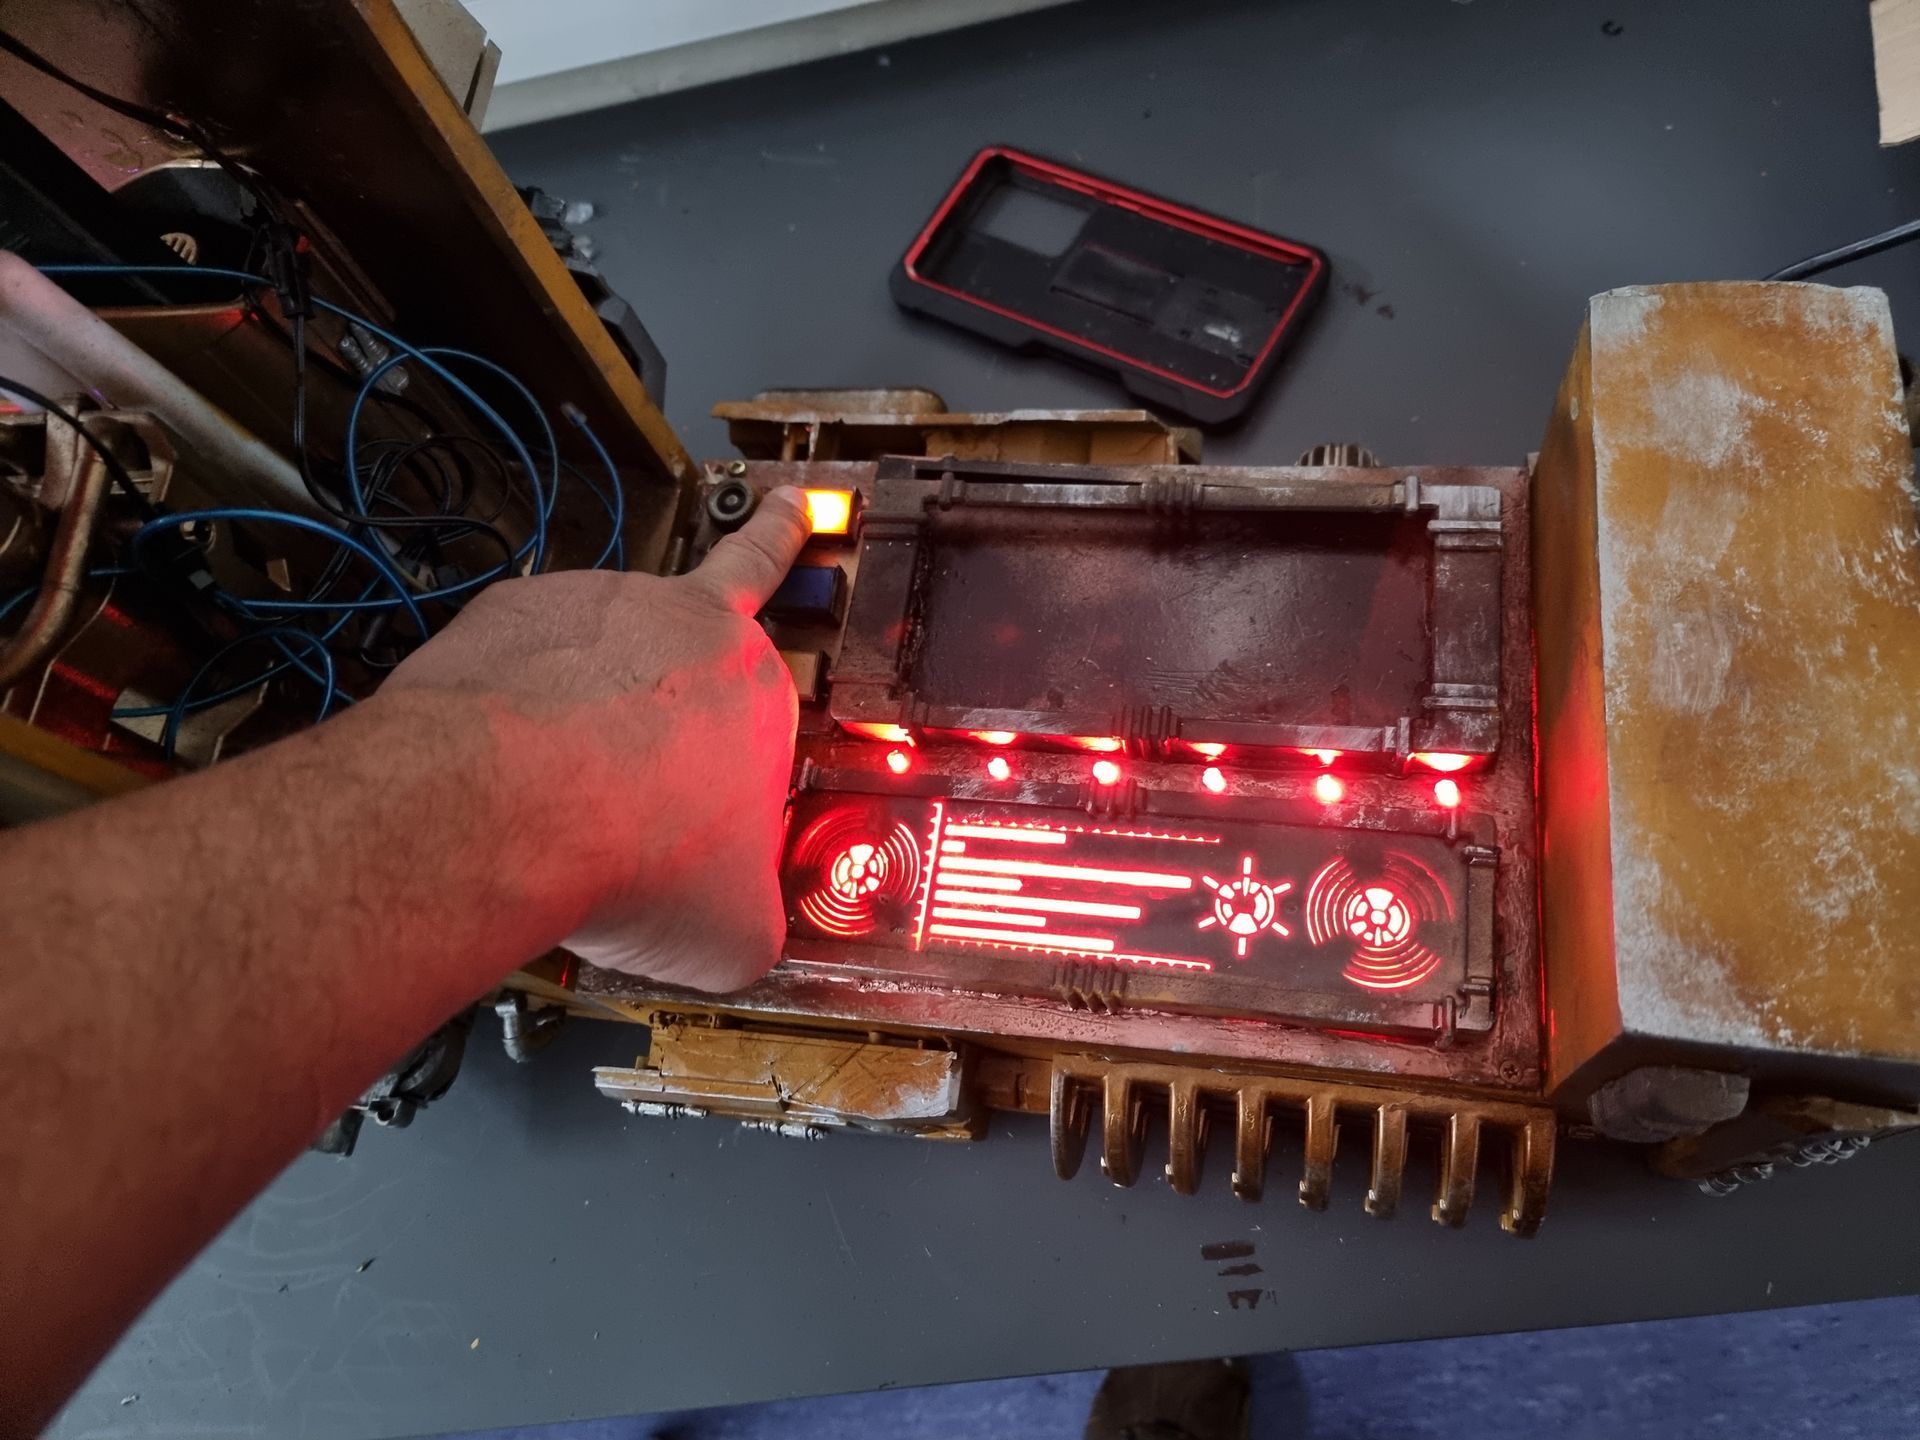
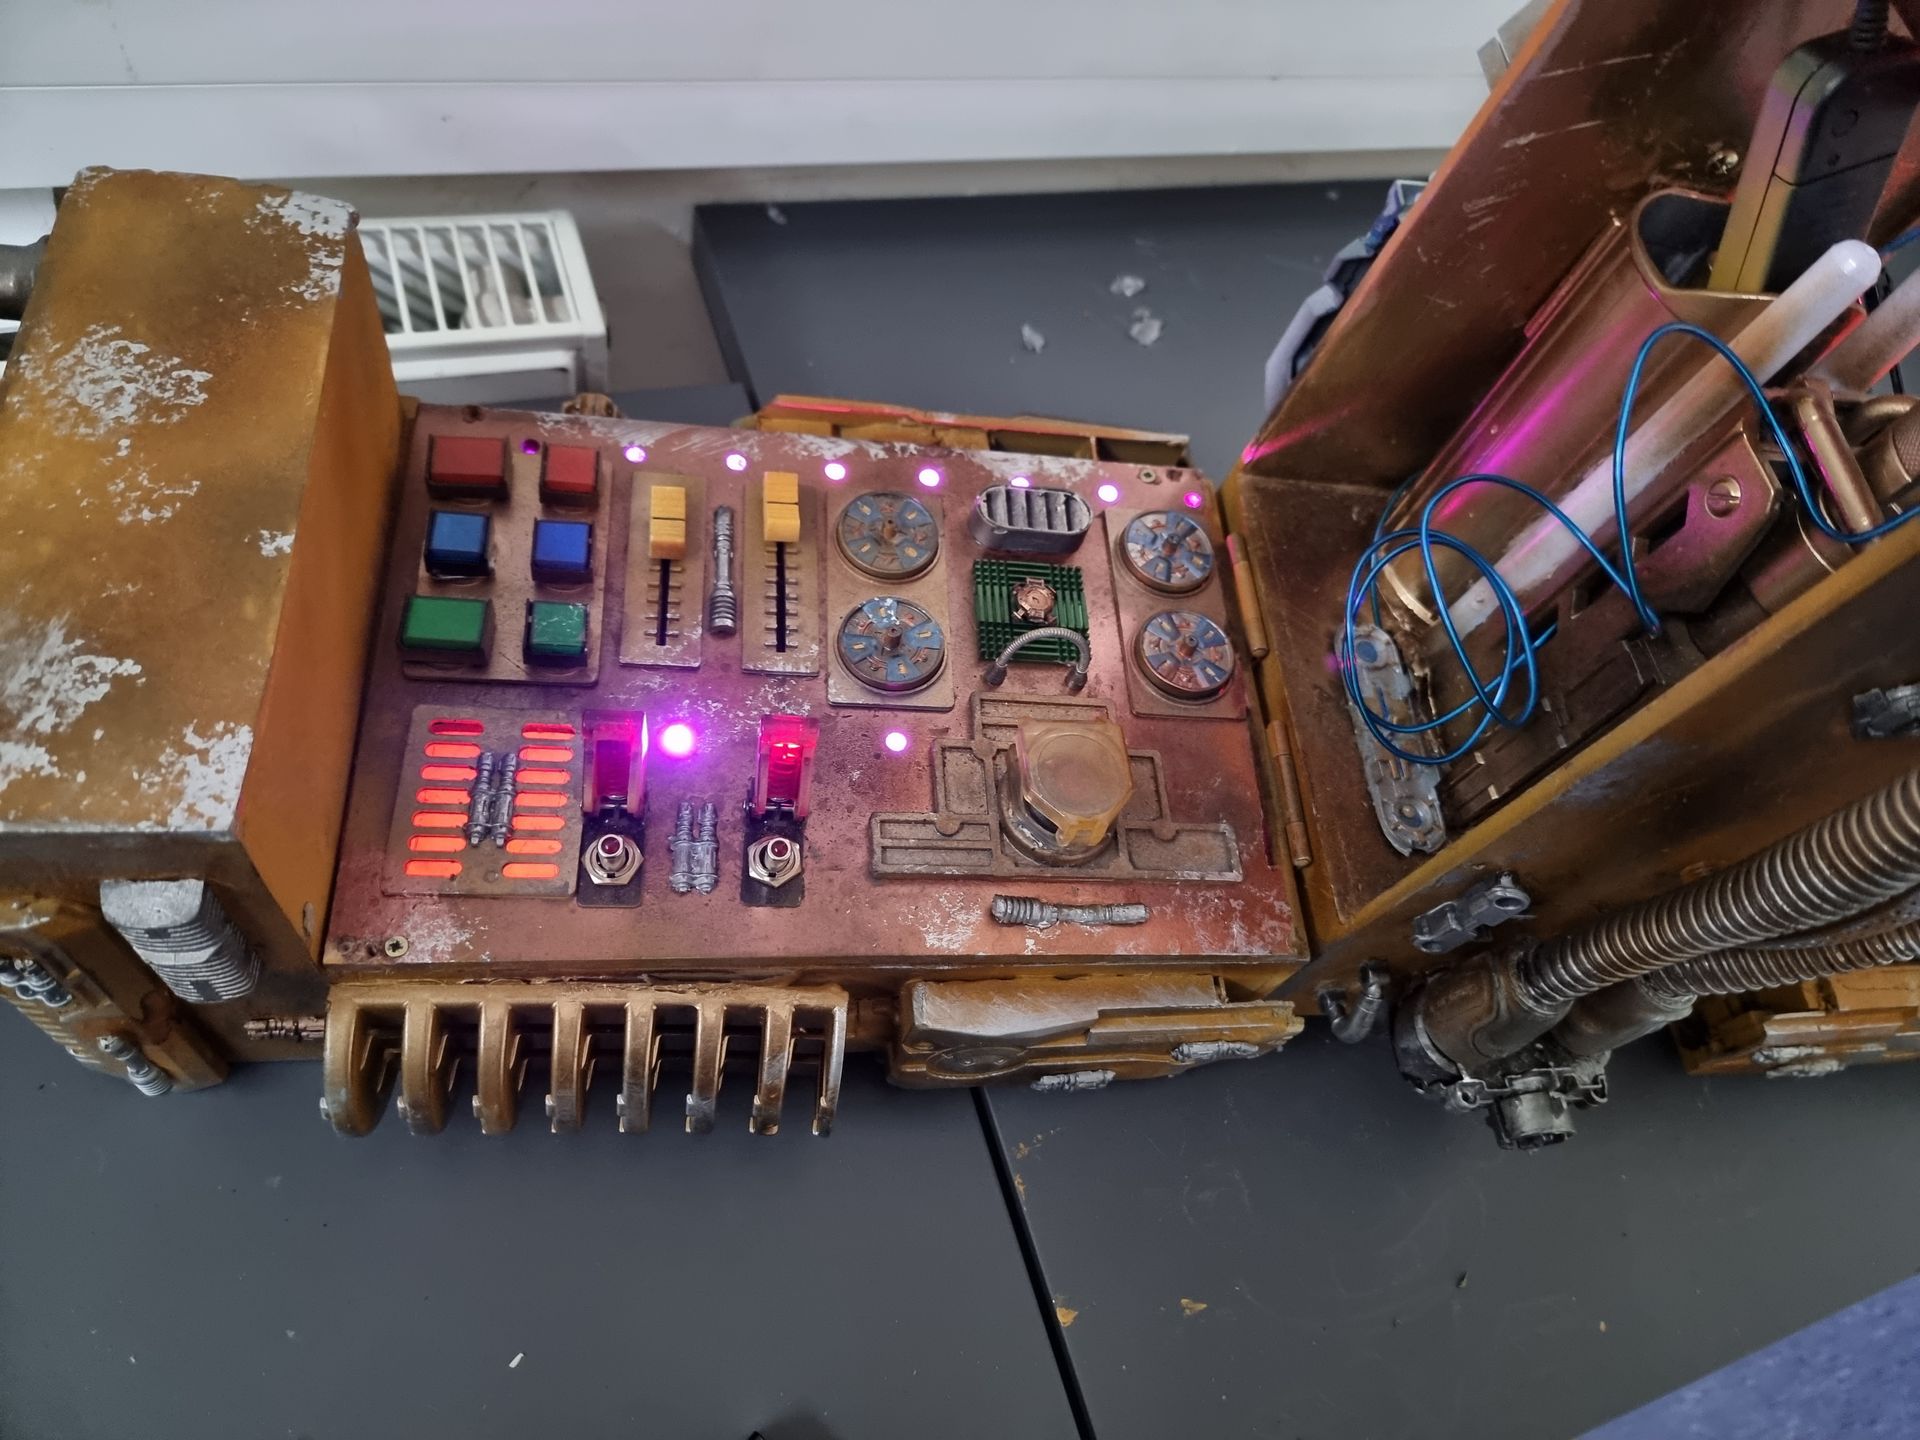
RGB multi colour programable and pattern LED strips were incorporated that become light up spots on the control panels to light up in different patterns. This can be operated in sync with the actor turning the dials to make it look like the system if doing something. The LEDs cold be controlled by blue tooth or led control, remote or by phone. The problem with phone control is that the phone was incorporated into the system displaying animated displays.
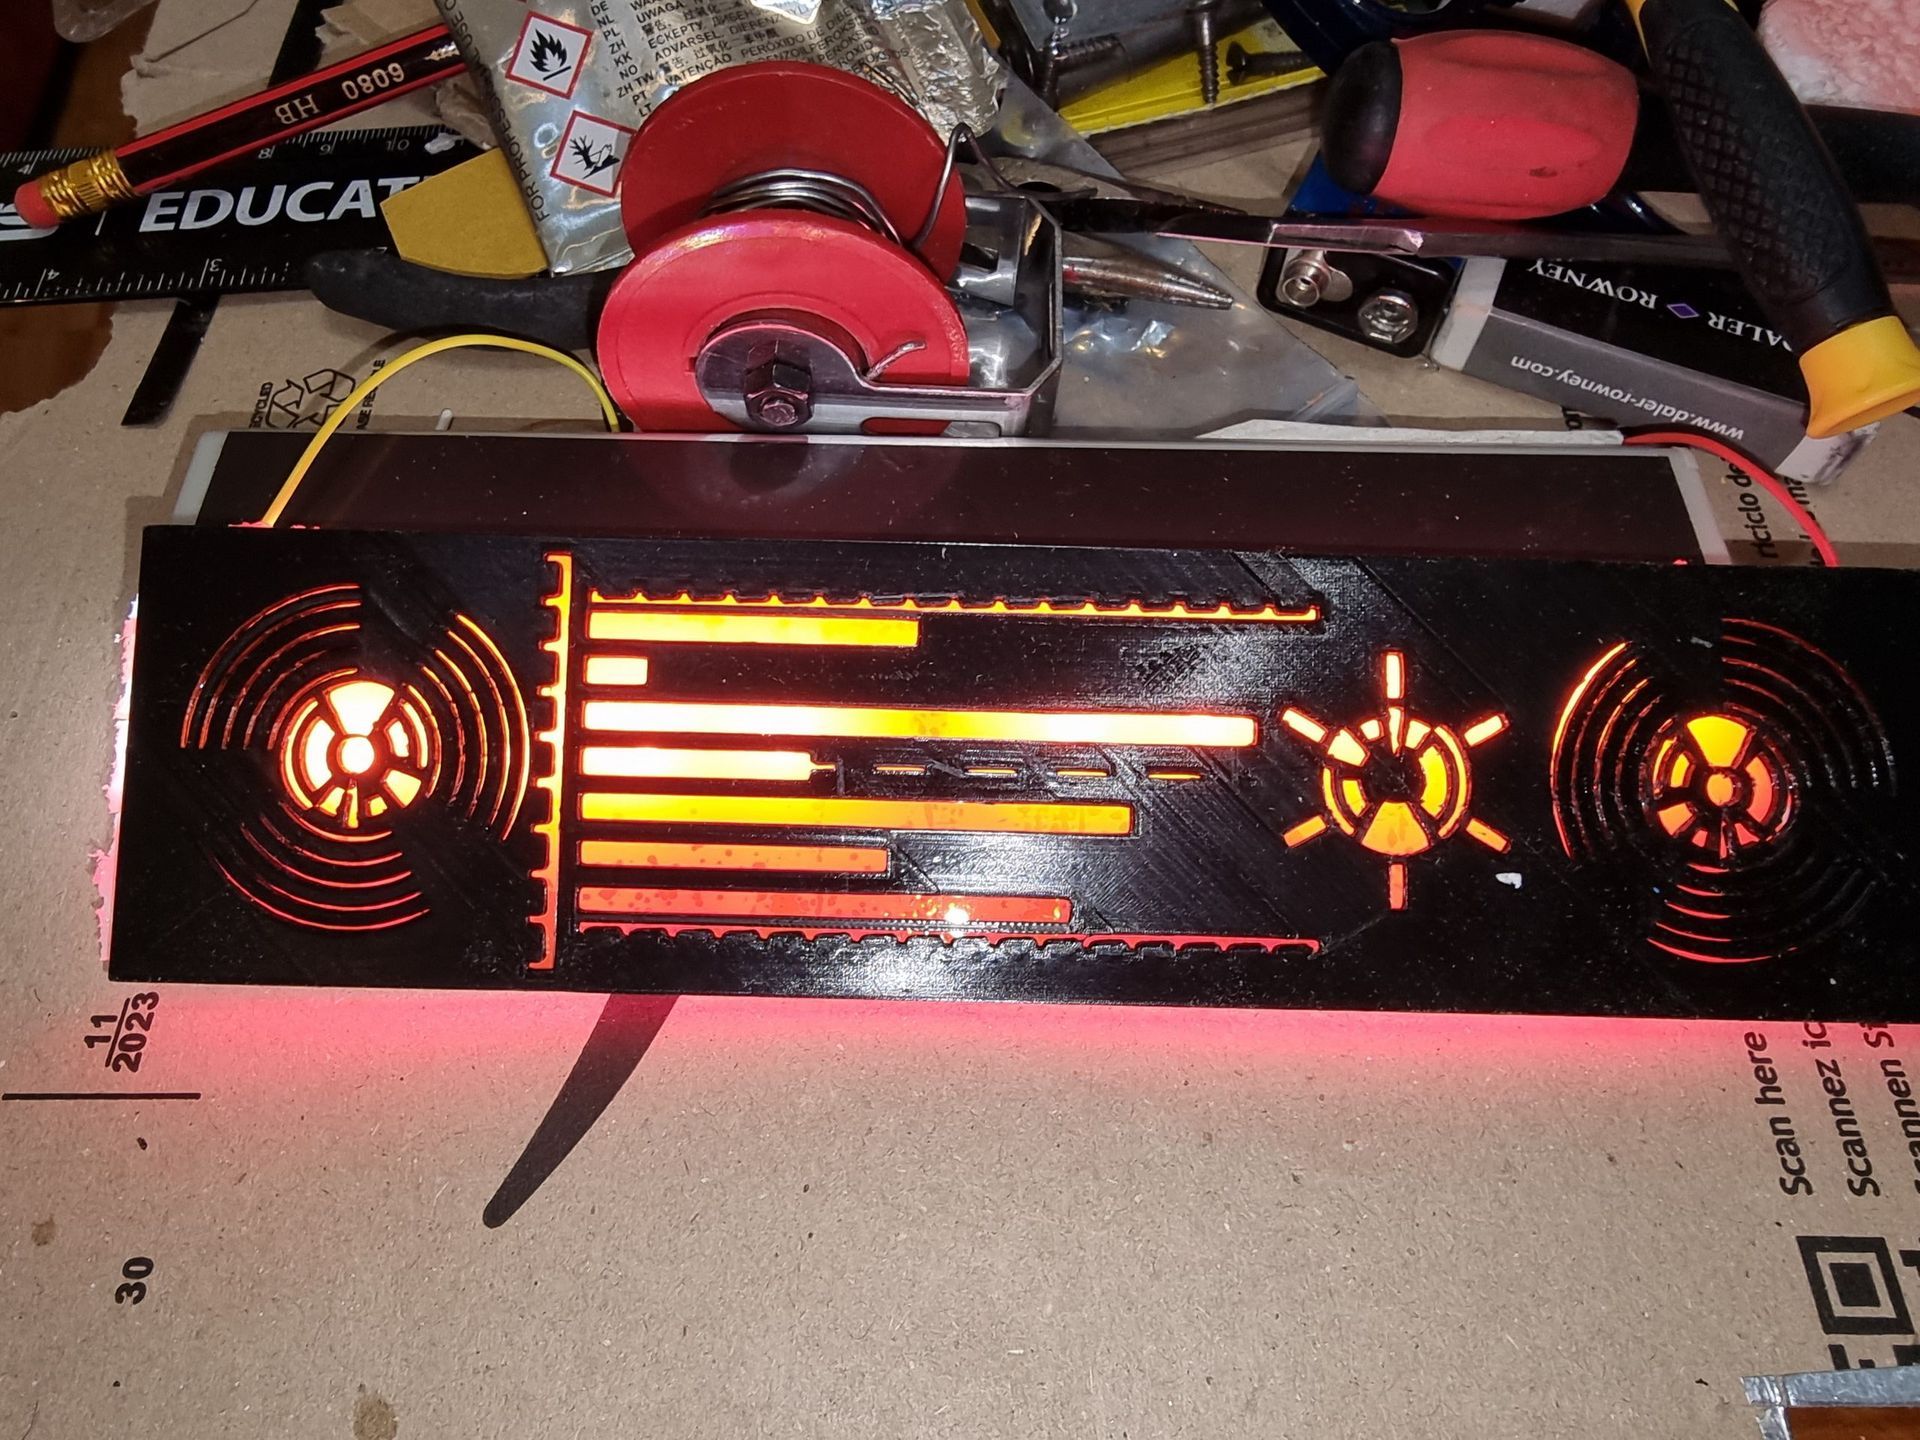
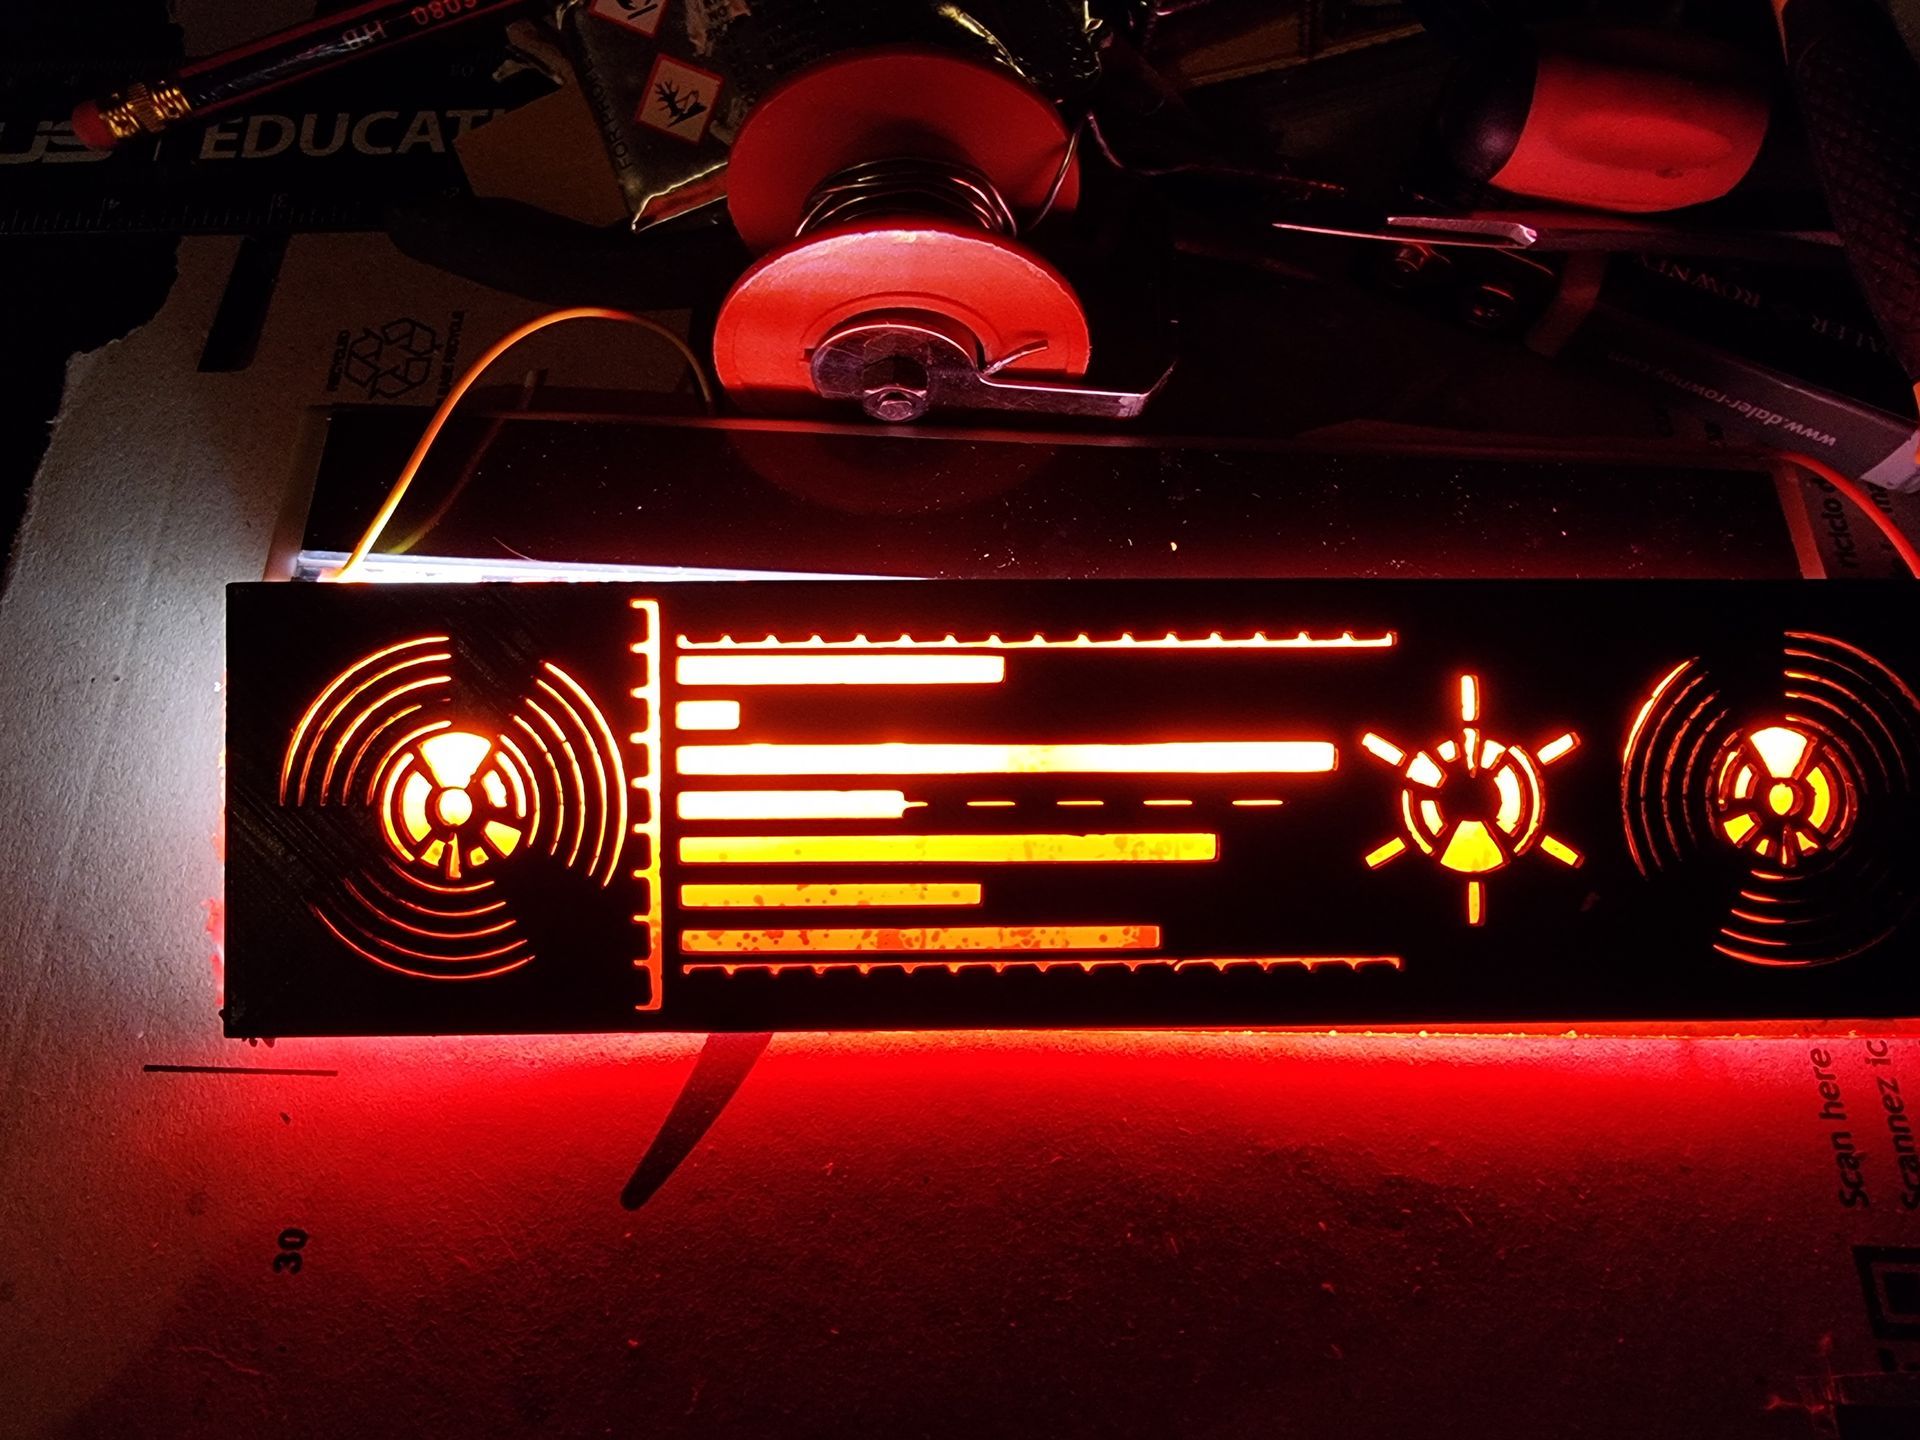
These strips were used under the template orange and black control to give it a pulsating look when I had no luck with a LED panel means as a security light.
I also used an electroluminescent red panel under a pannel of slots, a style common in the Star Wars universe. This could stay on red or fast and slow flashing.
Central Tech Power Tower Core
The tower was to be the central, core, the power unit, the procession, the technology.
When the project moved to a control system it was started with inspiration from the NS-9 Starpath cube insertable control component on the brown material. A box covered in buttons, what looked like circuitry, controls, an interface to insert it, that was hand held This was to be inspiration for something the size and shape of the box we were given to make the prop out of.
The box we got was 28 x 19 x 6 cm, The top bottom split was the top was 2.5 cm deep and the base 3.5 cm.
in the sketch development I thought it would be better to have a pair of these boxes that are hinged to close thus the character could pull it out and open much like a laptop.
This would make it more interesting with the tech inside.
This then evolved to 3 parts, A box unfolding to a box tower with two wings of controls either side with some sort of ariel communications tower.
This was then to evolve so the wings when the system was folded clasped around the tower coming together with a latching system like magnets.
This way the characters hands could manipulate control or both wings with the tower containing all the future technology, mechanics, power core inside like a desktop computer or weapon system.
George Lucas from the biggening wanted open box technology. Dirty and being able to see the machinery with the technology and mechanics seen so it looked real and we could image and see how it worked. This was very apparent in the pod race in the Phantom menace clearly inspired from Geroge’s love of drag racing and hot rod and working on them.
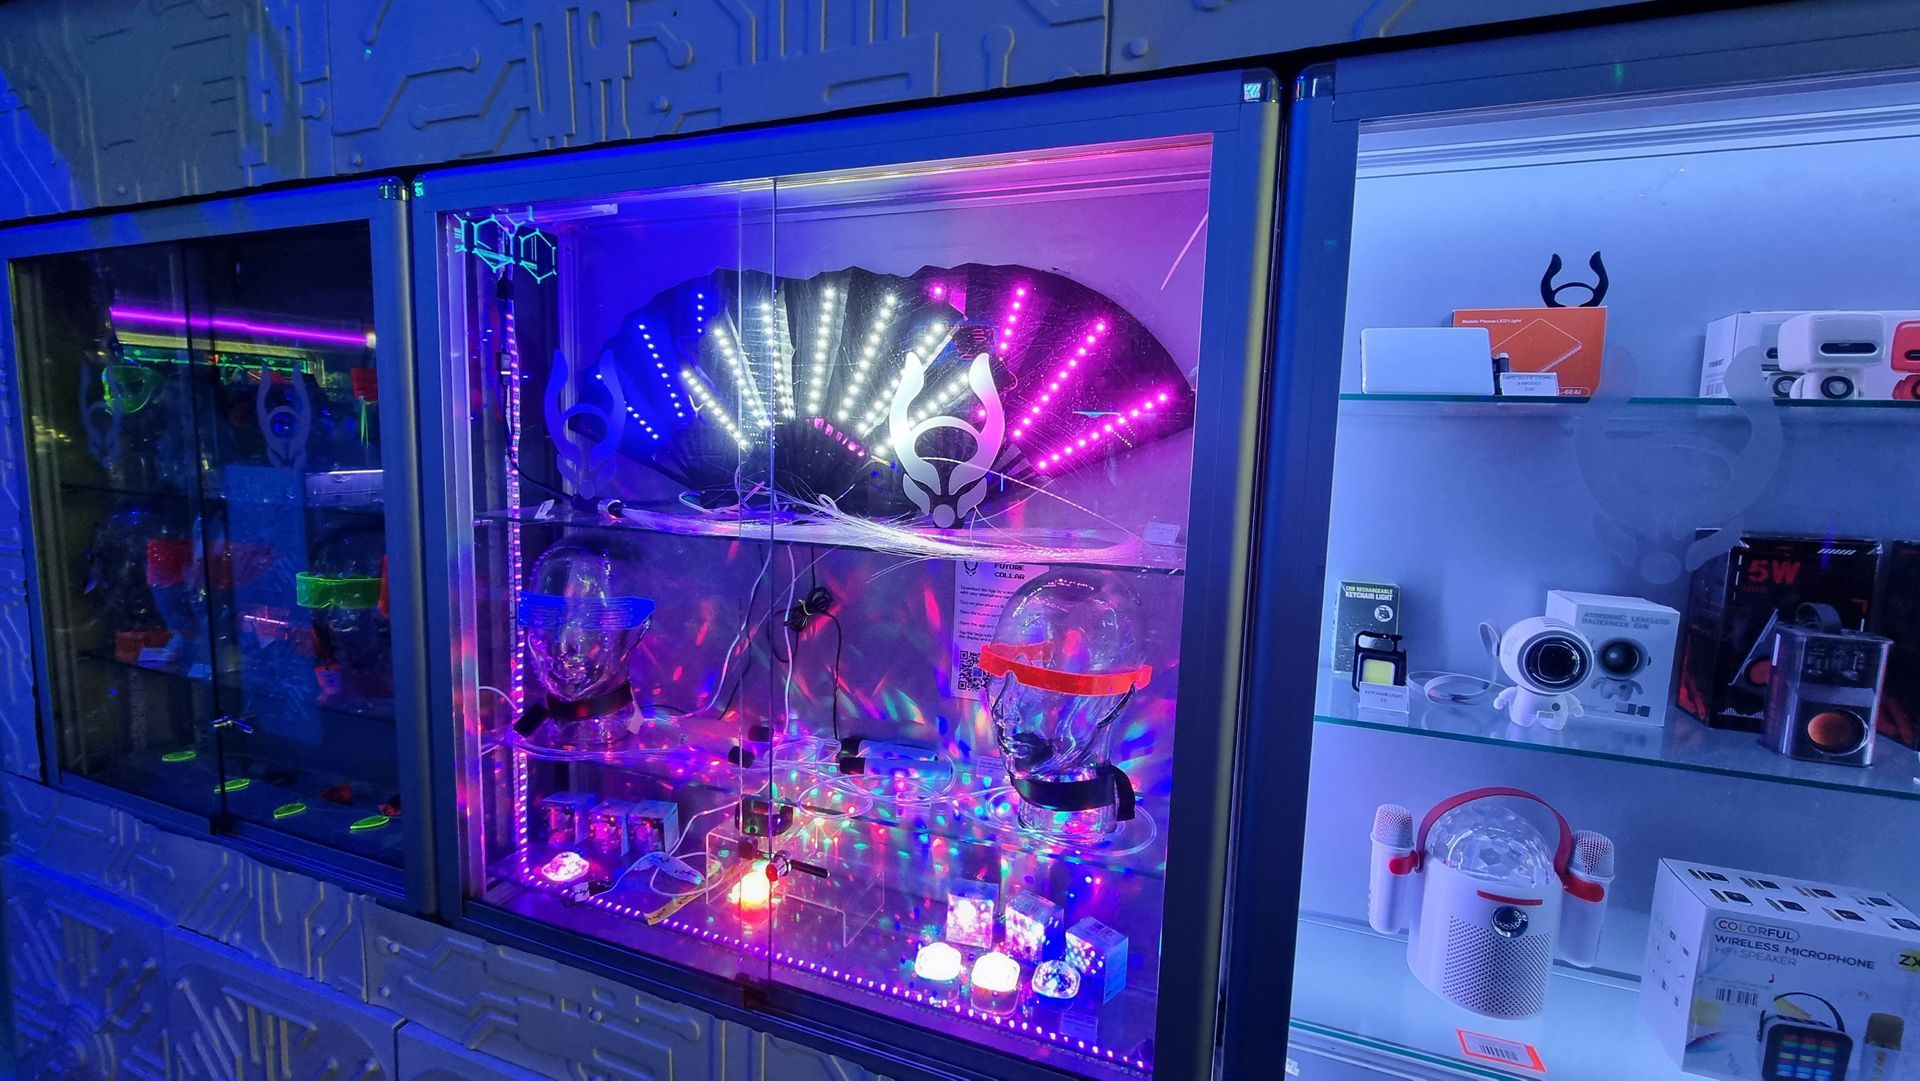
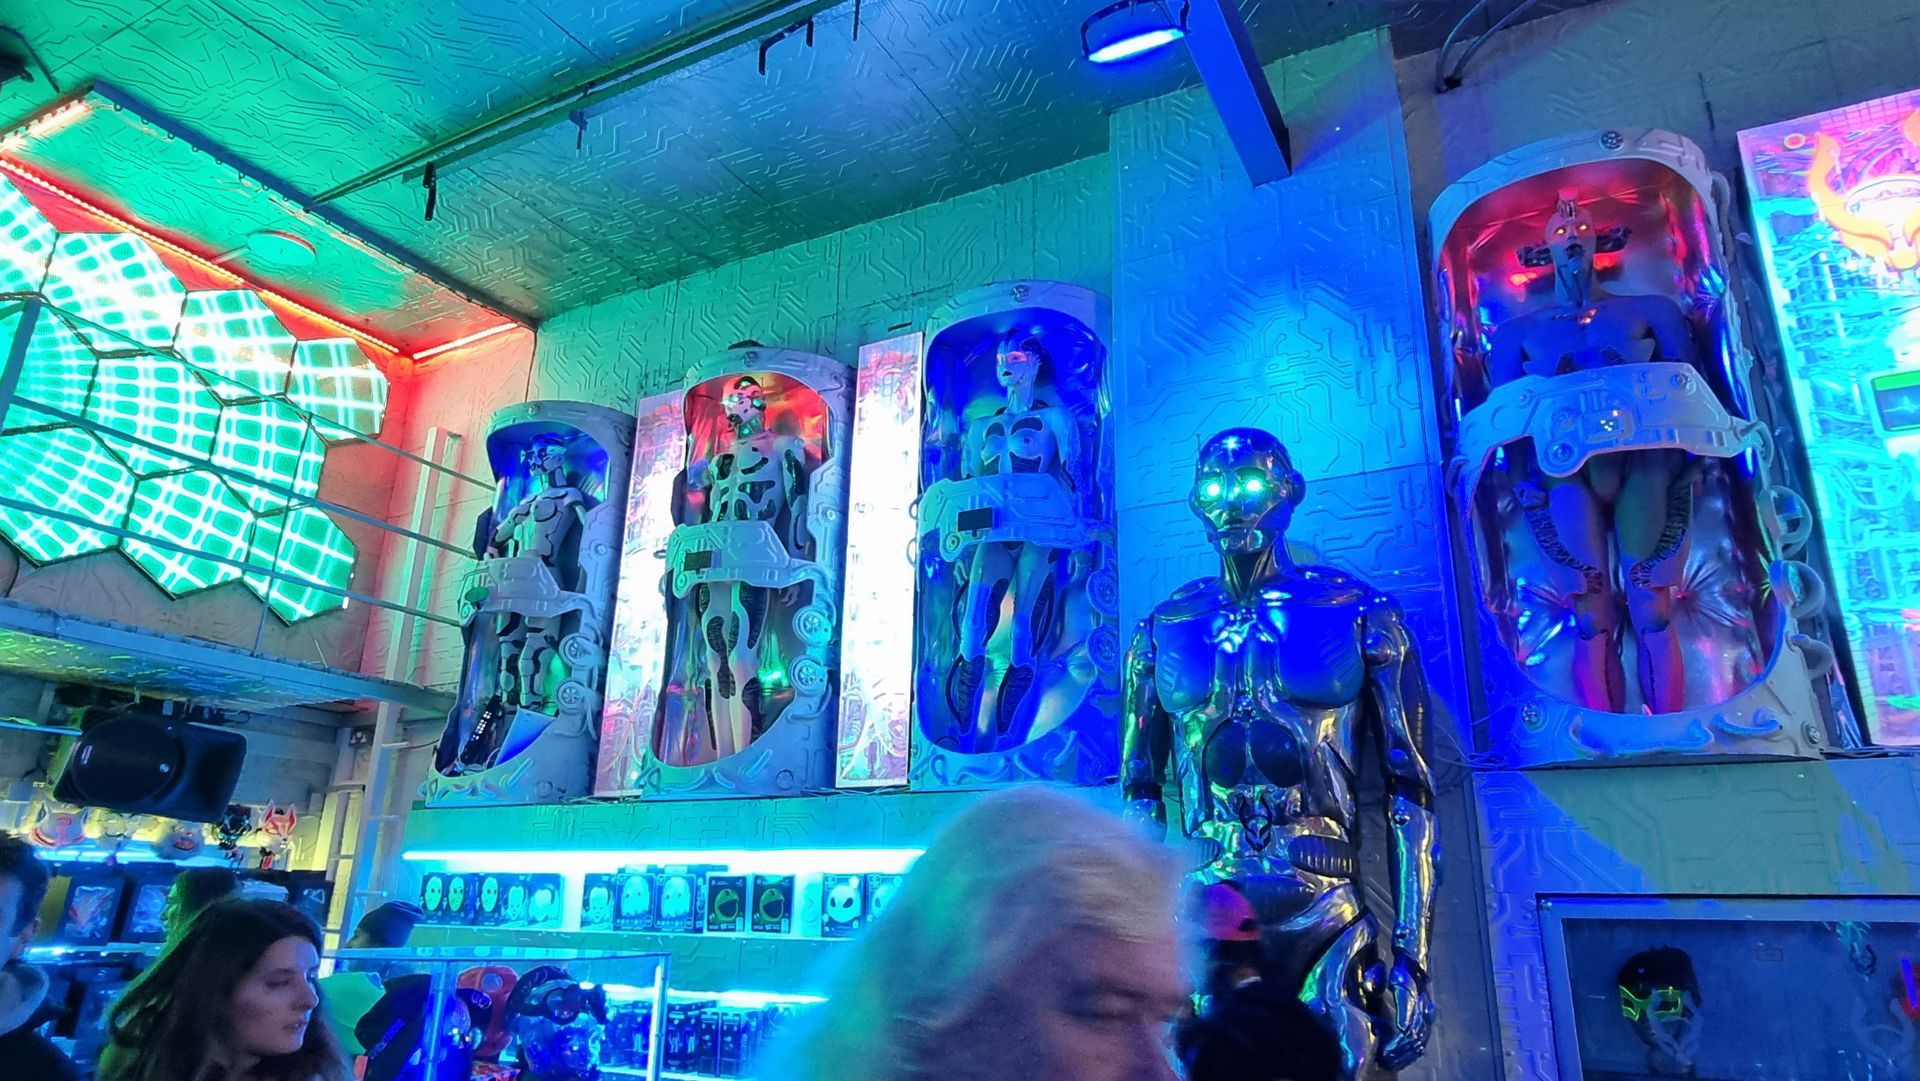
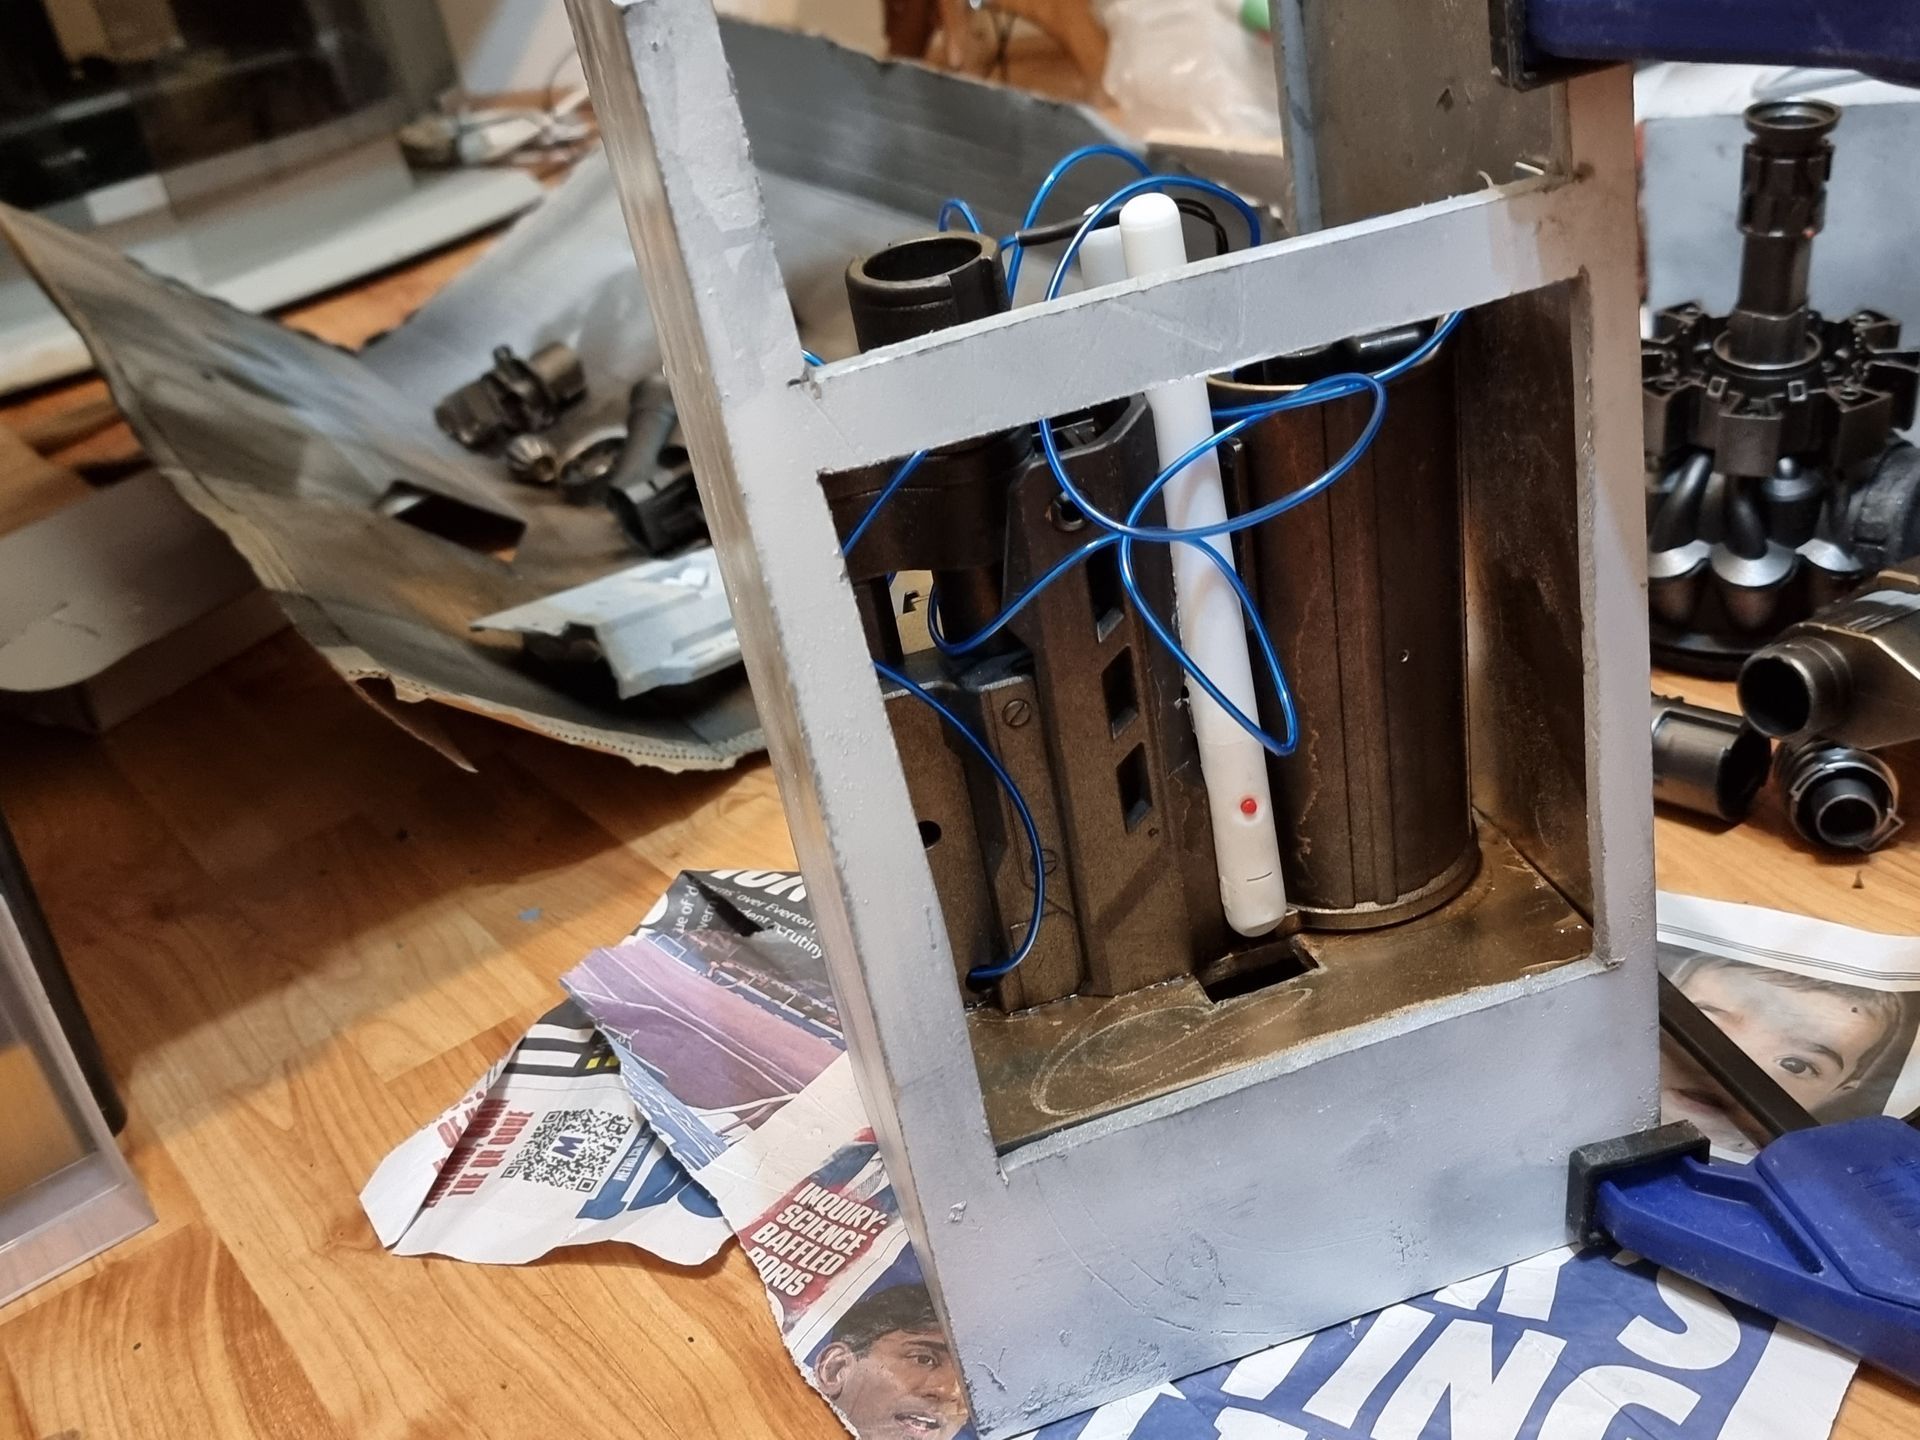
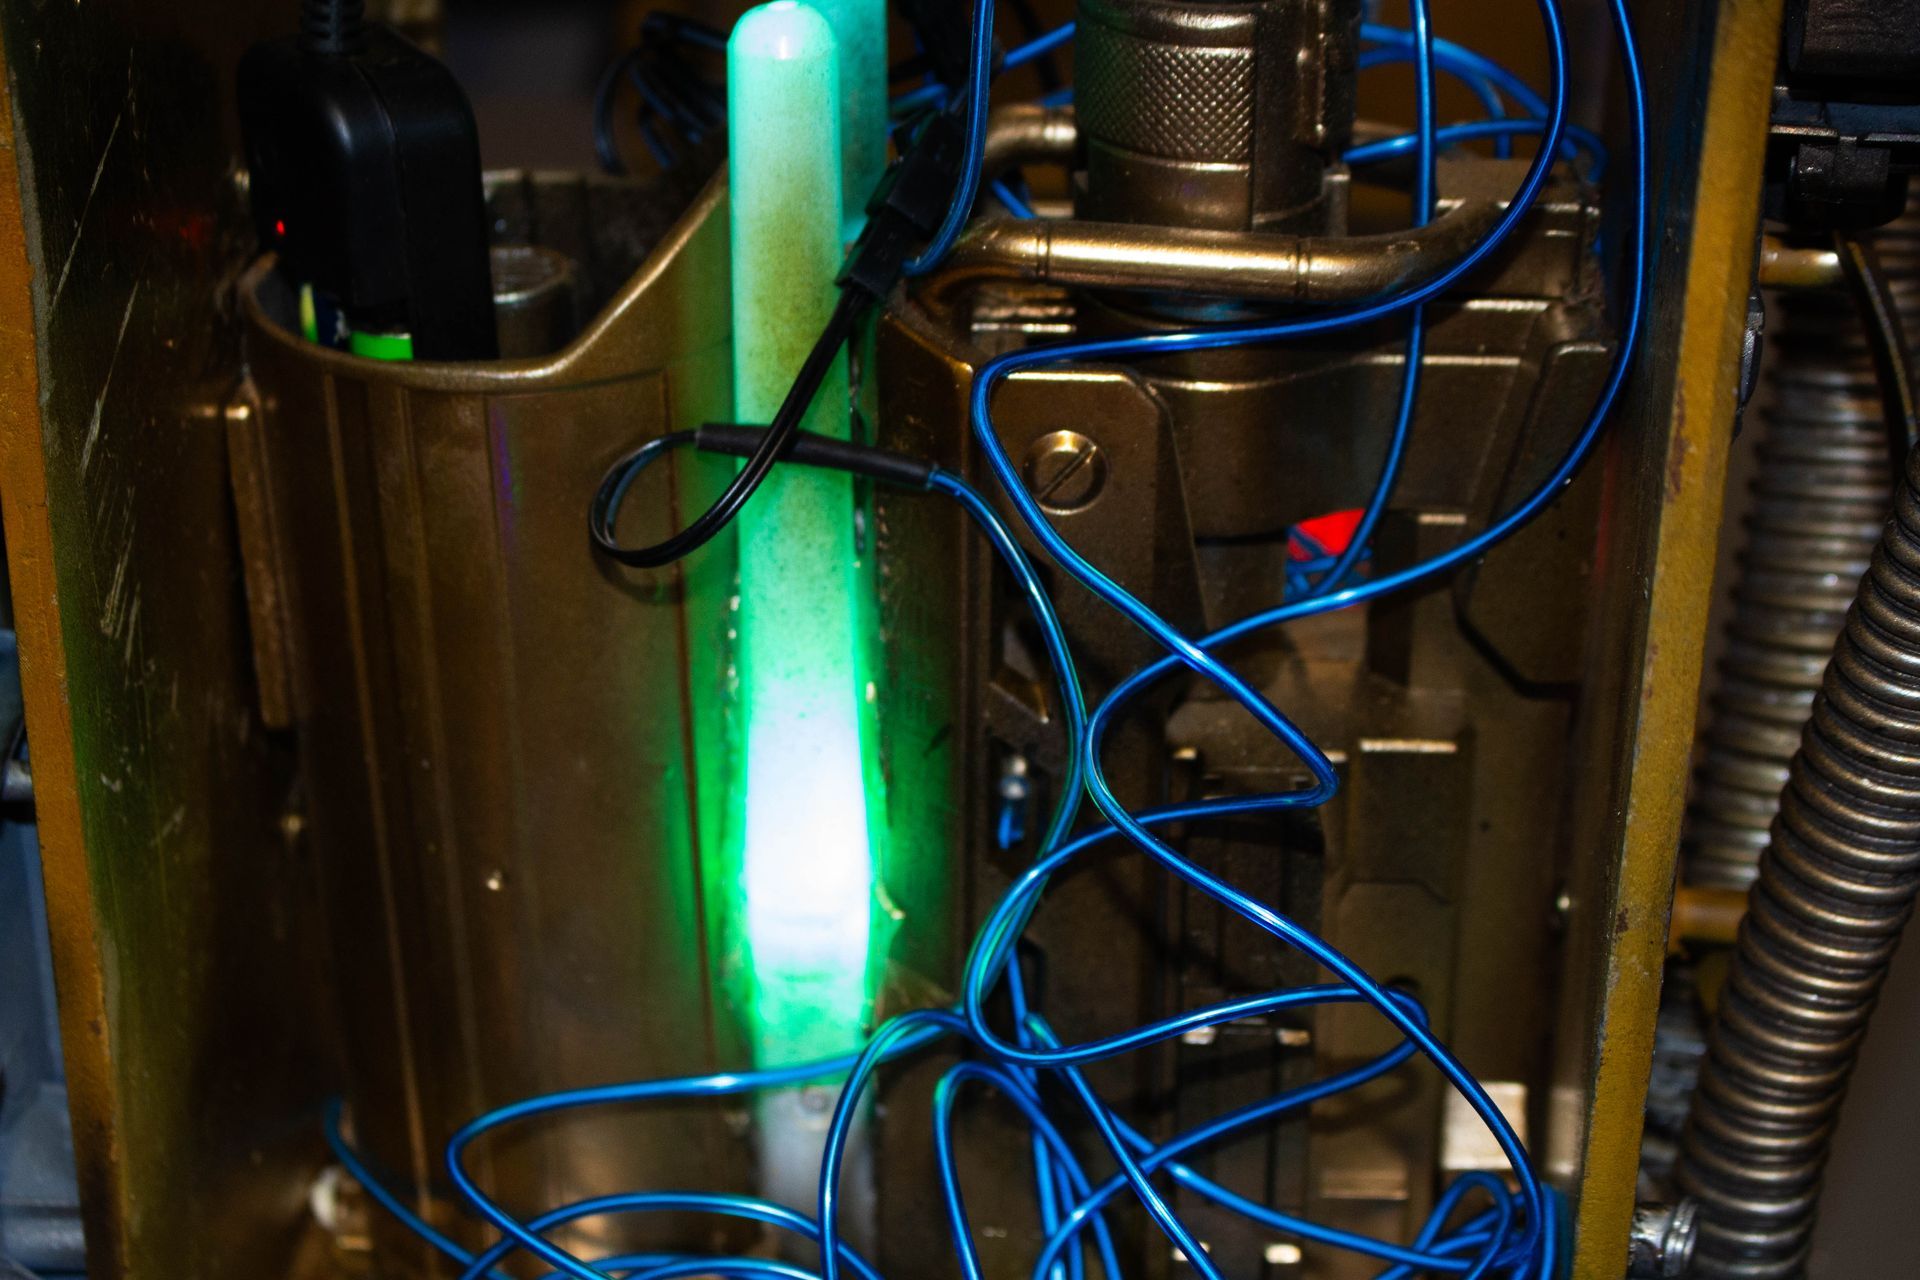
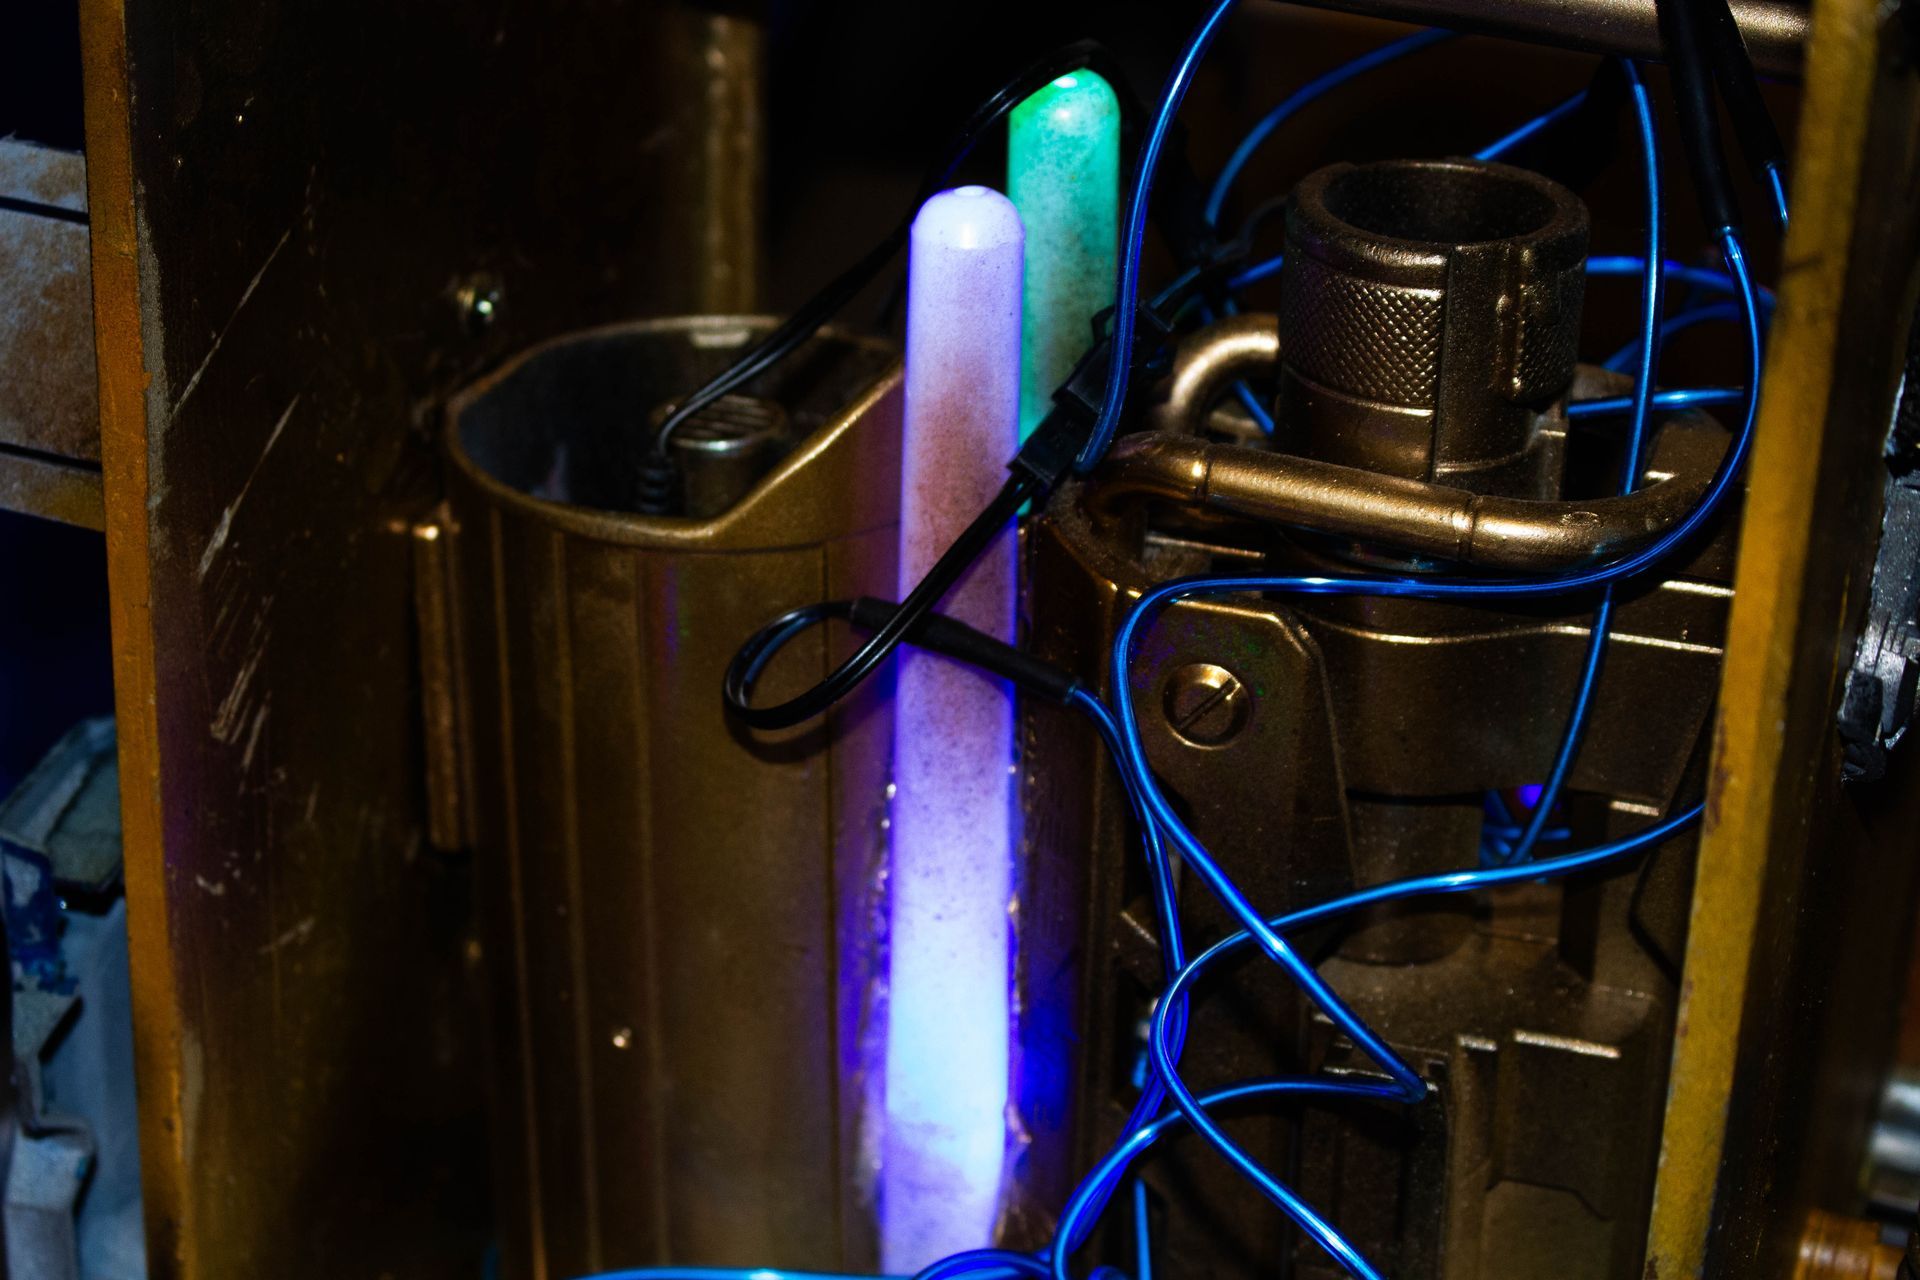
Thus, the tower was to follow this principle of having a window on the tech inside. I also took inspiration from the recycled tech art sci fi cyberpunk artworks of the Cyberdog clothing store in Camden Market London using the likes of electroluminescent wiring and tubing, glow sticks and to look like there where technology towers inside all metallic.
The core components where Nern gun barrels including the mega dart barrel that emulated a grenade launcher.
Reinforcing the Tower Adding Hinges and Handles
With the tower tech in place the tower strengthening and painting inside and out started. As the tower was where the tower would be handled and picked up.
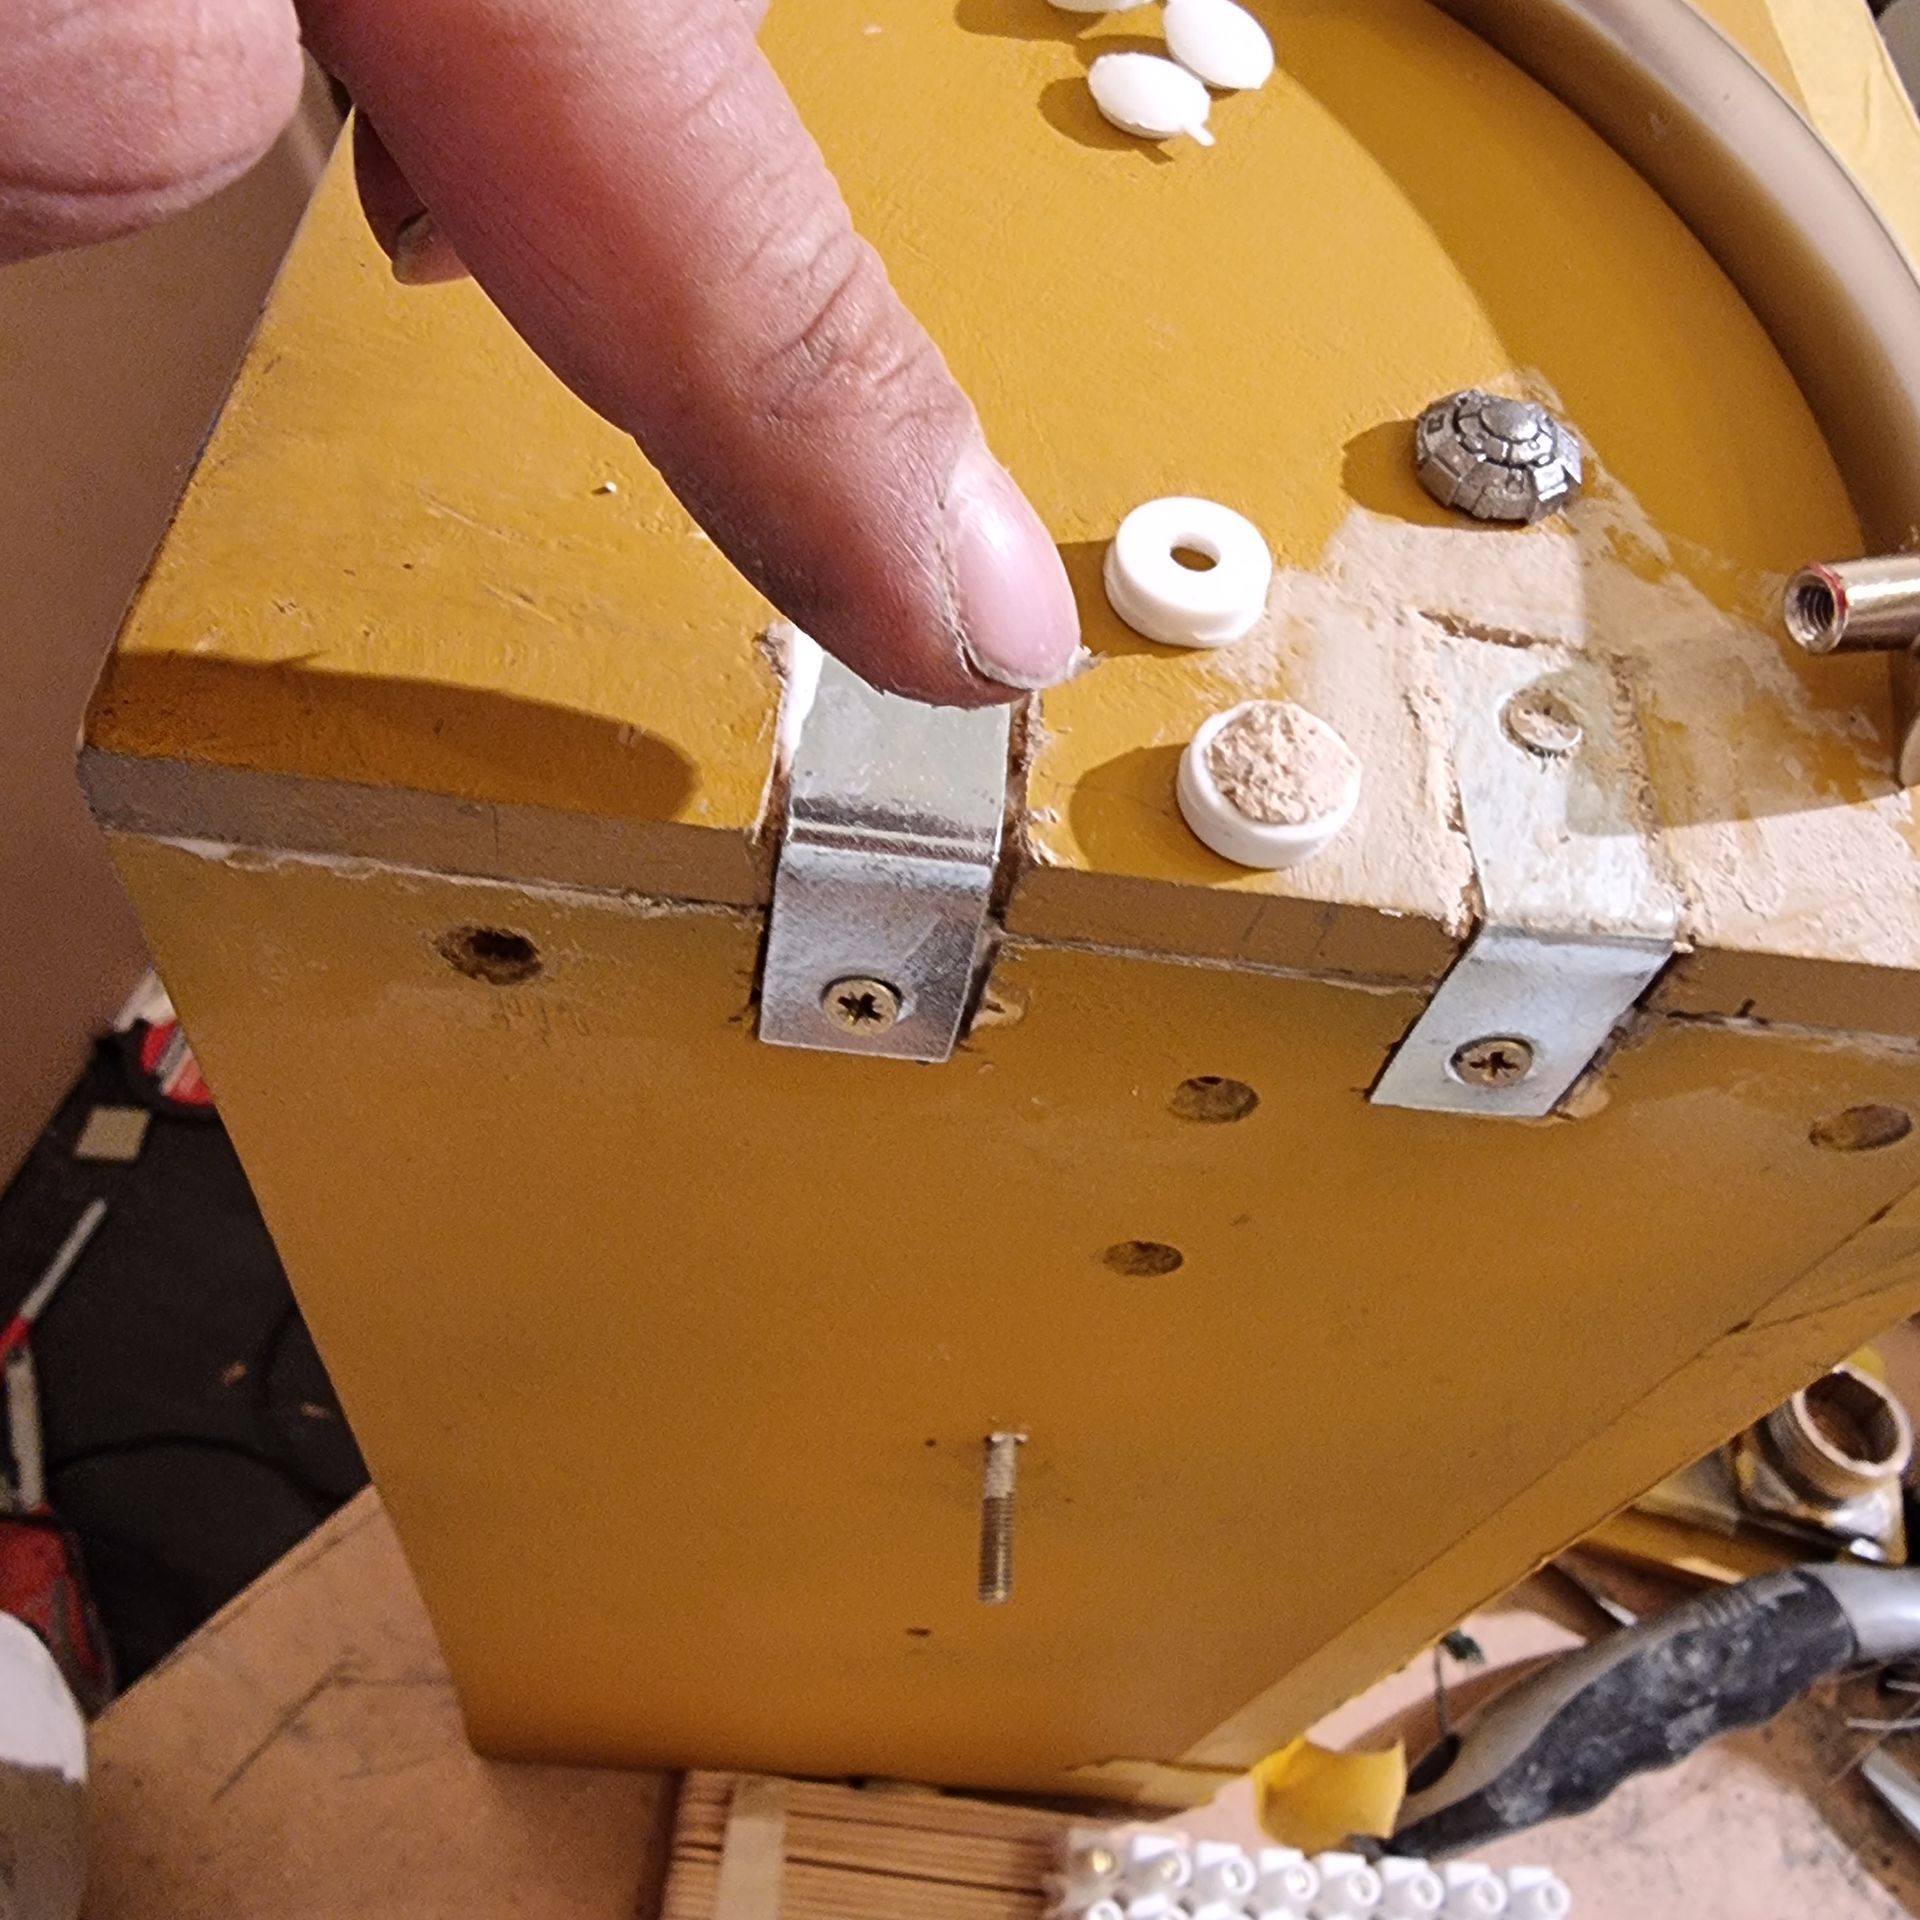
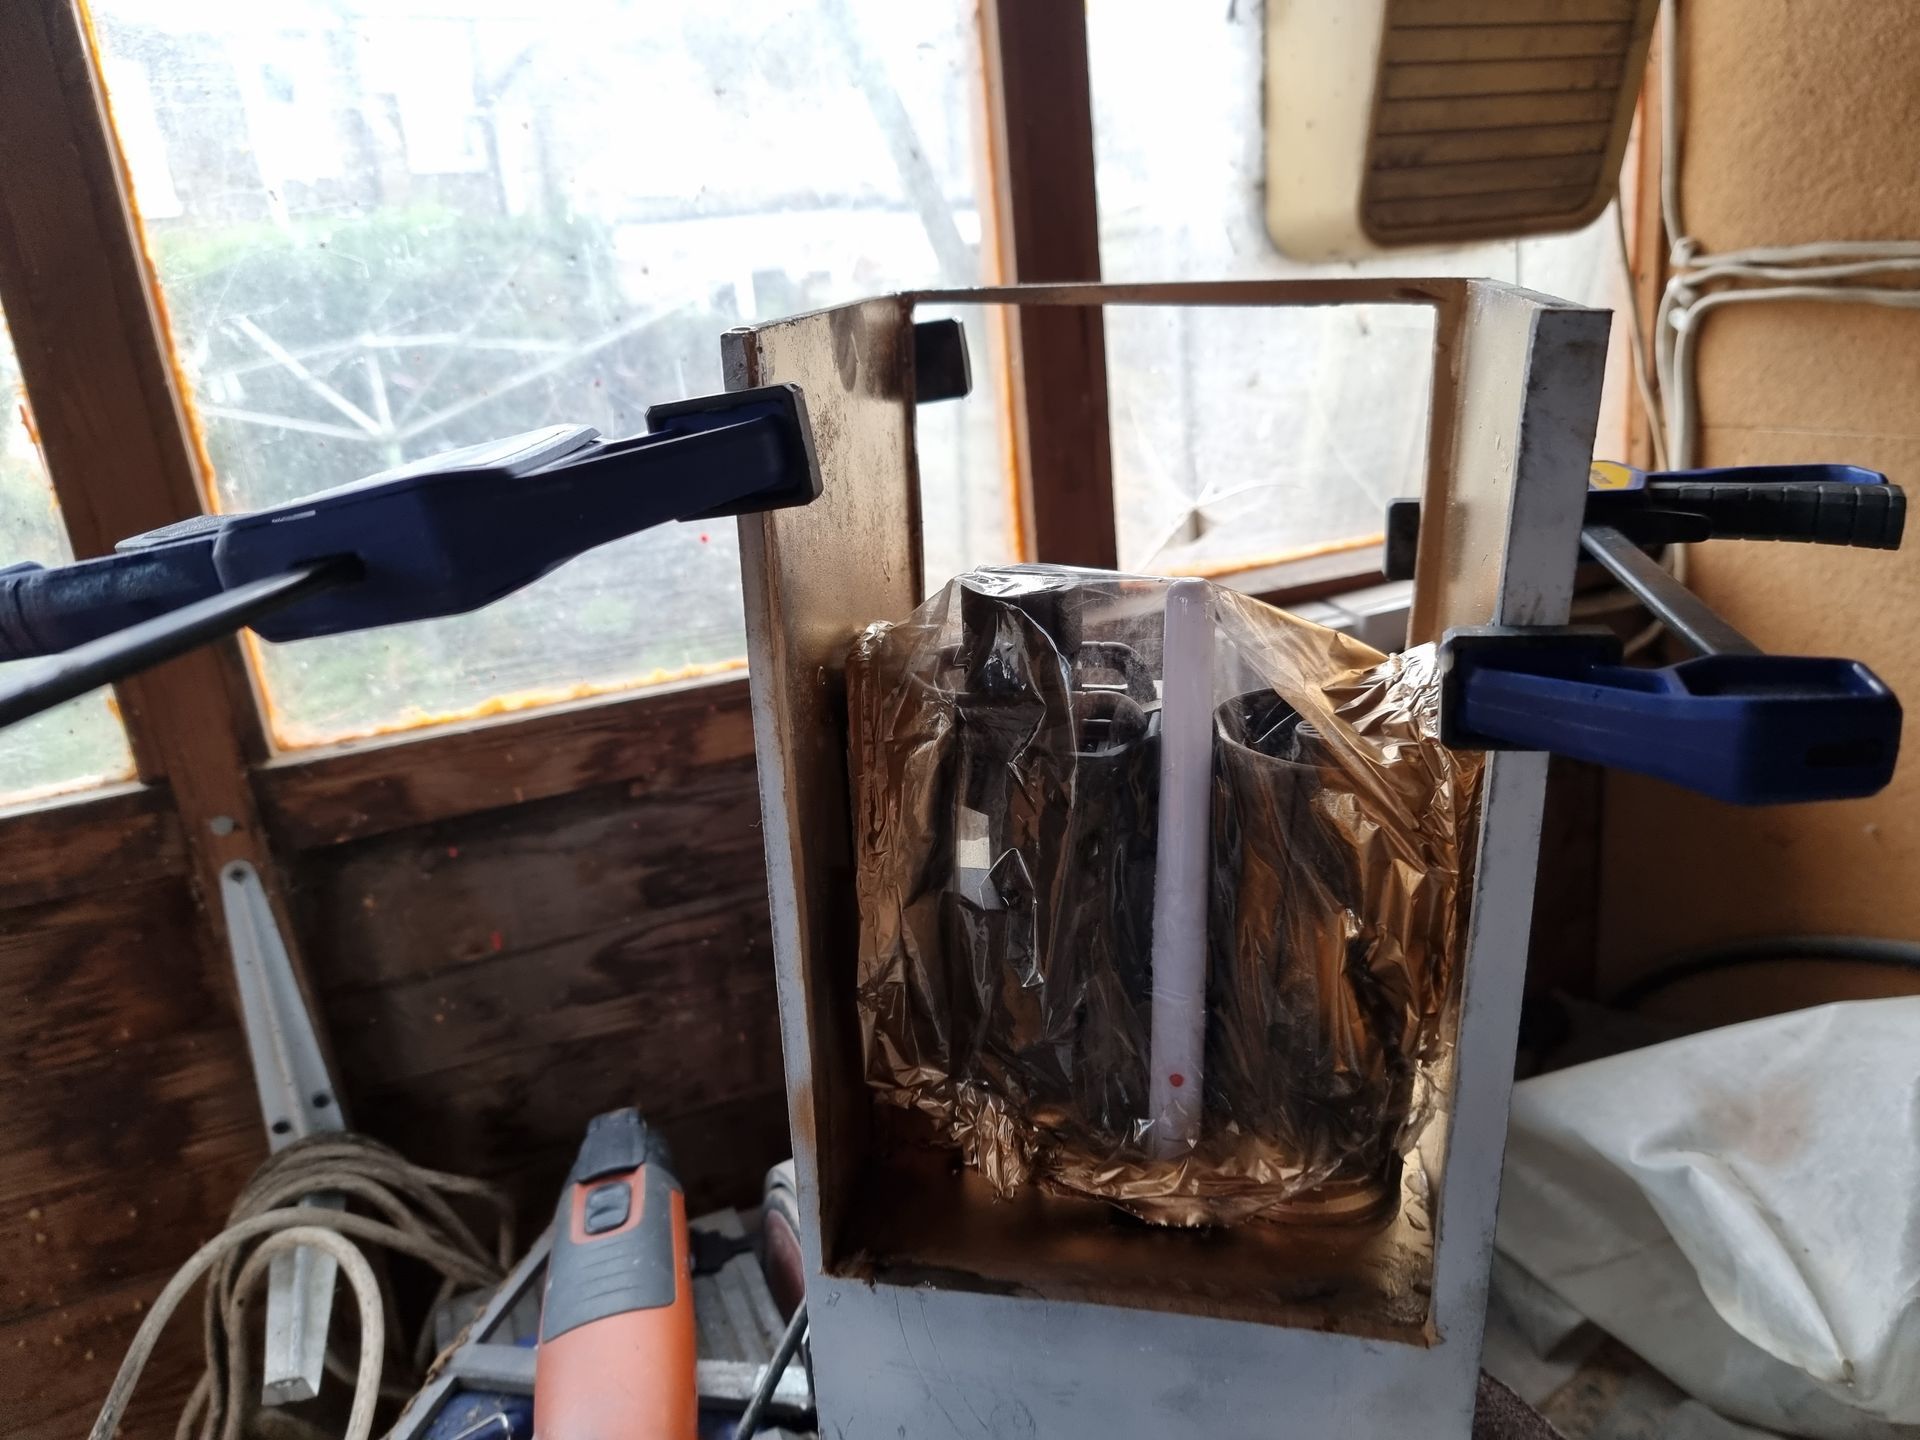
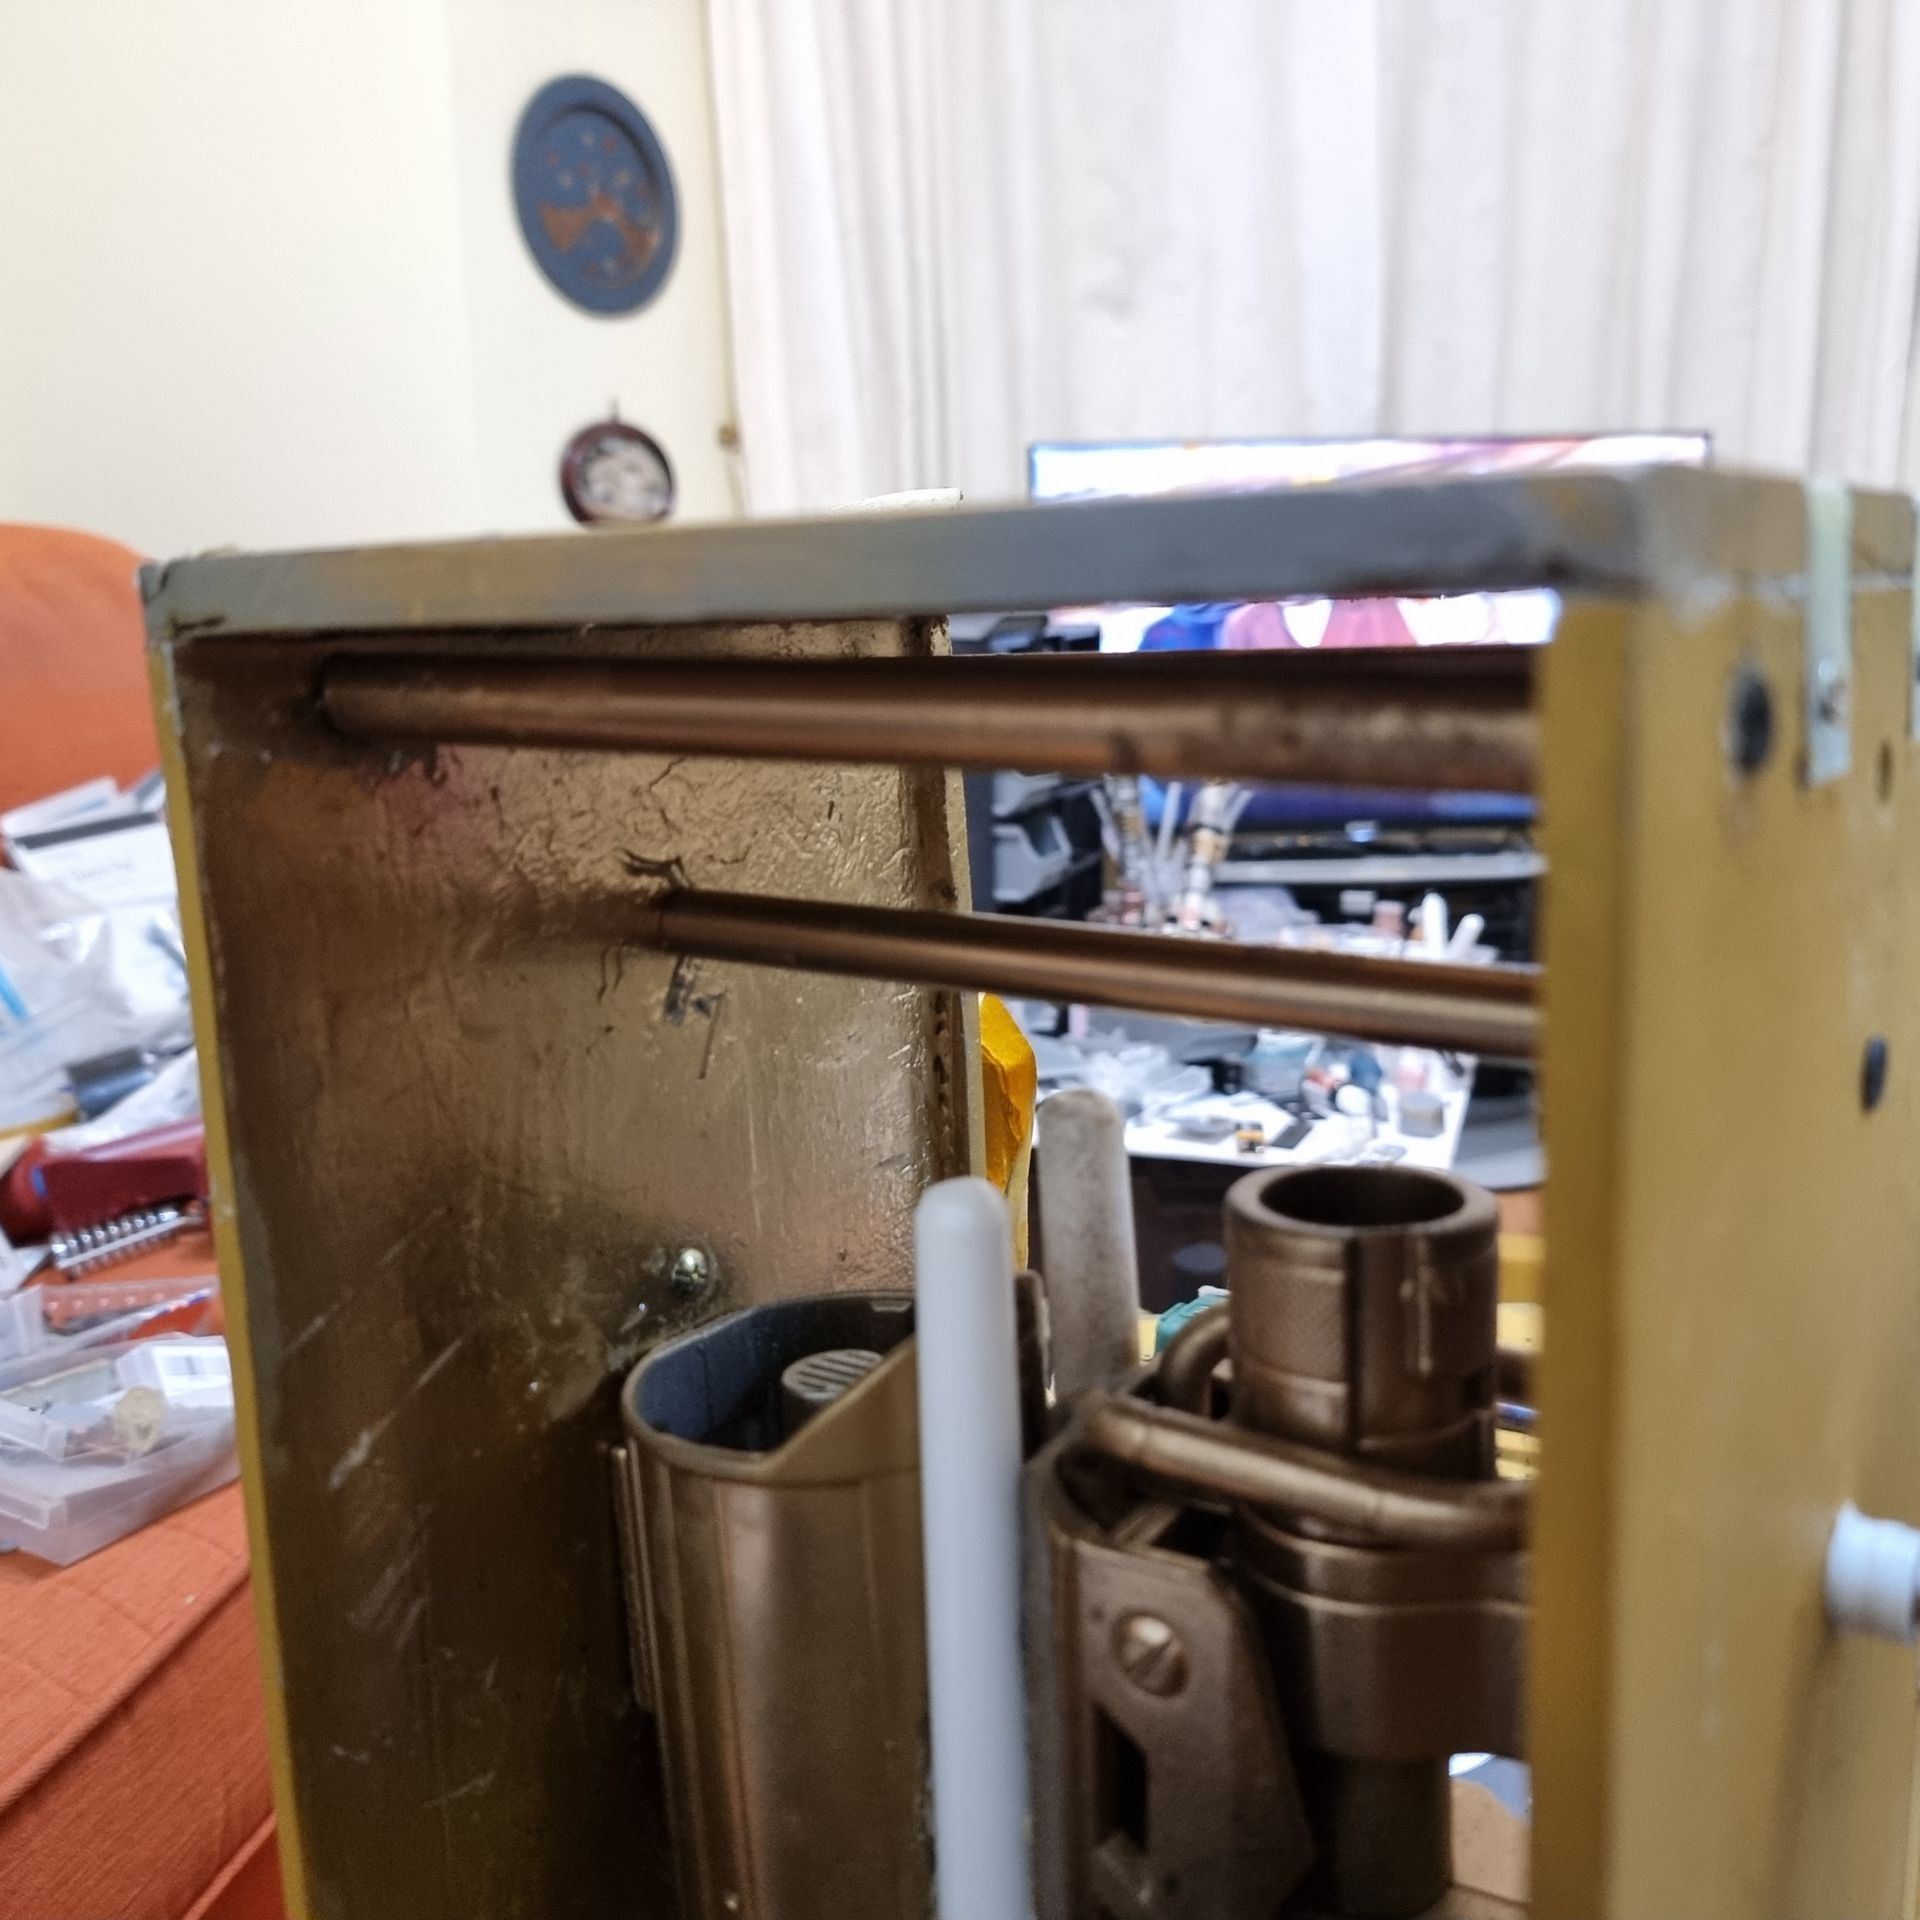
L Brackets were added to the outside, Tubes on the inside, initially glued then when they kept getting pulled out screwed into place and the brackets filler overed to hide them. The kit bash also covered them up late.
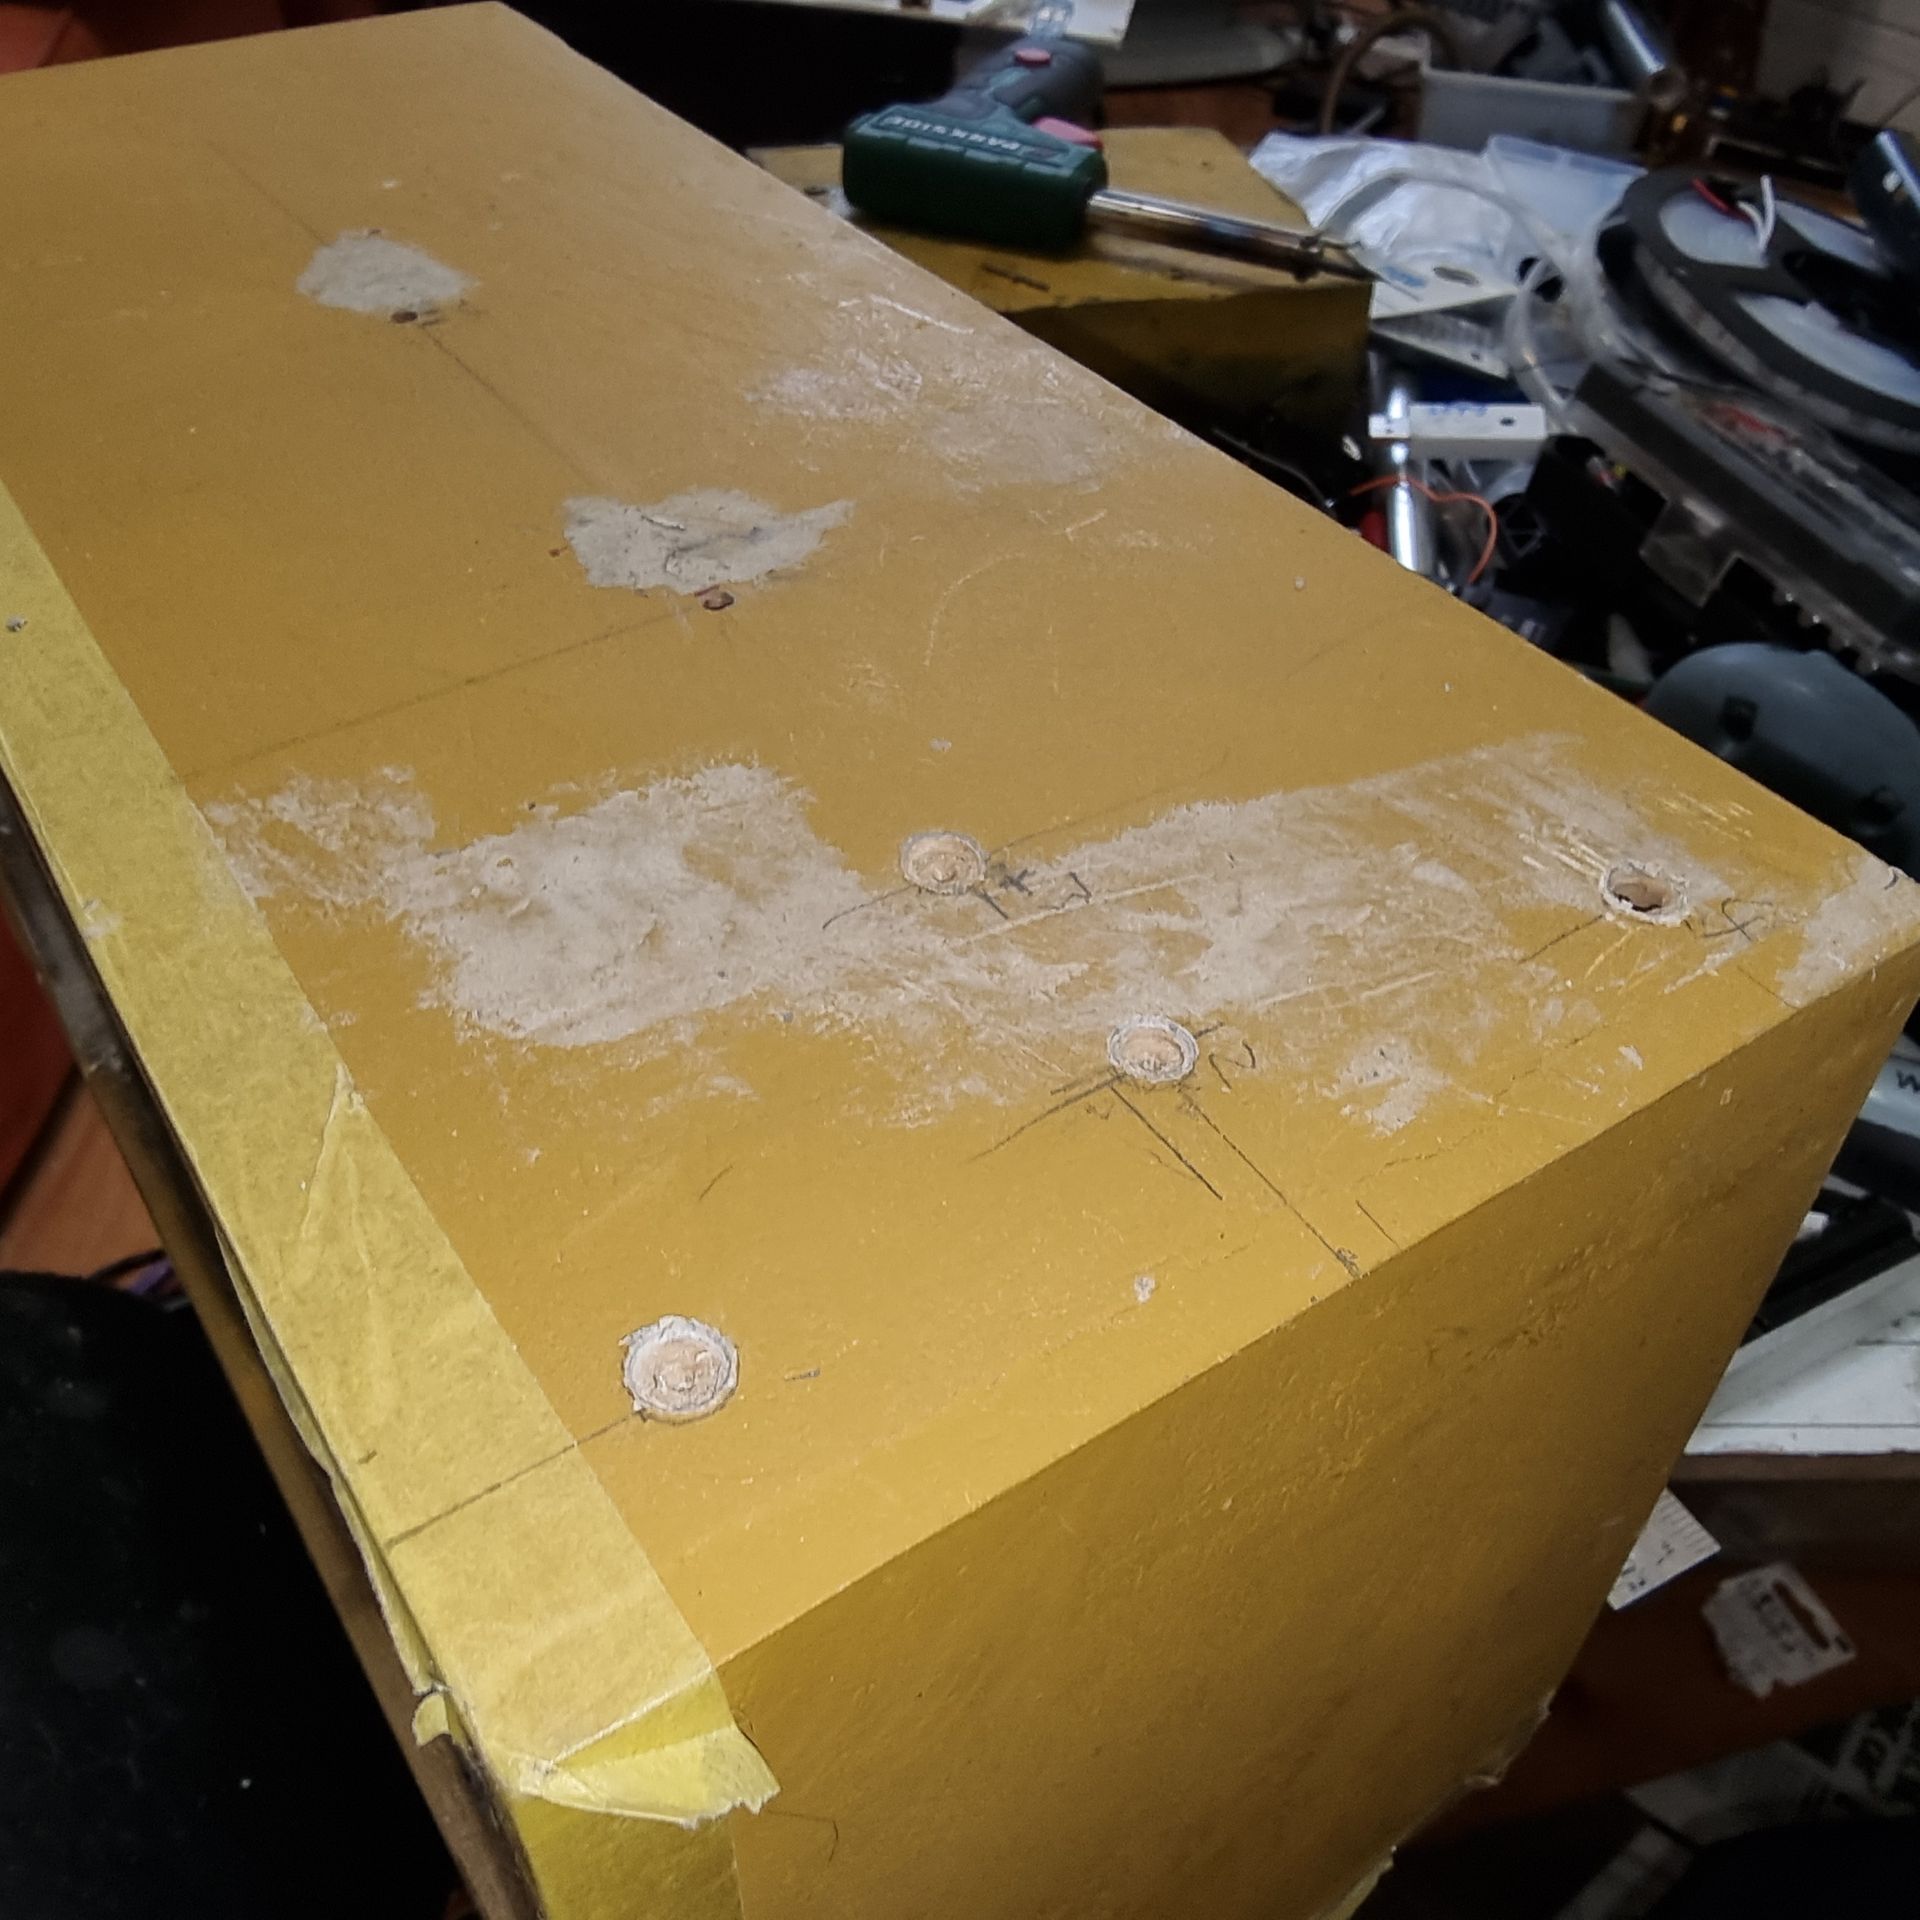
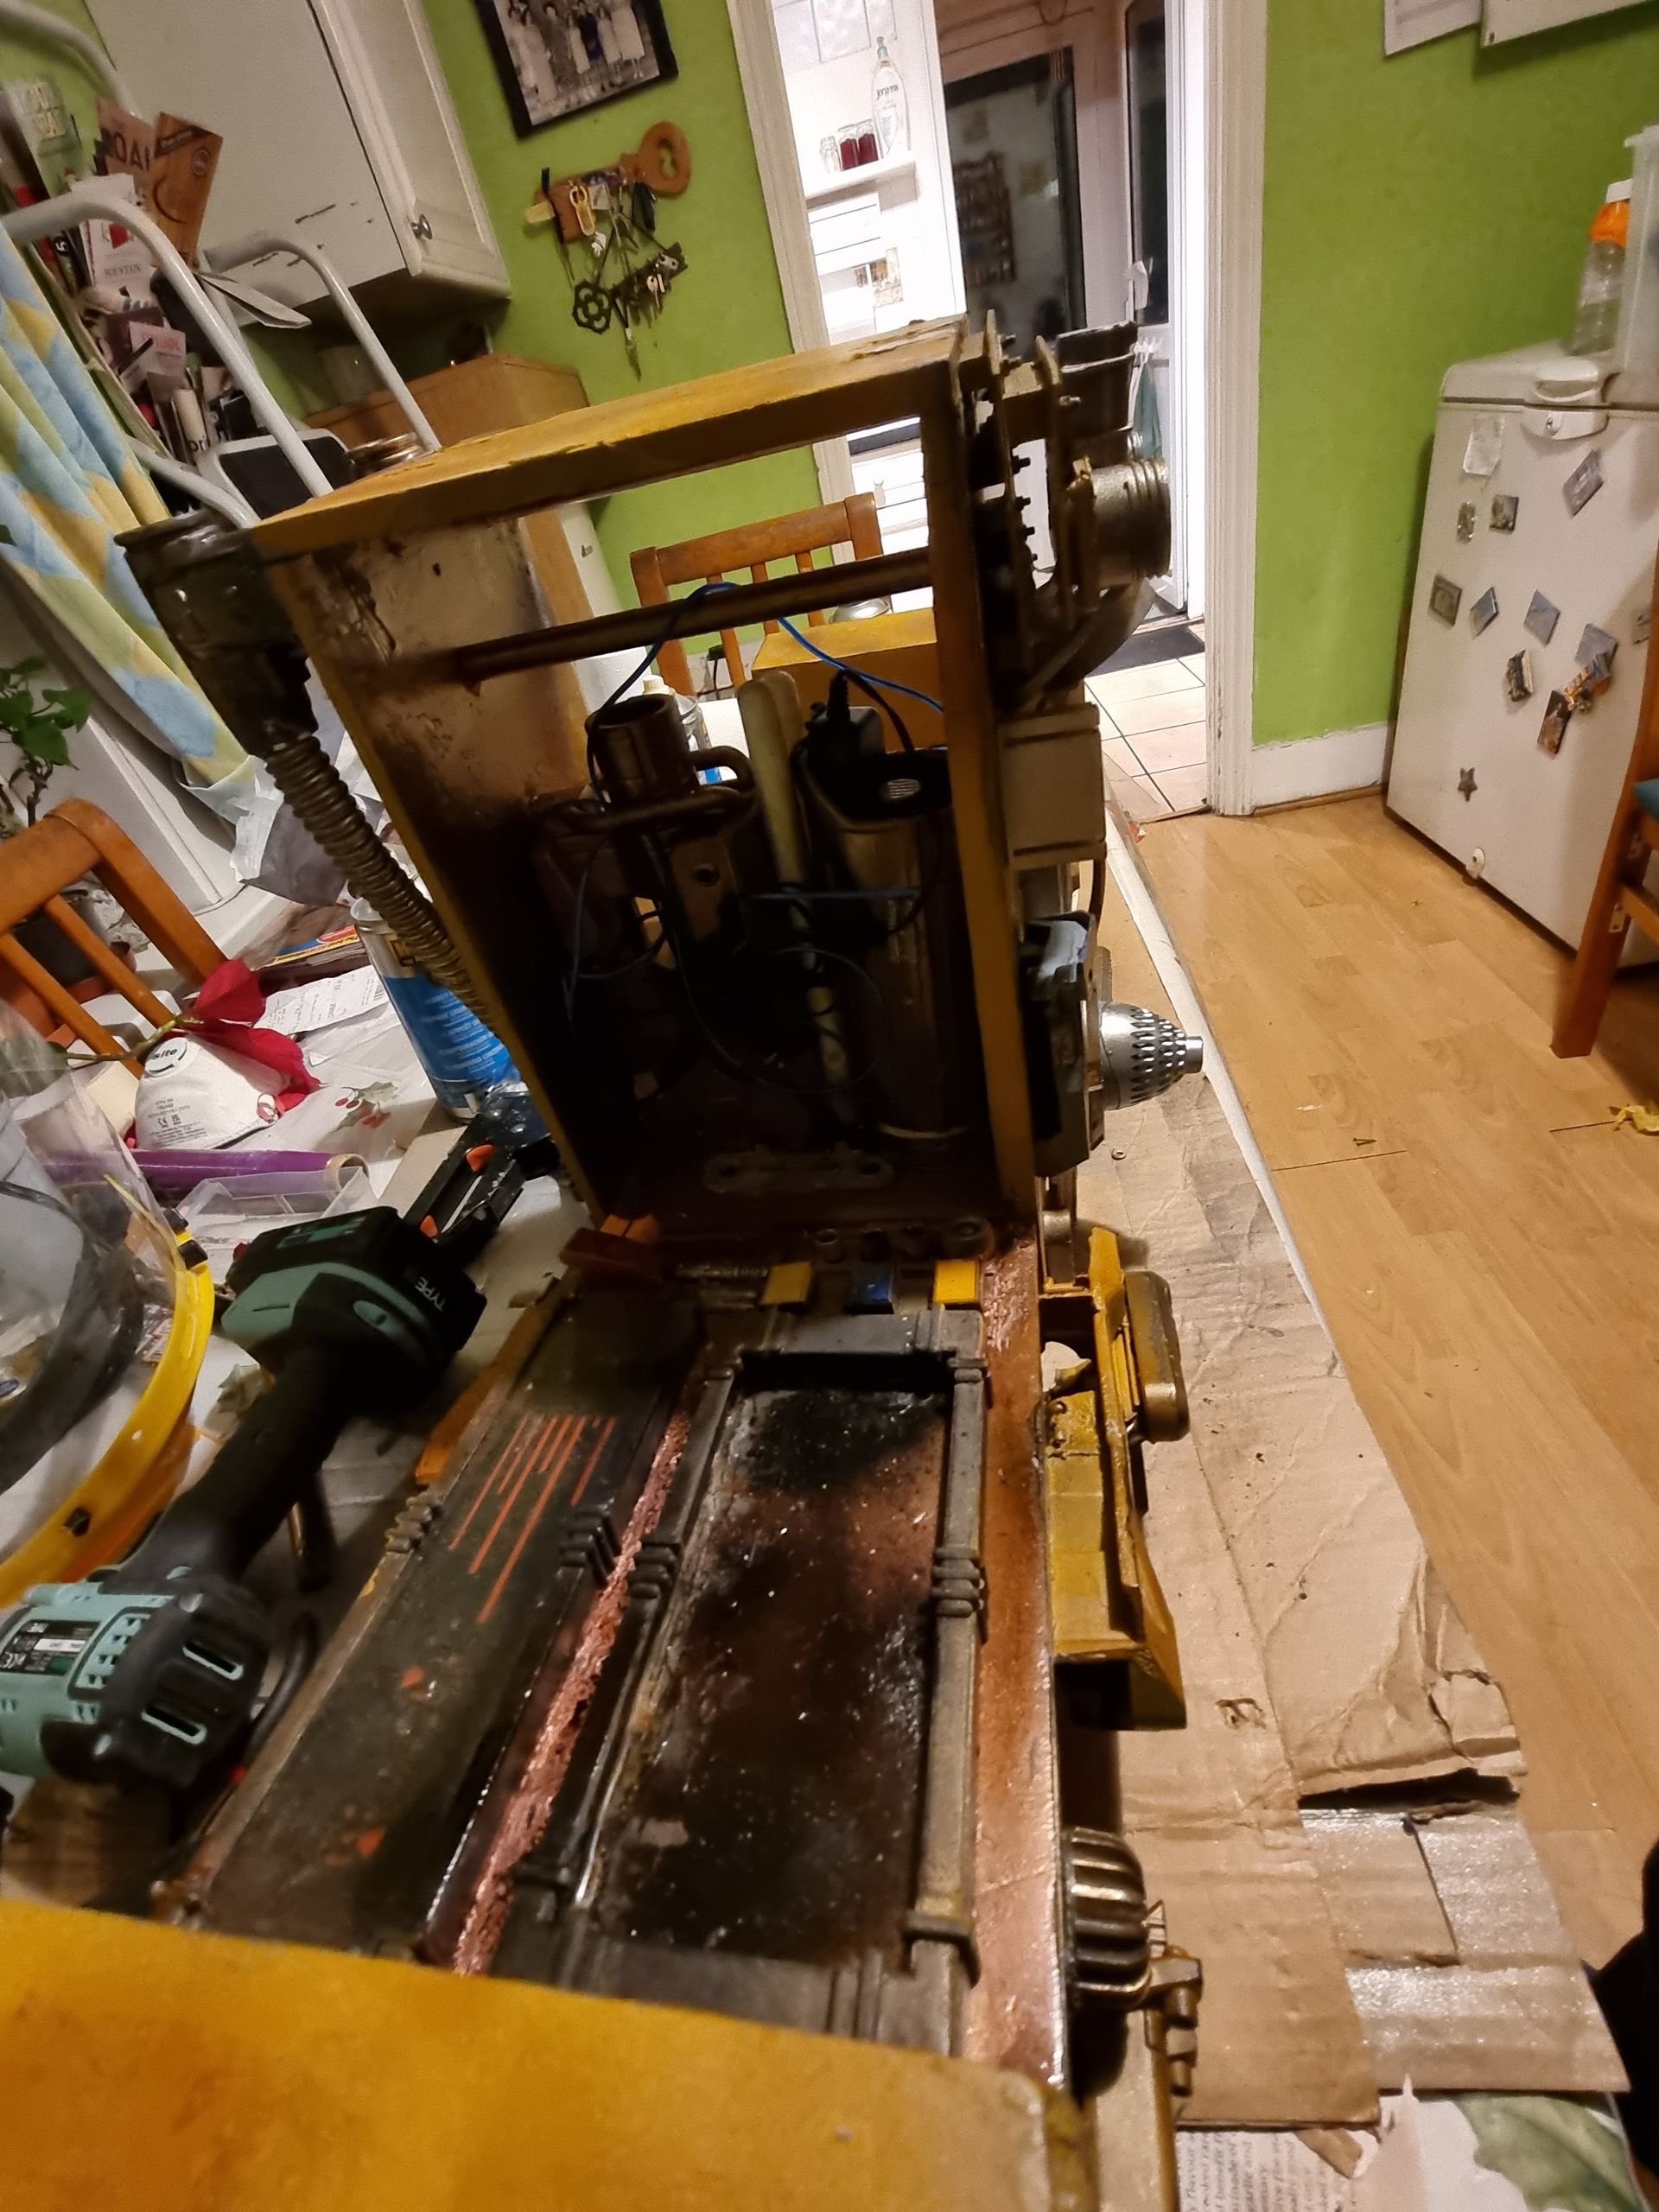
All this alteration and rebuilding mean the inside and out needed to be filler overed, sanding and painted over and over to get good finishes. Part of the roughness is what led this to being a Tatooine rebels’ system rather than a nice neat new imperial technology to give reason for it. My power file and multi tool were well used here but even they had limits.
Hinged were added to connect the wings though with hindsight and multiple breakages these should have been slow suppressed hinges so the system opens and closed slow. More so opened so the towers were not broken off by the impact.
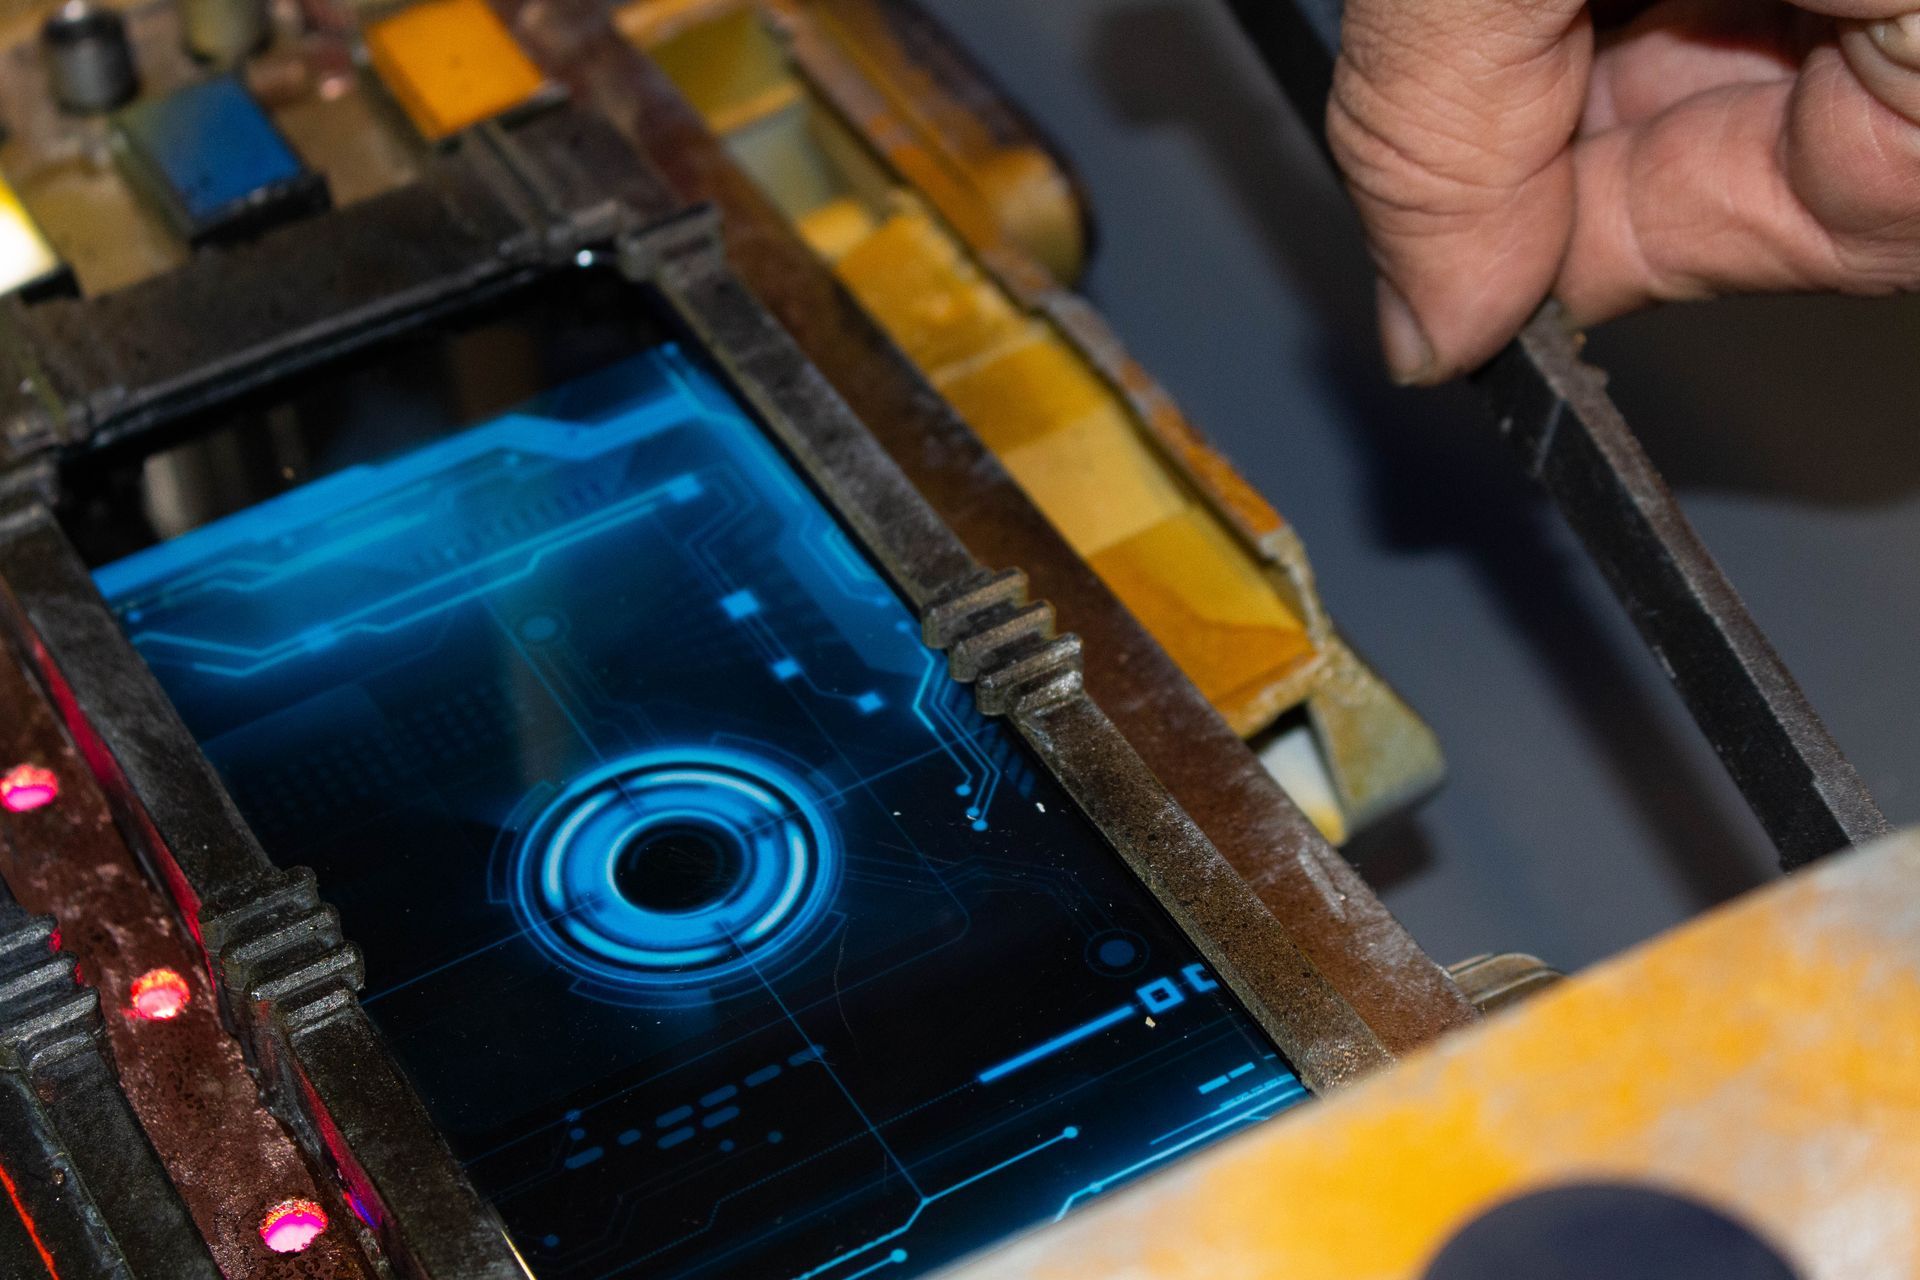
Animated Screen via Phone Compartment
Fellow student Harriet gave me the idea to use a phone as a screen with animation I made myself or downloaded animations. Running out of time I opted for the latter.
The phone would need a frame where it could easily be inserted, held securely and released.
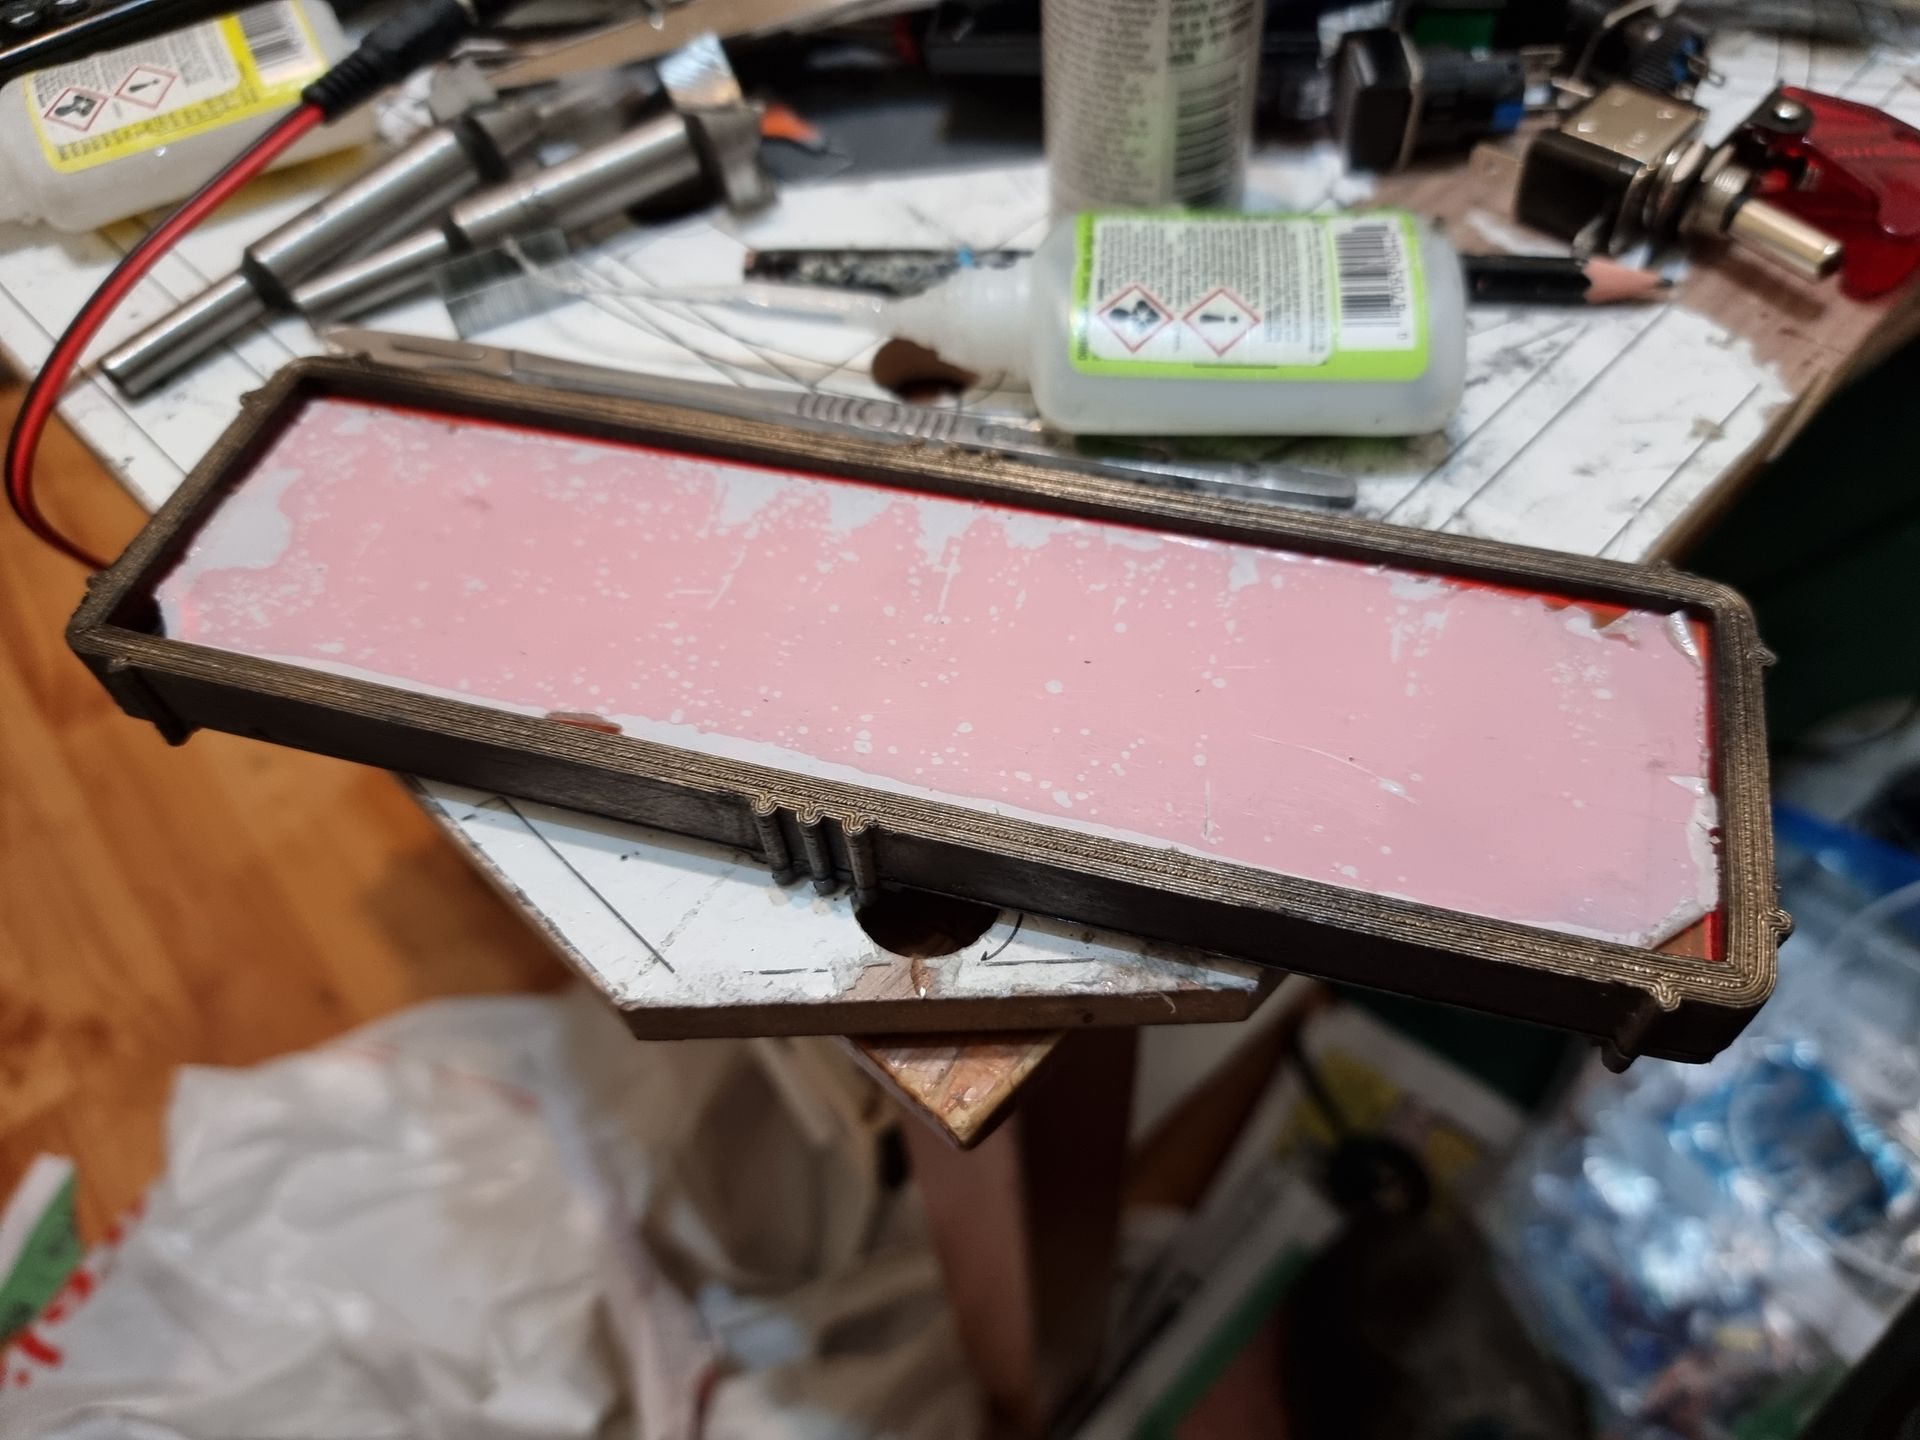
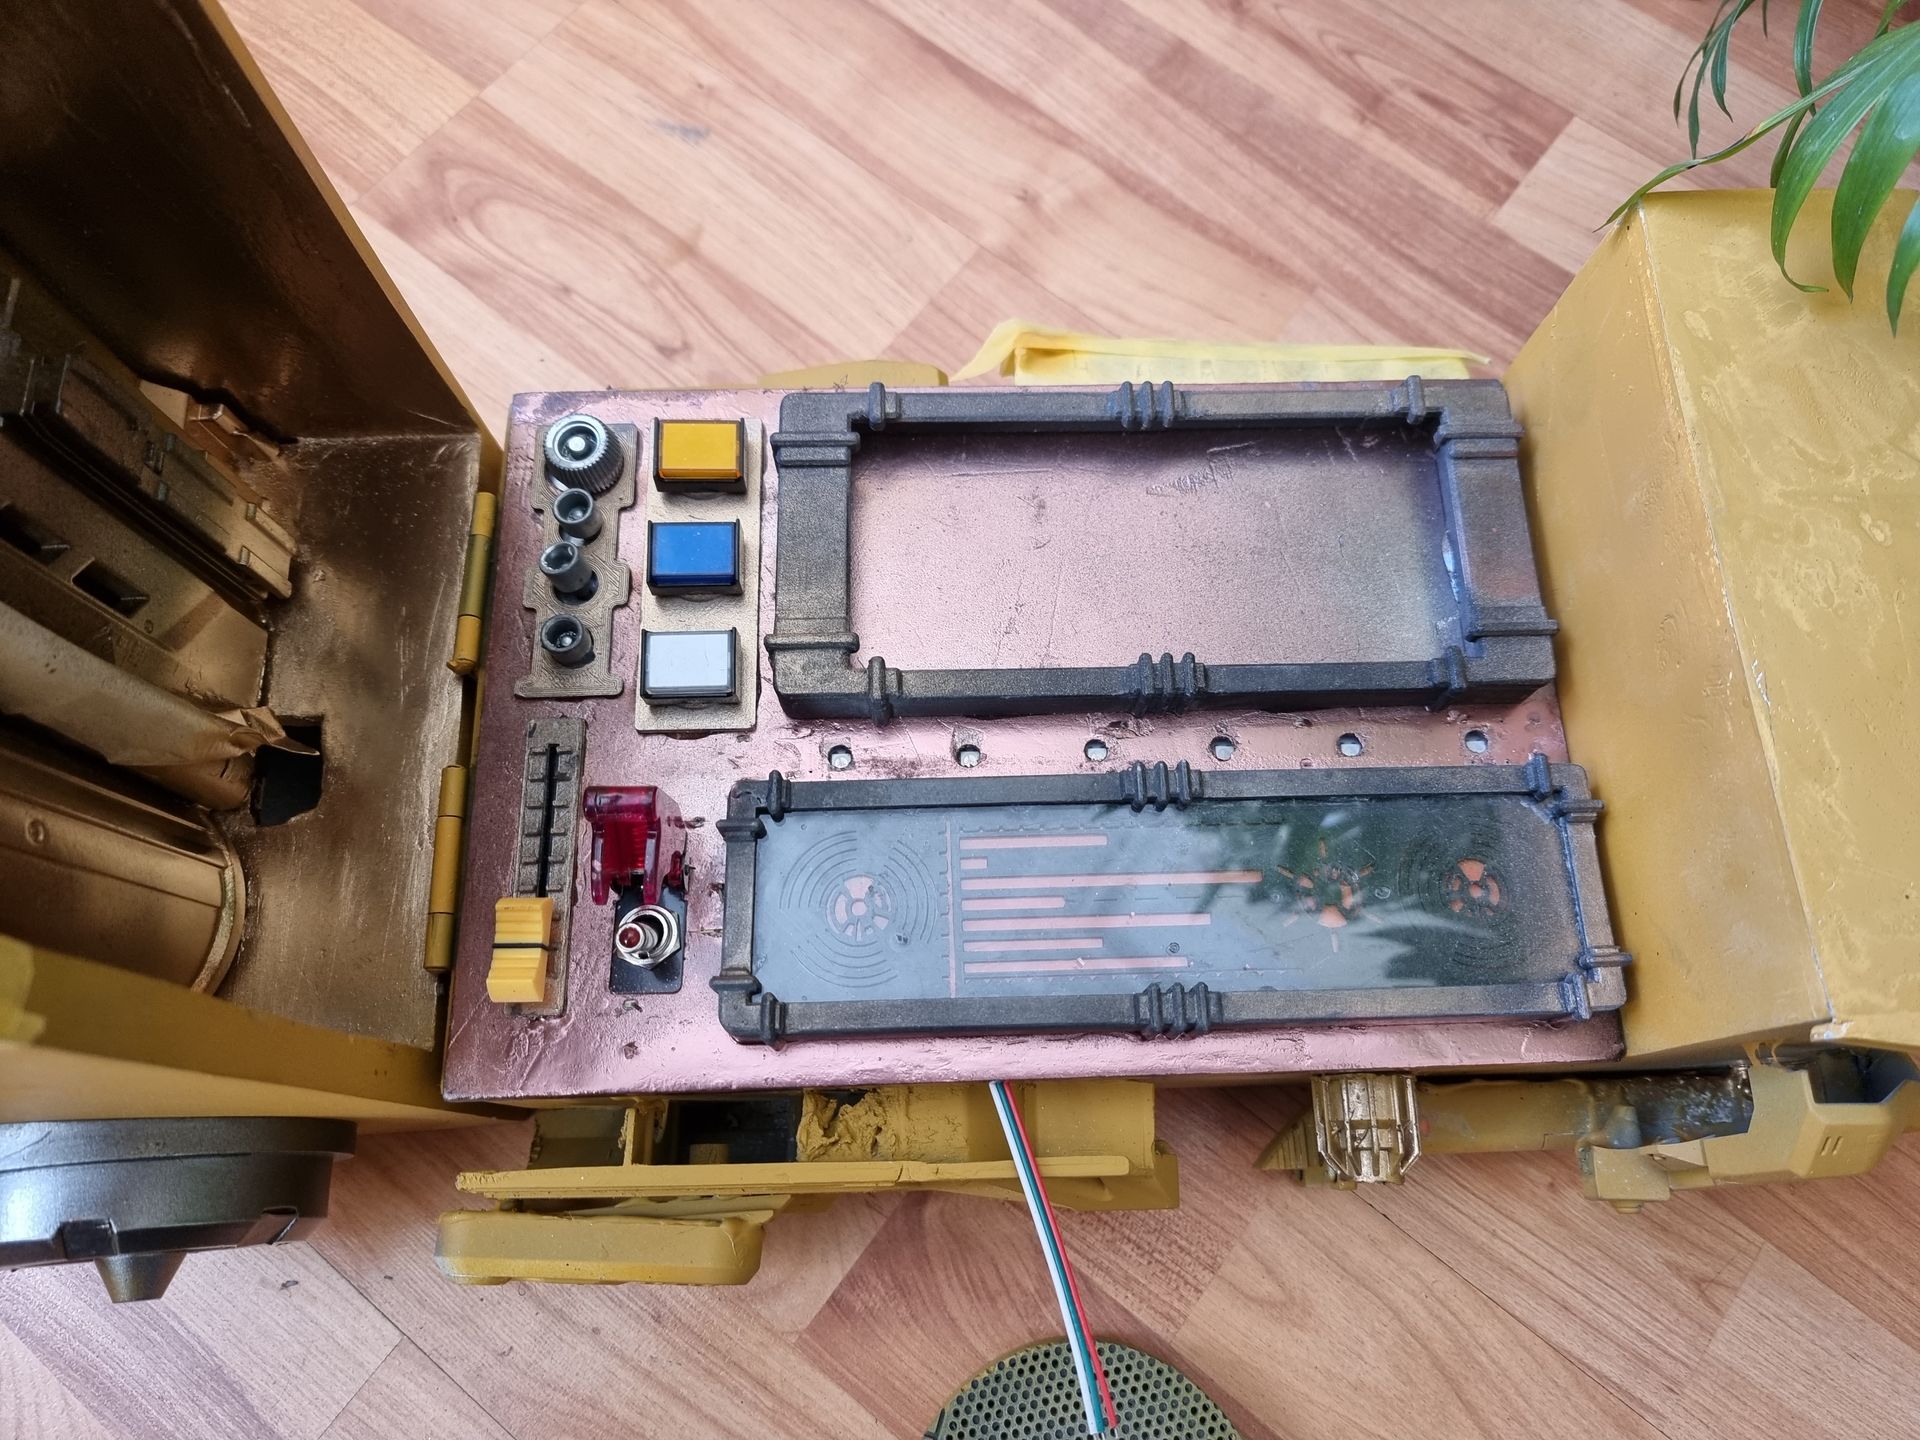
I used Solidworks and my 3D printer to make this frame with some sci-fi styling that could be glued onto one of the control panels.
3D printing enabled a snug fit which holds the screen but also mean it was customer made for a Samsumg Galaxy S21 Ultra.
The frame has a lip on the top to hold the phone.
The entry and exit were done by having one of the walls as a separate part. I did look into bolting system then opted for strong magnets
To give a smooth appearance as FDM 3D printers print with a strand of melted plastic, I used car filler then sanded down precisely with my Fein Multimaster tool.
I opted for a bronze look with primer, black and gold spray paint combinations
The Frame for the orange stencil display was made in a similar manner only by 3d Printing a black stencil.
Thin clear acrylic was used for the screen surface and a fluorescent orange piece of thin acrylic was used under this to act as a gel.
Unlike the phone a hole was cut out for light from the led strips to turn this into a light box.
Faction Colour Pallet and Kitbash Assembly on Box Body
After getting the tower combination prototyping with parts that could fit together and seemed to work, I started to work on colour pallets.
I started with the corporate dark grey metallic Imperial look with white rounded end slots.
Then thought the rebel look could be more interesting as allowed for more distressing and colour.
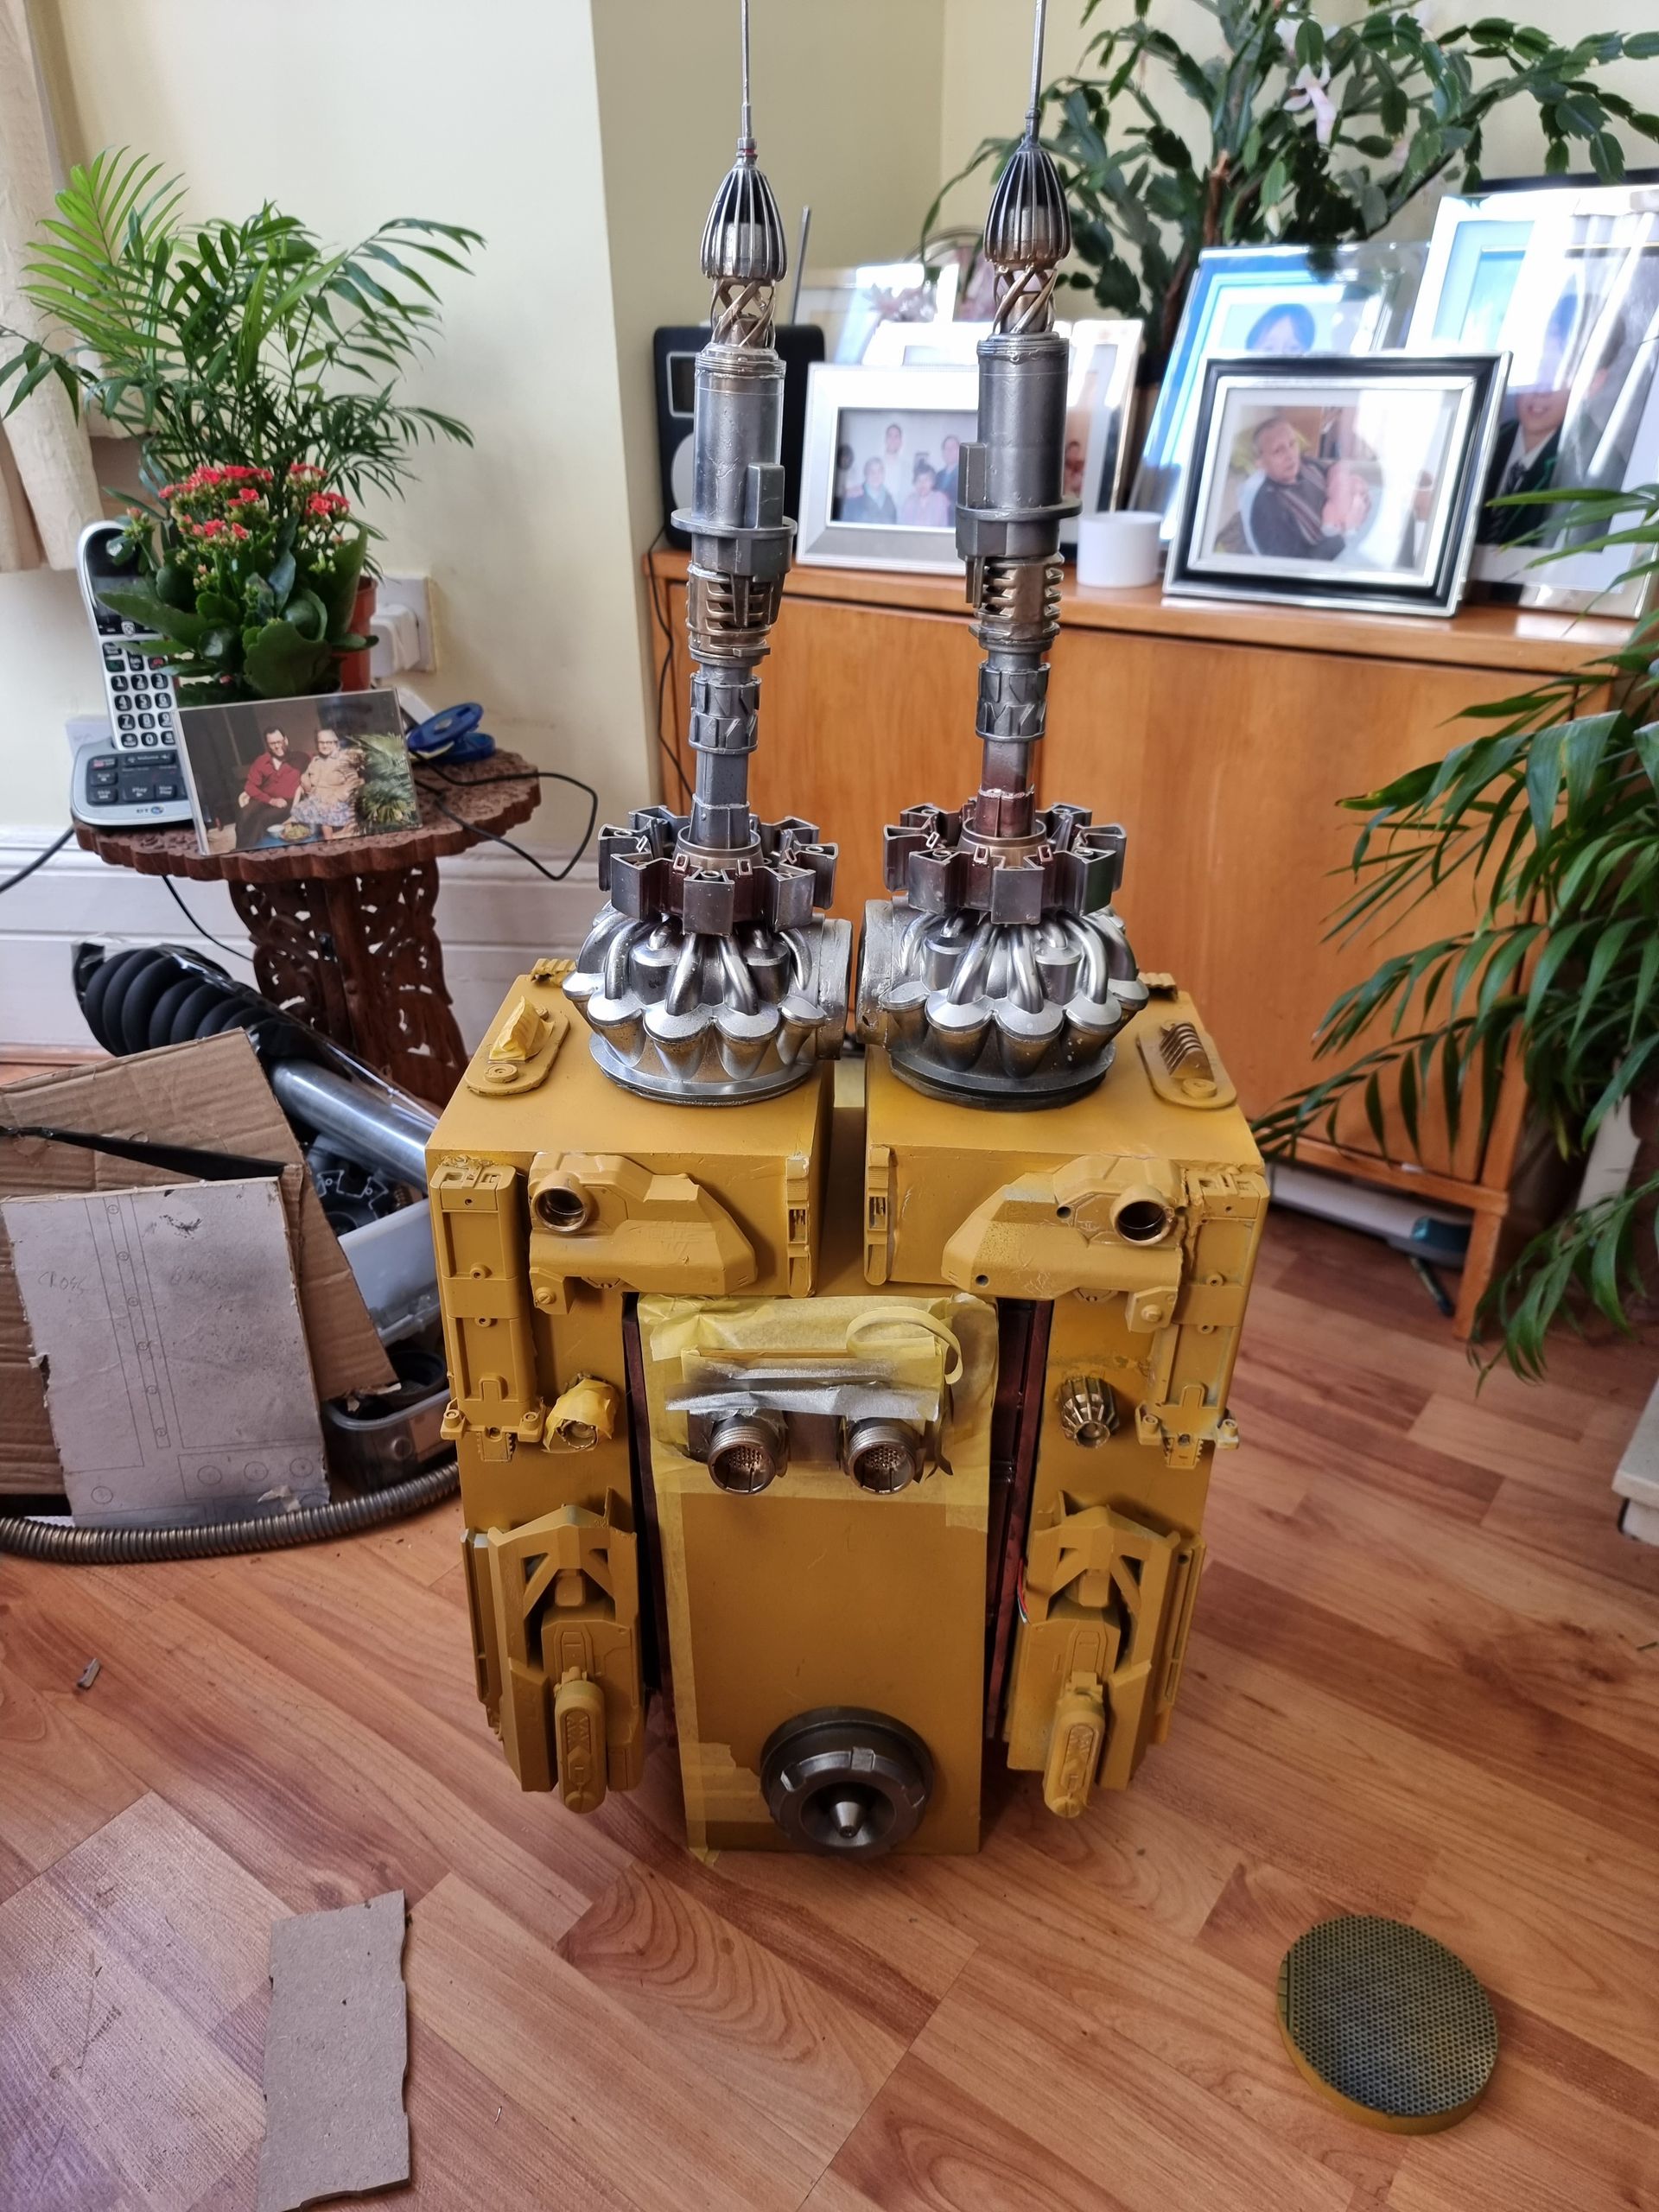
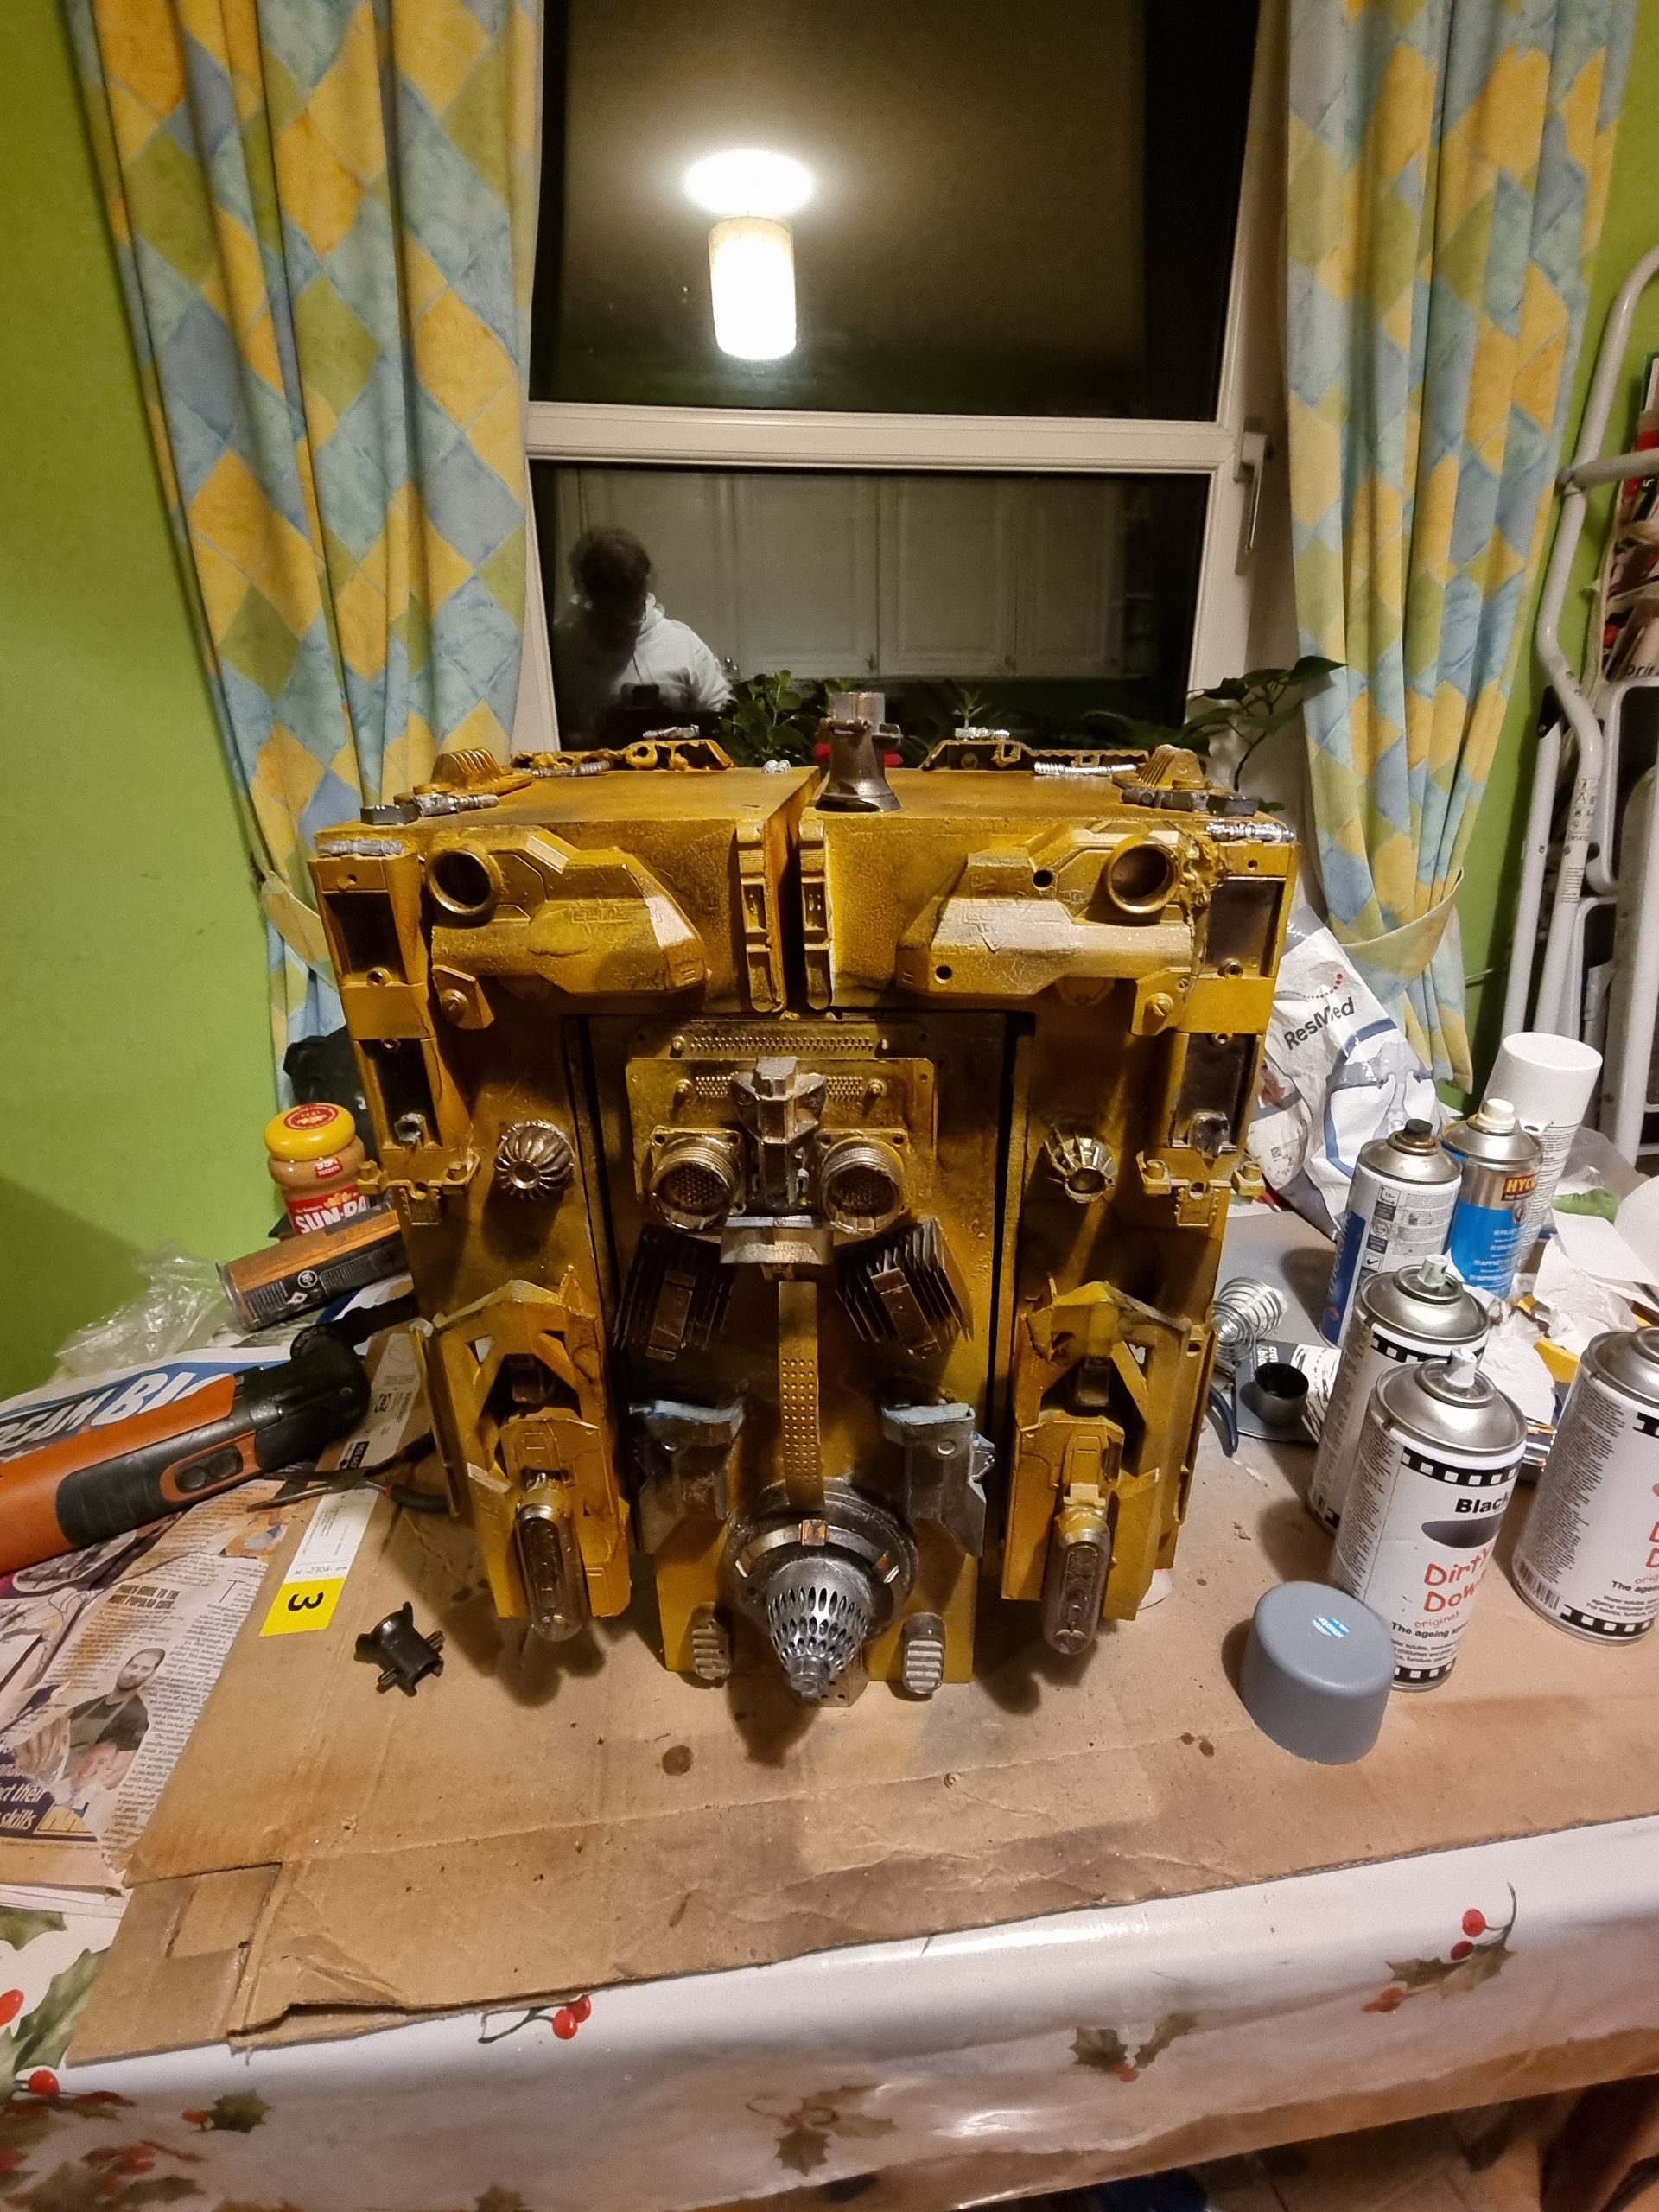
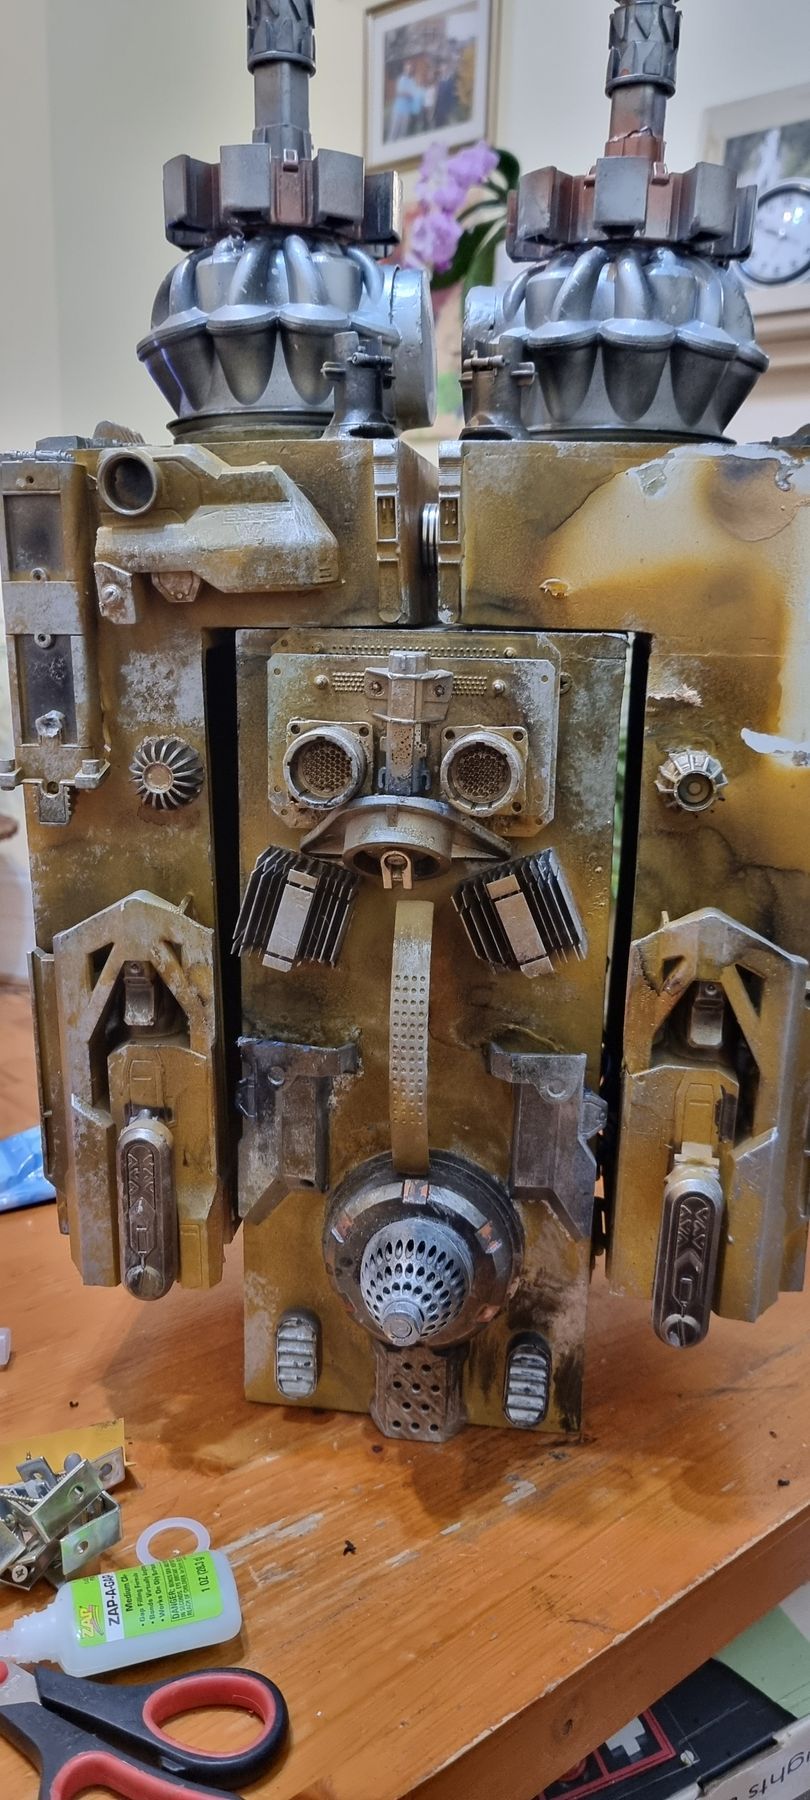
I first started with dirty white look then moved to more of a yellow sandy look that looked more jury rigged and old look of a device from one of the outer rim planets such as Tatooine or Jakku.
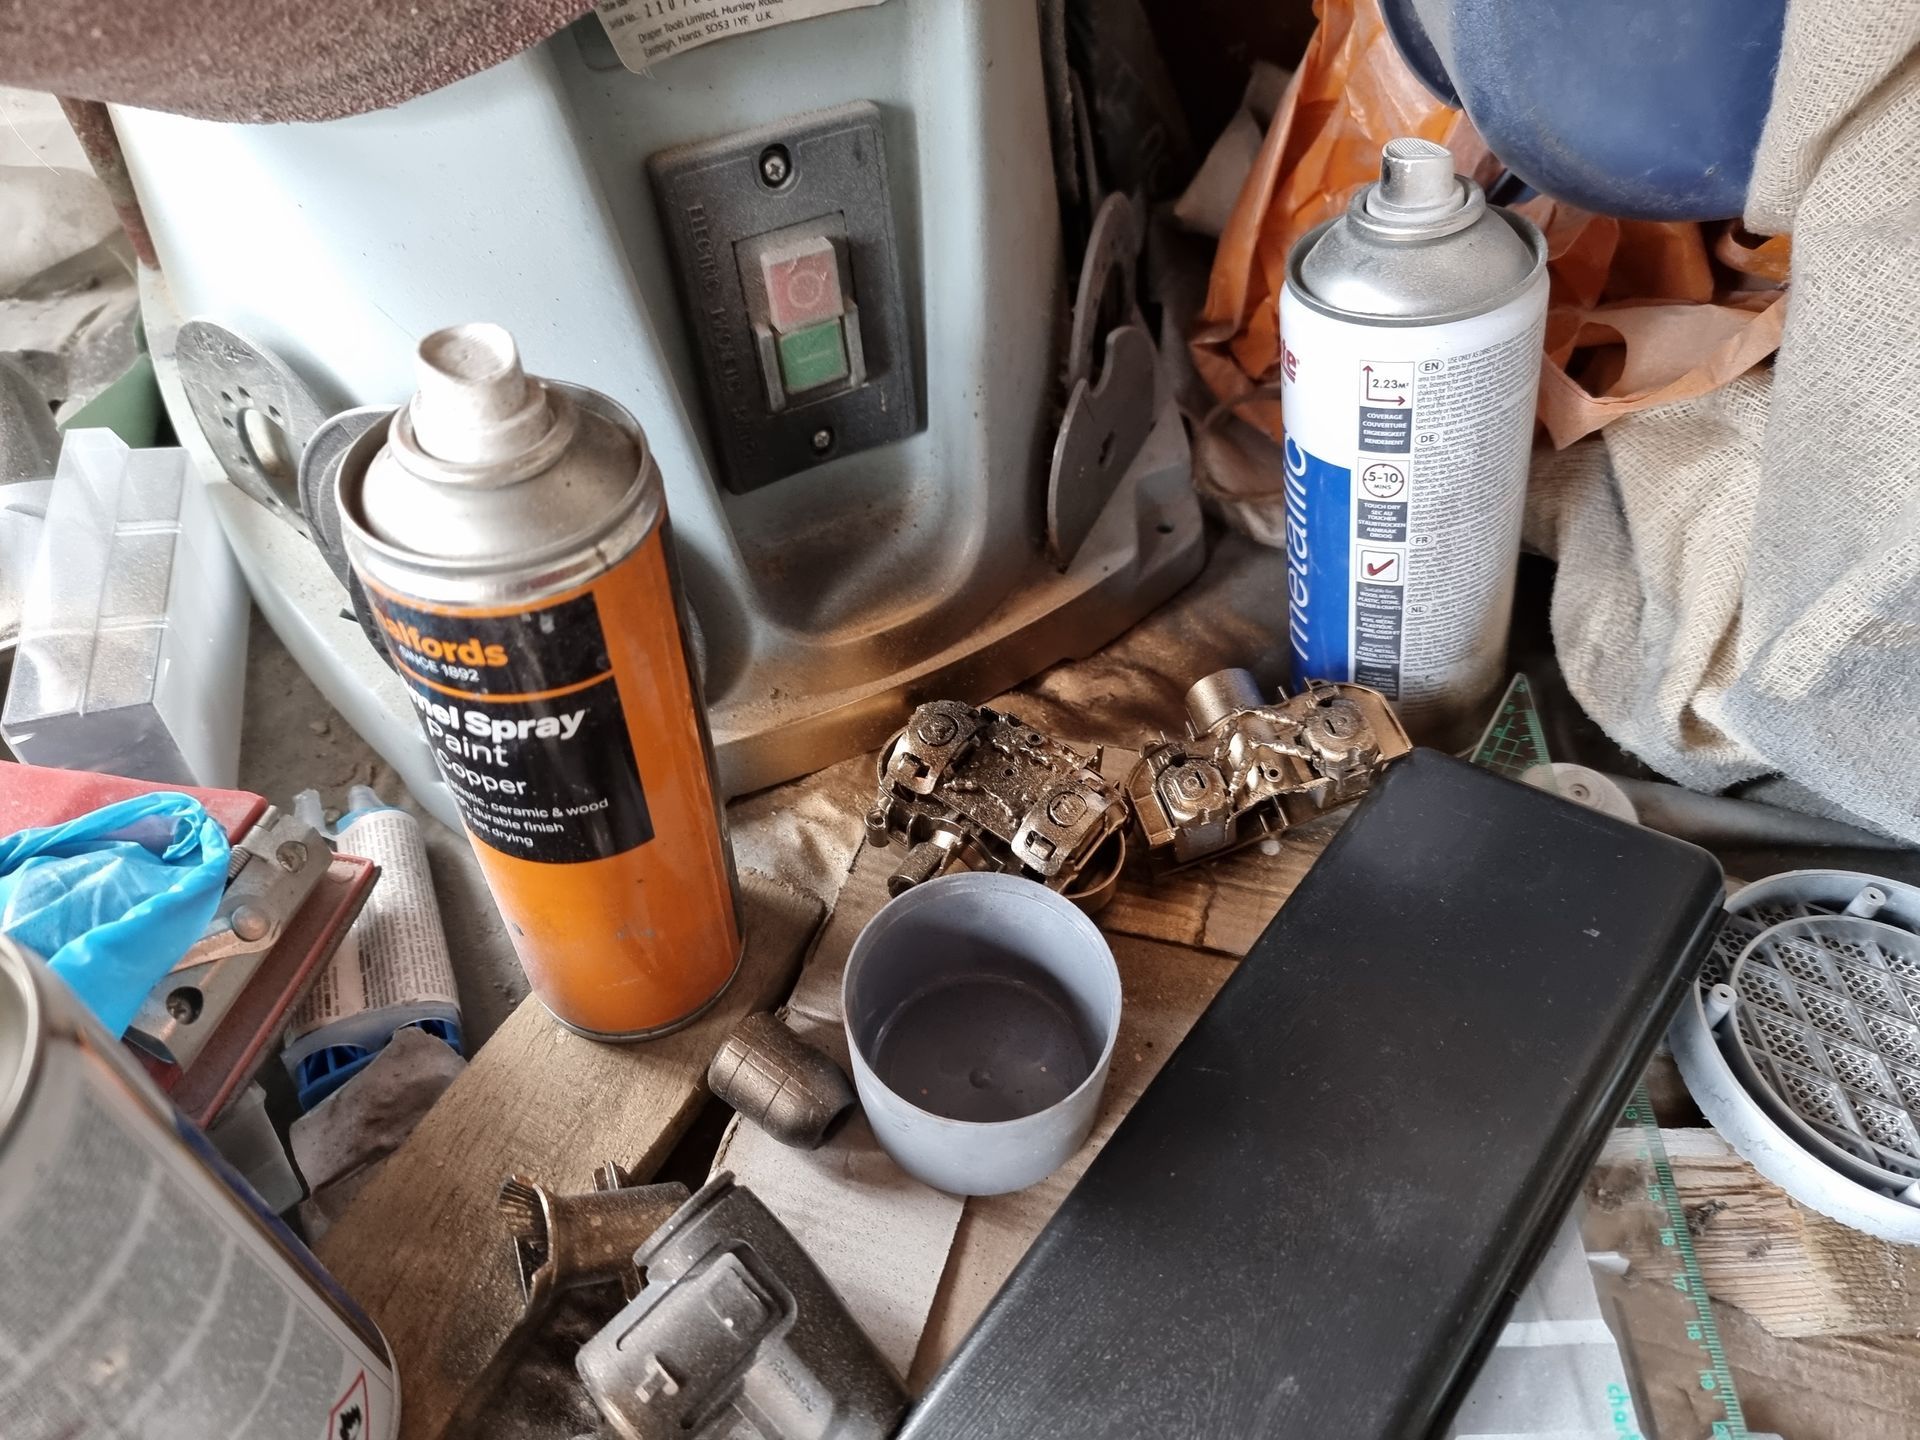
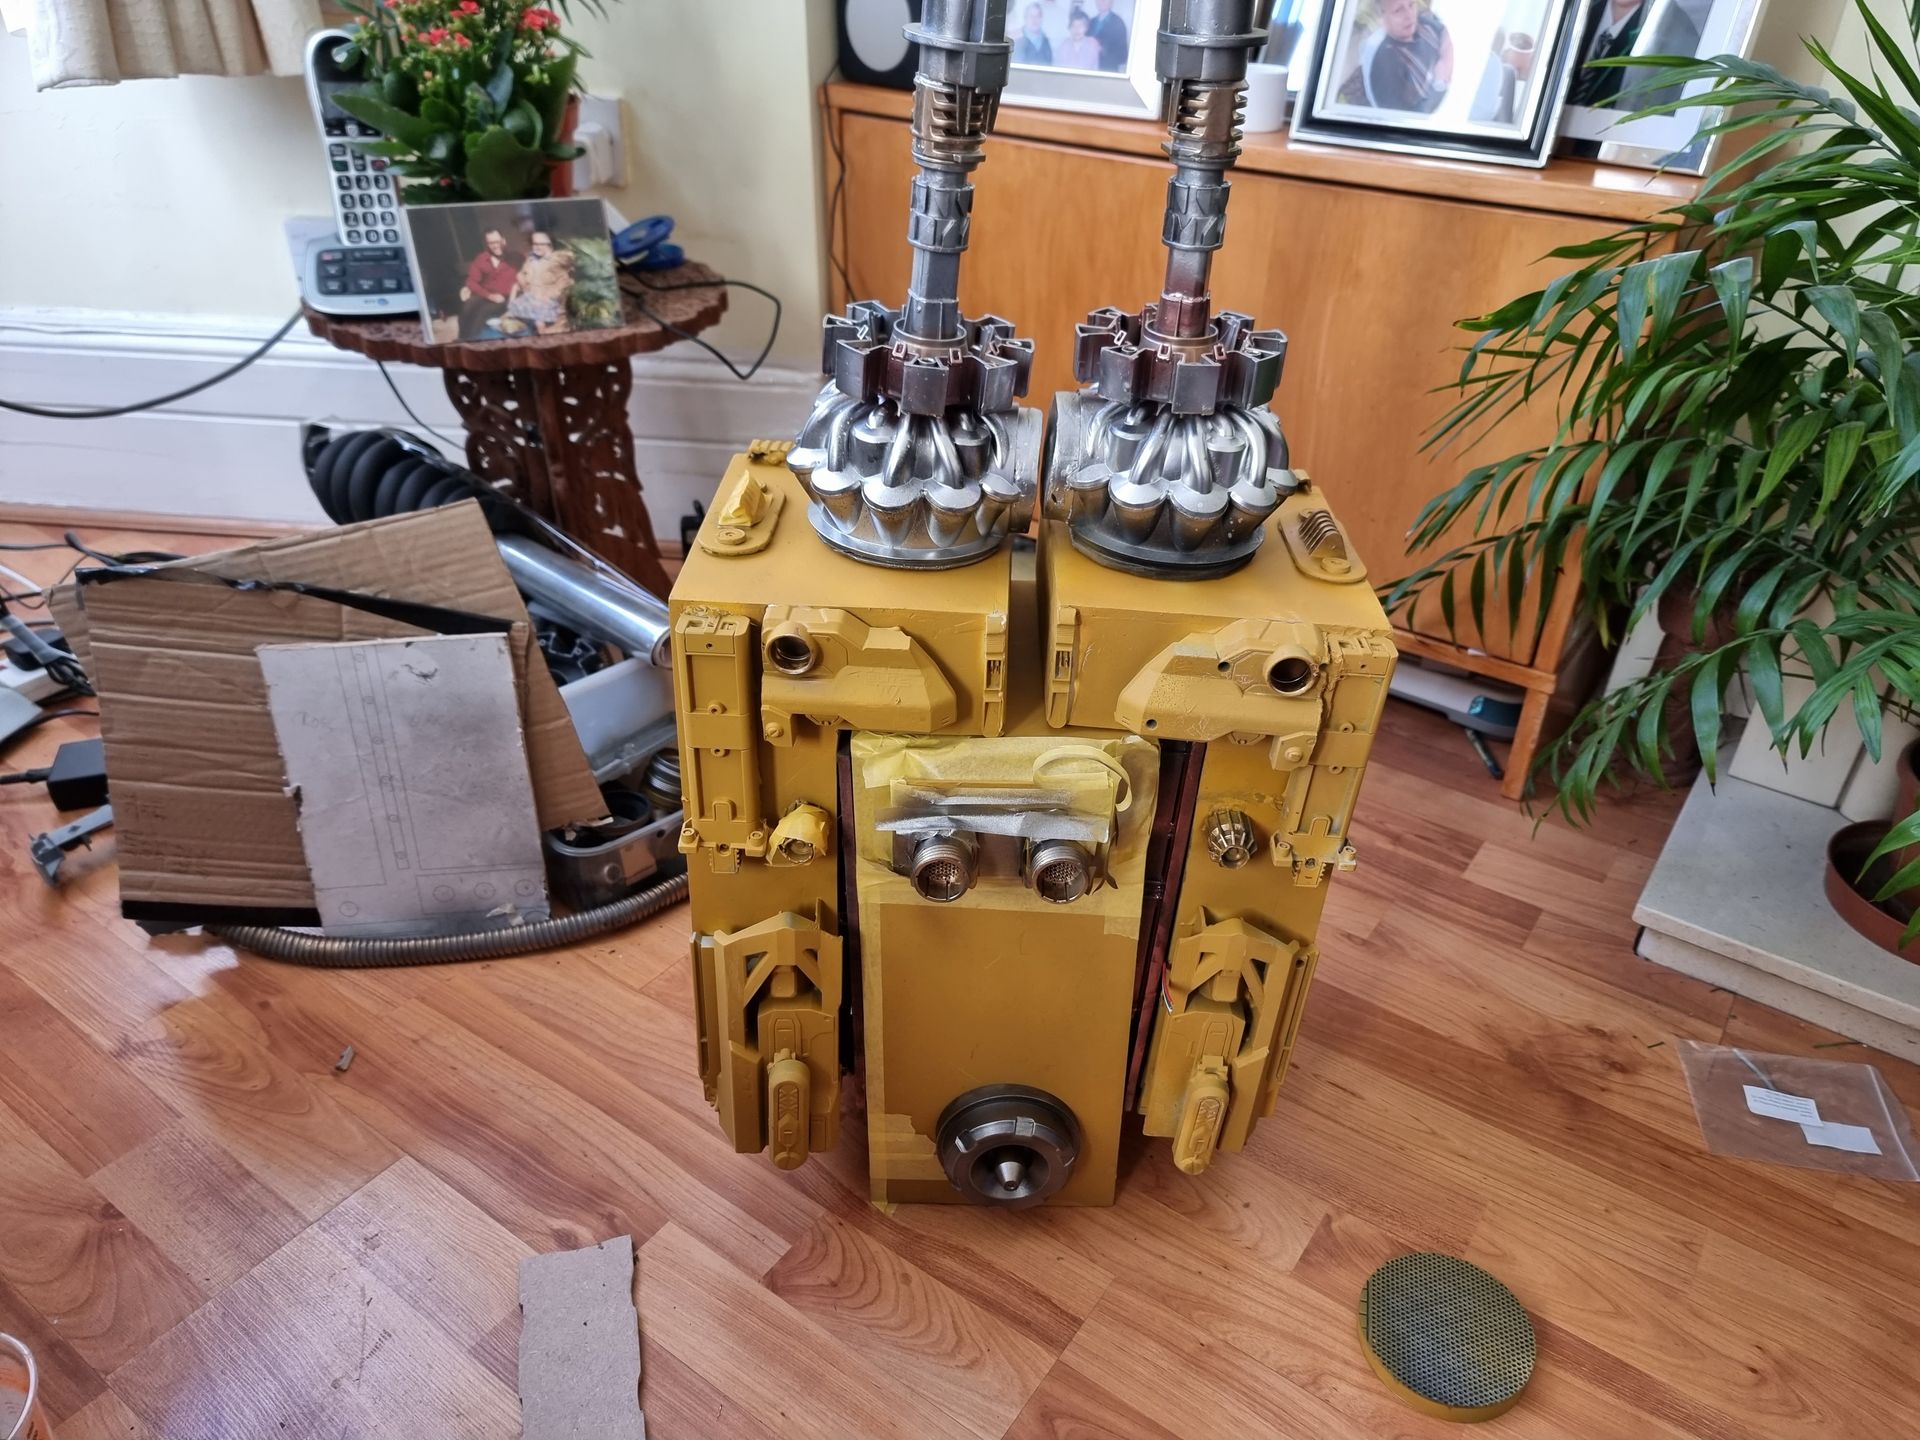
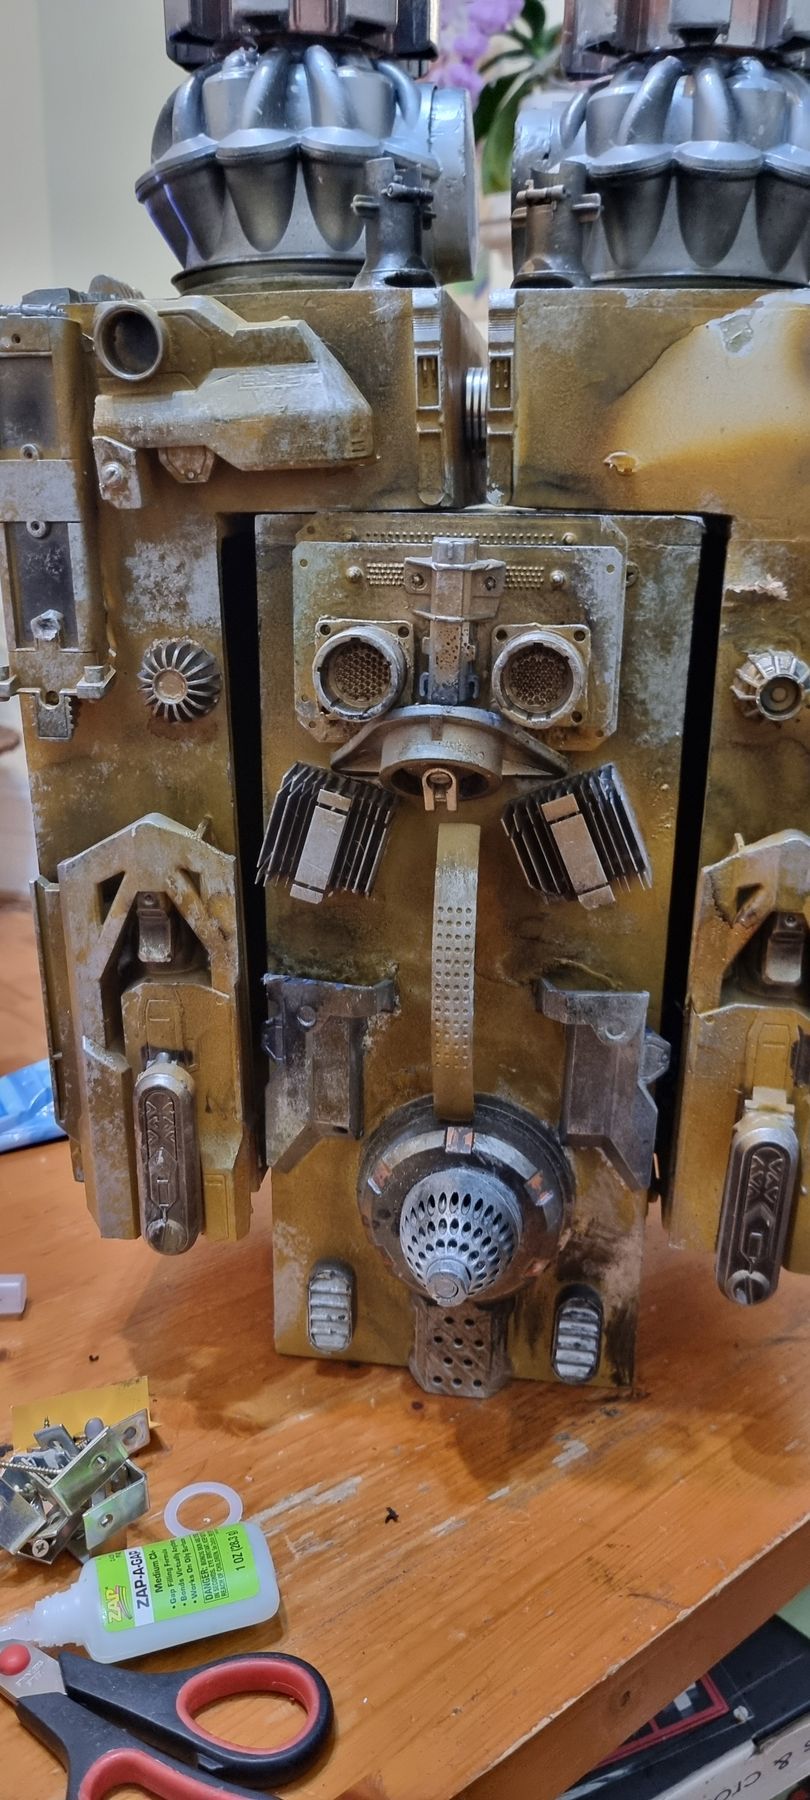
The chopped-up Nerf gun, hair dryer, Warhammer and Fastcast resin parts were painted in a mix or dirty gold, copper sand and various metallic spray paint colours before sticking such as the Warhammer parts.
In general, I mixed the various metallic sprays to get more interesting colours such as steel, gold and copper with some black and dirty down
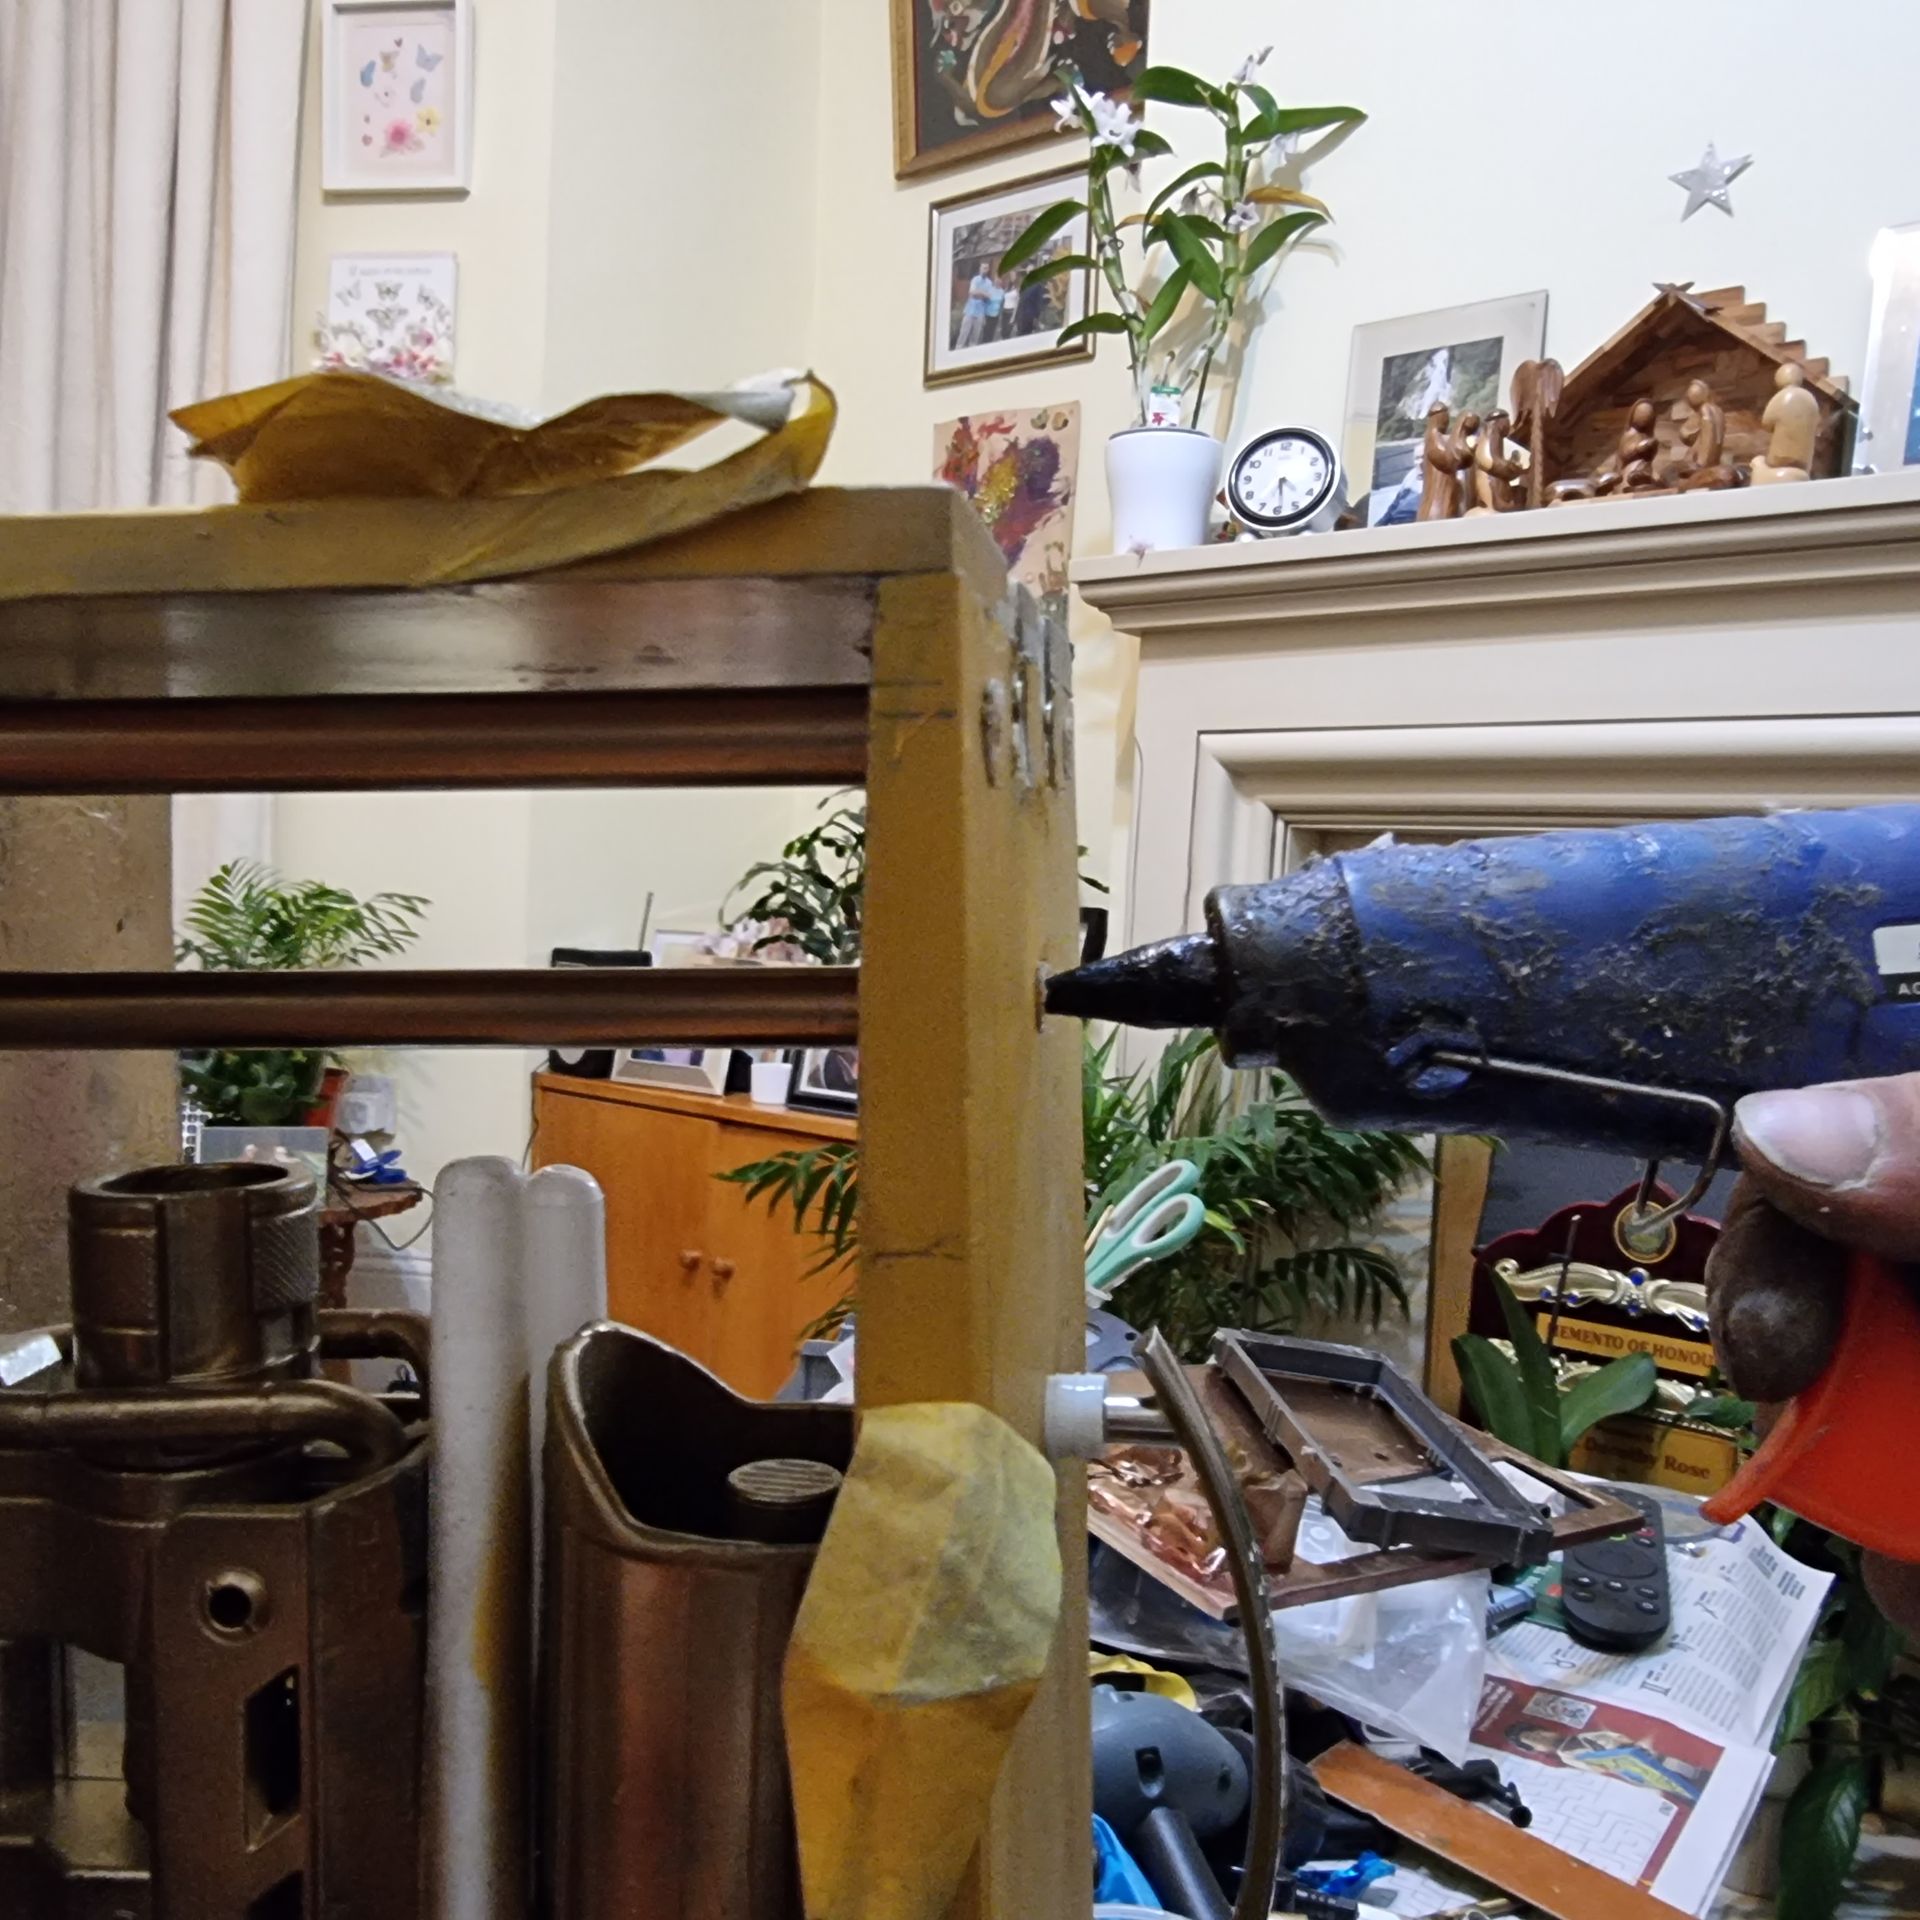
king the part son with a mix of superglue, glue gun and epoxy glue.
The towers starter gun metal grey and I experimented with graphite powder as well as a mix of gold and black.
Then moved to chrome metallic mixed with gold and some copper and dirty down etc.
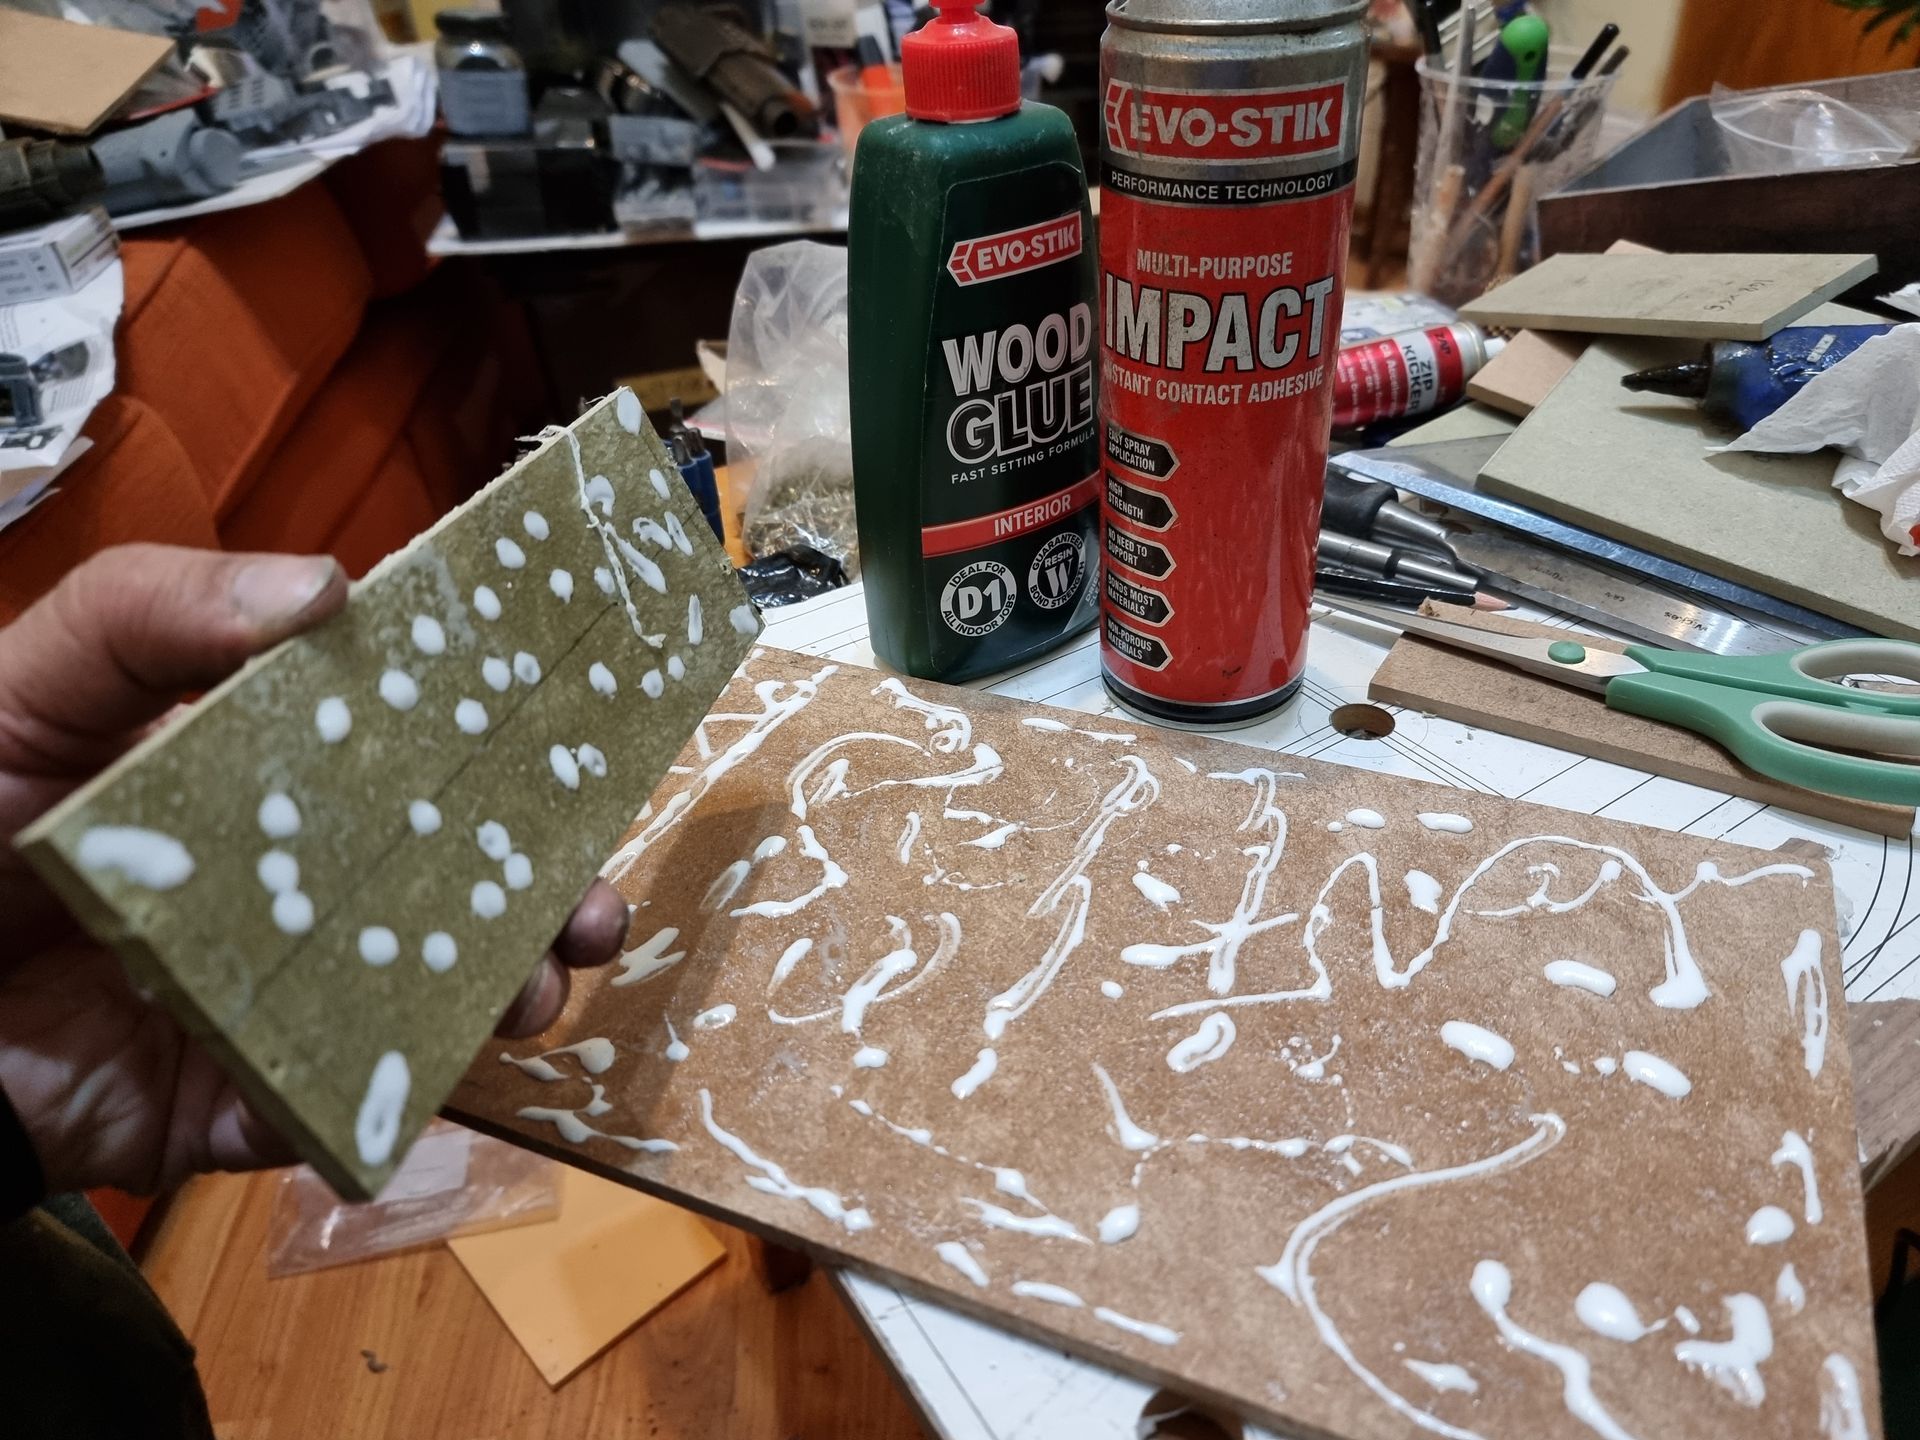
The tower parts were glued with a mix of superglue and activator and epoxy glue depending on the surface contact. There was a rotating joint on one of the parts which I kept to give the appearance of tuning the aerials,.
Once the towers were glued and built up and painted, I moved onto sticking the kit bash Nerf parts onto the surface. Firstly, preprinted then blending them in with the sand-coloured primer where it suited.
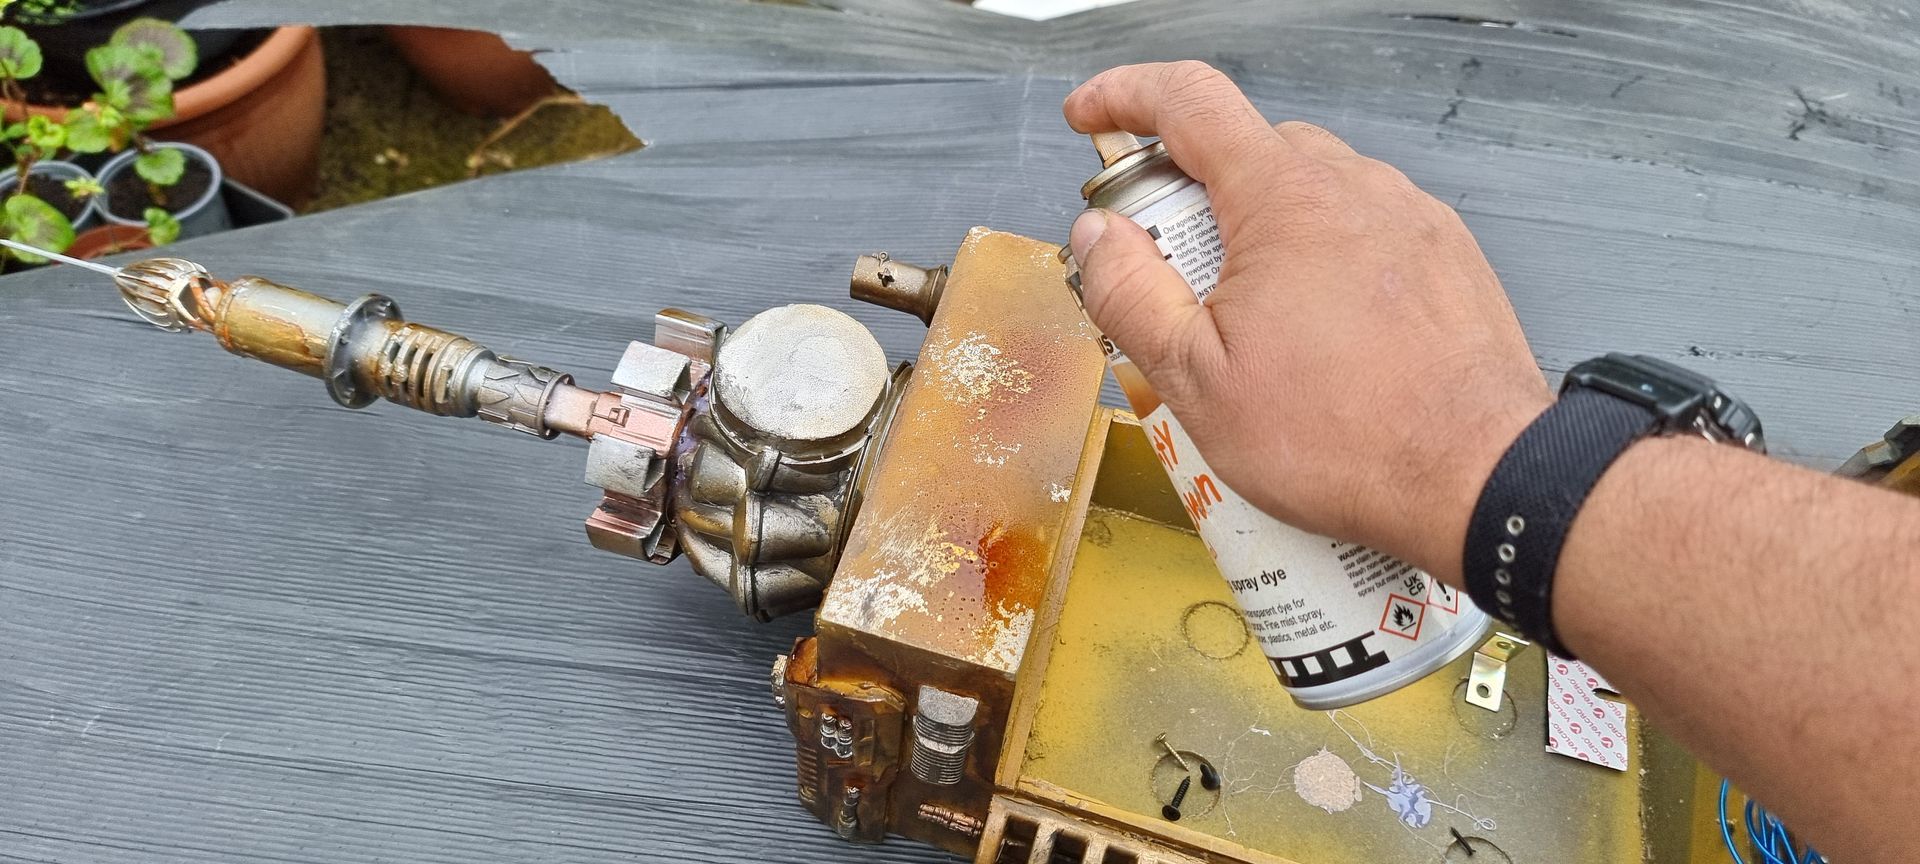
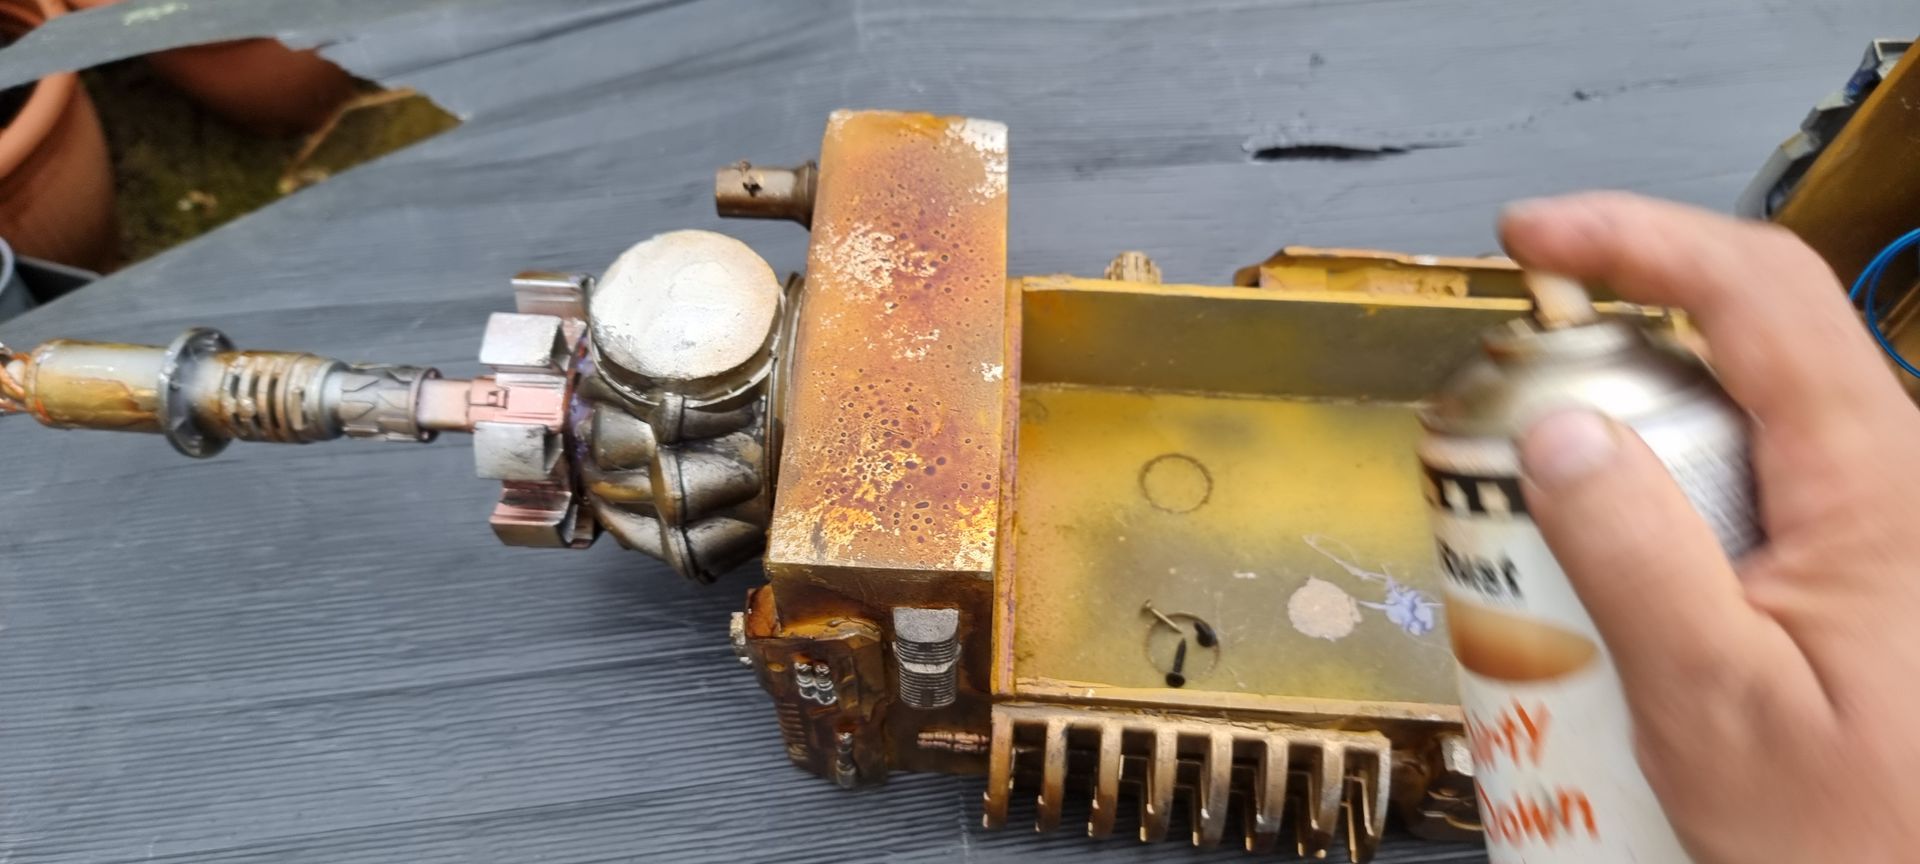
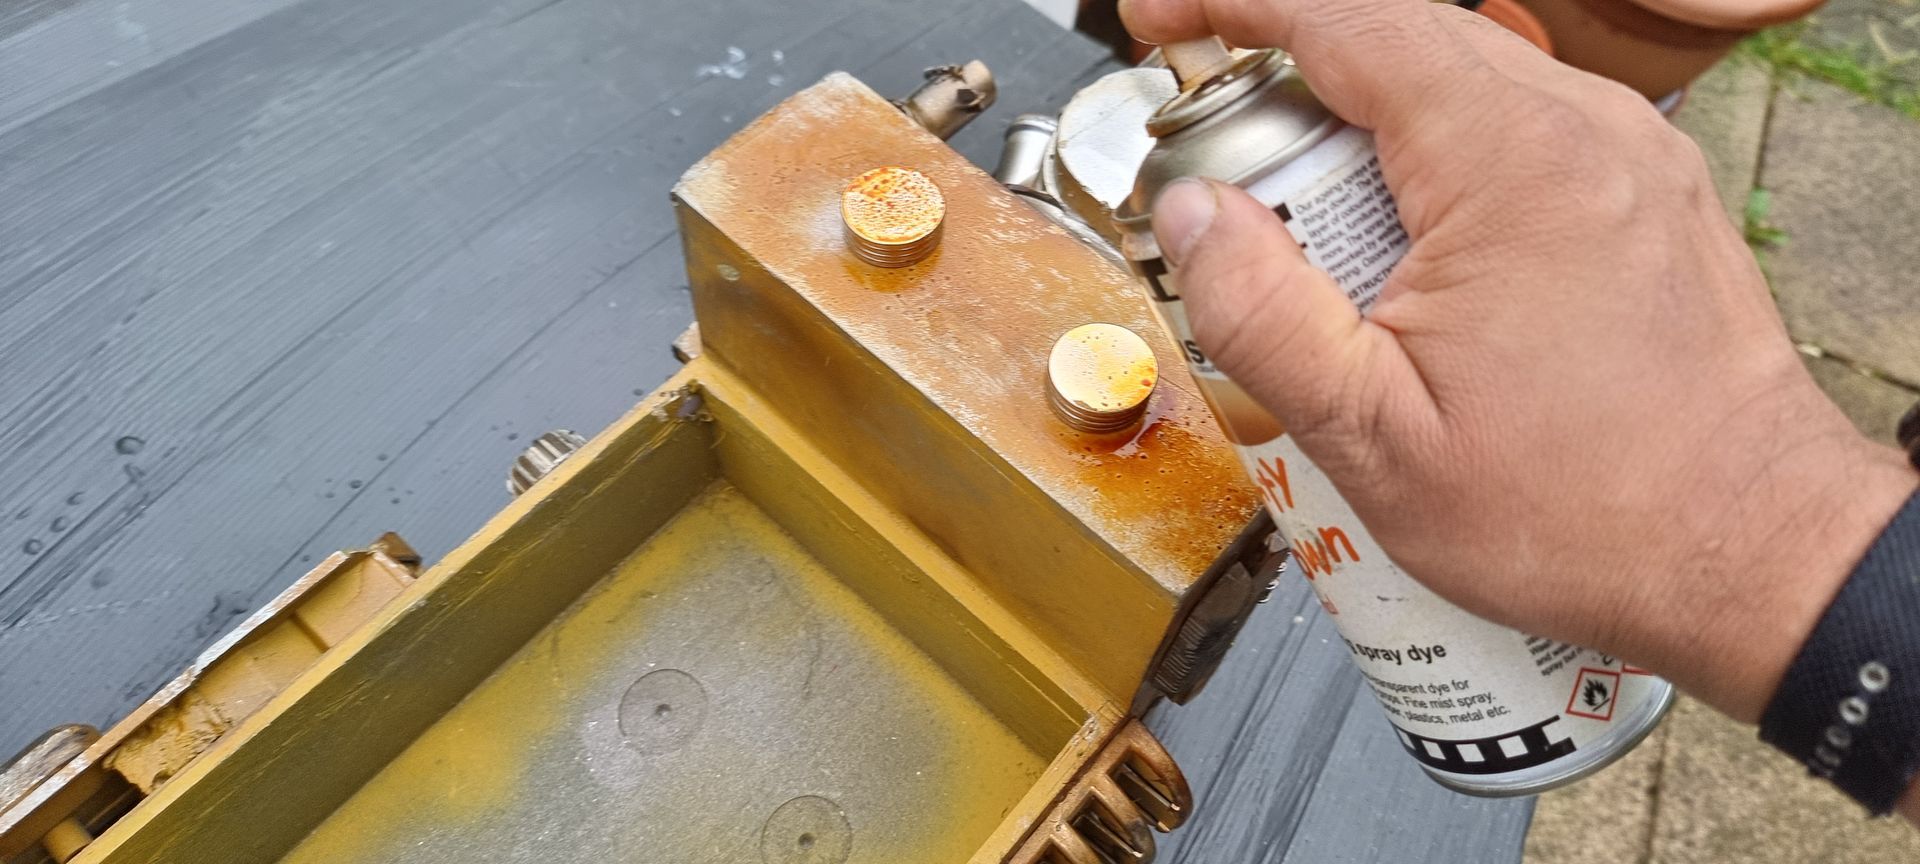
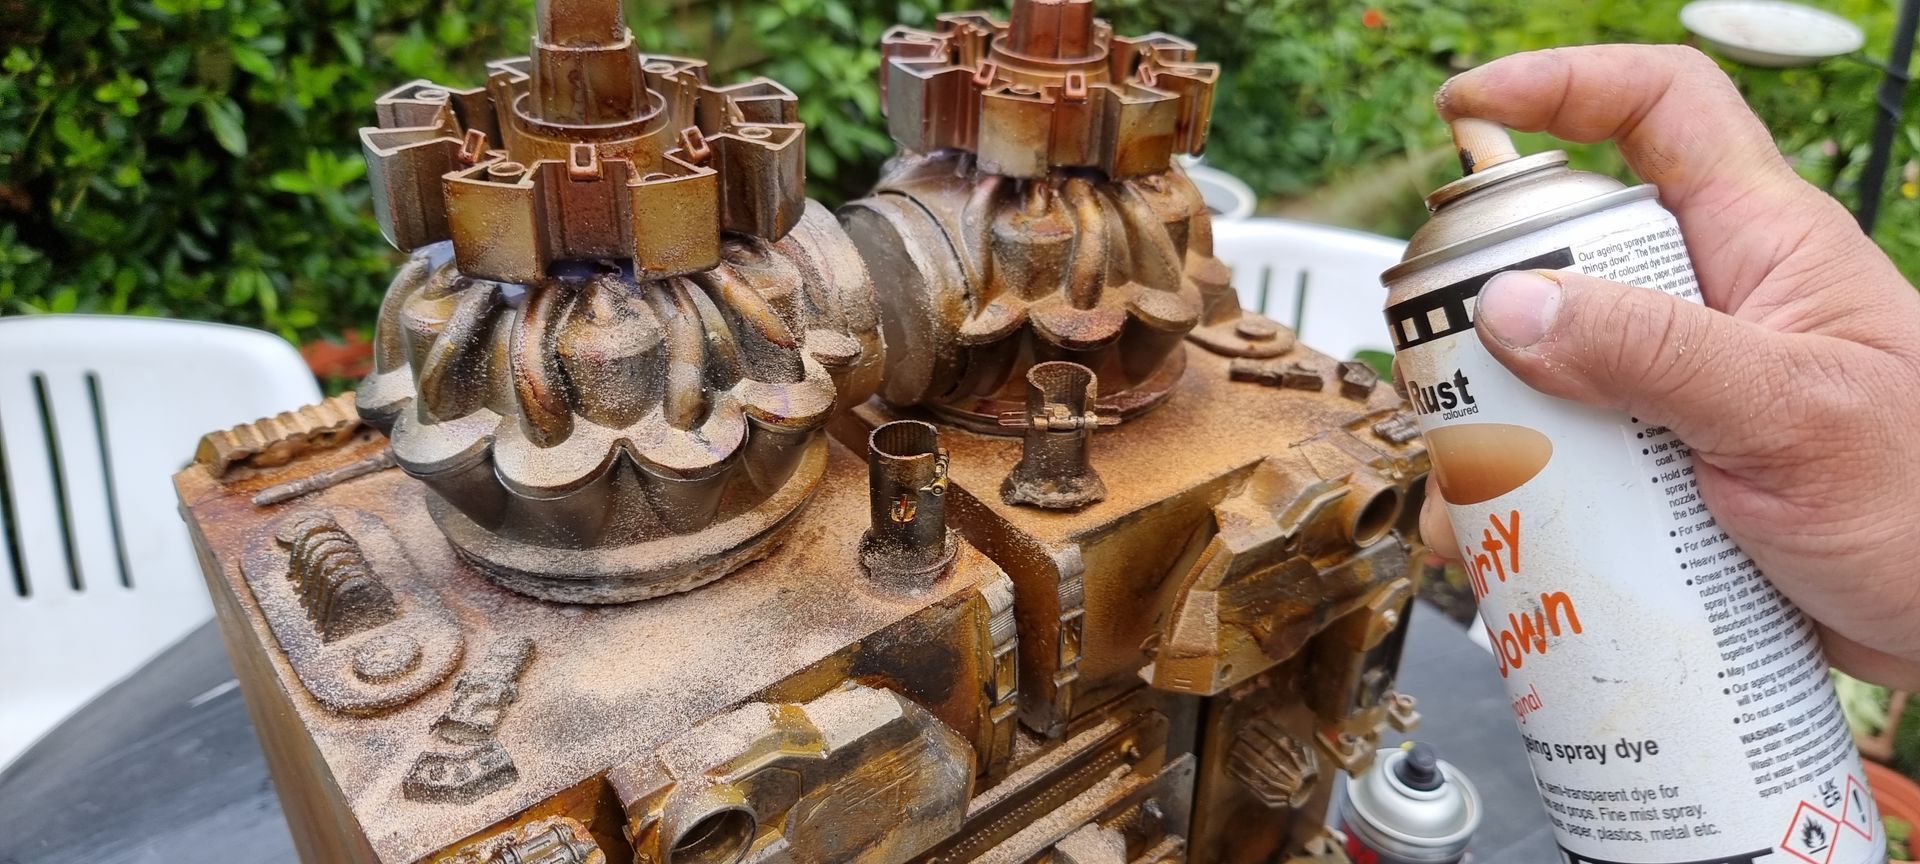
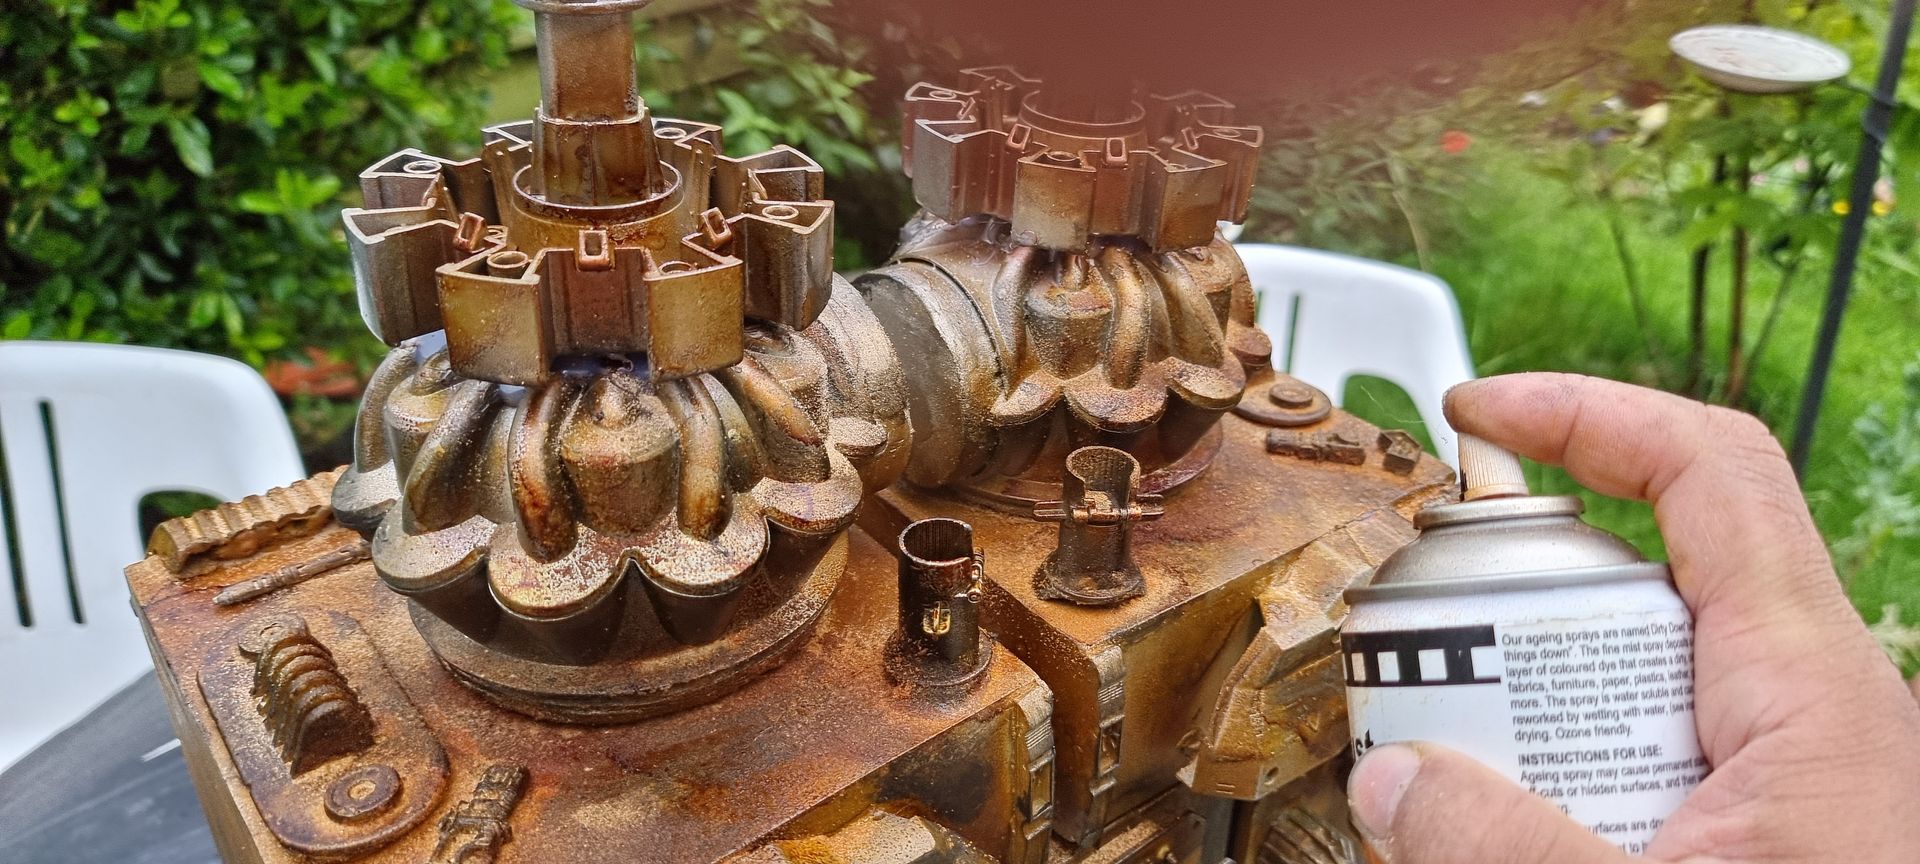
Various dirty down sprays were added. To mess it up.
Star Wars Prop Upgrade
Upgrading the Communication Towers
Note: This is currently under development
There are a several of major flaws with the prop.
The Animated Screen is My Phone
Whilst as a short-term solution using my phone as an animation screen looking like radar, sensors, communication or other systems, the problem is its my phone and I need it as a phone to use and not be in the prop.
It’s also a big problem in that it is my primary camera needed to take photos of said Prop and animated screen.
The 3rd problem is the compartment the phone sits in was sized only form the phone as is a snug fit and unlikely to fit anything else
The Wings Open Too Loosely
The wide control surface wings open too fast, too loose and too hard risking damage to the props and frequently the inertia and impact snaped the communication towers off or into more than one part due to the weak into component connections.
The Control Panel Poor Quality Connection
The system of using small screws to close and open the under-control surface battery and electronics box bays is wearing out the thin walls and is not an efficient way to close and open the boxes.
There needs to be a clipping system but does not appear to be the room to implement this.
The LEDs Are Damaged
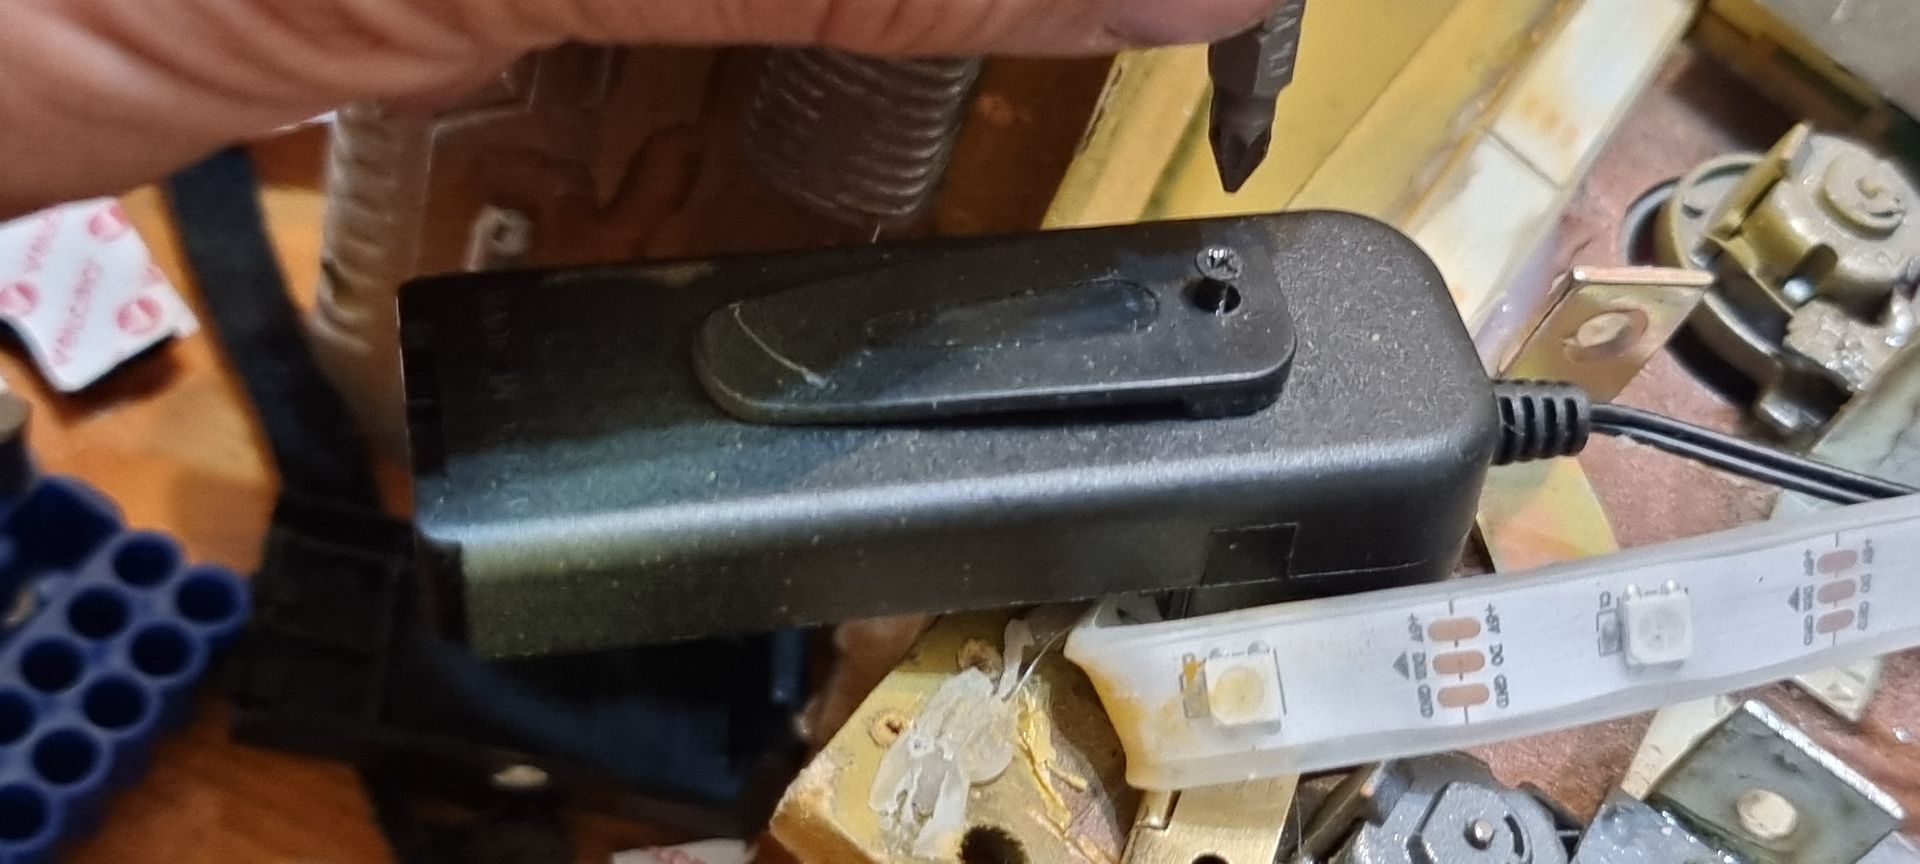
When I installed the LED strips were installed, I tried various glues to old them in place, superglue, glue gun, epoxy and none worked. In the end I had used a stable gun and fear this may have damaged the electronics piercing something as they work intermittently like loose wiring.
The Communication Towers Component Parts Have Weak Connections and Keep Breaking
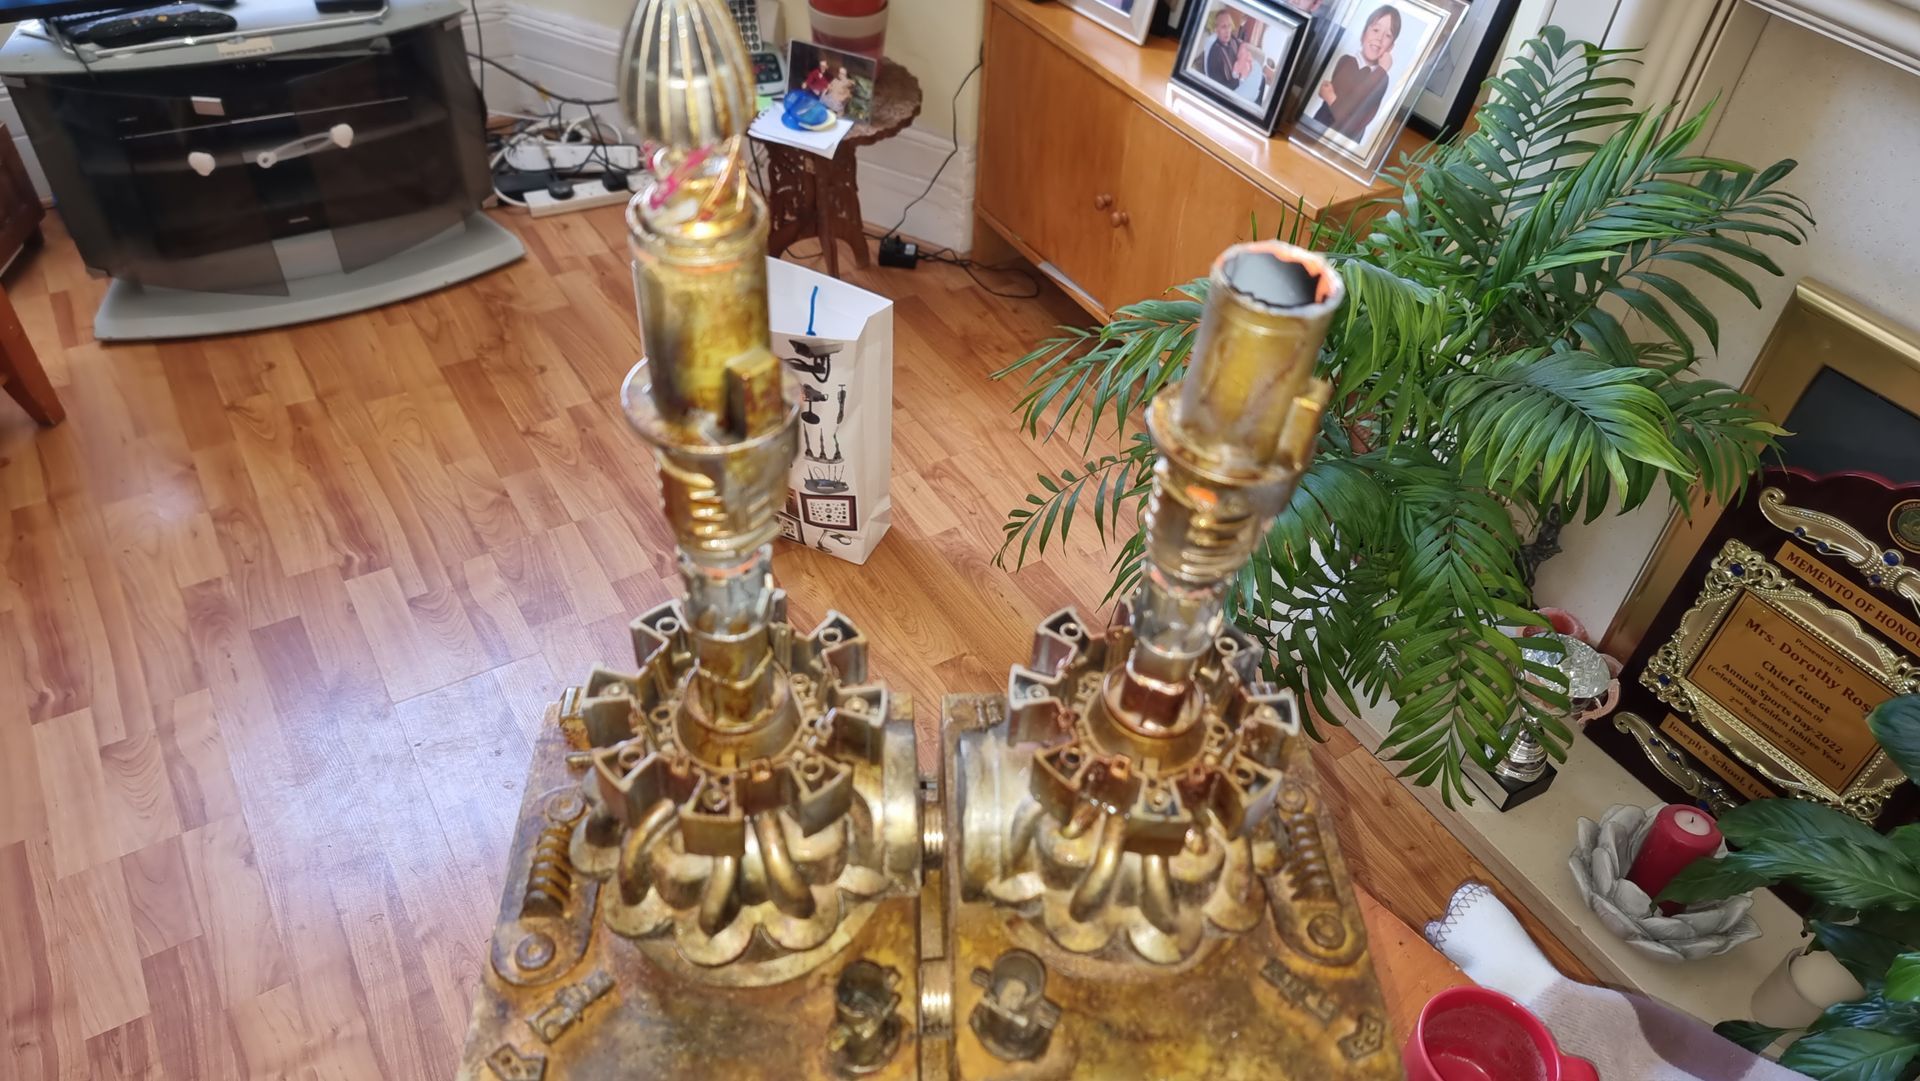
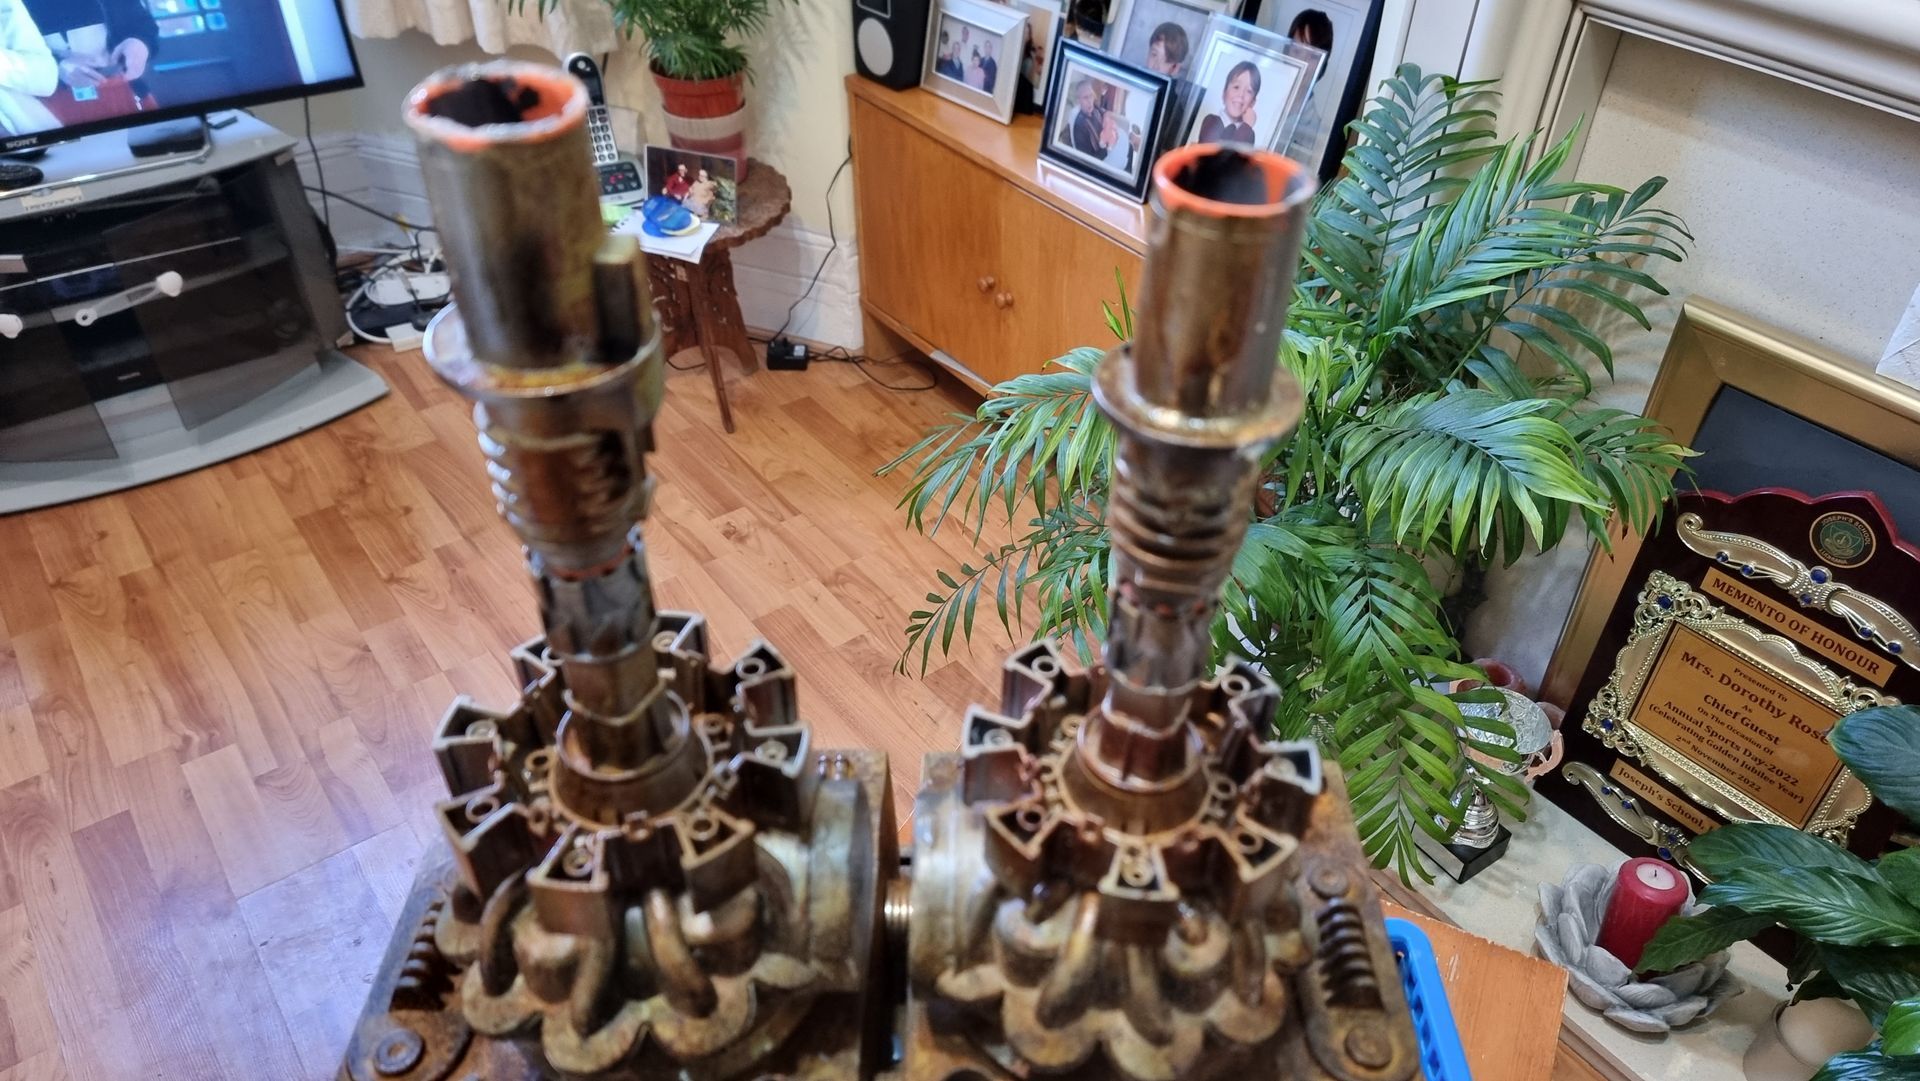
The aerials or communication towers were loosely put together in layers glued together, but lacking a interlocking structure or more so a central spine or tang all the way through the towers were like Lego and come apart easily. In fact, they break simply by opening the wings hard or any knocking against anything such as the roof of a car when placing it in the car as cannot handle any sheer force.
- Many of the layers had vary little surface areas to glue and little if any interlocking so for the most part different glues were not helpful.
- I needed replacement with a system with a full-length core, ideally a metal rod running though all the parts into the superstructure of the tower.
- What would be ideal would be a system there the communication towers are solid when in place but can be removed for transportation & storage.
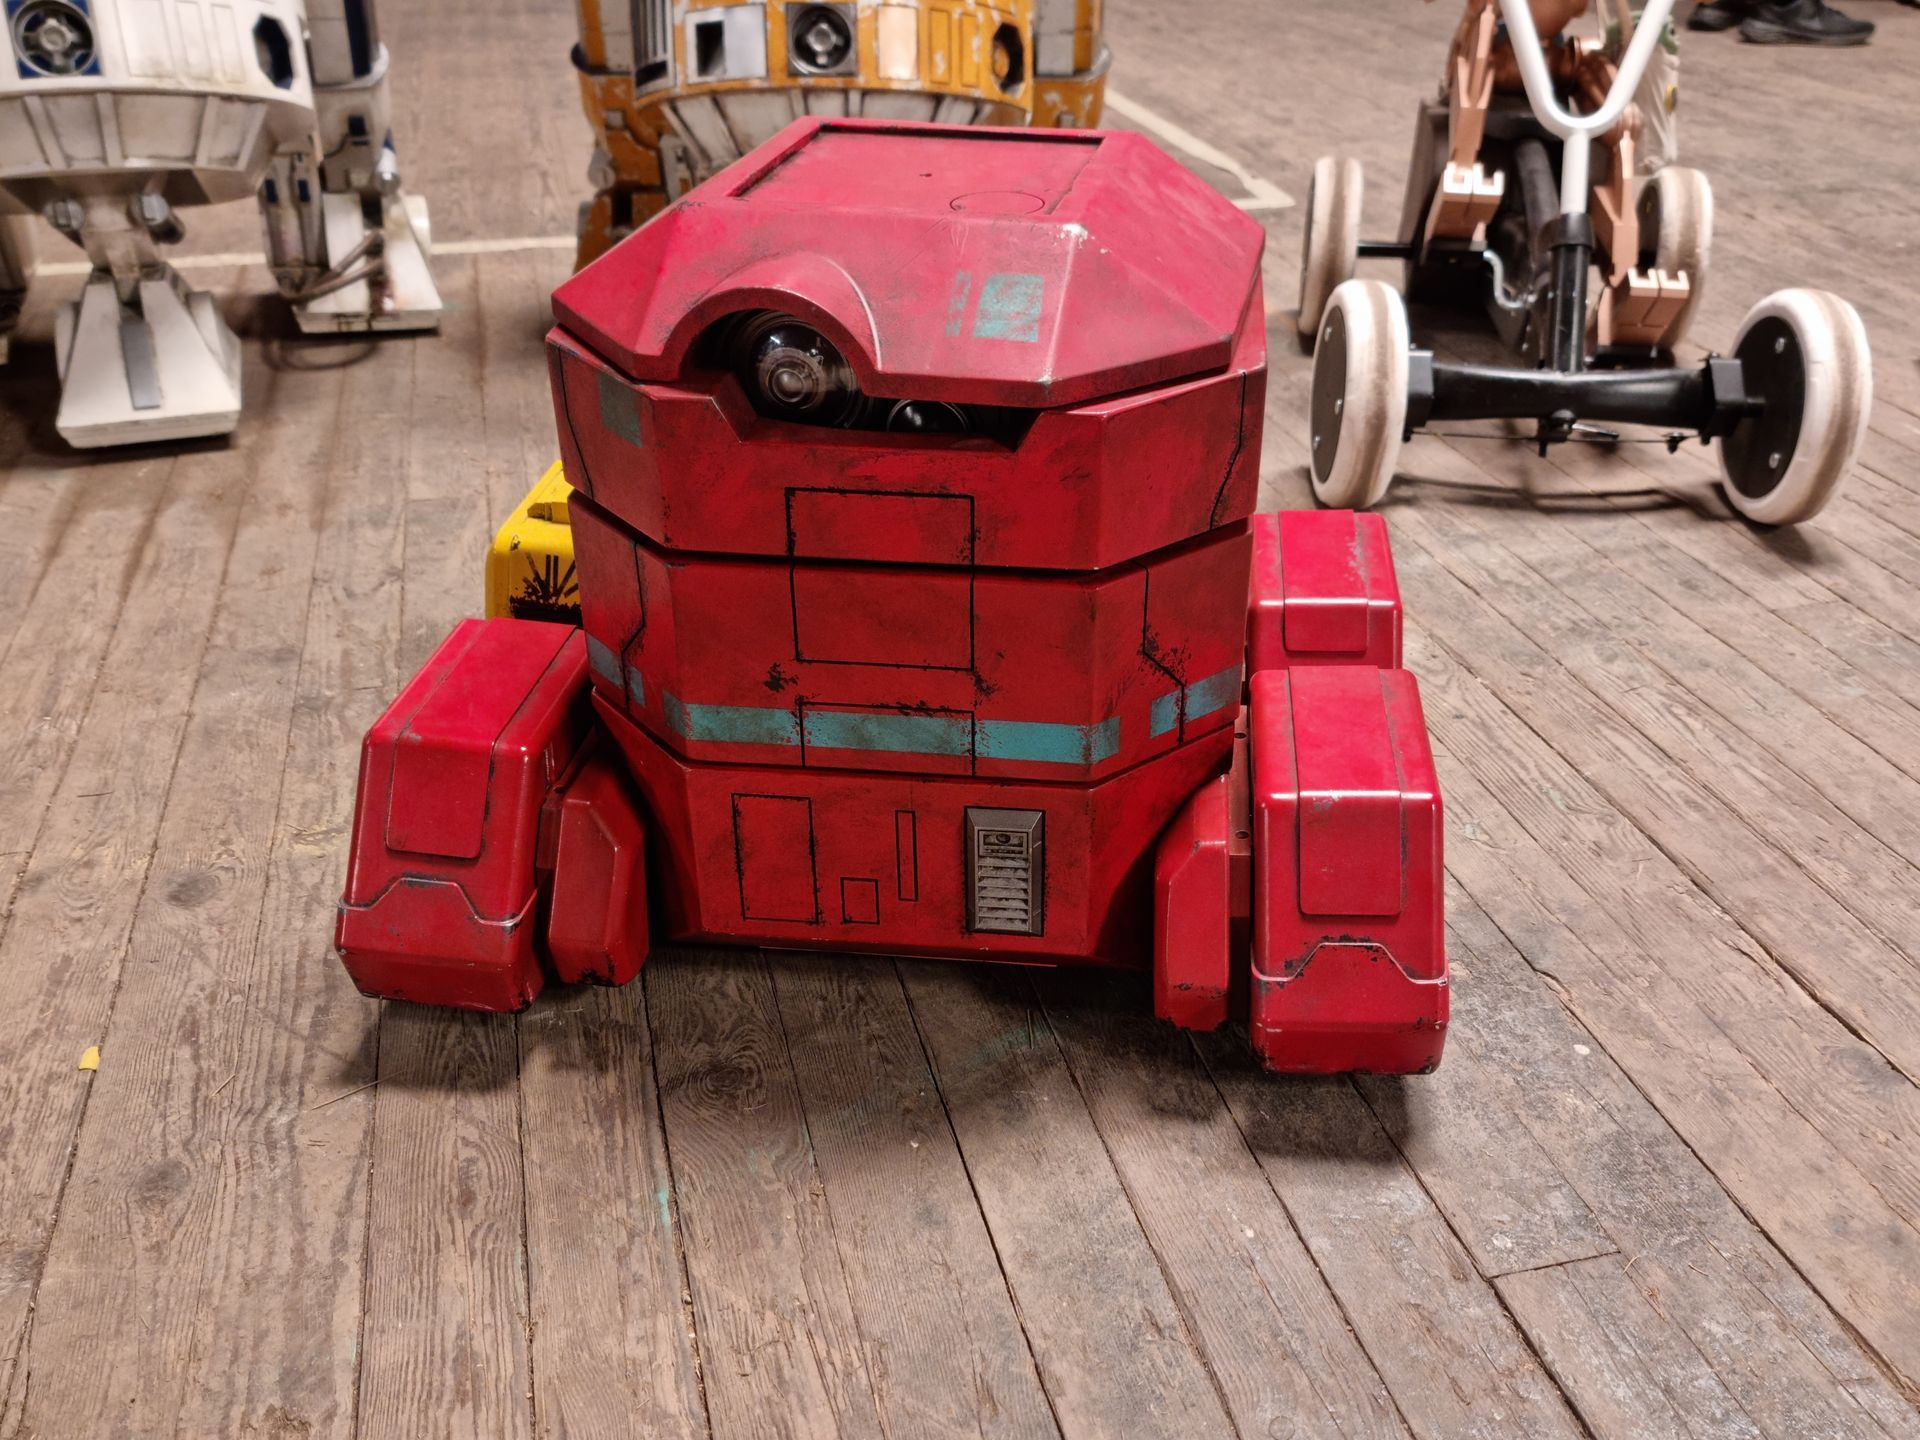
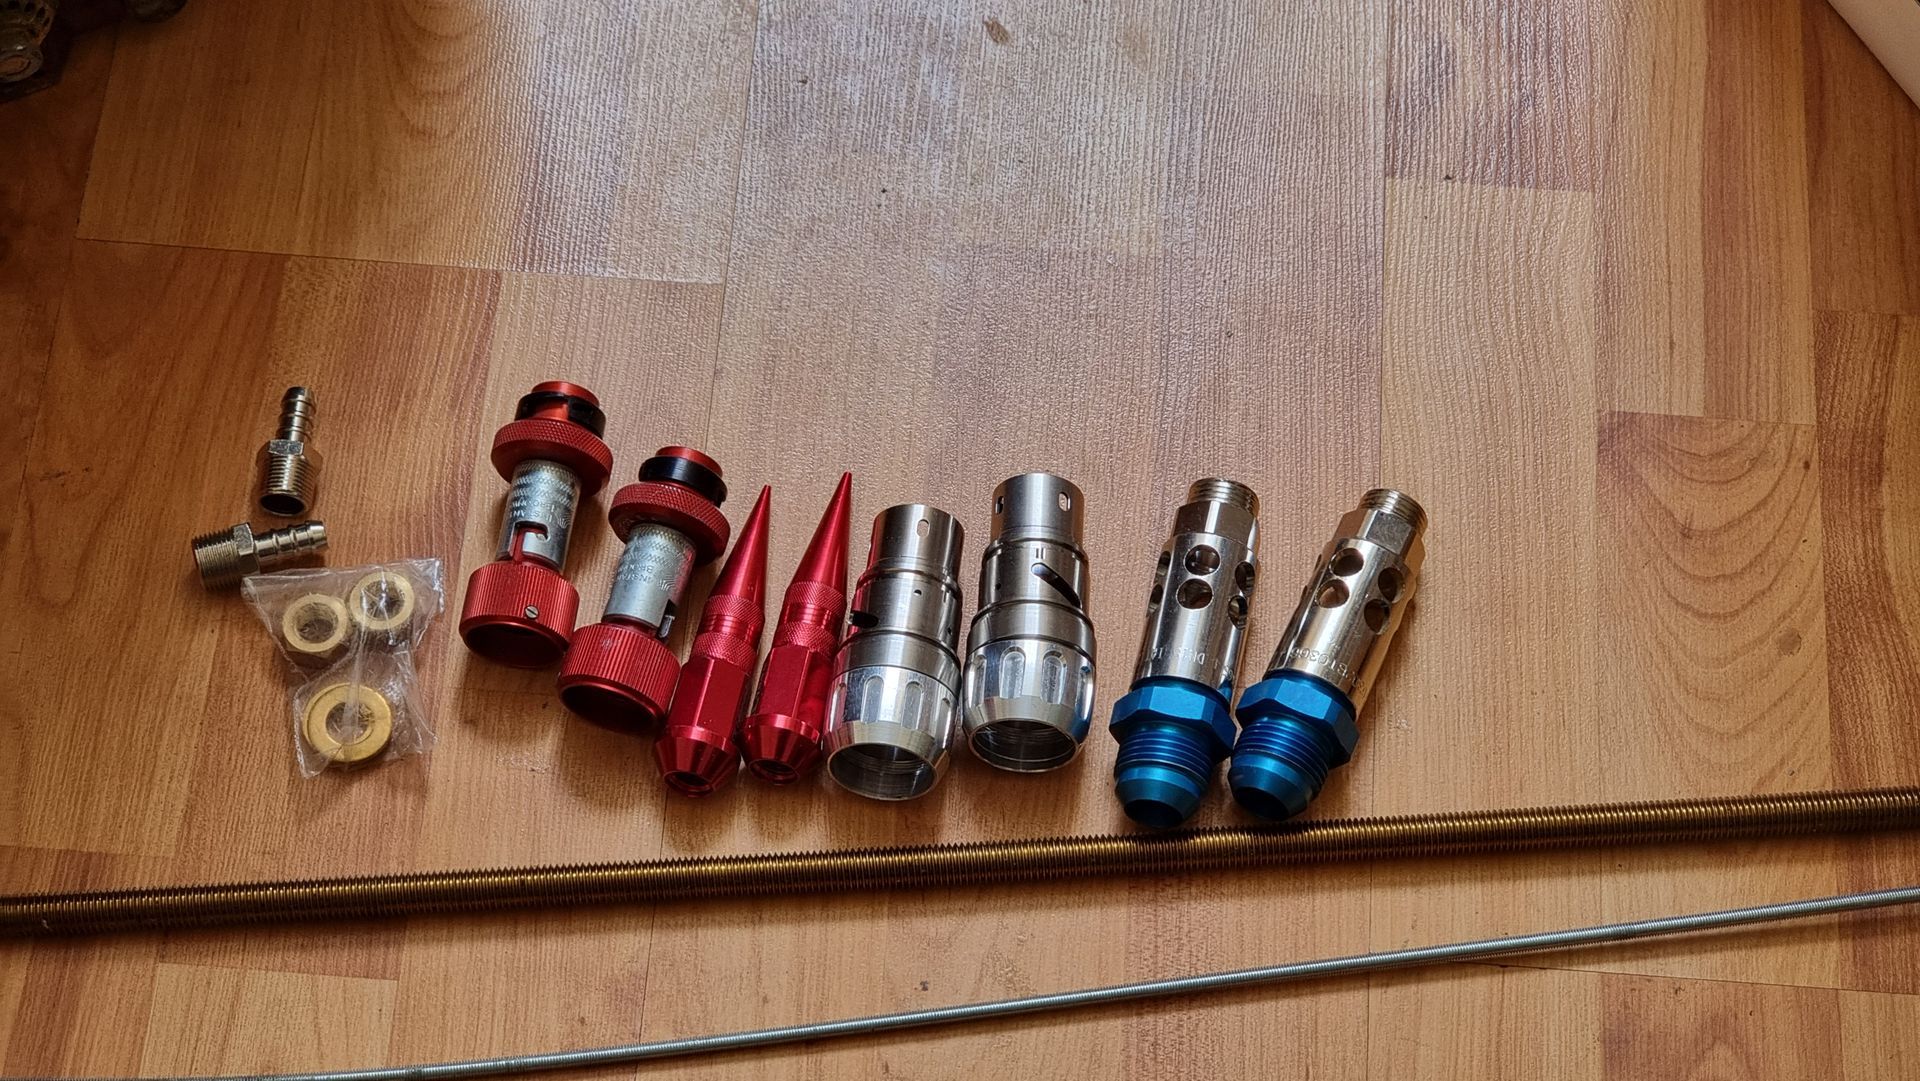
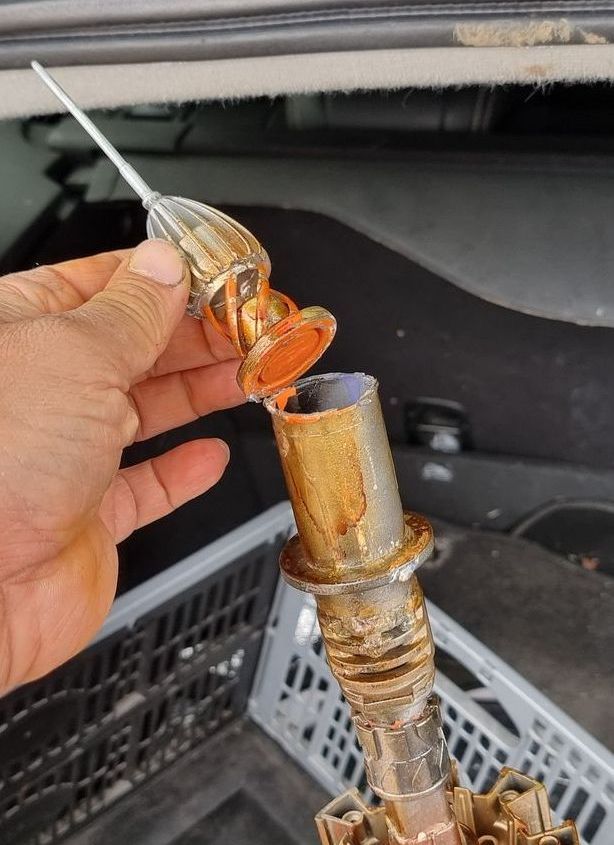
The red component towers are parts I got from Prop House Bob's Bits.

Bobs Bits Prop House Visit and Parts to Upgrade Prop
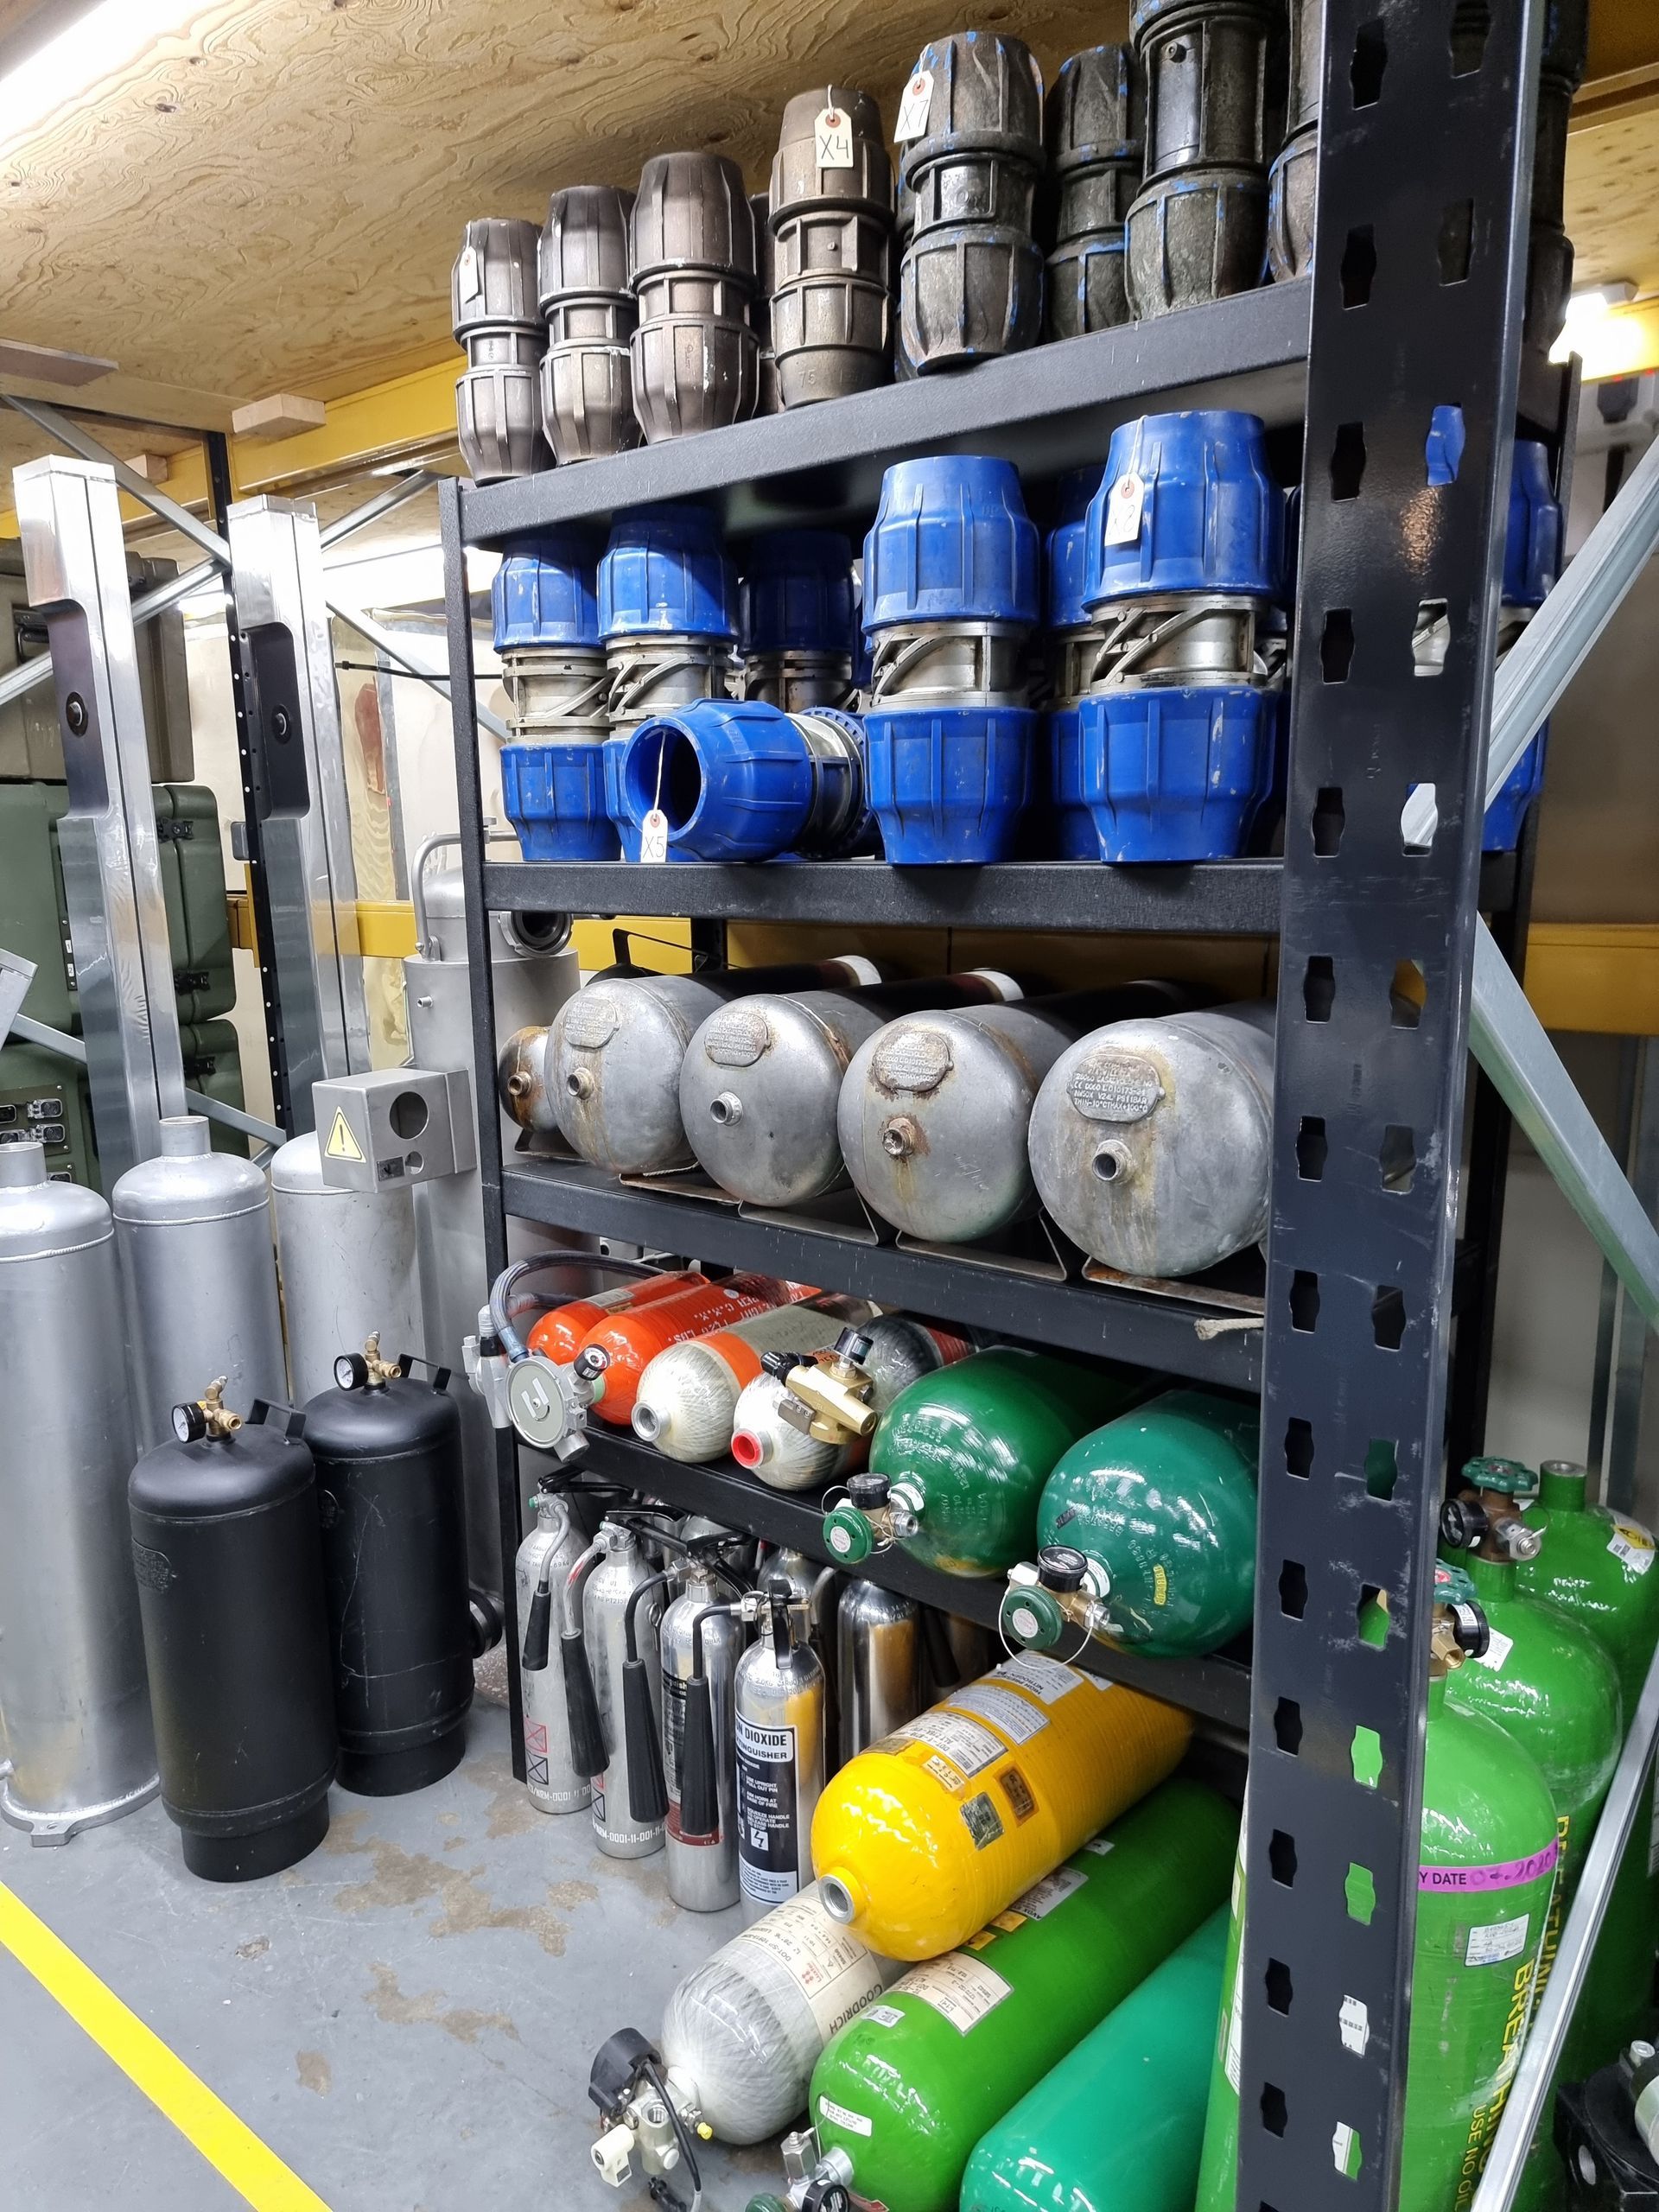
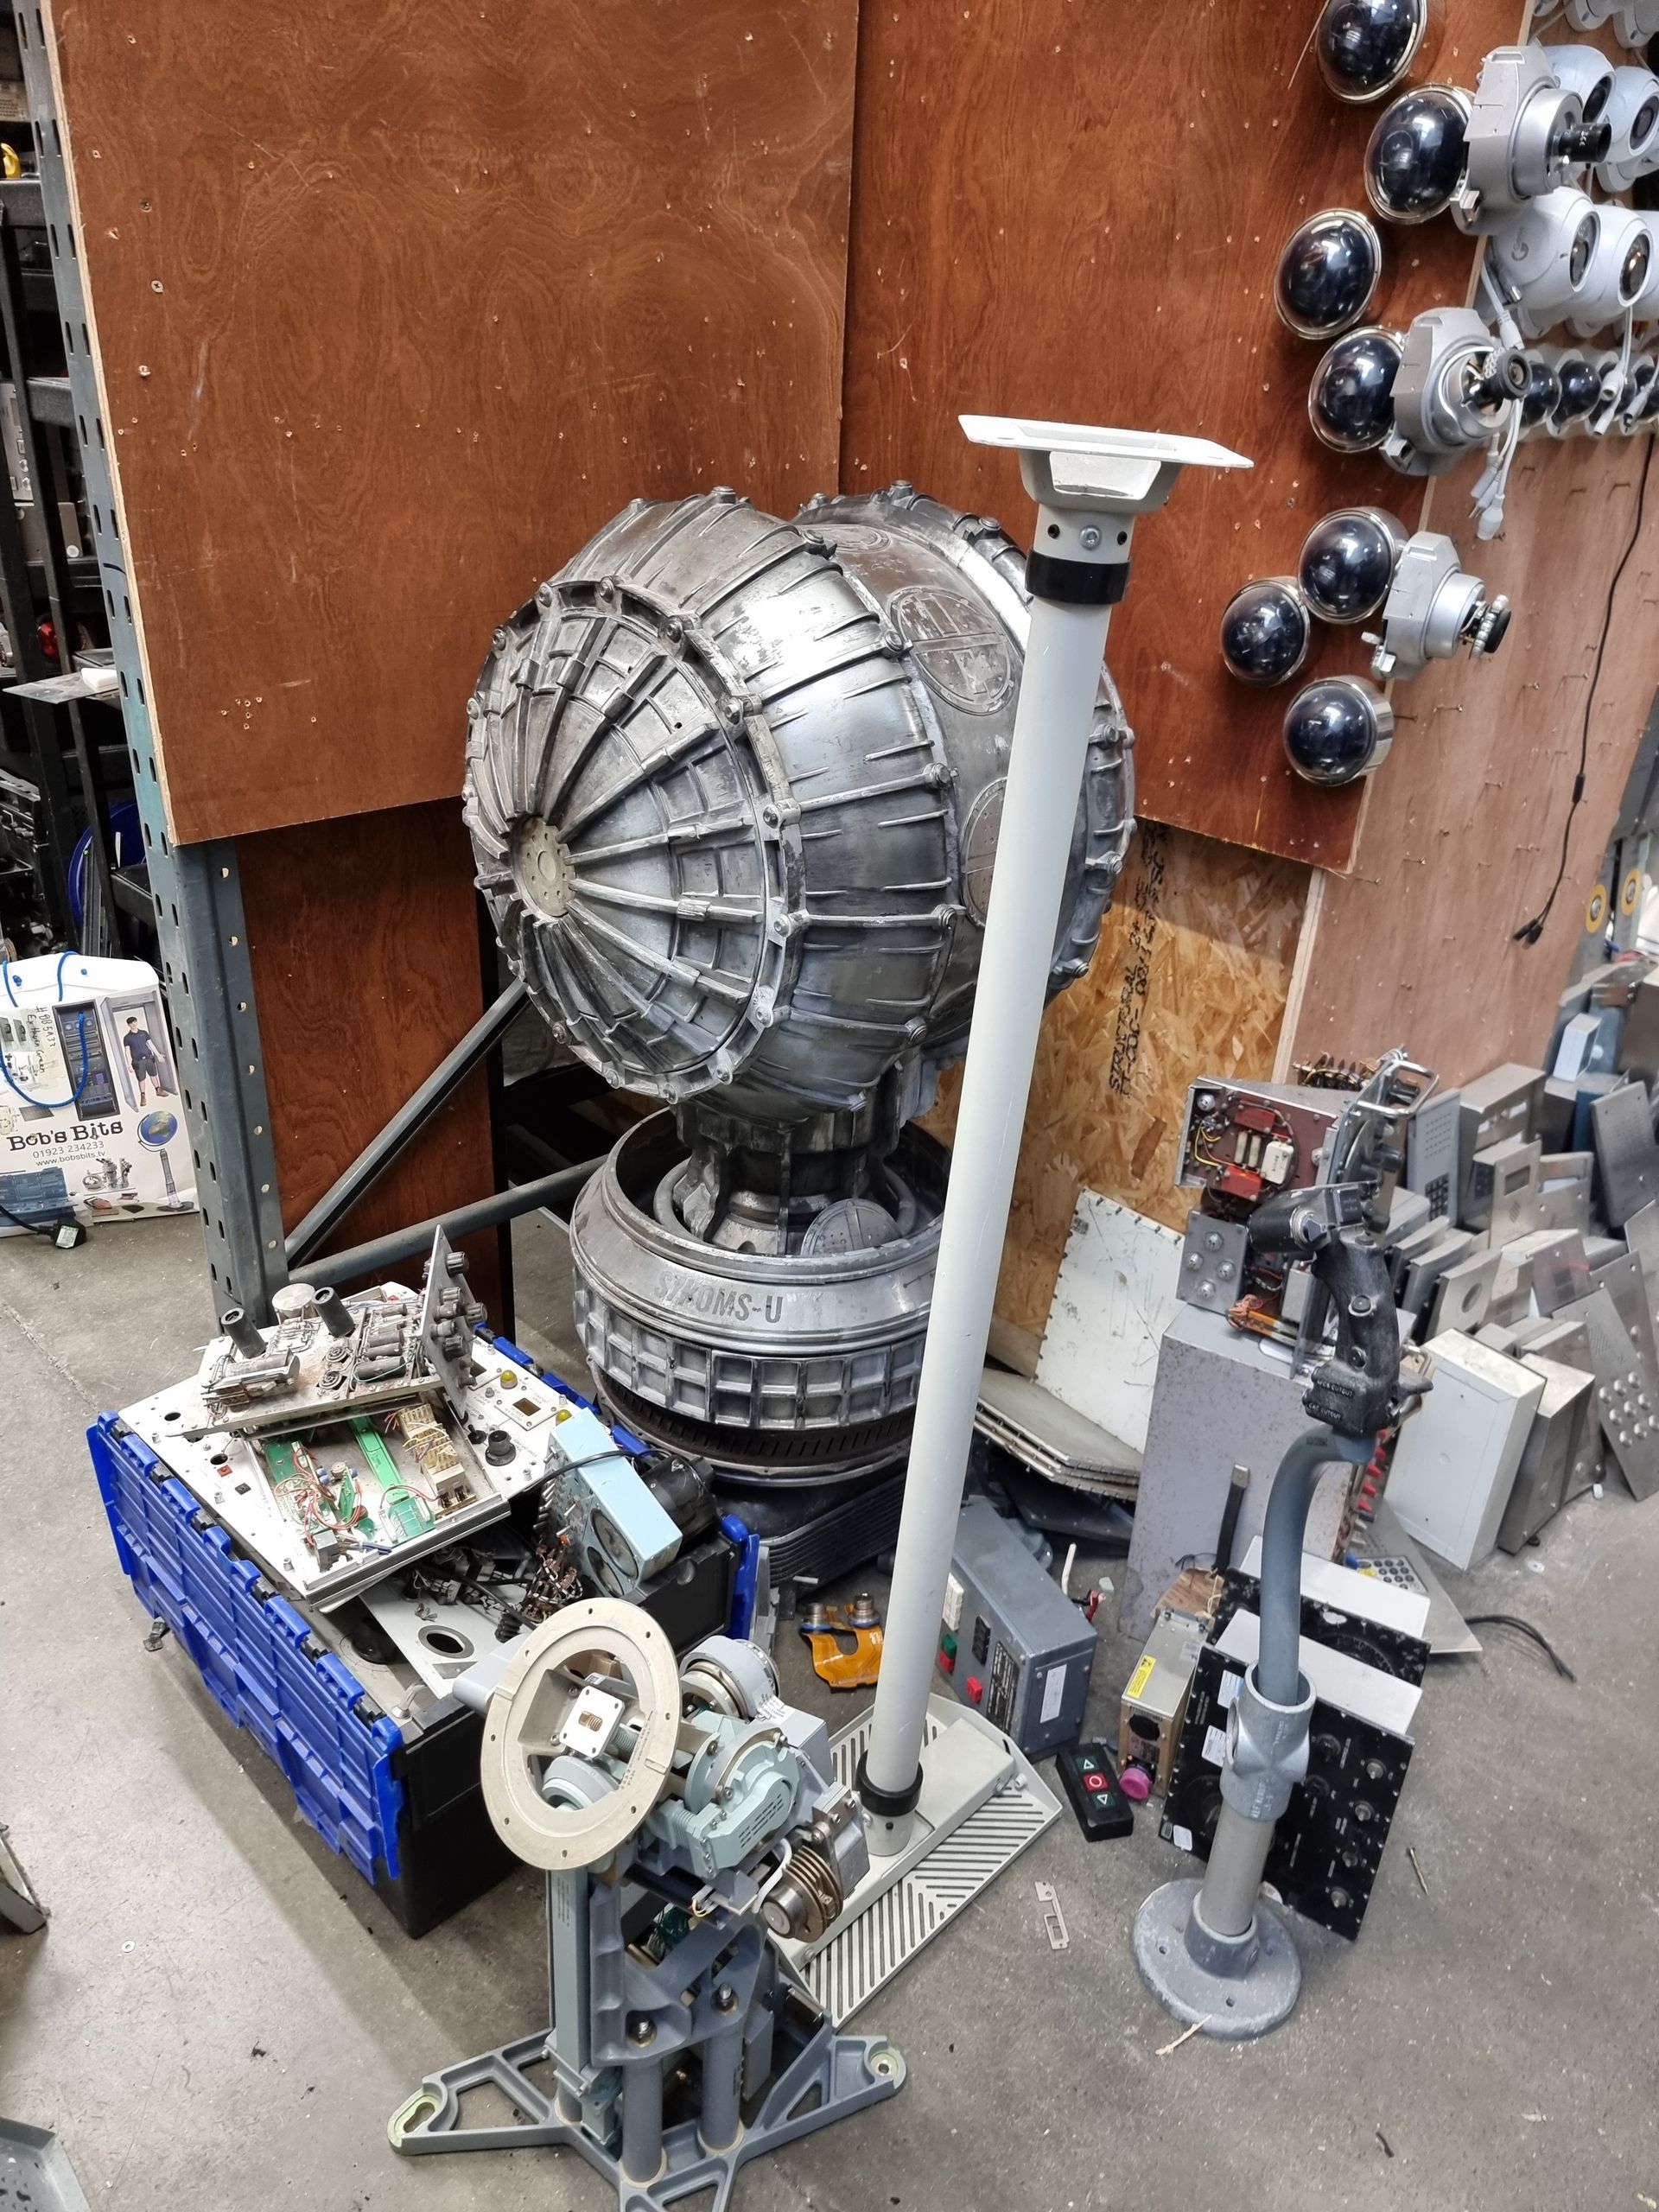
During the course after the Prop Making module, we were taken to Bob’s Bits prop house which is based around medical, military, scientific, engineering and science fiction set decoration and props.
Among their customers are Lucasfilm and Disney and parts have been supplied to build some of the lightsabres used in their shows and films.
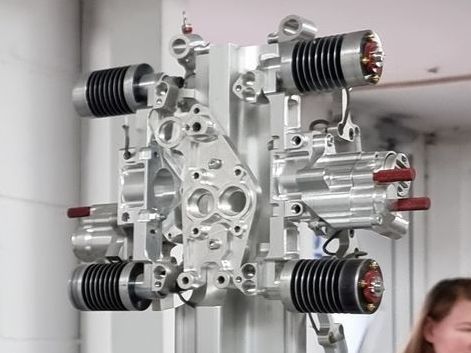
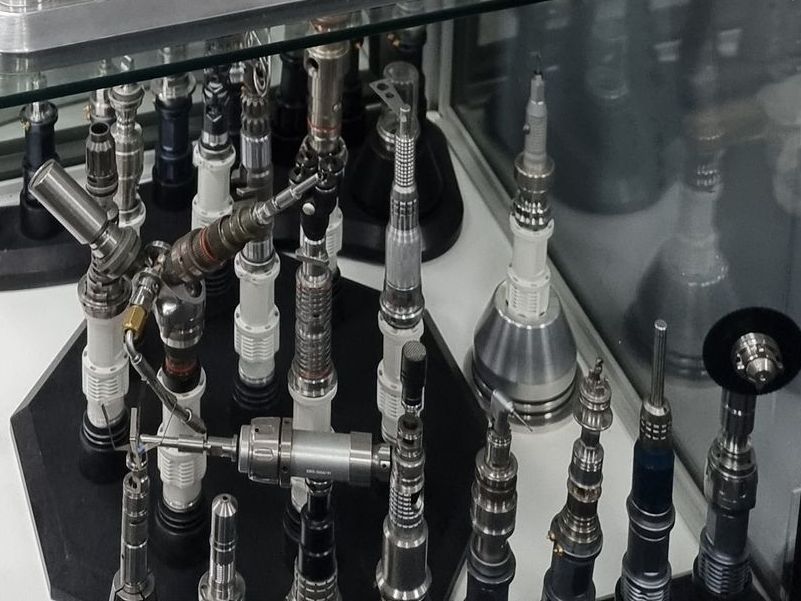
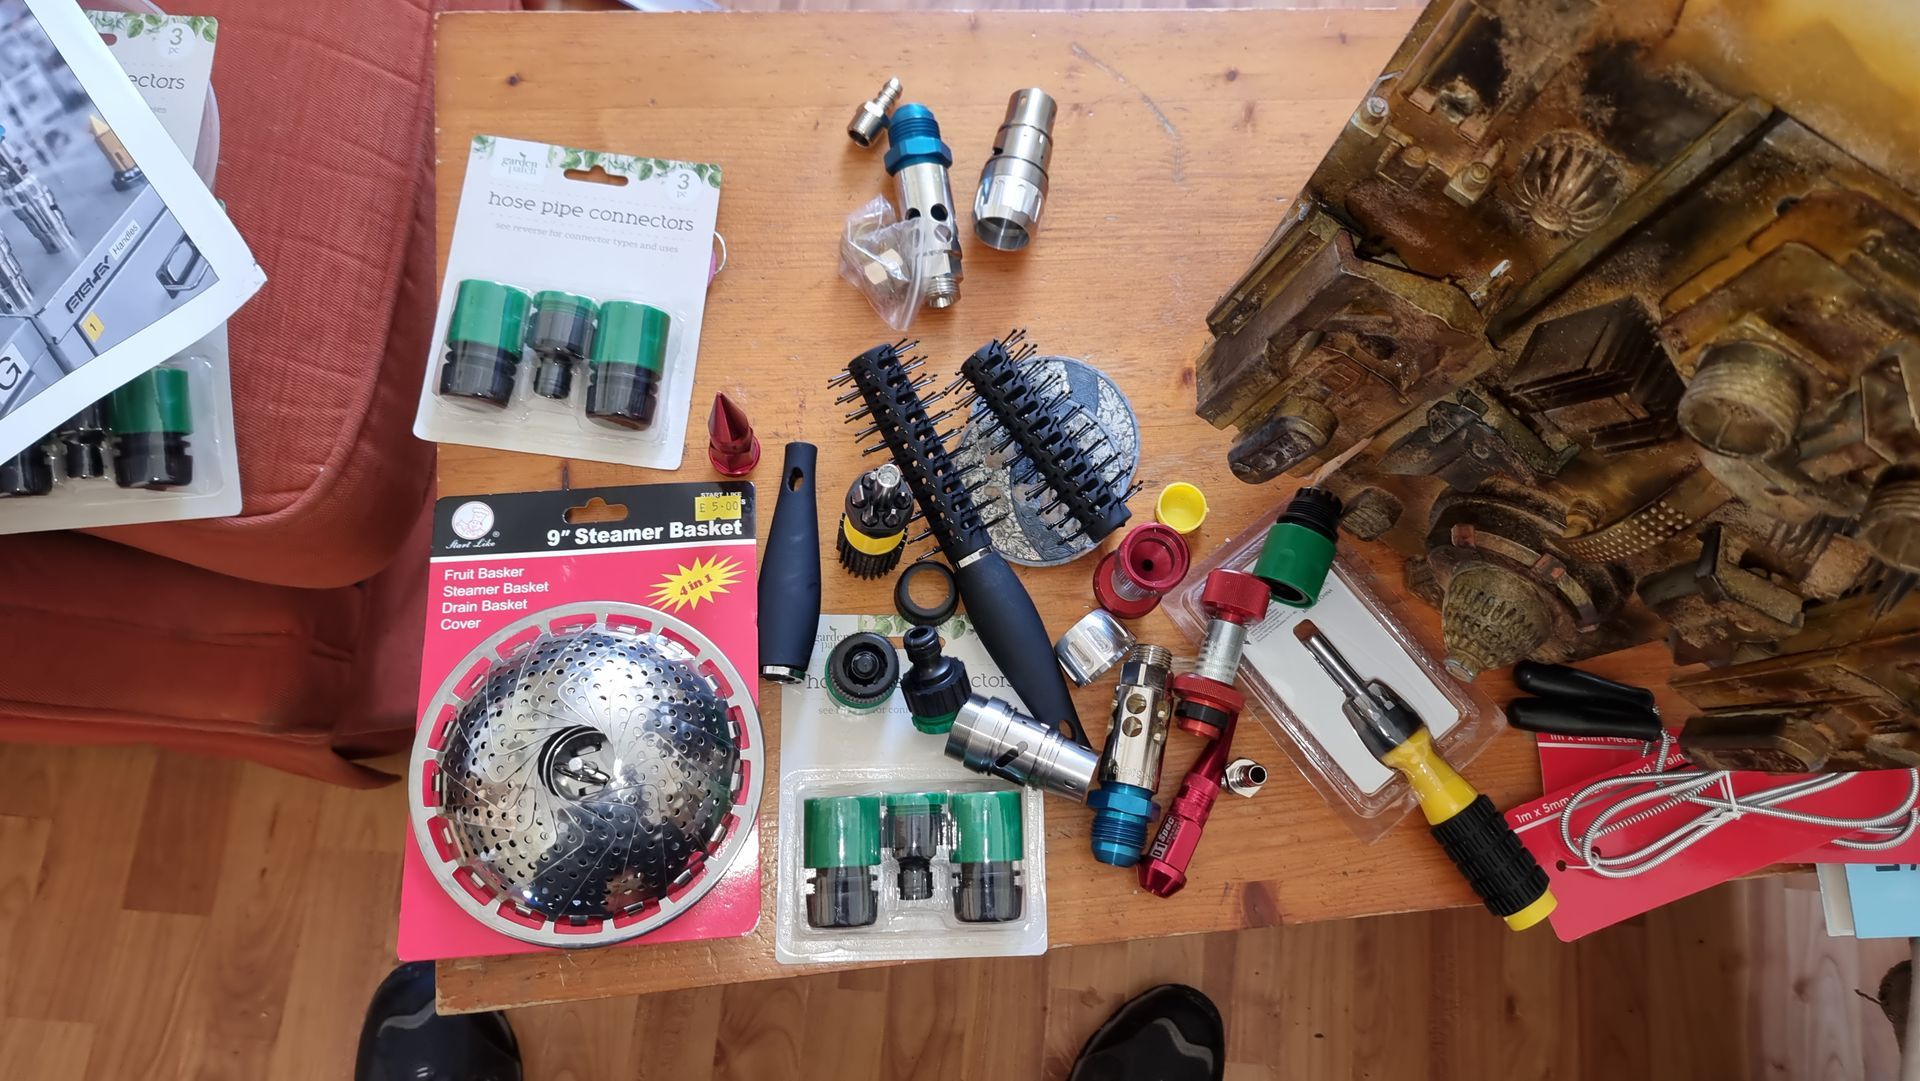
During the visit in the office, I saw unusual sci-fi like objects that would be ideal to make the communication towers out of.
I contacted Bobs Bits they said I could come down and allowed me to go though trays of components. The components it turns out come from things like medical equipment that did not meet manufacture standards, torches, blow torches, pipe connectors and other equipment.
They offered to let me have parts for free. It took at least an hour and a half to go through the draws trying to find parts that fitted together.
So
A Special Thanks to Bob Thorne of Bob's Bits and recomend the place for your Sci Fi Set Decoration and Prop Bits.
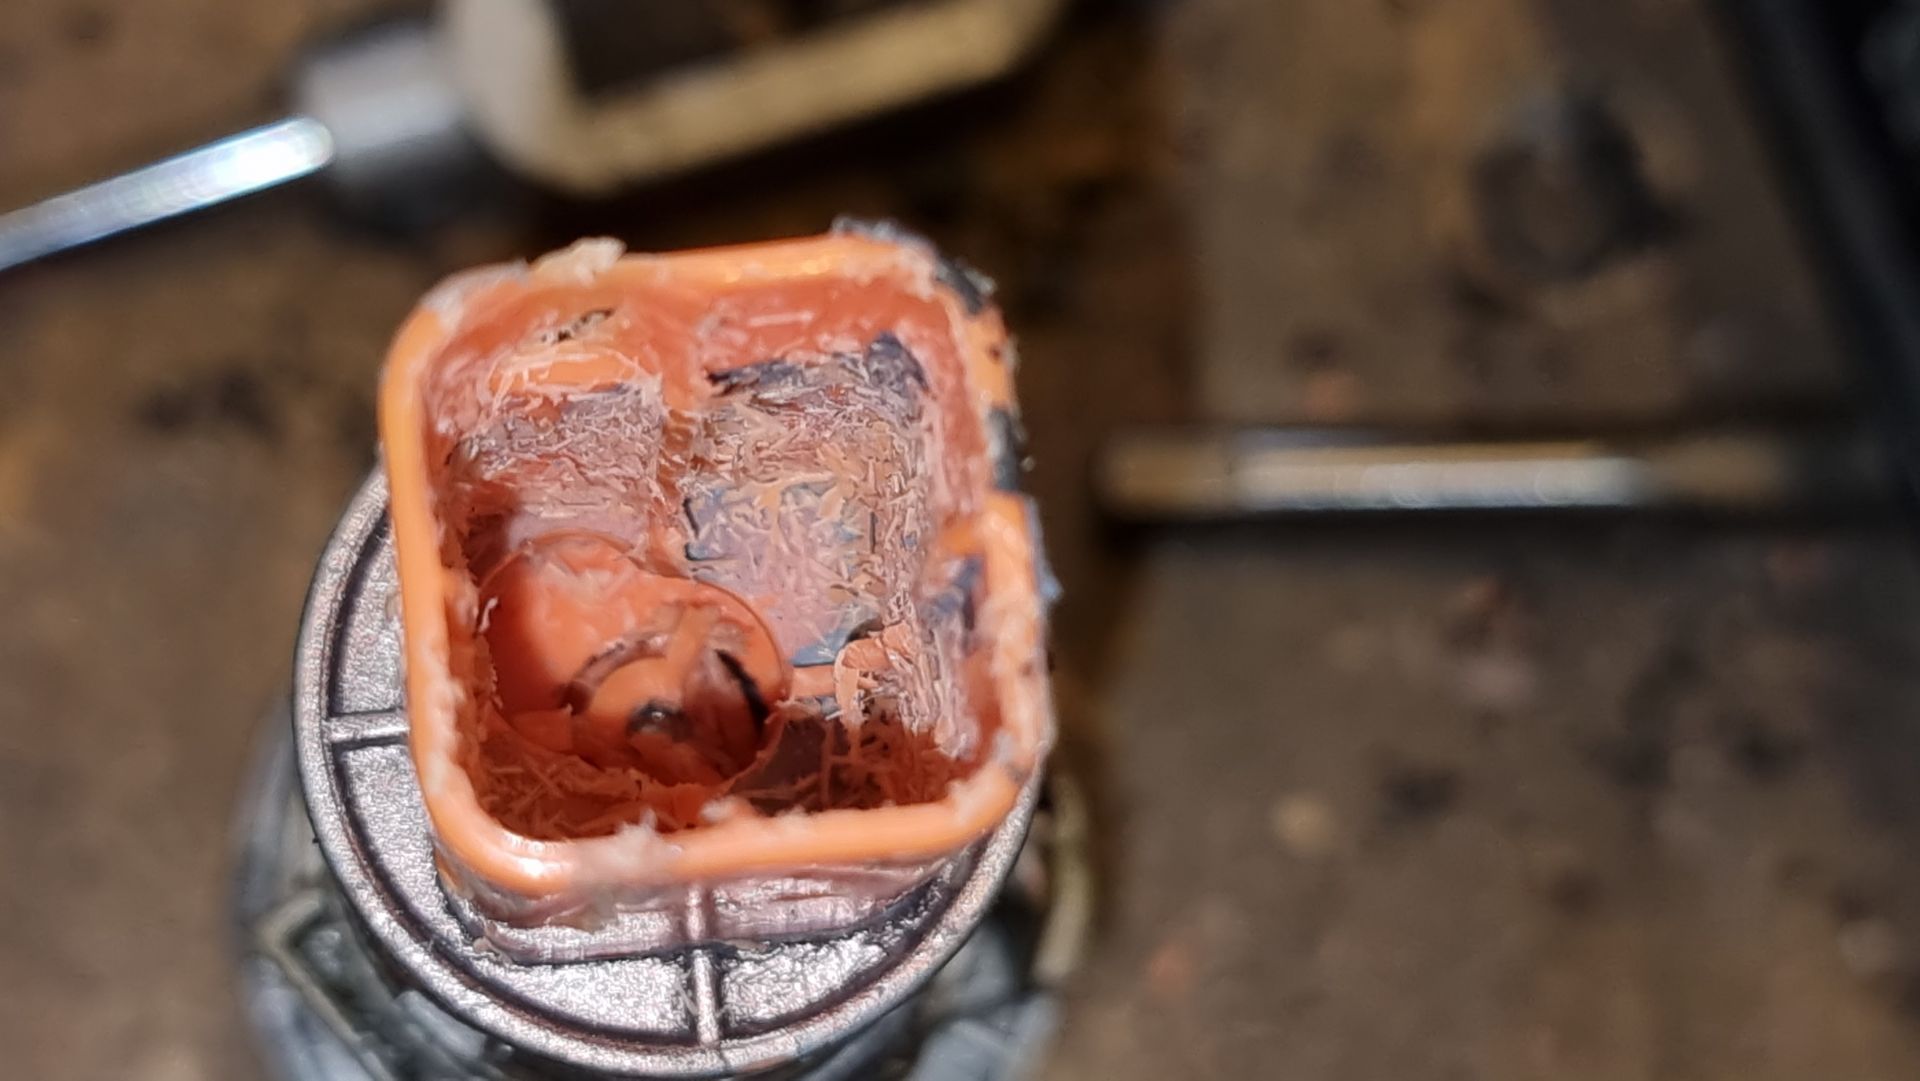
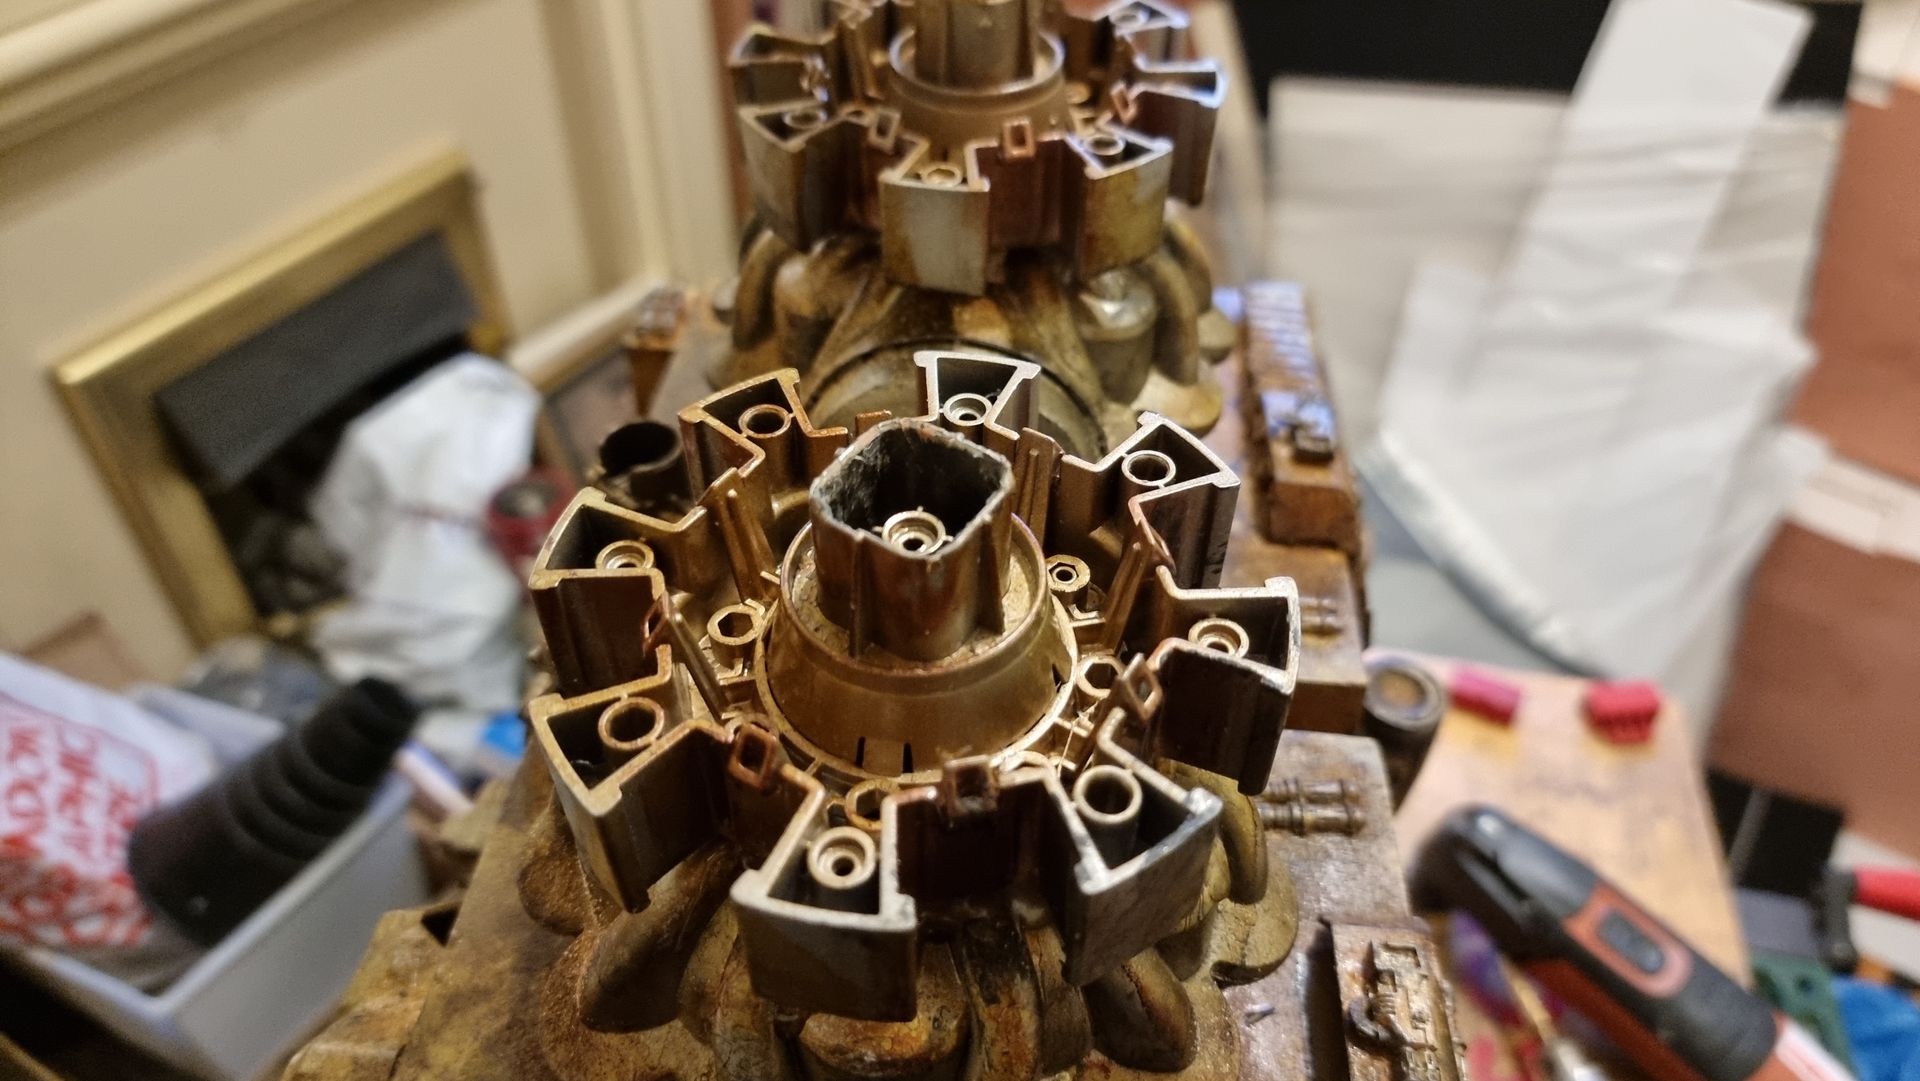
Taking Apart the Existing Communicaiton Towers Without Damaging the Base
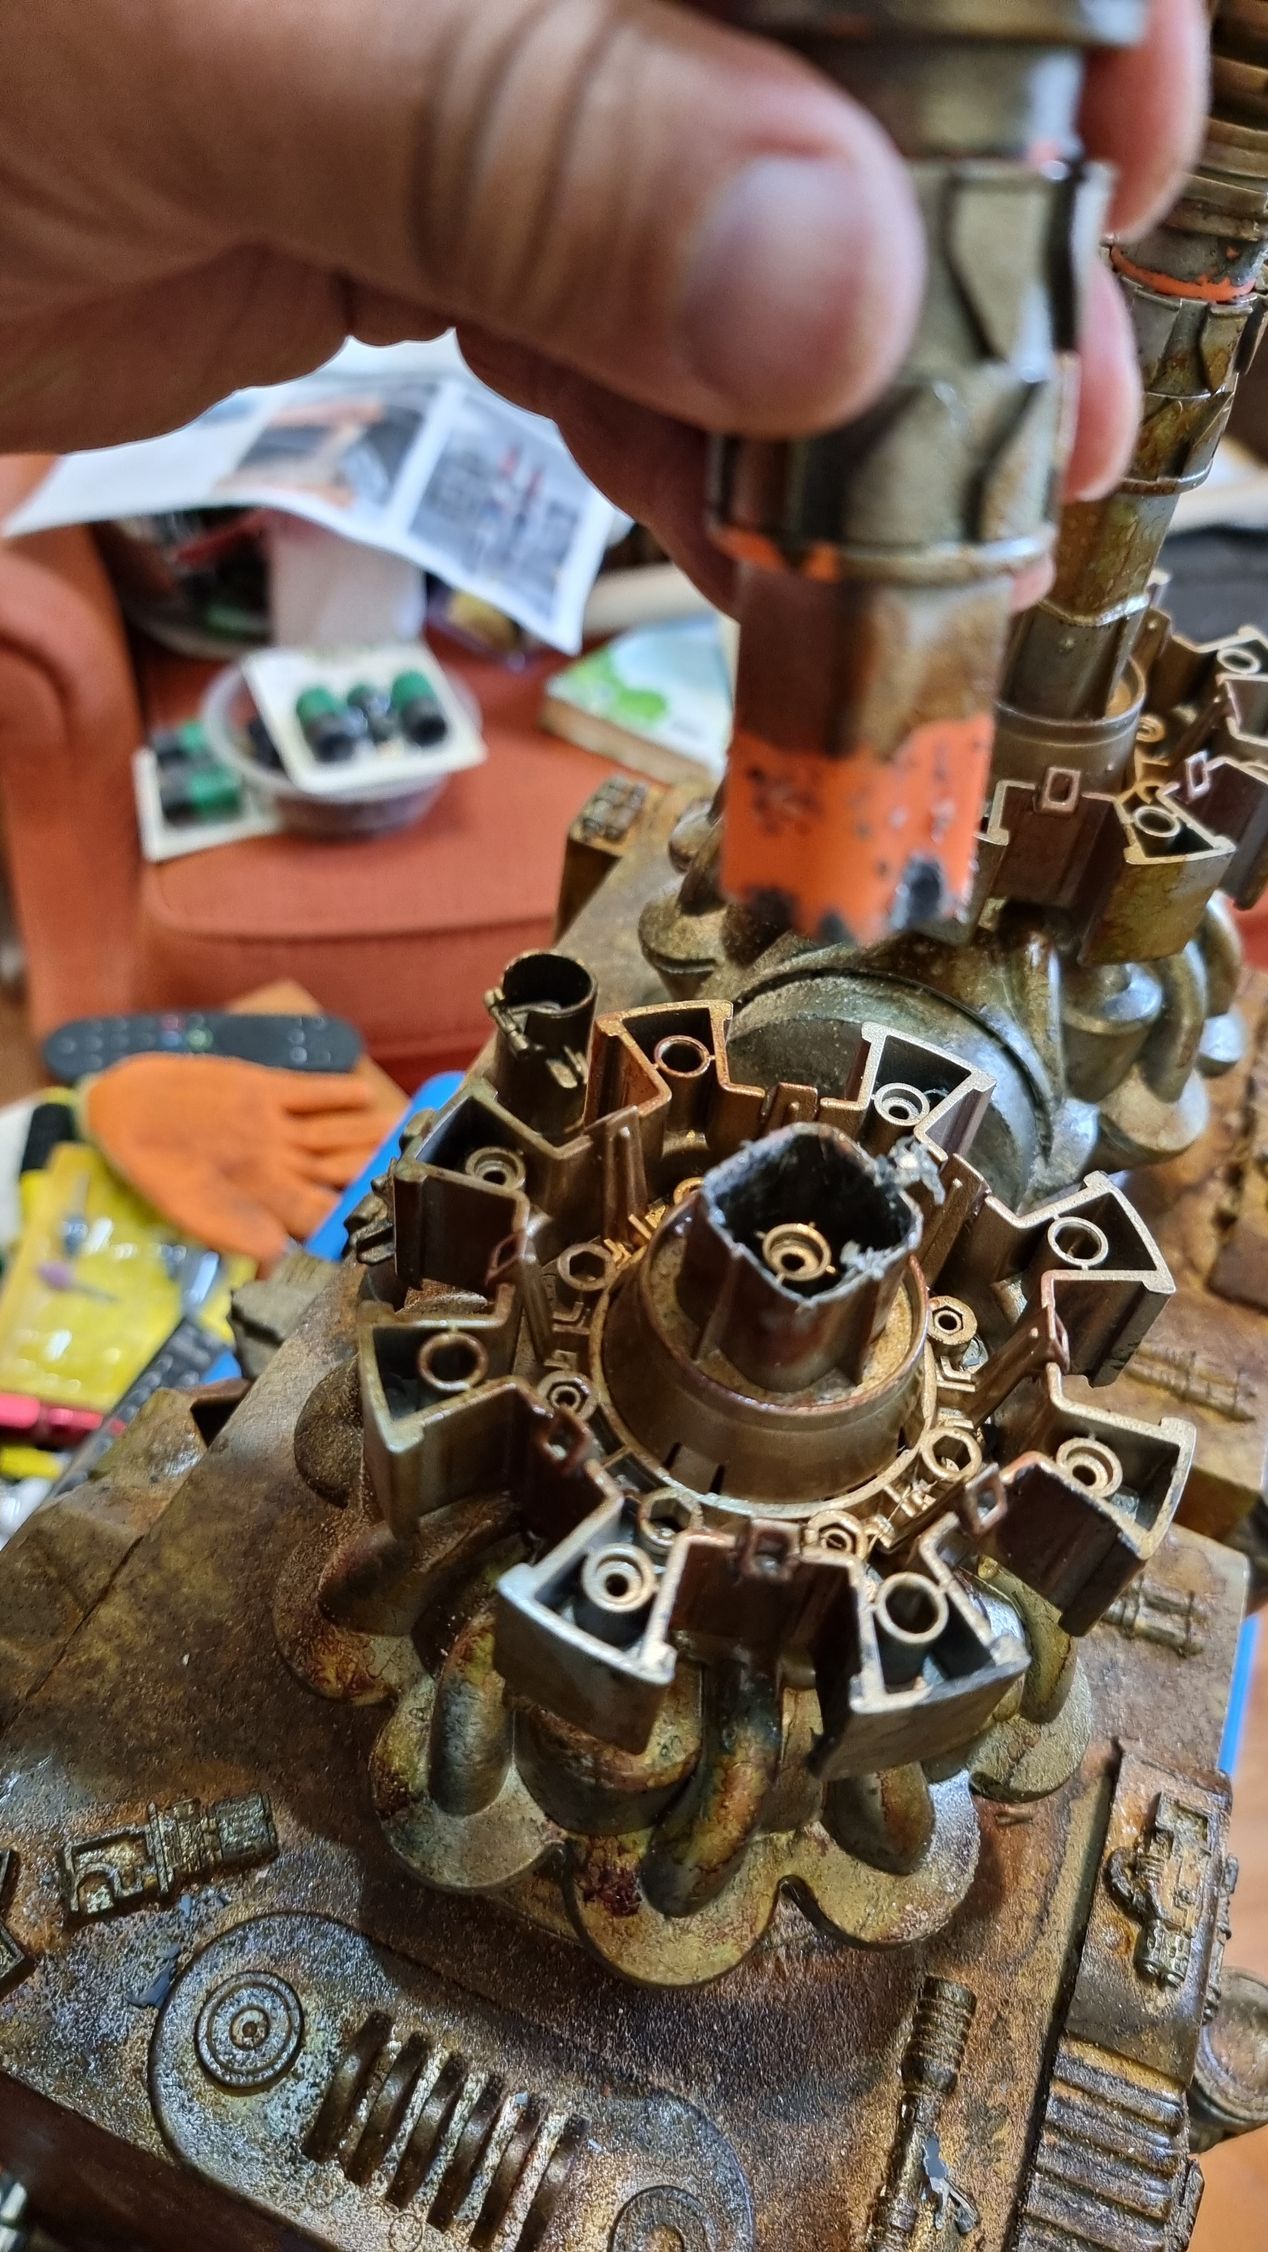
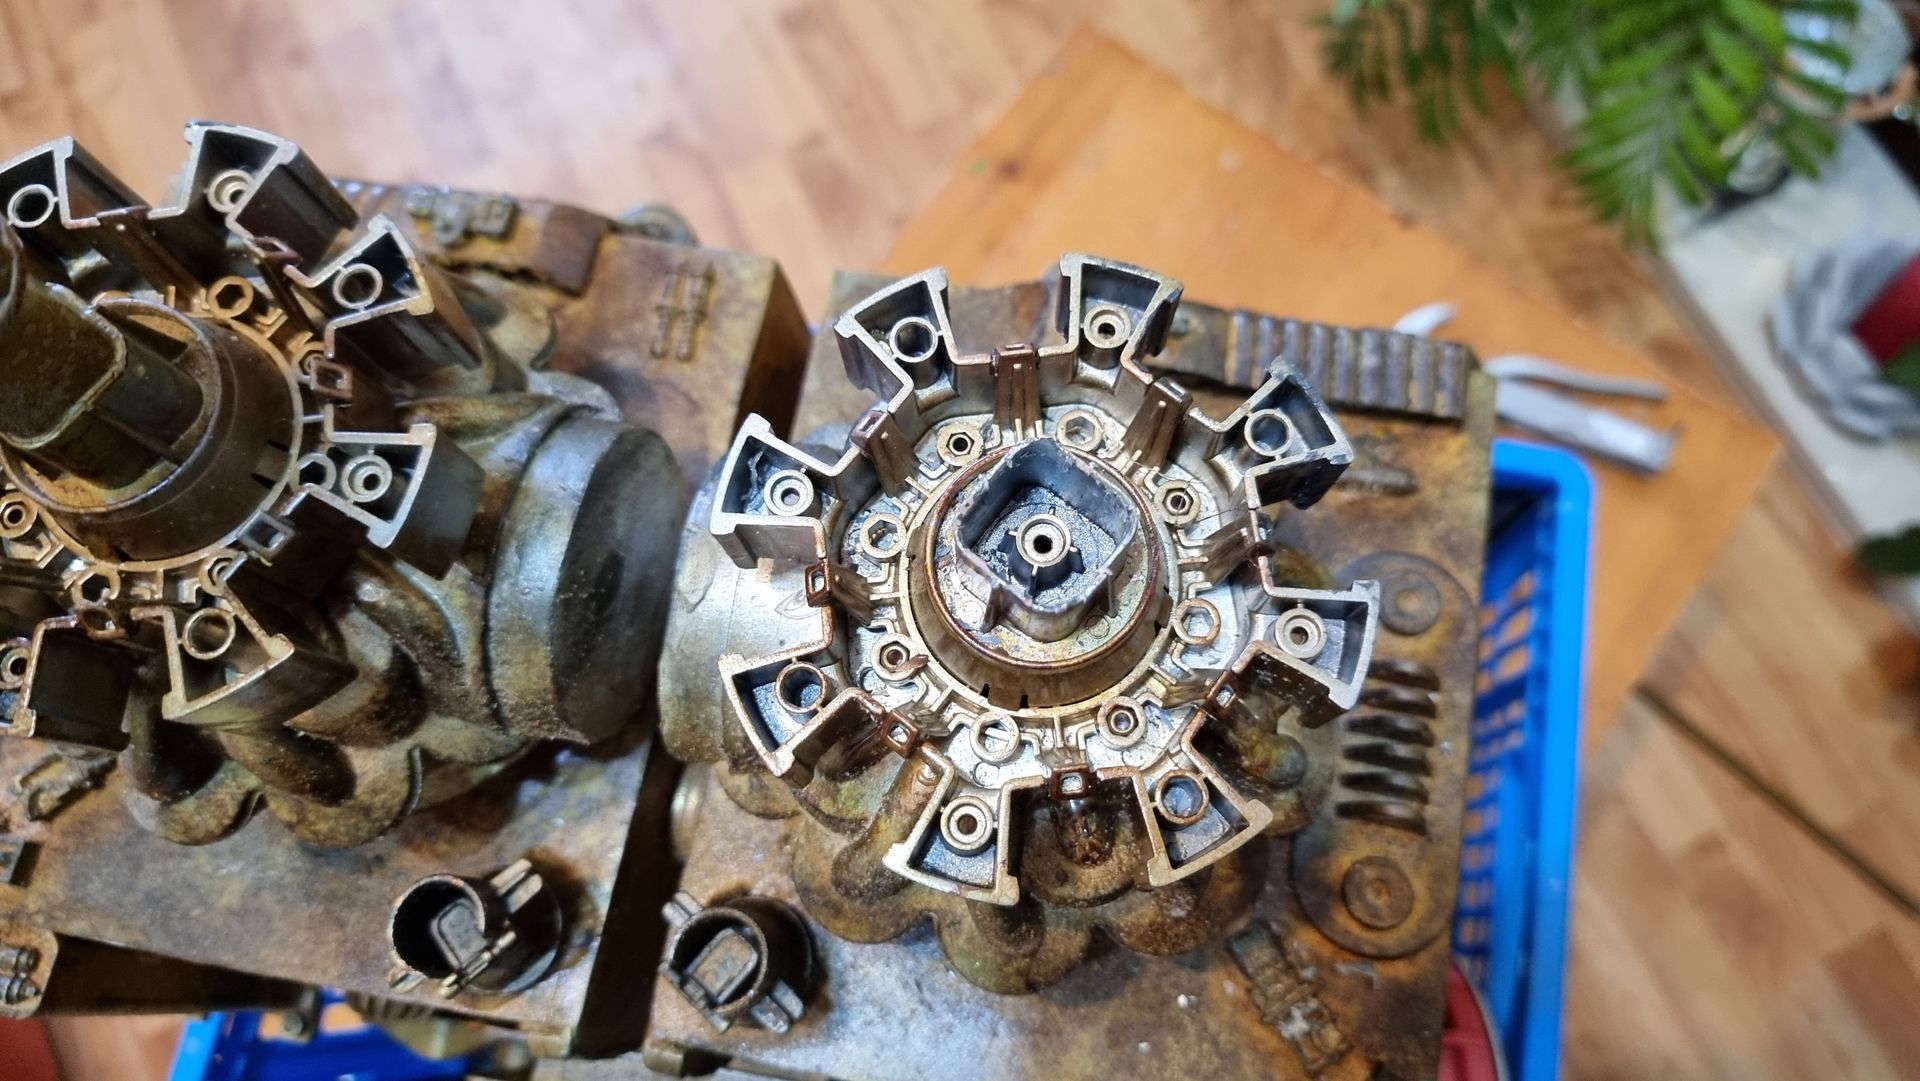
I also had to take apart the communication towers on the towers very carefully to avoid damage to the lower parts which were more solid.
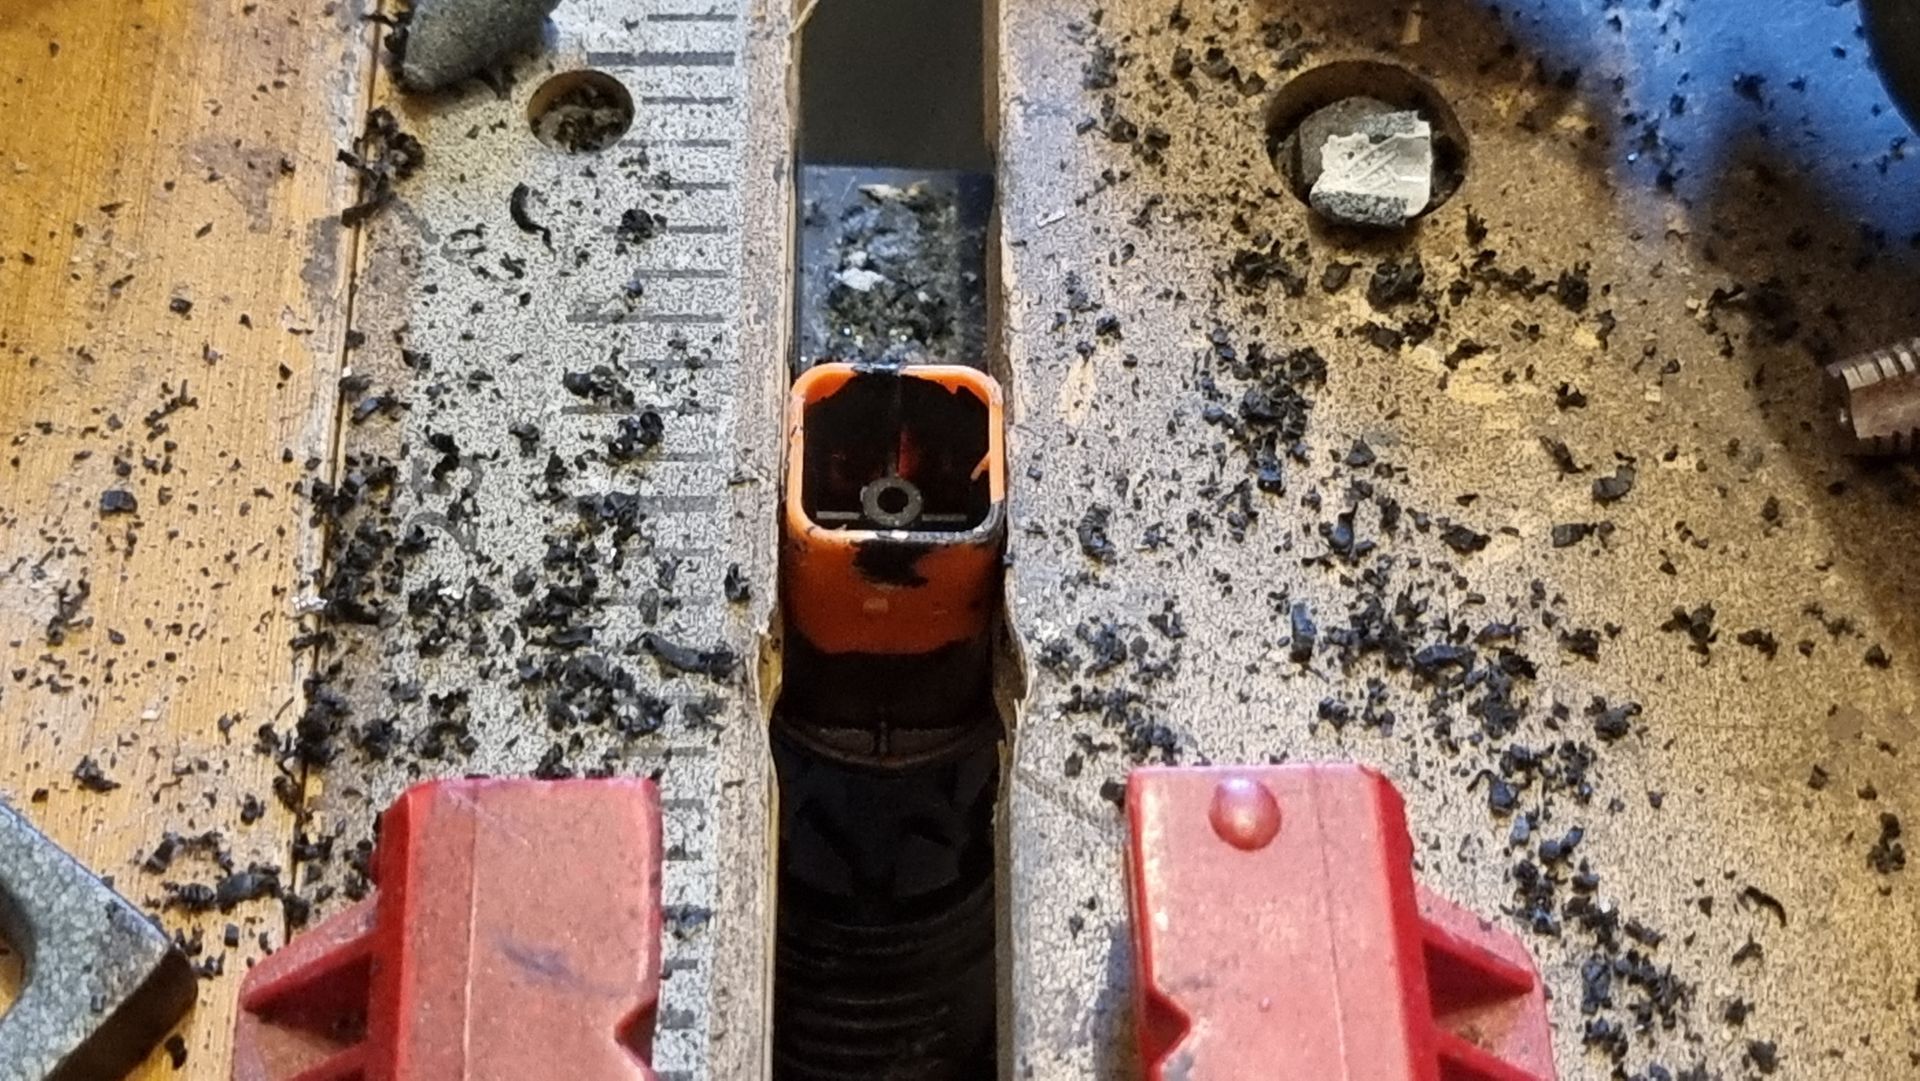
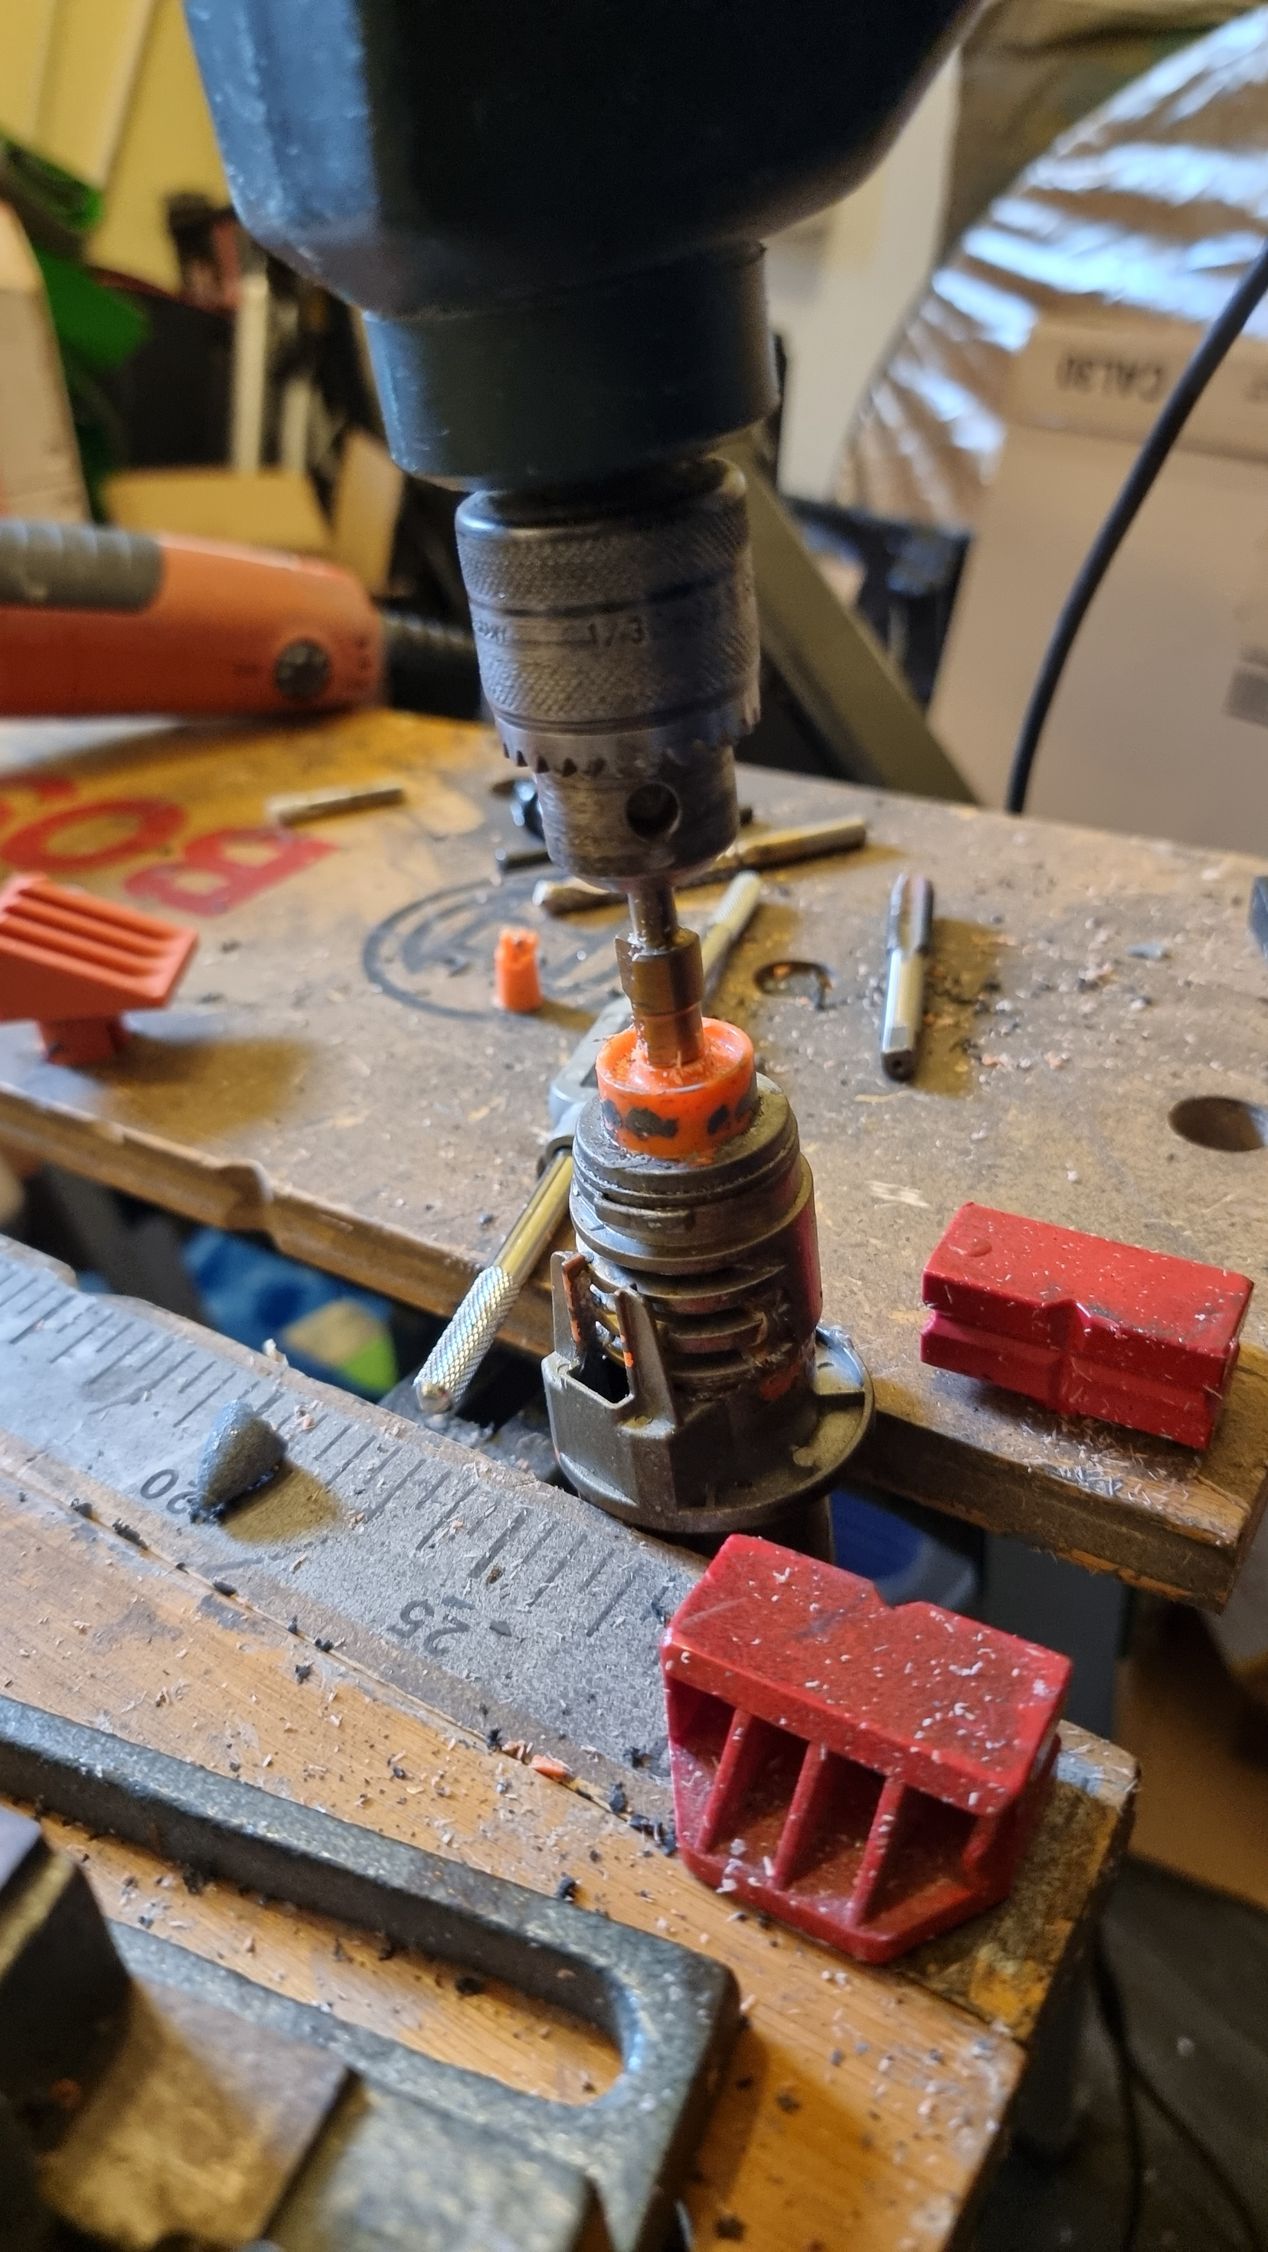
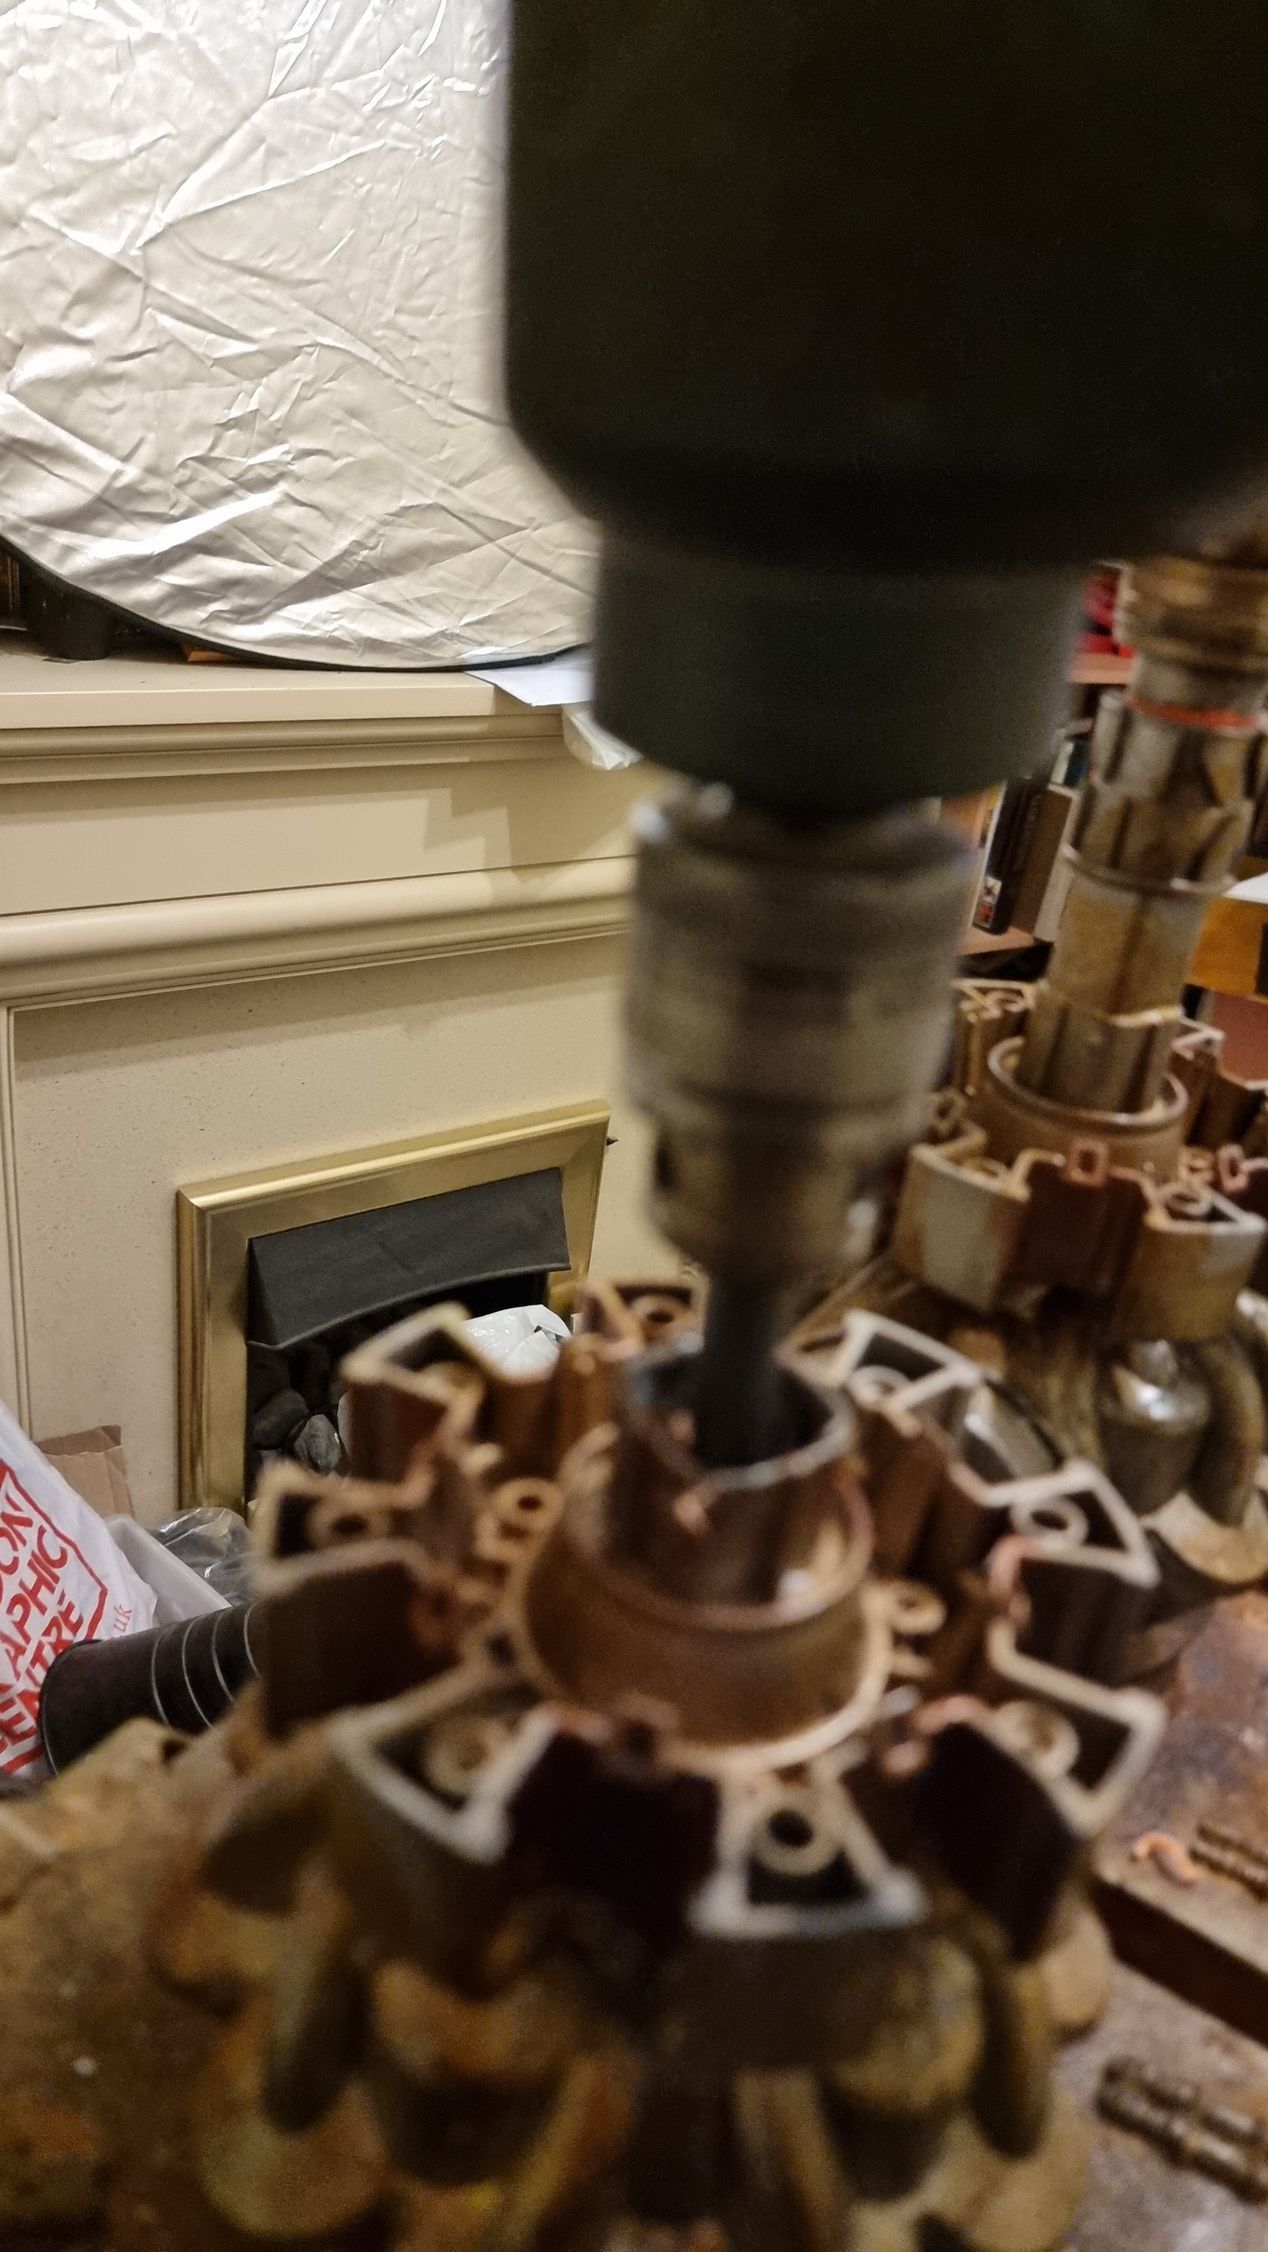
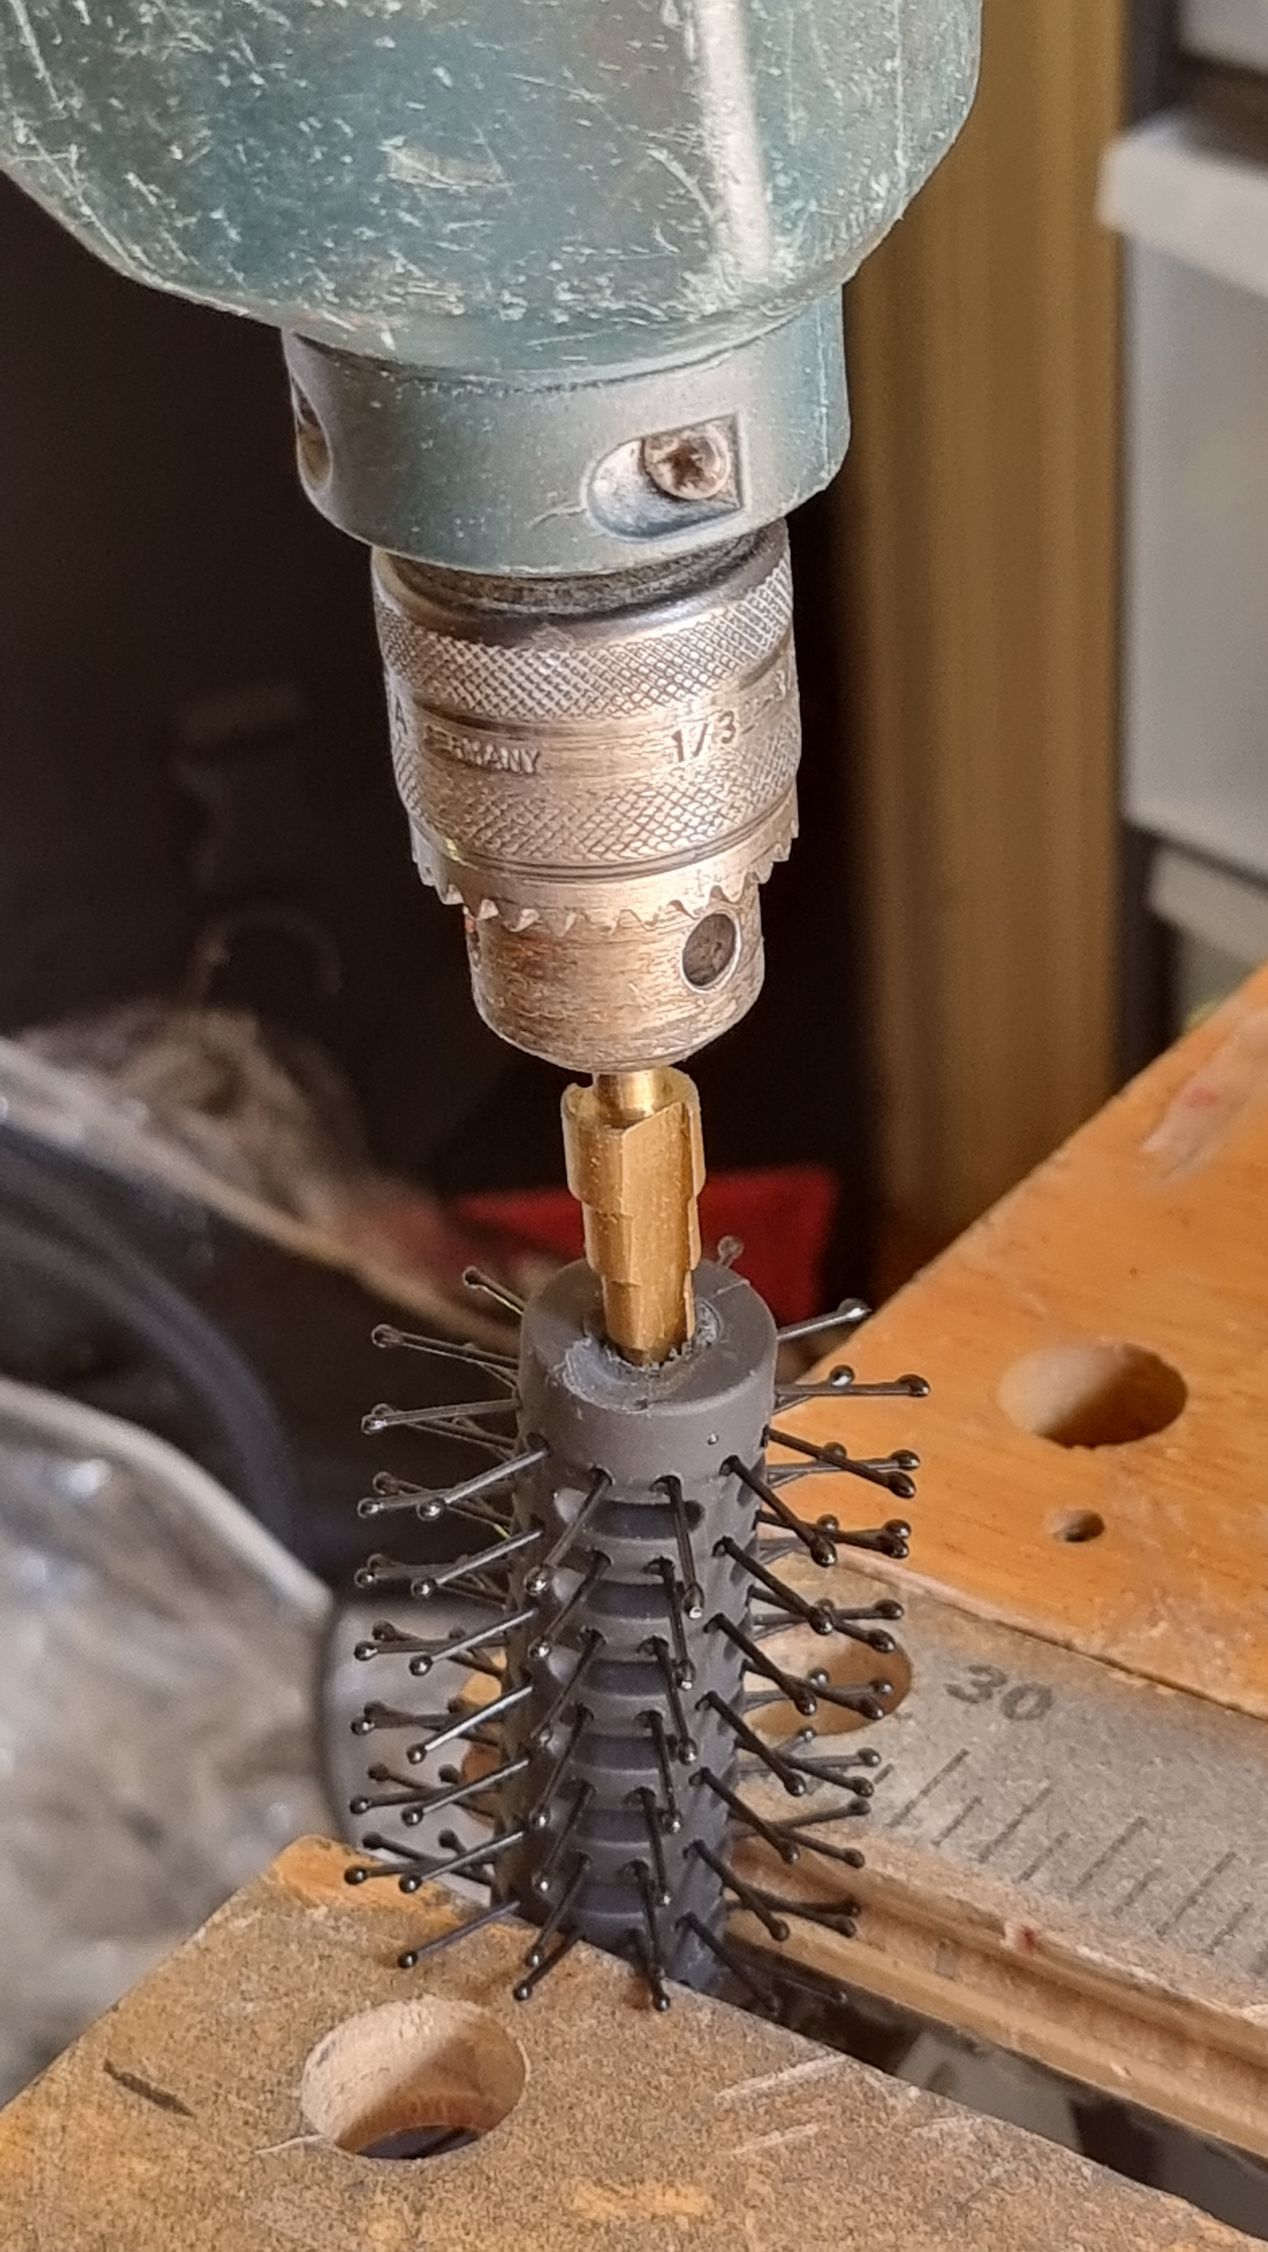
I was also trying to work out a way to run a threaded shaft through the dead centre. This involved very careful drilling.
I started by trying to break a glued square connection by tapping a thin screwdriver into the glued joint to try and crack it.
The removed centra shaft looked like it was worth keeping.
Having released the upper section, I tried to drill down into the central nerf gun disc base,
This has a revolving pivot inside I wanted to keep but also had to drill through. I did not have a pillar drill so had to do this very carefully and slowly to avoid breaking the parts.
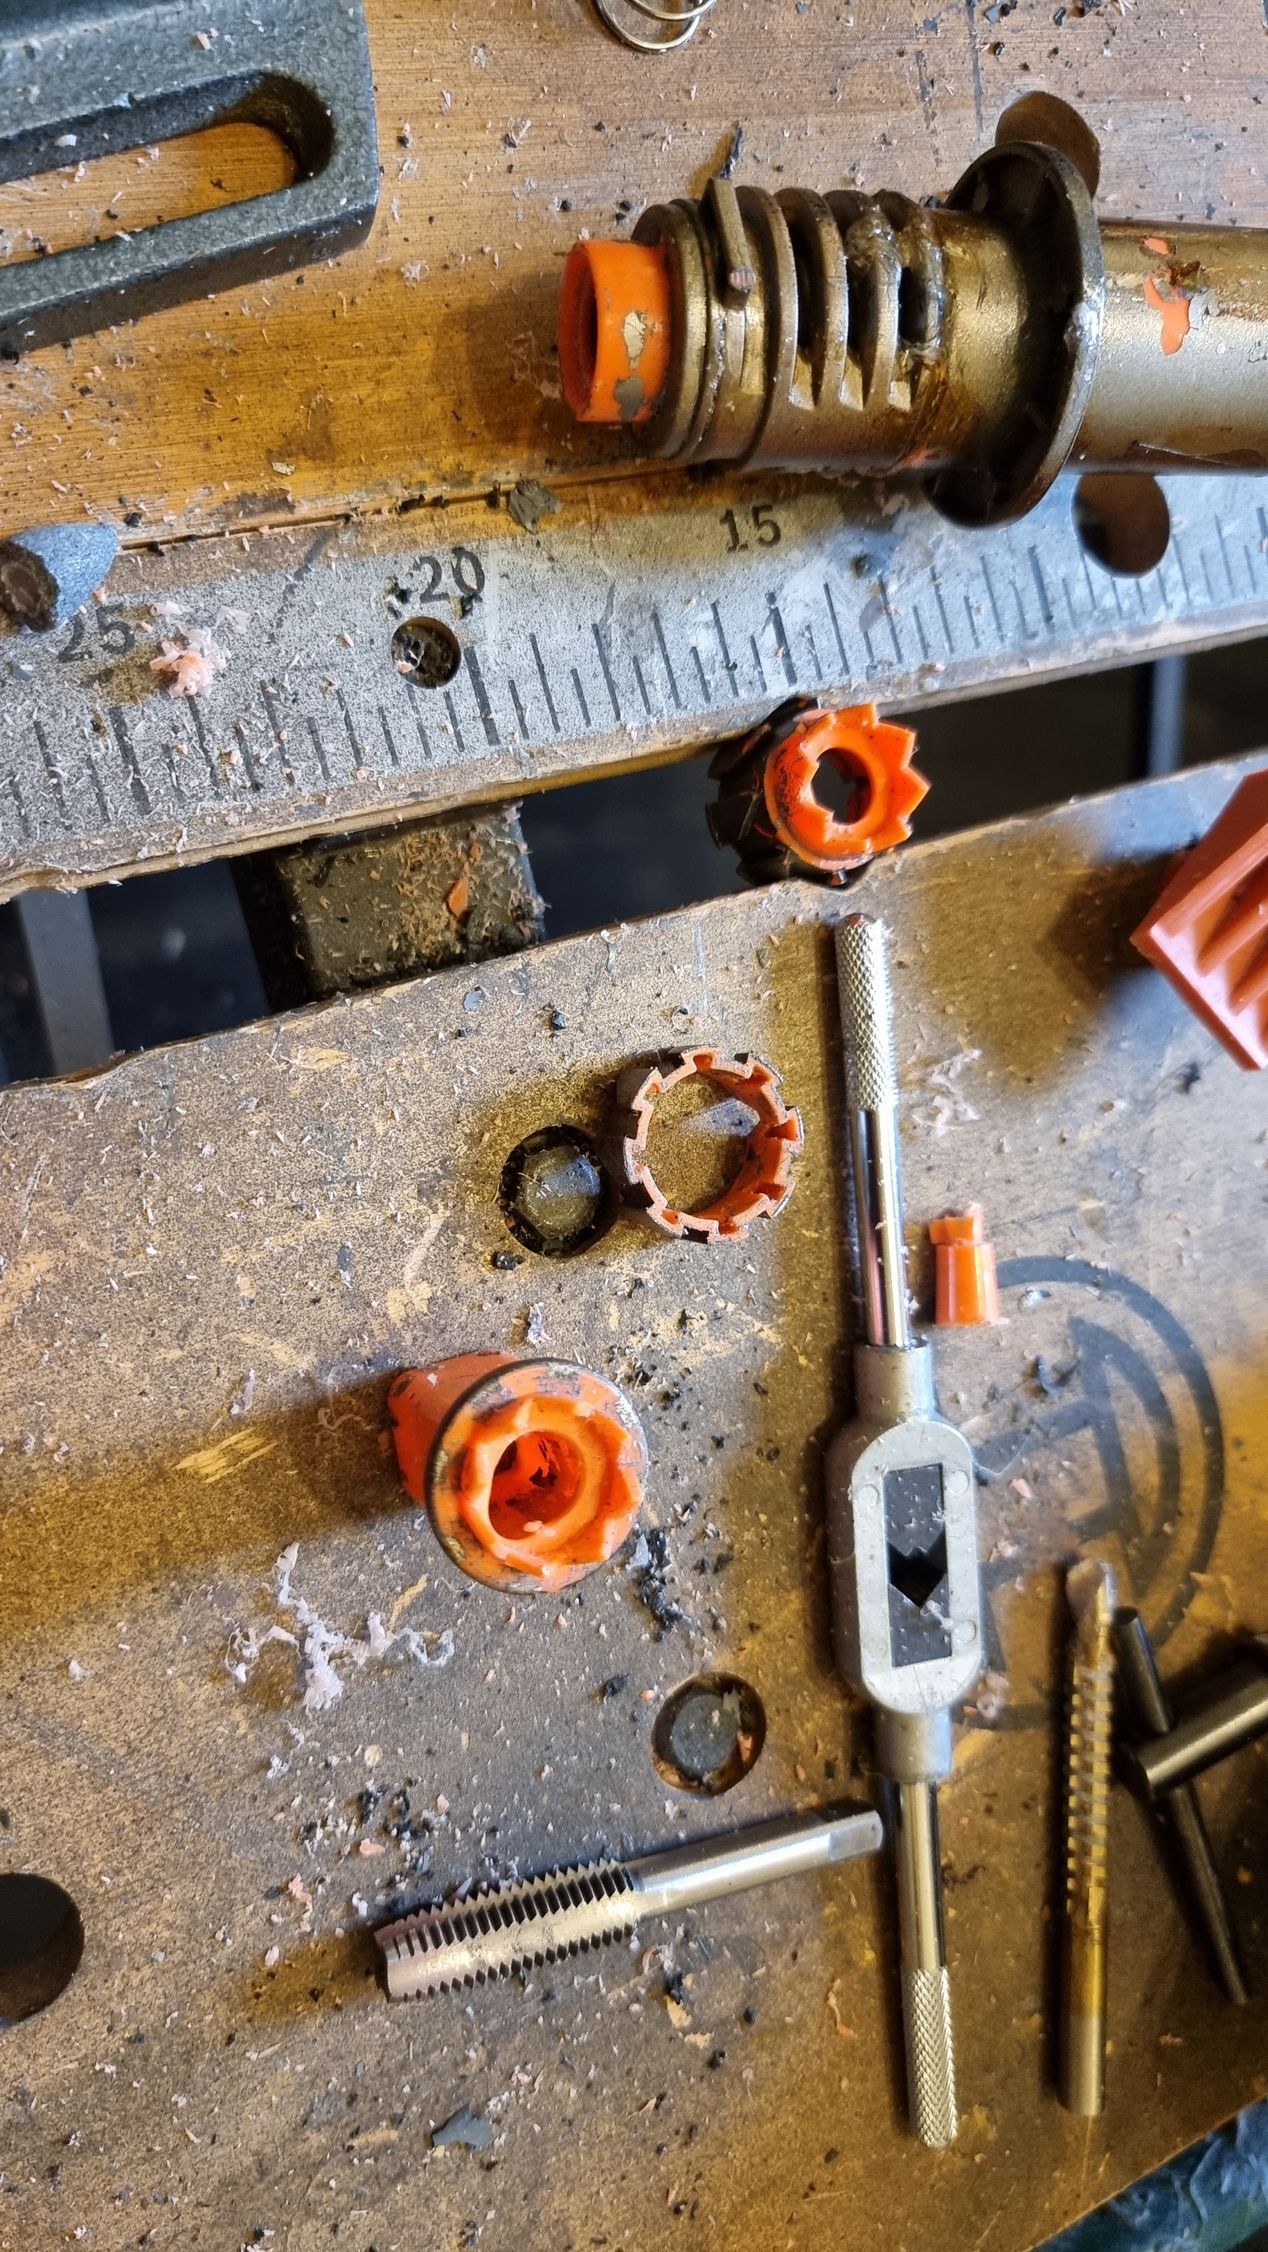
I tried to use a step drill but the problem was there was a rivet and a spring in the centre which I hat to drill through and push out.
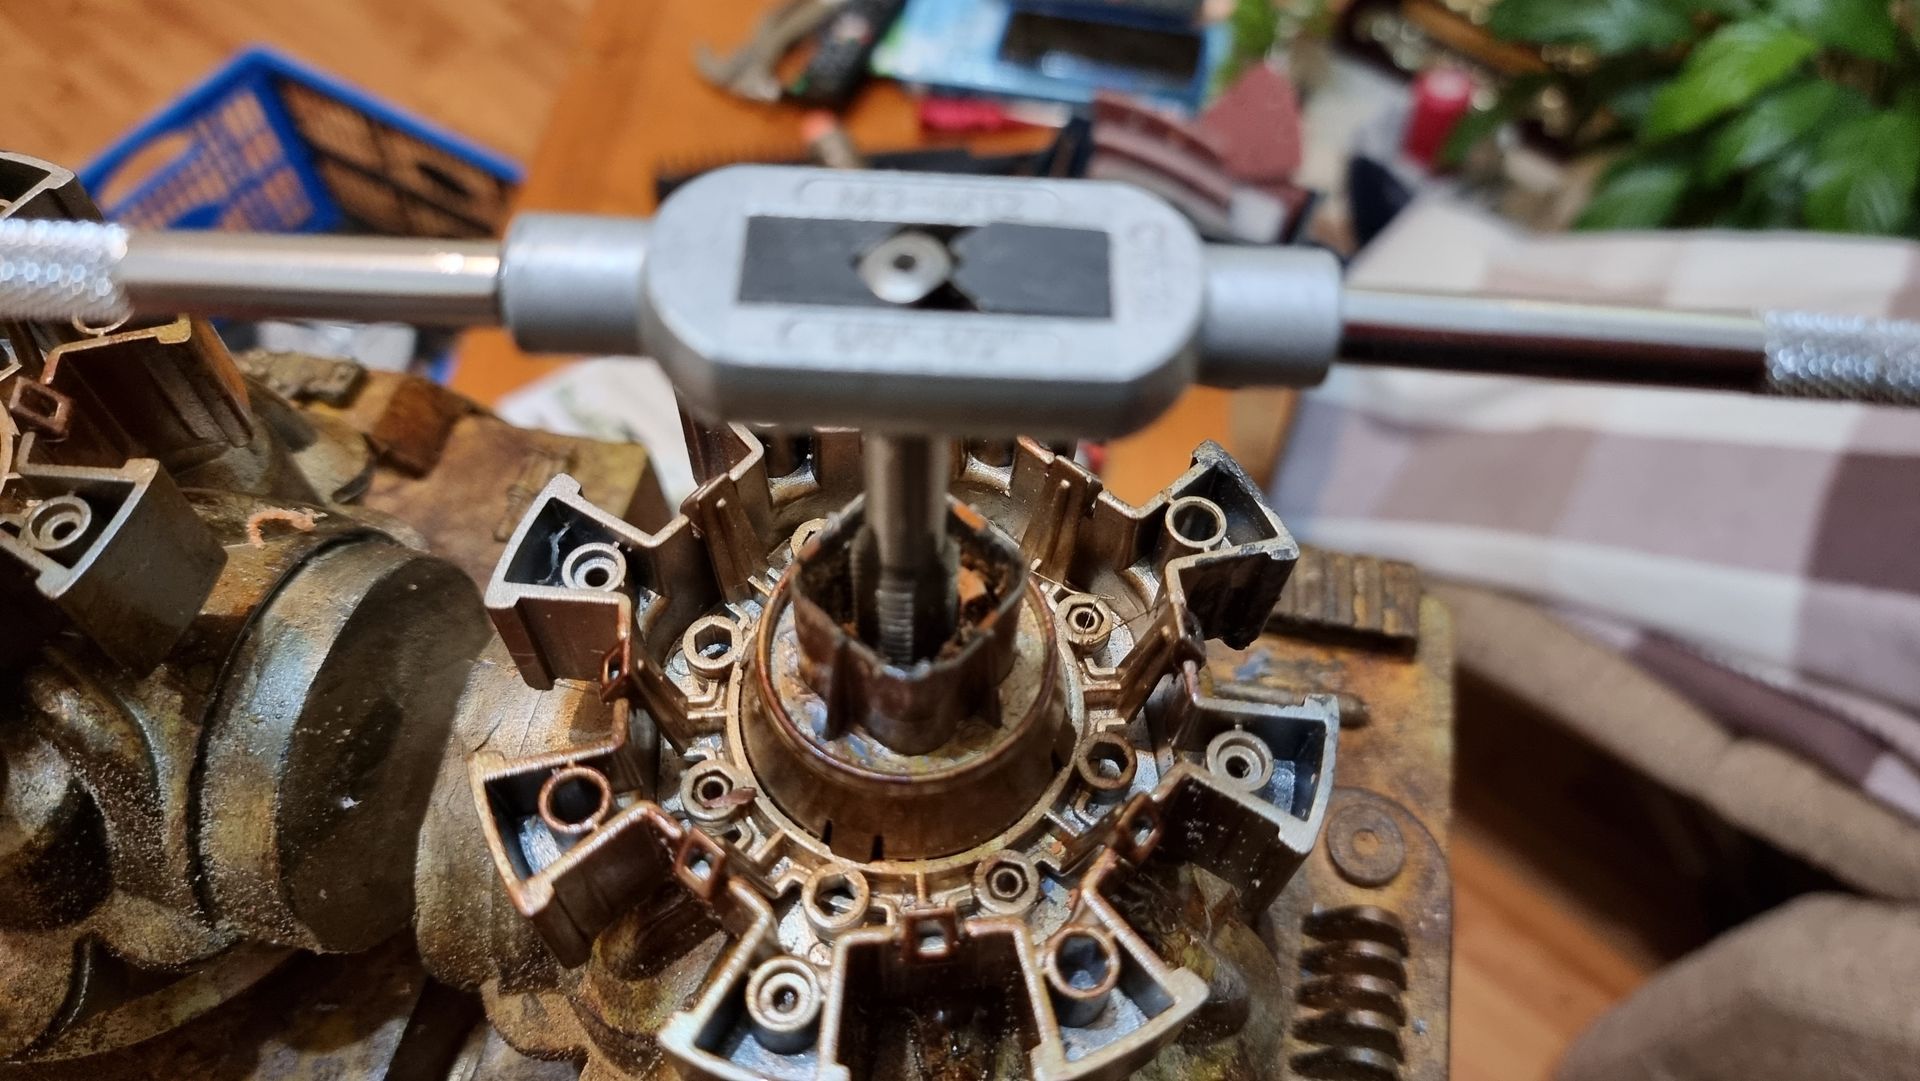
This left an interlocking set of shafts.
One there was a hole running though 9mm I used a 10mm tapping kit to make a sewed threaded shaft.
Enhancing the Worn Dirty Tattoine Look With Sand
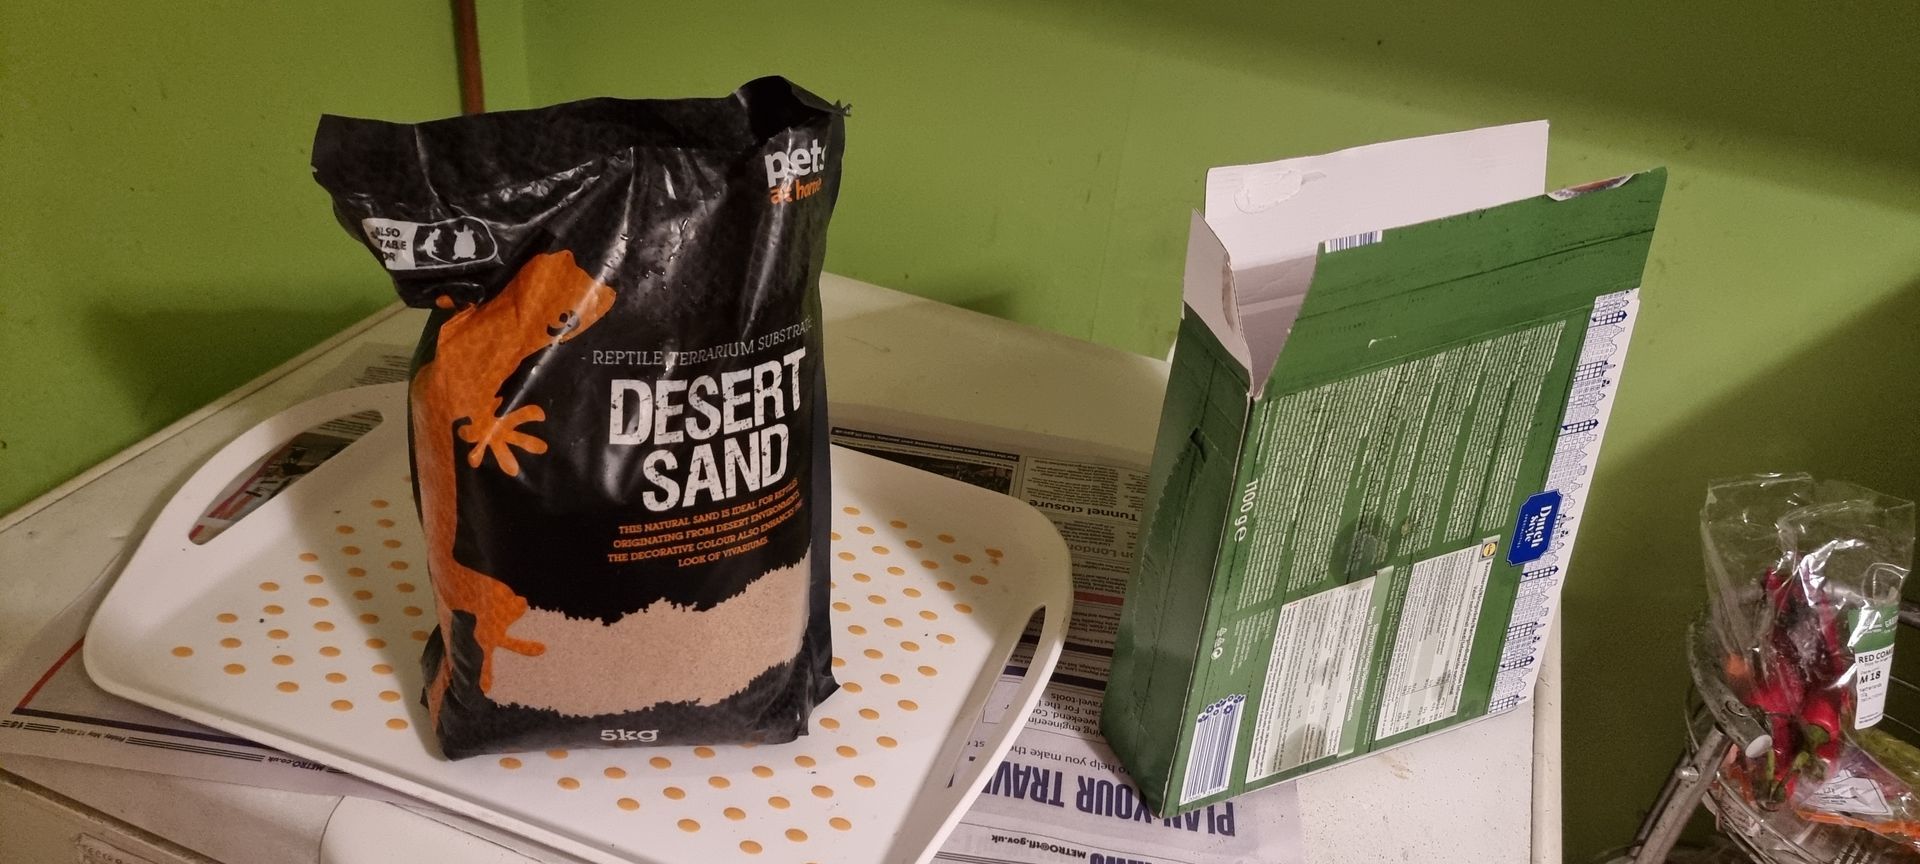
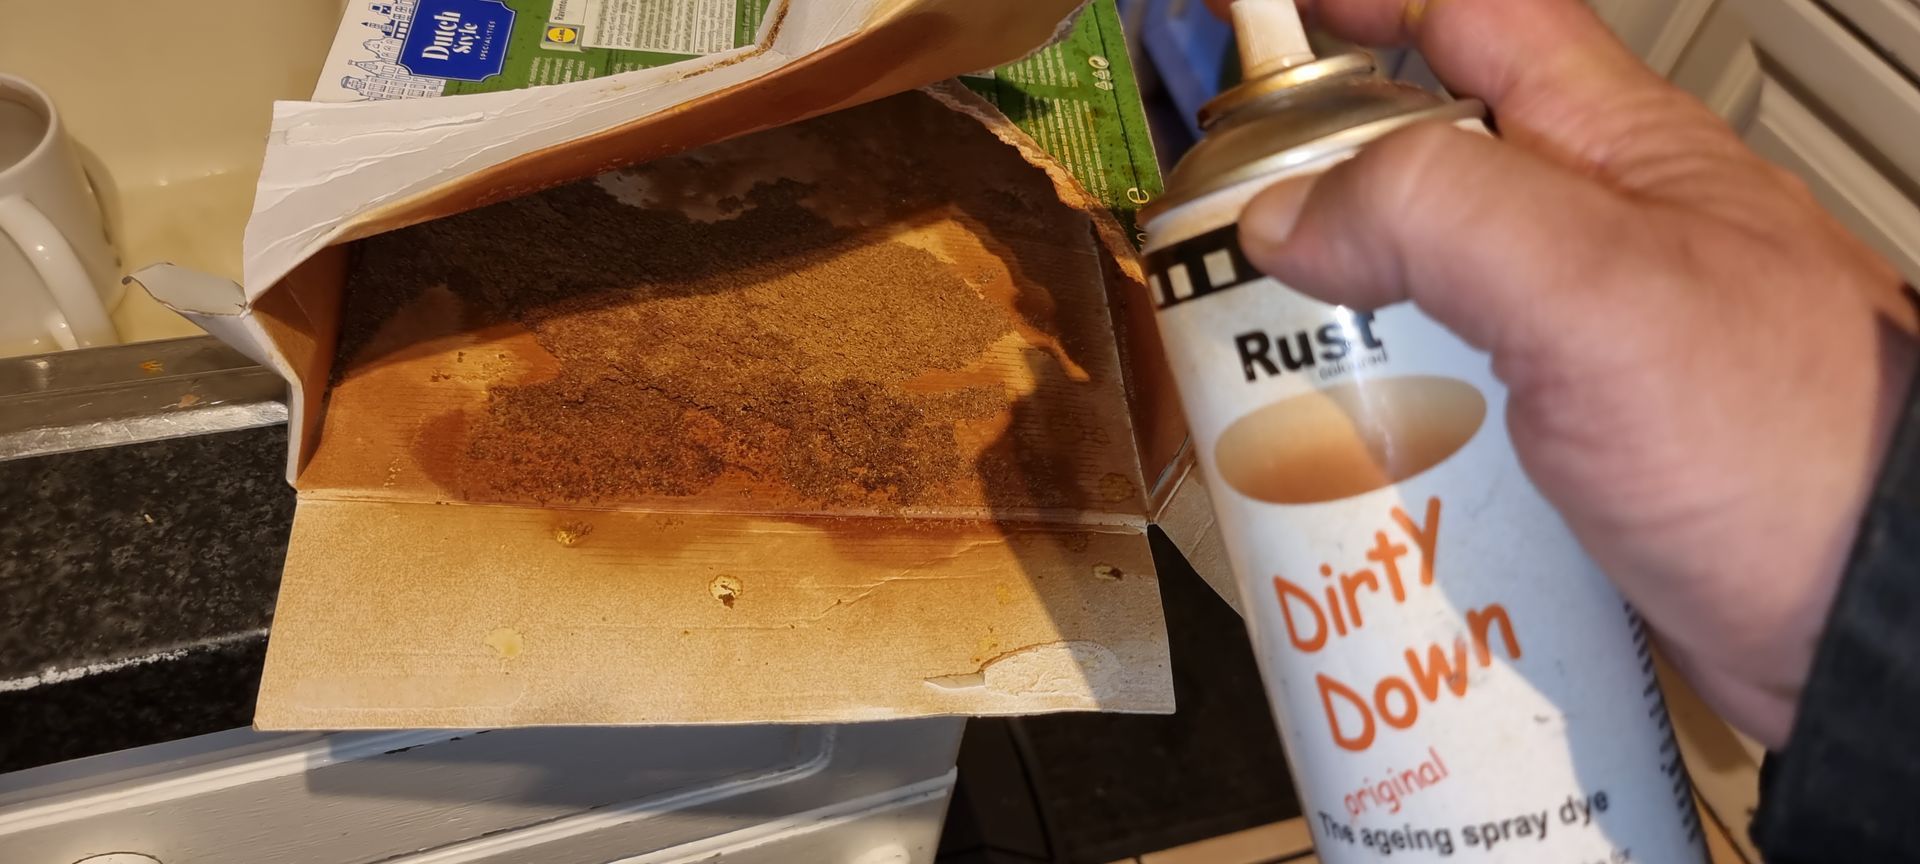
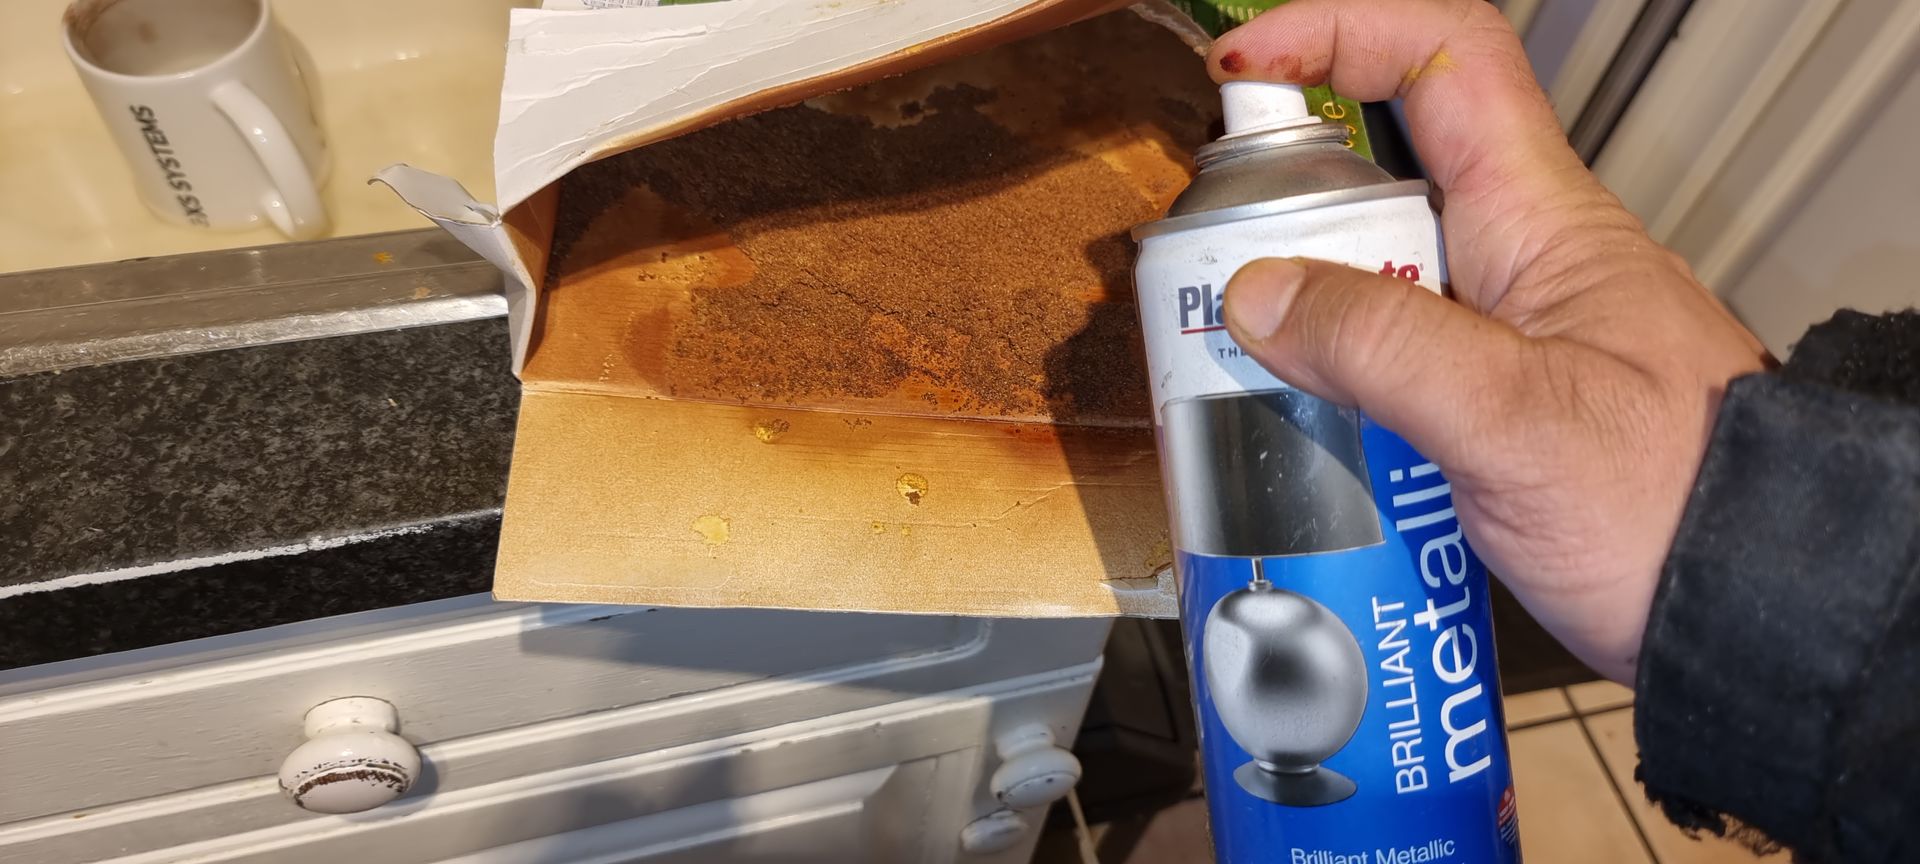
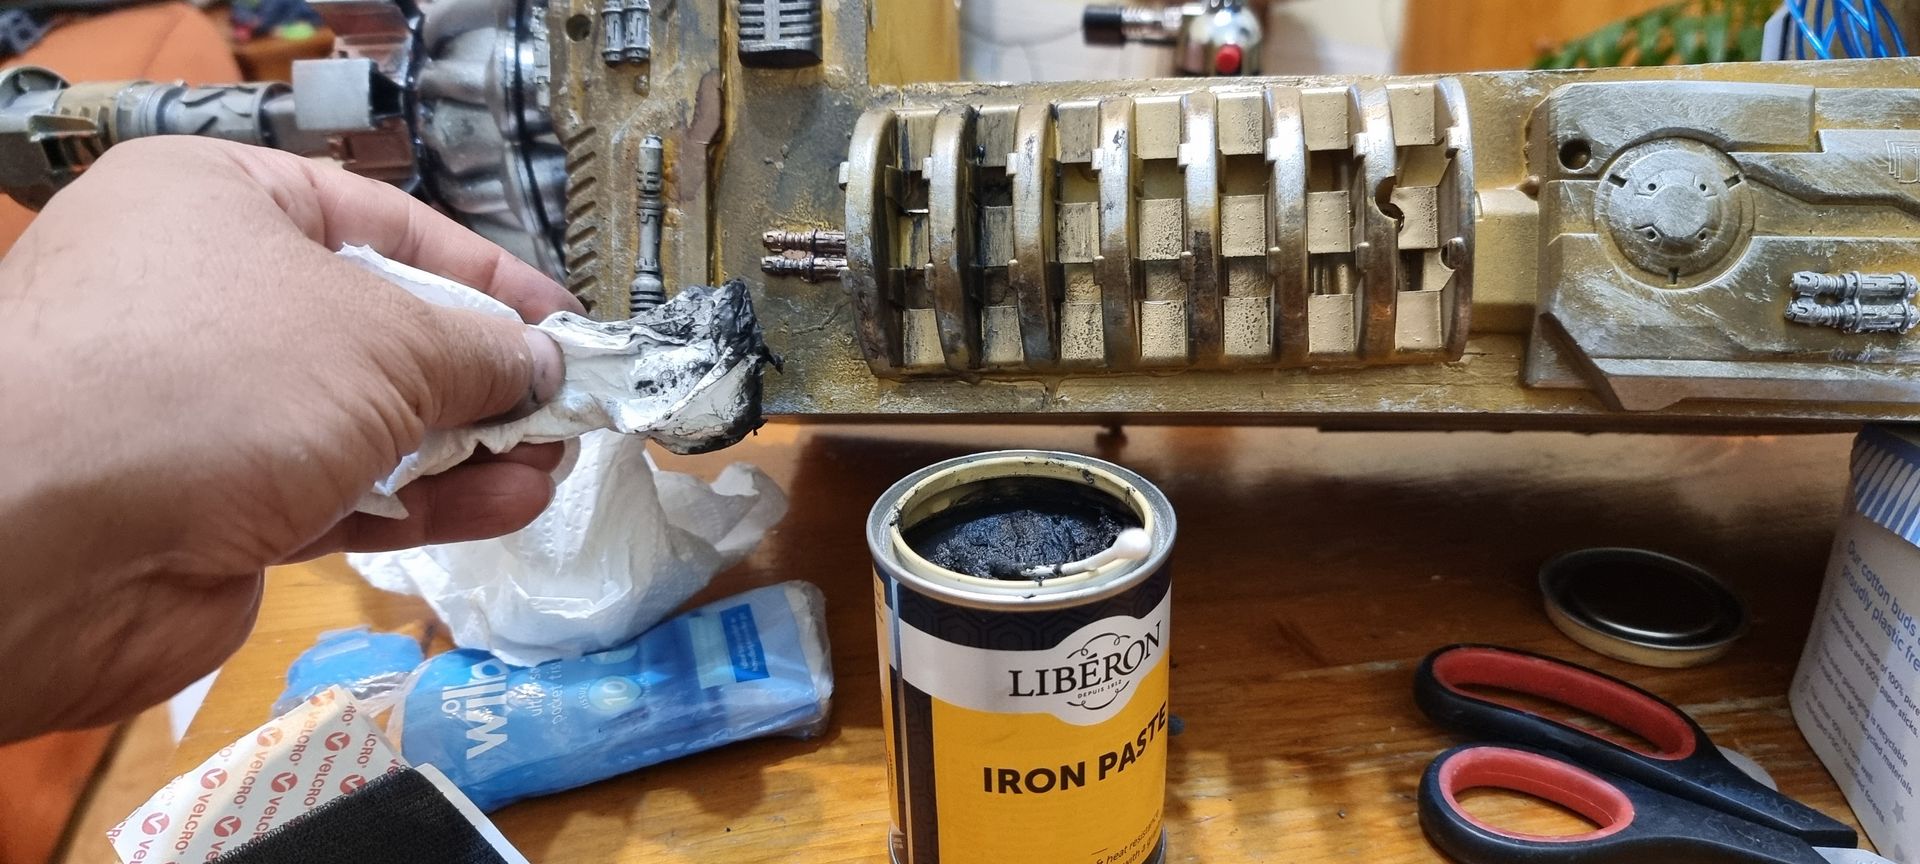
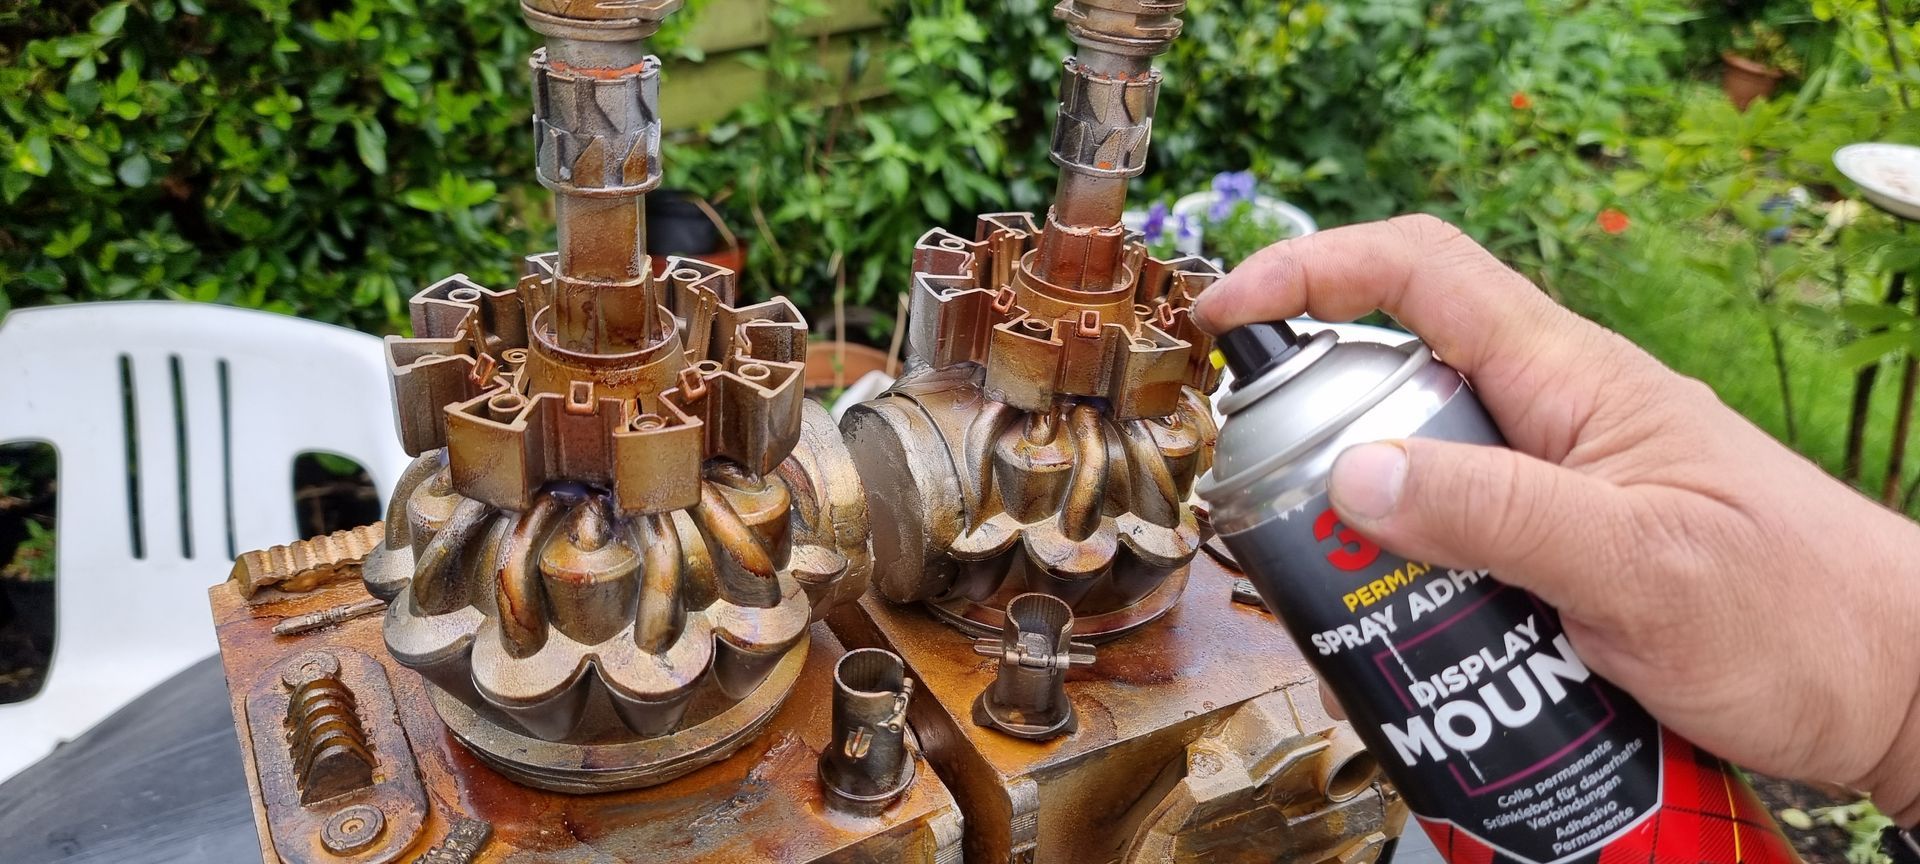
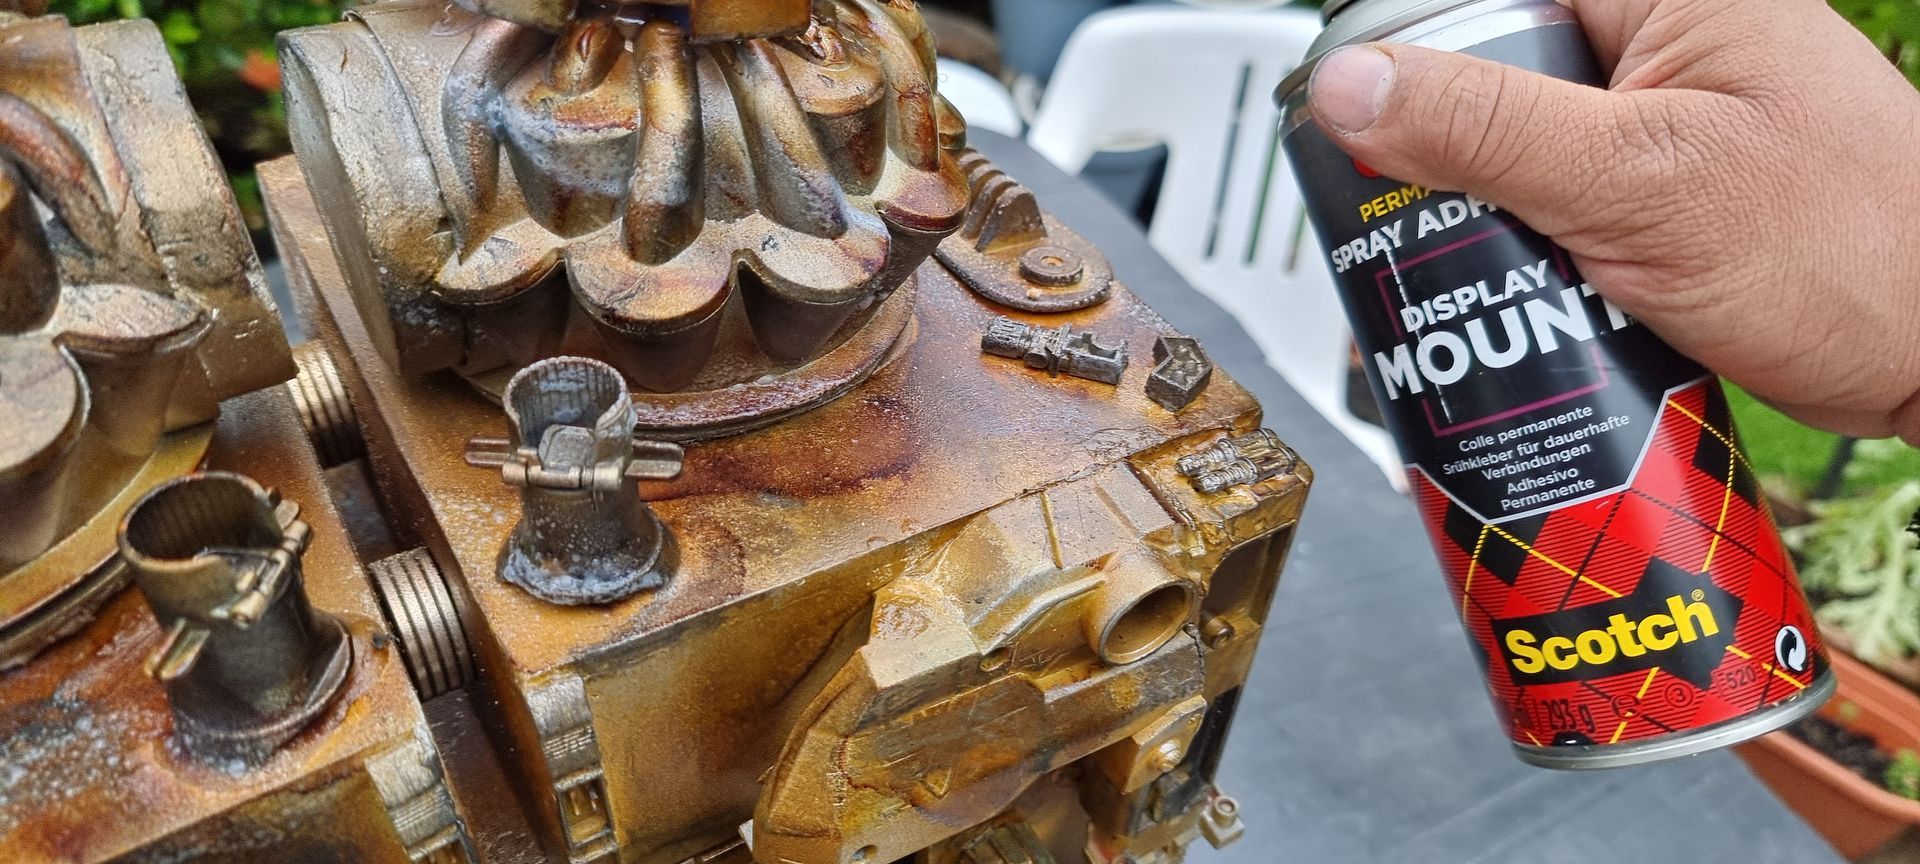
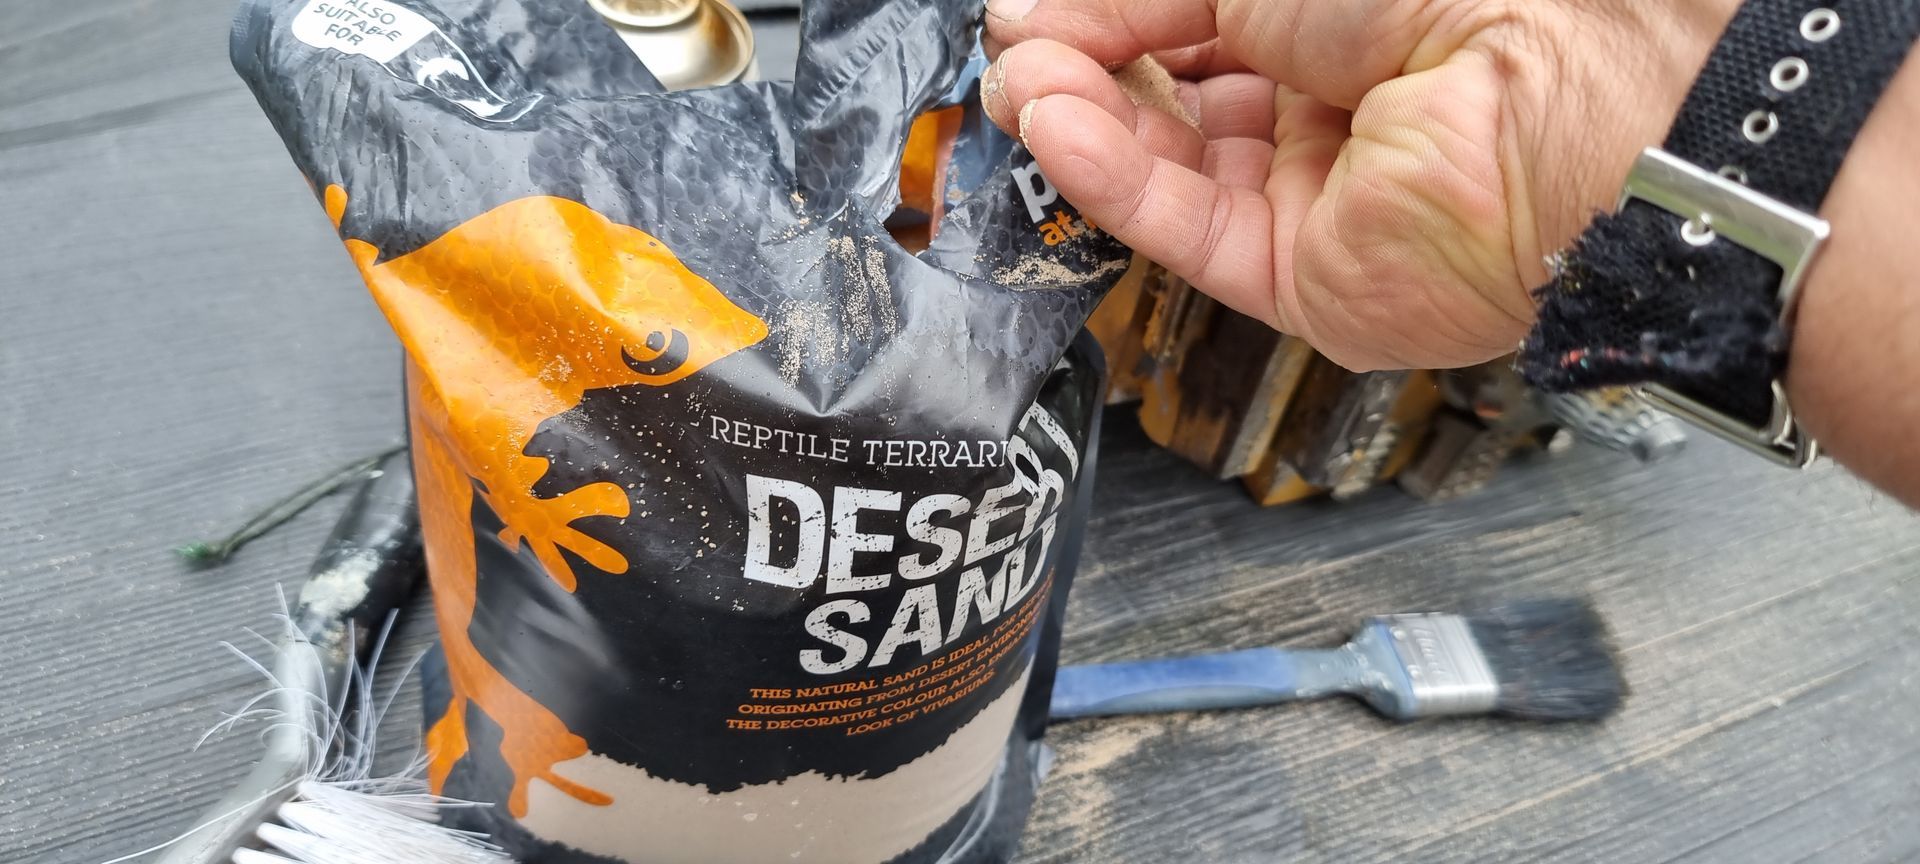
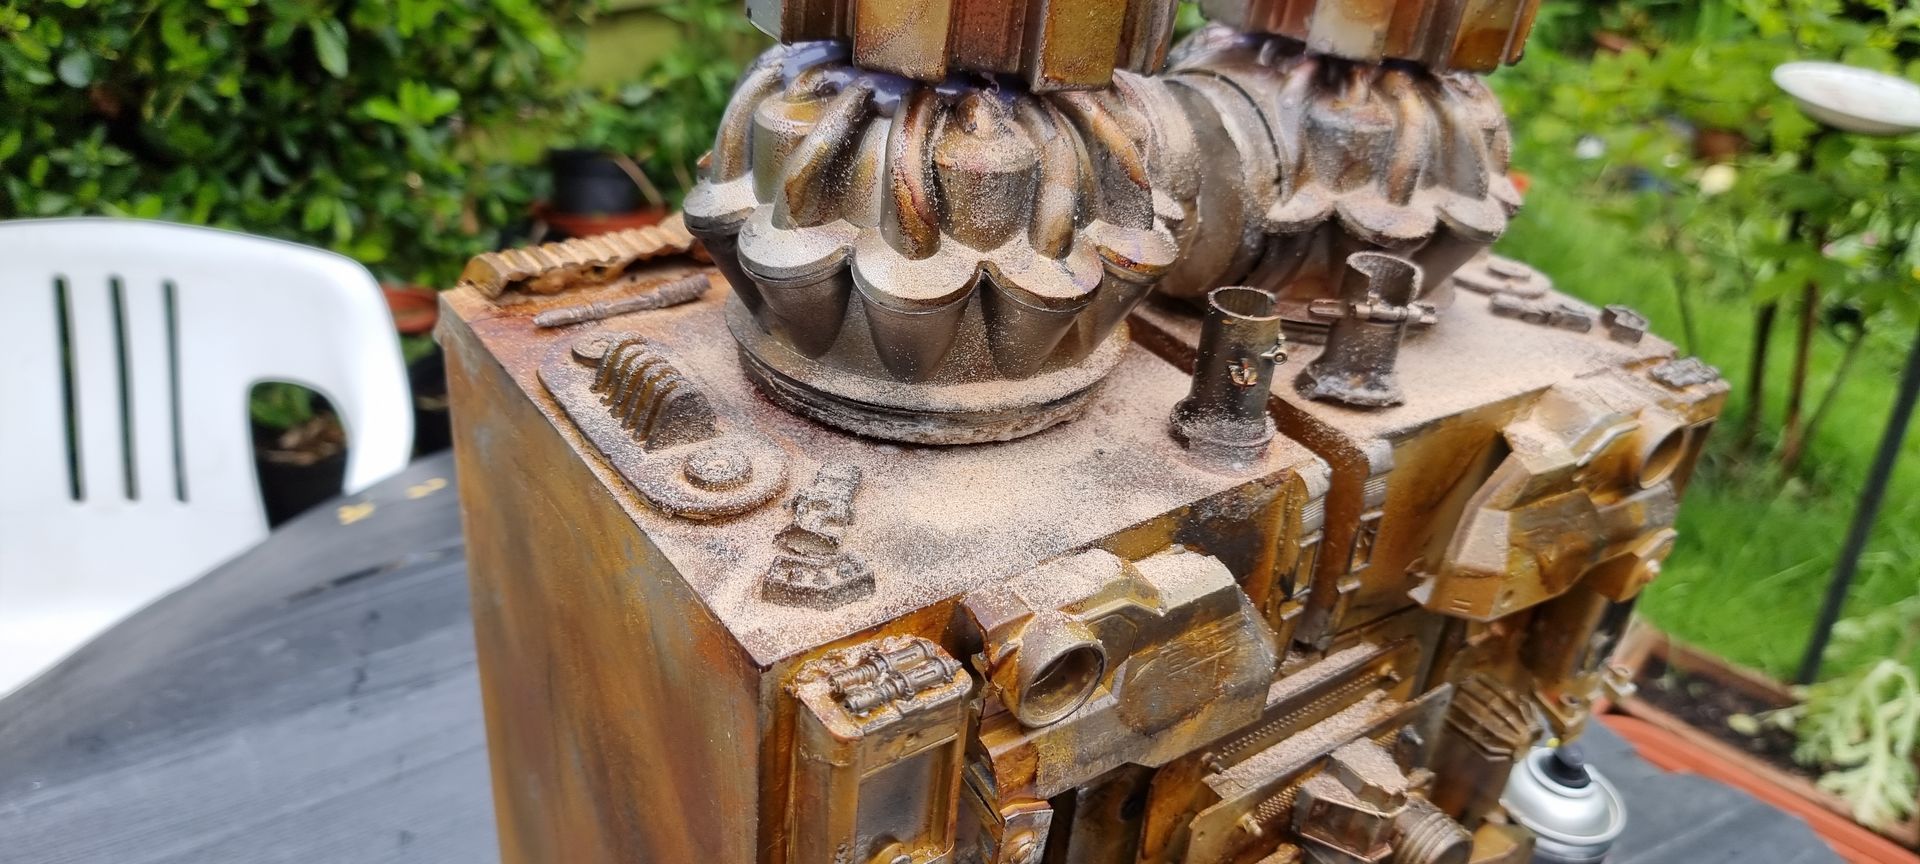
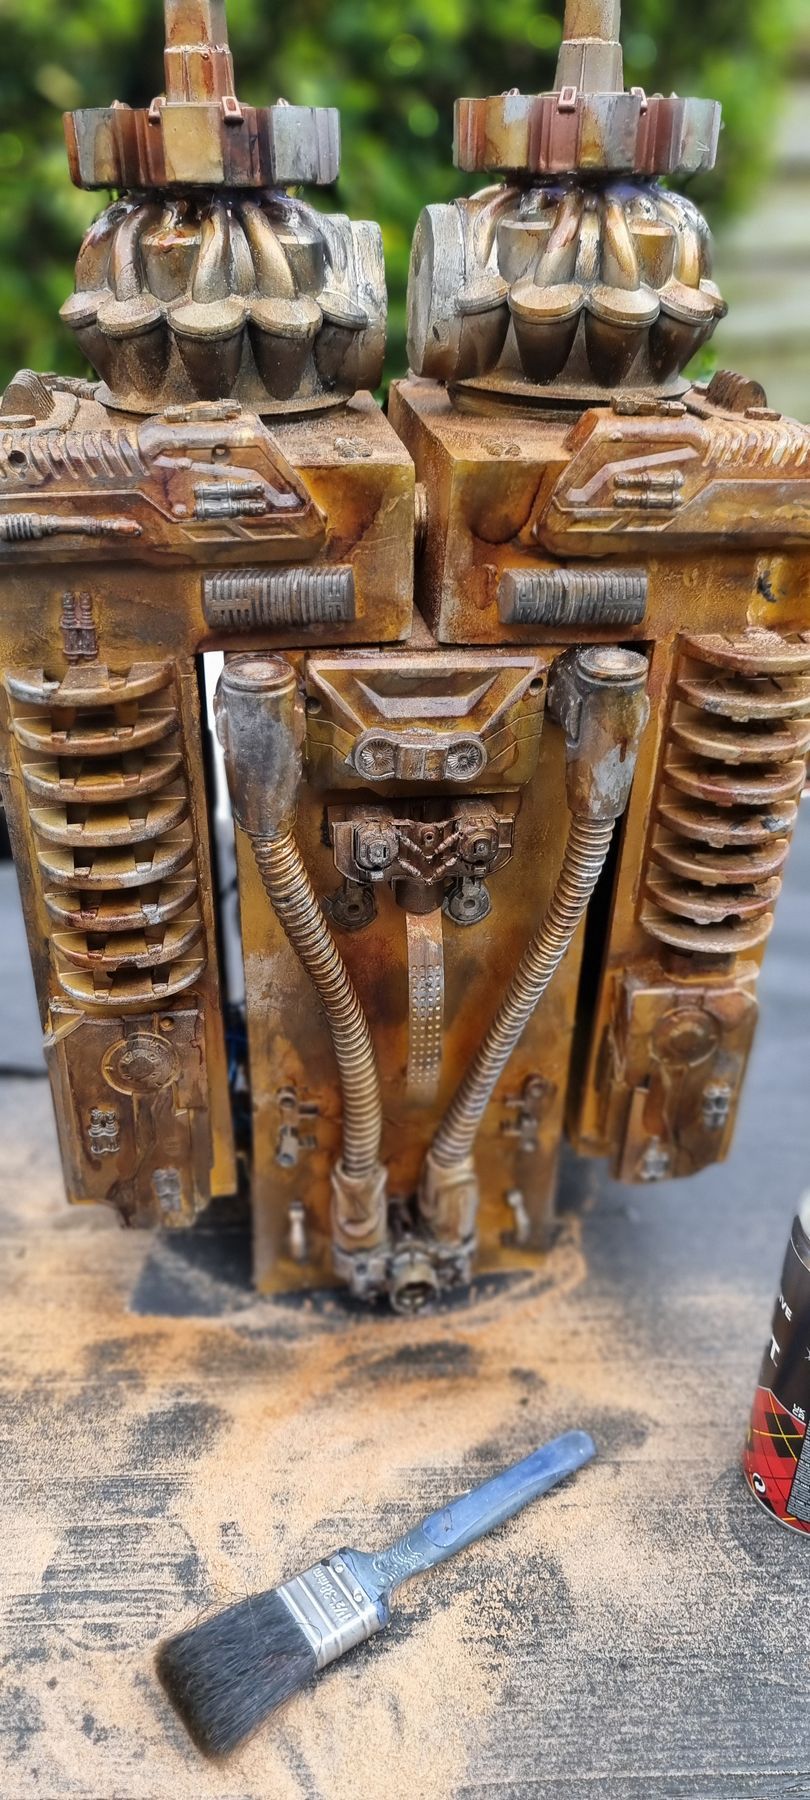
The Star Wars Prop was made to look more authentic by adding sand sprayed with dirty down to give a rustier look and applying some iron paste to the downers and surface.
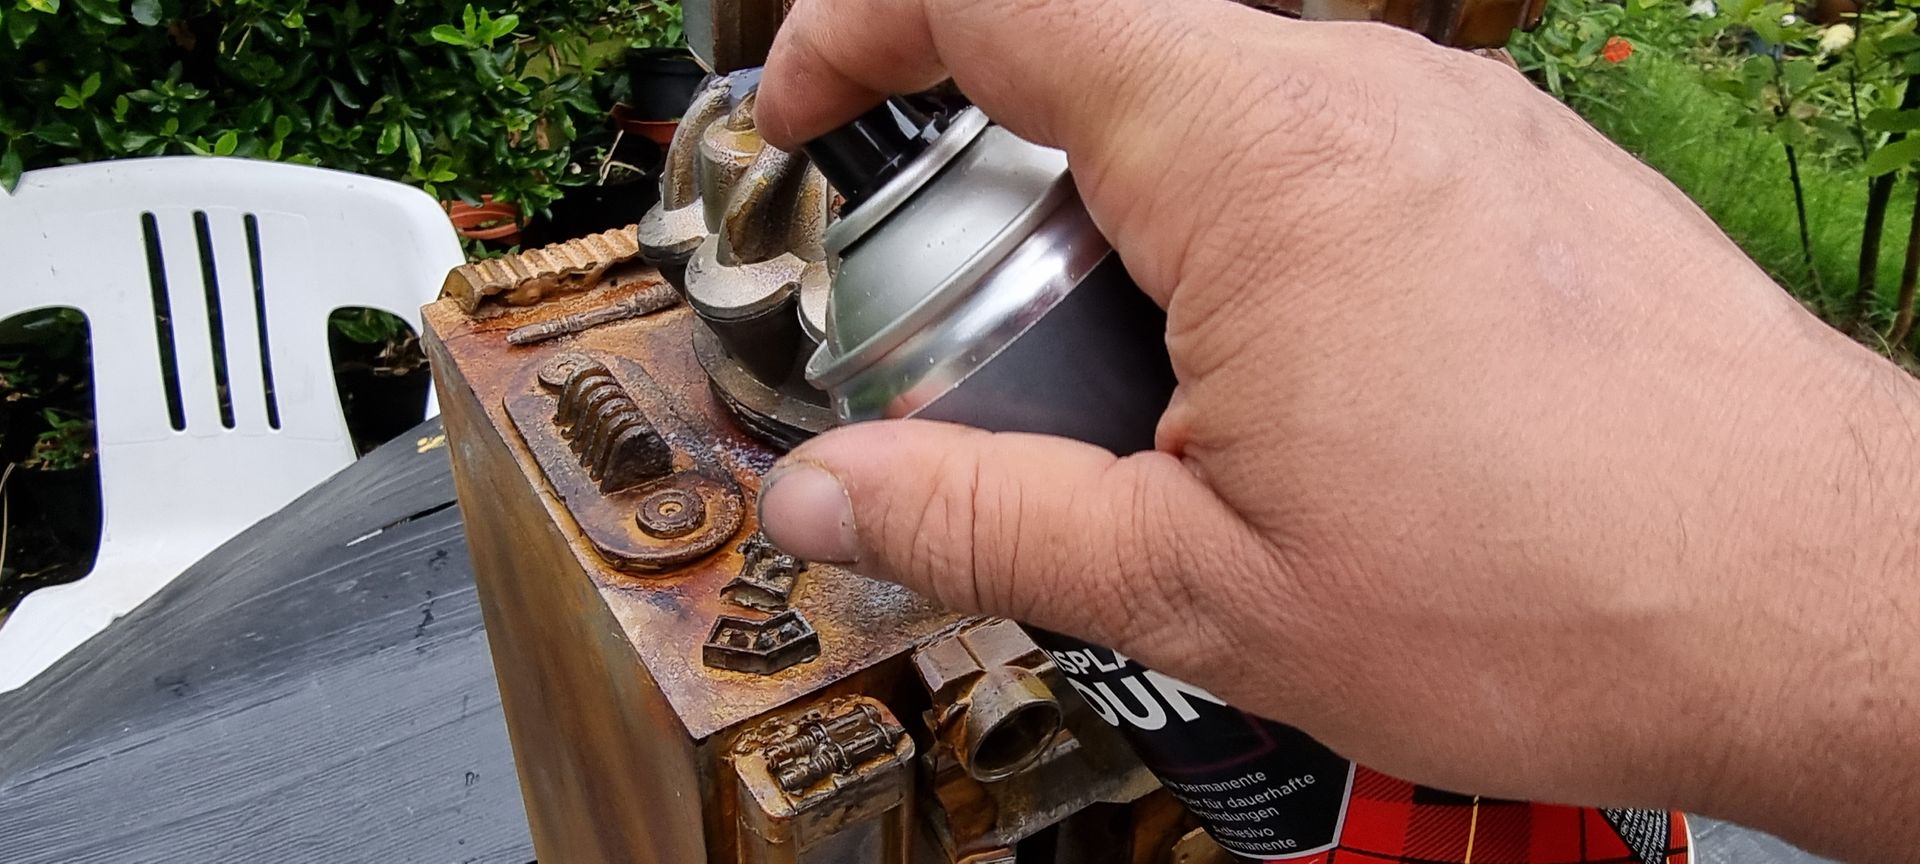
I used permanent spray glue to first spray the glue, then sprinkling a mix un painted and dirty down spray painted or pre painted sand and spraying over the sand in rust and black and other colour dirty down spray., where it came to the control panels patches of sandy rust were made using superglue, then spray over with rust spray.

Securing Battery Packs with Velcro
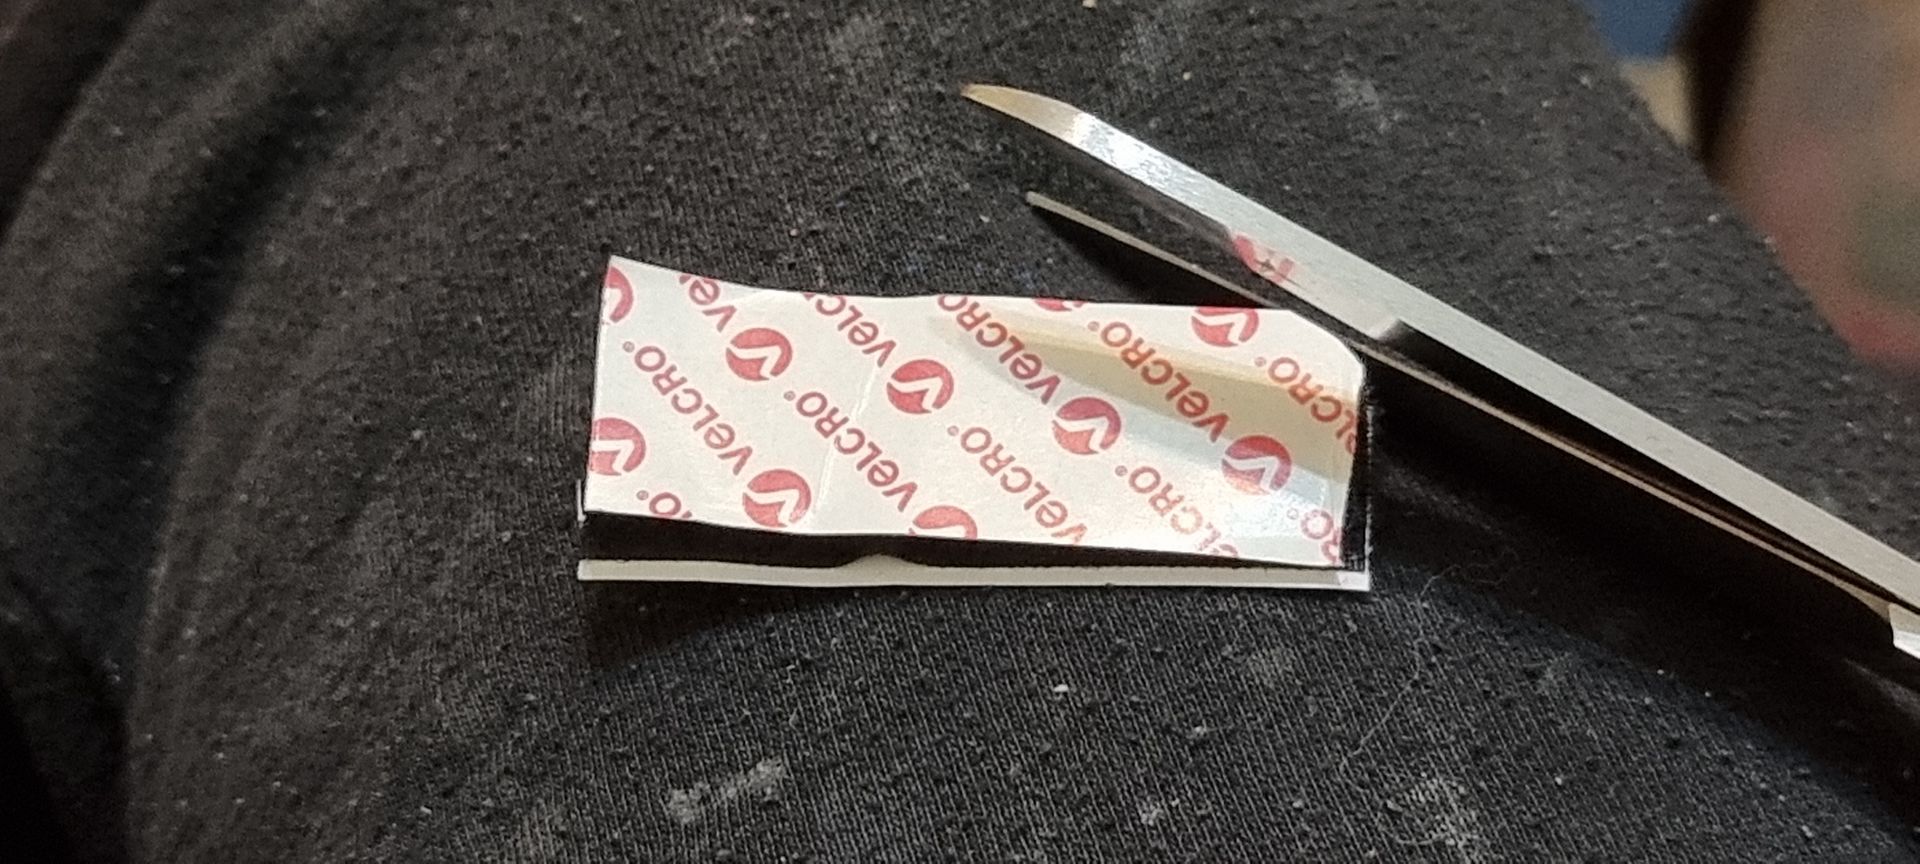
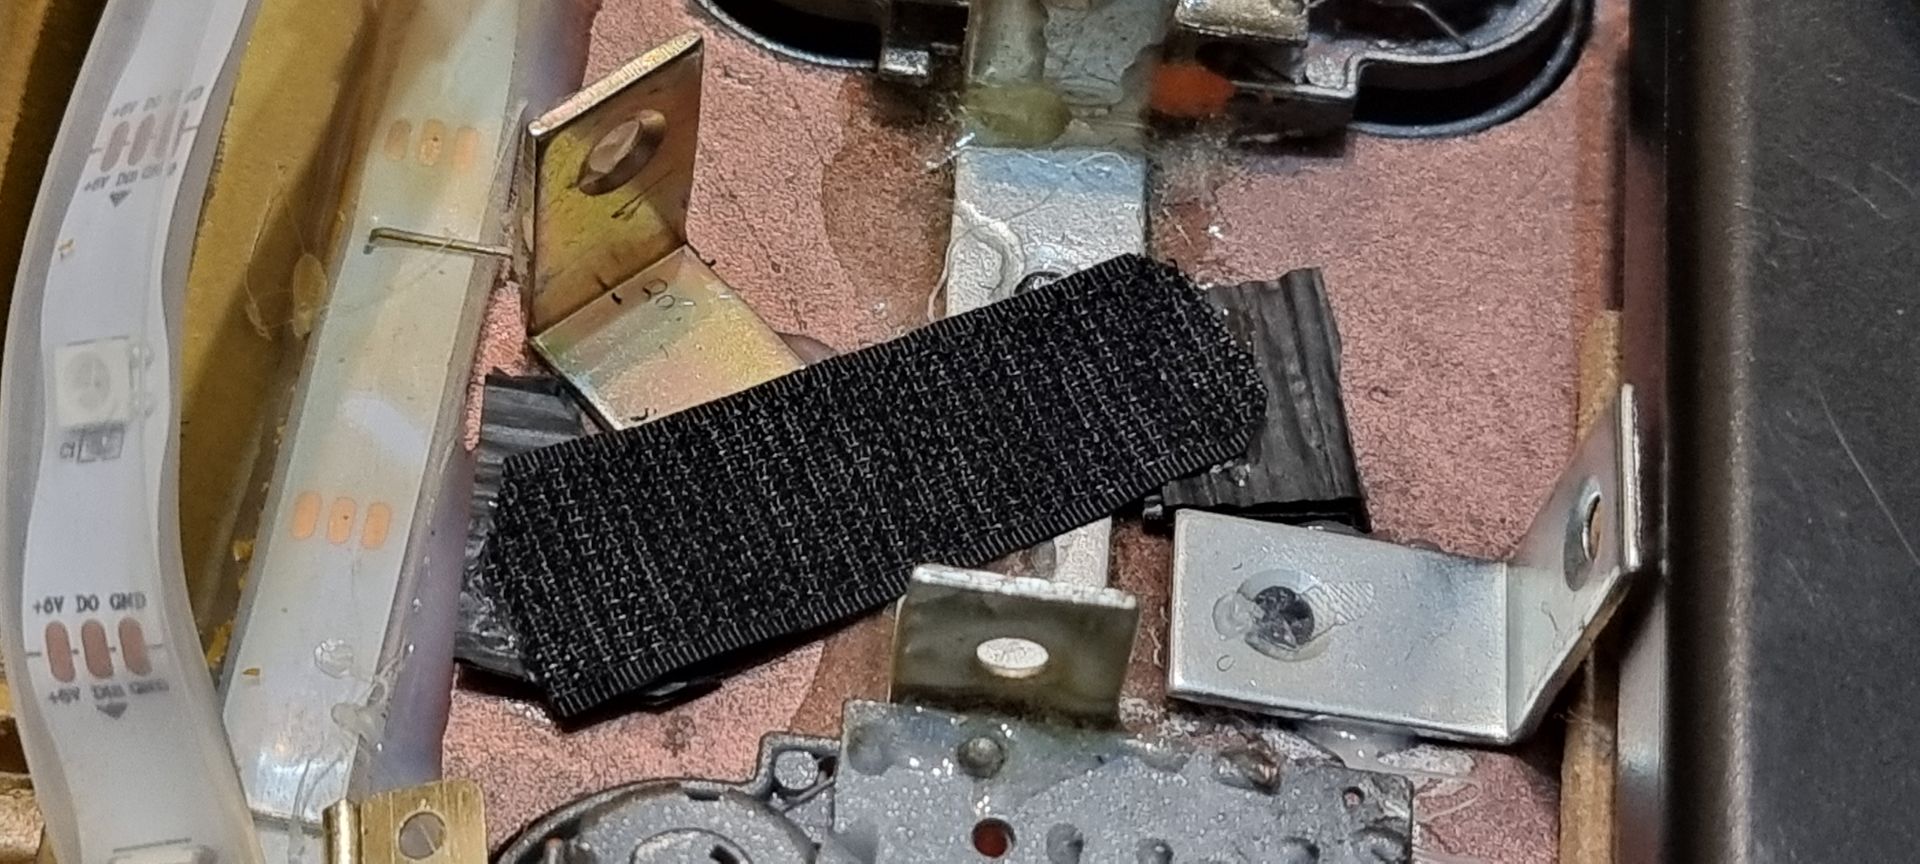
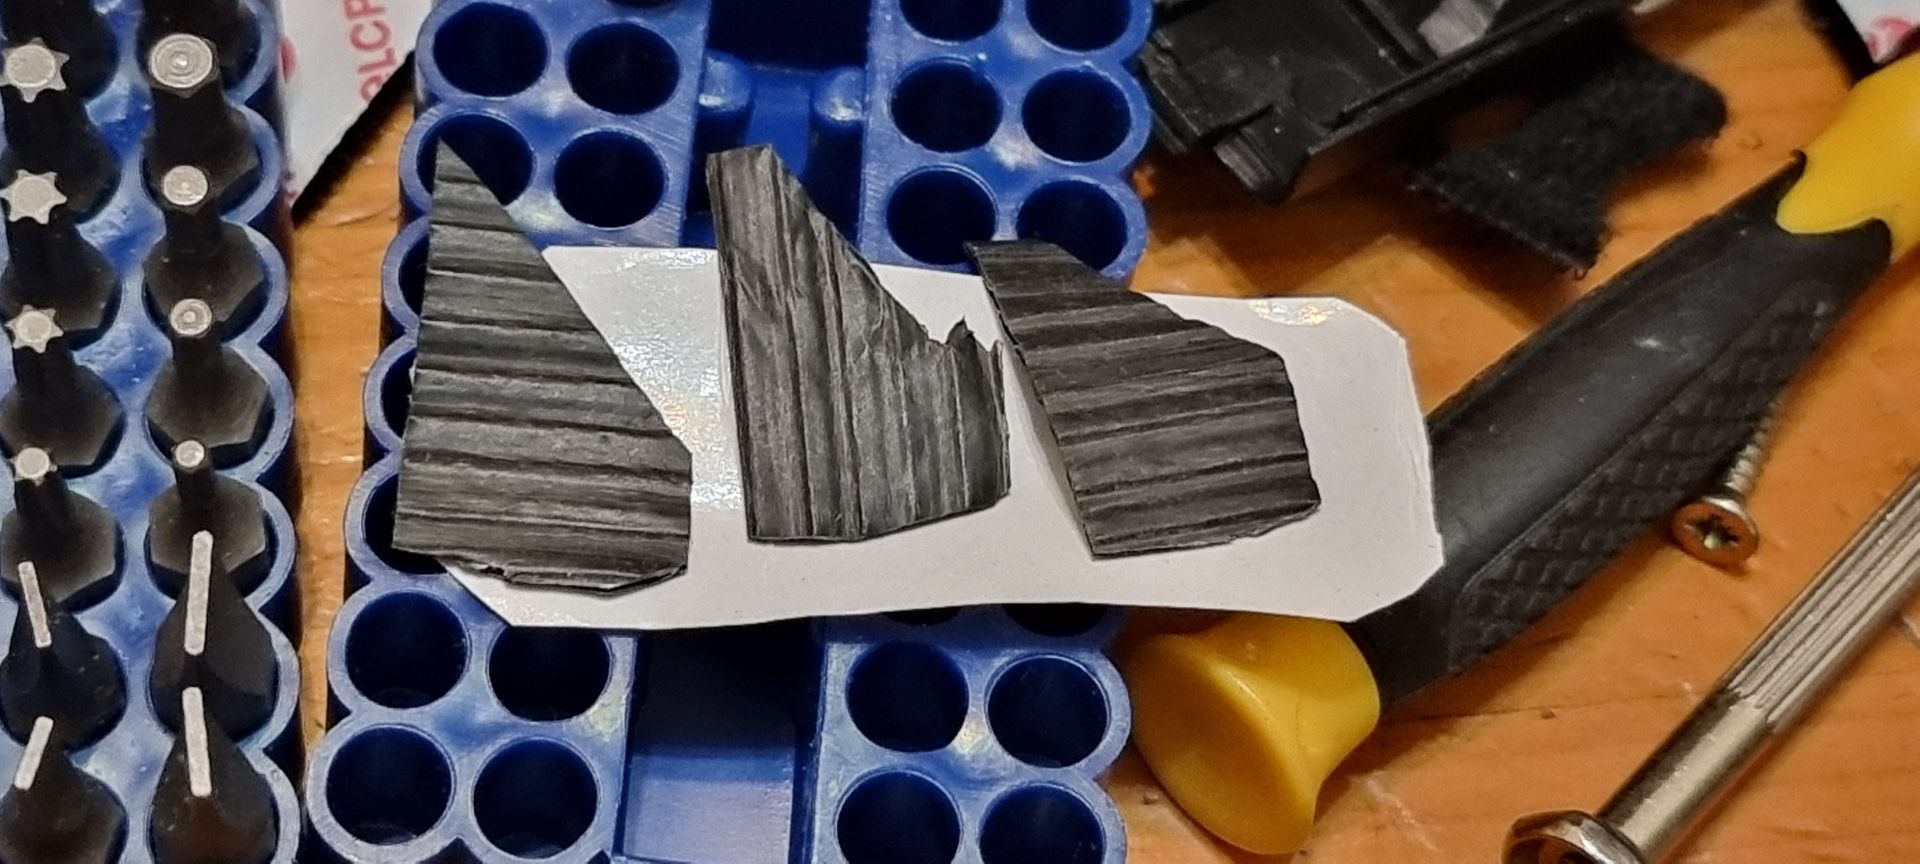
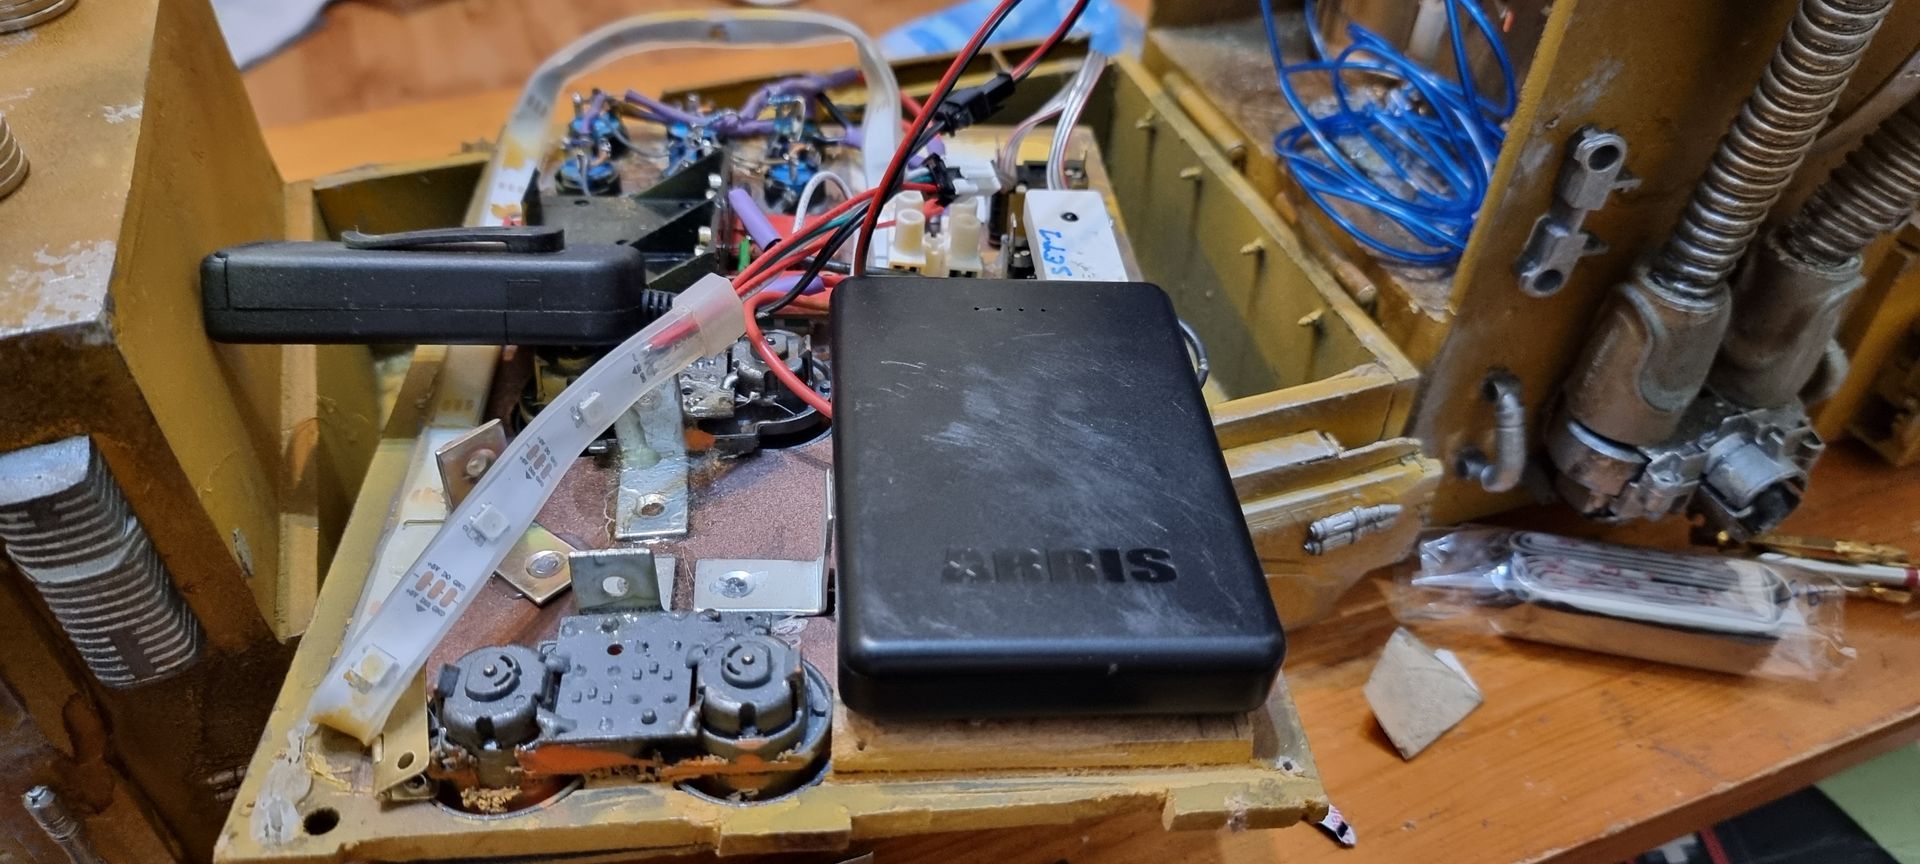
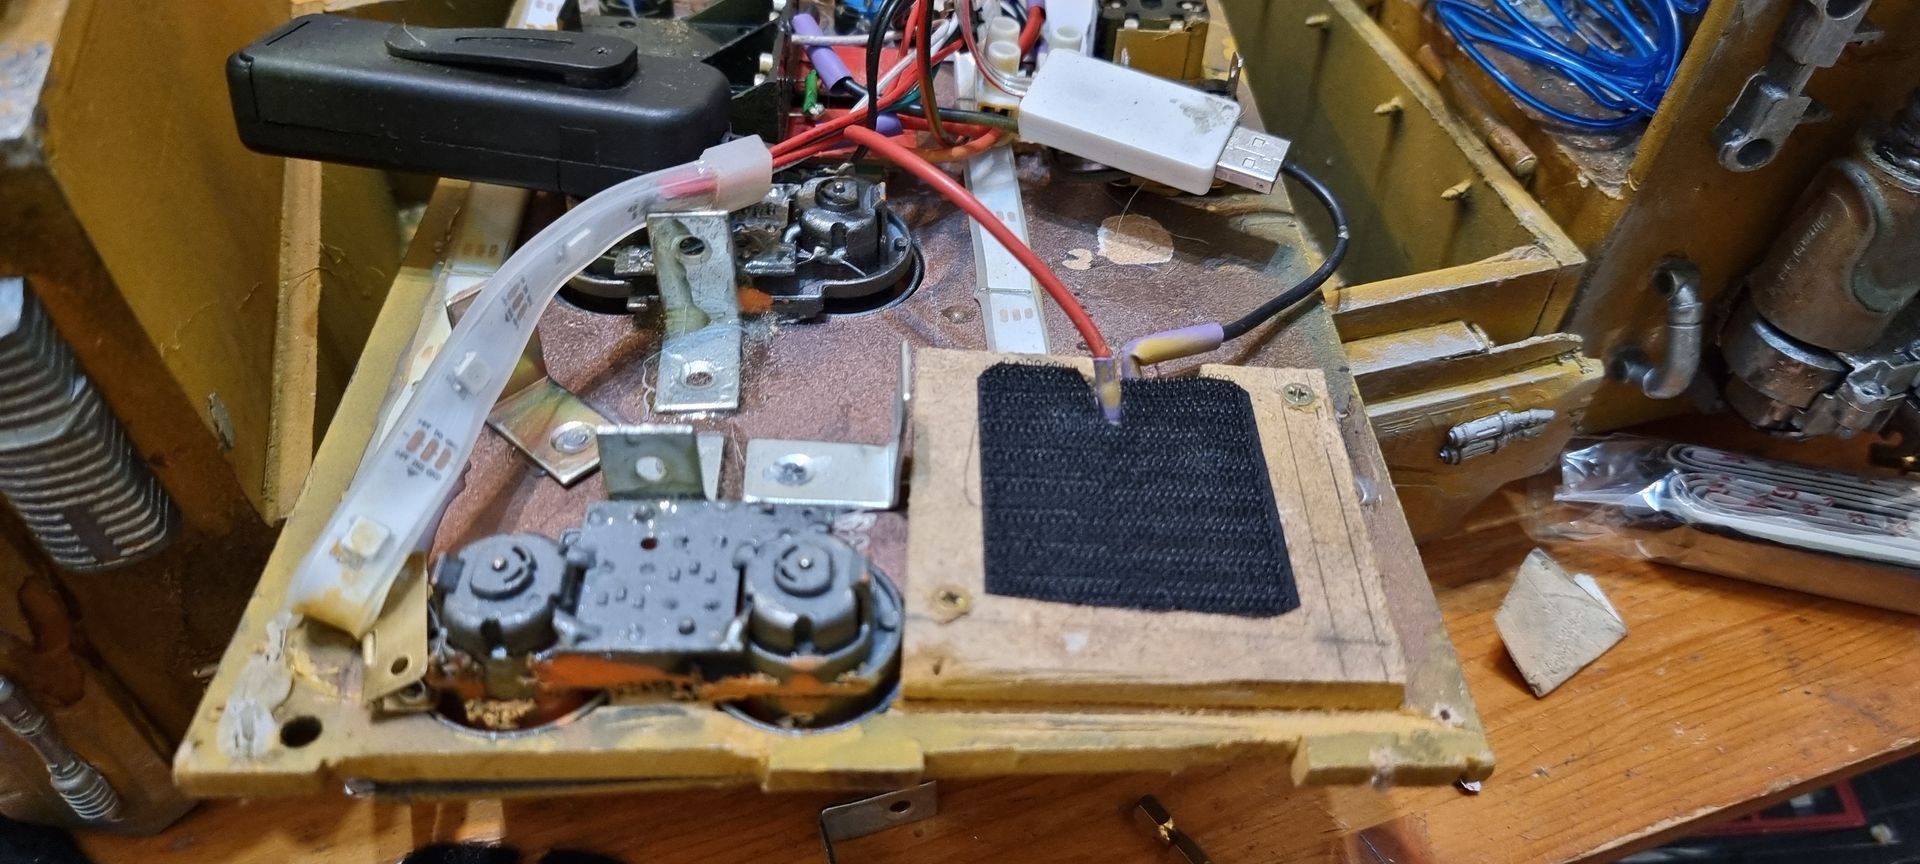
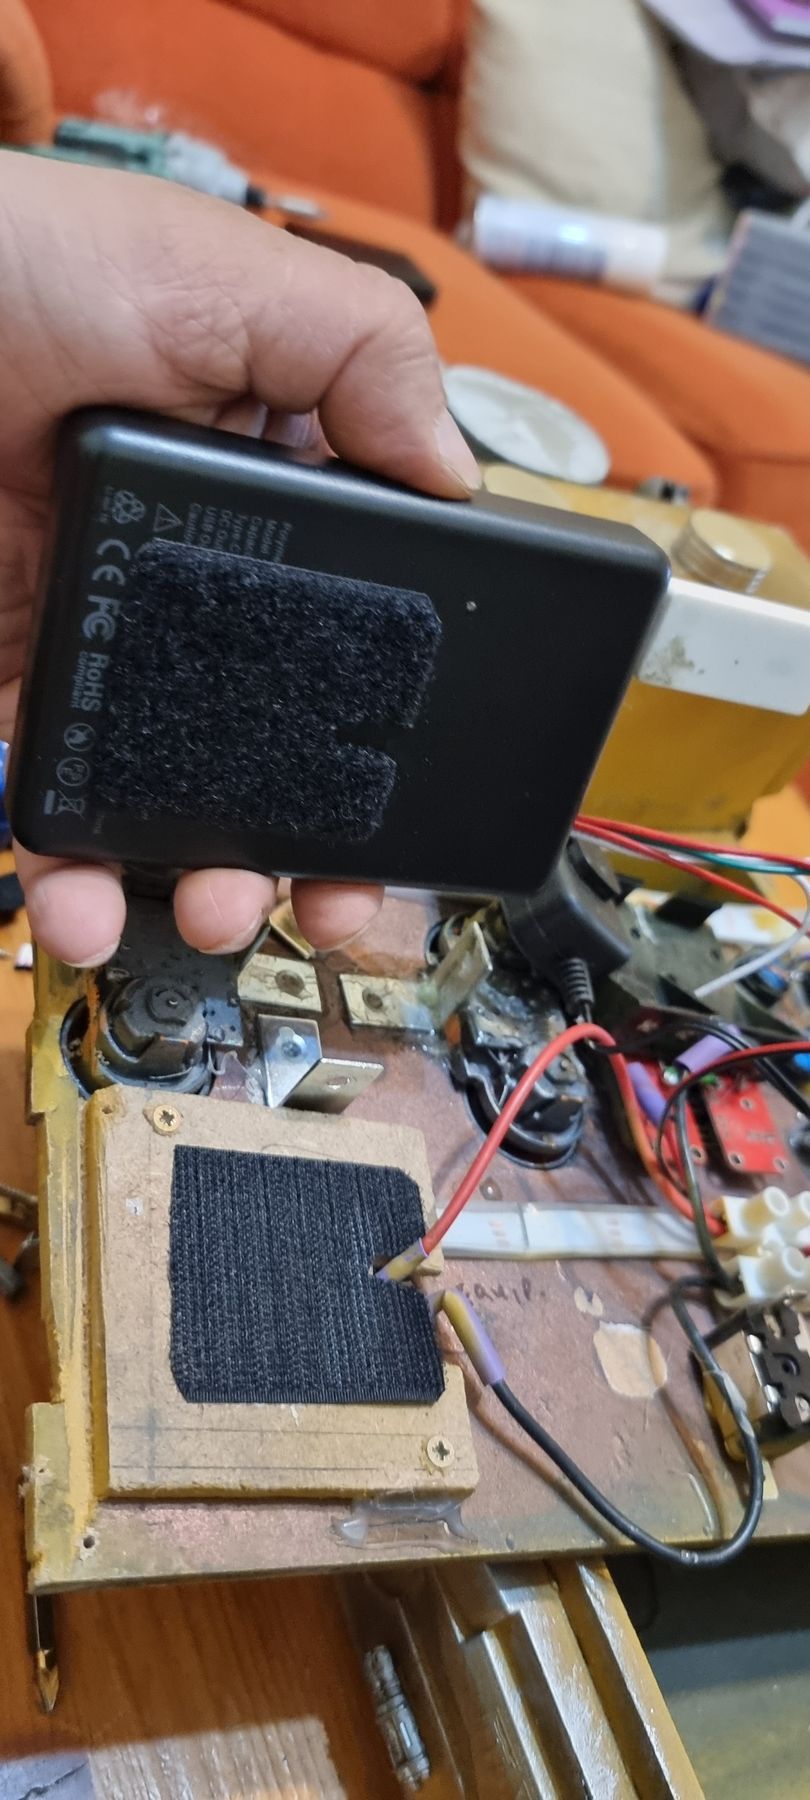
The battery packs needed to be secured in place, especially given the problem with the damaged and loose LED strip ribbons. I used stick on Velcro, adding extra glue to bod the Velcro with the fluffy soft side on my battery packs so they could be carried in pockets when not used on the prob without scratching.
