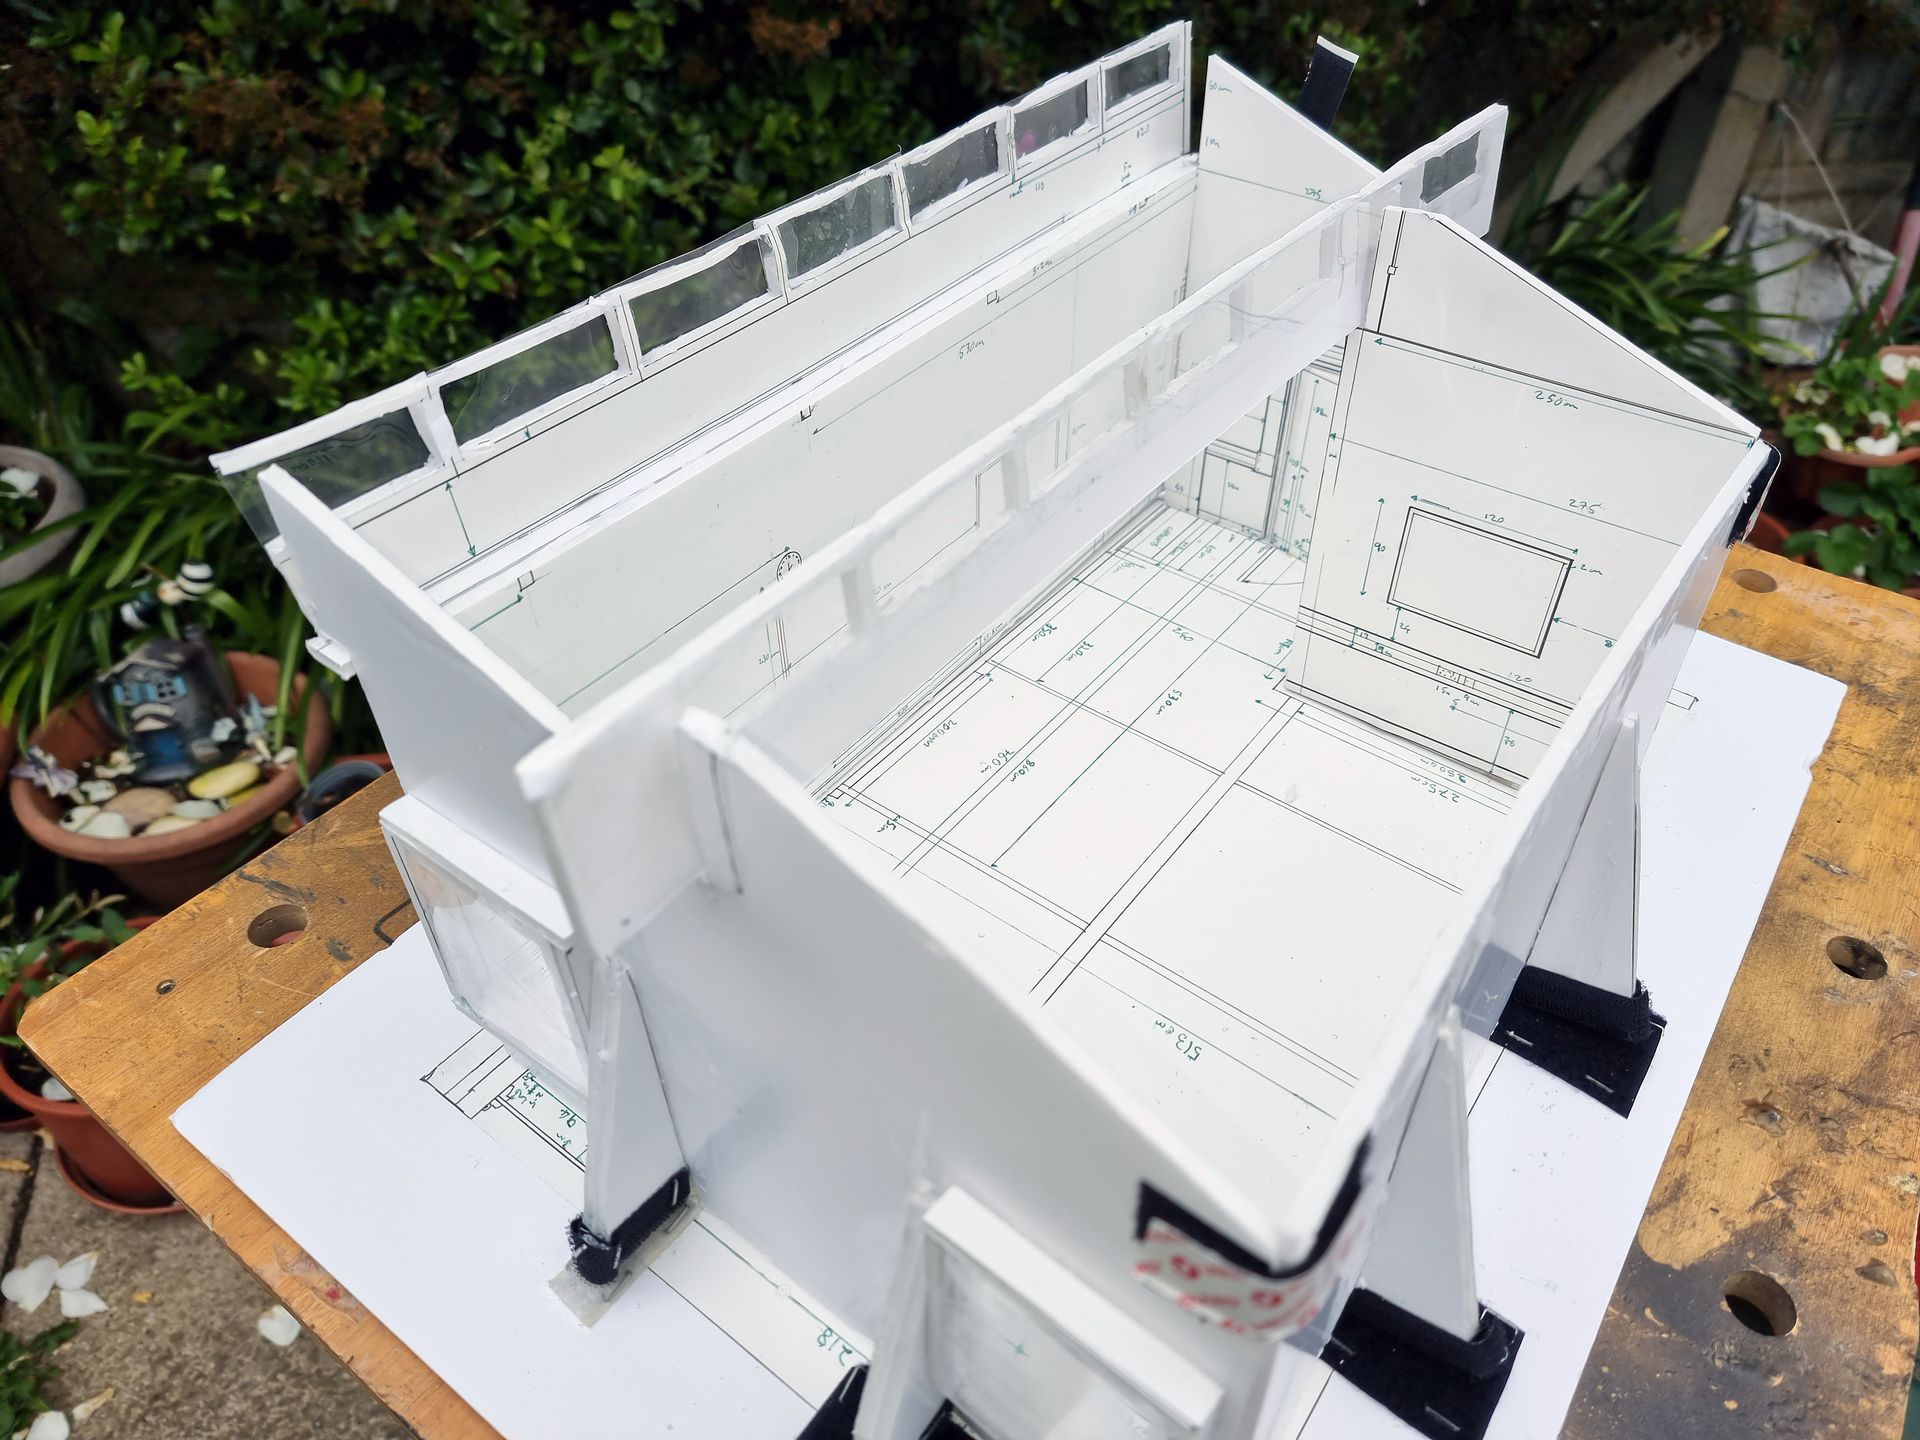
Star Wars Prop - Aug 2024 Upgrades - Outer Wing Sides & Interior Tower Power Core Kitbash
Tech Kit Bashing
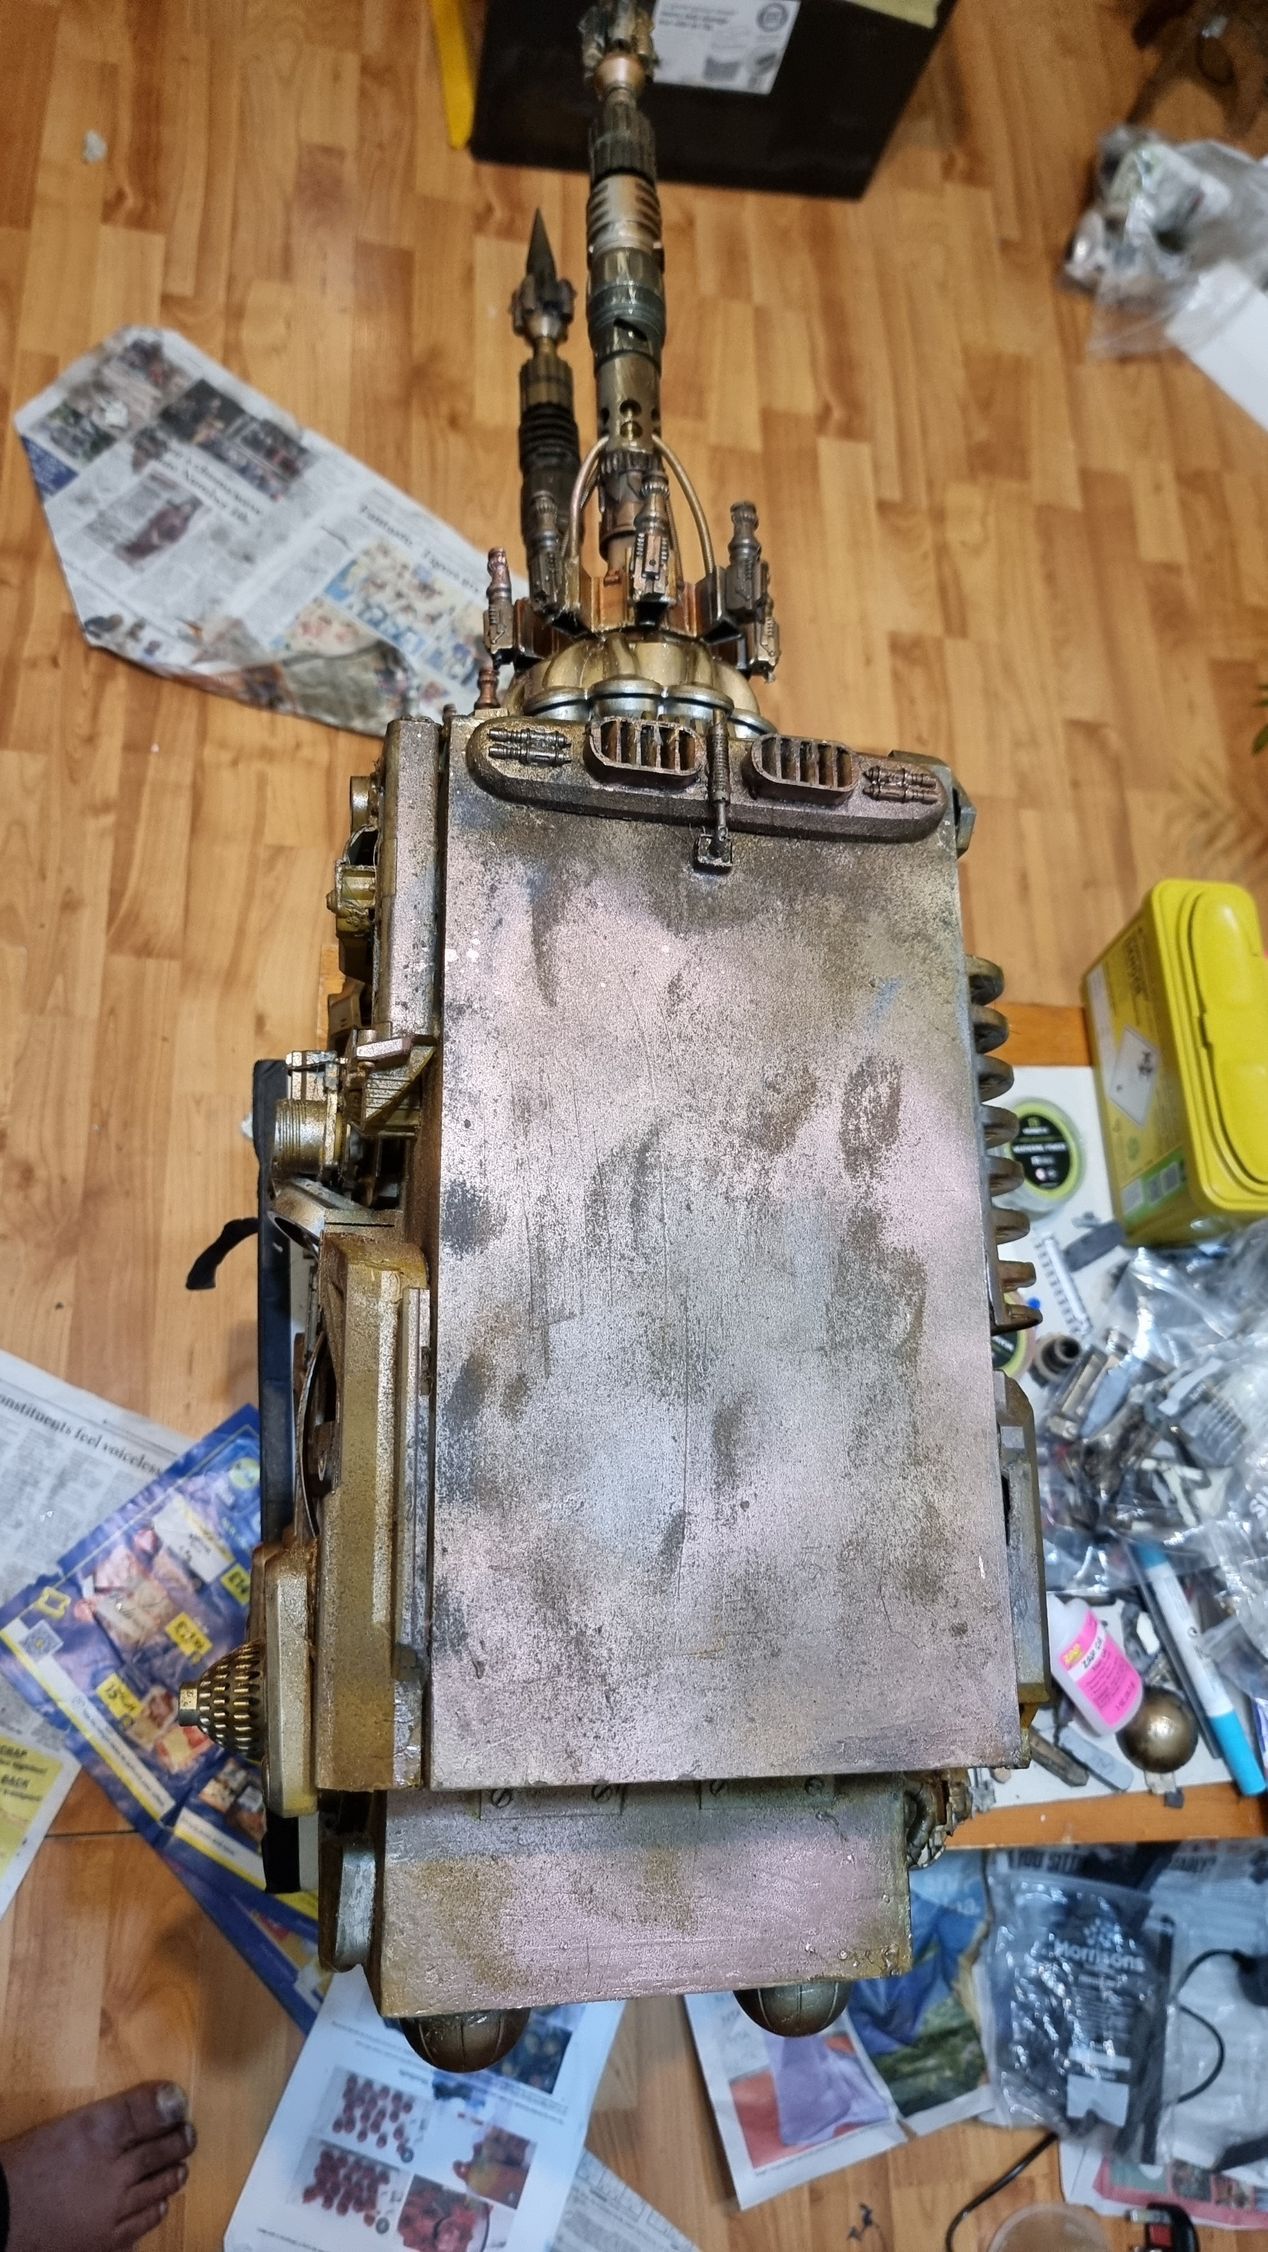
There were two problems with the outer wing sides.
Lack of Detail
One they were boring, plain and looked unfinished do need kit bashing population.
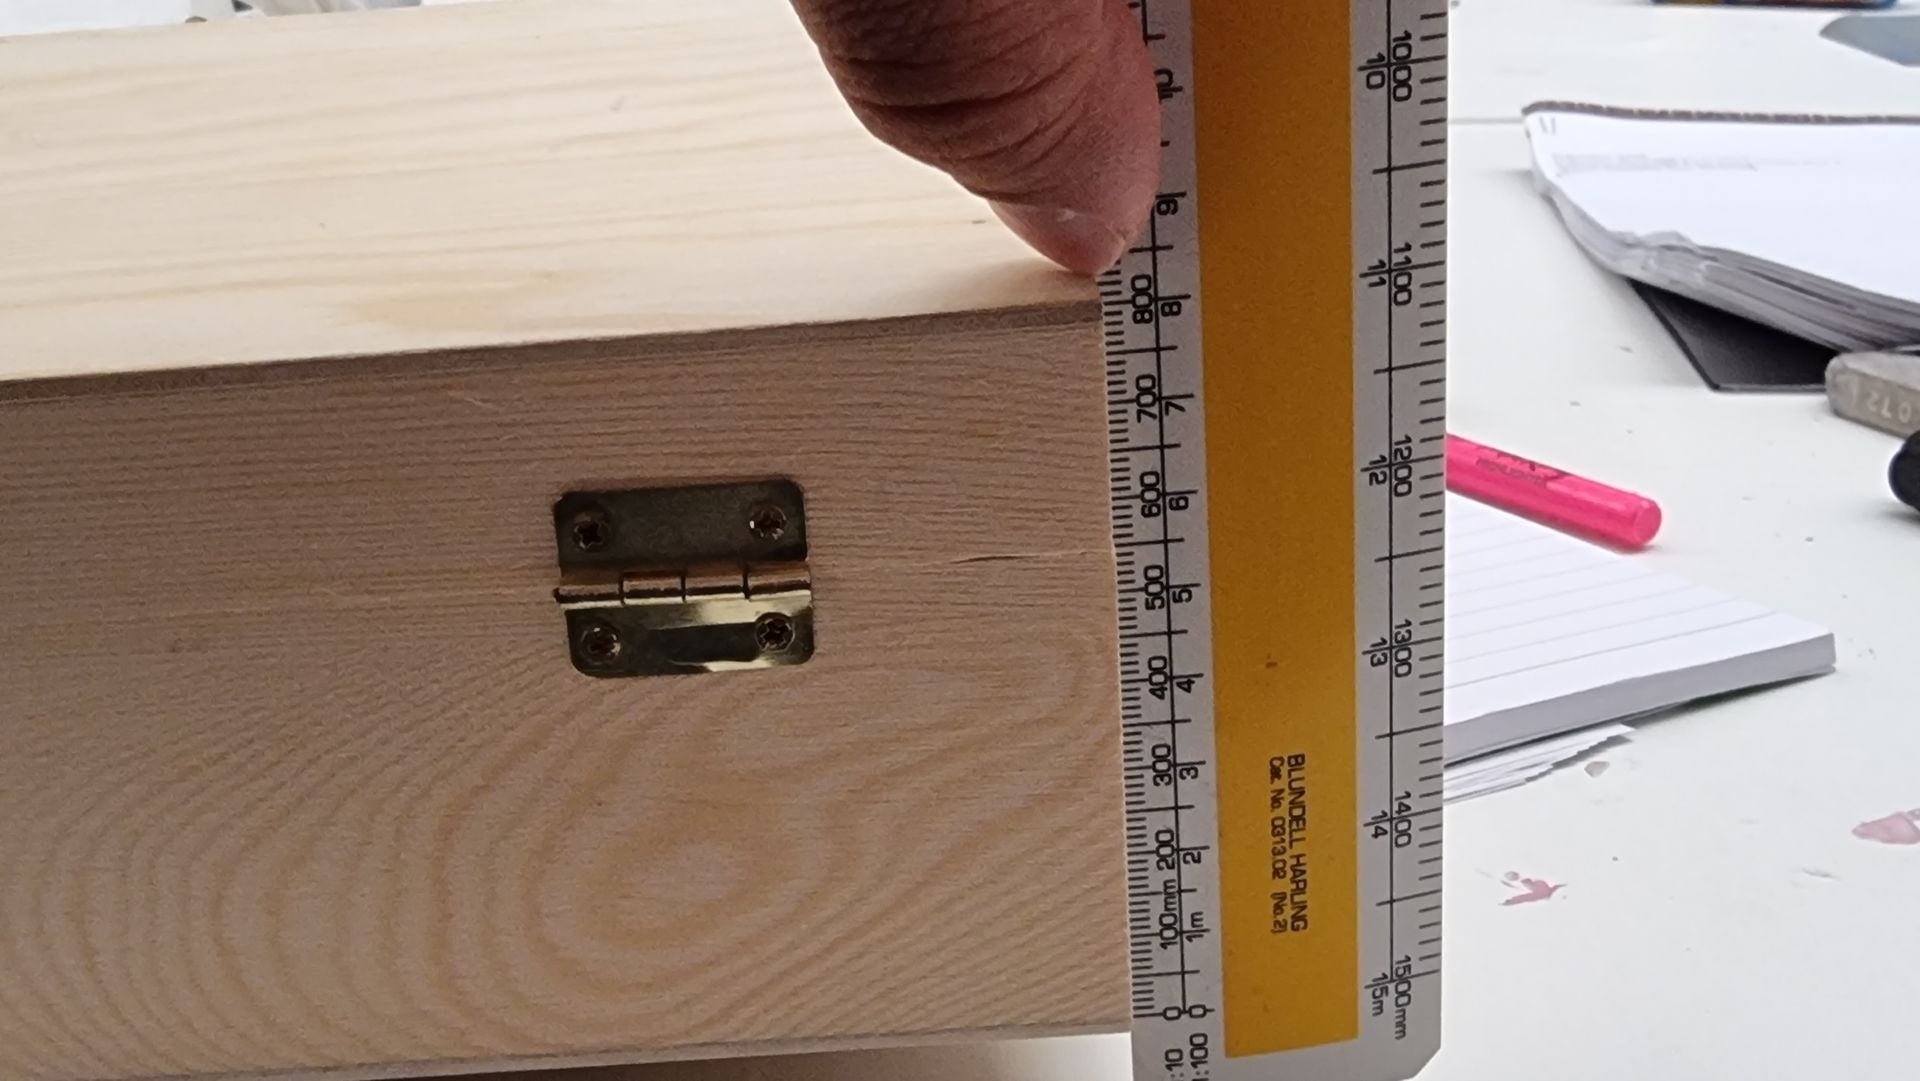
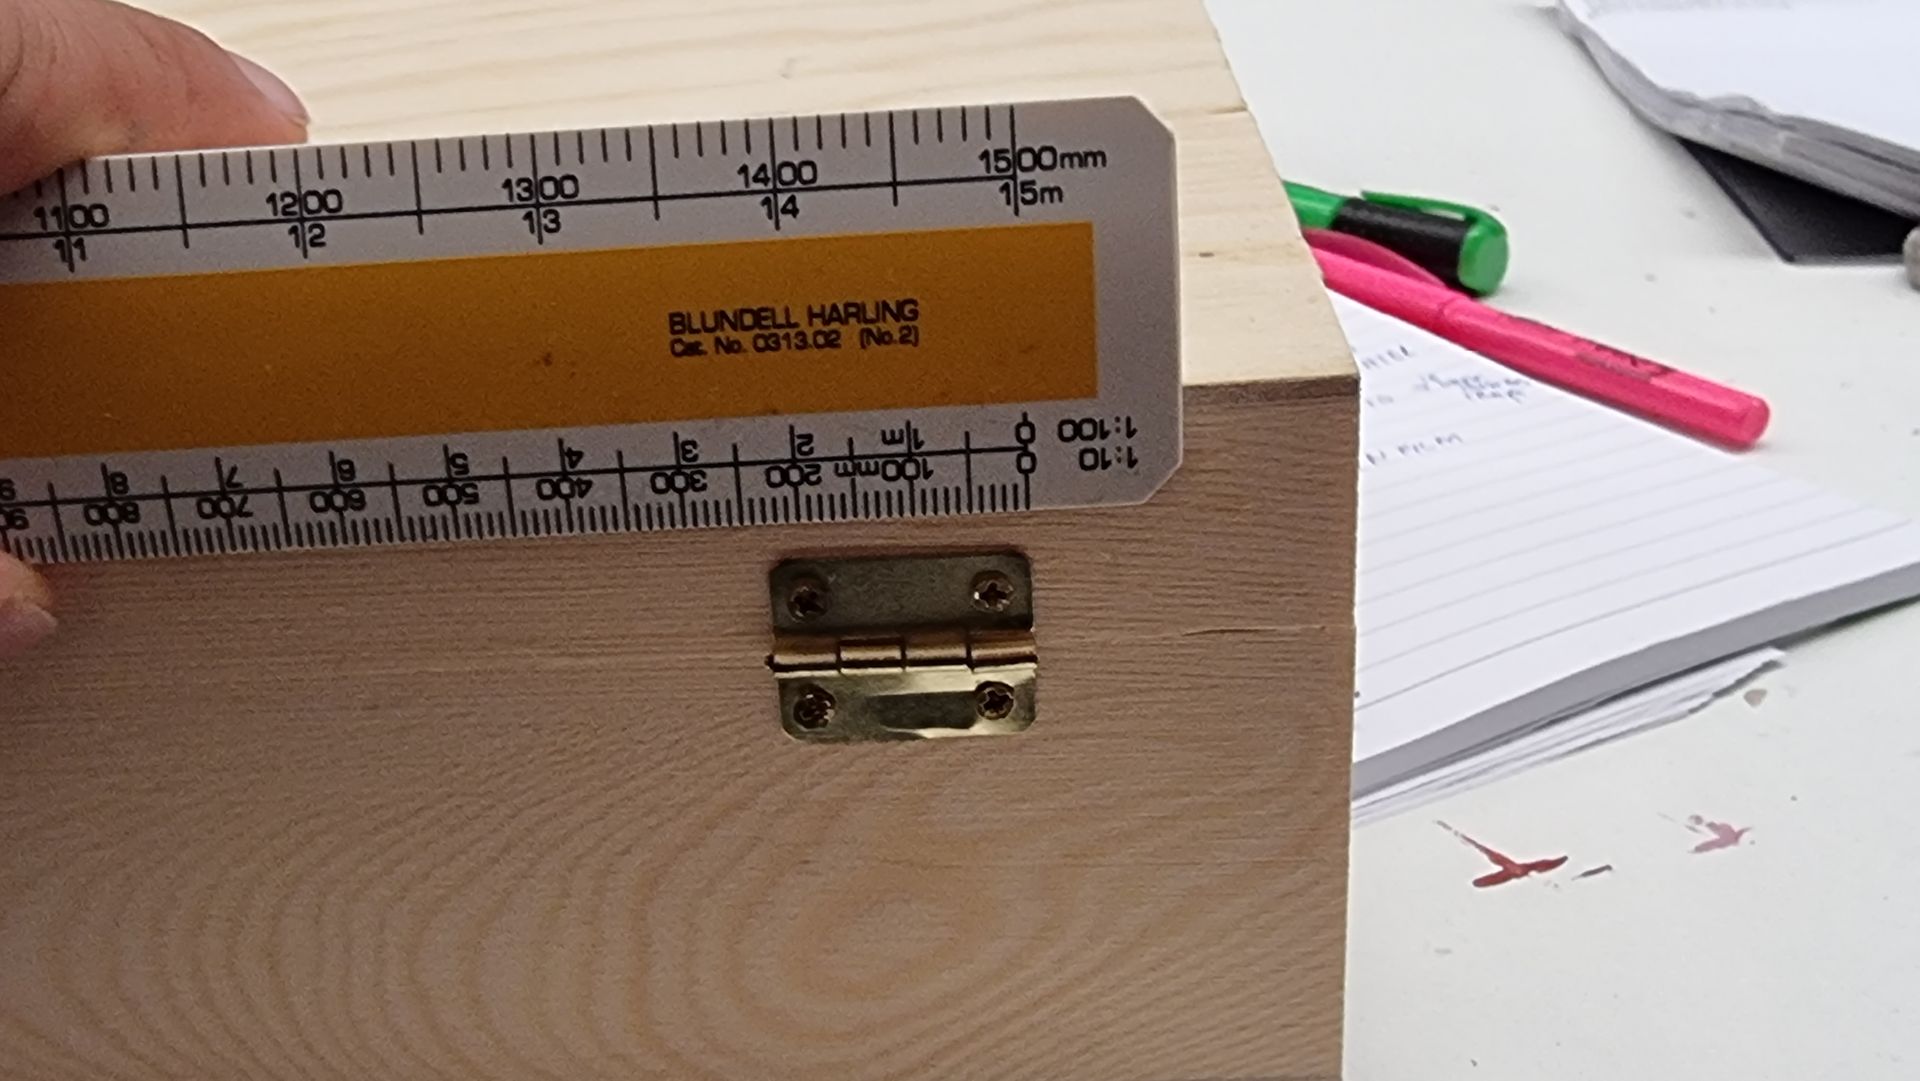
Its also important that there is not too much or too big kit bash detail as the underside of the wings is what they rest on and need to rest flat.
The will also continually impacted hard as the wings are opened so any kit bashing needed to be flat and solid or will just break.
Impact Cushioning
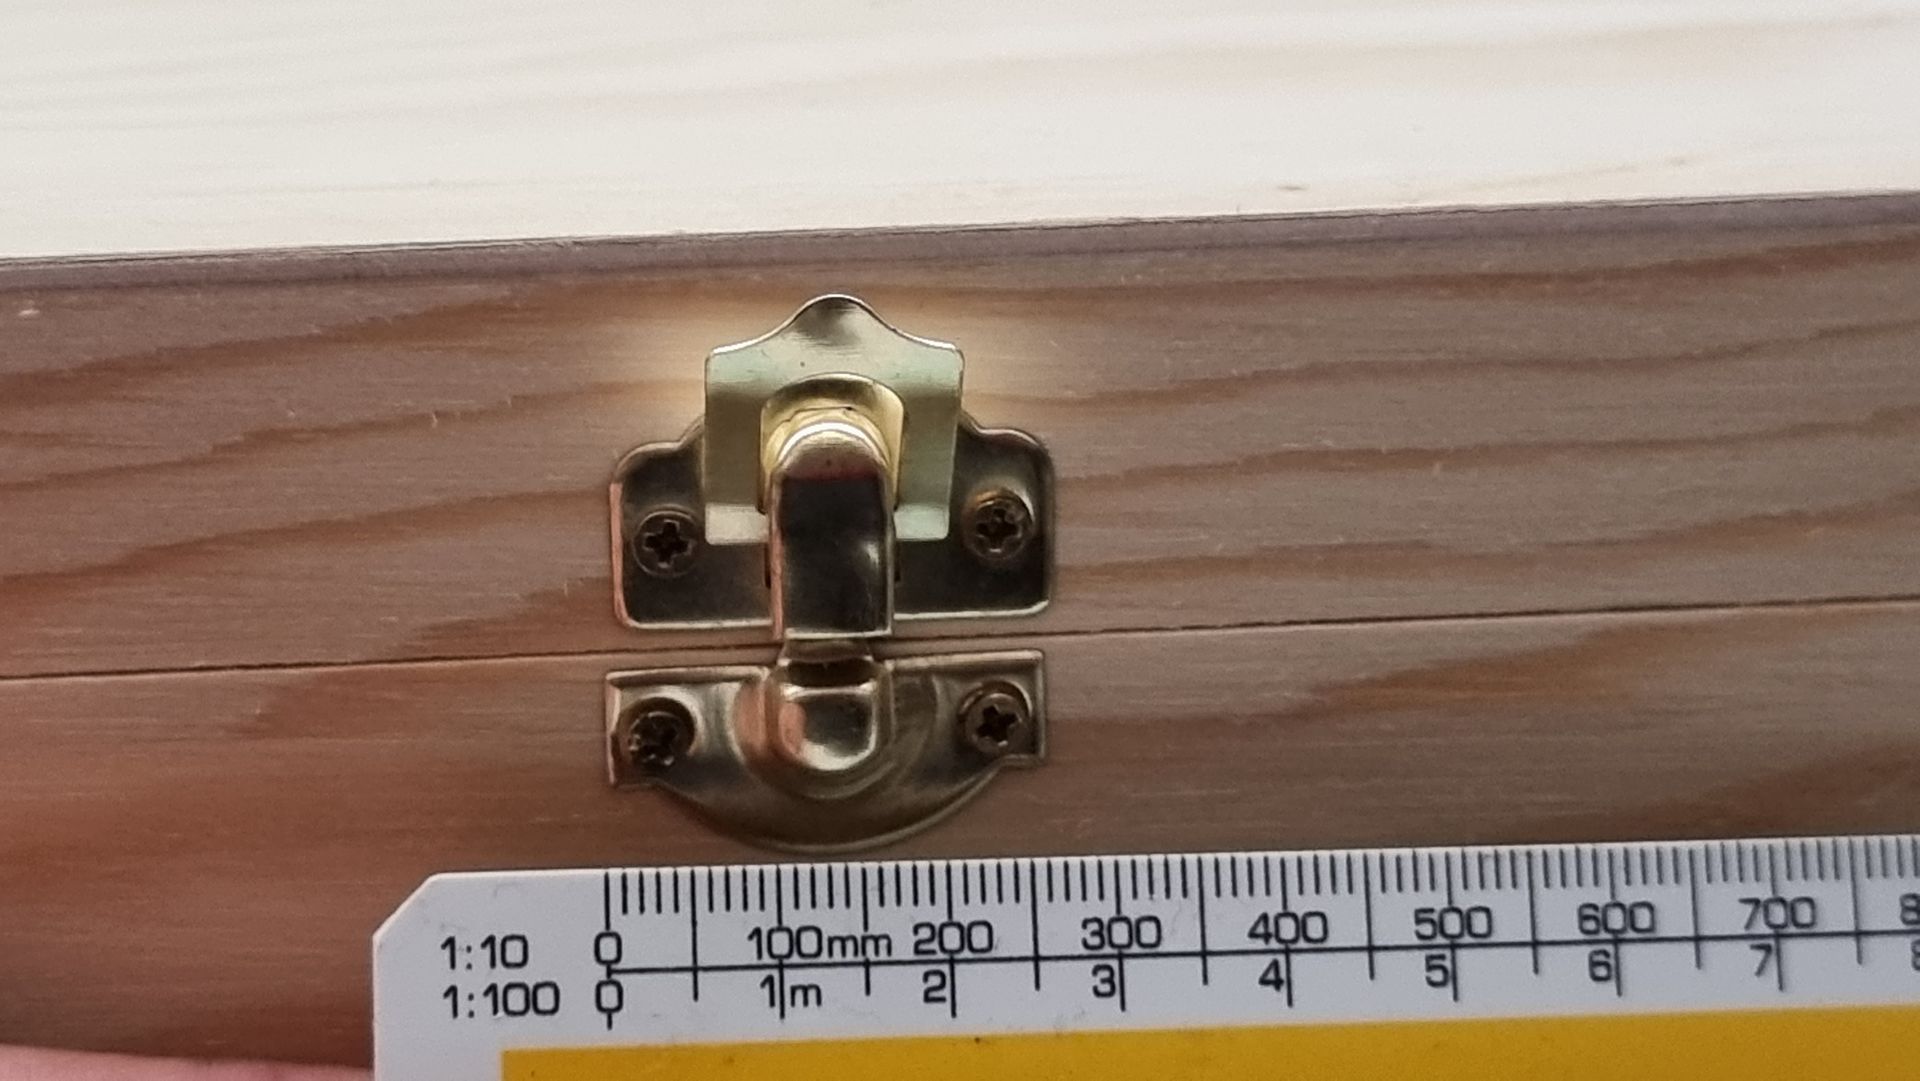
Due to the tendency of the wings to slam open and impact hard on the table surface when the very strong magnet connections are broken some sort of cushioning and slowing system is required. The ideal would be slow release restricting hinges. This would have been the way to do things from the start before the wings and interior of the tower were populated with buttons, controls and kit bash parts. Now I fear there is no room and most I have looked at seem too big. I am still open to any I can fit.
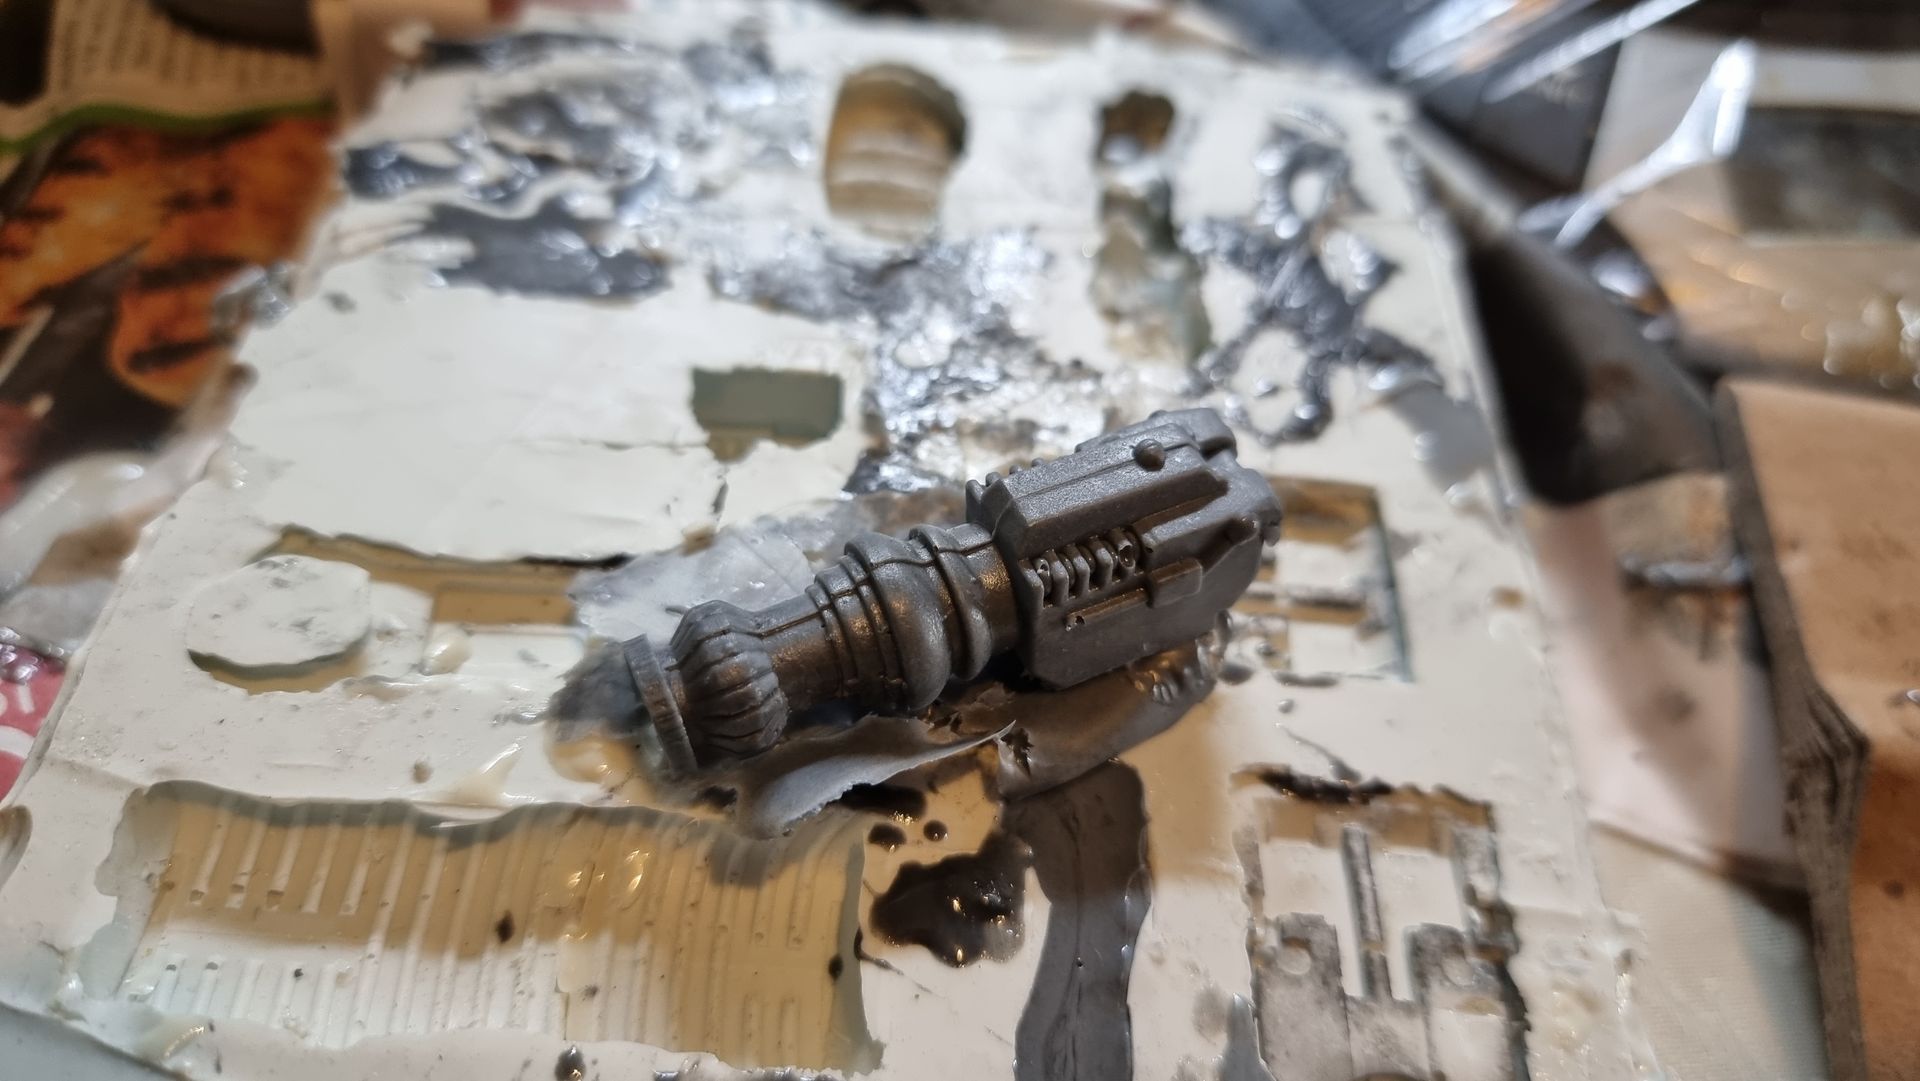
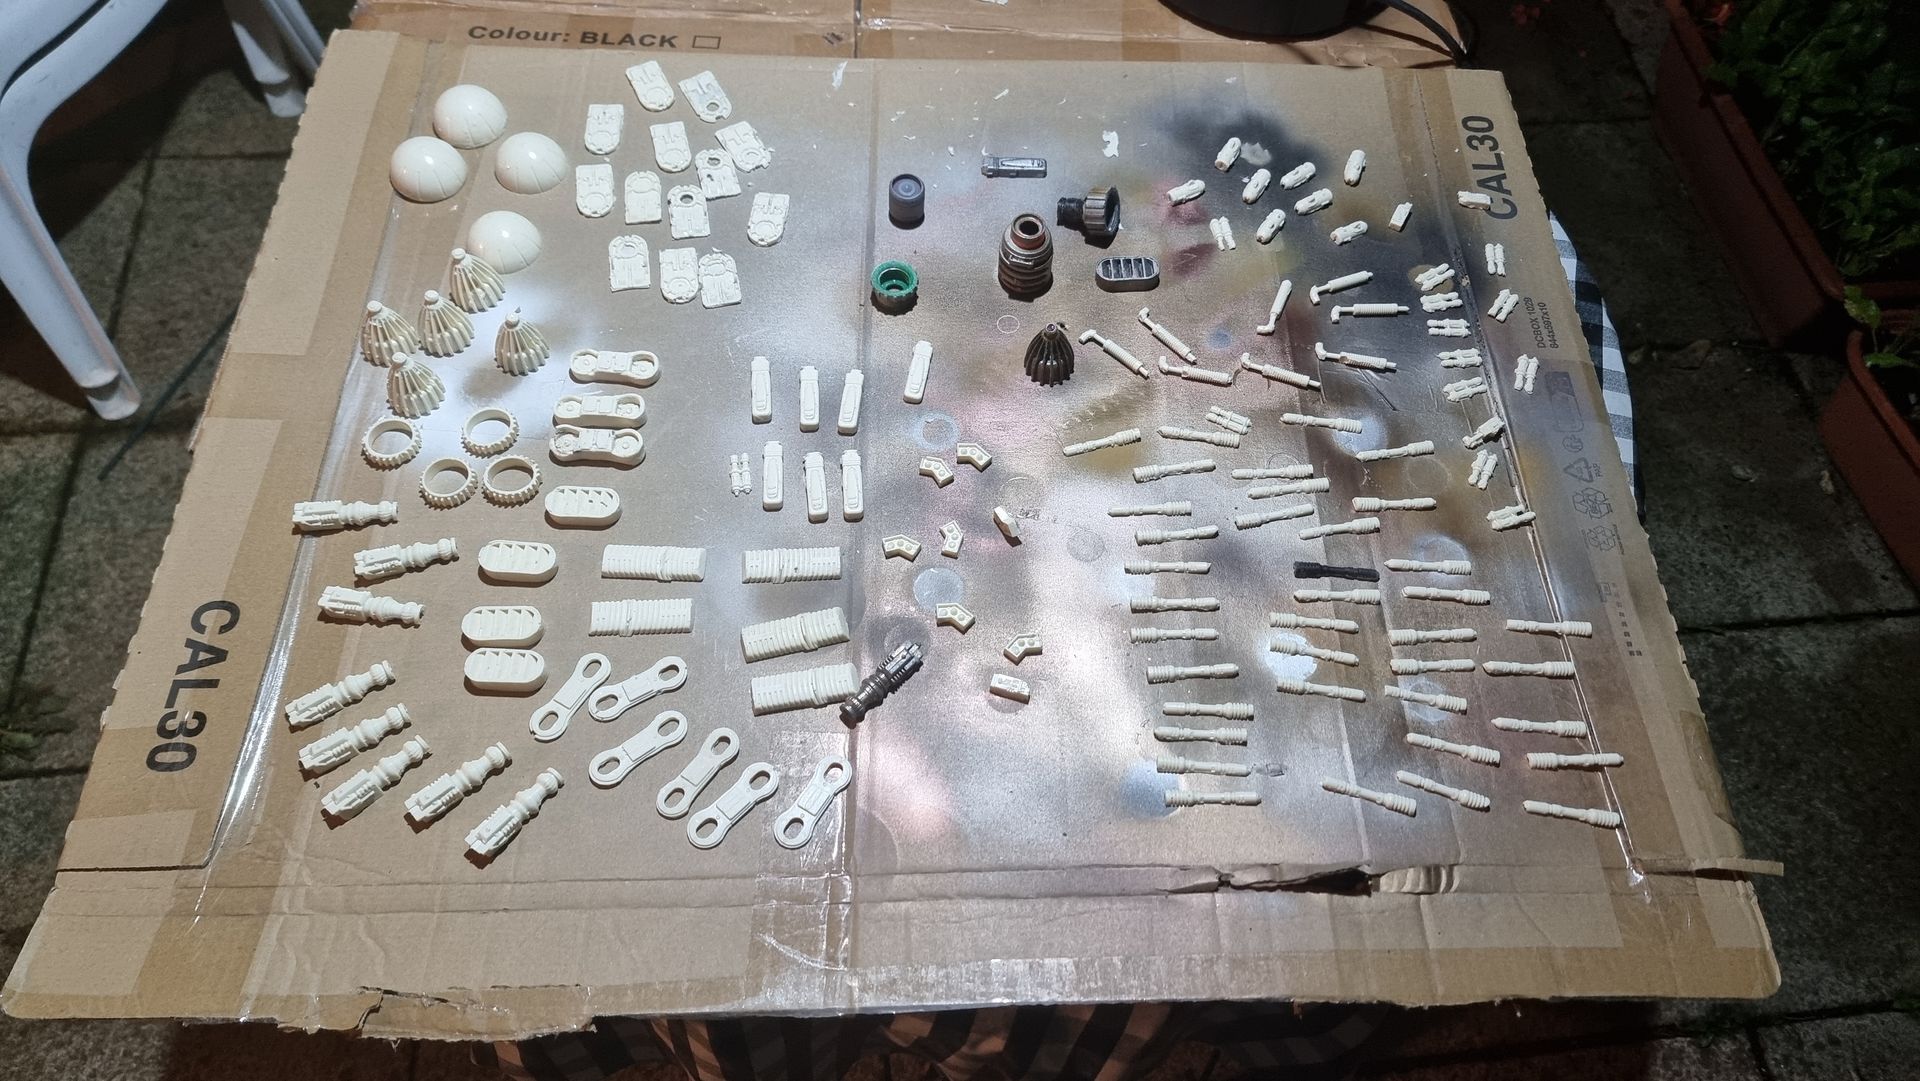
Replicating Kit Bash Parts
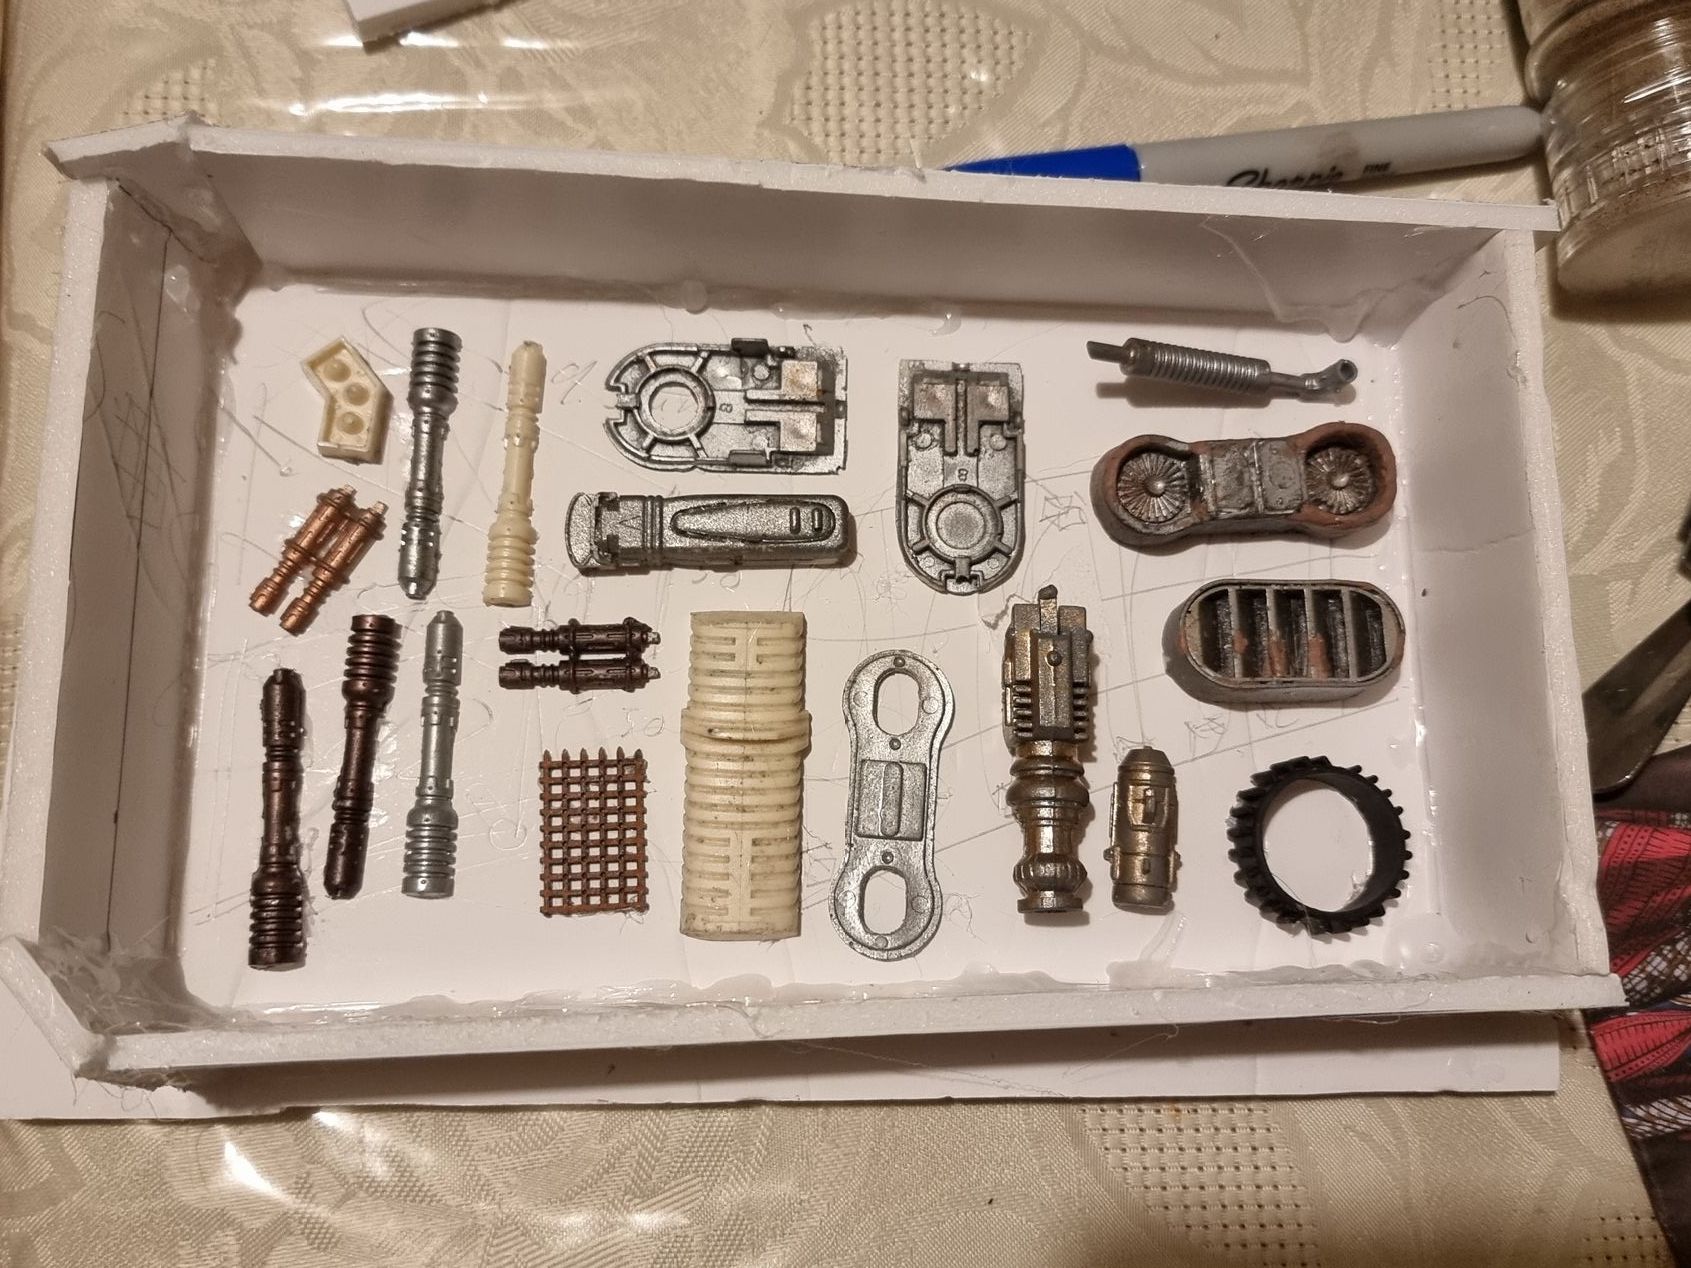
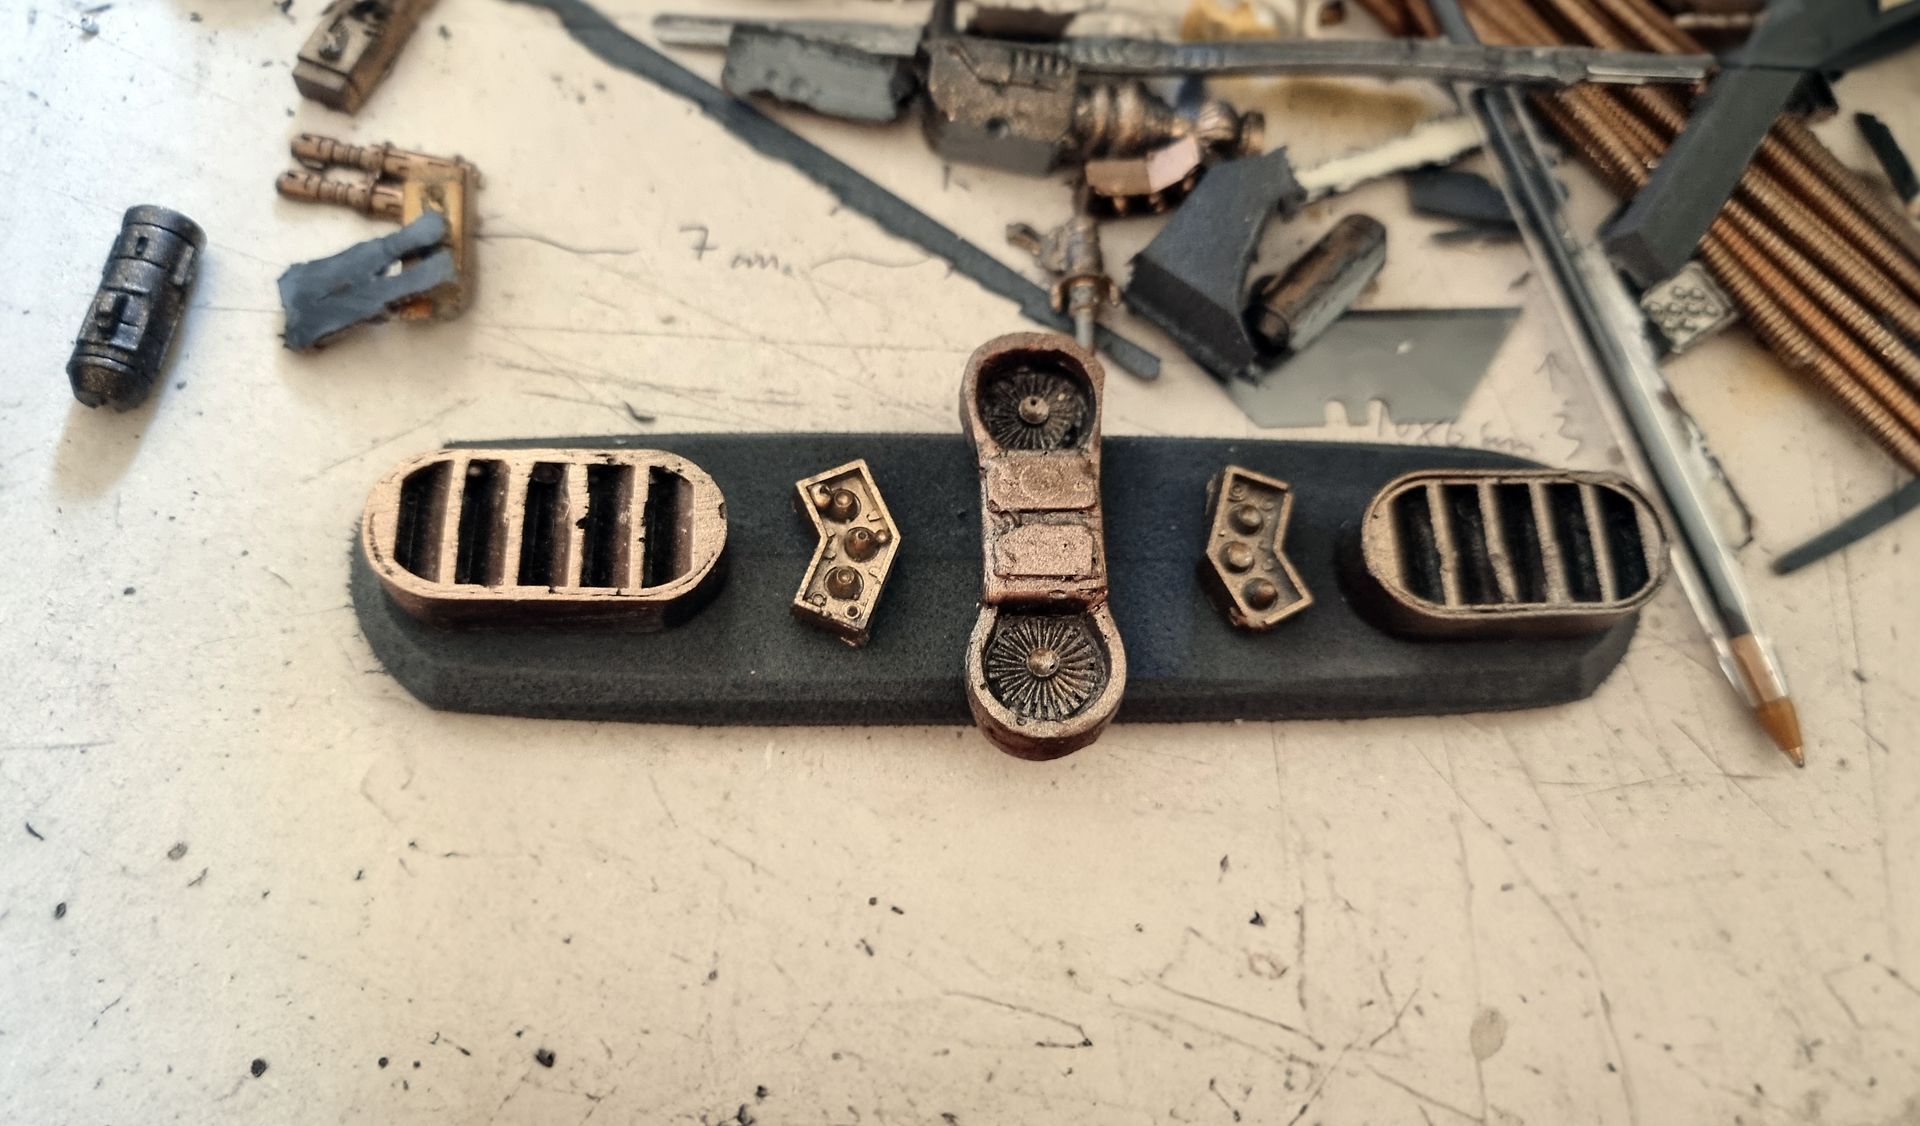
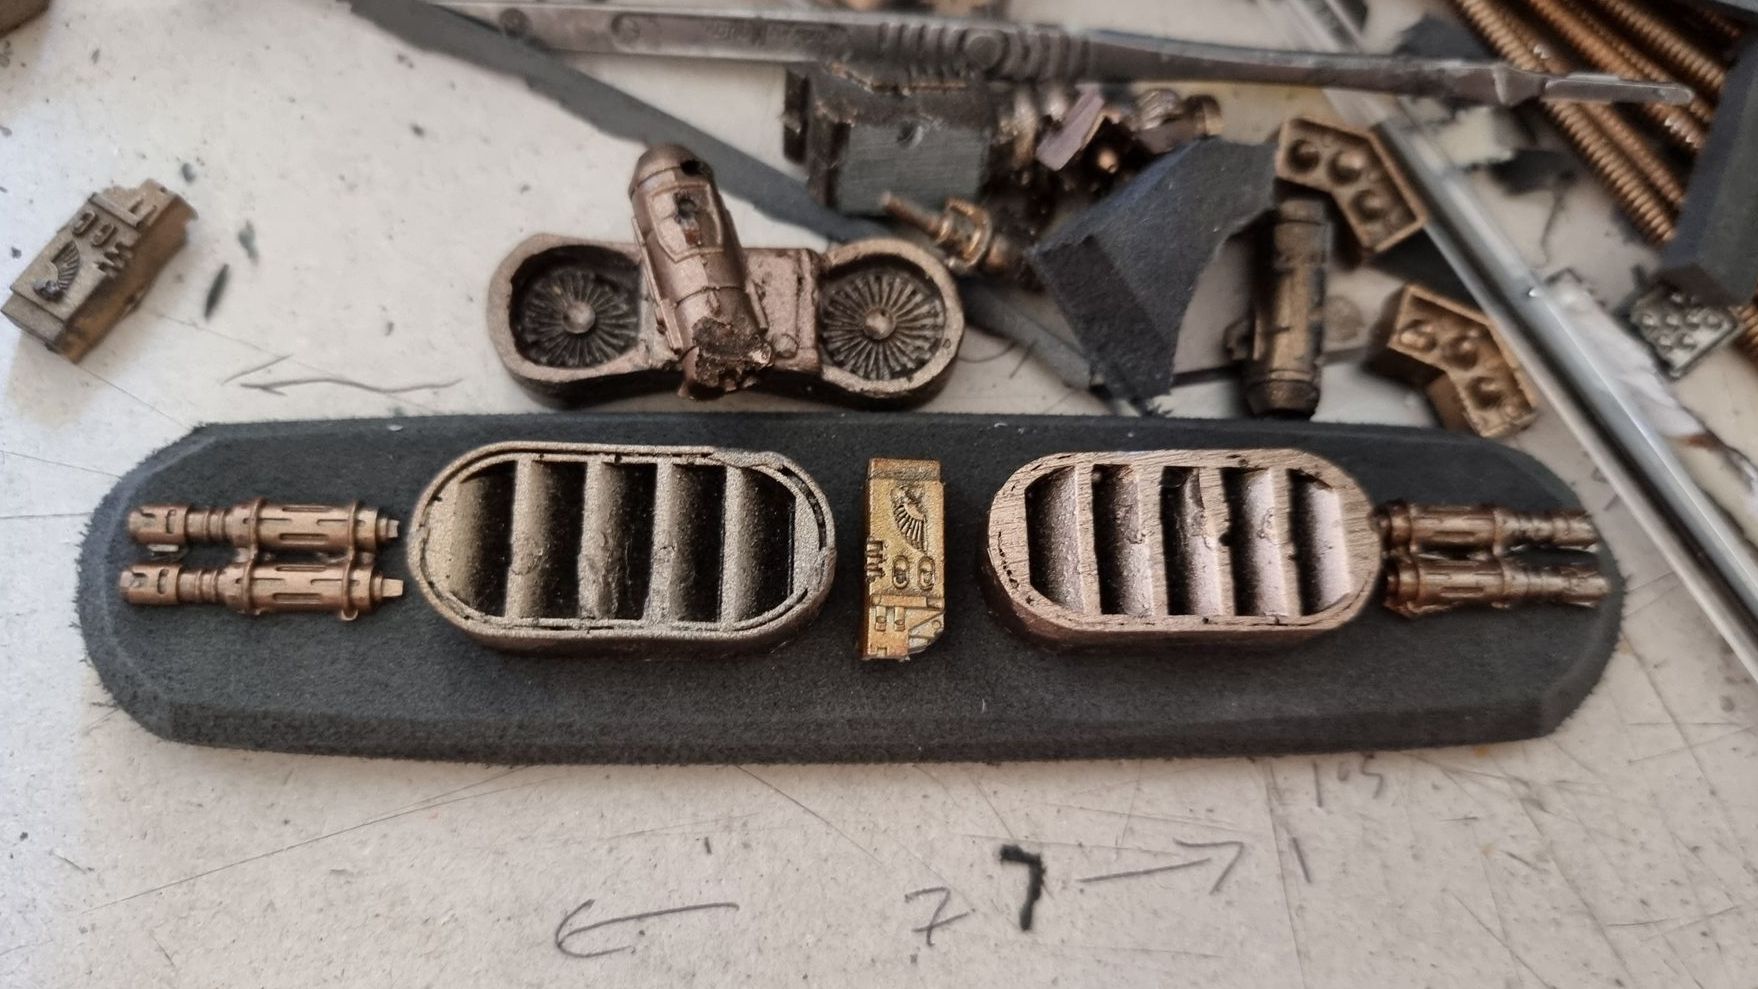
It was clear that I would be needing large numbers of kit bashed parts.
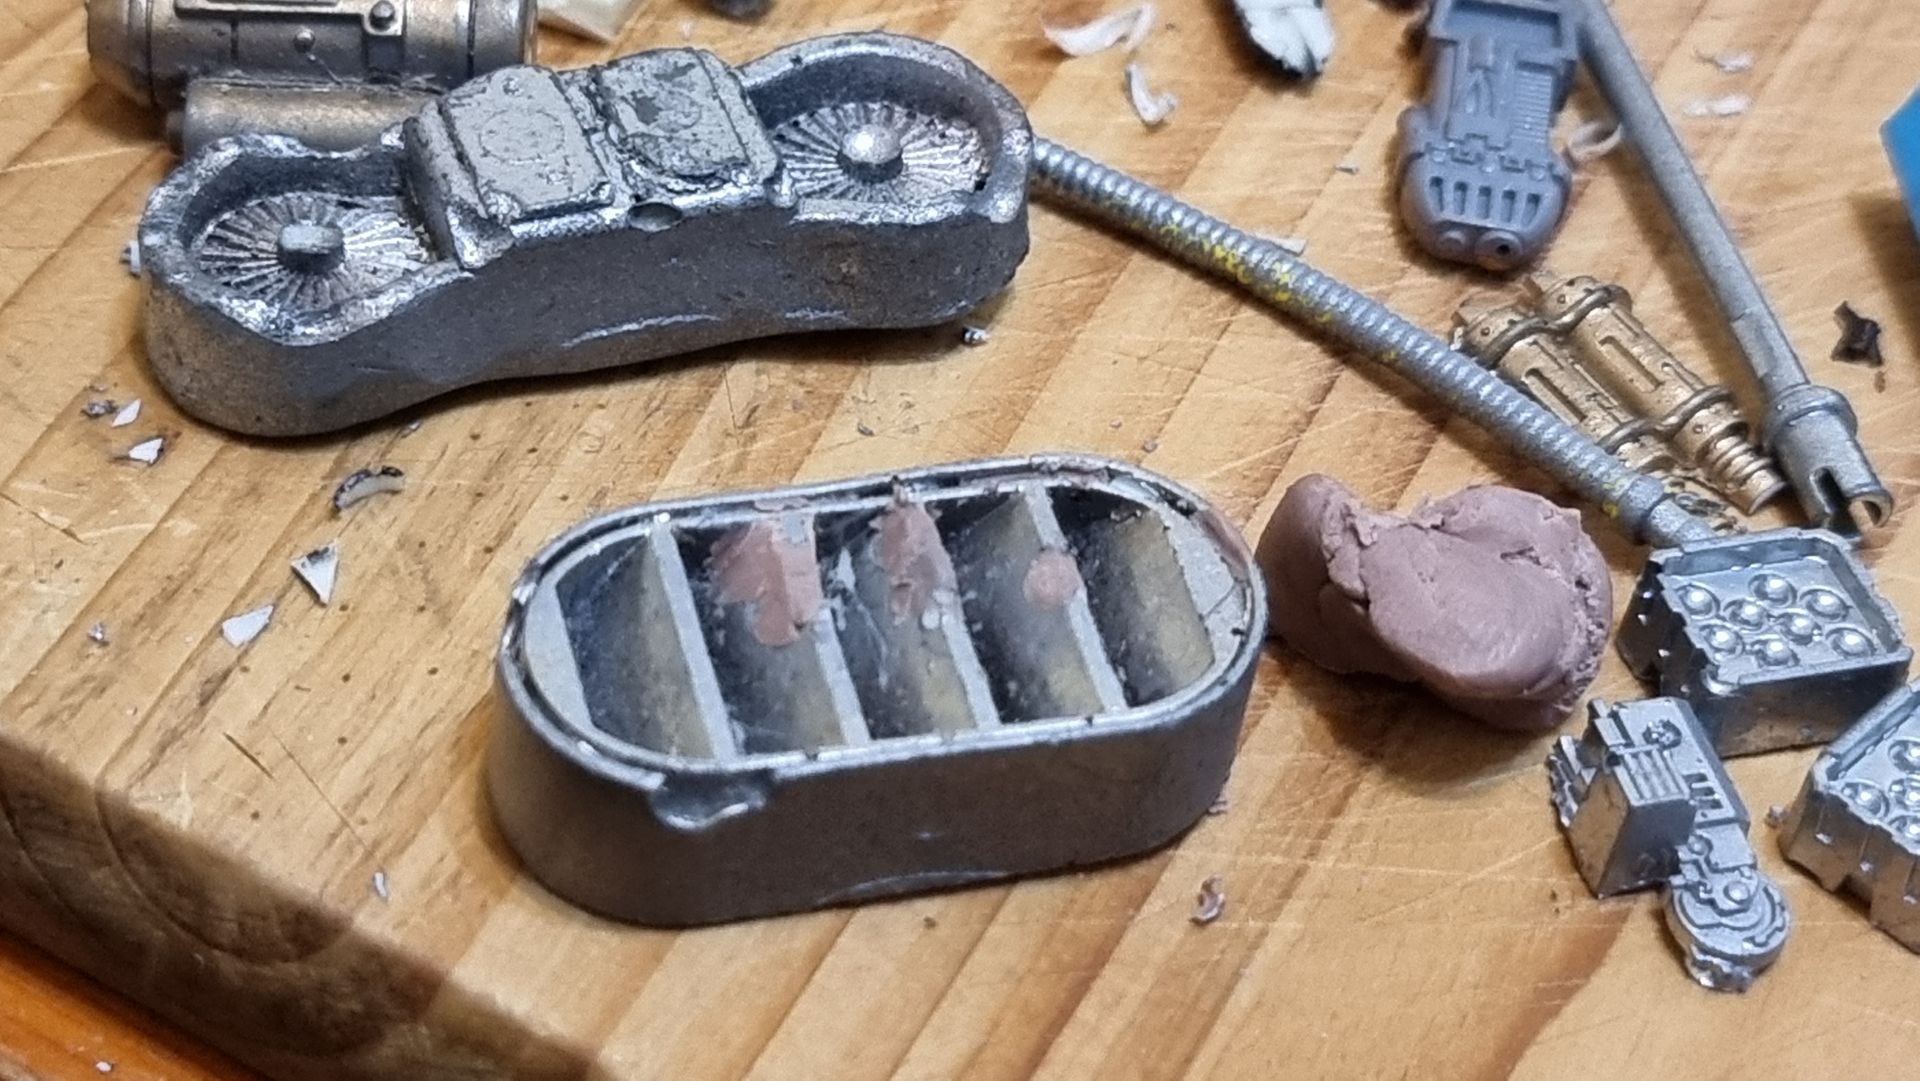
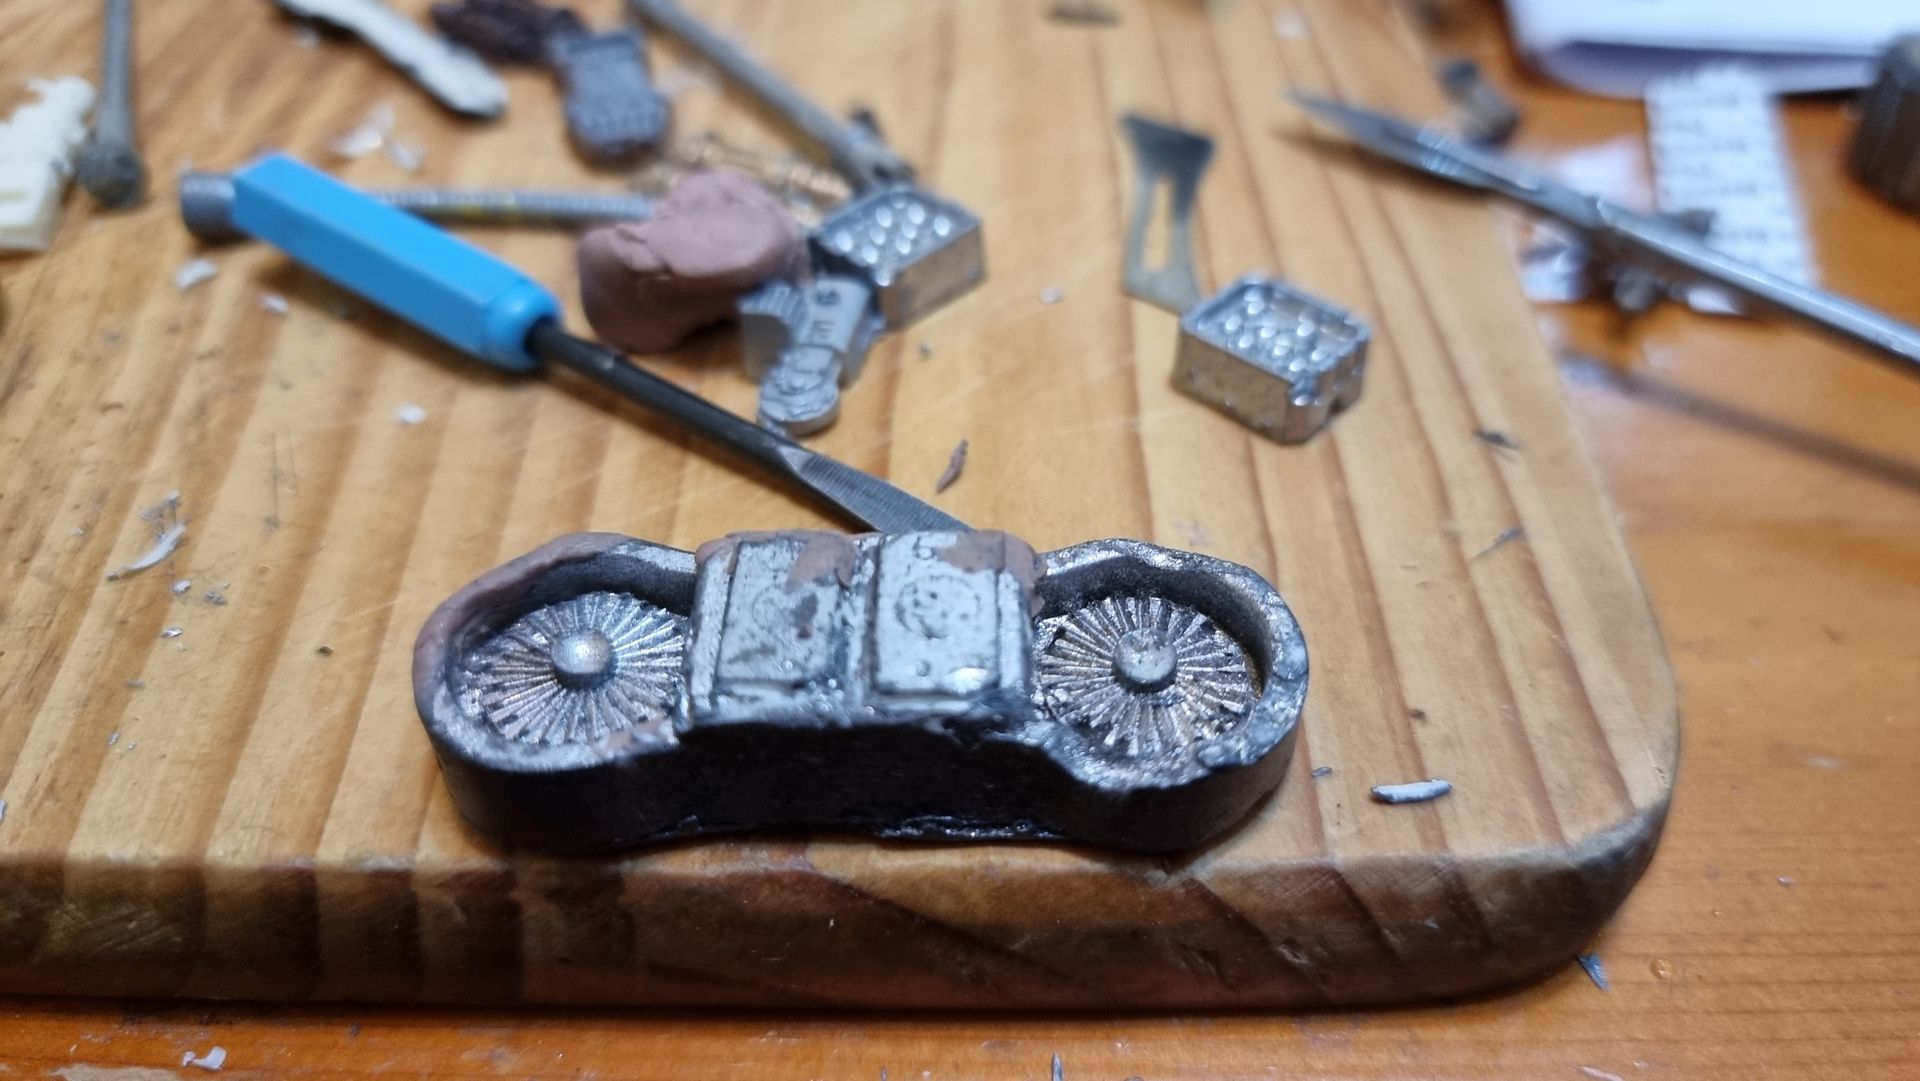
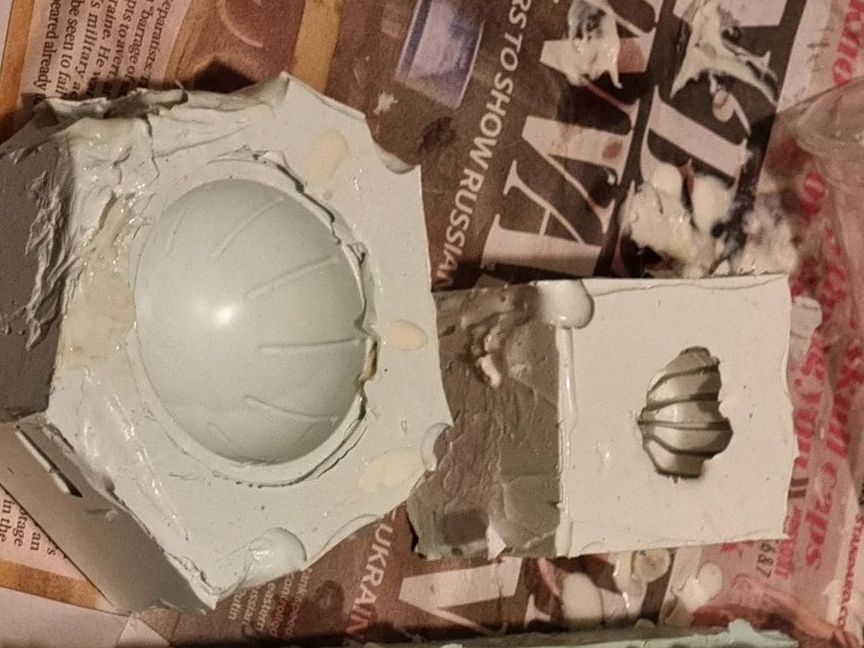
I patched up came of the damaged parts with Plastaline claim before making a new pair of box moulds.
It would have helped if the mould had multiple slots to save time.
Colouring
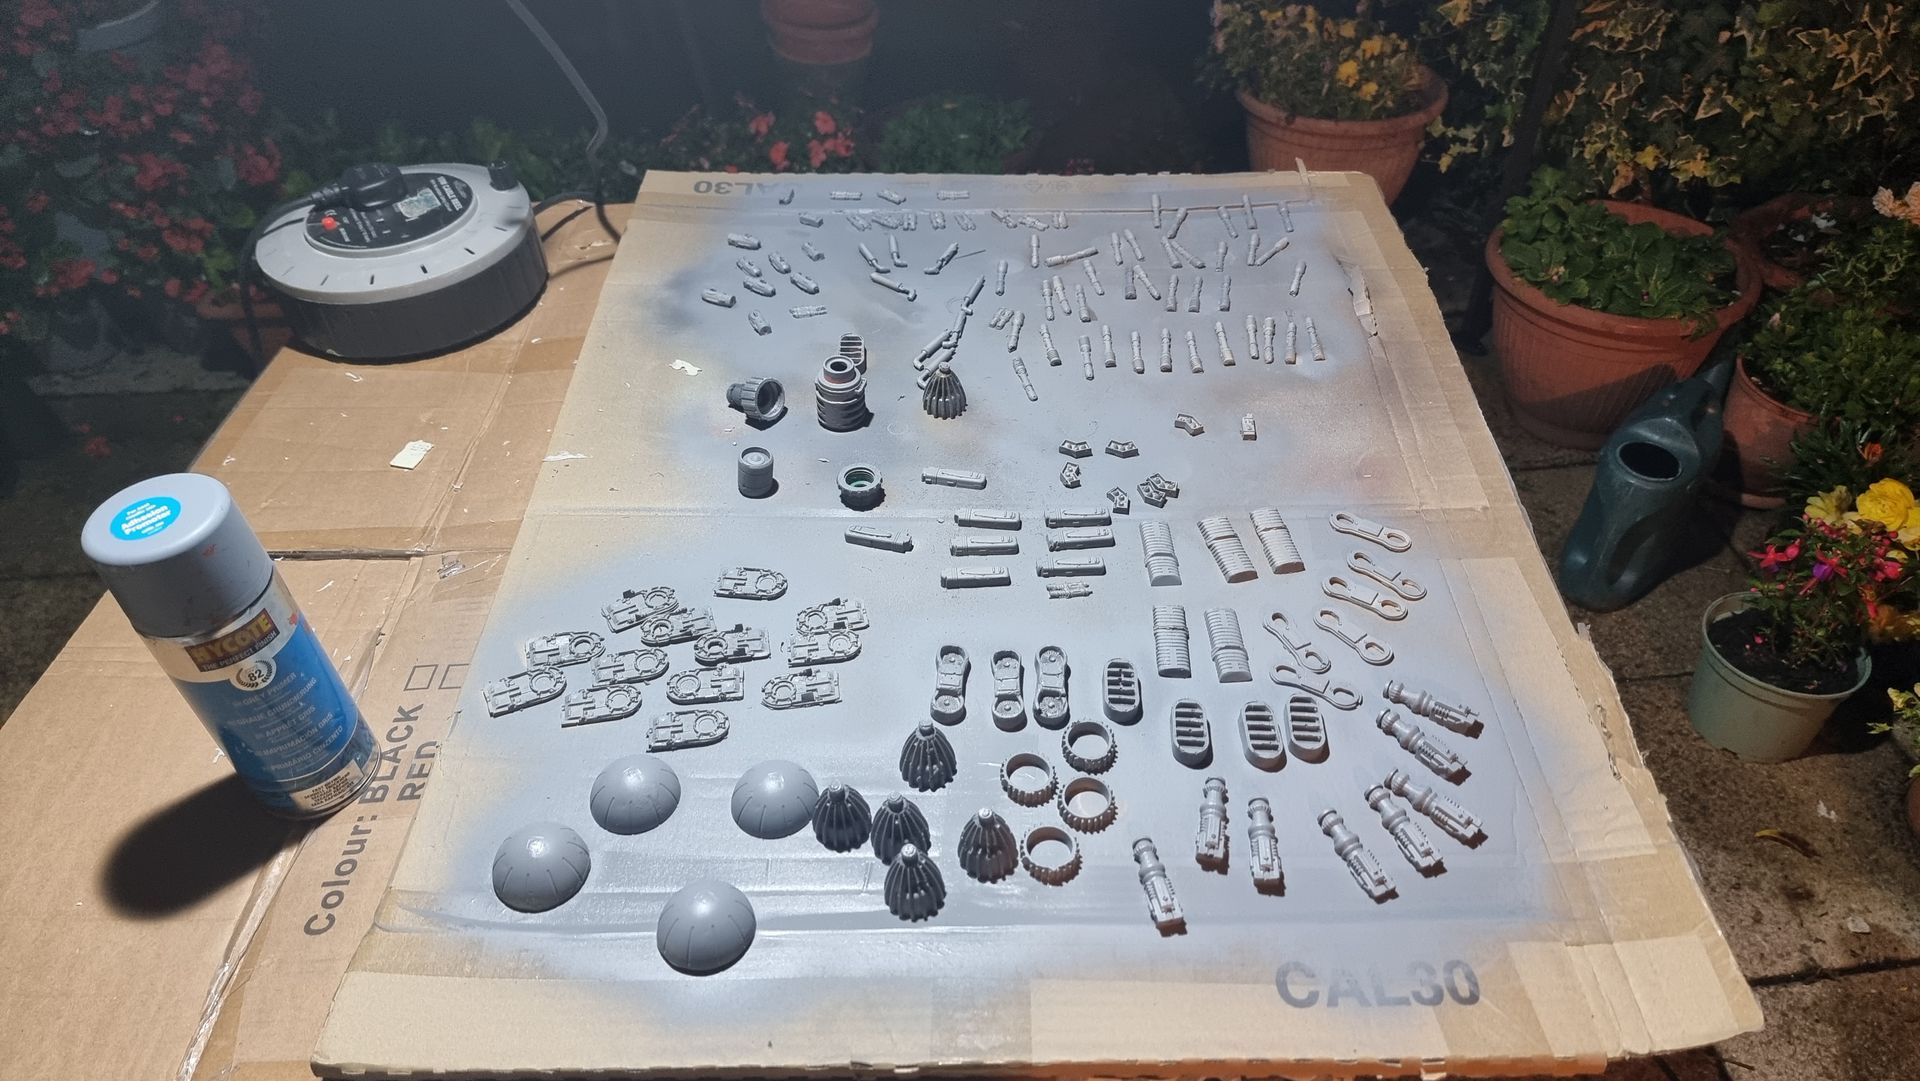
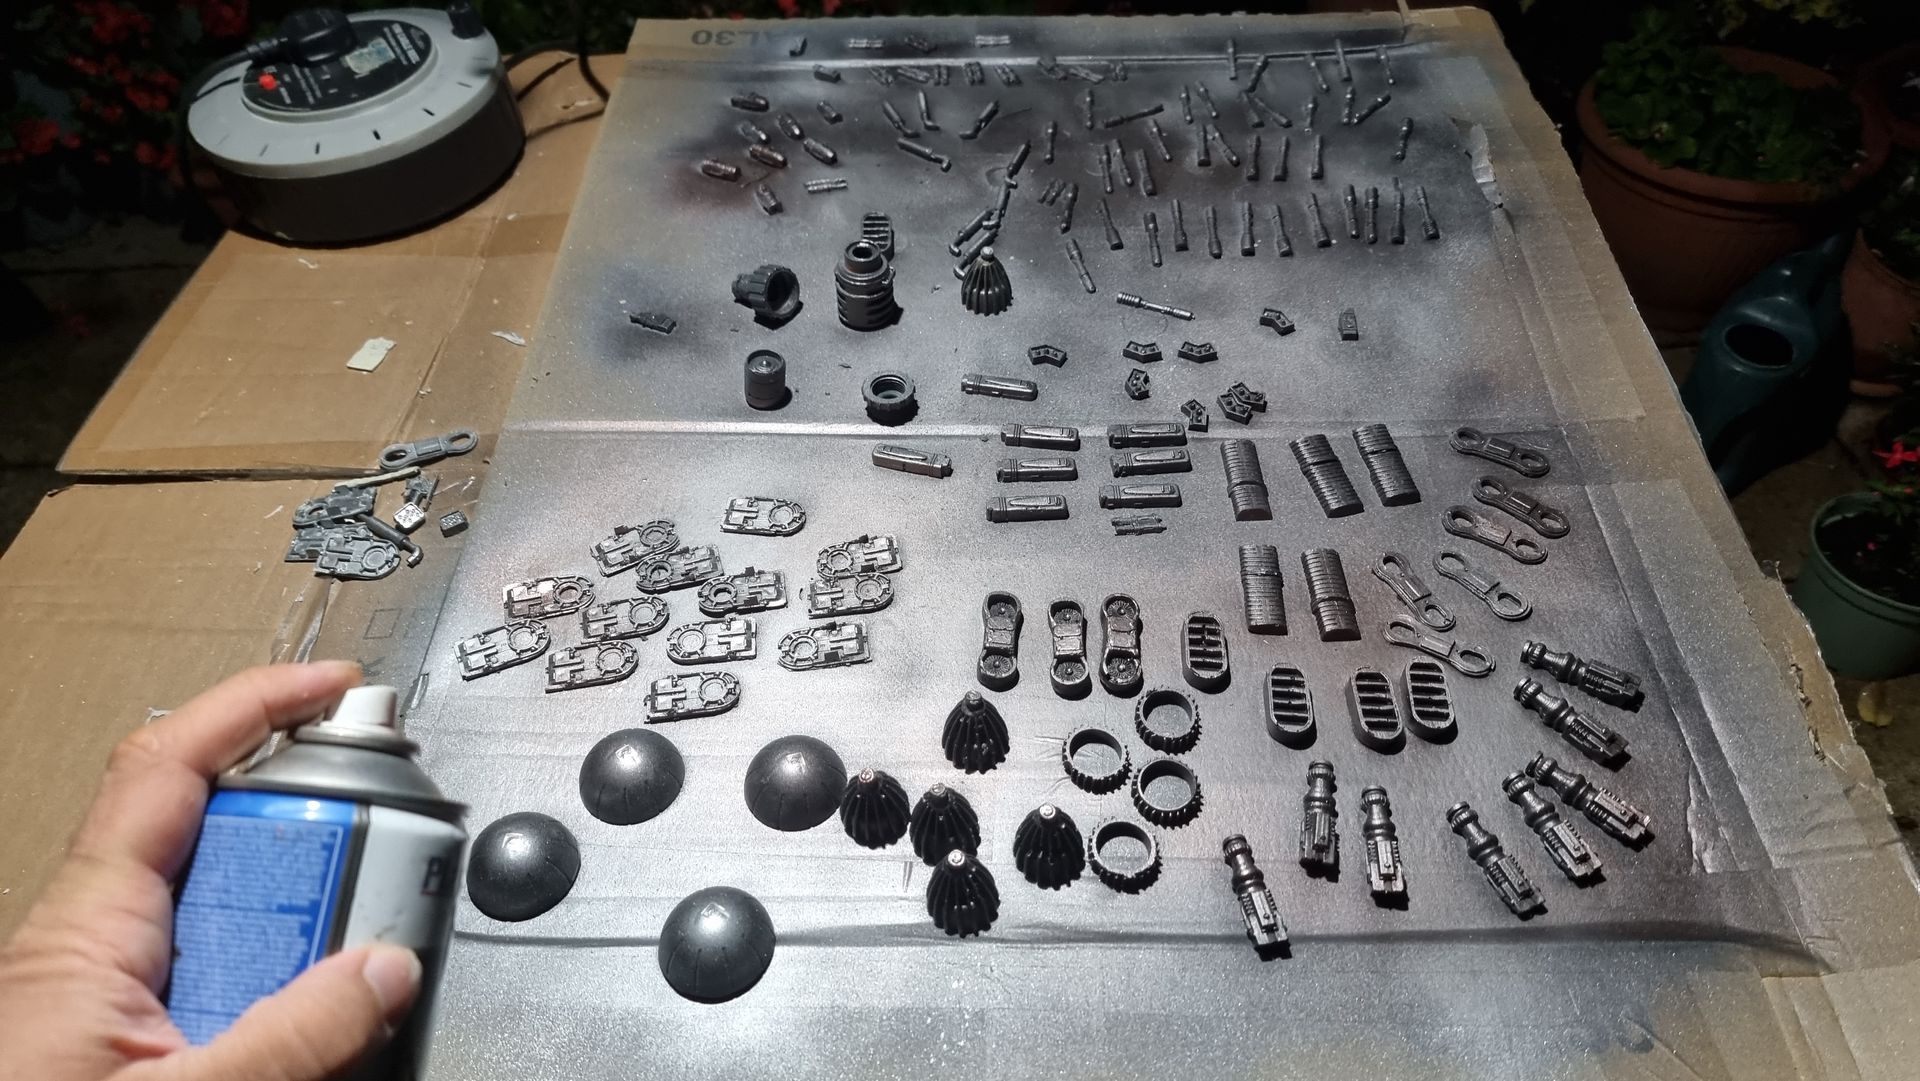
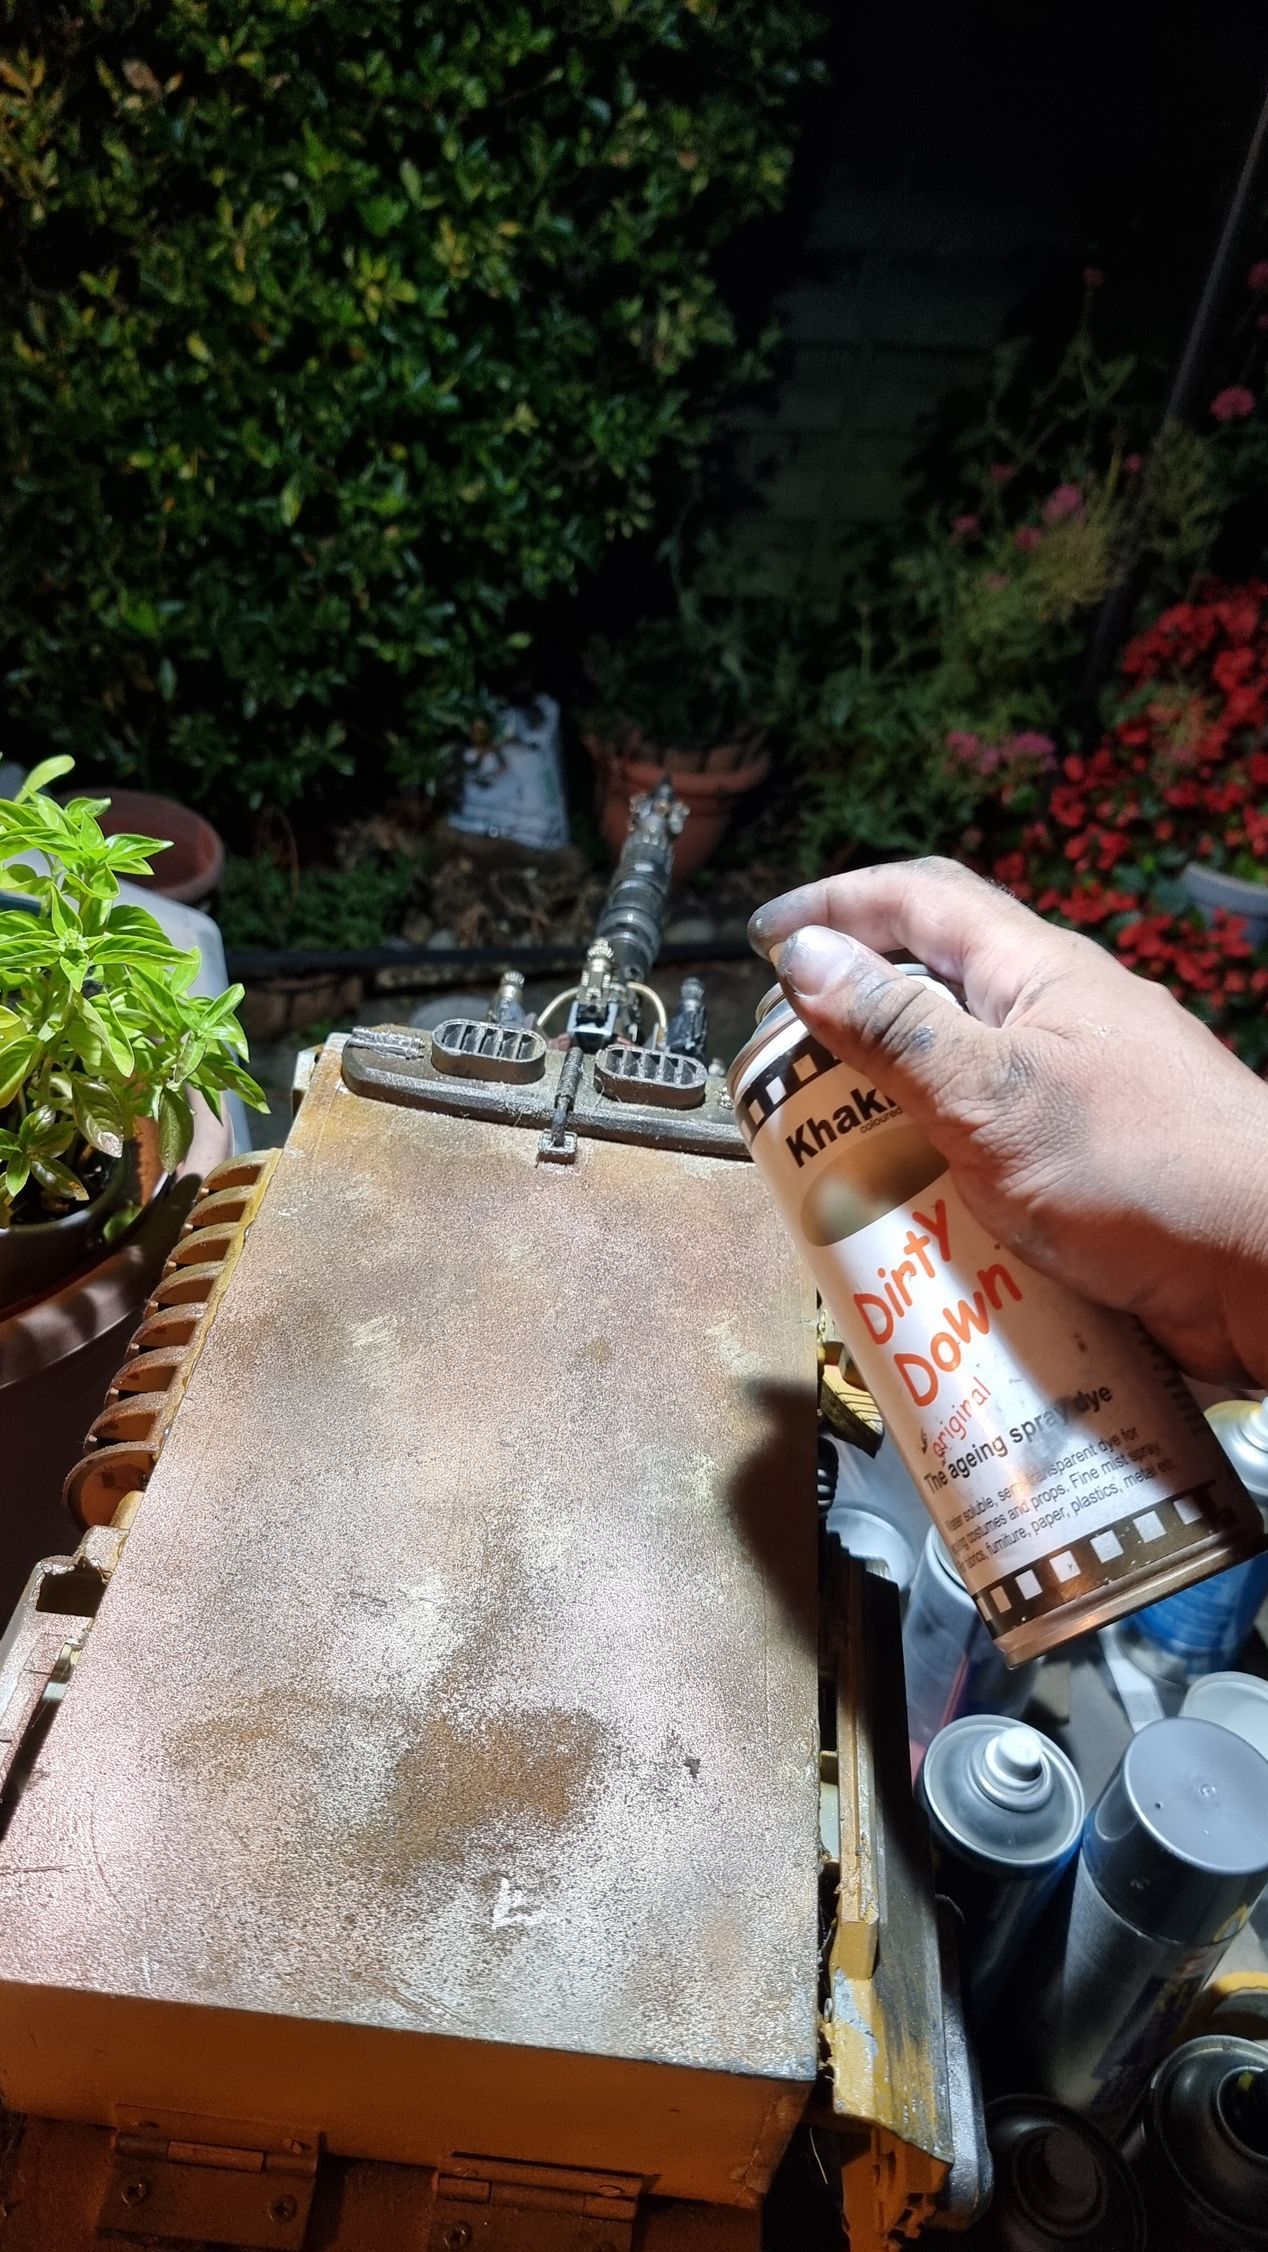
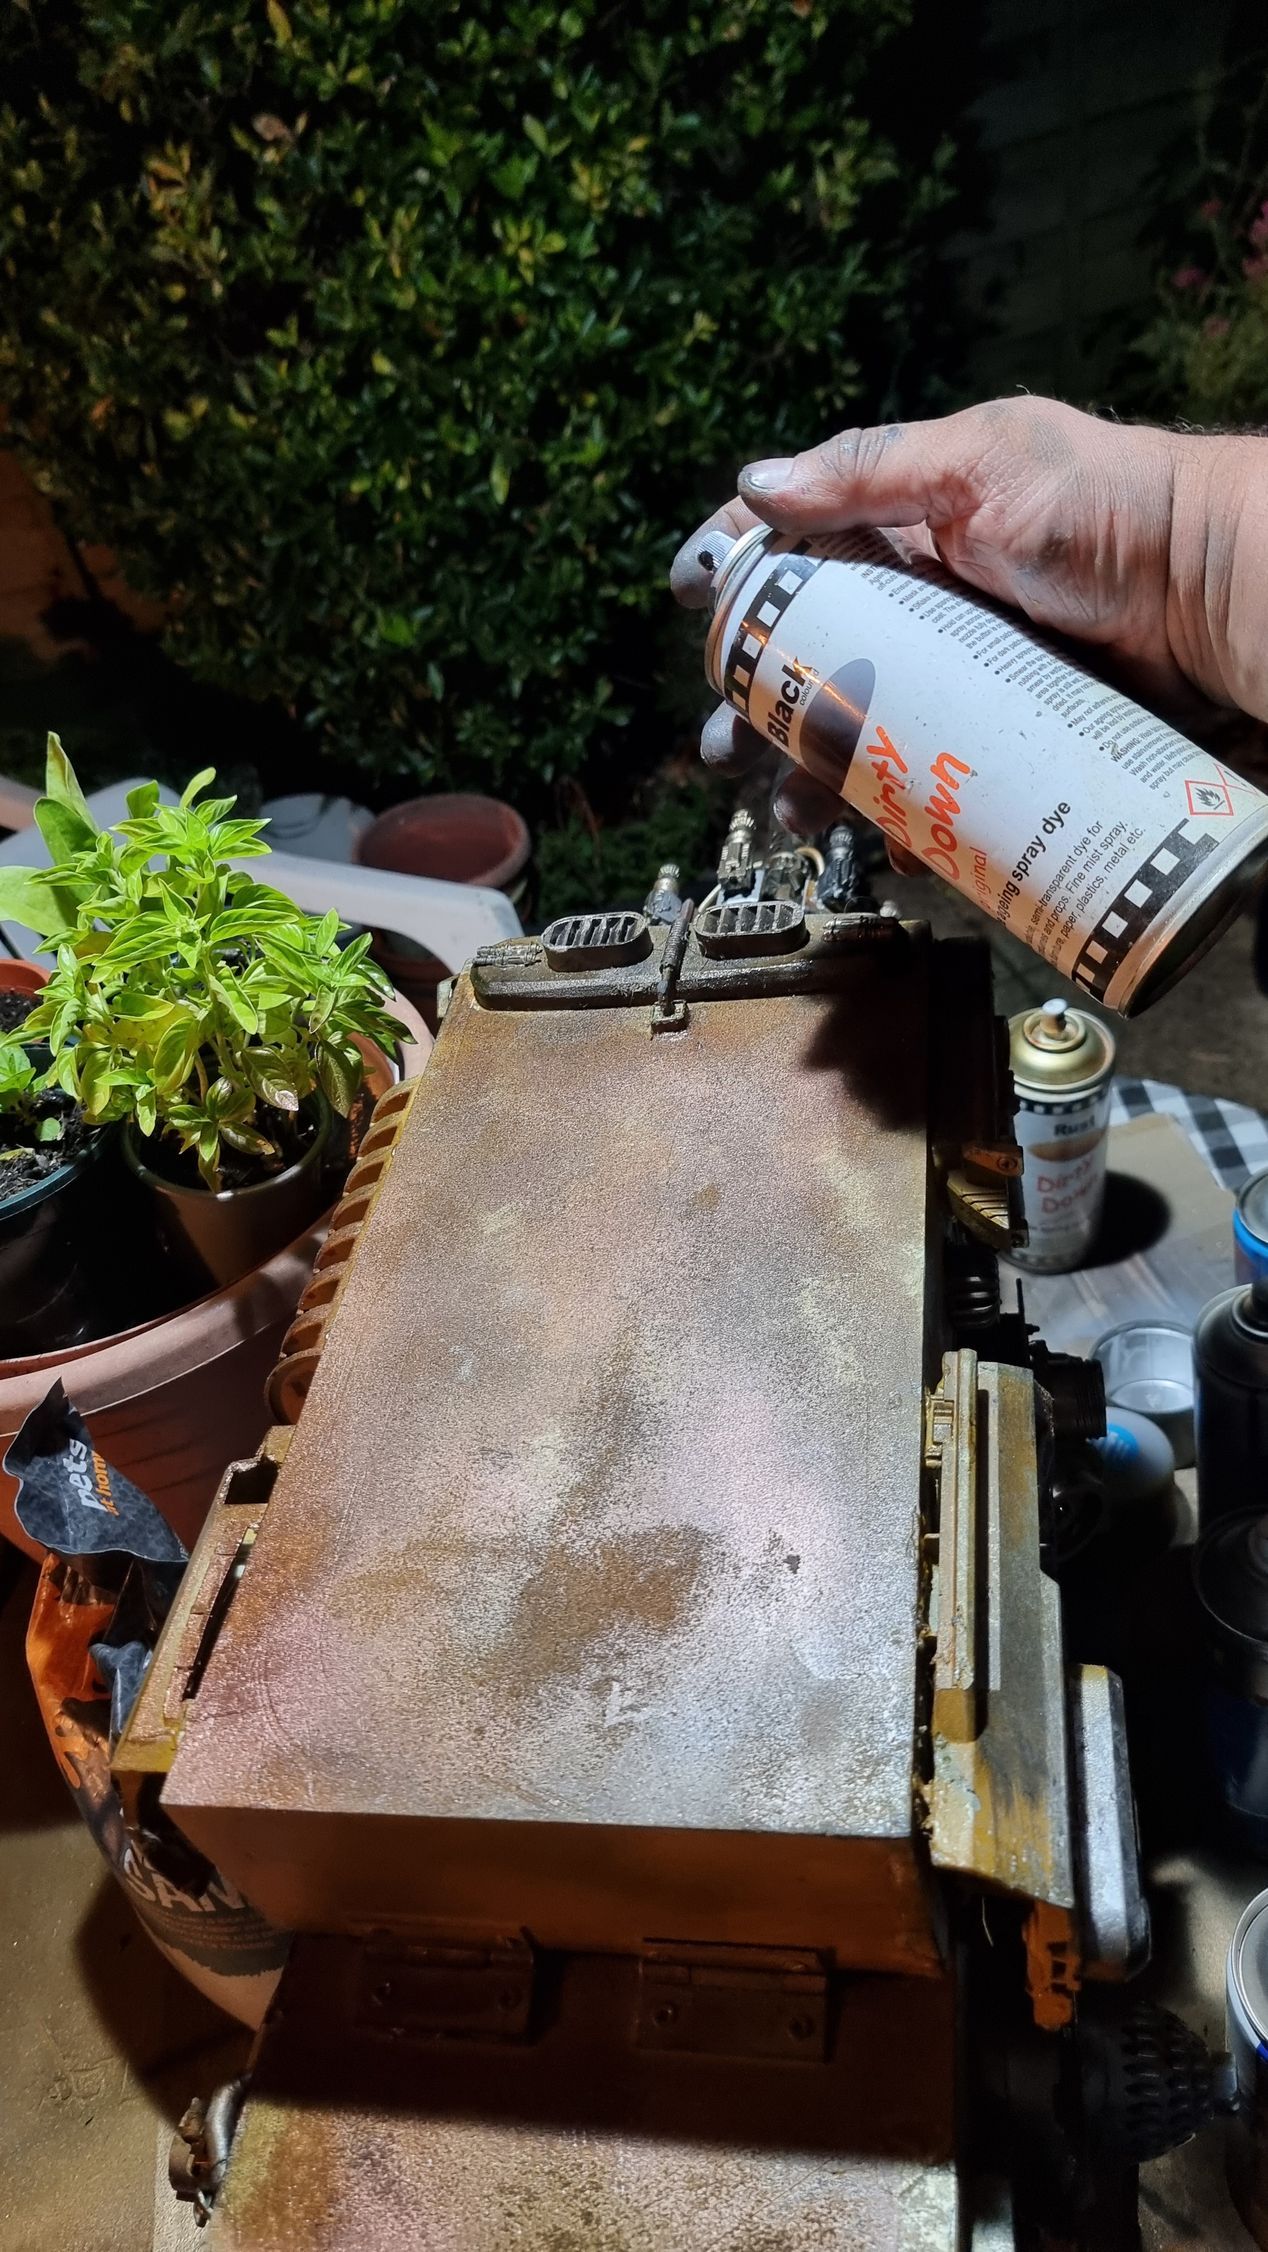
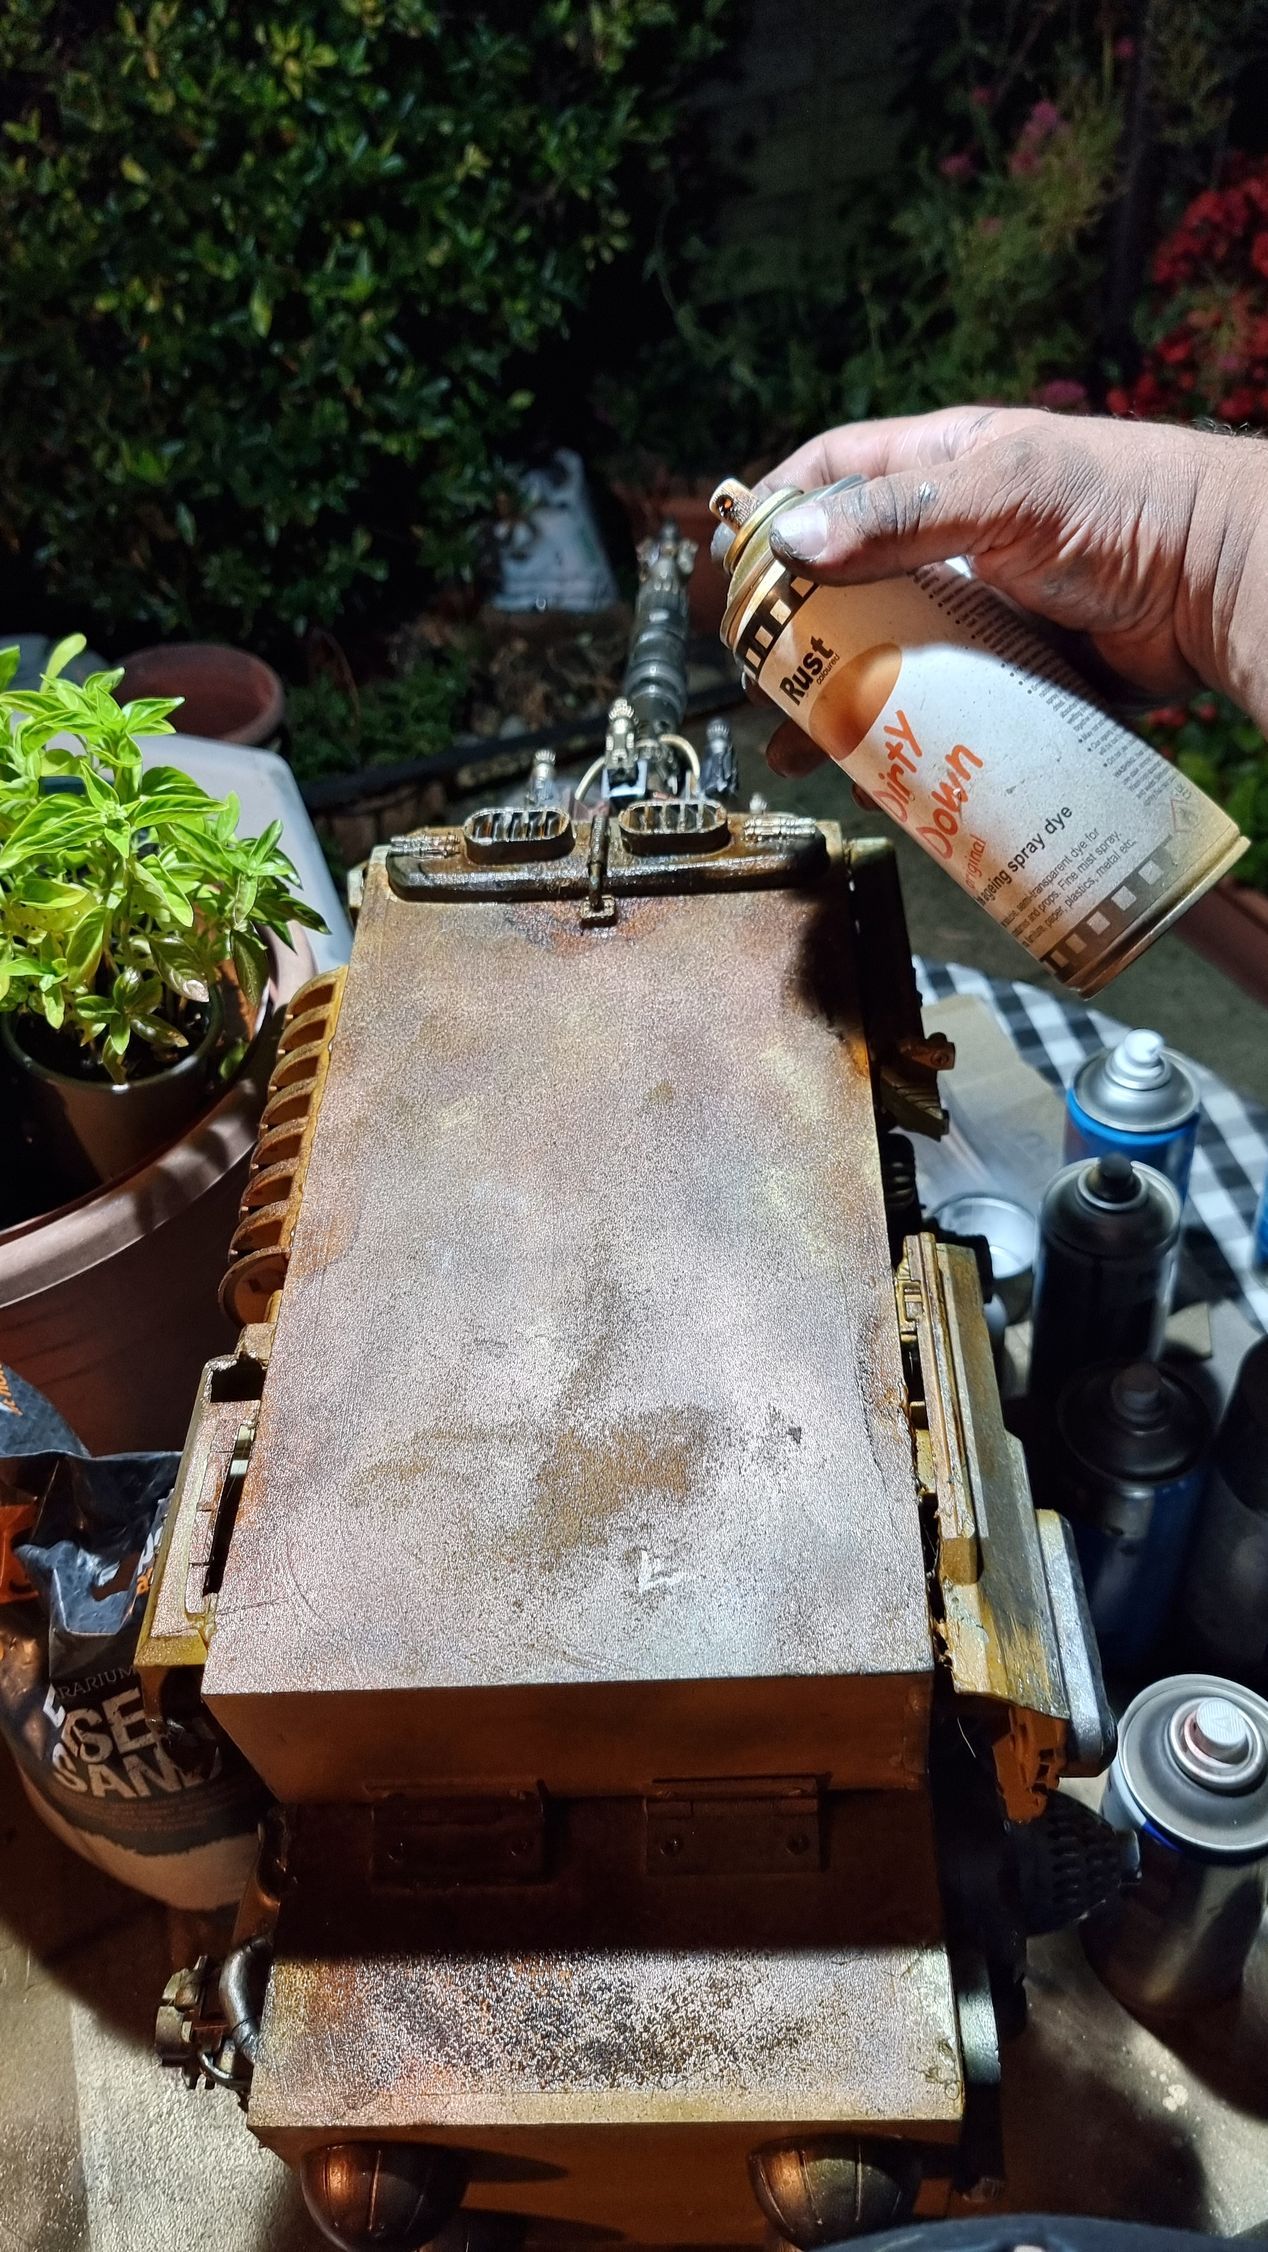
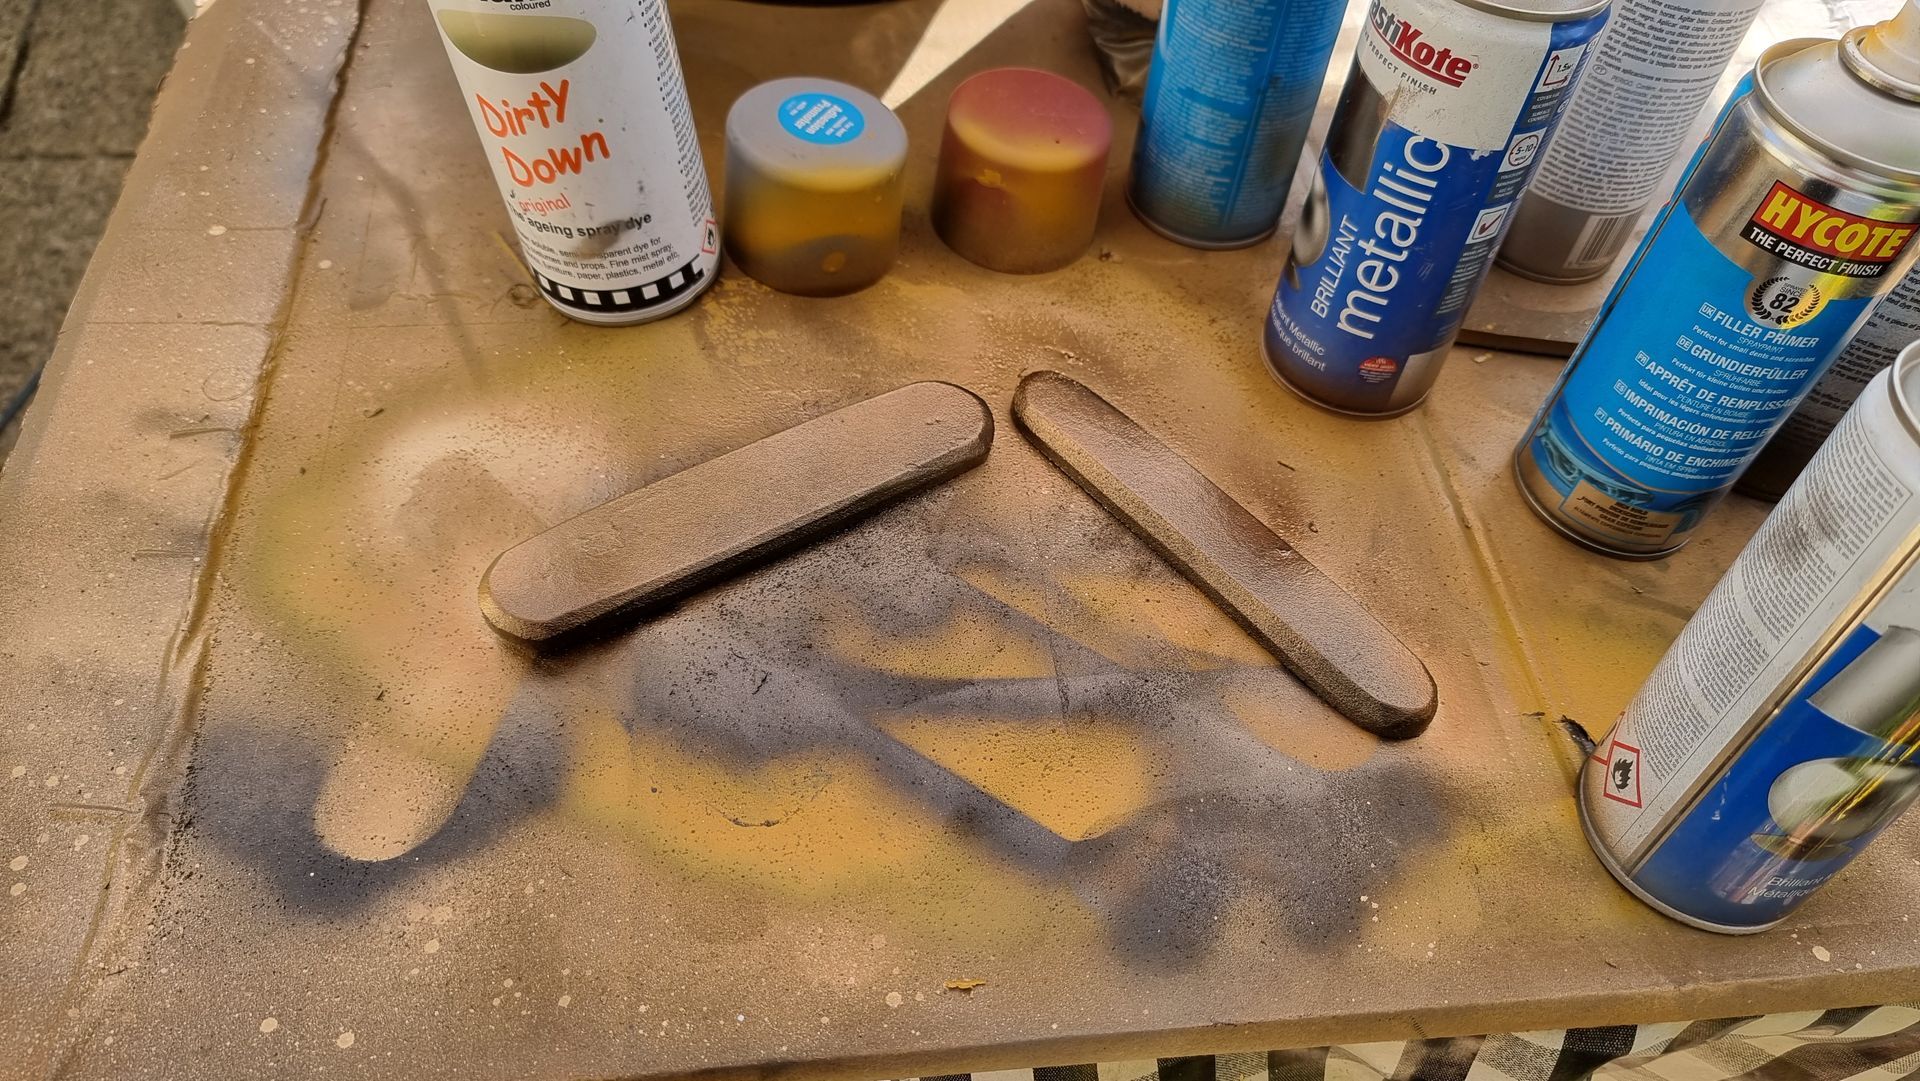
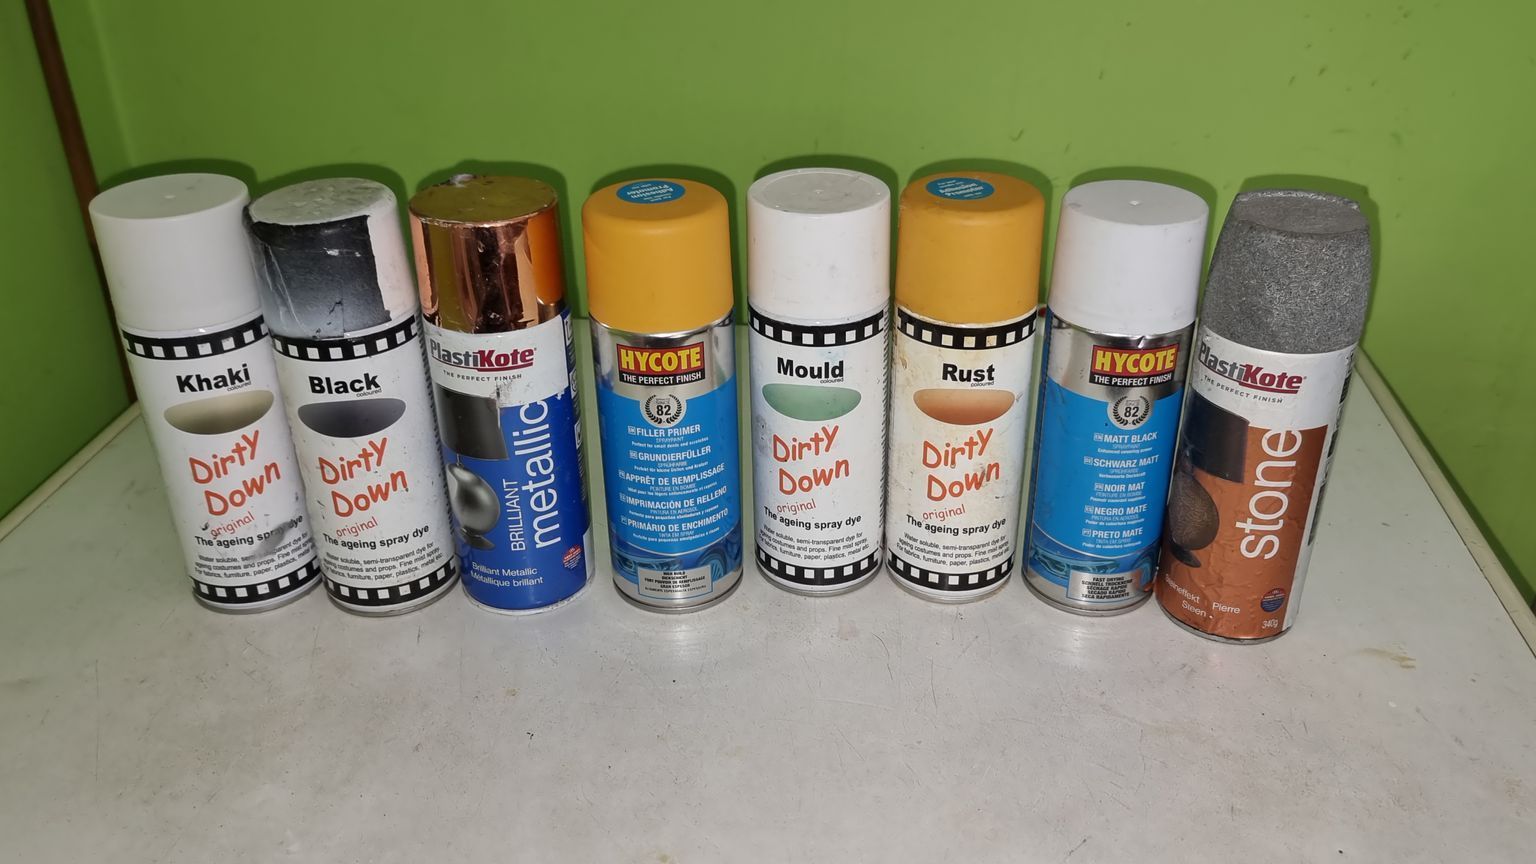
I used a range of paints. Mostly primer, them black then a light dusting spray of old gold, dirty down rust and khaki which gives a bronze like tone.
Later while casting I started to add graphite powder to the brushing into mould and the resign mix.
This lessened the need for primer and black spray paint. In addition.
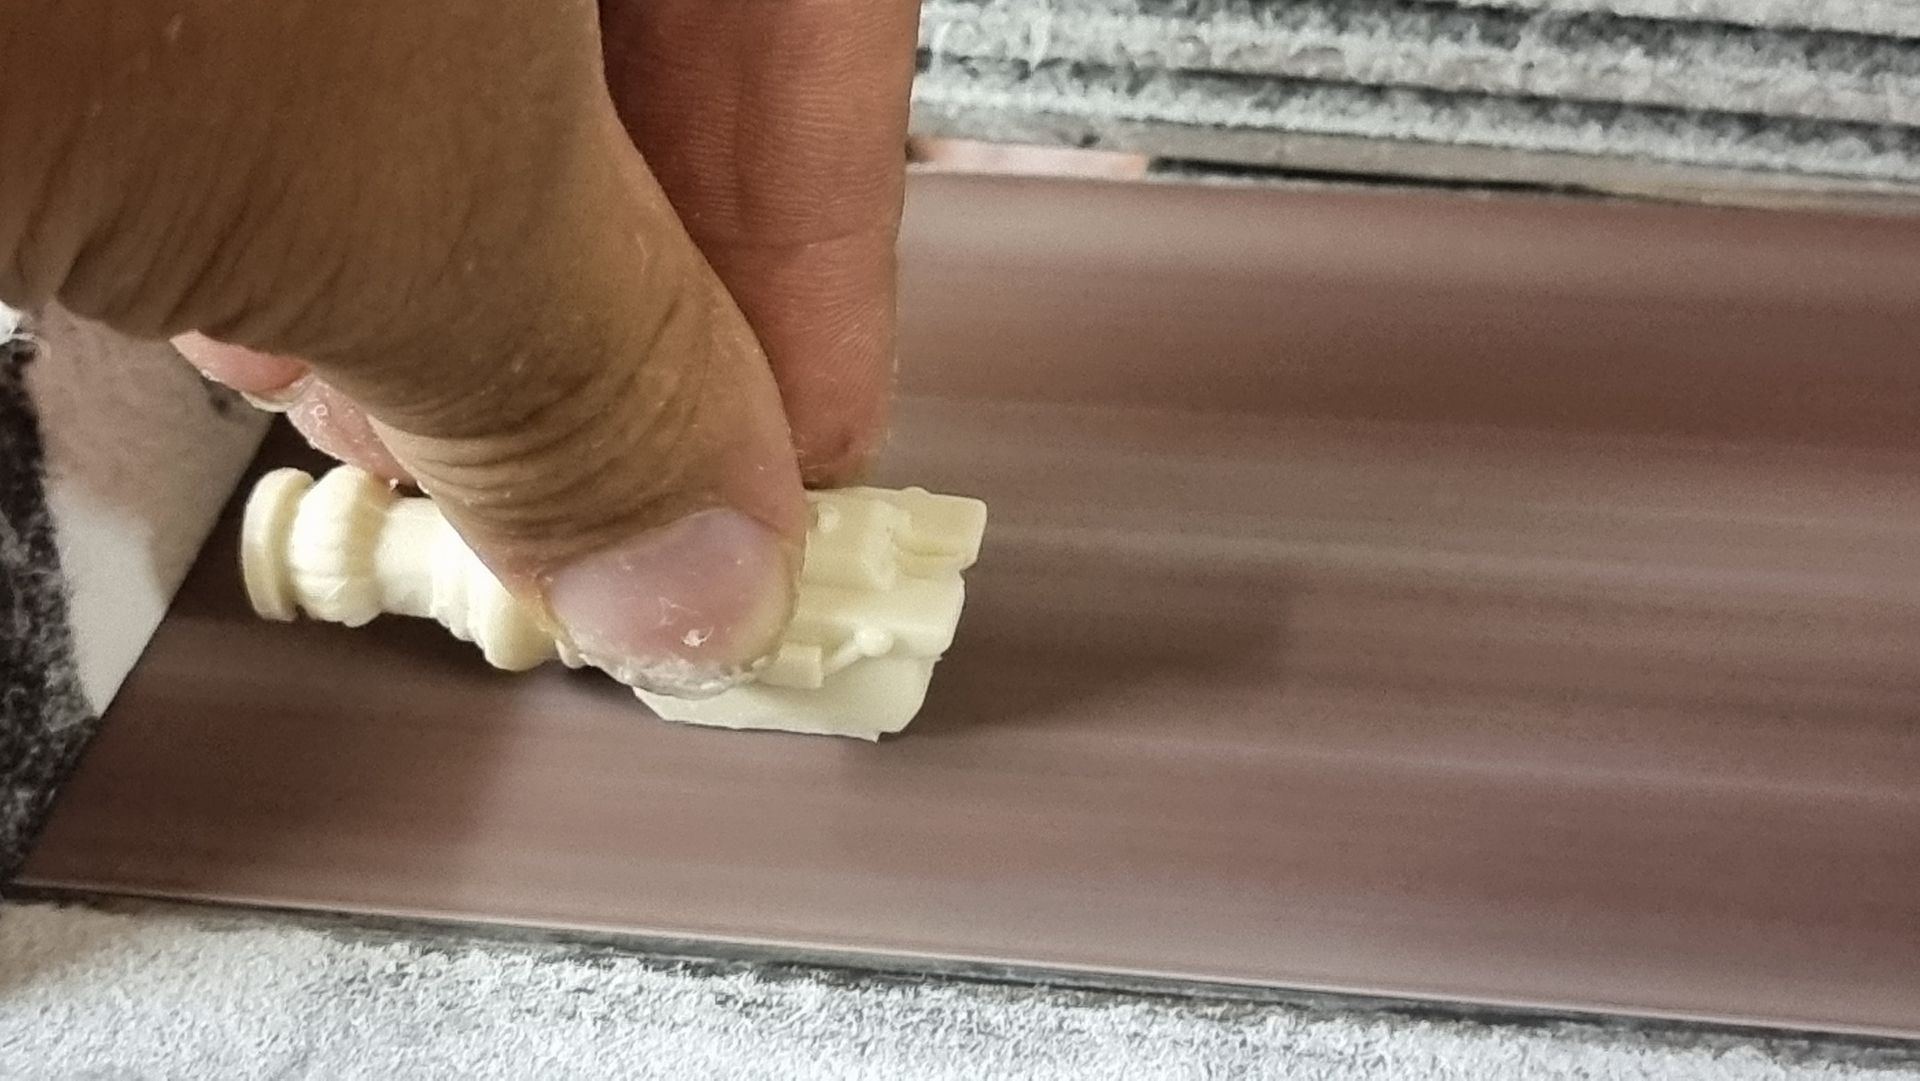
I did not need to respray to cover up white bare resin patches, when the cast parts had paint scraped off, when being sanded and trimmed too remove flushing and sanding to size.
I just needed to lightly spray a thin wash with old gold and copper metallic, plus rust and khaki Dirty Down spray paint.
The graphite powder also made the parts shinier.

Dirtying Down The Sides
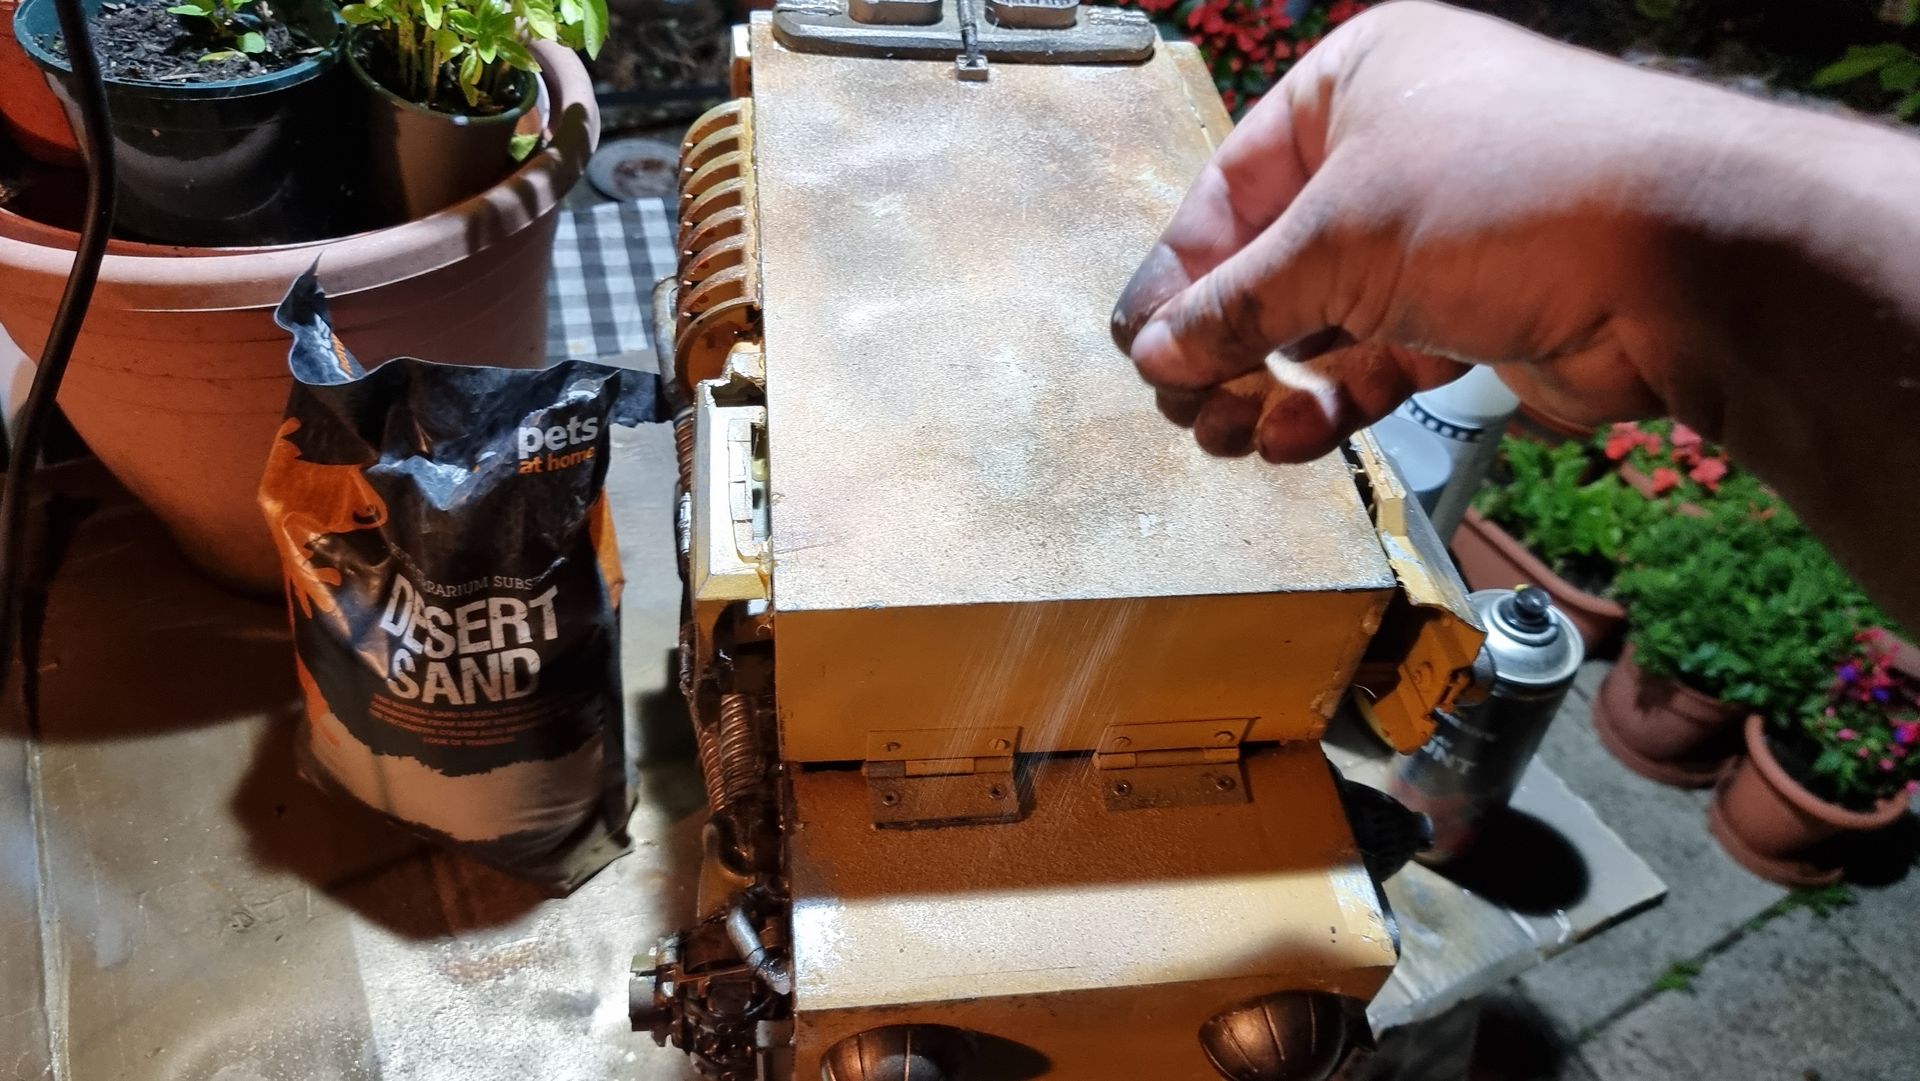
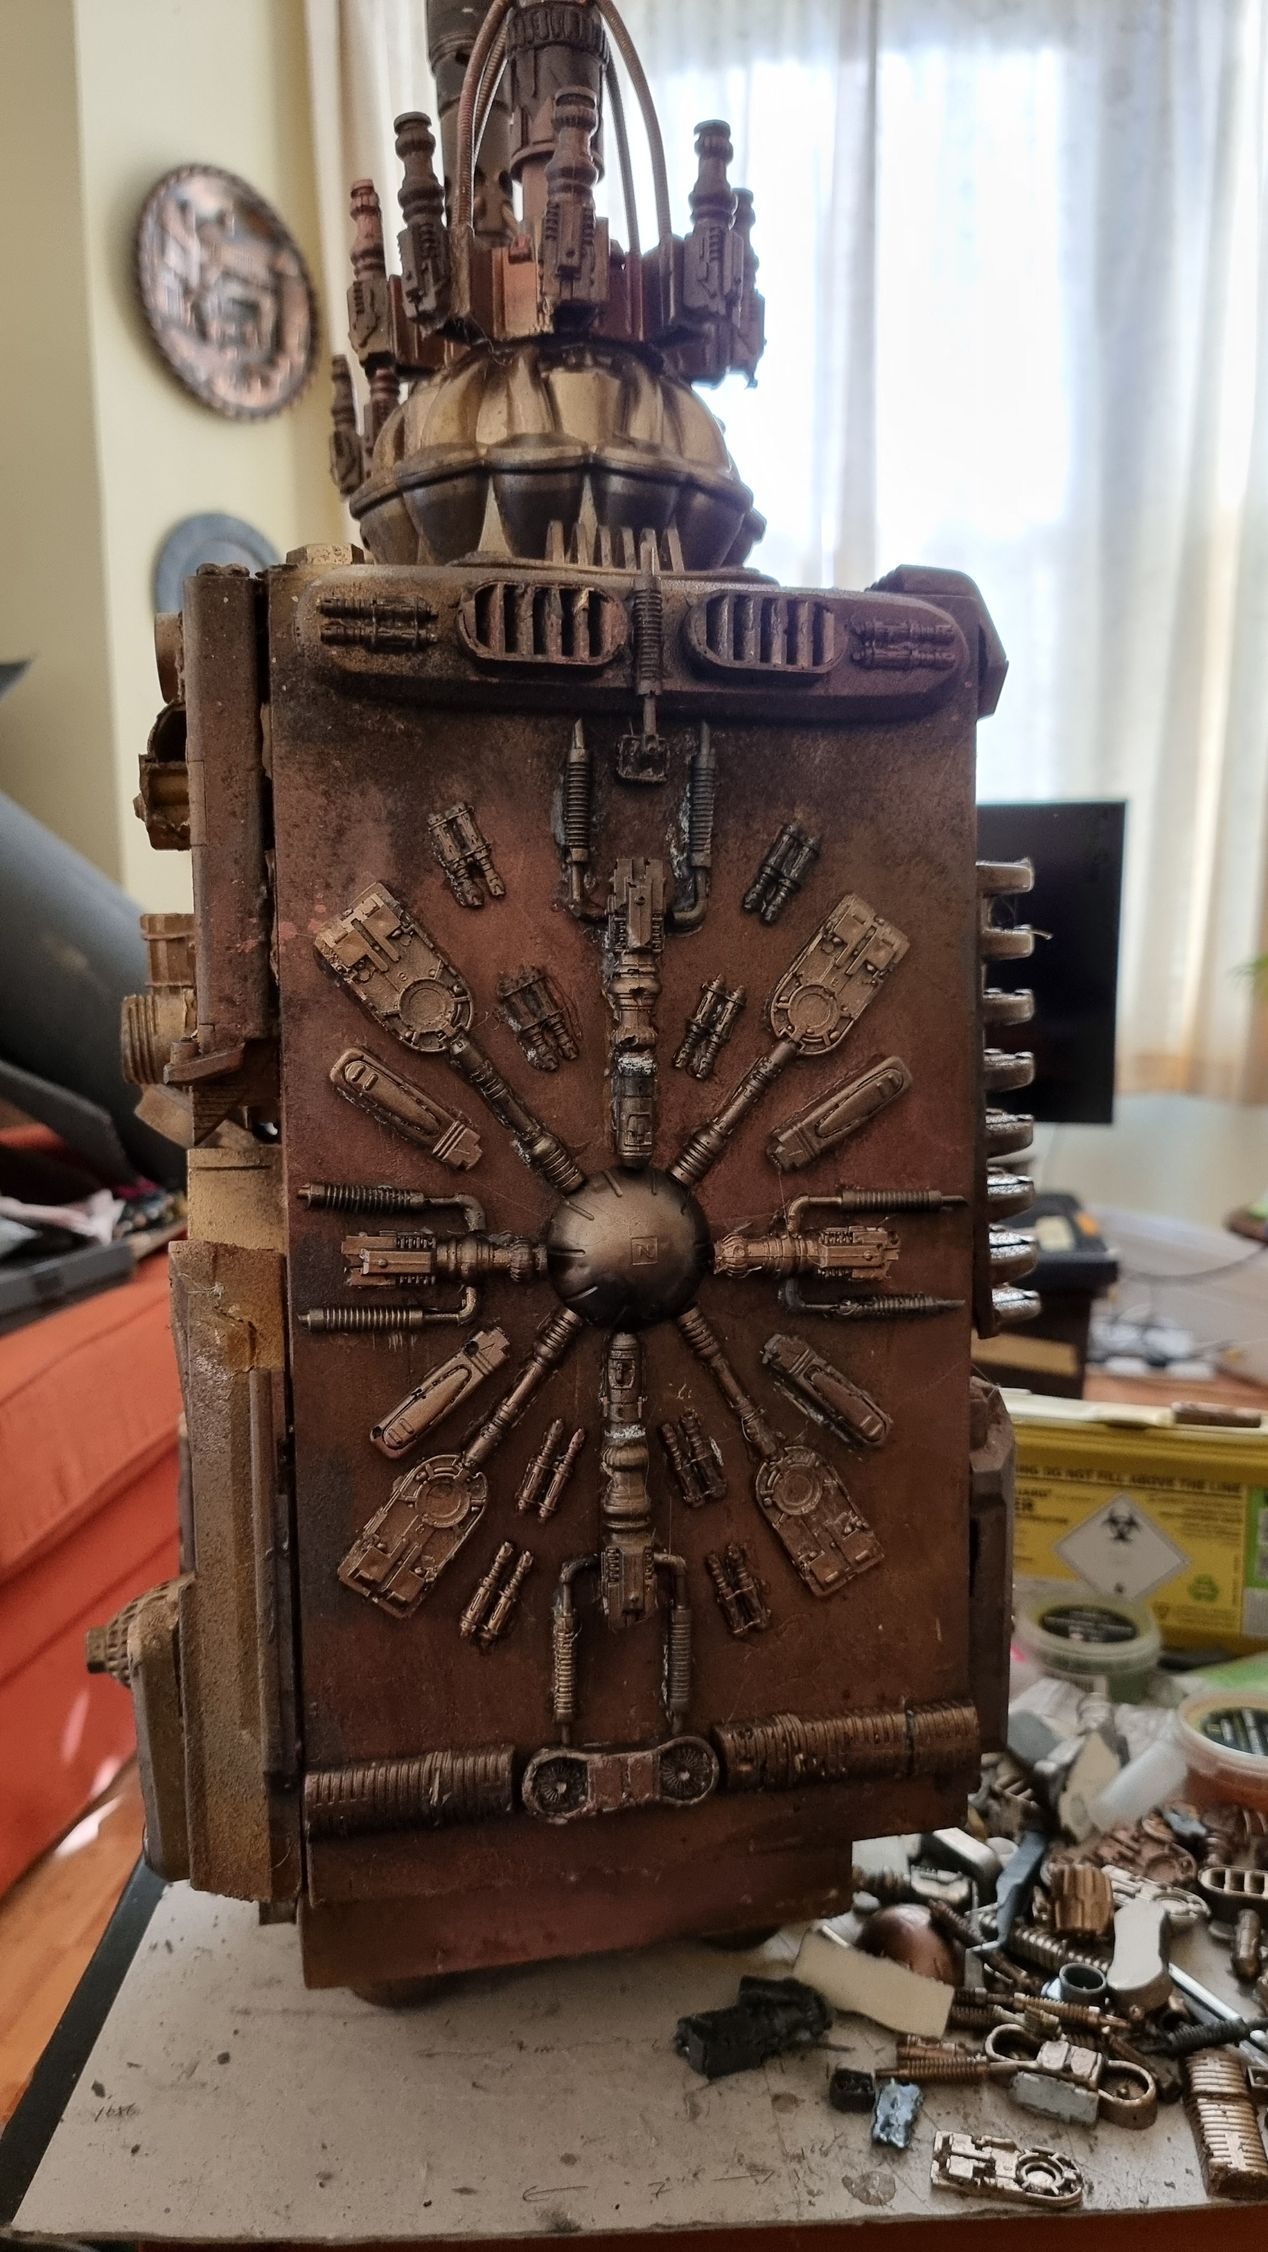
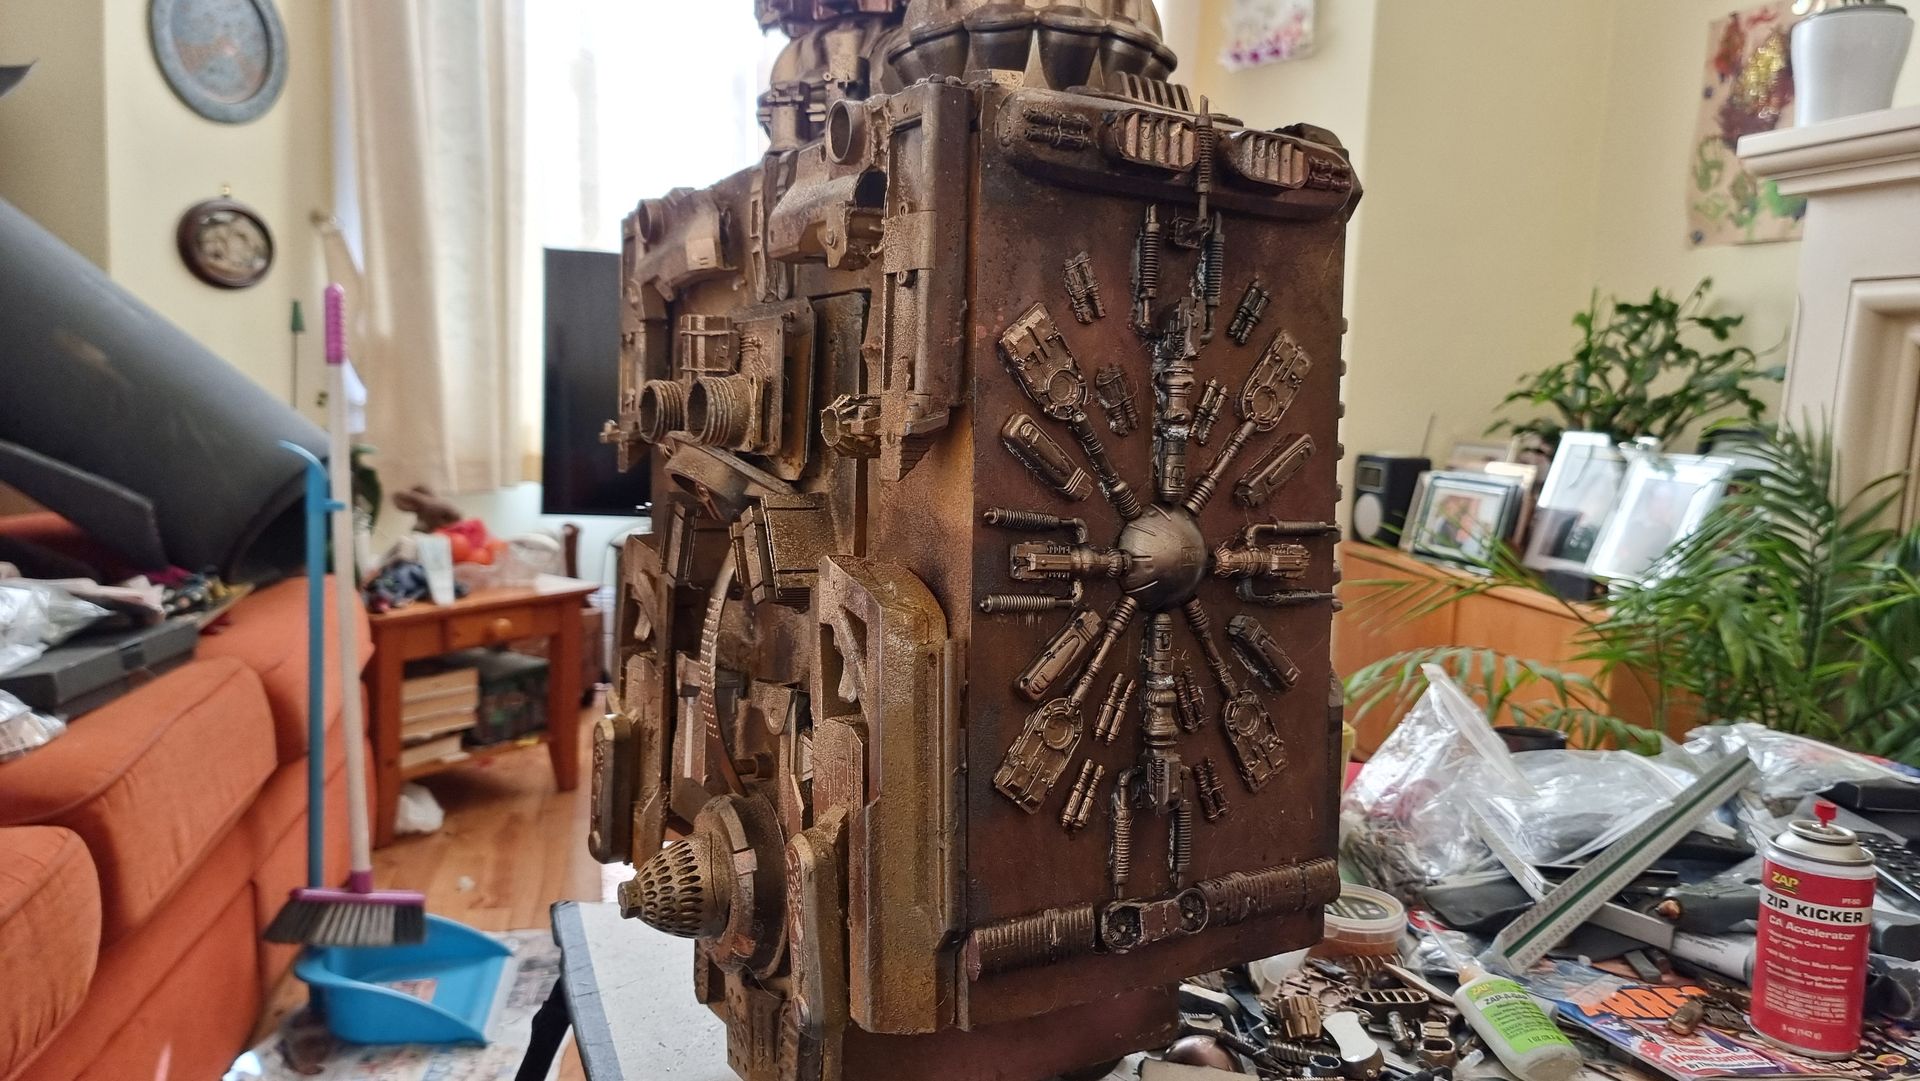
The sides were very light so to make the prop look more worn and old sand was added to the surface.
Spray glue was used to bond the sand, and the access was brushed off.
This was them lightly wash sprayed over with watered down rust, khaki, black spray, plus some graphite power to dirty and patch the surface.
Bumpers
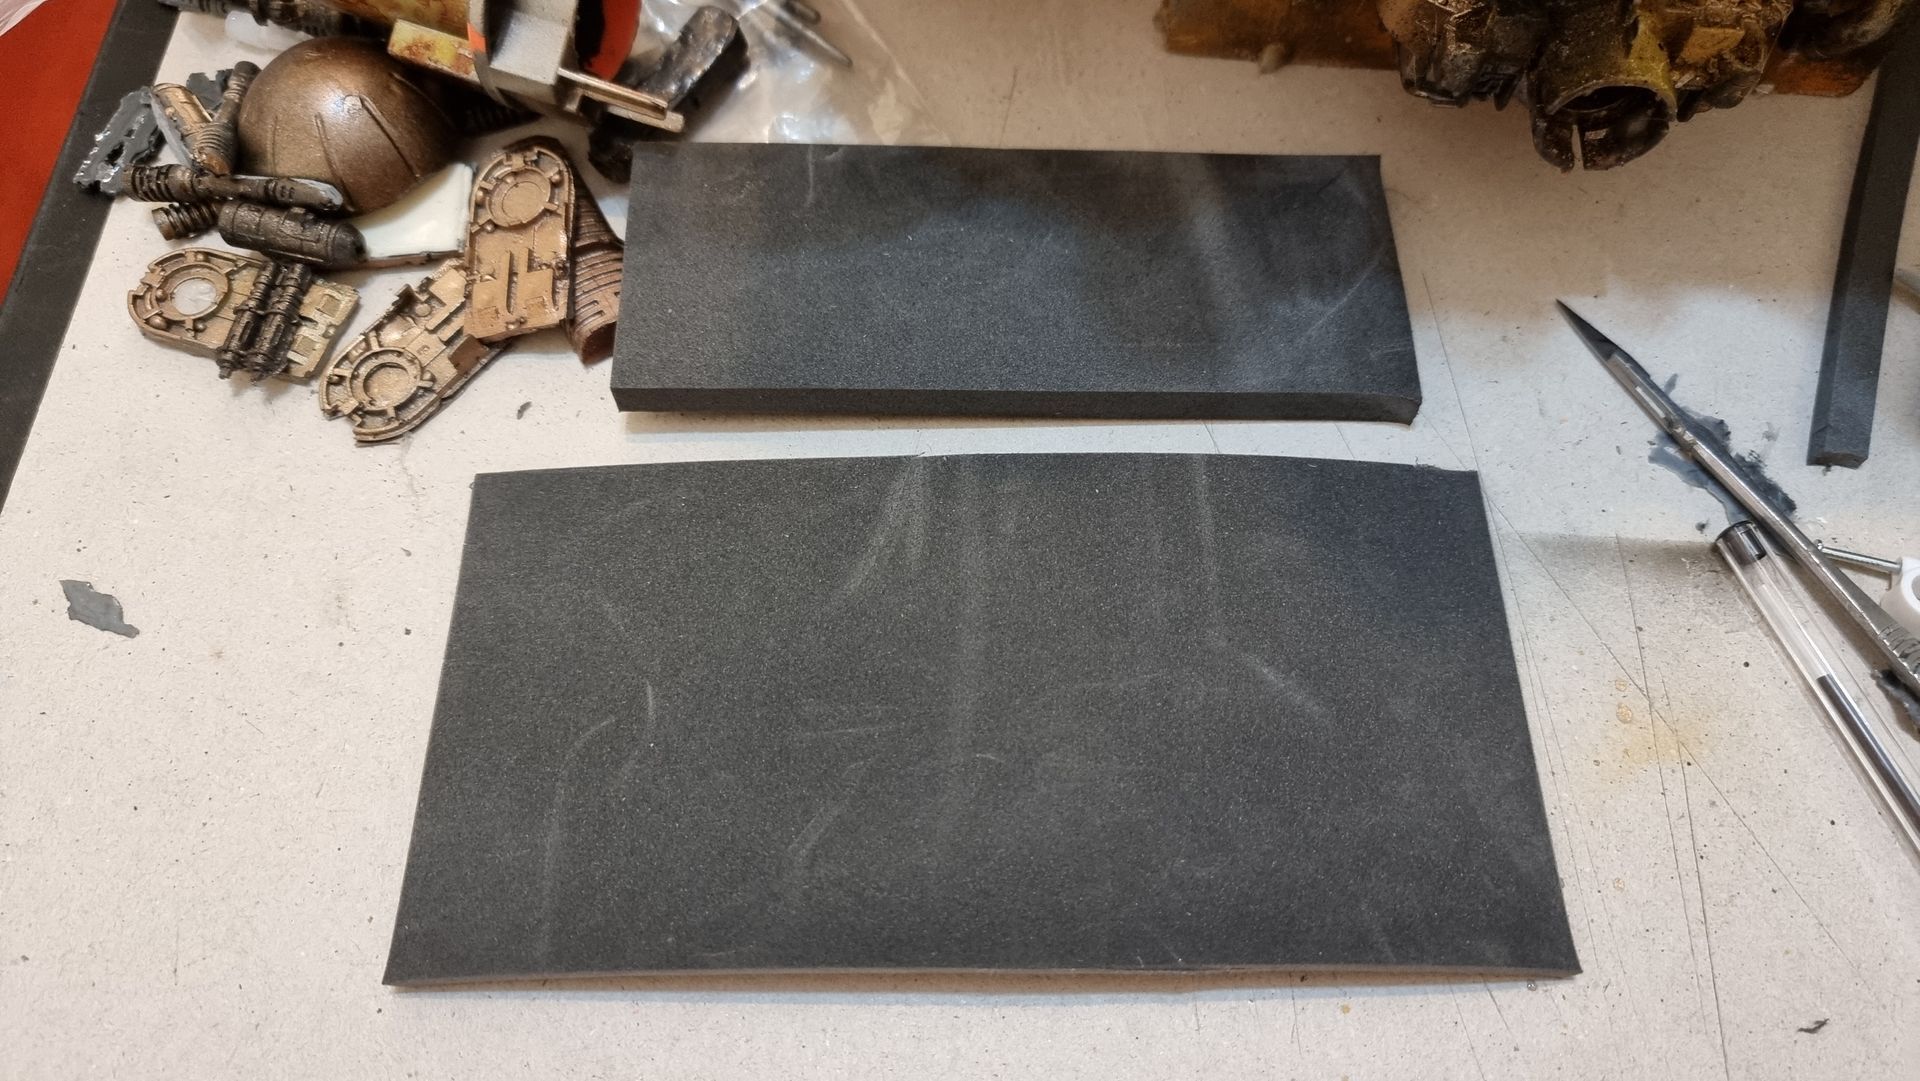
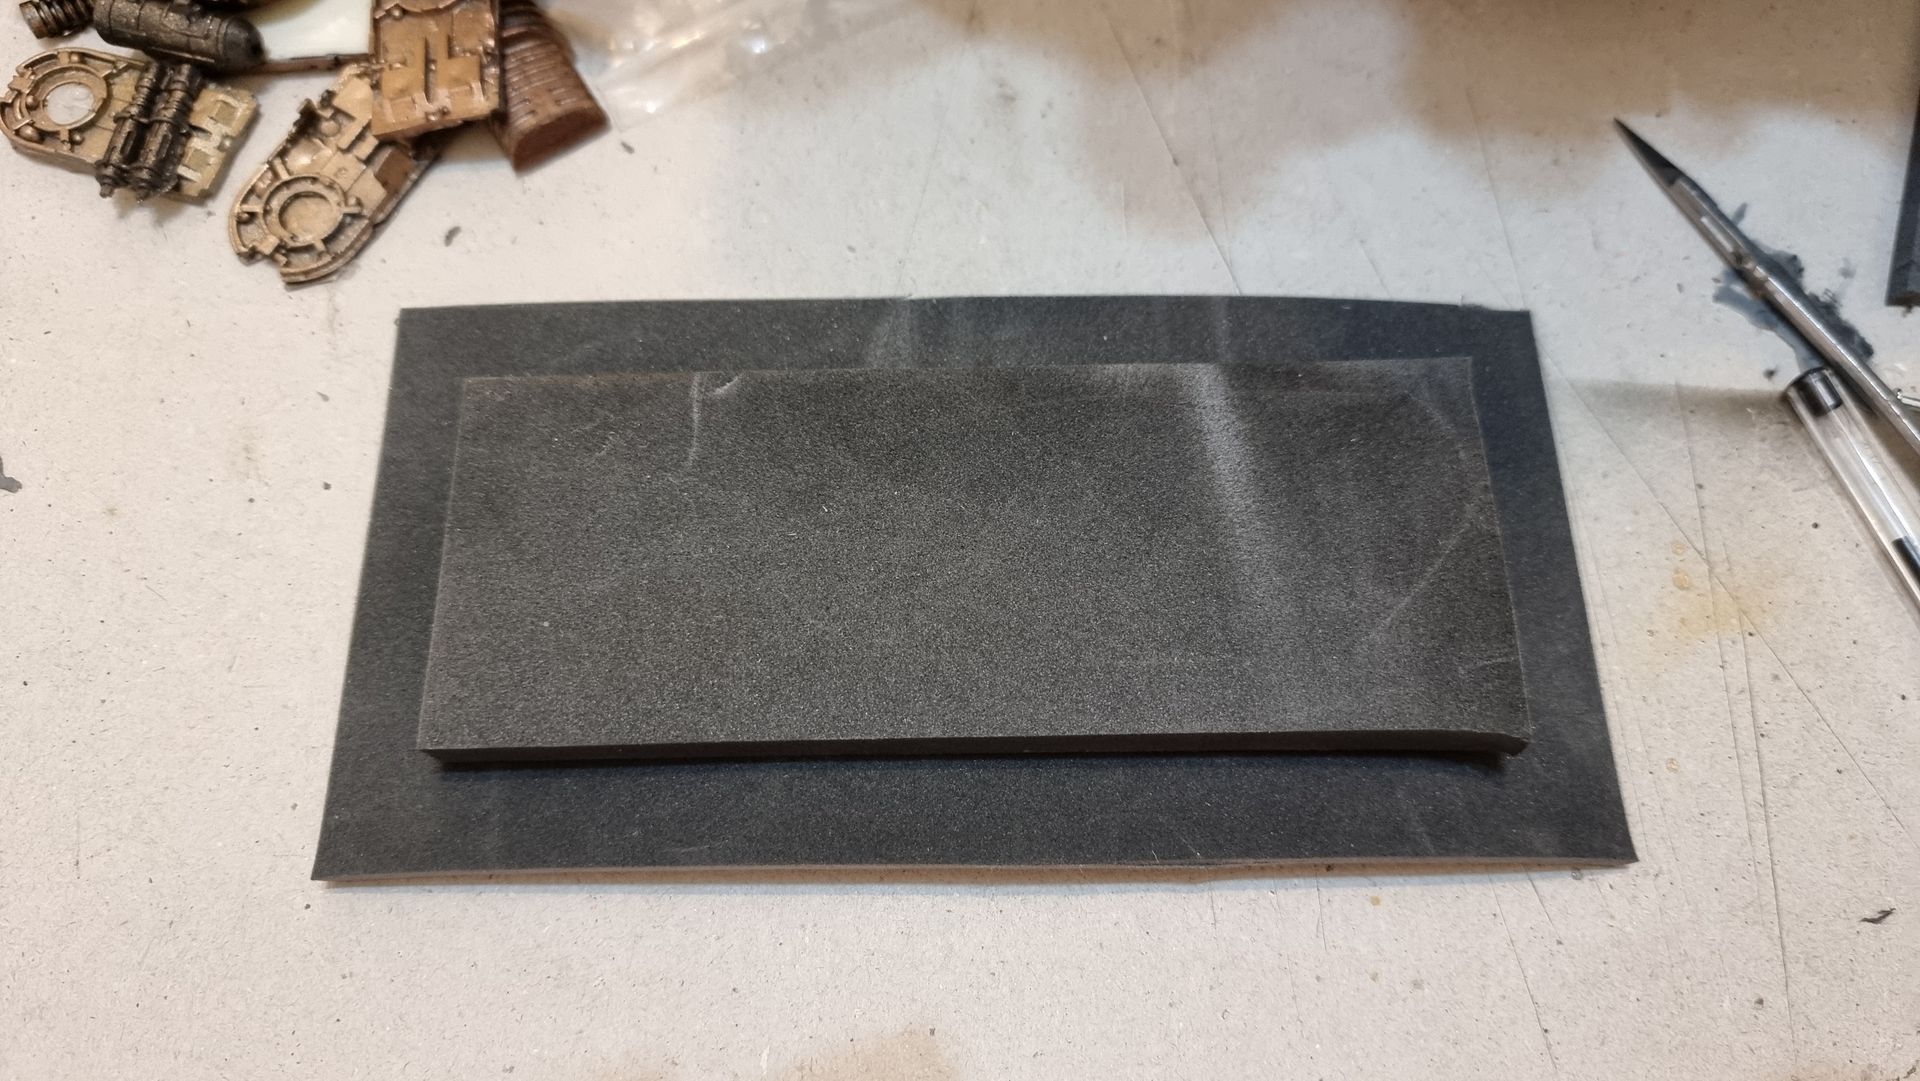
A less effective cushioning system, but potentially helpful feature would be a bumper, a firm foam bumper that could be disguised as kit bash that would dampen the impact.
This needs to be placed at the far end of the wings when opened as that’s what would be hit first
This is far from perfect but could help.
This needs to be thicker than the rest of the kit bash as would hit first to protect the other kit bash detailing.
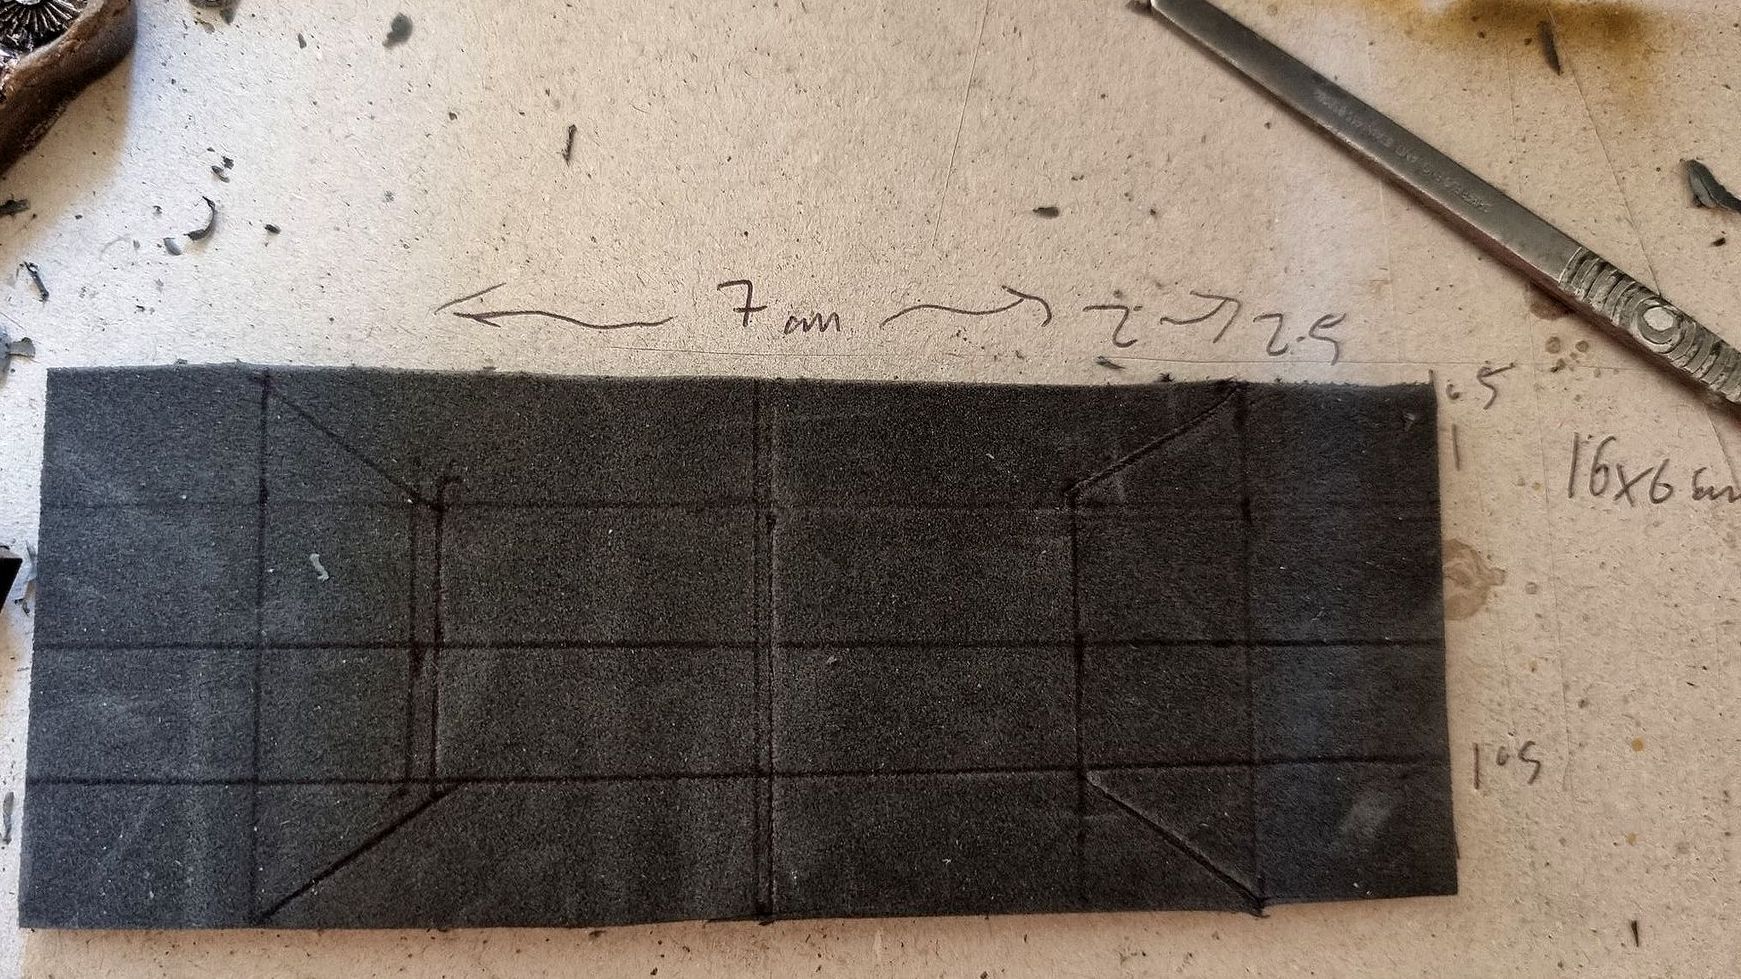
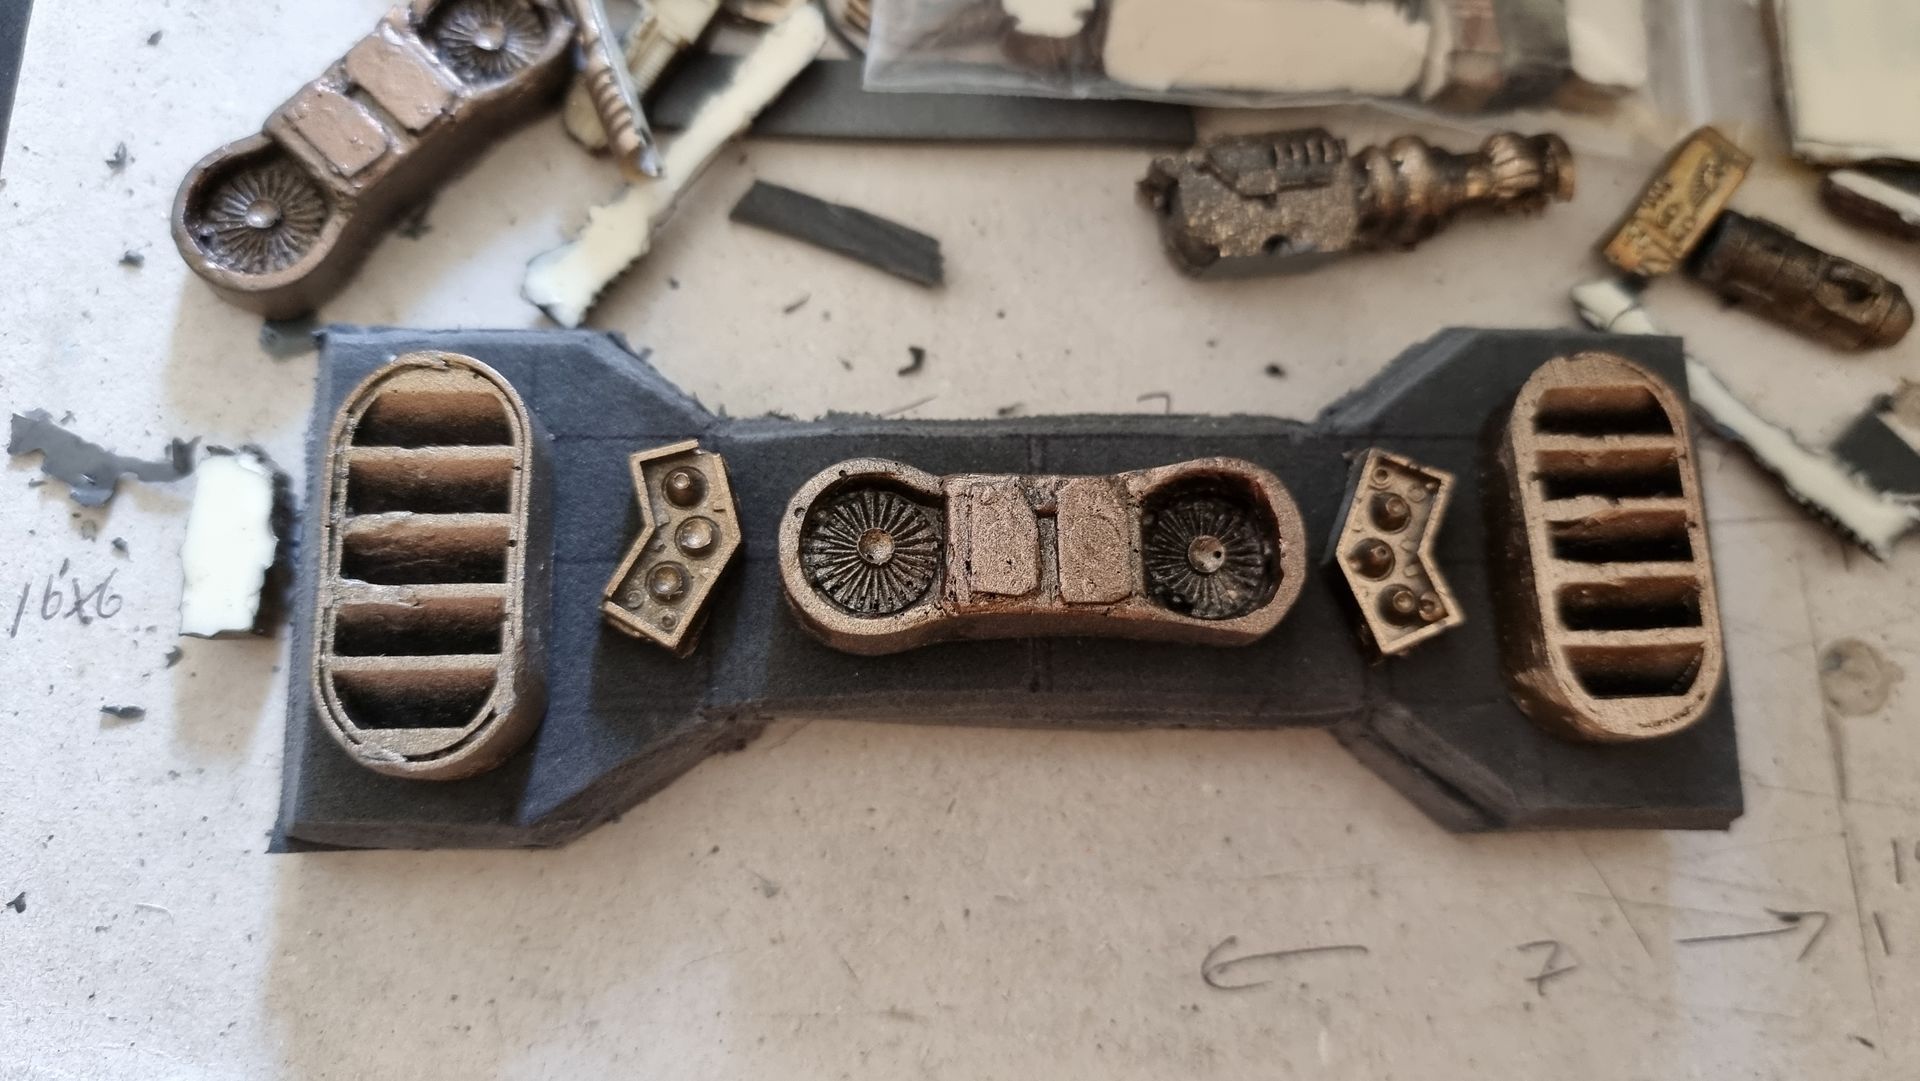
Various shapes for the bumpers were tried to be cut from Plastazote foam were tried in combination with various kit bashing.
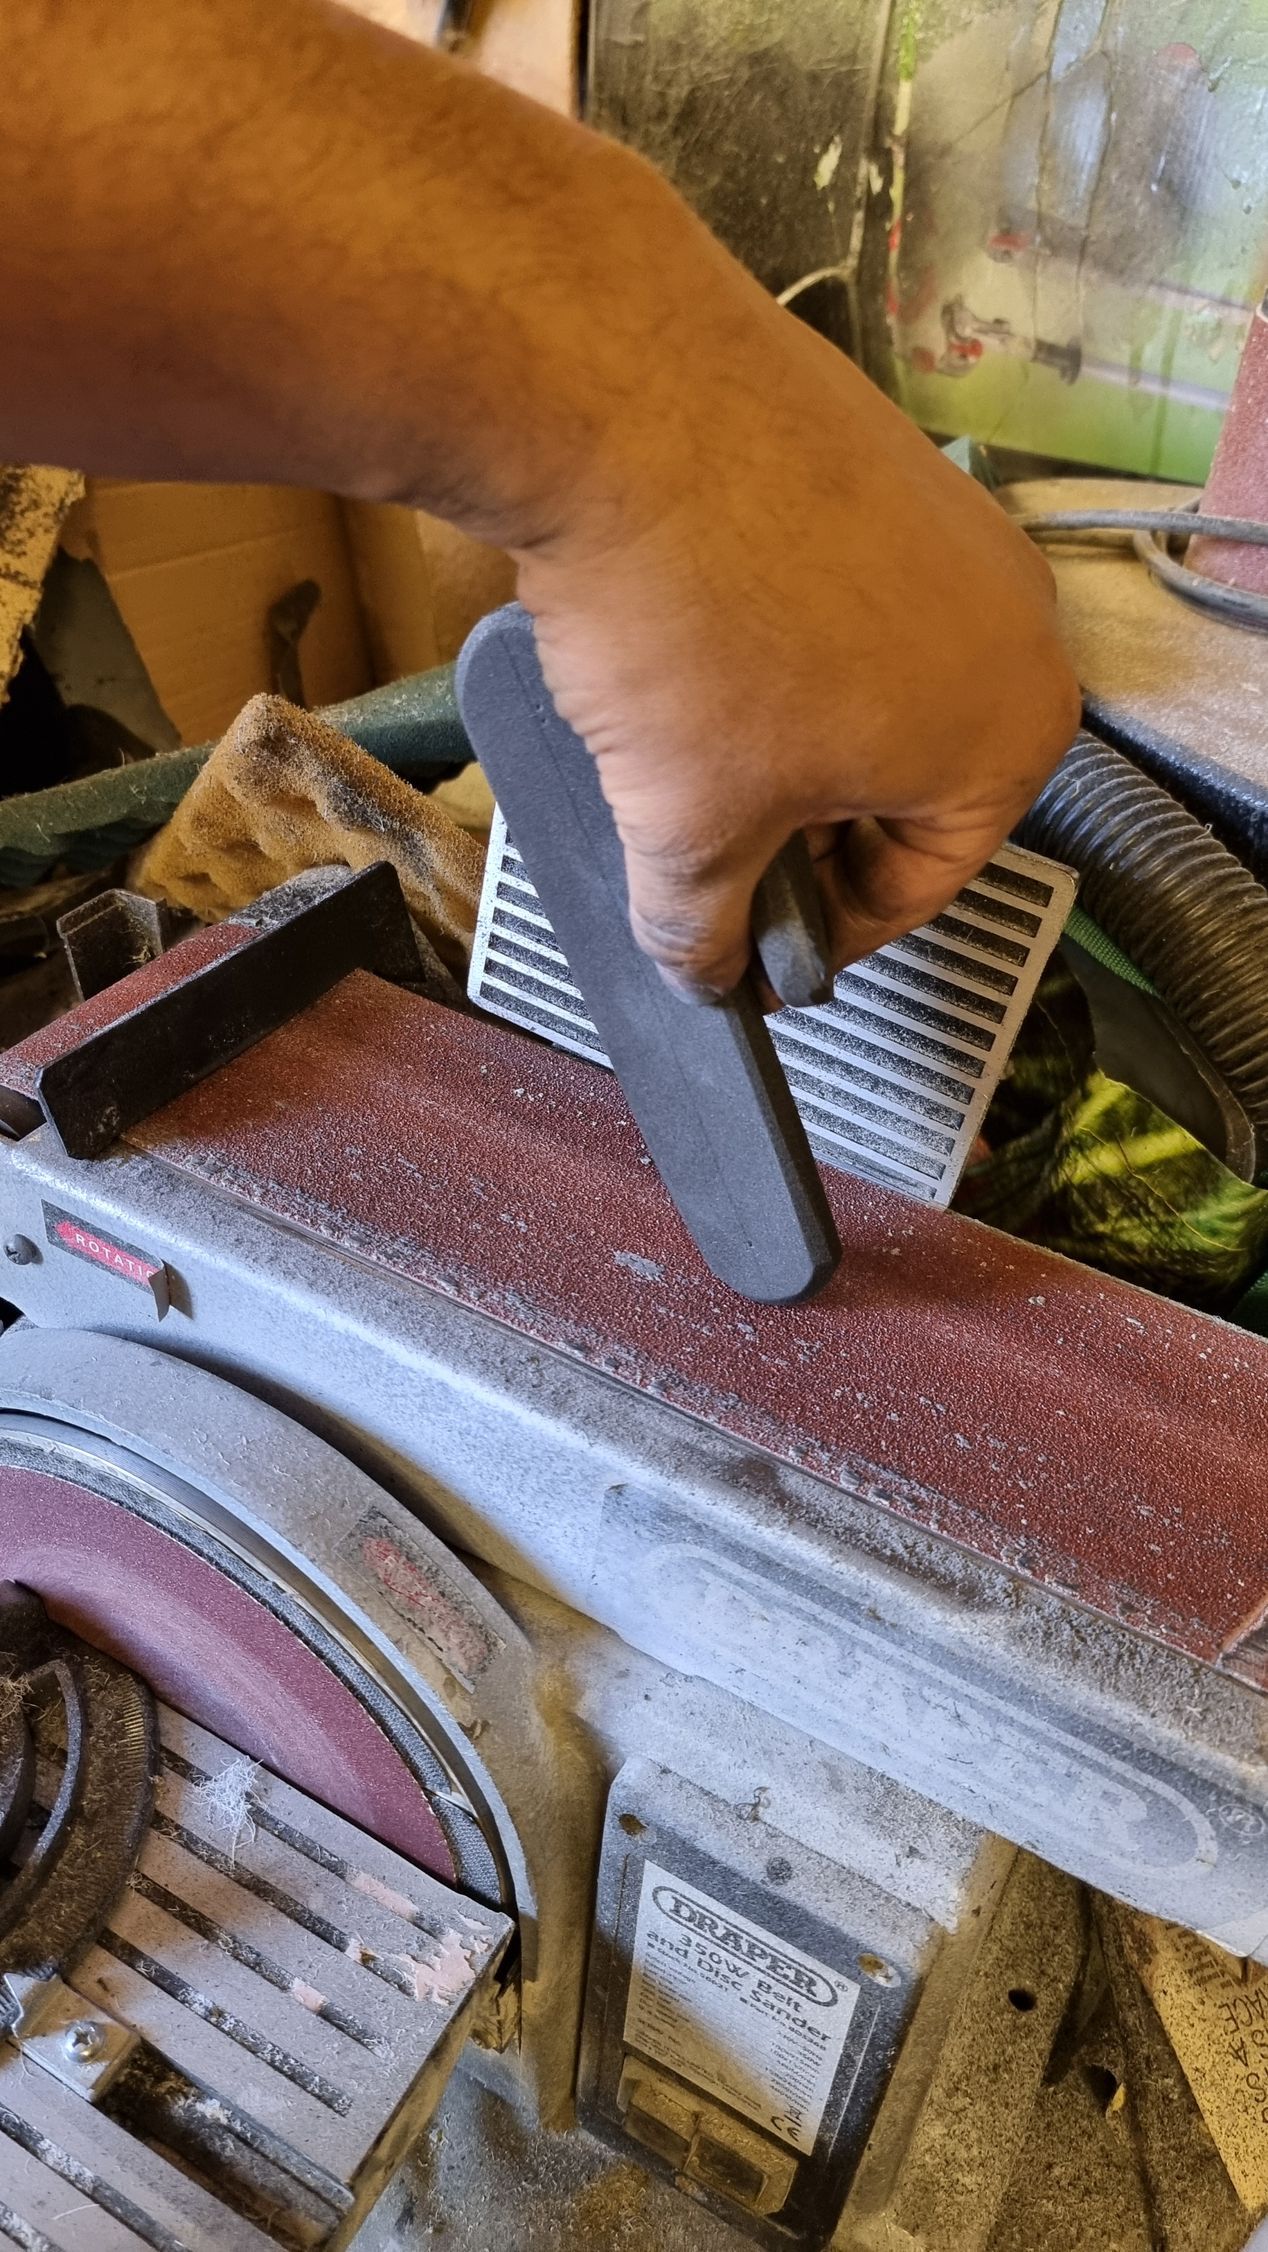
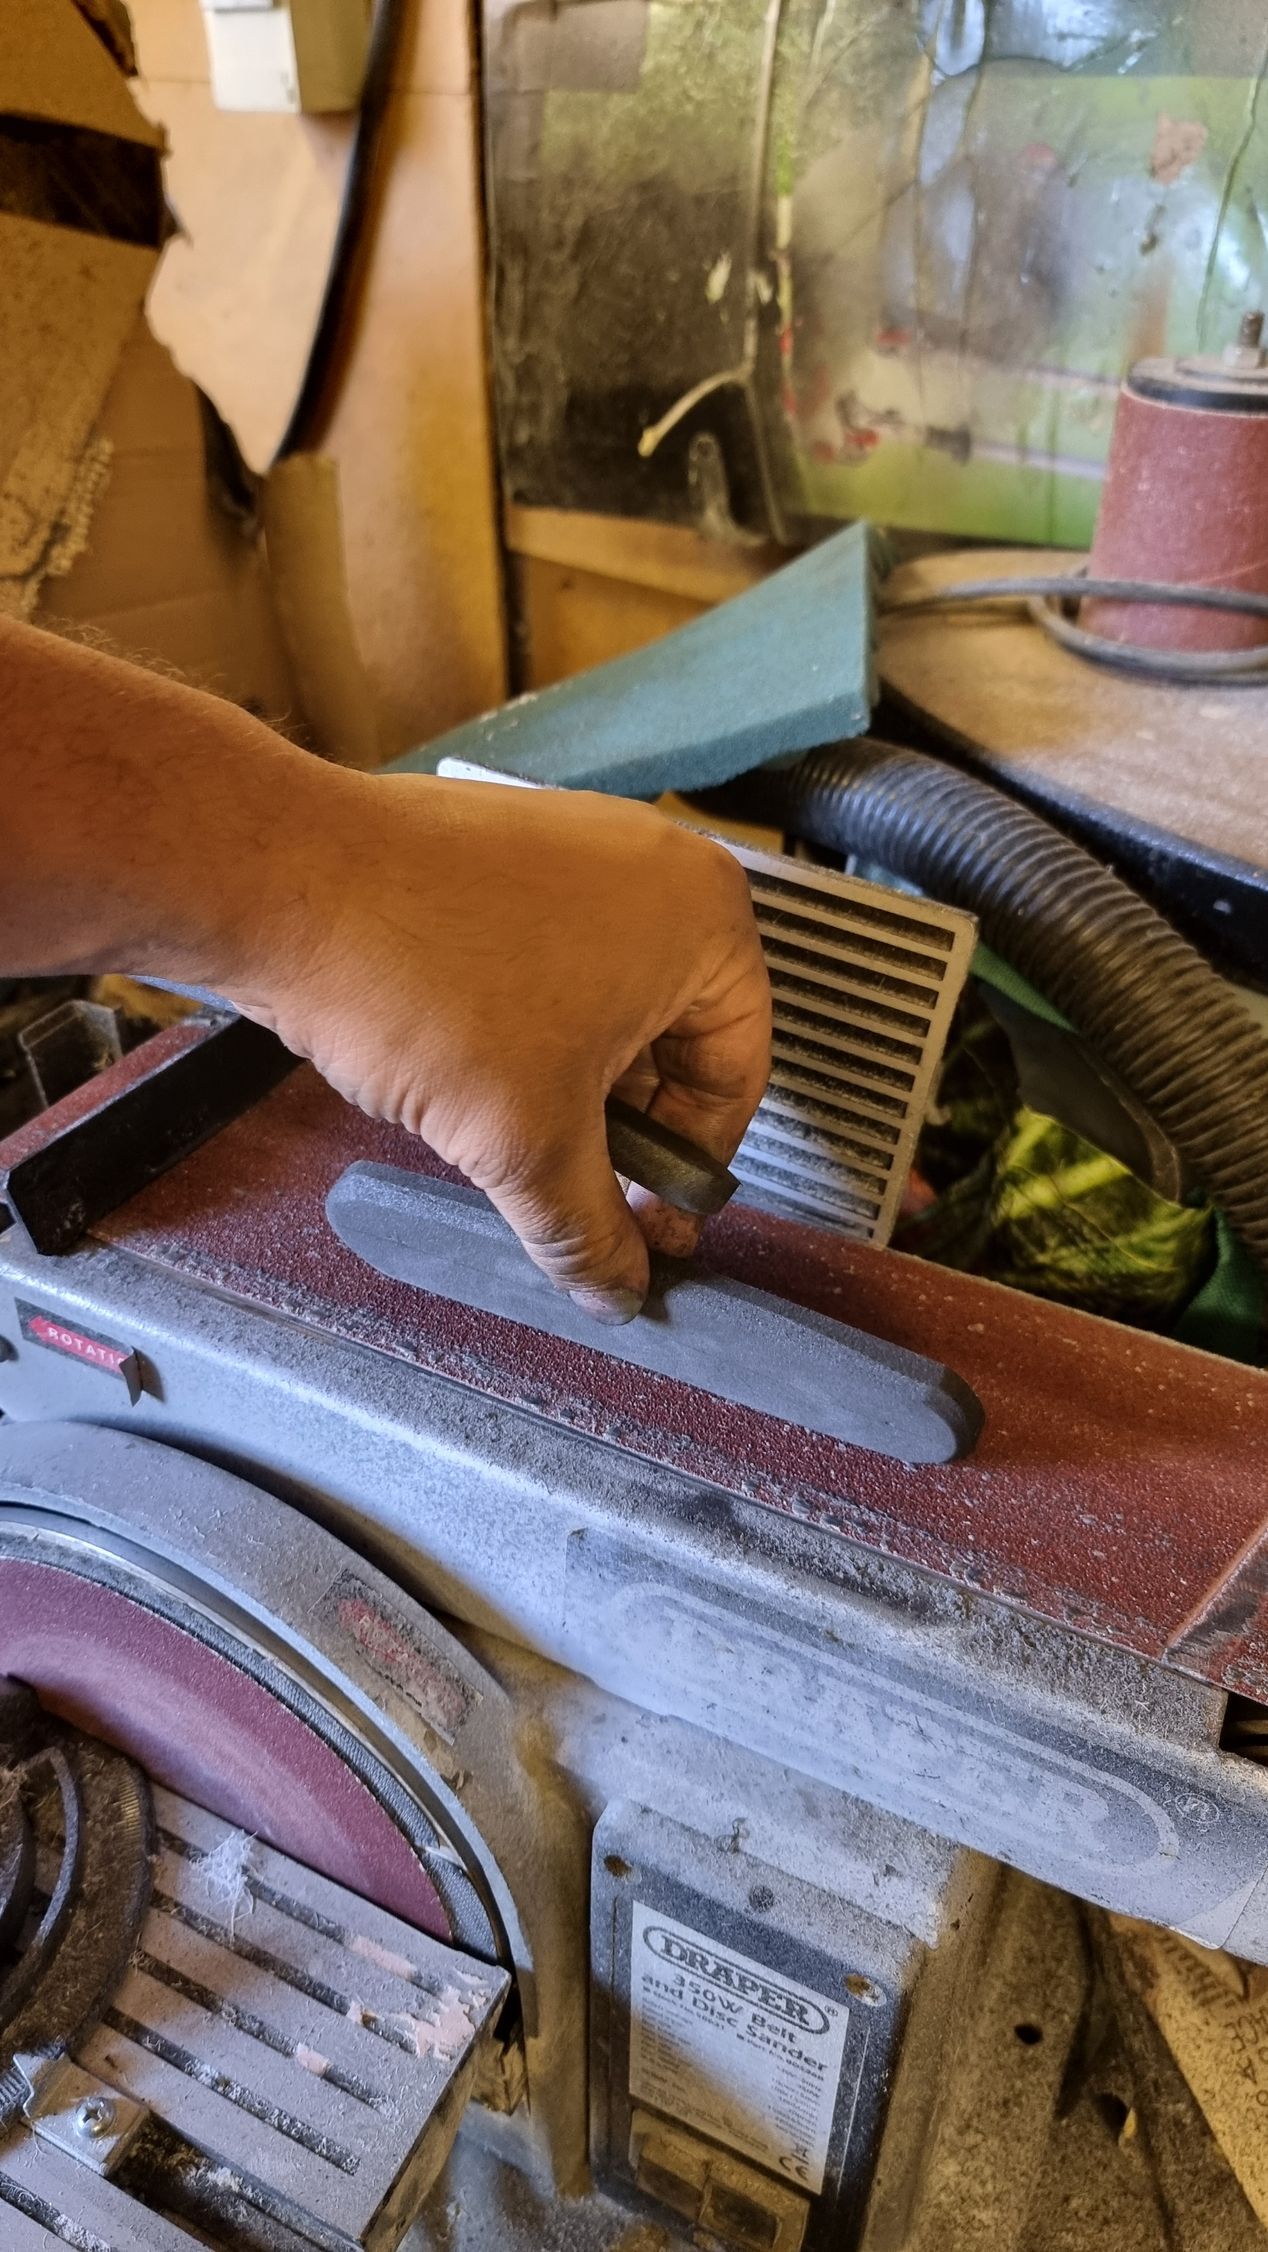
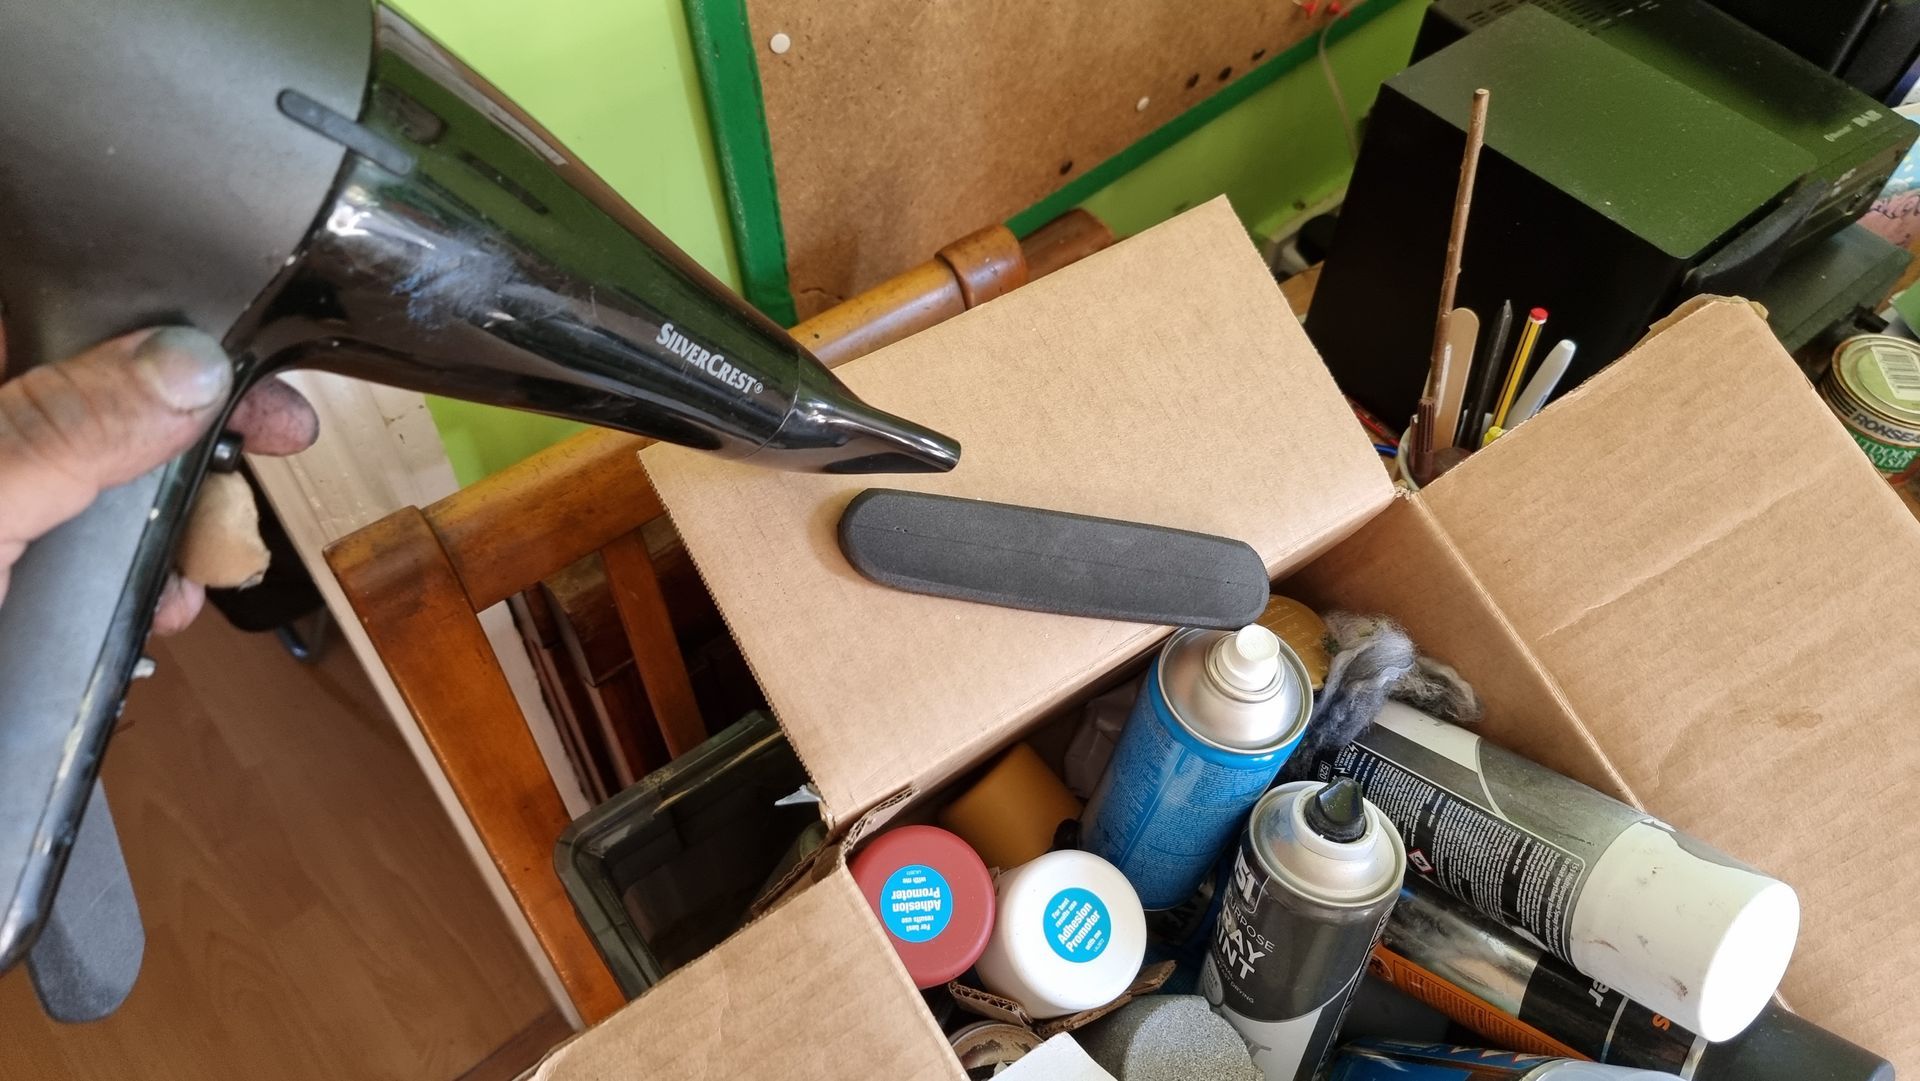
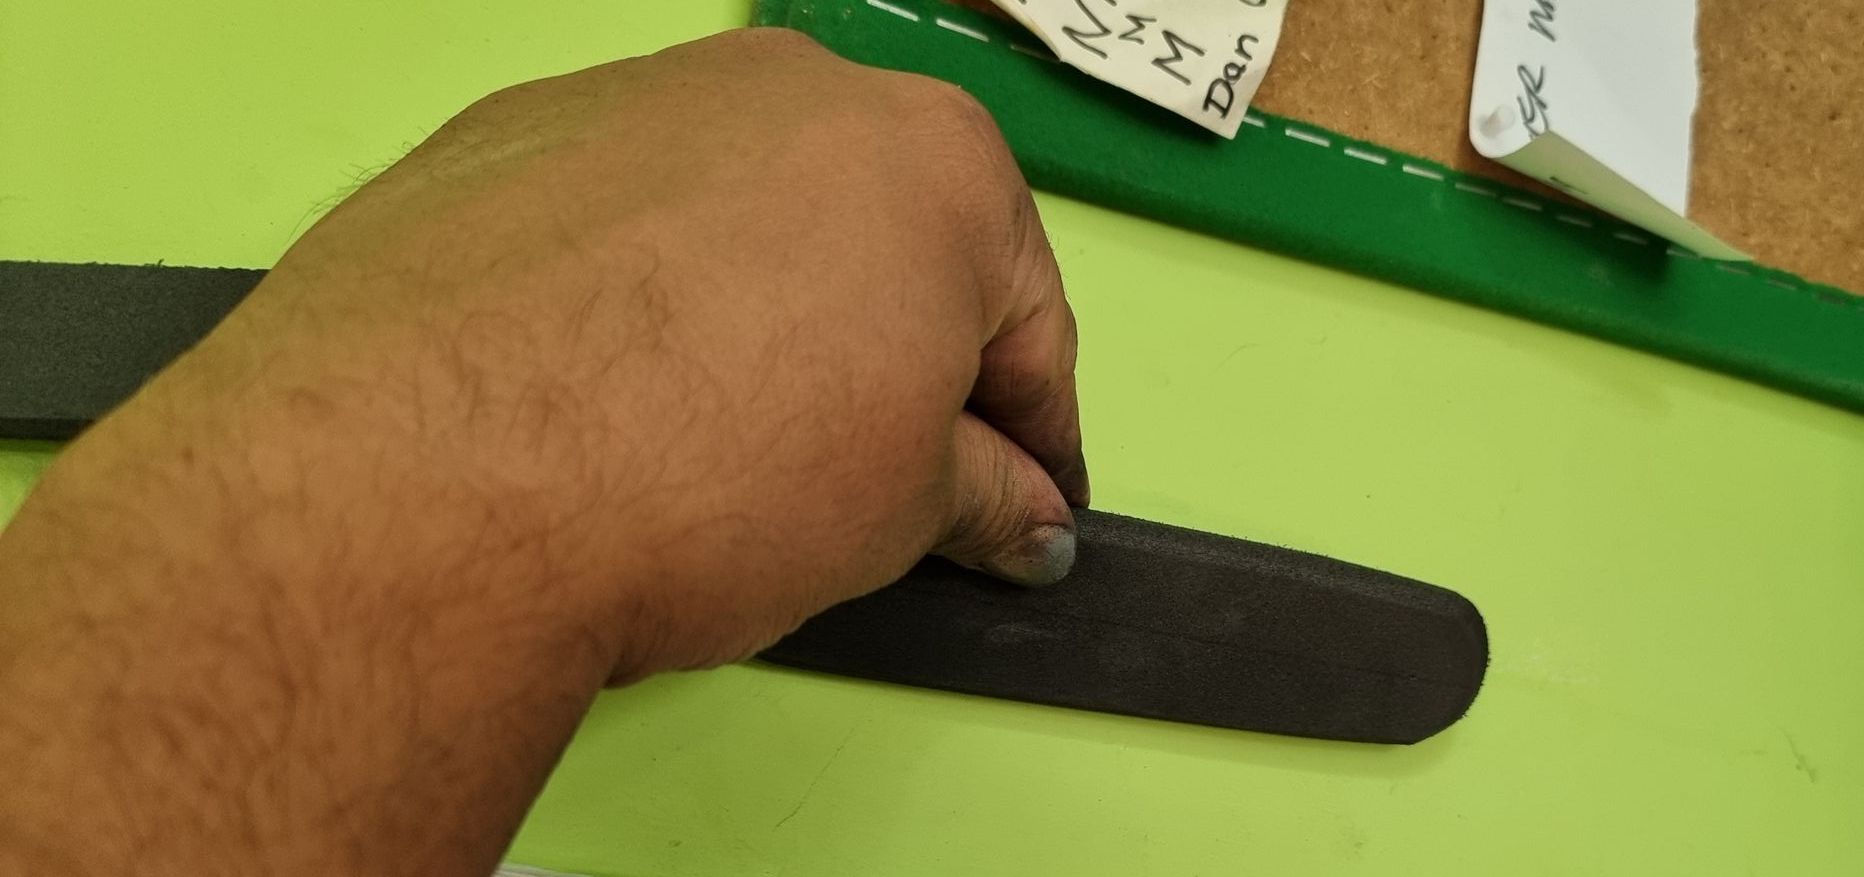
To curve the ends, I used the belt sander. Then I heated the foam and pressed this onto smooth surfaces to smooth the surface so it would look more metallic before spray painting.
This time I used a more flexible primer spray paint.

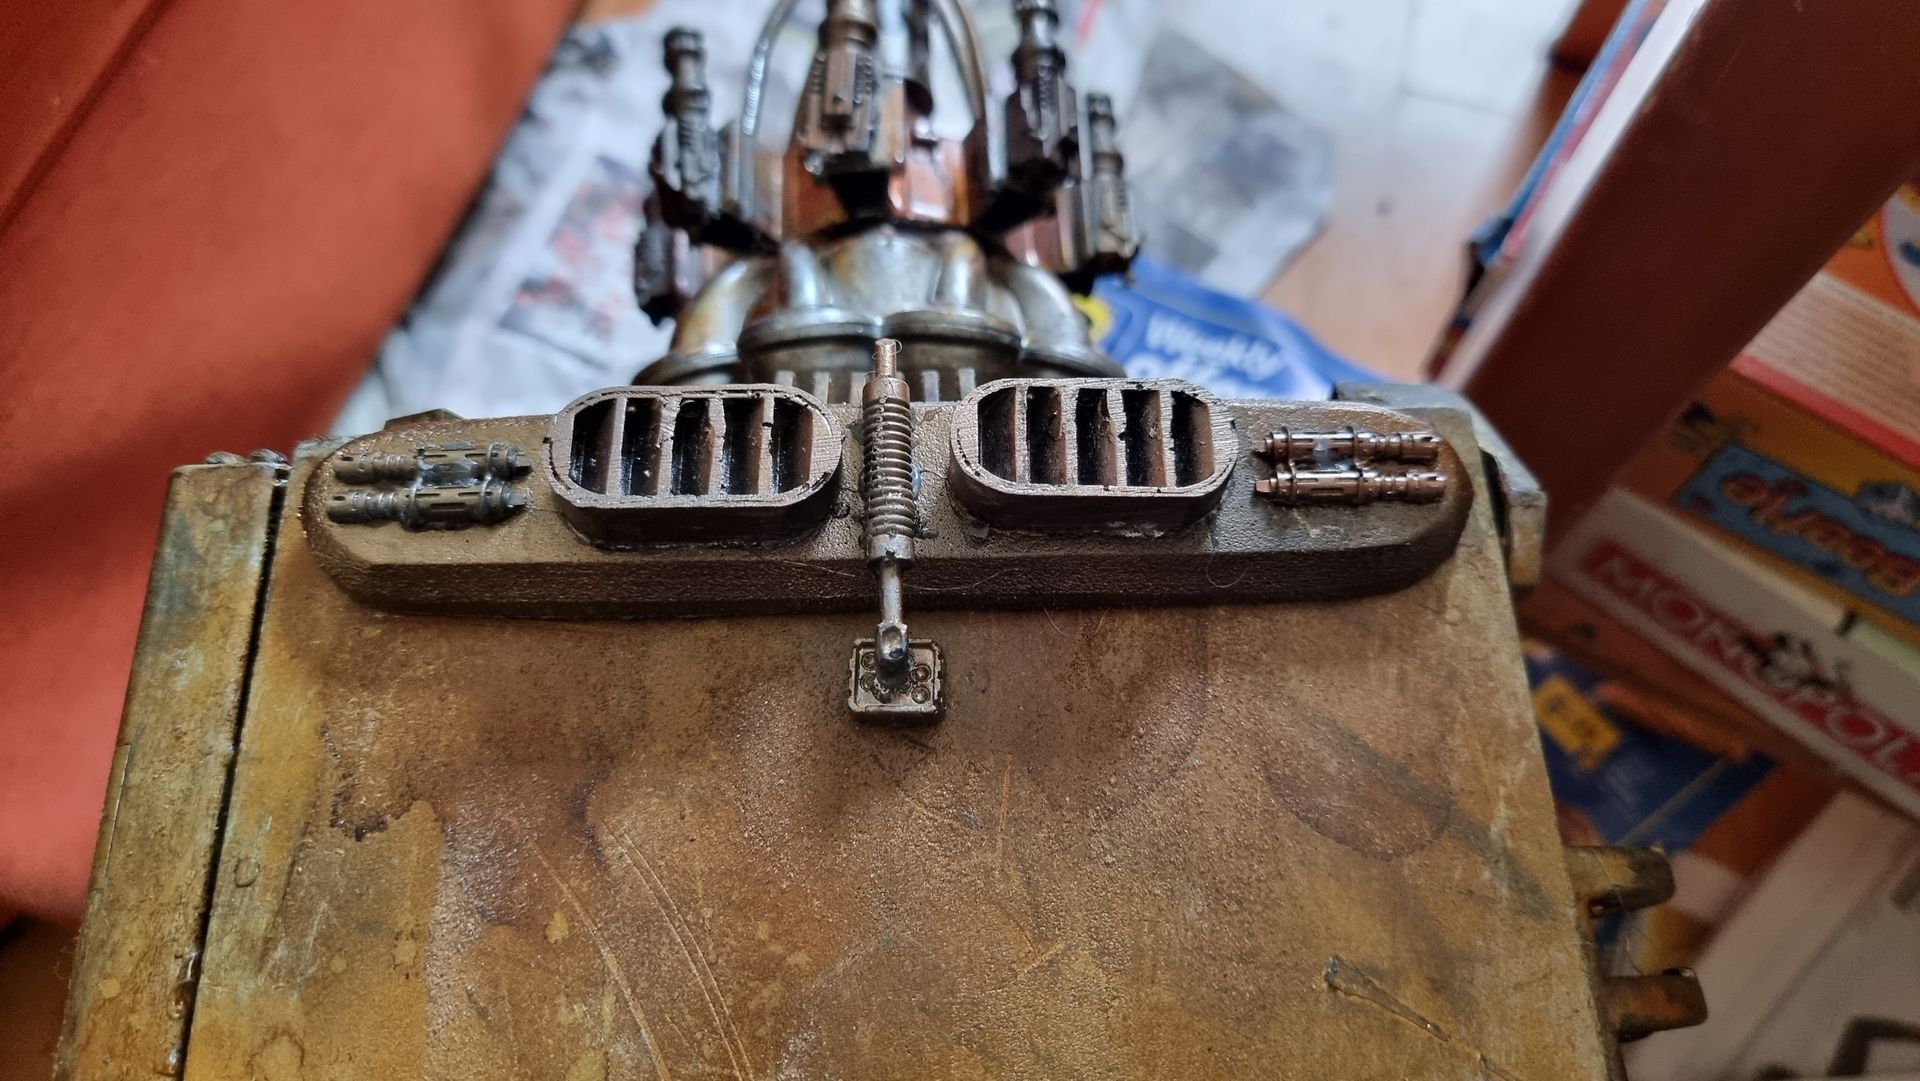
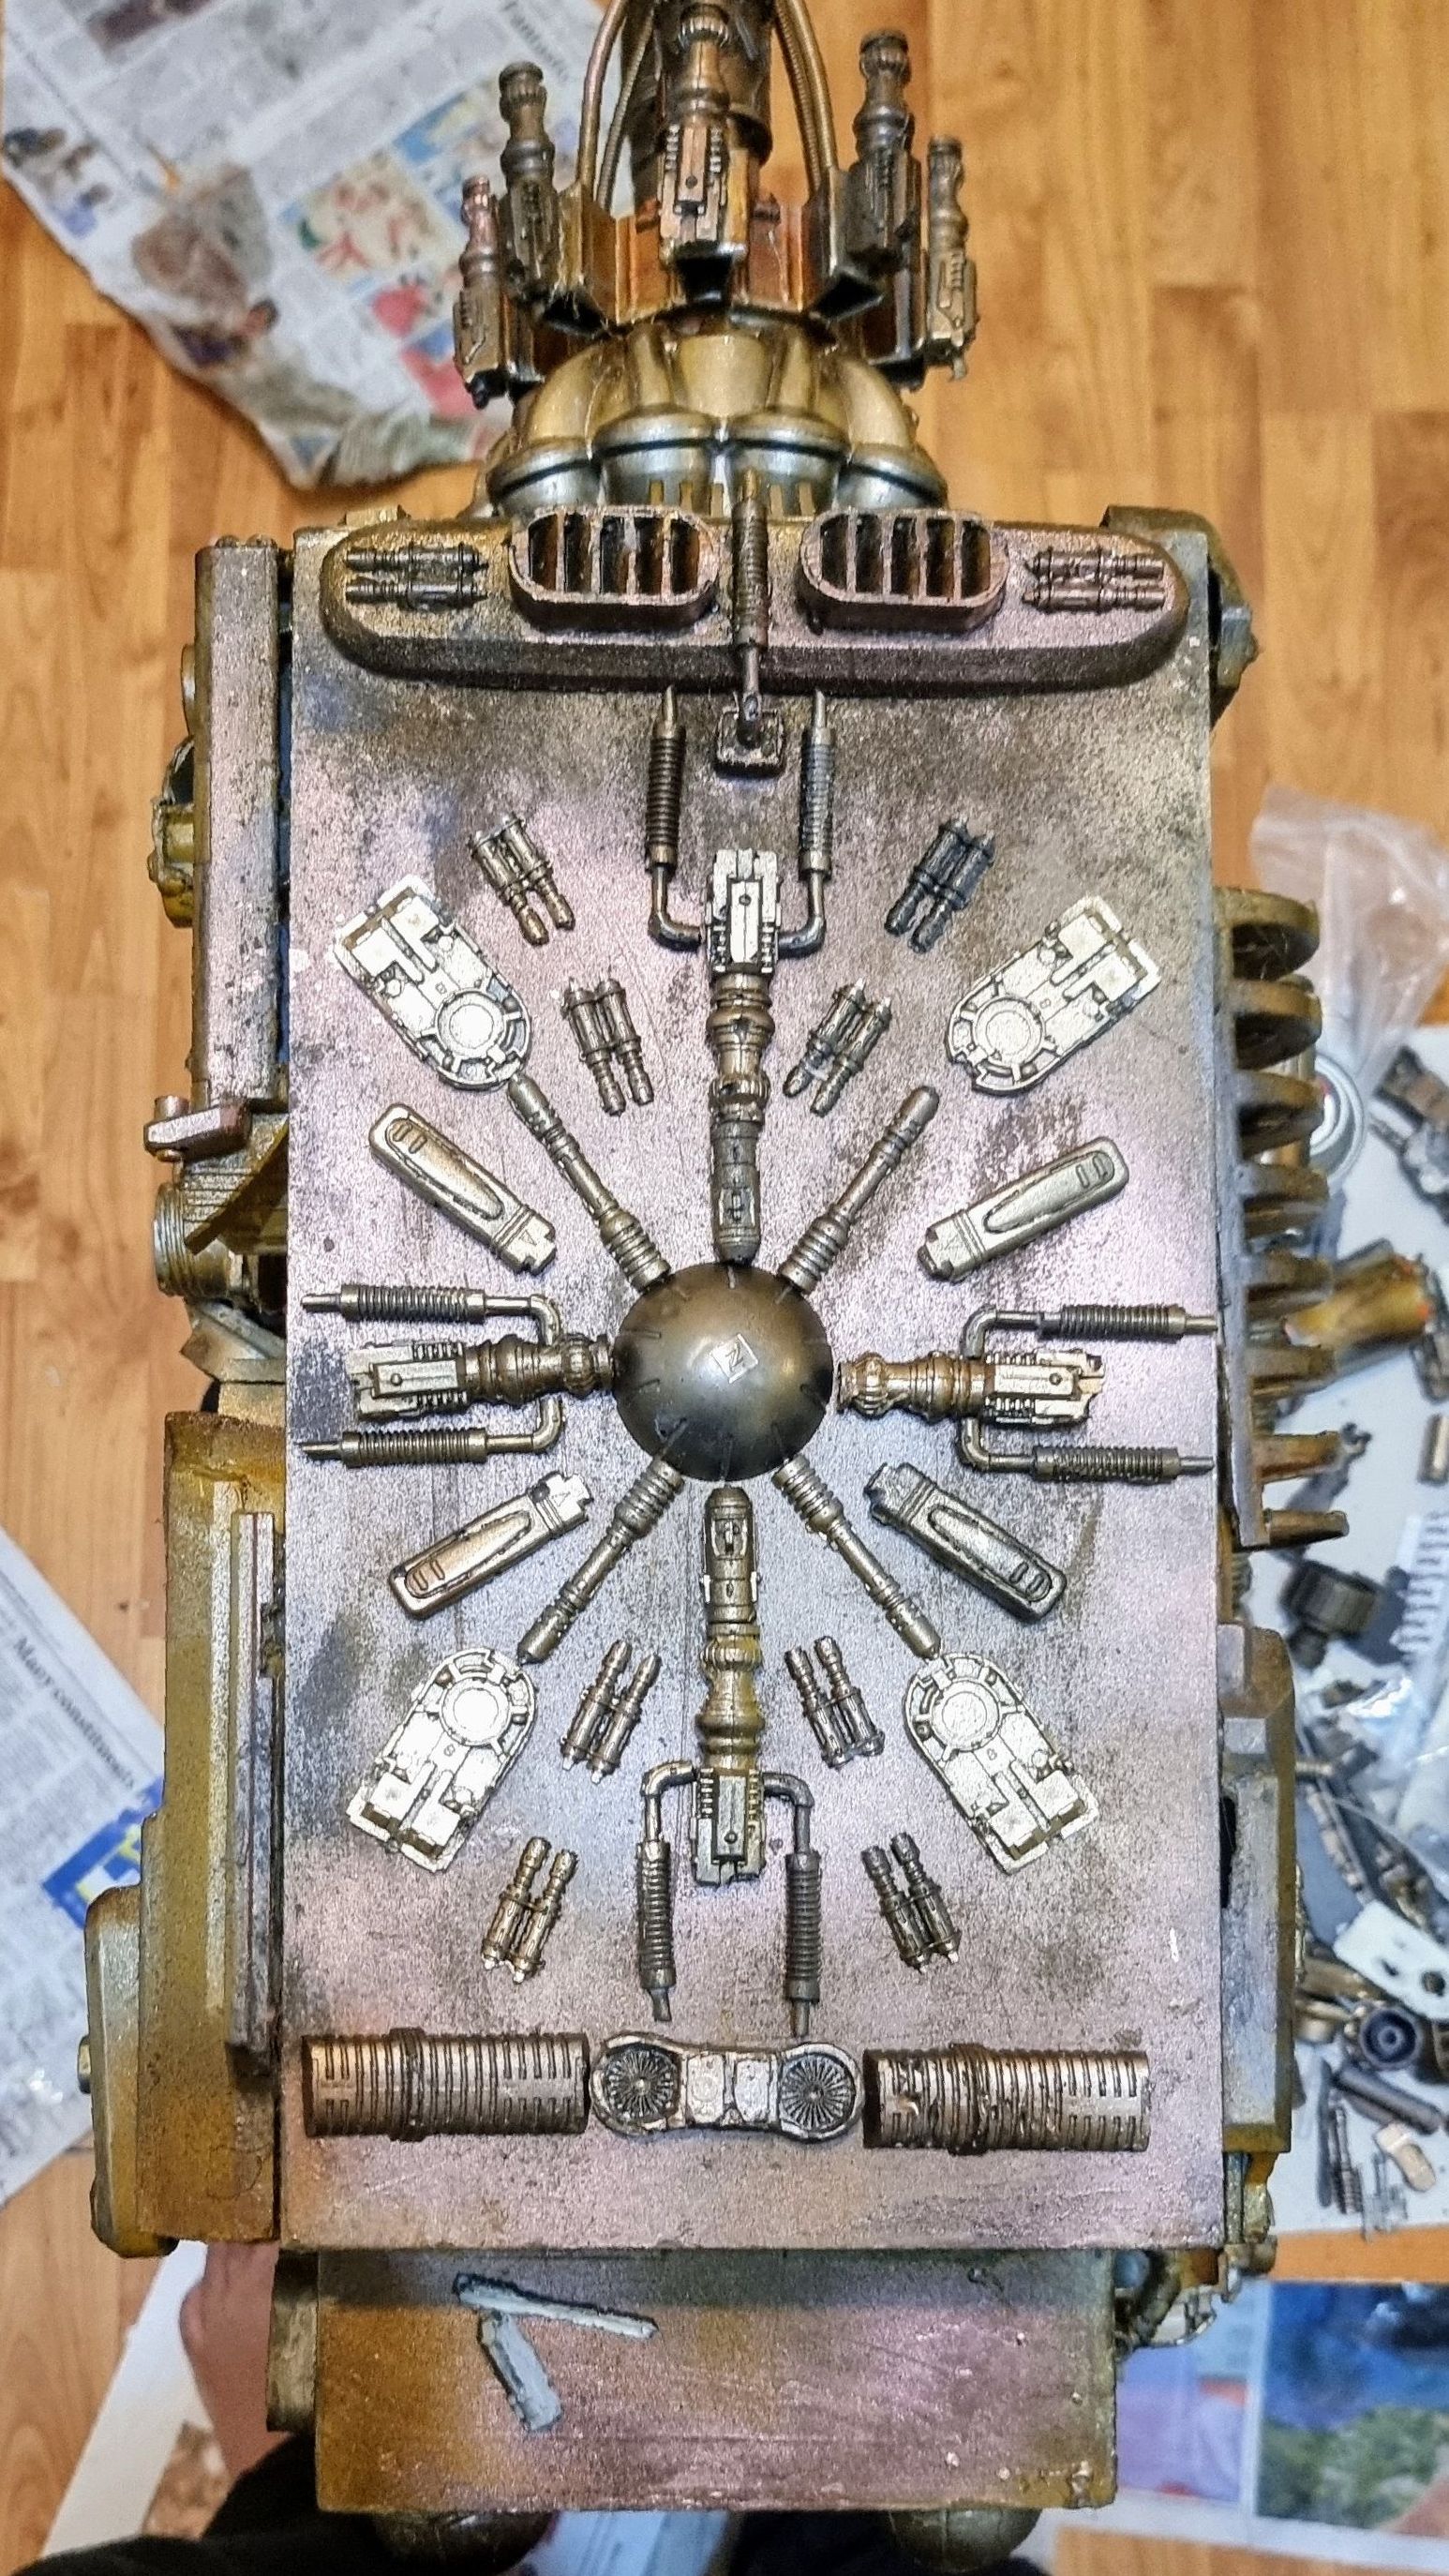
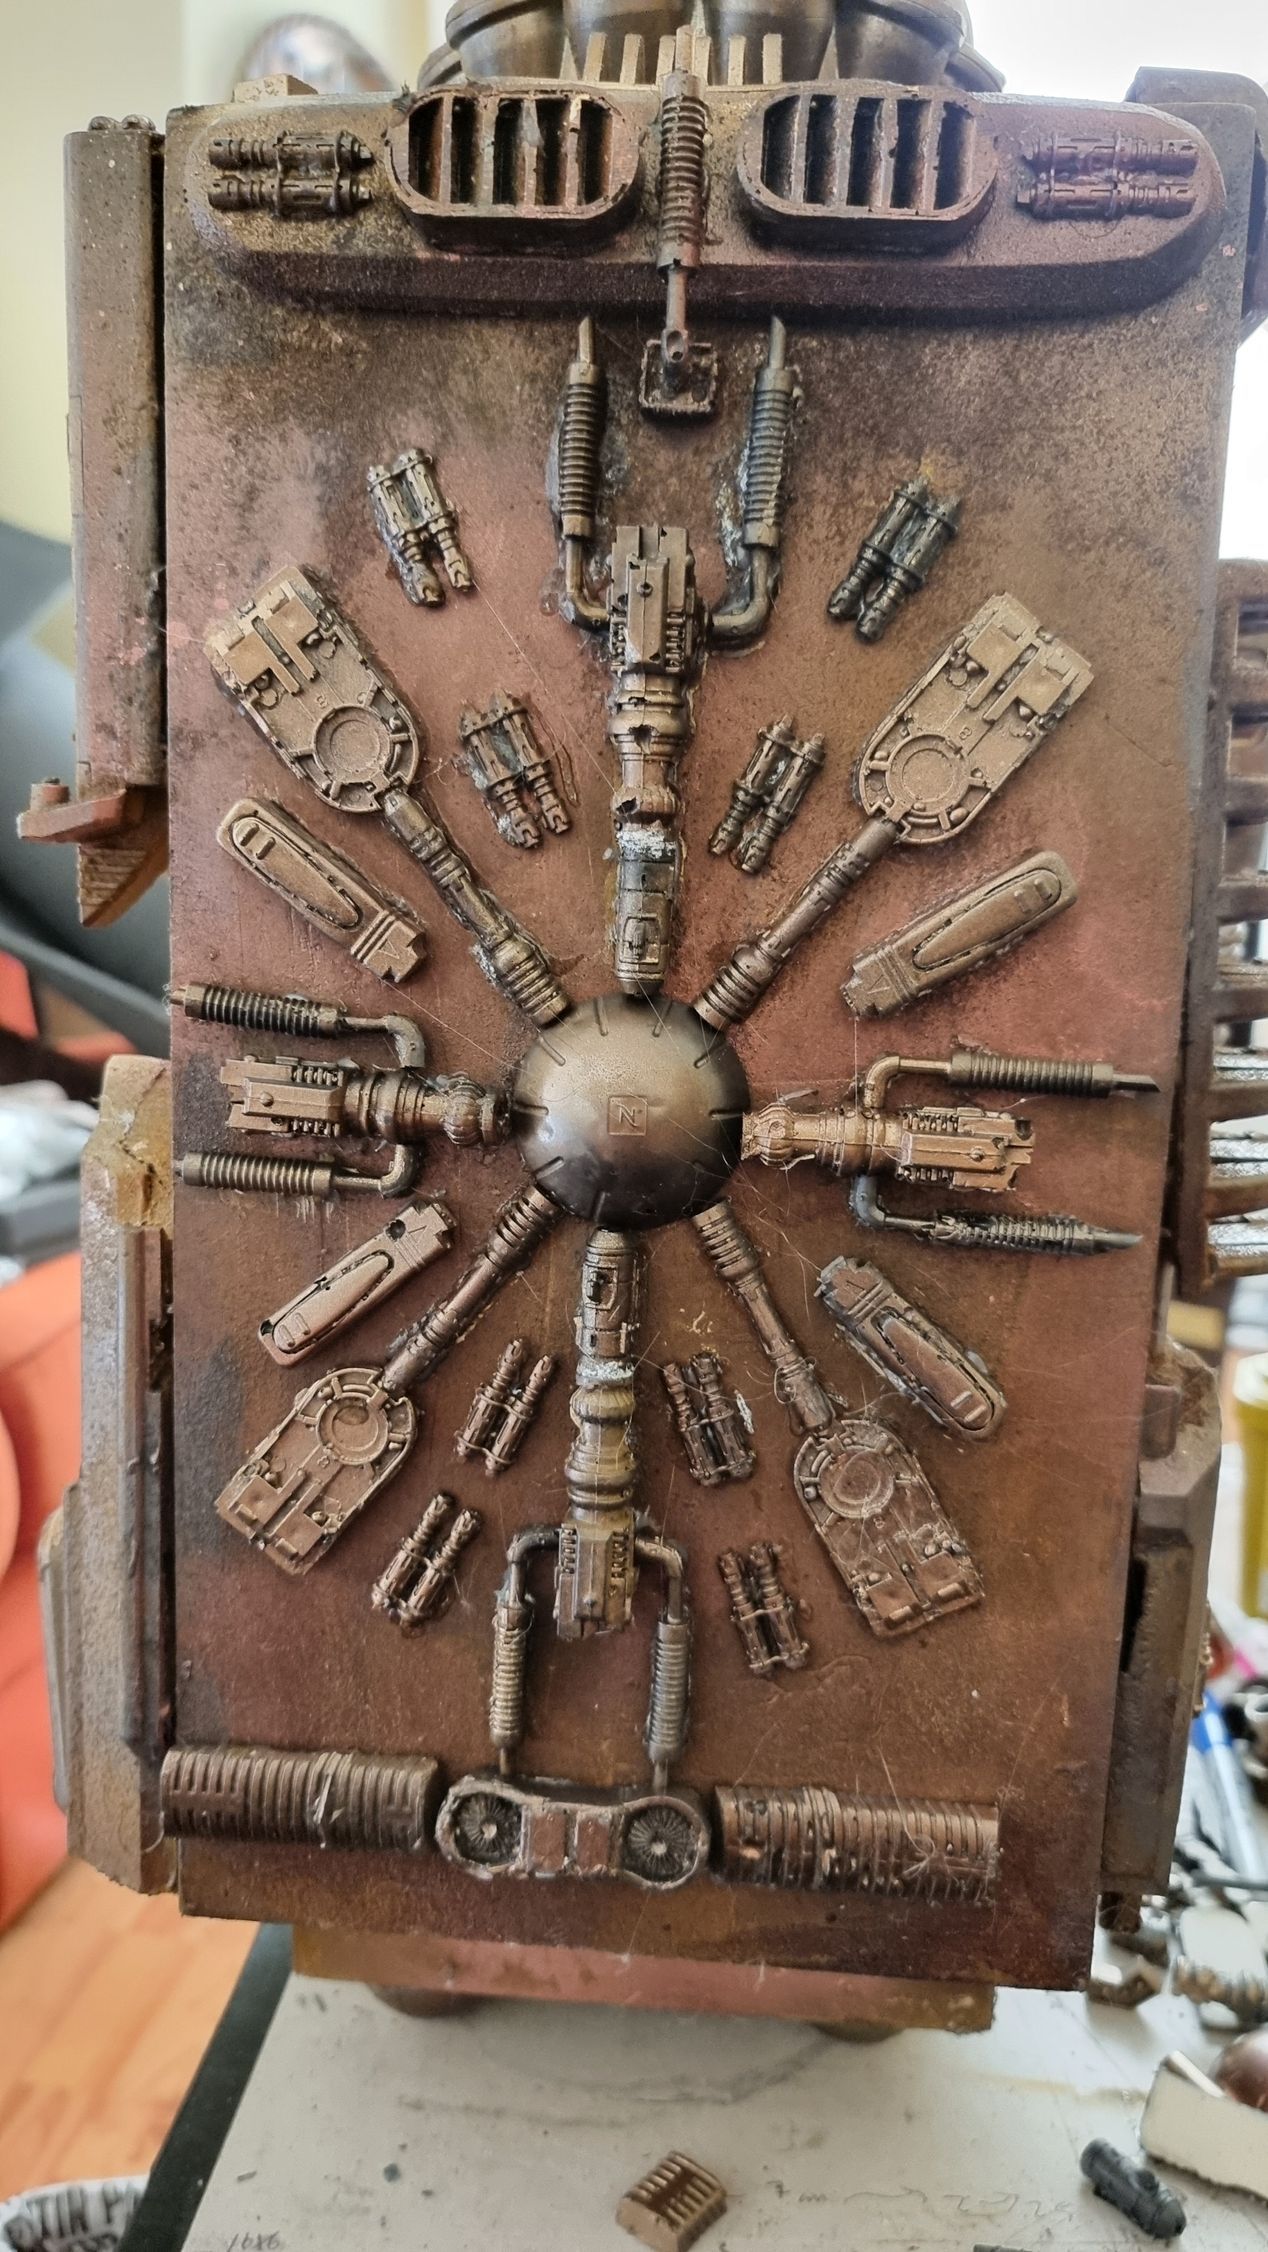
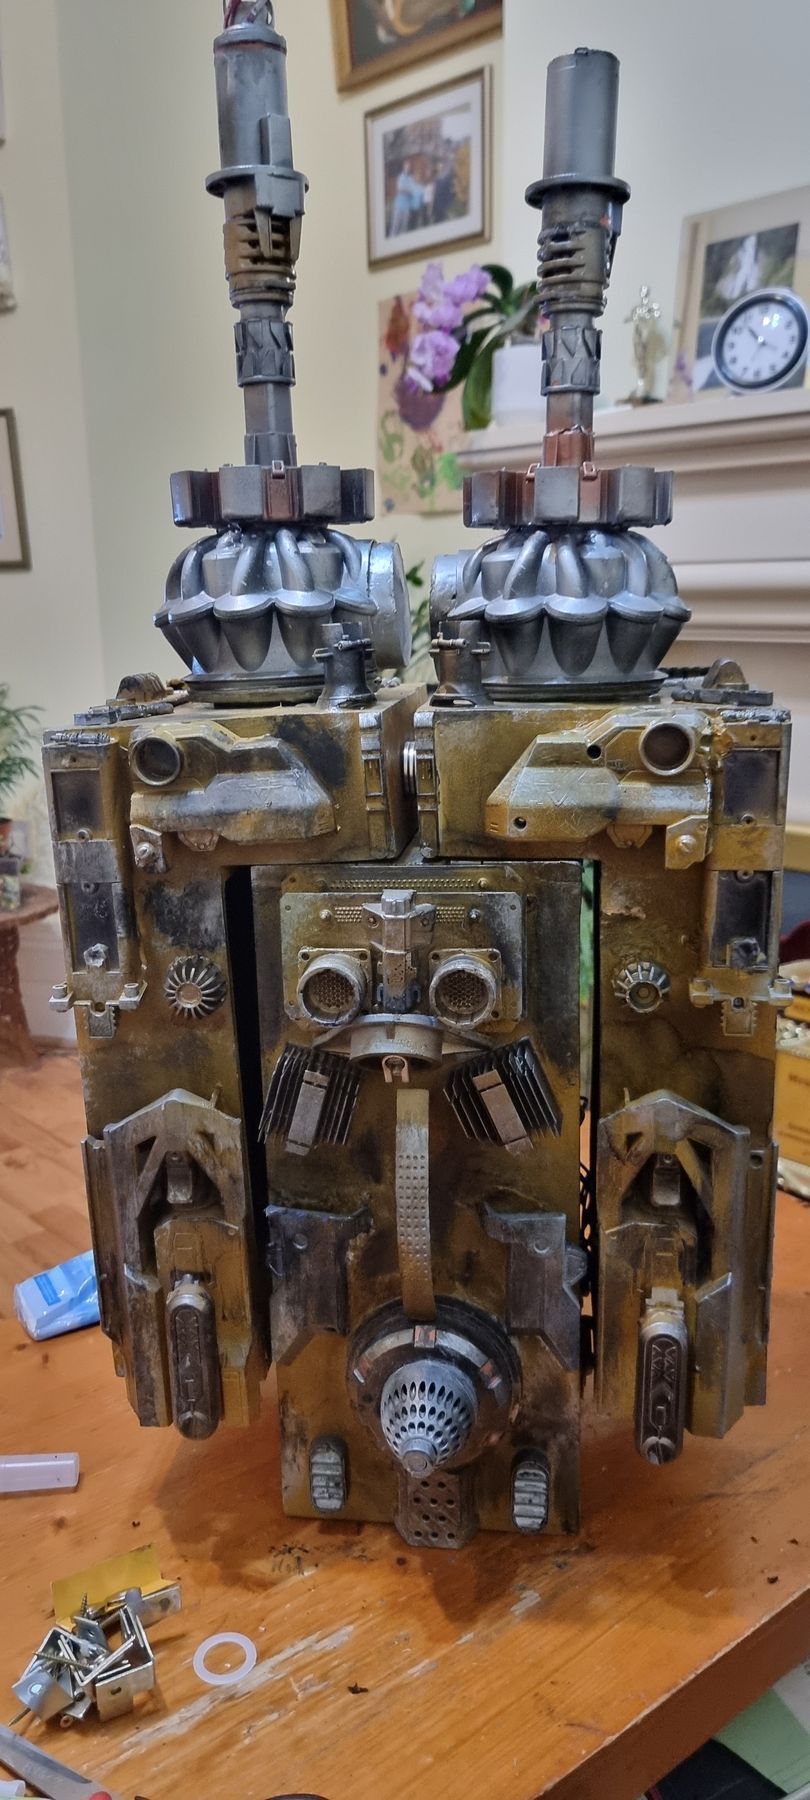
Side Kit Bash Technology
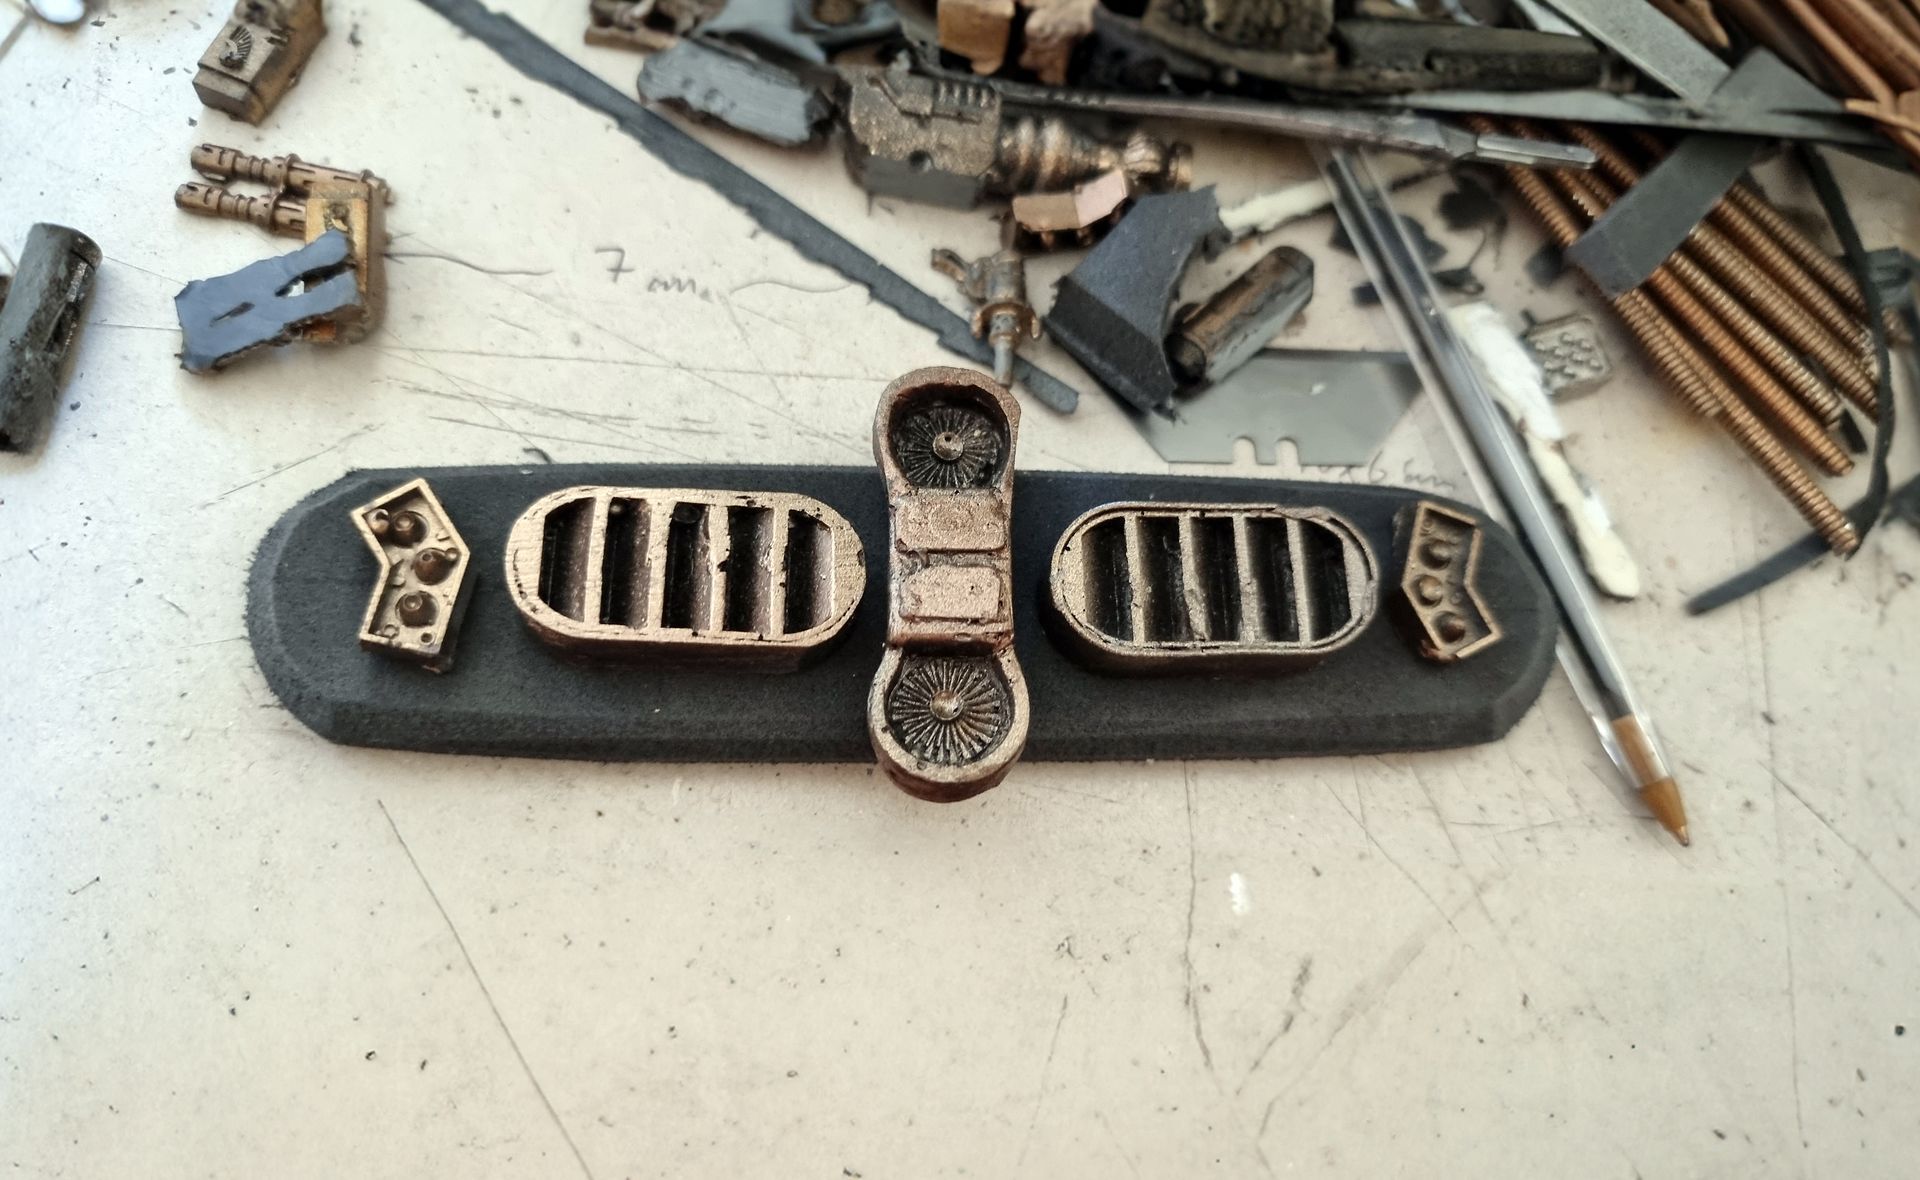
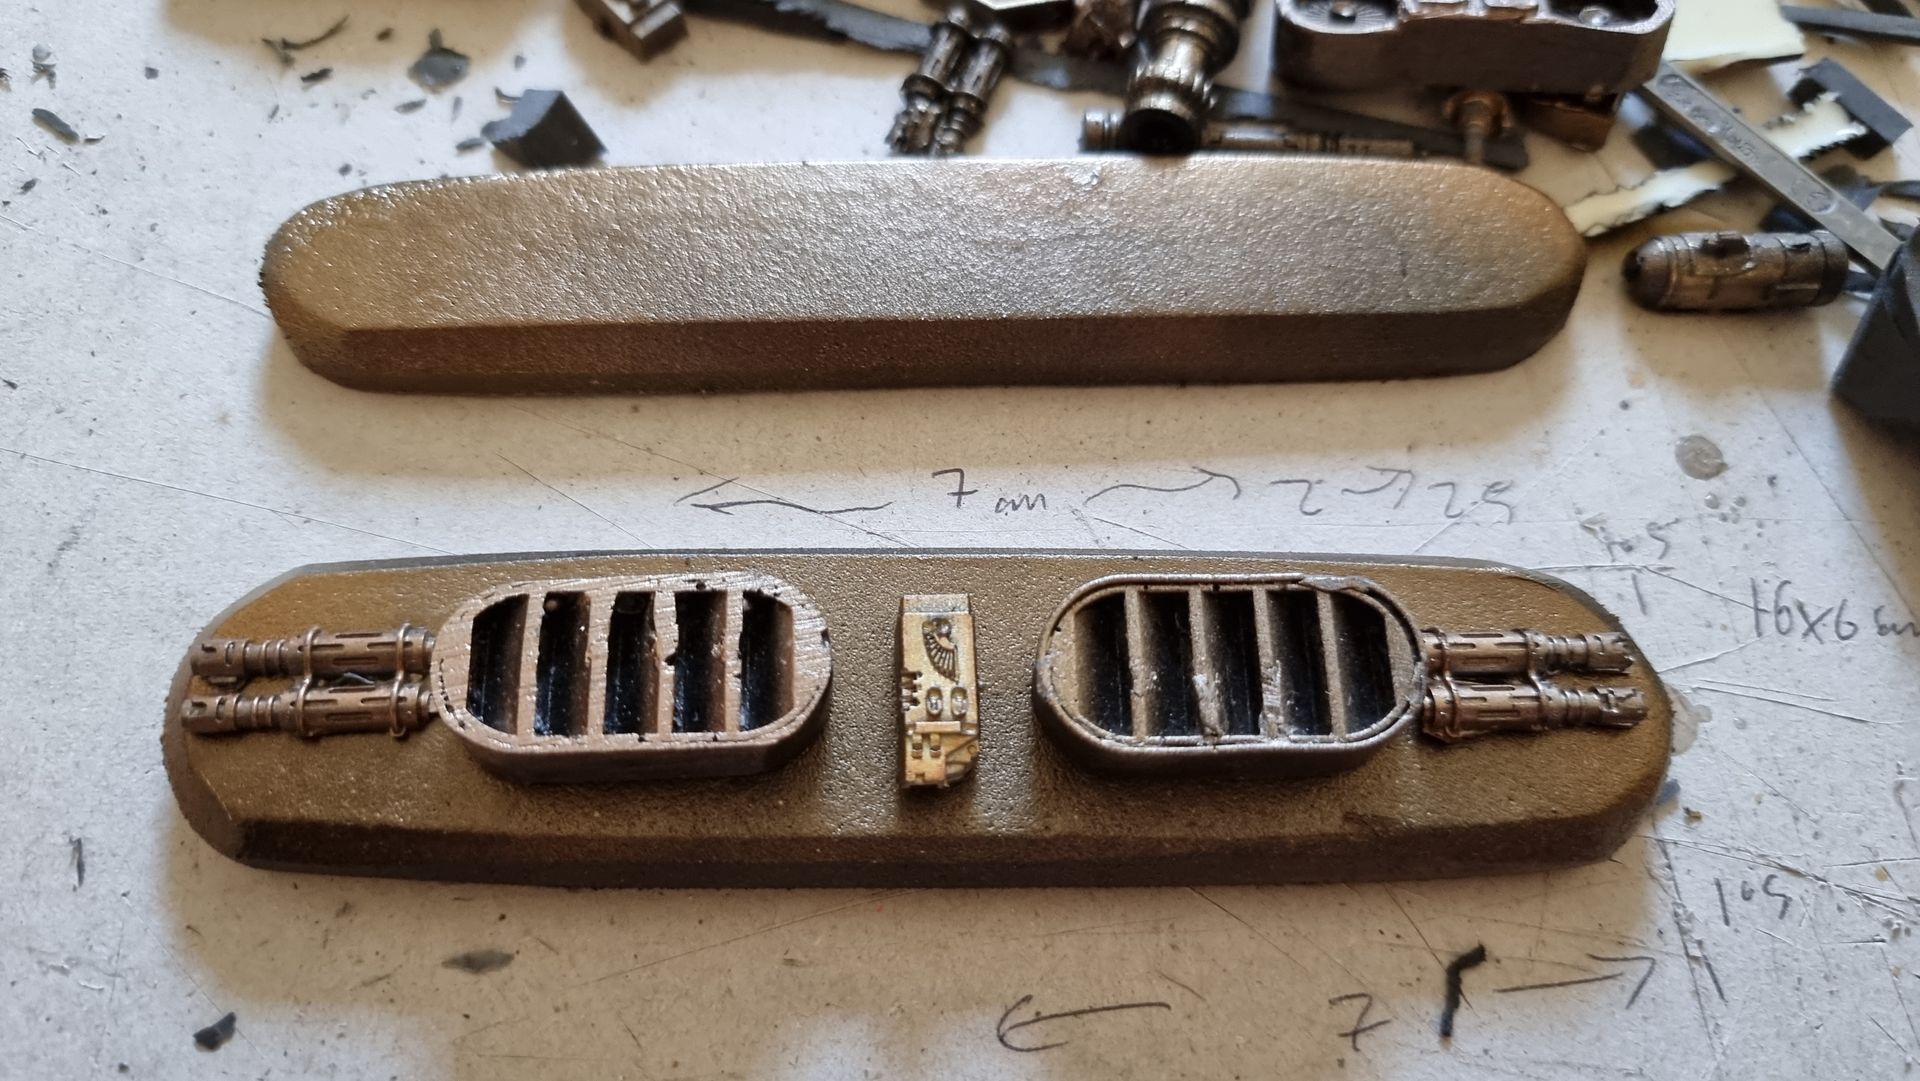
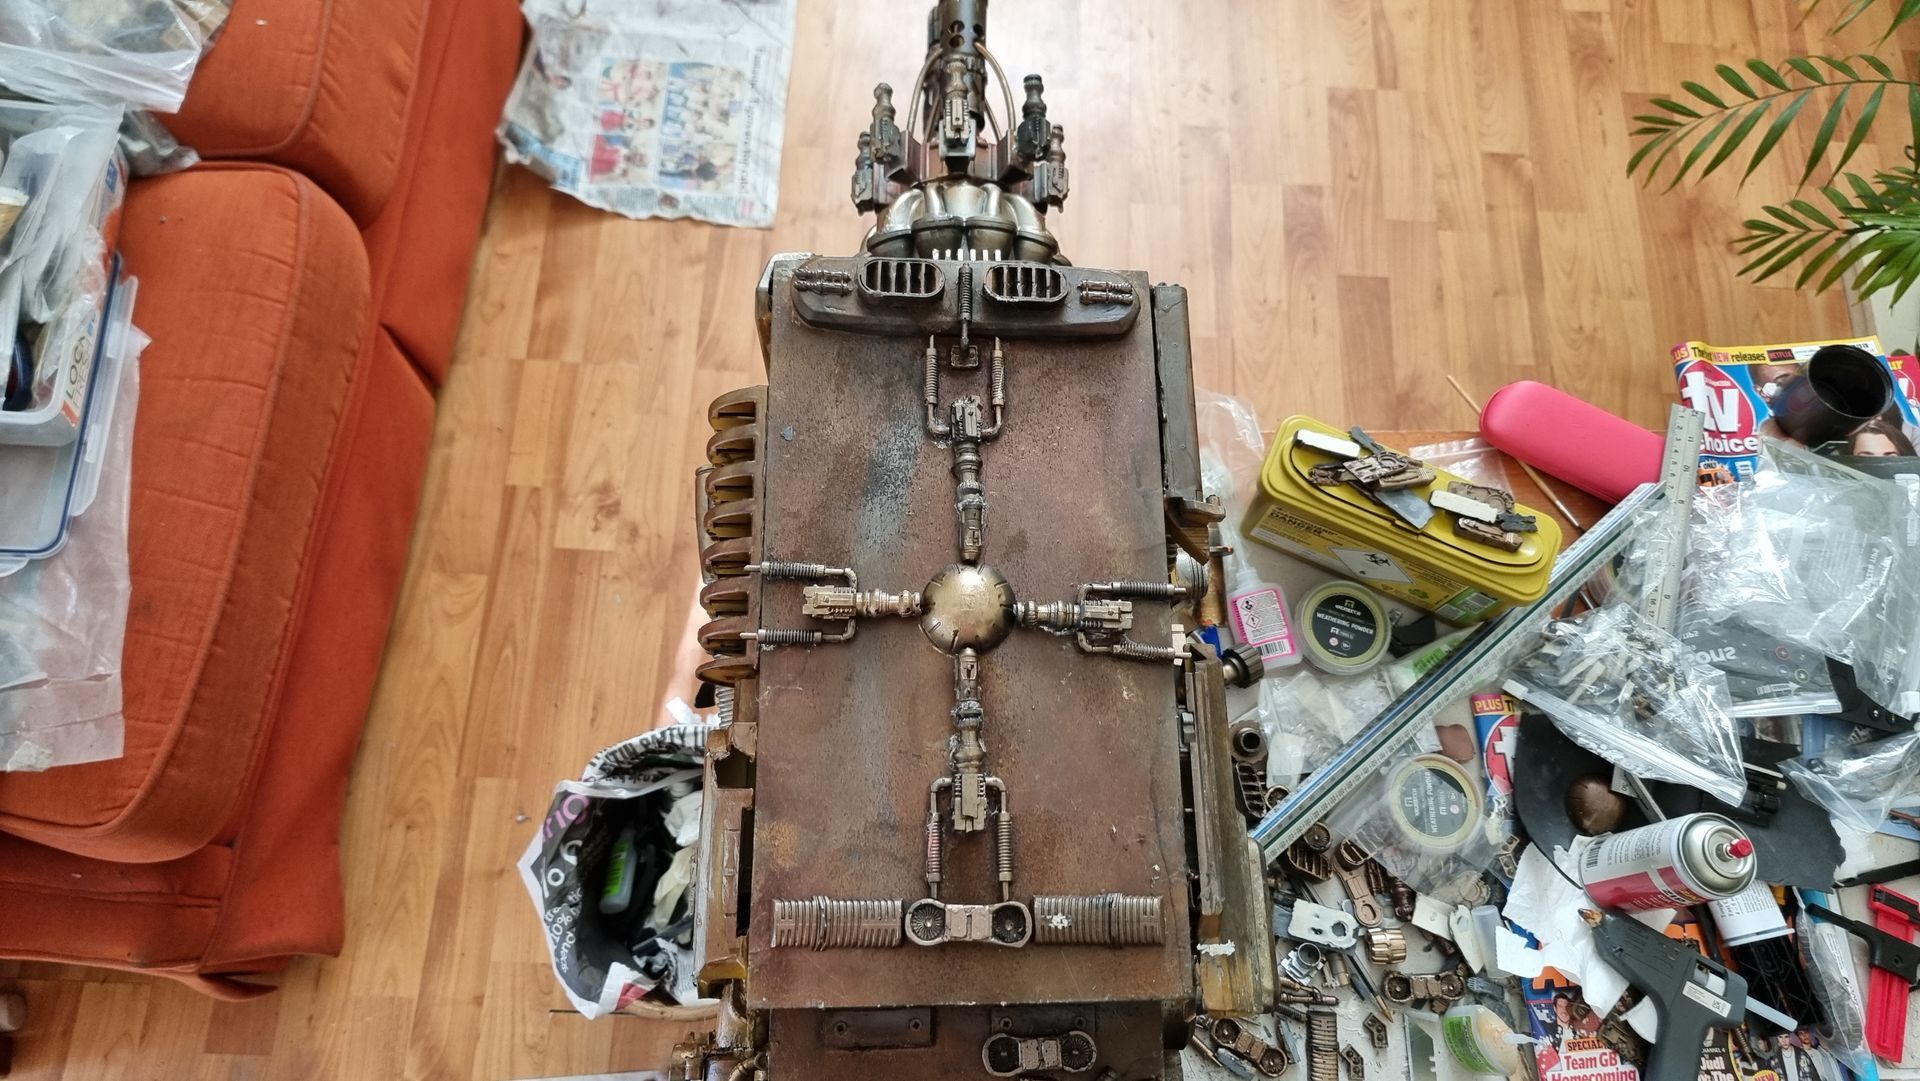
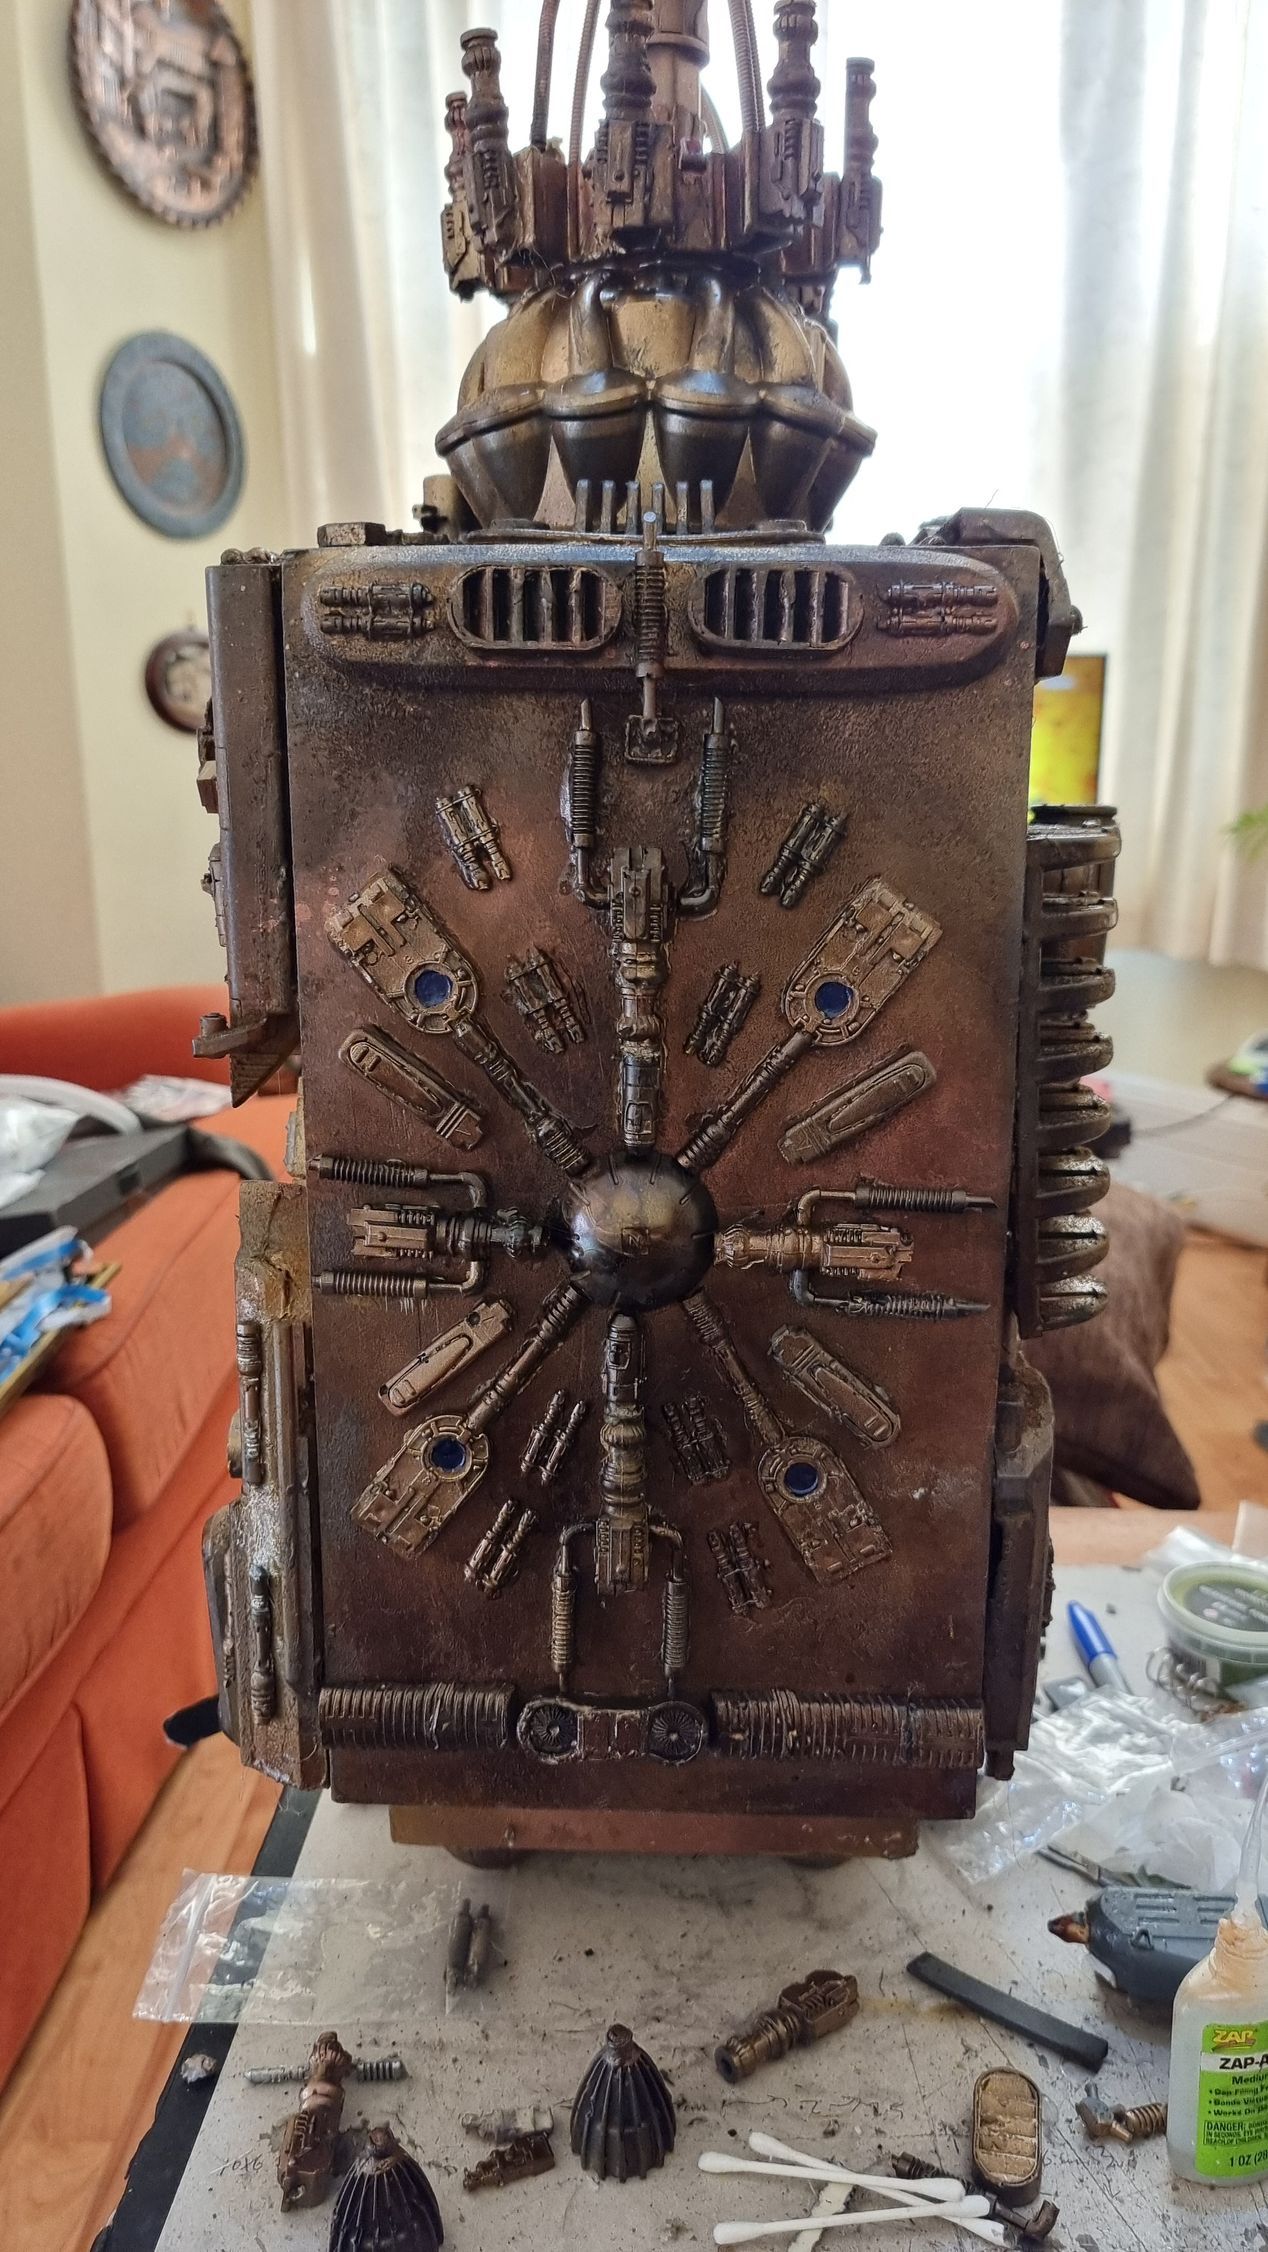
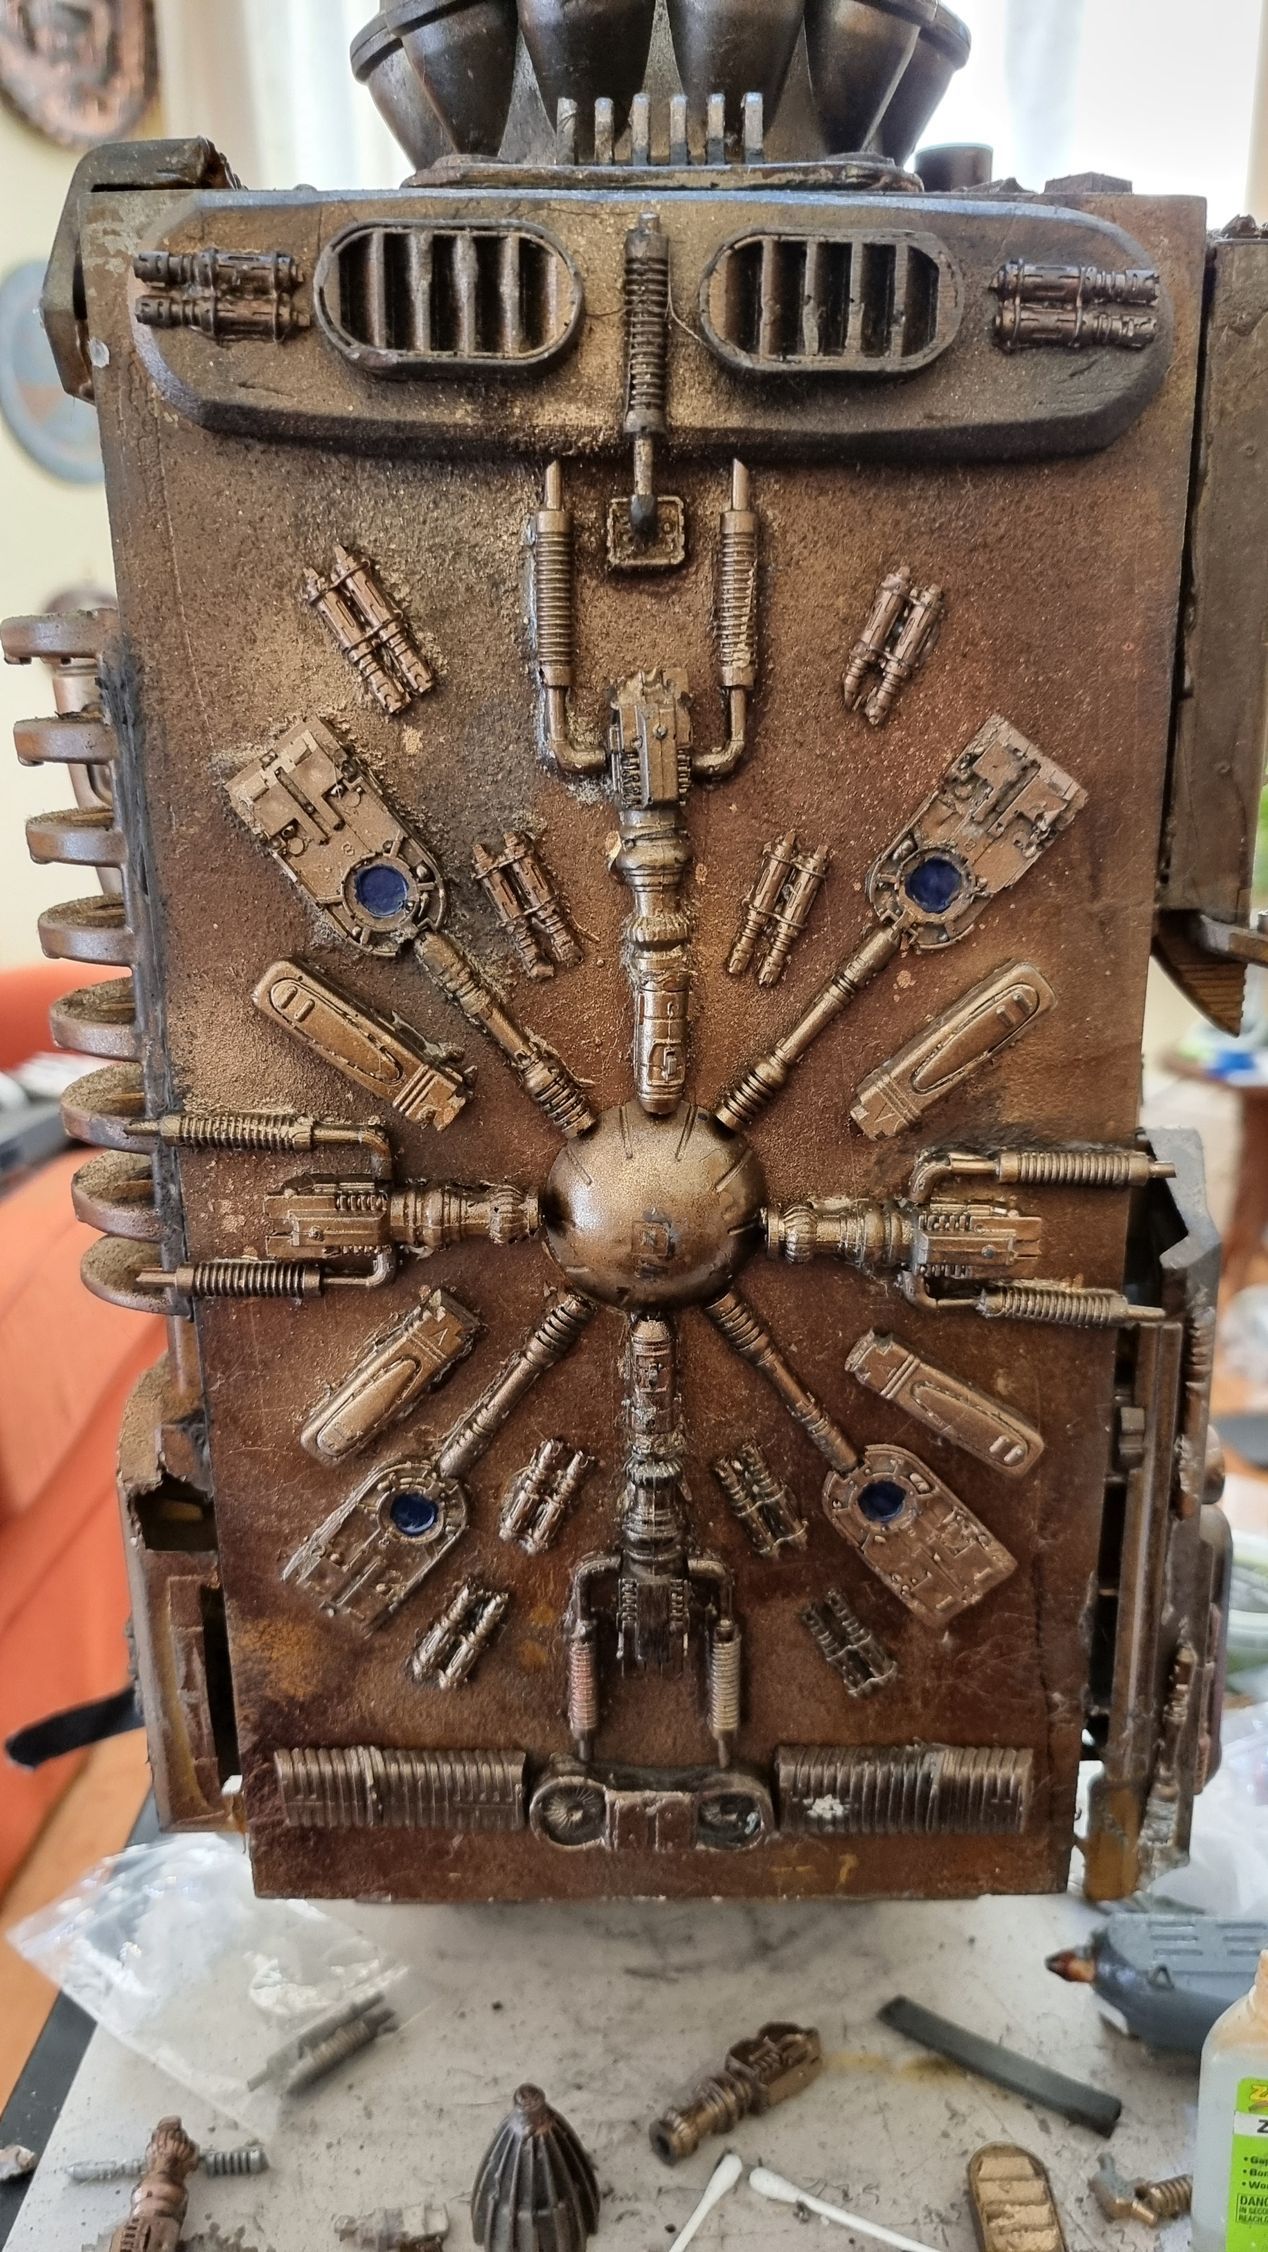
The sides needed to look like they were doing something technical that also was fairly flat.
This ruled out nerf parts which would be too big and hit the table first not the bumpers.
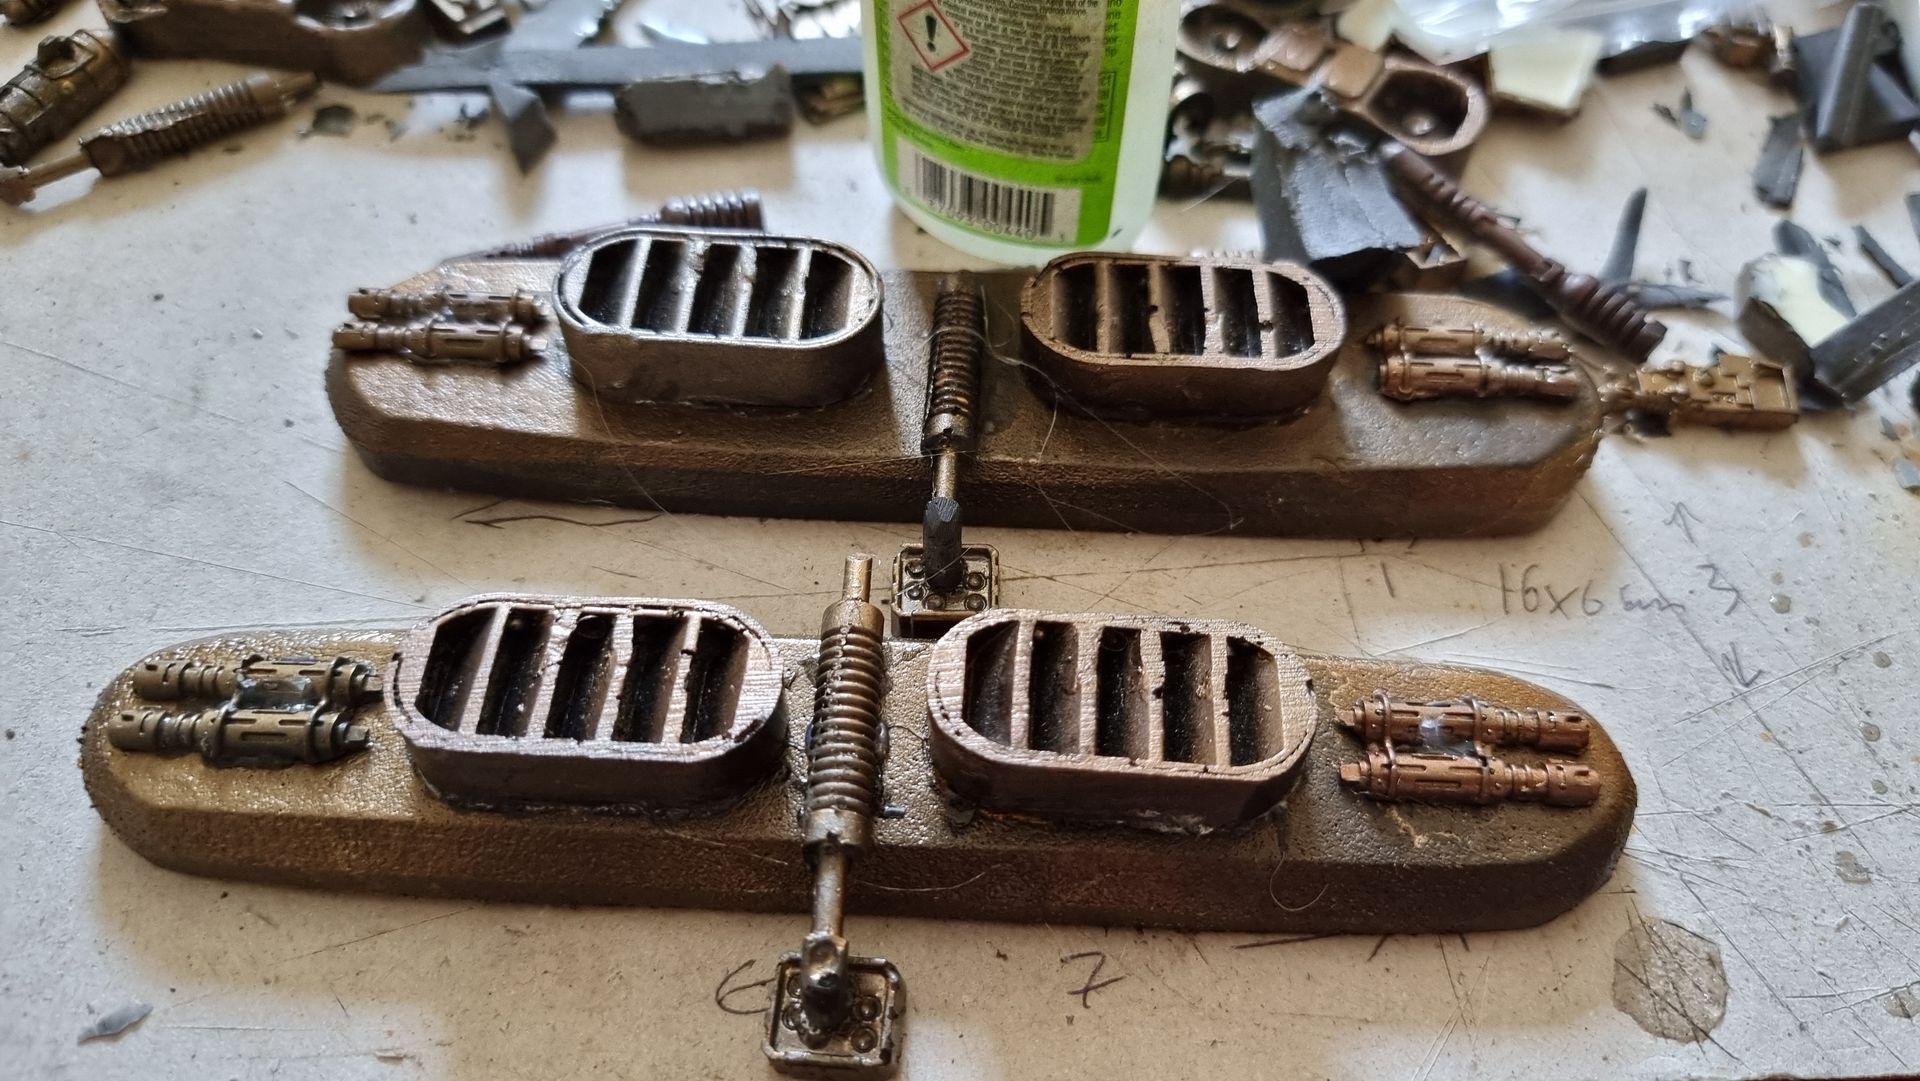
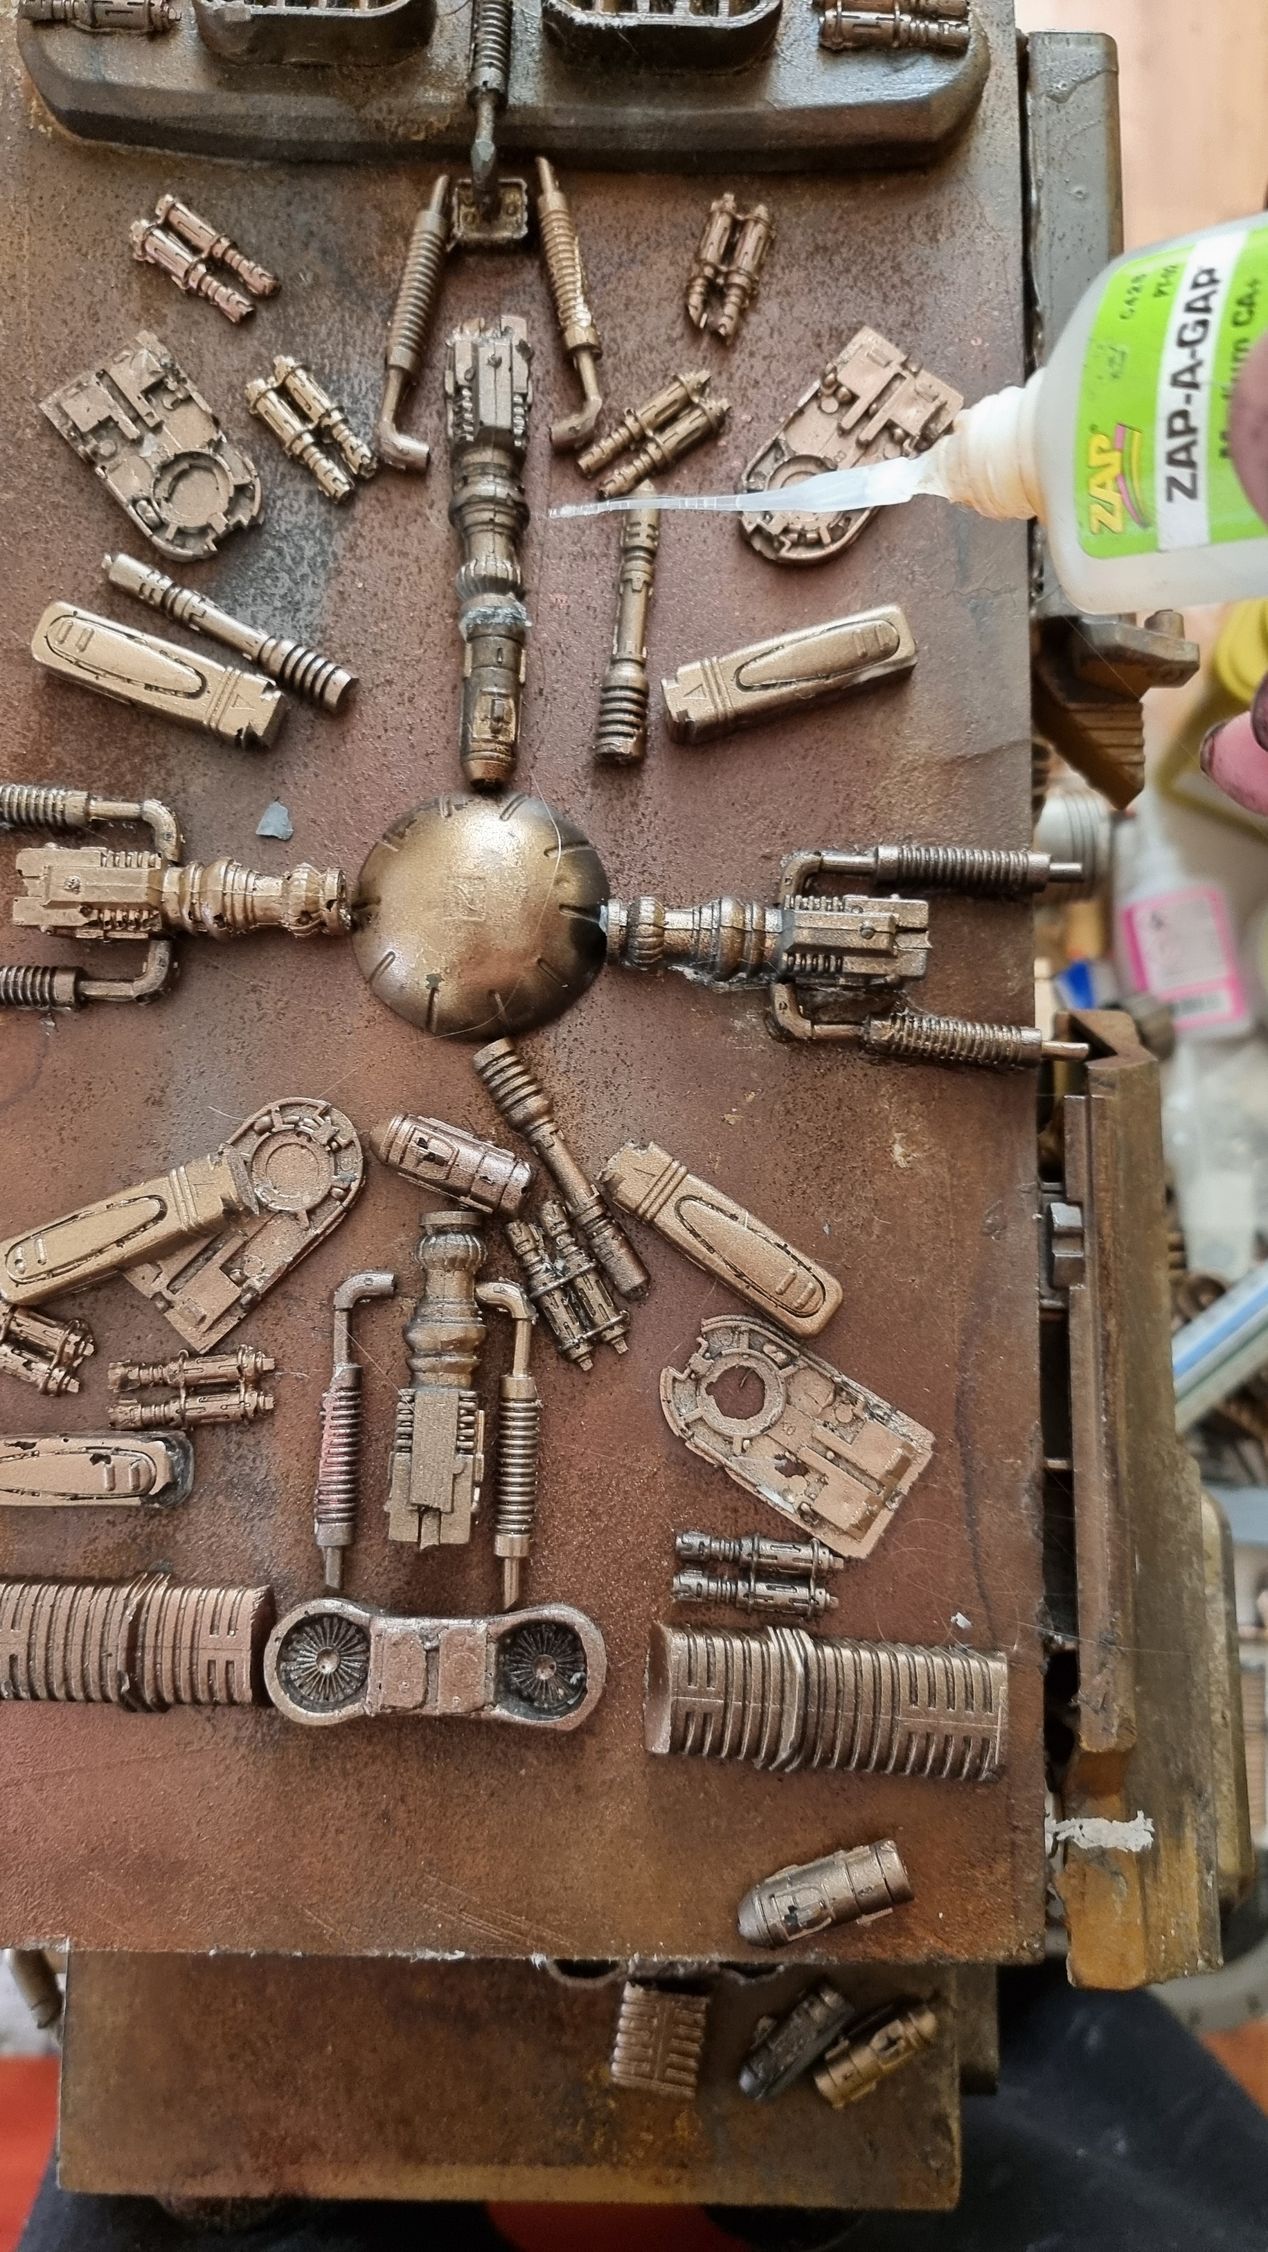
I used the kit bash parts I had to like power flowed into or out of the central core and thus into the central power core components.
Plus added some vents
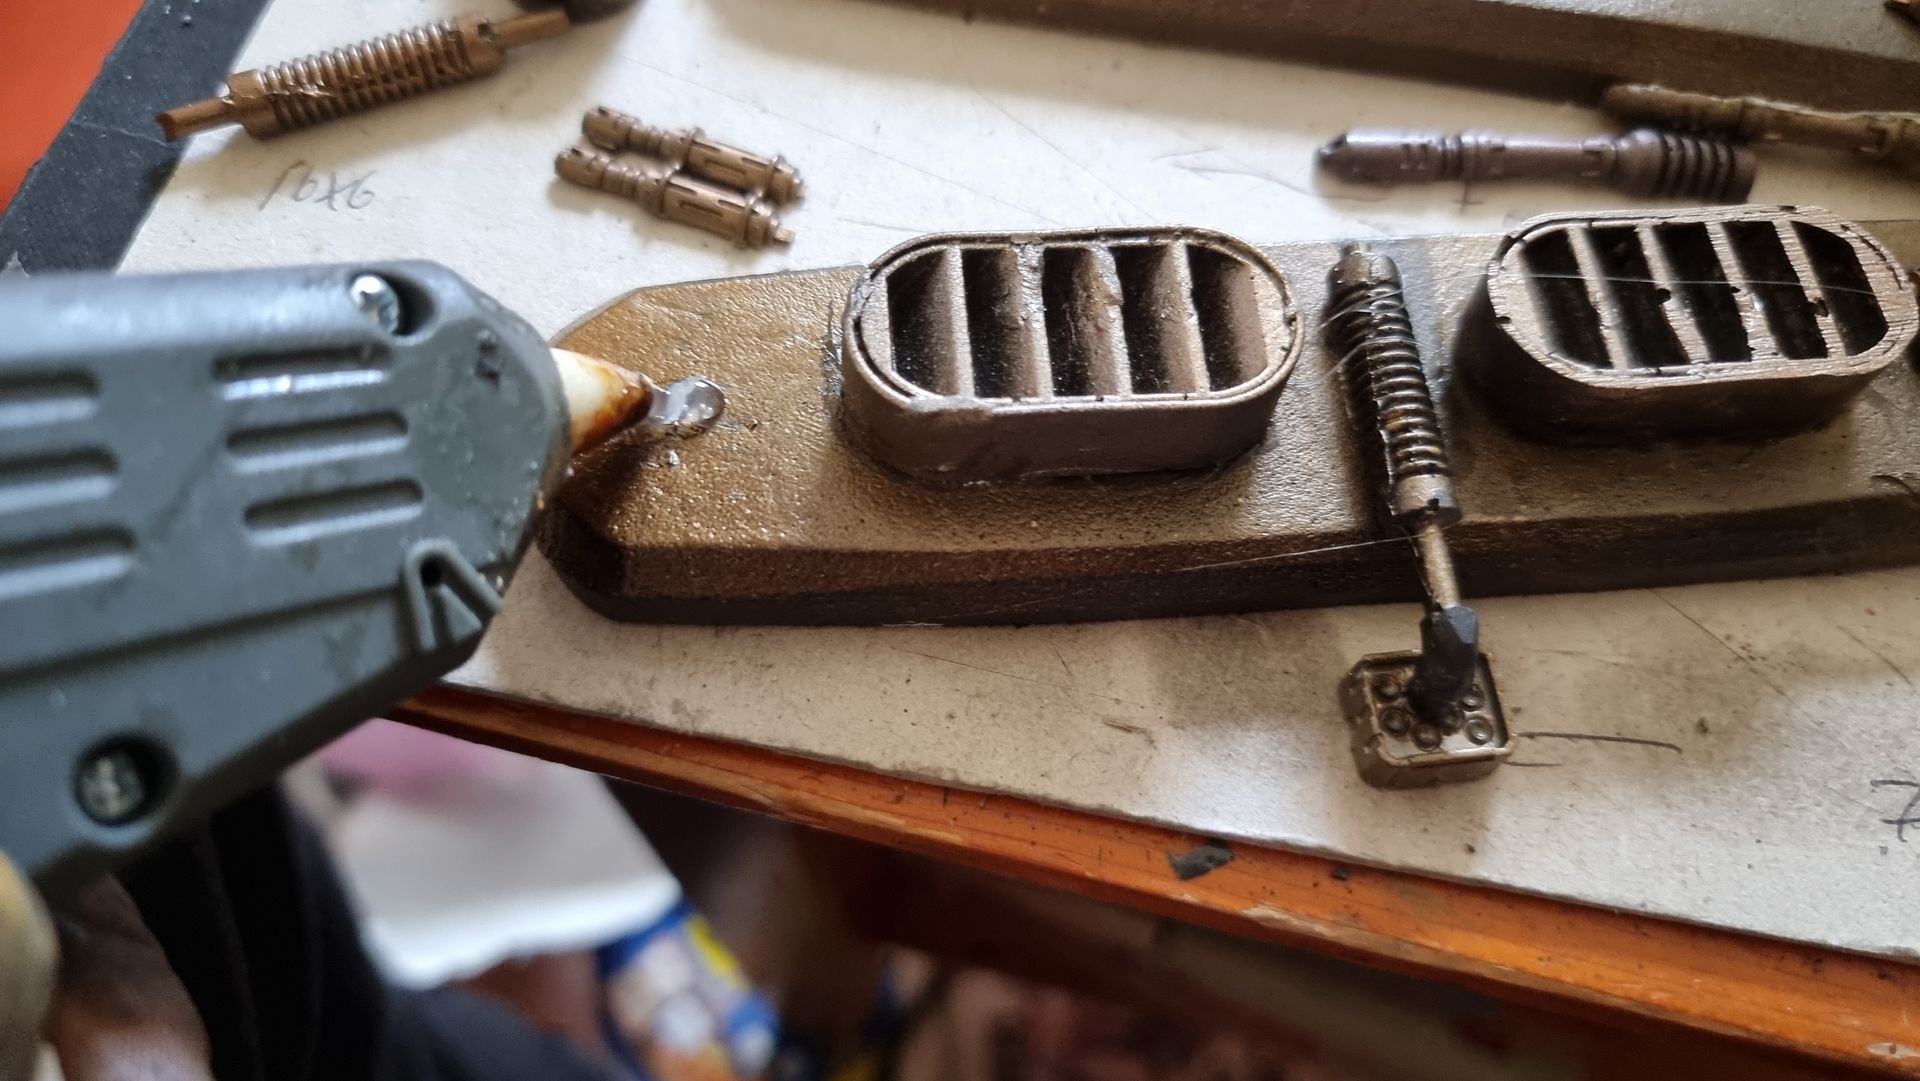
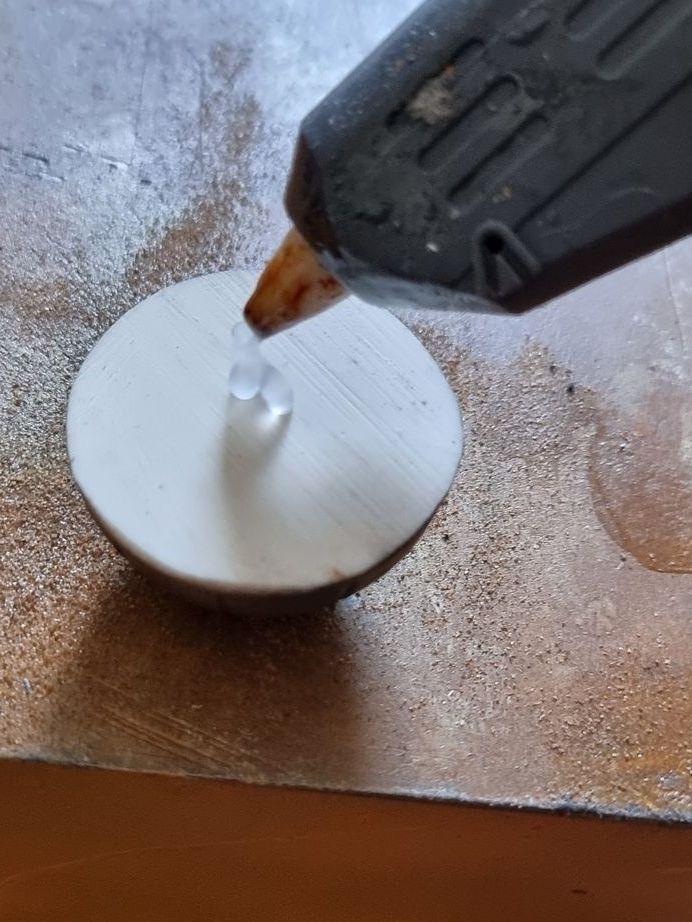
The parts were glued by starting with heated hot glue and when placed I added superglue that come soak into the space around the clue and between the part and the prop. I then spayed activator to instantly seal the part into place more firmly whilst the hot glue set.
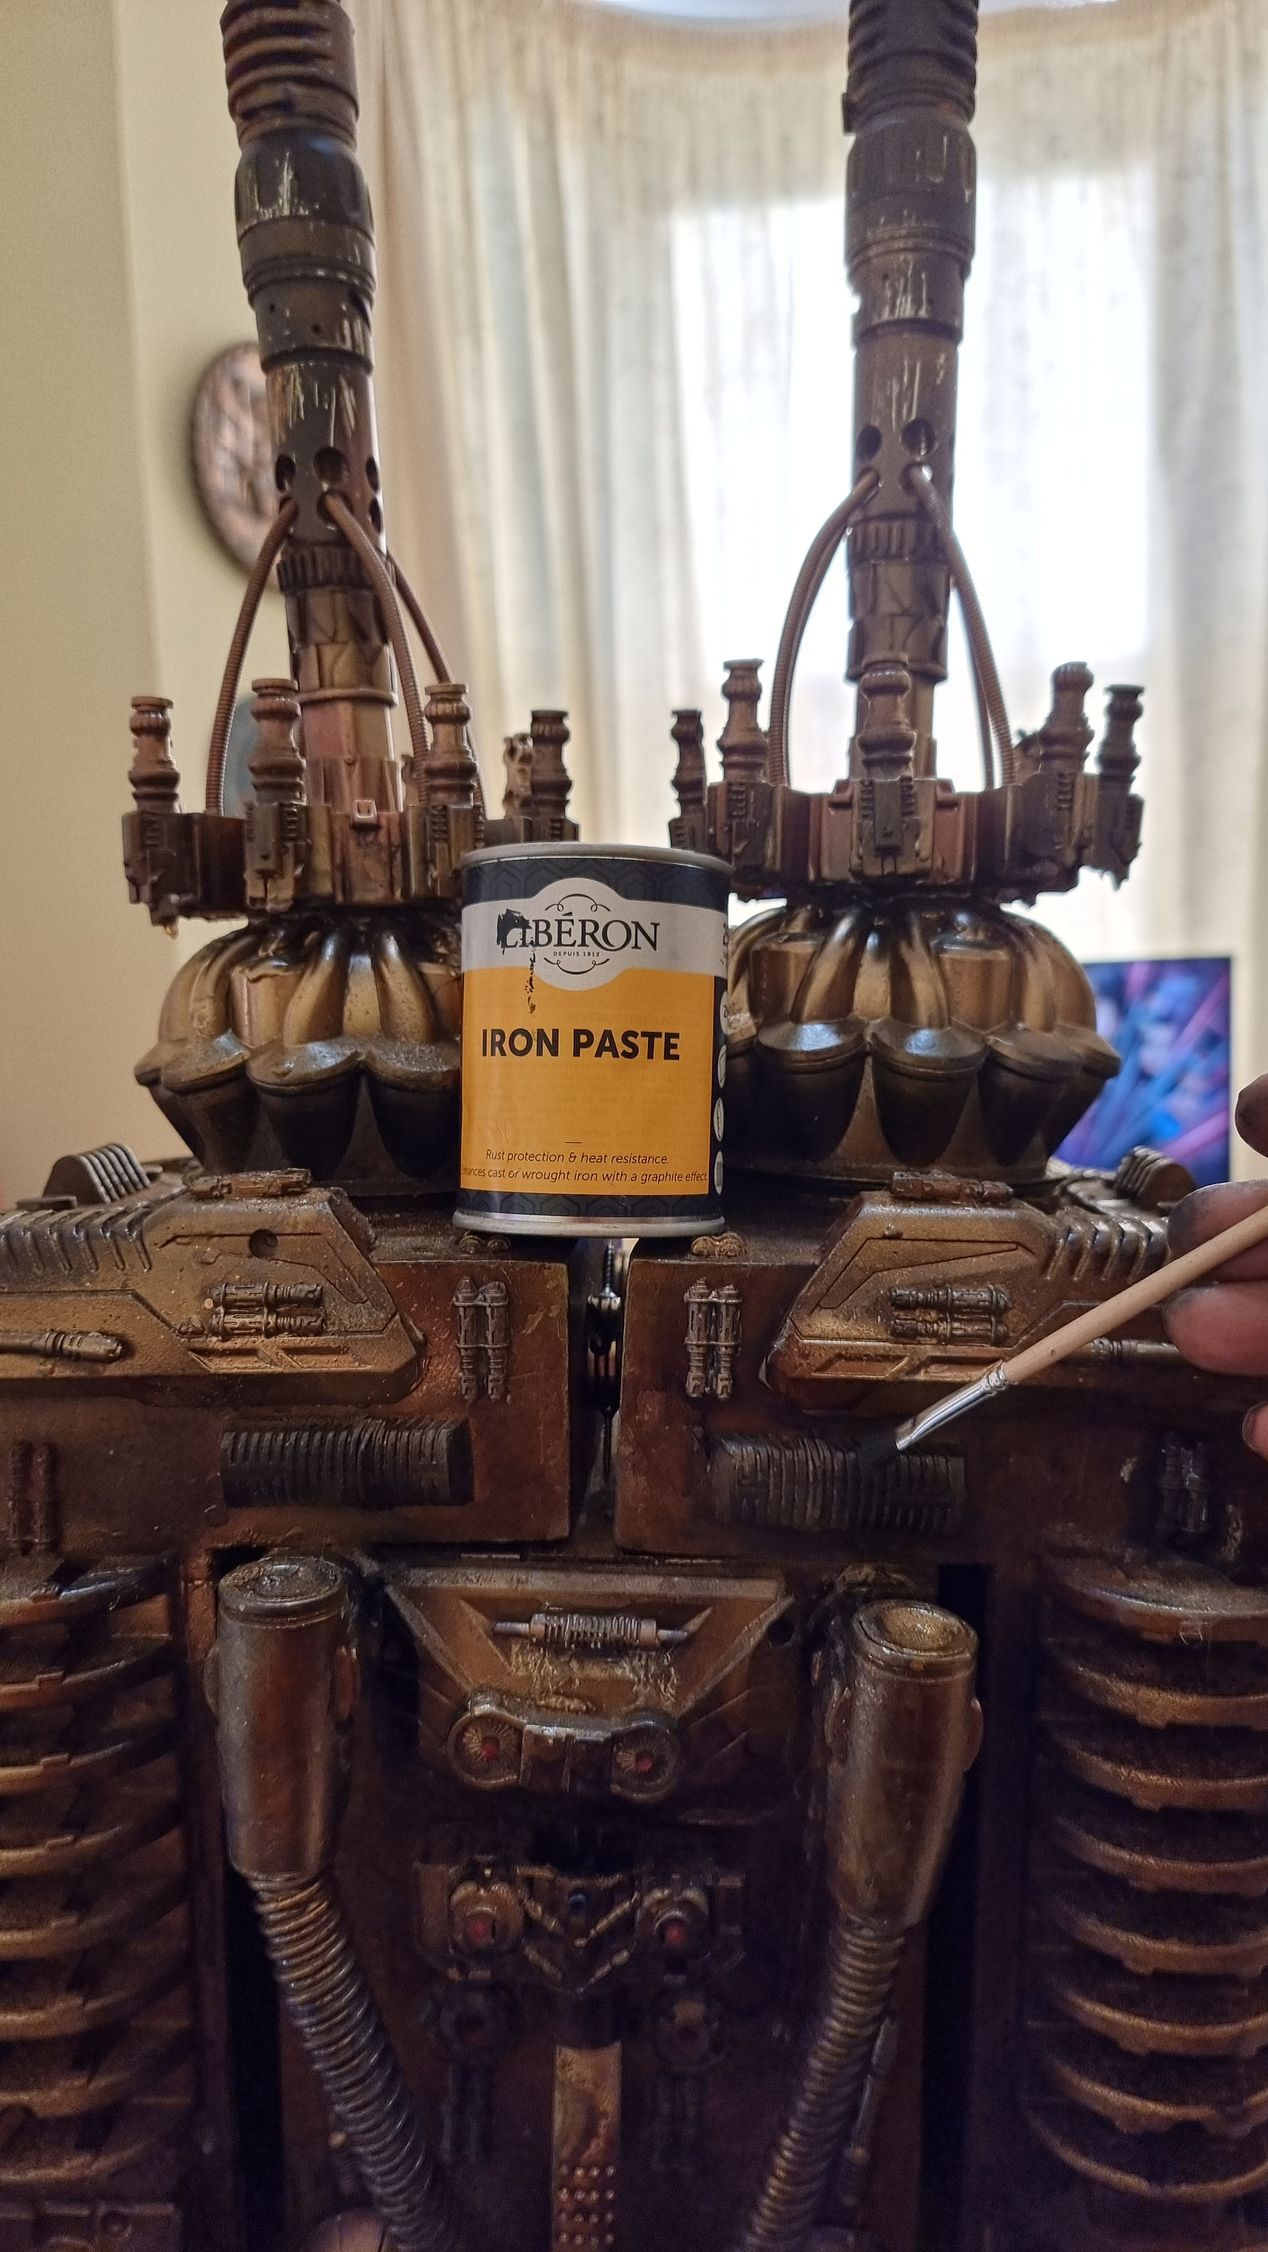
Extra dirtying was added with iron paste around the components.
I also coloured in the centre of the flat parts to add some texture to the sides .
Enhancing the Interior of the Tower
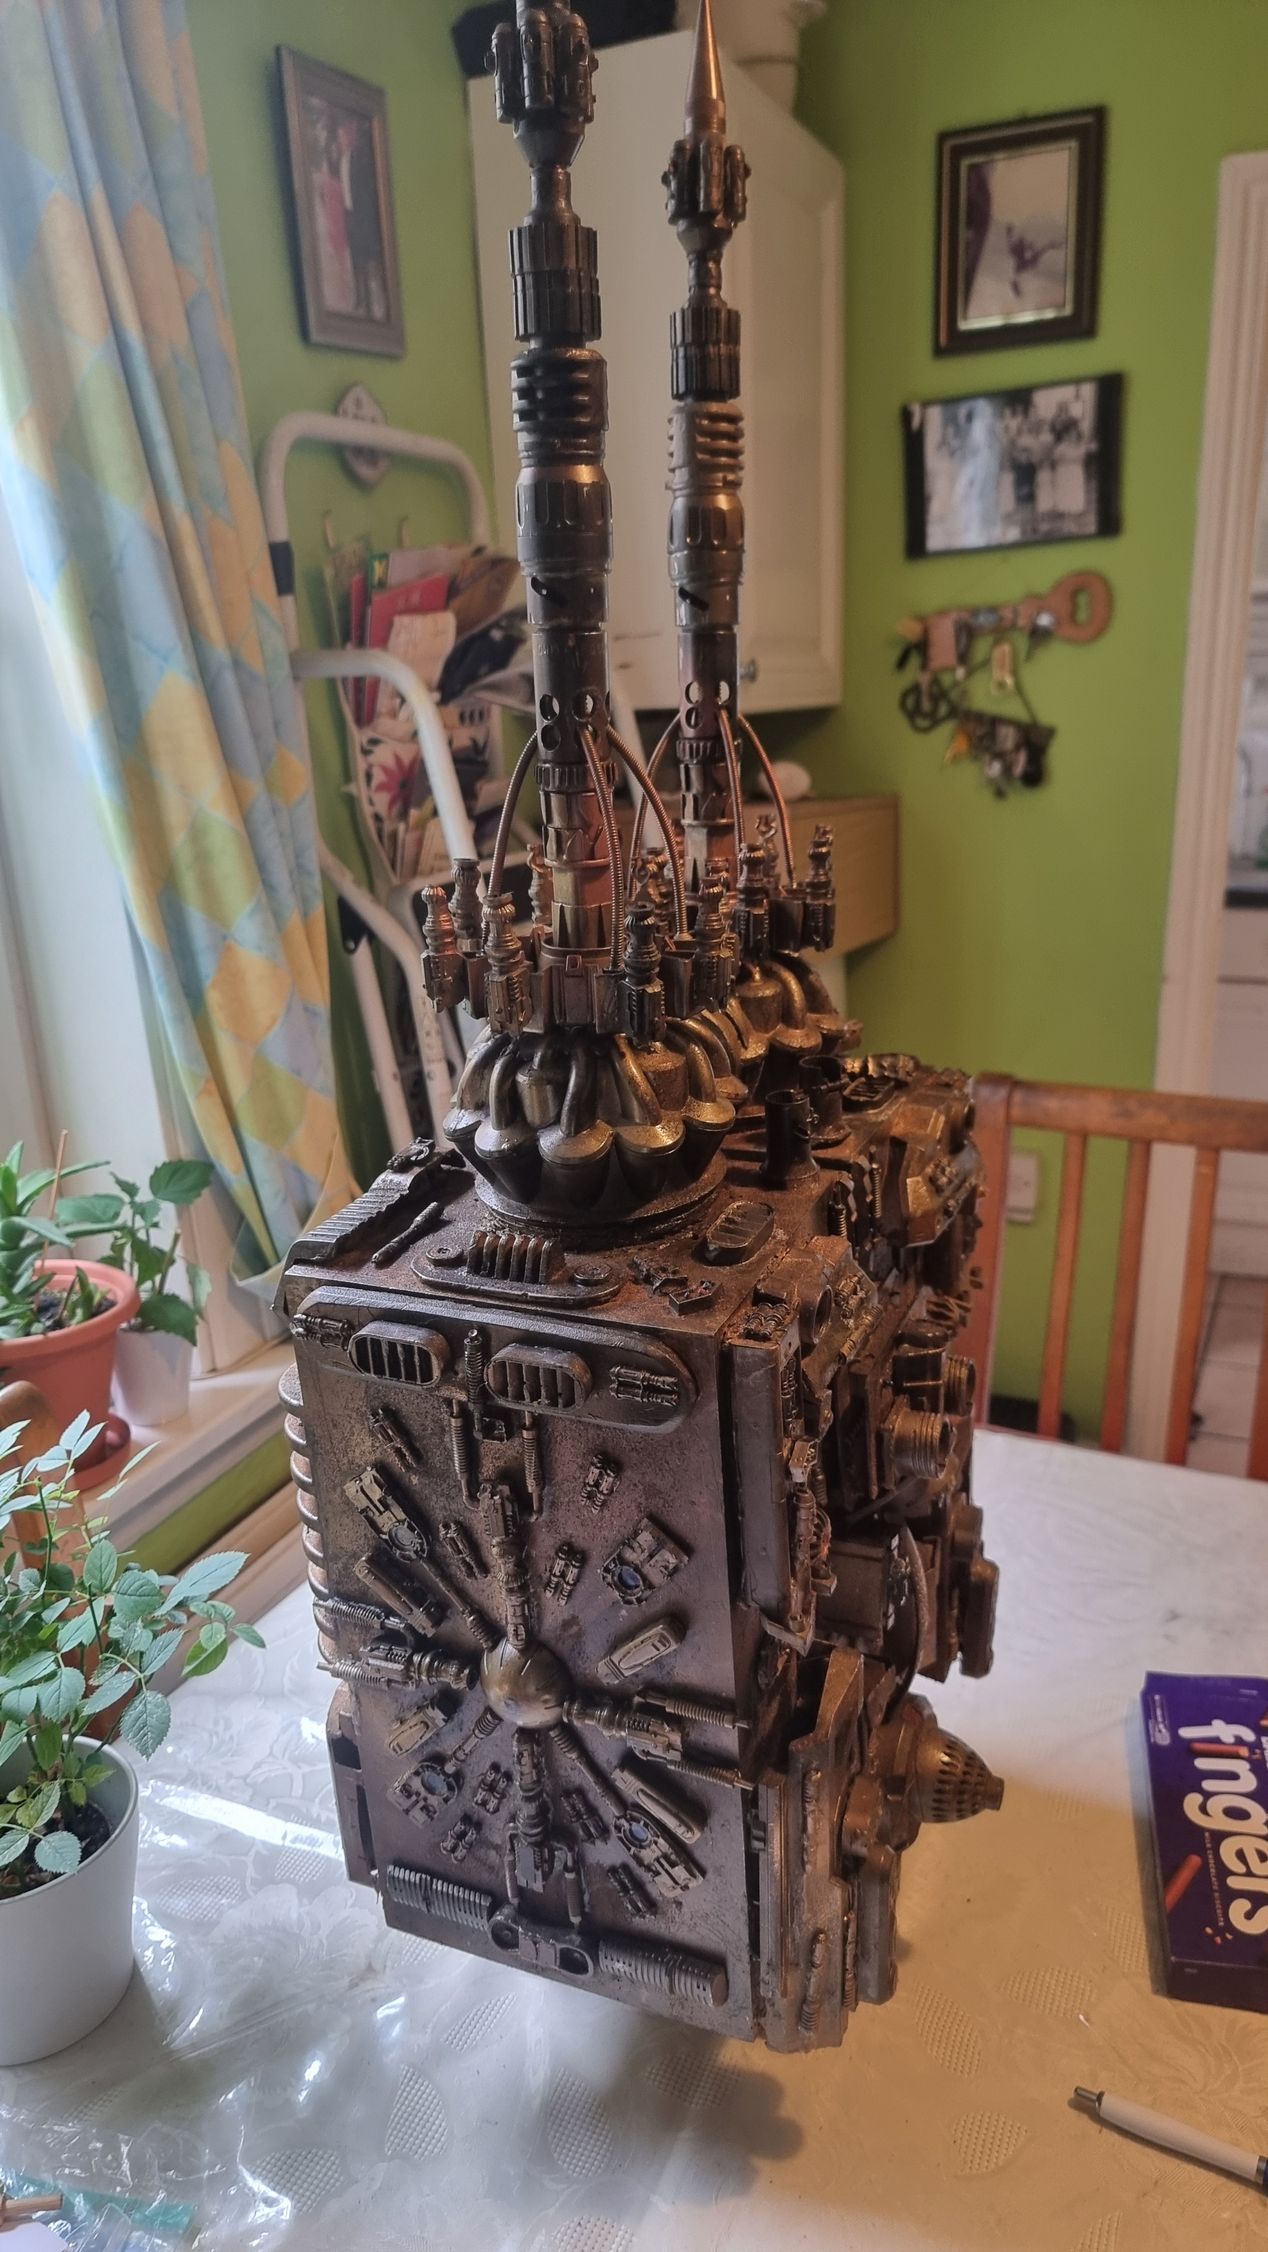
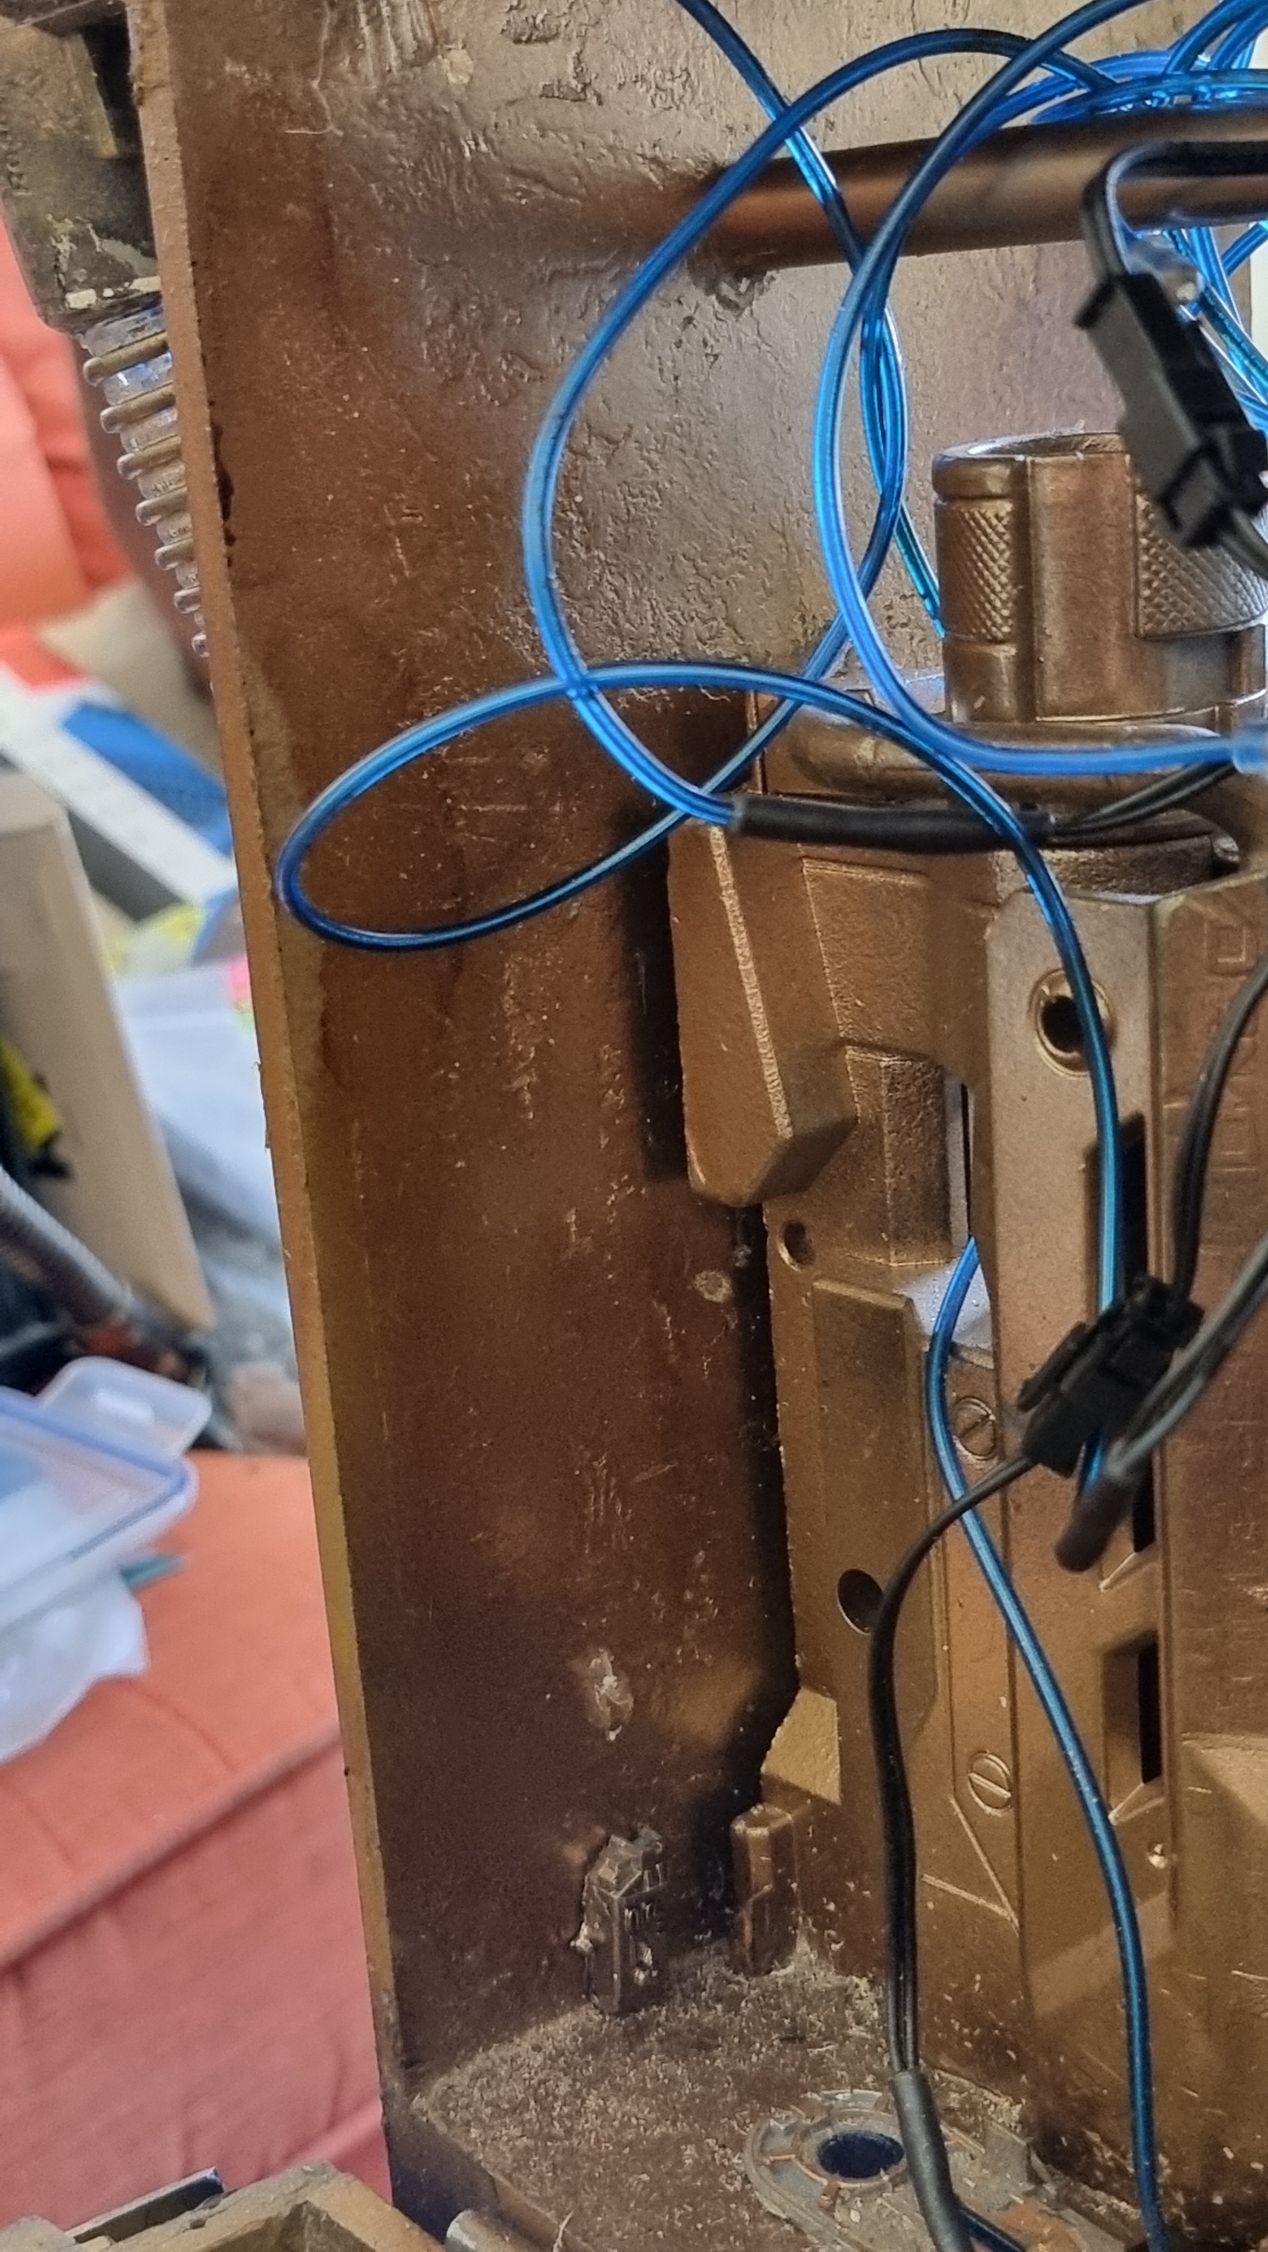
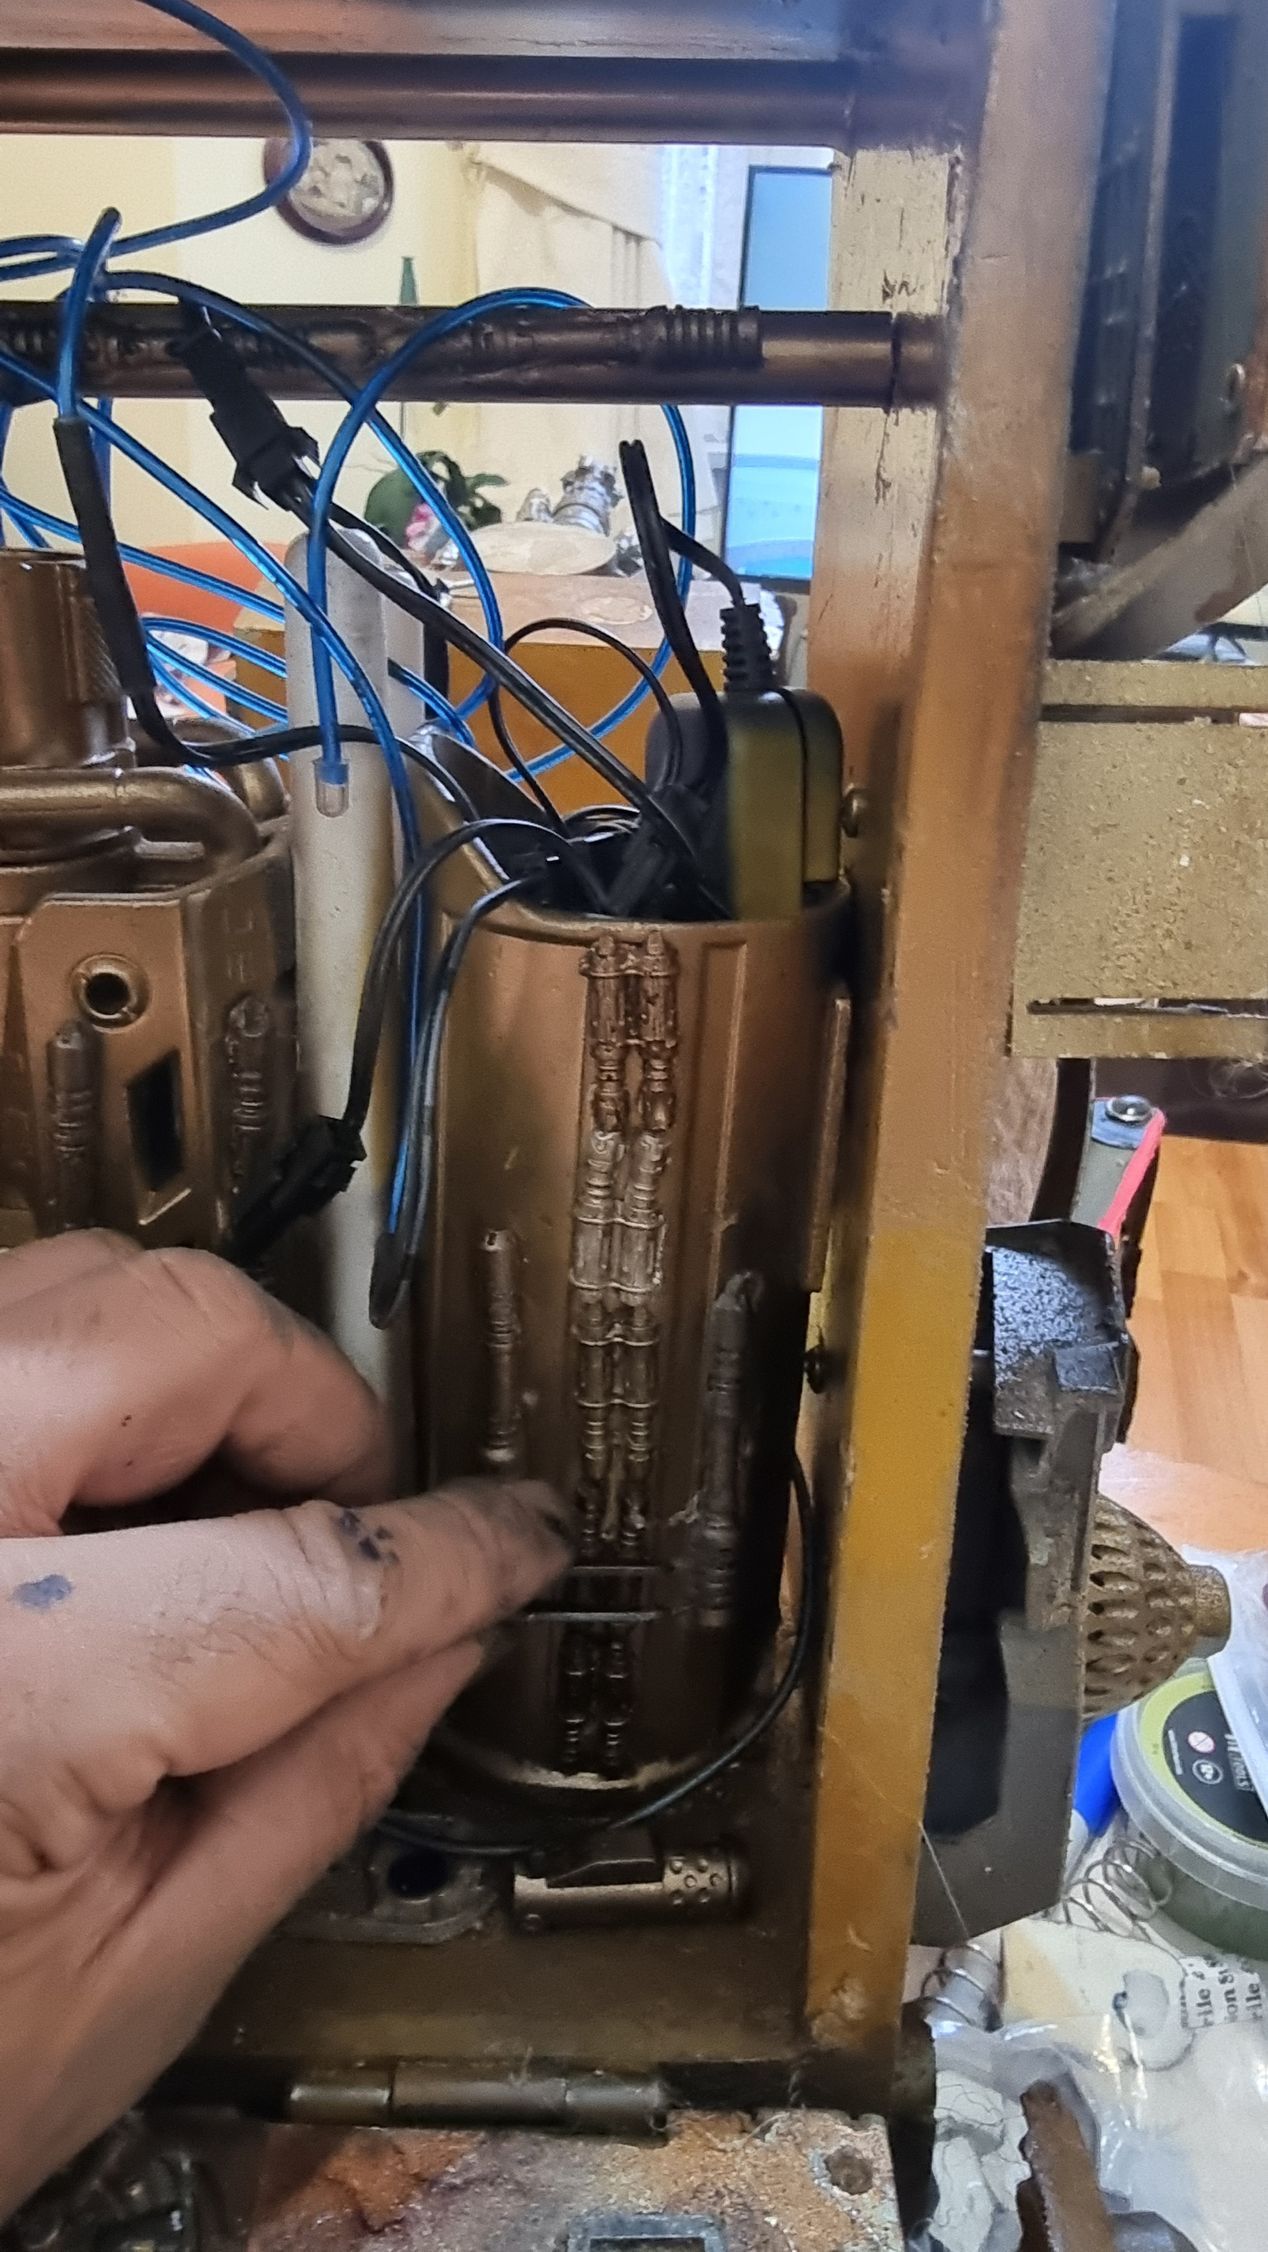
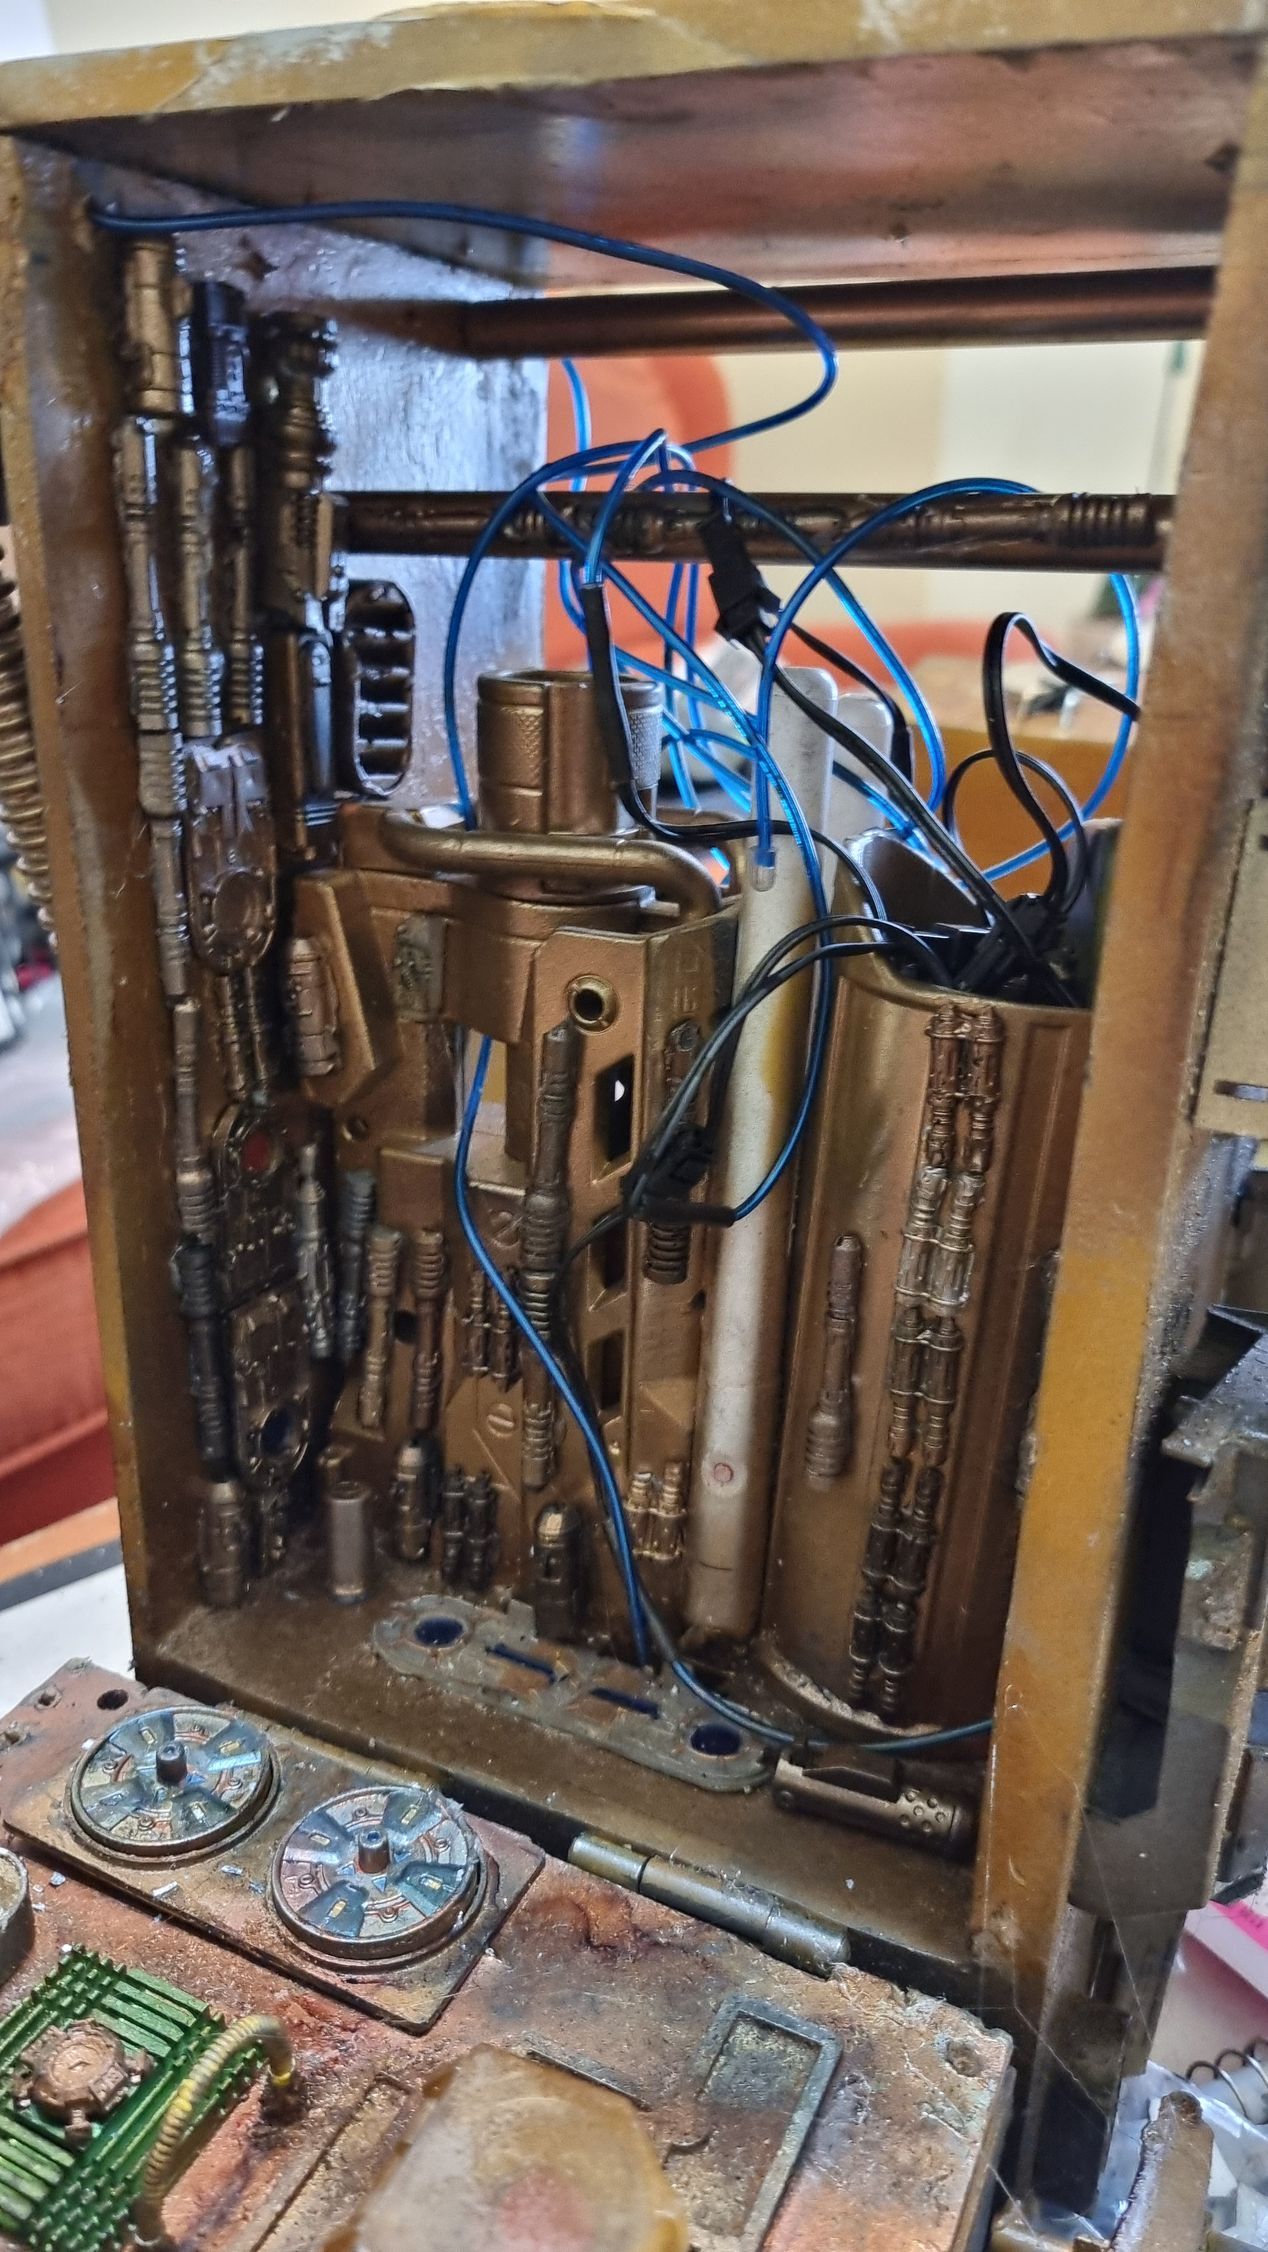
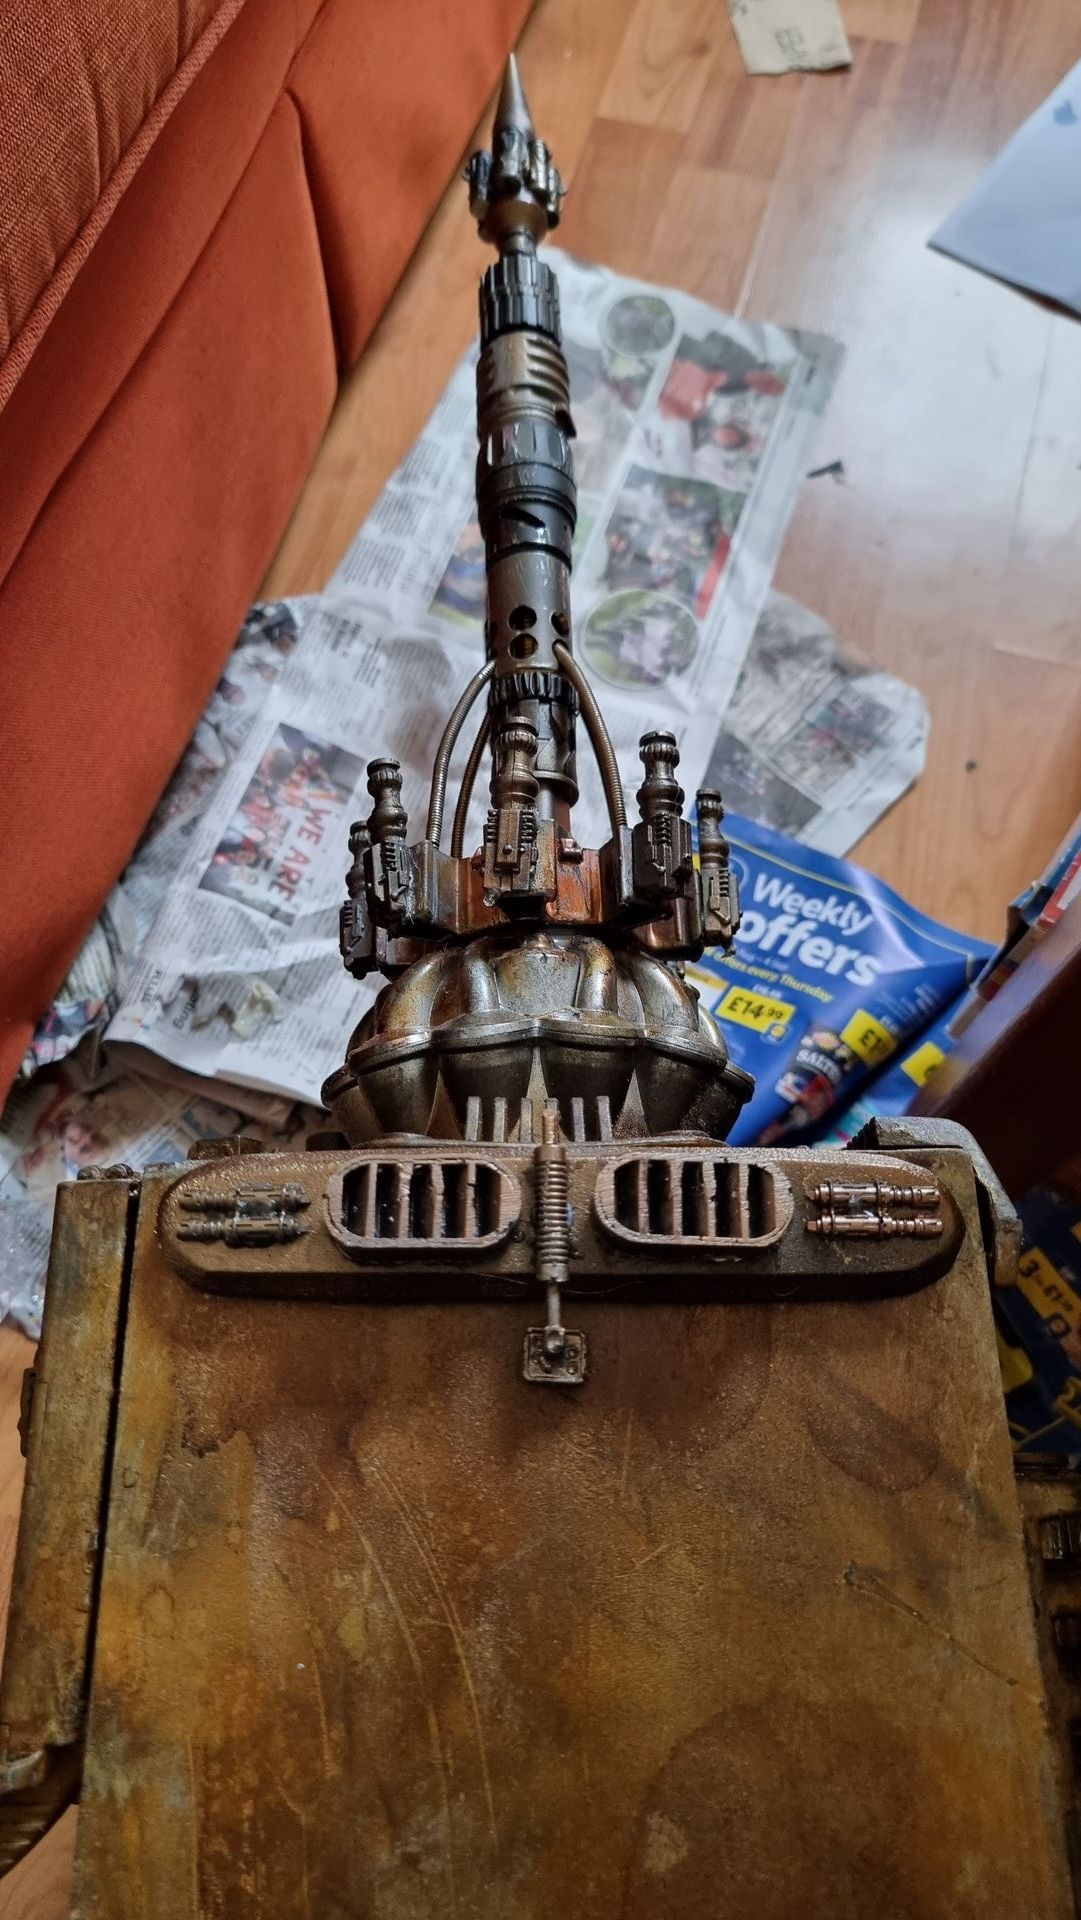
The inside was looking plain and dull so I added a lot more kit bashing to the middle to make it look more technical
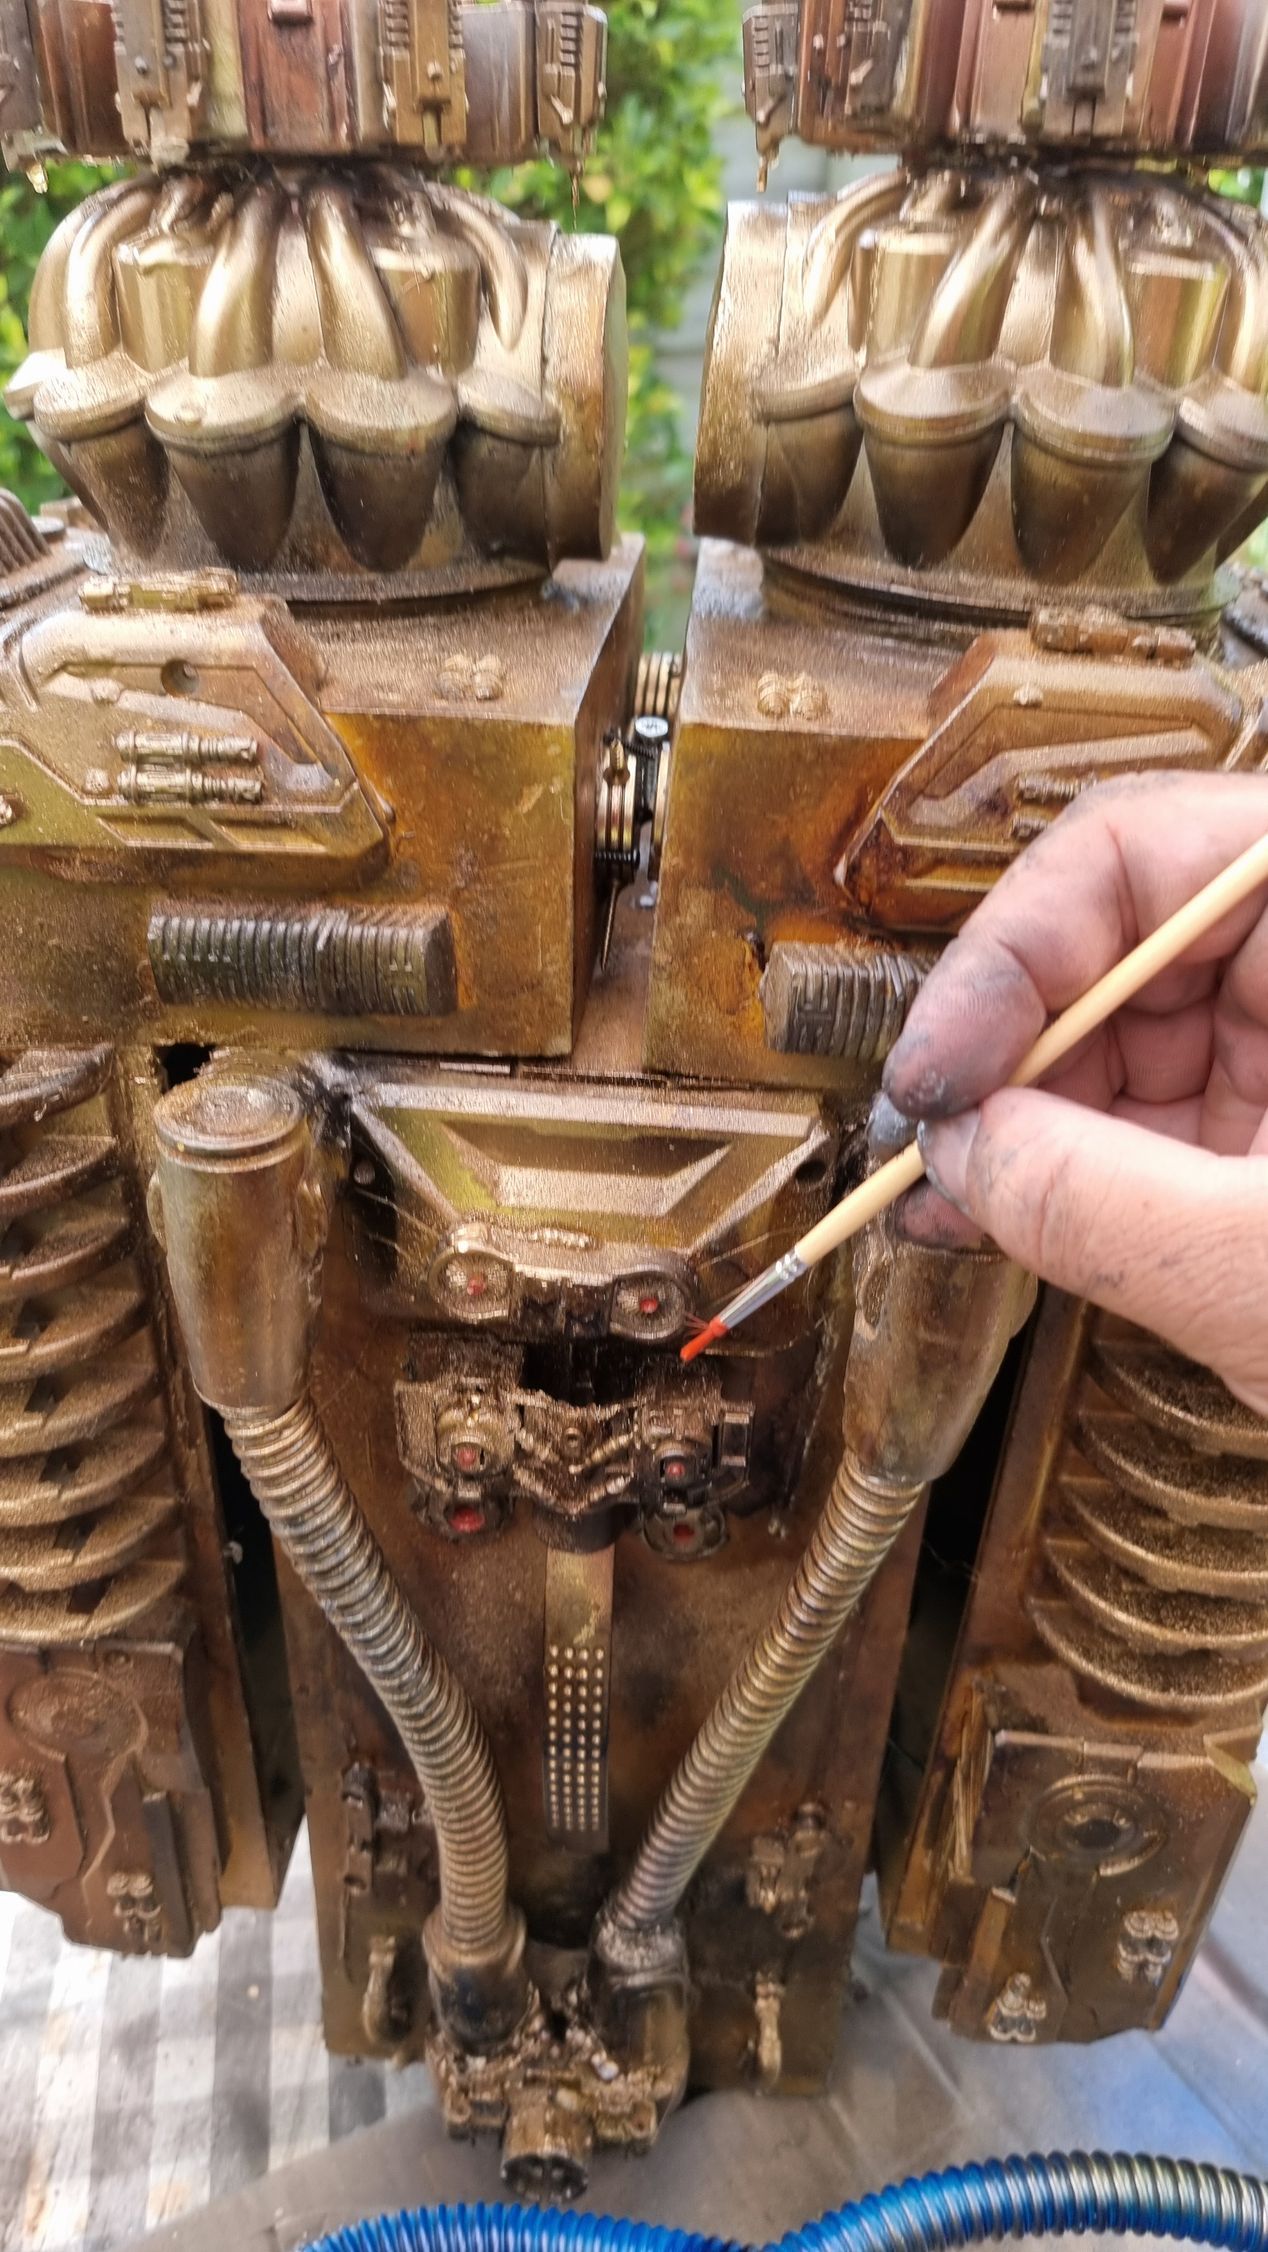
I also assed a little colour to the out in red and blue to look more real. I most likely will glue on some LEDs as well. It would be nice to get them working mor not sure how. Now all space is occupied.
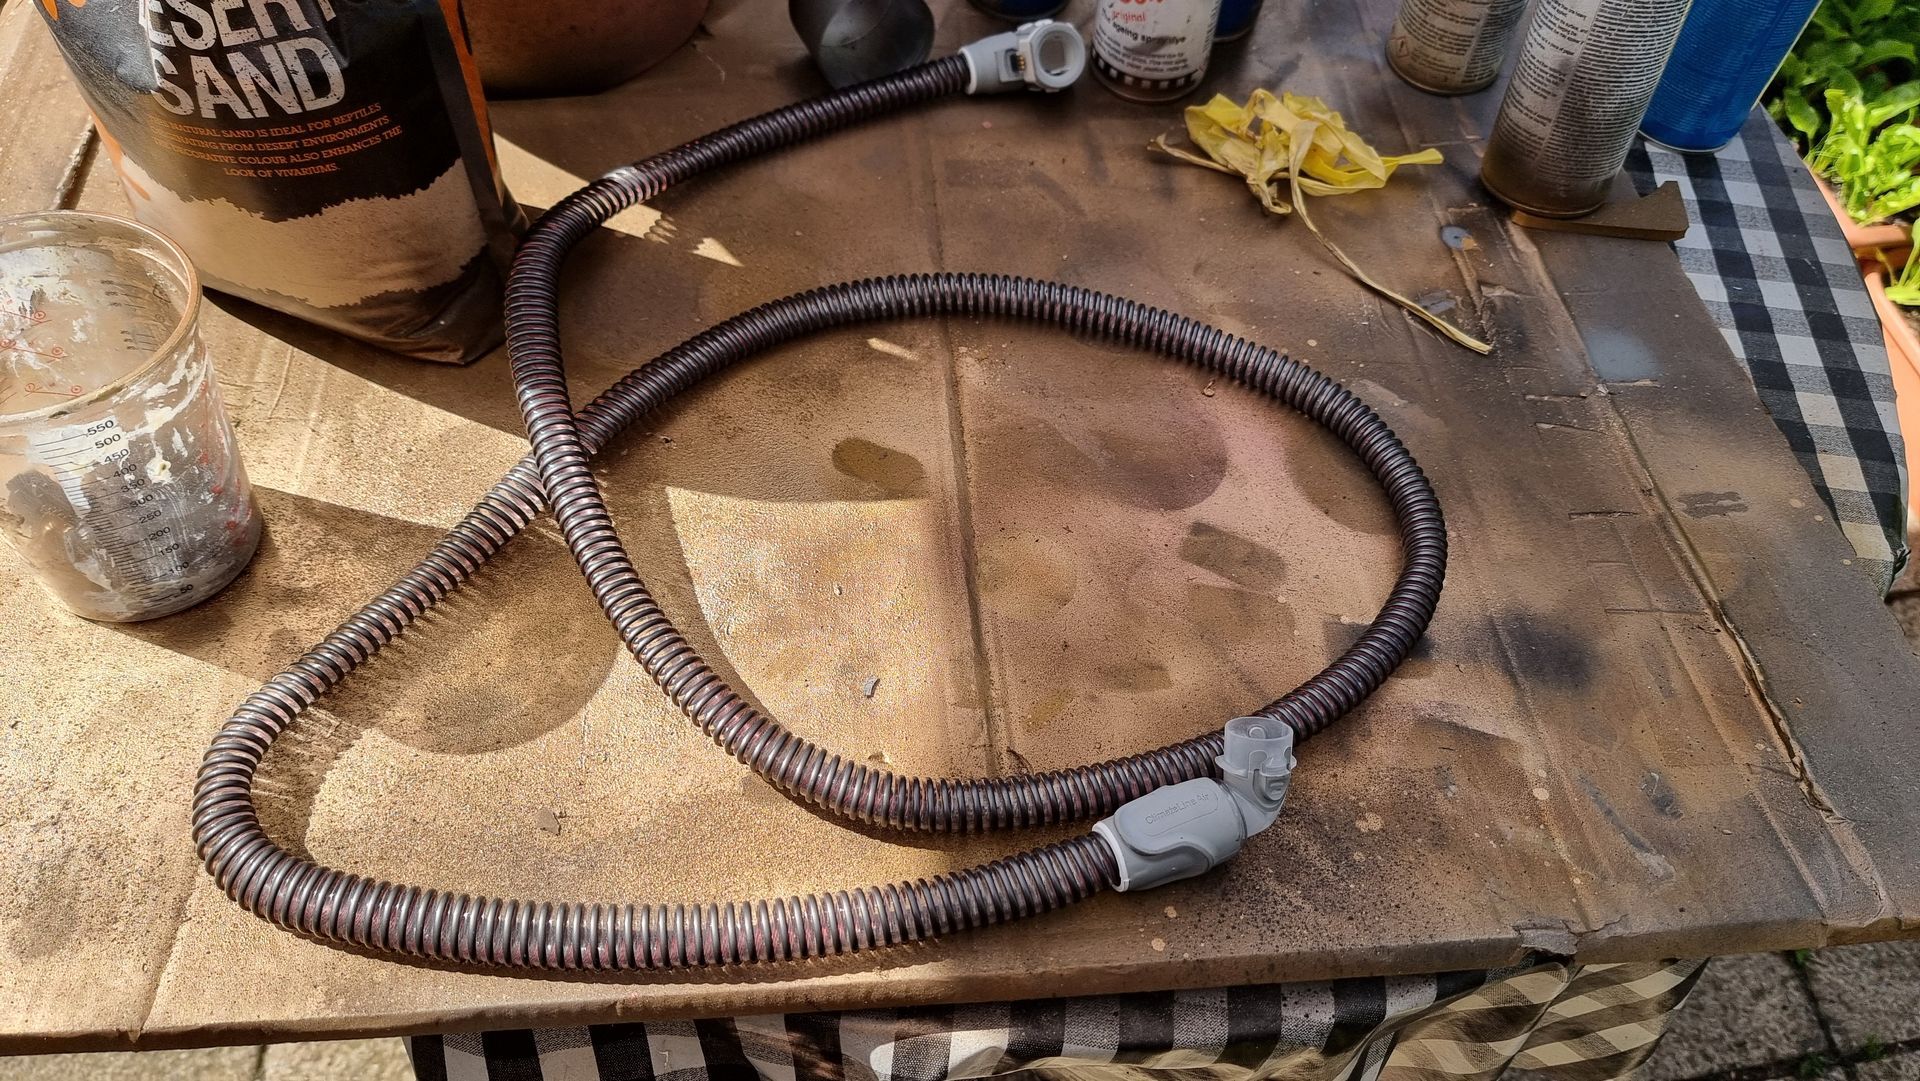
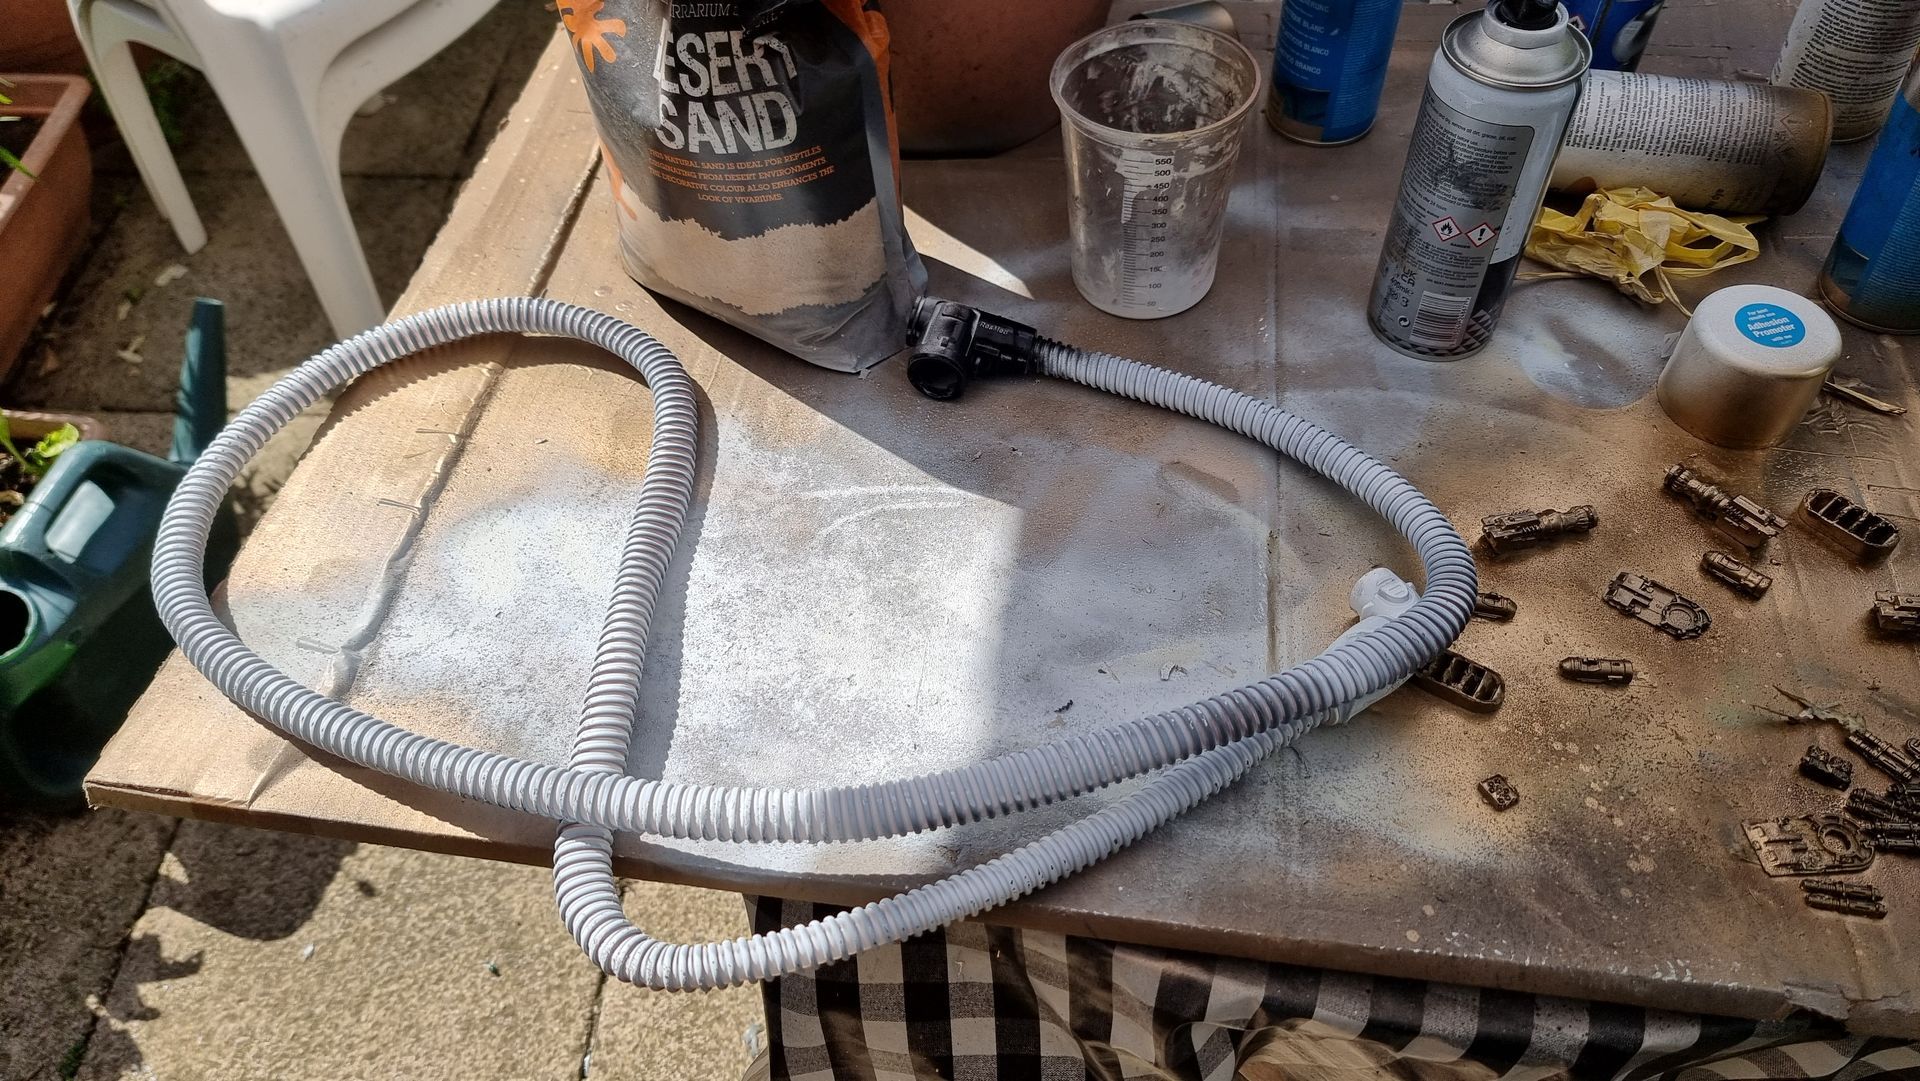
There had been the intention to ass some air hosing to the insides , this was abandoned as too big and difficulties fitting them in place


